Maybe you have an idea why the machine would change it’s zero position between runs.
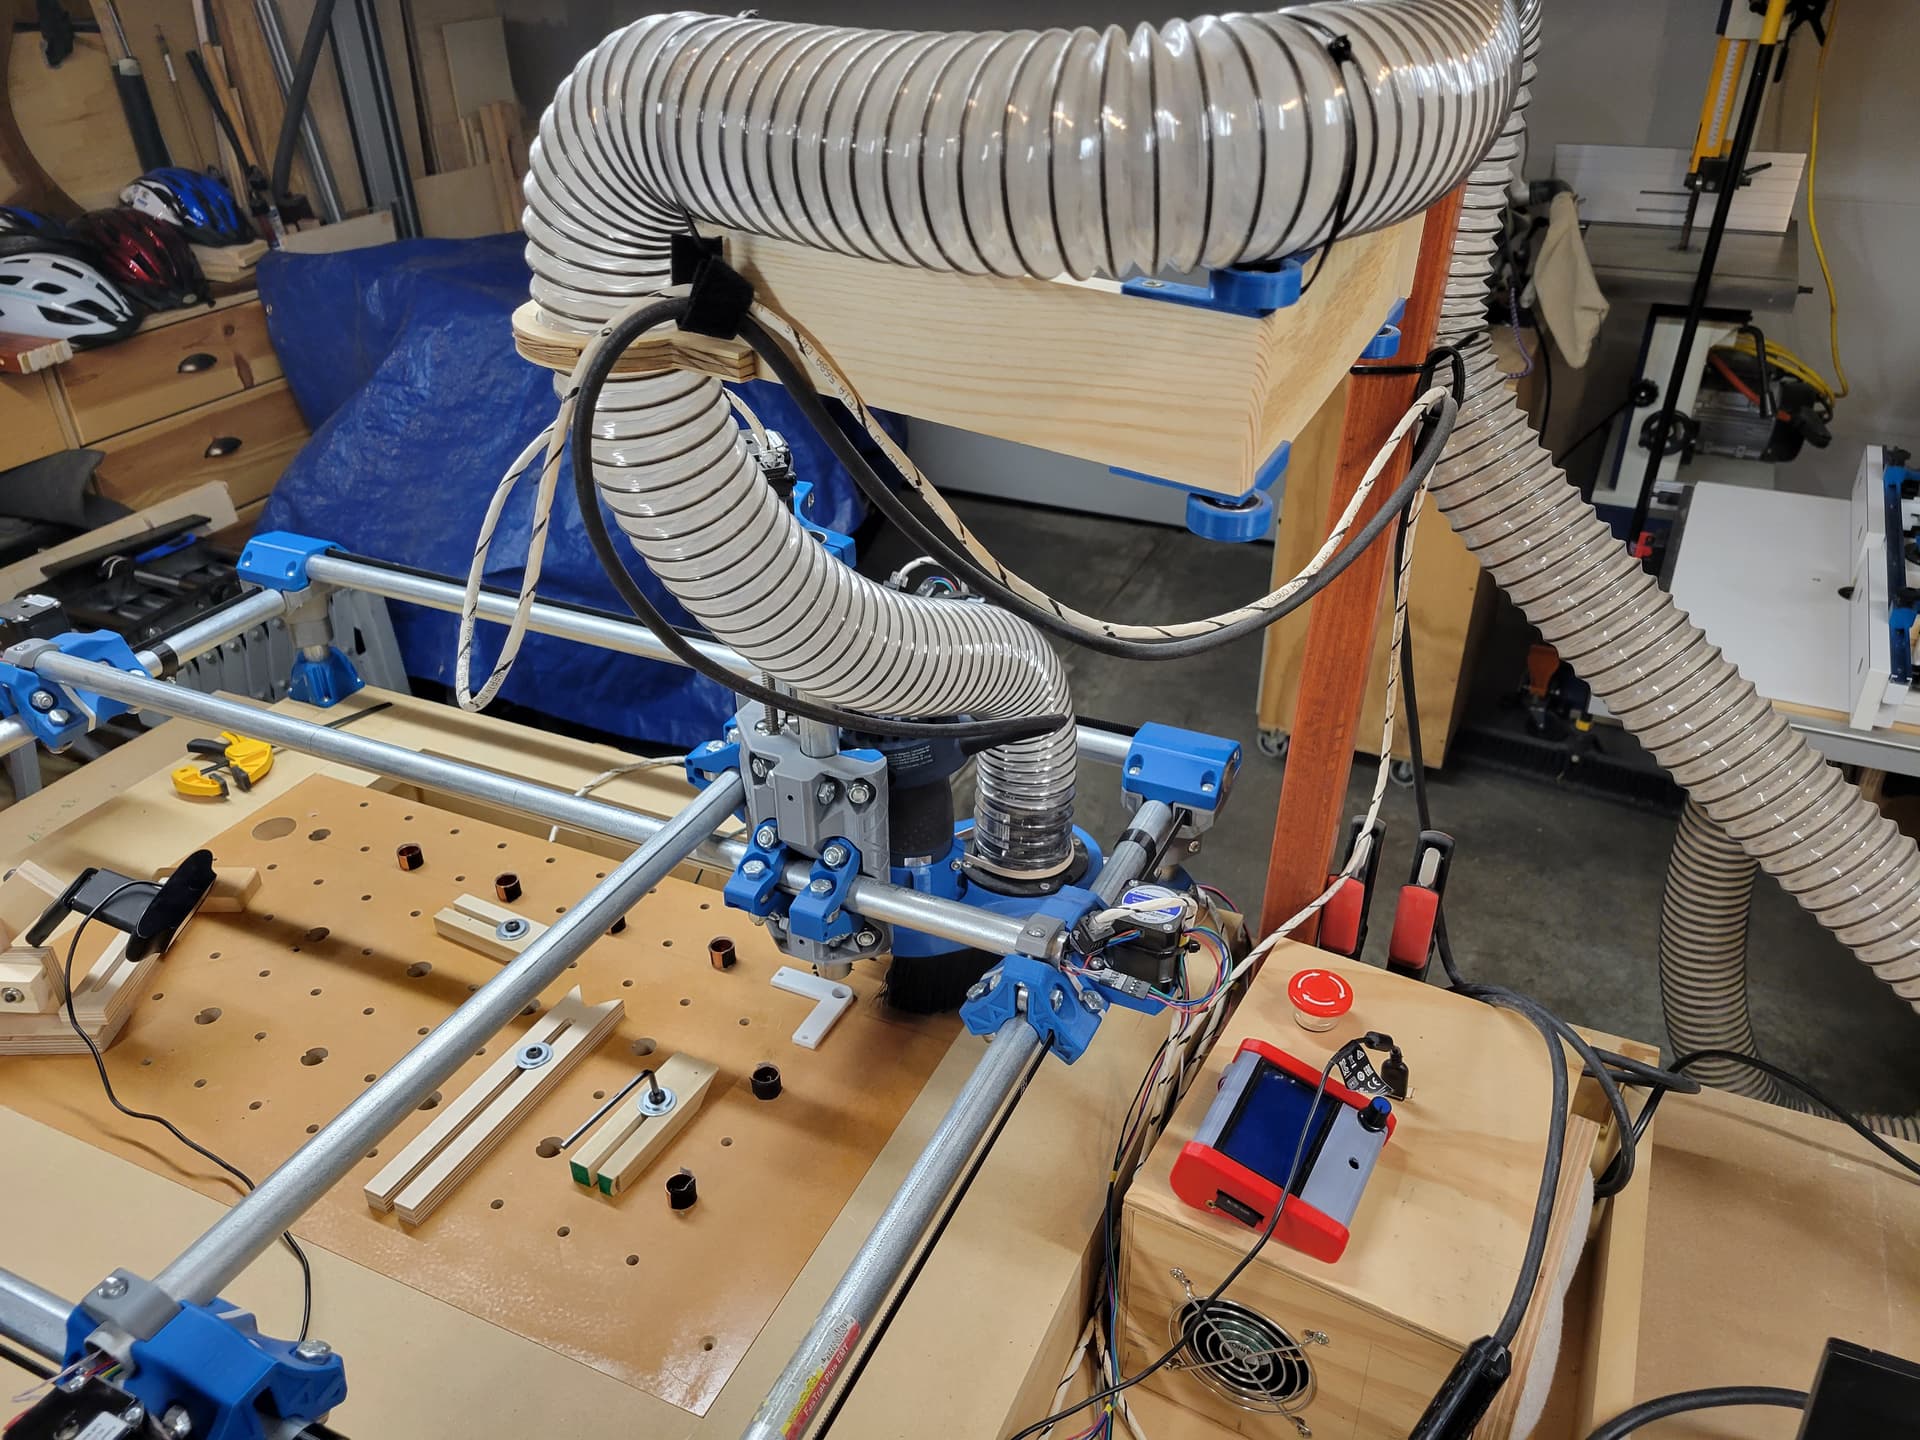
I have X/Y end stops and a touch plate for Z. I have the Z plate offset from 0 and configured the X/Y offset in the eprom and printer settings in repetier. The machine does at times got to 0/0.
But then it goes +/- a few millimeters of after homing when going to the 0/0 position.
I adjust the settings and it works fine. Next time I home and go to 0/0 it is off again.
I marked the end stops position and they do not move. The z-stop is also fixed. What could it be?

I’m a bit fuzzy on your exact process here. I’m assuming that dimple on the round metal disk is your (0,0) position, and sometimes when you home, it does not return to the dimple and may be off by sever mm. If this is approximately what you are saying, then check these three things:
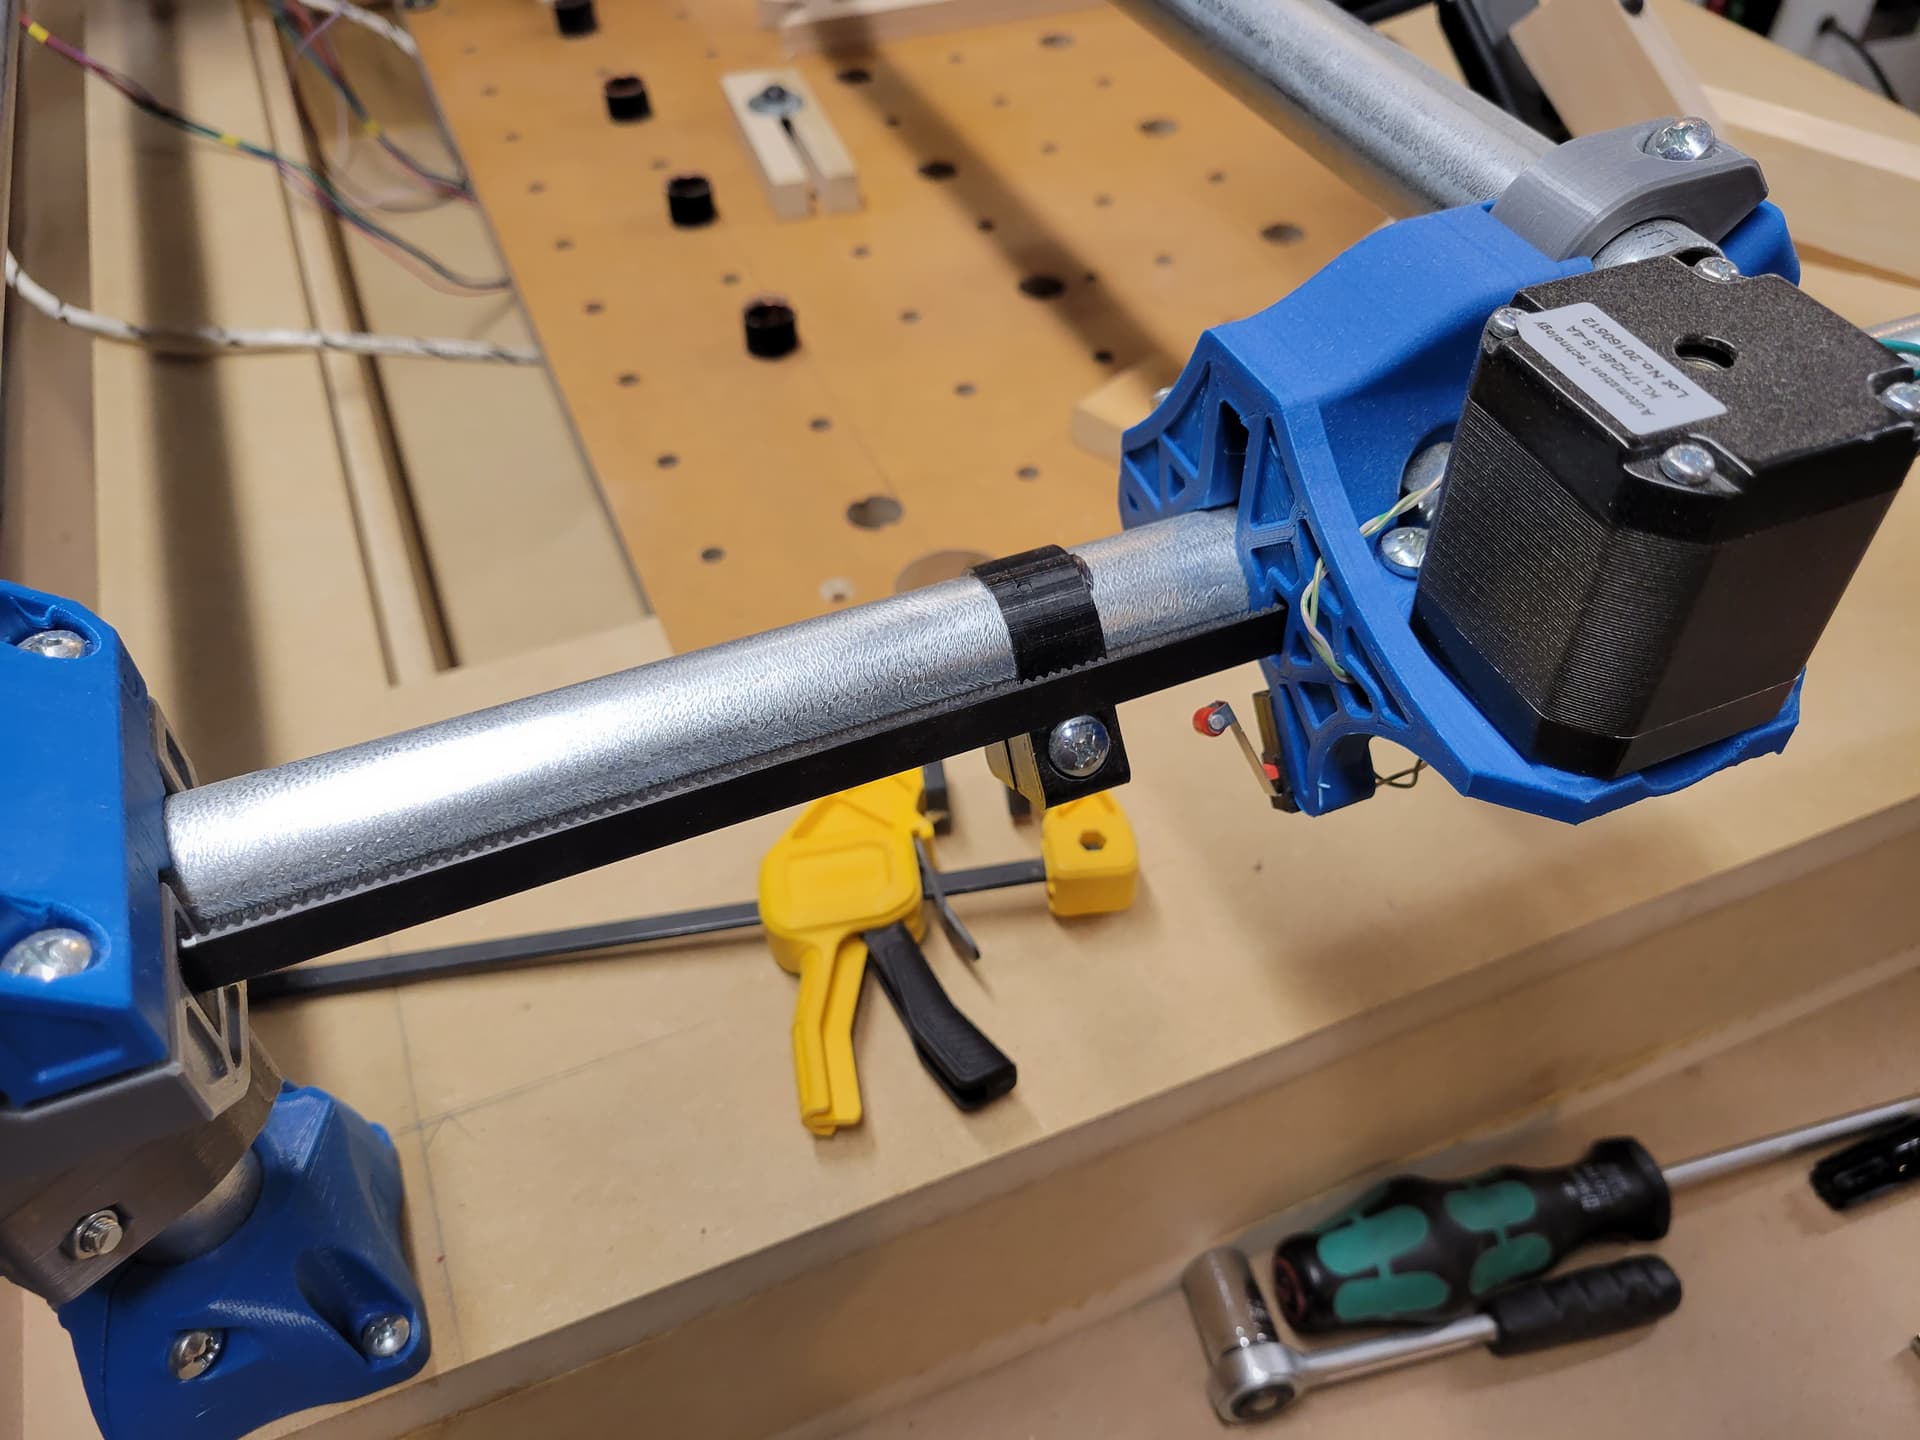
- Loose core - reach up and manipulate the router to see if there is any play in the core. If the core clamps have loosened with use, the core may flop to different positions.
- Loose outer tubing. Your stops don’t move, but is your tubing clamped tight at the corners?
- Core out of tram - if the router is not moving up and down perpendicular to the spoil board, the (0,0) position will shift with the length of the bit.
There are other less likely possibilities like electrical noise, bad end-stop switches, or loose grub screws on the pulleys. Your homing should be accurate to within a fraction of a mm.
BTW, I really like how you setup your Z probe. With the wire, you don’t need an allegator clip, and, as long as the top of the spoil board is used as the Z reference, it would really help with bit changes.
Thanks for the ideas. Will check them out.
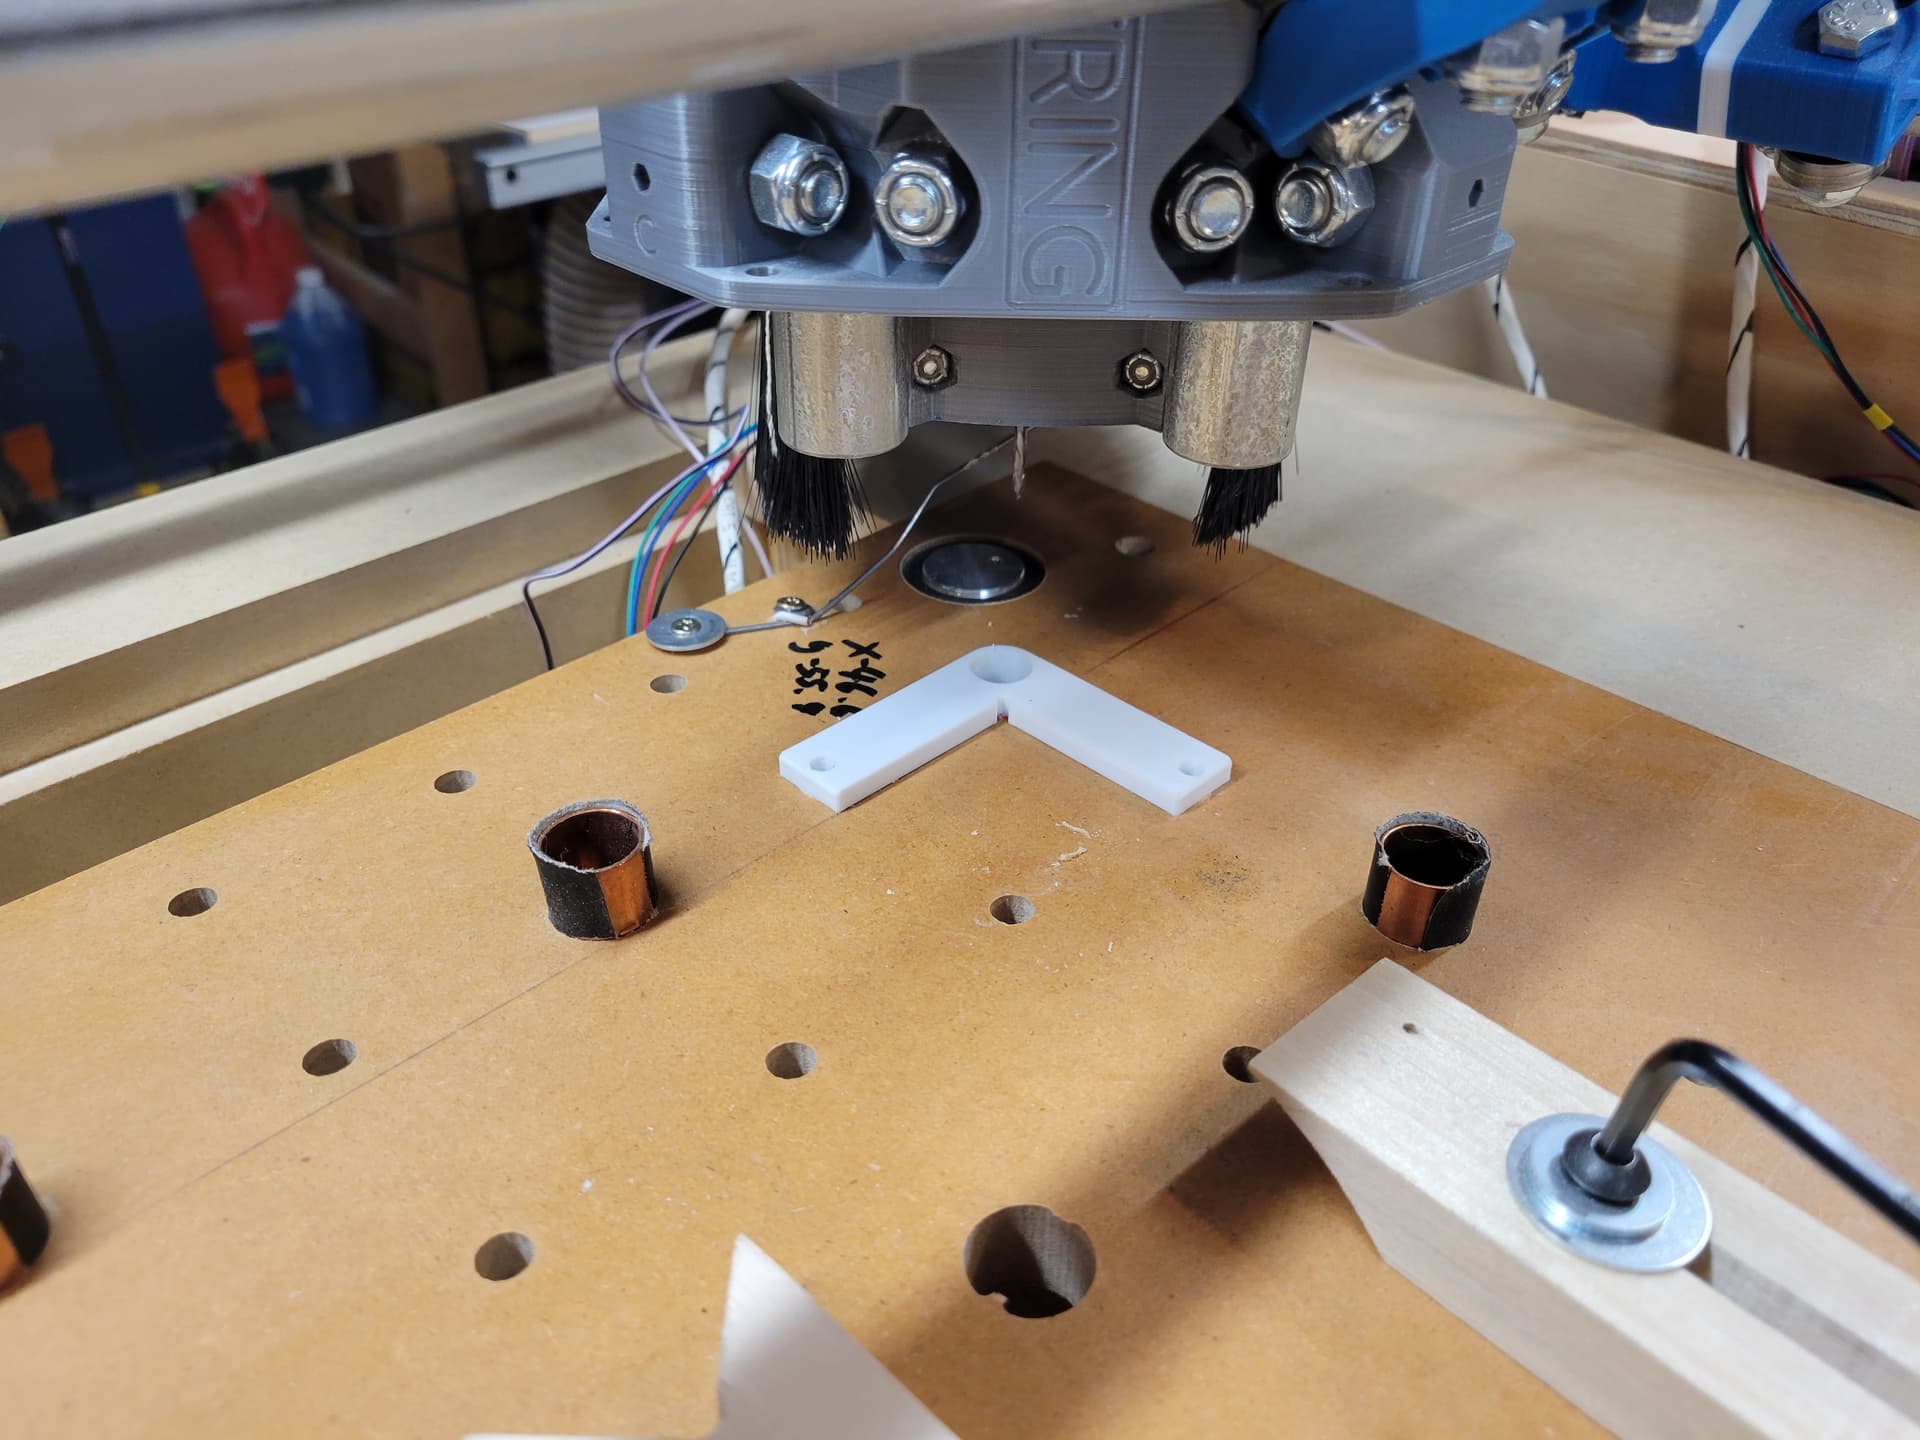
The Plate is about 2" negative in X / Y direction.
The 3d printed corner marks 0/0. I have the firmware set to go to home at the negative positions and when I start cutting it moves first to near actual 0, then turns on the router and vacuum and then starts cutting.
Appreciate the kind words about the z-probe. It works well and does not keep the connection until you need it. Sometimes the router bit does not make it all the way over there and it runs into the board or probe. But for the most part it works.
Put a mark on the metal disk for Z homing where the bit is when homed so you can check both the homed position and the 0,0 position. You could put a pause in just after homing and before moving to 0,0 to make checking easier. Given your process, you should check the feedrate of the movement from the homed position to your 0,0 position. It is unlikely, but there is a possibility of lost steps in that movement.
I wonder if the issue is that the end stop is on the long side and the delta is more there. Could a dual end stop help?
So the lines on the z-probe do not line up between homing. WTH
I found the root cause. The machine locks both motors in when moving. However when I move it to adjust the router bit by hand it goes out of square. Then it keeps it locked and the end stop is on the other side of the z-probe and 0/0. Enough to cause the issue.
1 Like
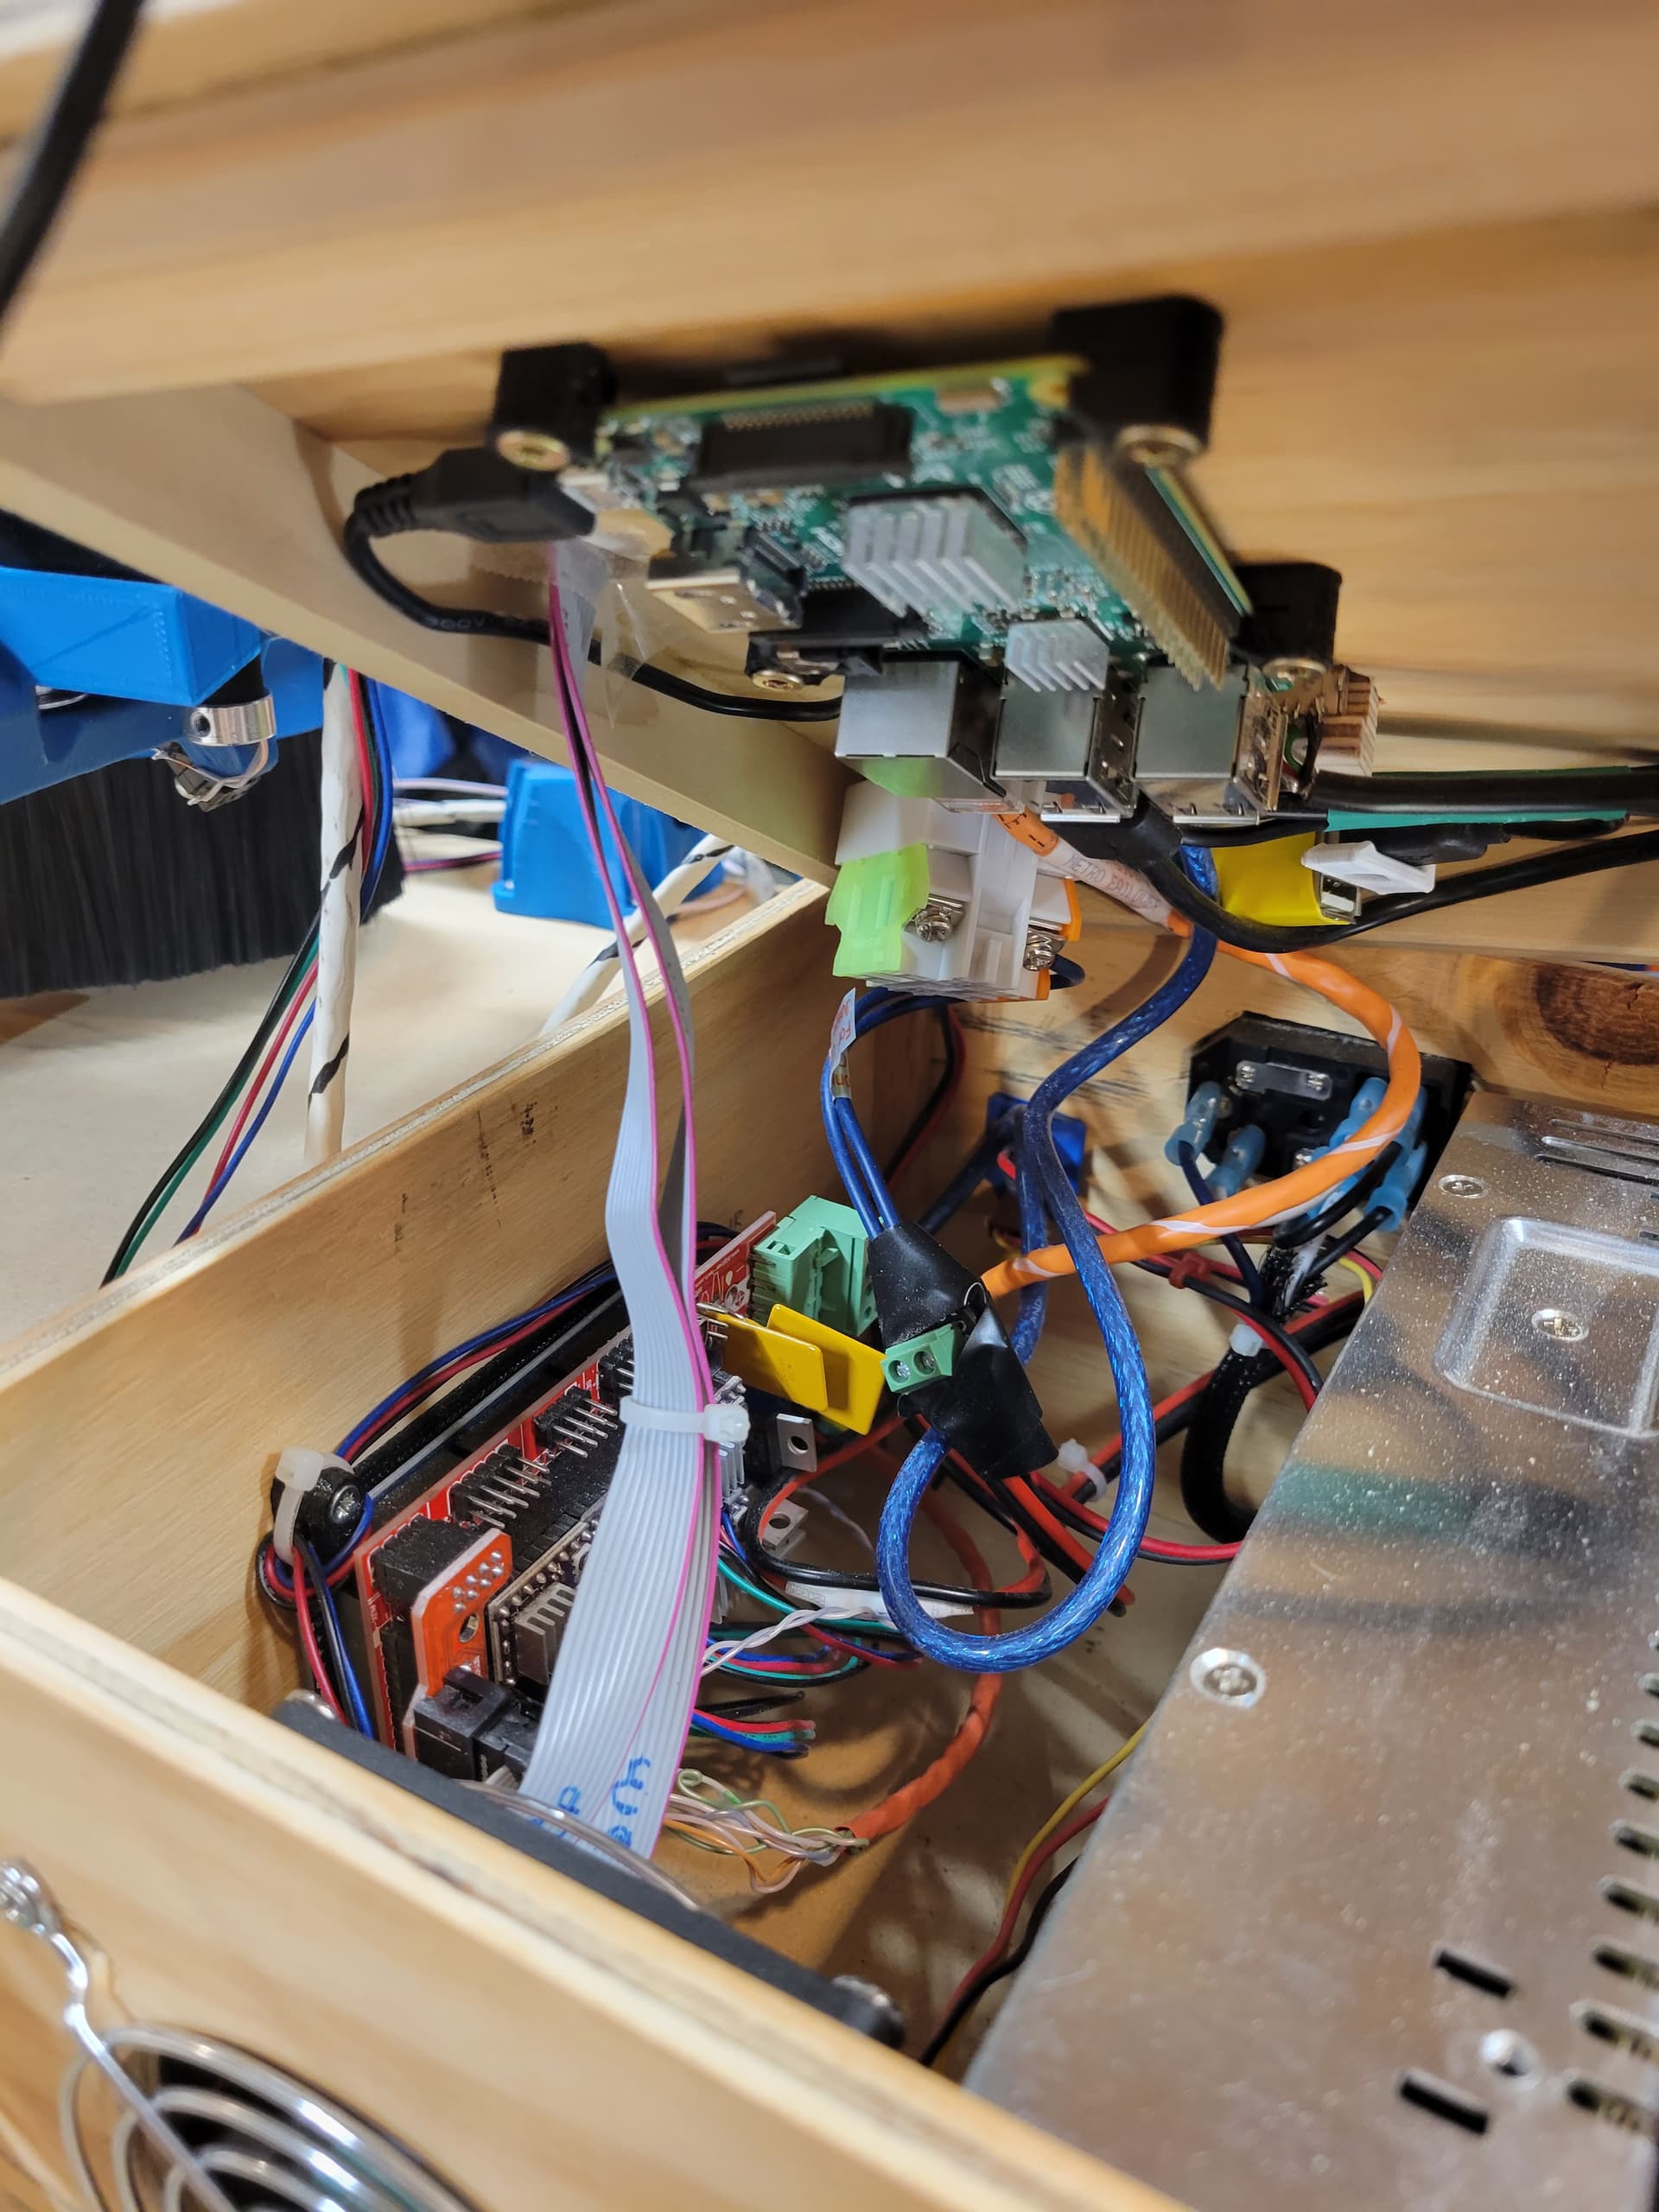
Your ramps board can do the dual endstop firmware if you have 5 drivers. It looks like you have the drv8825 drivers we used to use. You can get another one for a few dollars on Amazon or any other reprap hardware shop. From there you will need to wire each stepper individually, wire up the 4 endstops and set the current on the driver to 0.7V. After that you will need to flash the dual firmware on the MarlinBuilder releases page.
We do have other boards now but there is nothing wrong with your ramps and a new driver is super inexpensive (buy 2 just in case). If there is anything you need from my shop I might have some of those drivers in a box…not 100% on that though.