Puts the braces on the outside of the corners. Still out of birch plywood because that’s what I have. Made some calls today, yeah no luck on getting anything cheap or even reasonable around here. But this has to be better than the nothing that’s there now.
I have three on my kitchen counter that are big enough for my 5s1. I know your 5+ is definitely a bigger creature.
I have been kicking this idea around a bit. By sliding into the chanels it can lock the two extrusions at 90. They wont in their current form hold position though. just the angle. But its an idea that I play with every so often.
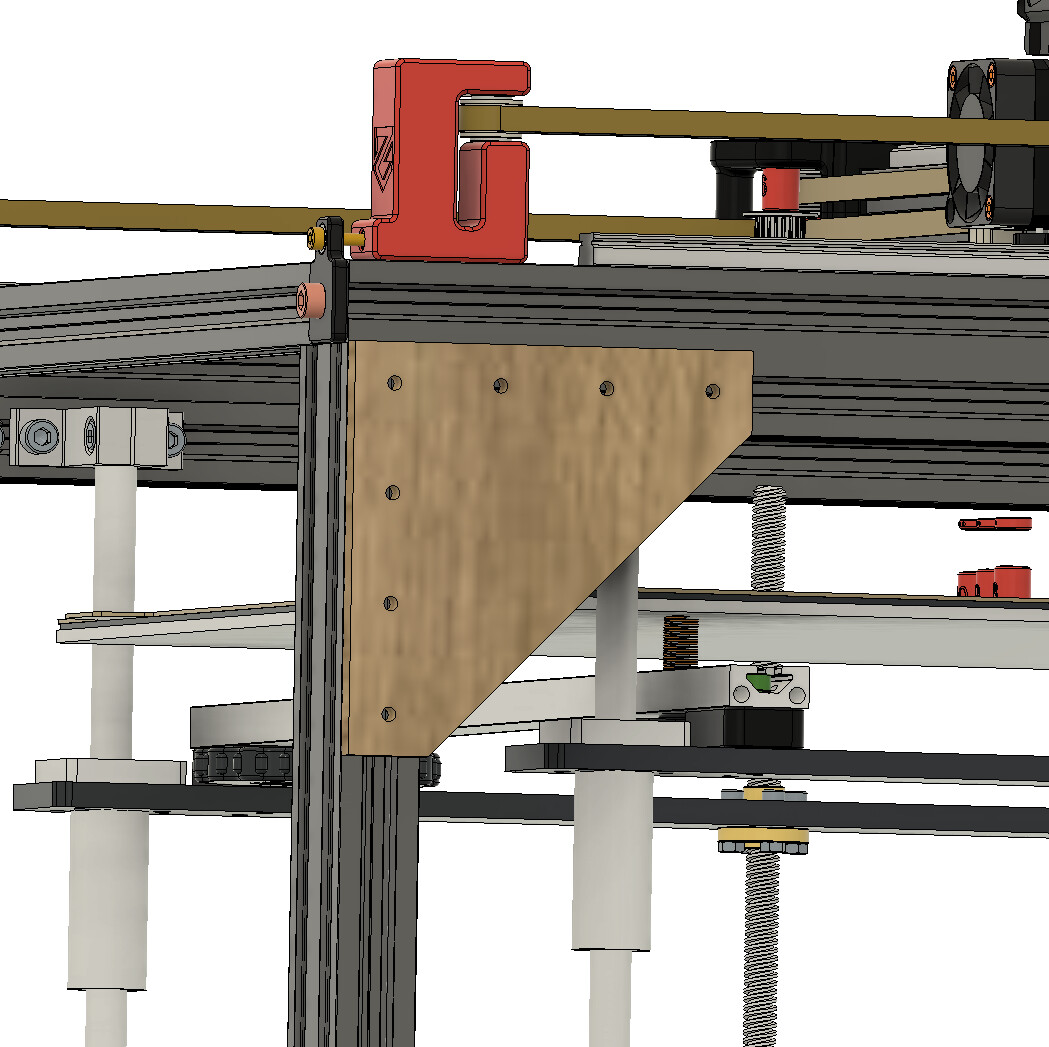
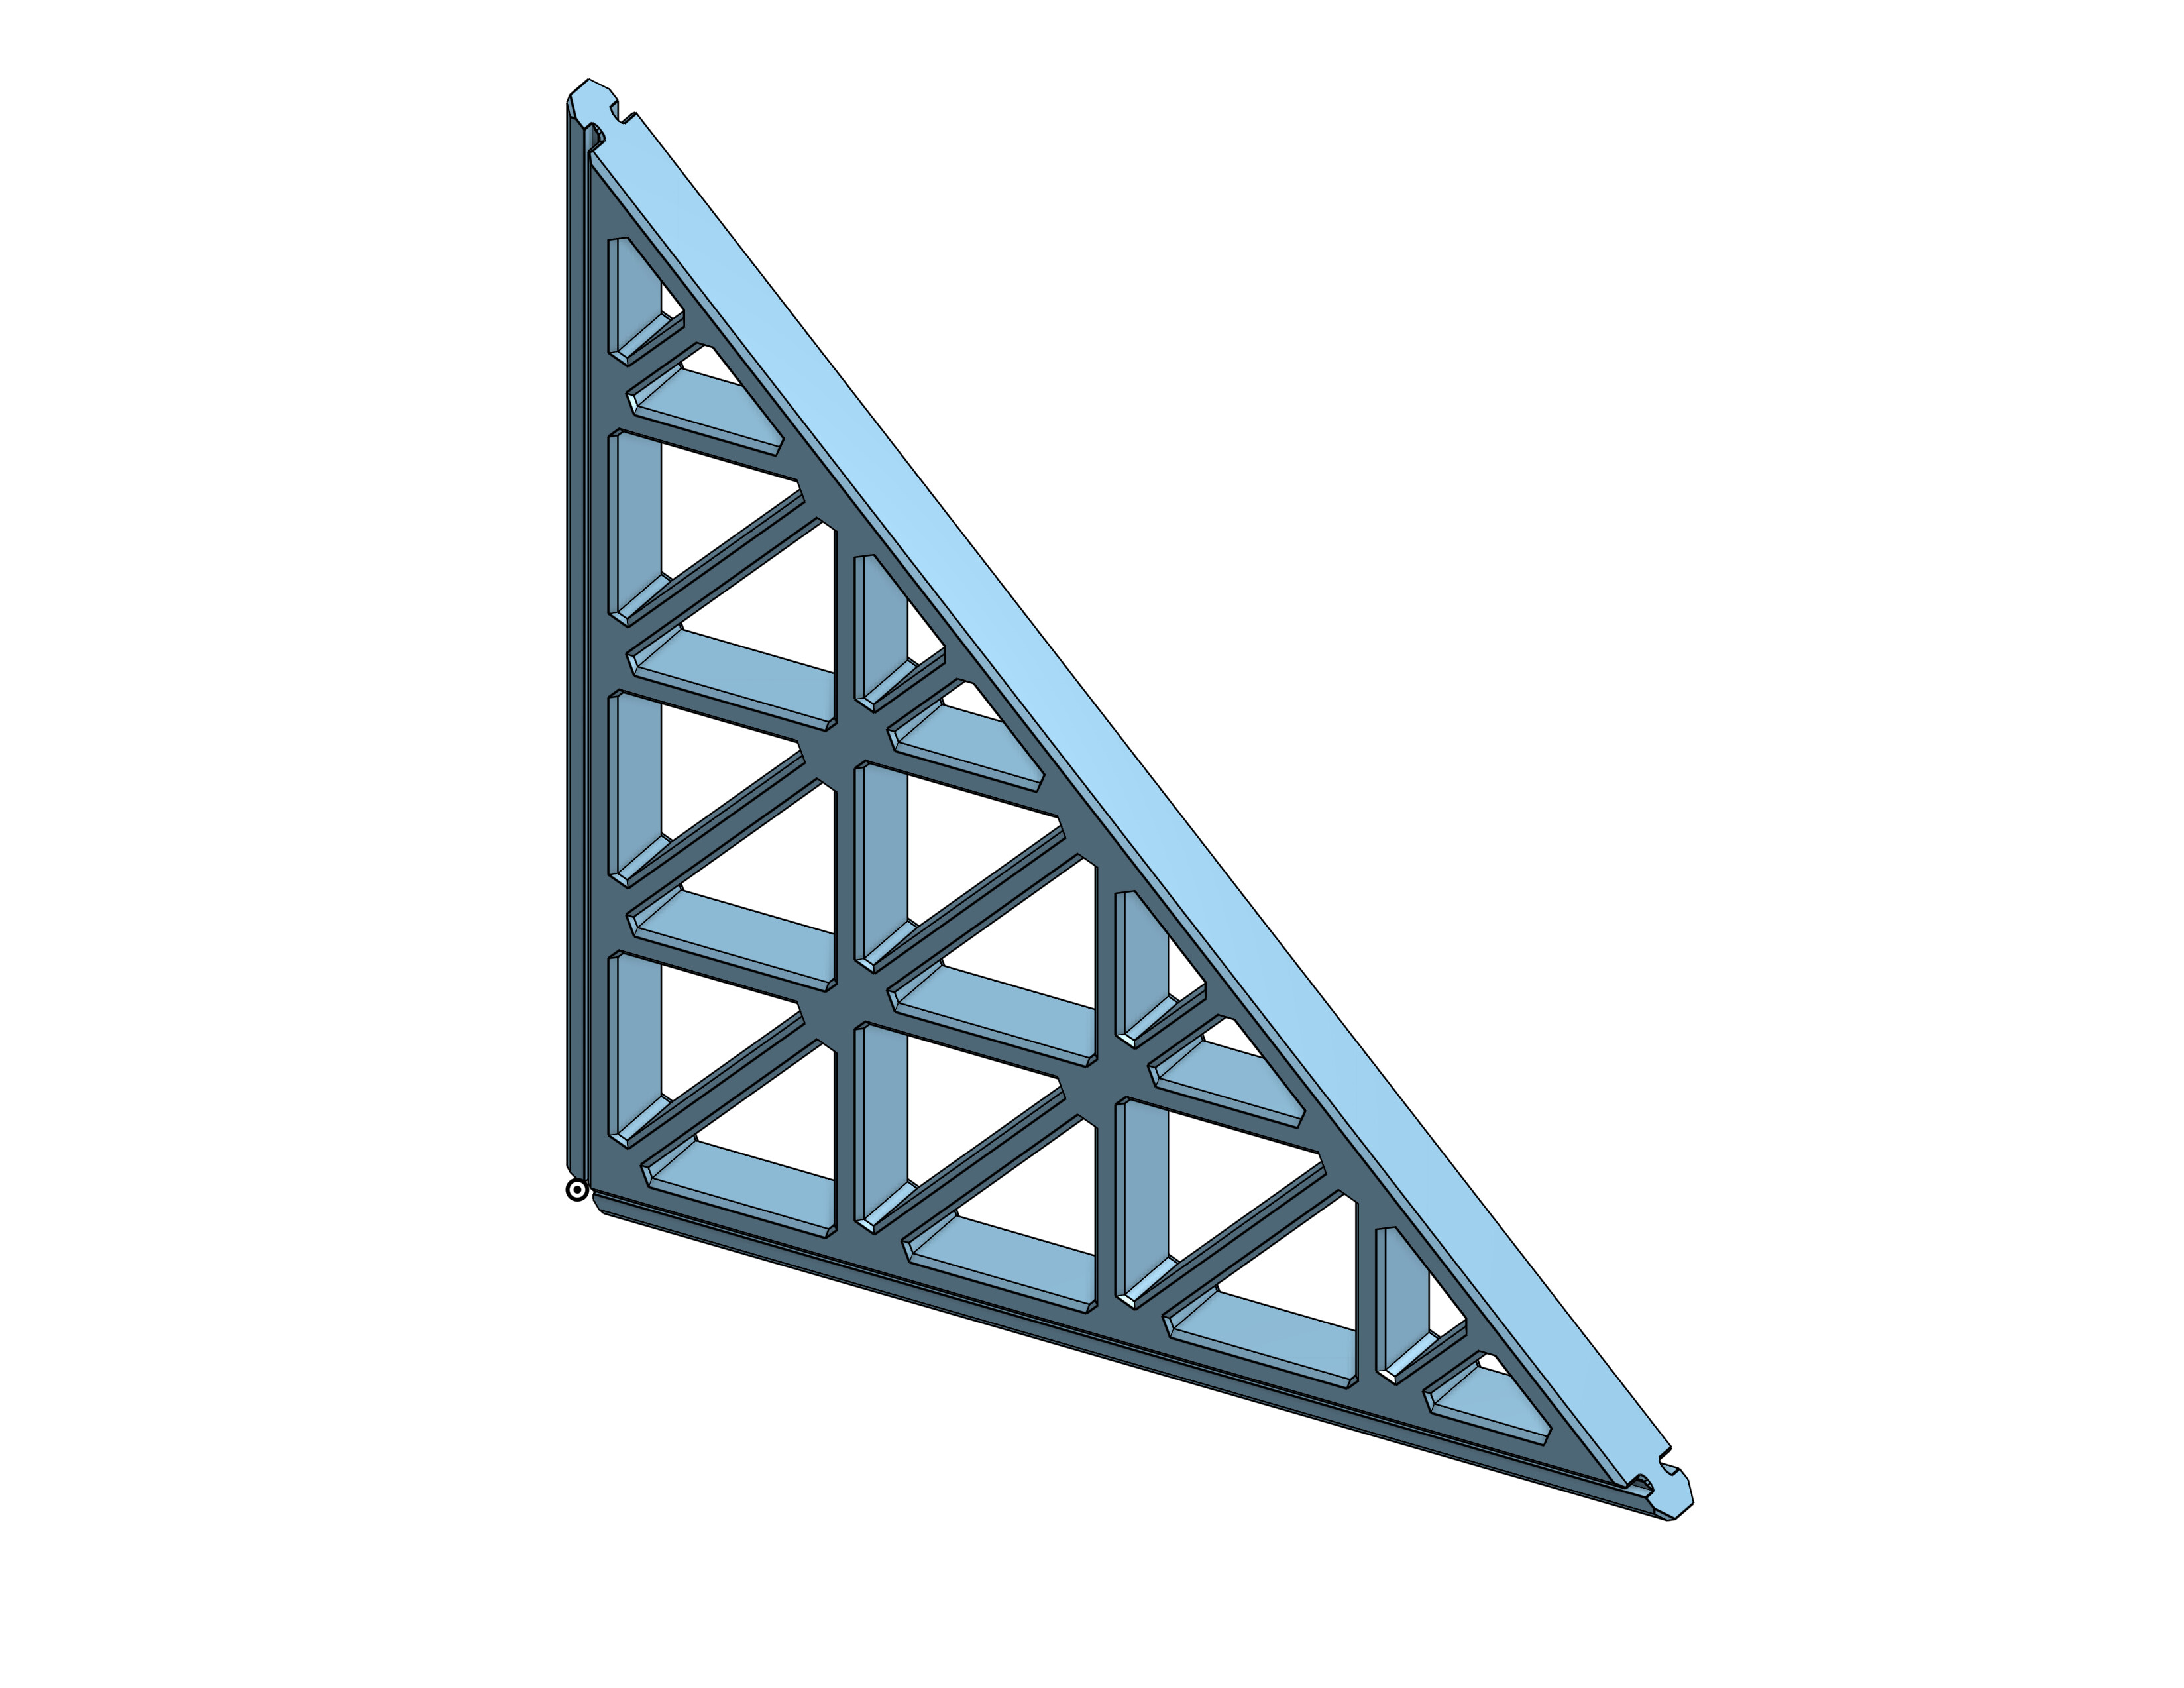
Yeah like that should work good. But its going to be fun to get it in there with the print tight enough to really hold. It was suggested earlier in this thread to do the outside corners so I drew that sketch up really quick. Its 100mm x 100mm and has plenty of screws to hold real tight. I think I’m going to at least cut a few out of the plywood and see if I like them or not. Then I can always change it up later
I have some aluminum ones I bought when I built the MP3DP V4 but didn’t end up using. Was looing at going a little larger with these to try and hold more/better since this is such a large frame
an option to delrin that is stiff and usually WAY cheaper is ACM. Aluminum Composite Material. I used it as the panels on my V4 and also had it cut for the beams on my LR3.
I was getting mine from Piedmont Plastics but they have left the online order world. Apparently they have stores that you can go pick up at depending on where you are.
I’m still wanting to do this with what I have on hand. I get that it might not be the “BEST” option. But it has to be better than the nothing that’s on there now right?
This doesn’t seem bad. I need to look more and see if they have 1/4” but that’s a 1’ x 3’ piece for $9. That’s plenty to cut my corner braces out of and the right color to match lol. I wonder if 1/8th would be enough for what I need?
I haven’t finished the conversion yet so no idea lol. Before I was only able to print at about 80mm/s with a .6mm nozzle. That was just all of the flow I had. With the new setup it should be a LOT better. Have had some other family stuff going on so haven’t had as much time to dedicate to it. I did get the EBB36 and all the tool head stuff wired up, just have to build the canbus cable back to the U2C. Then all the wiring underneath. So not TOO much more LOL
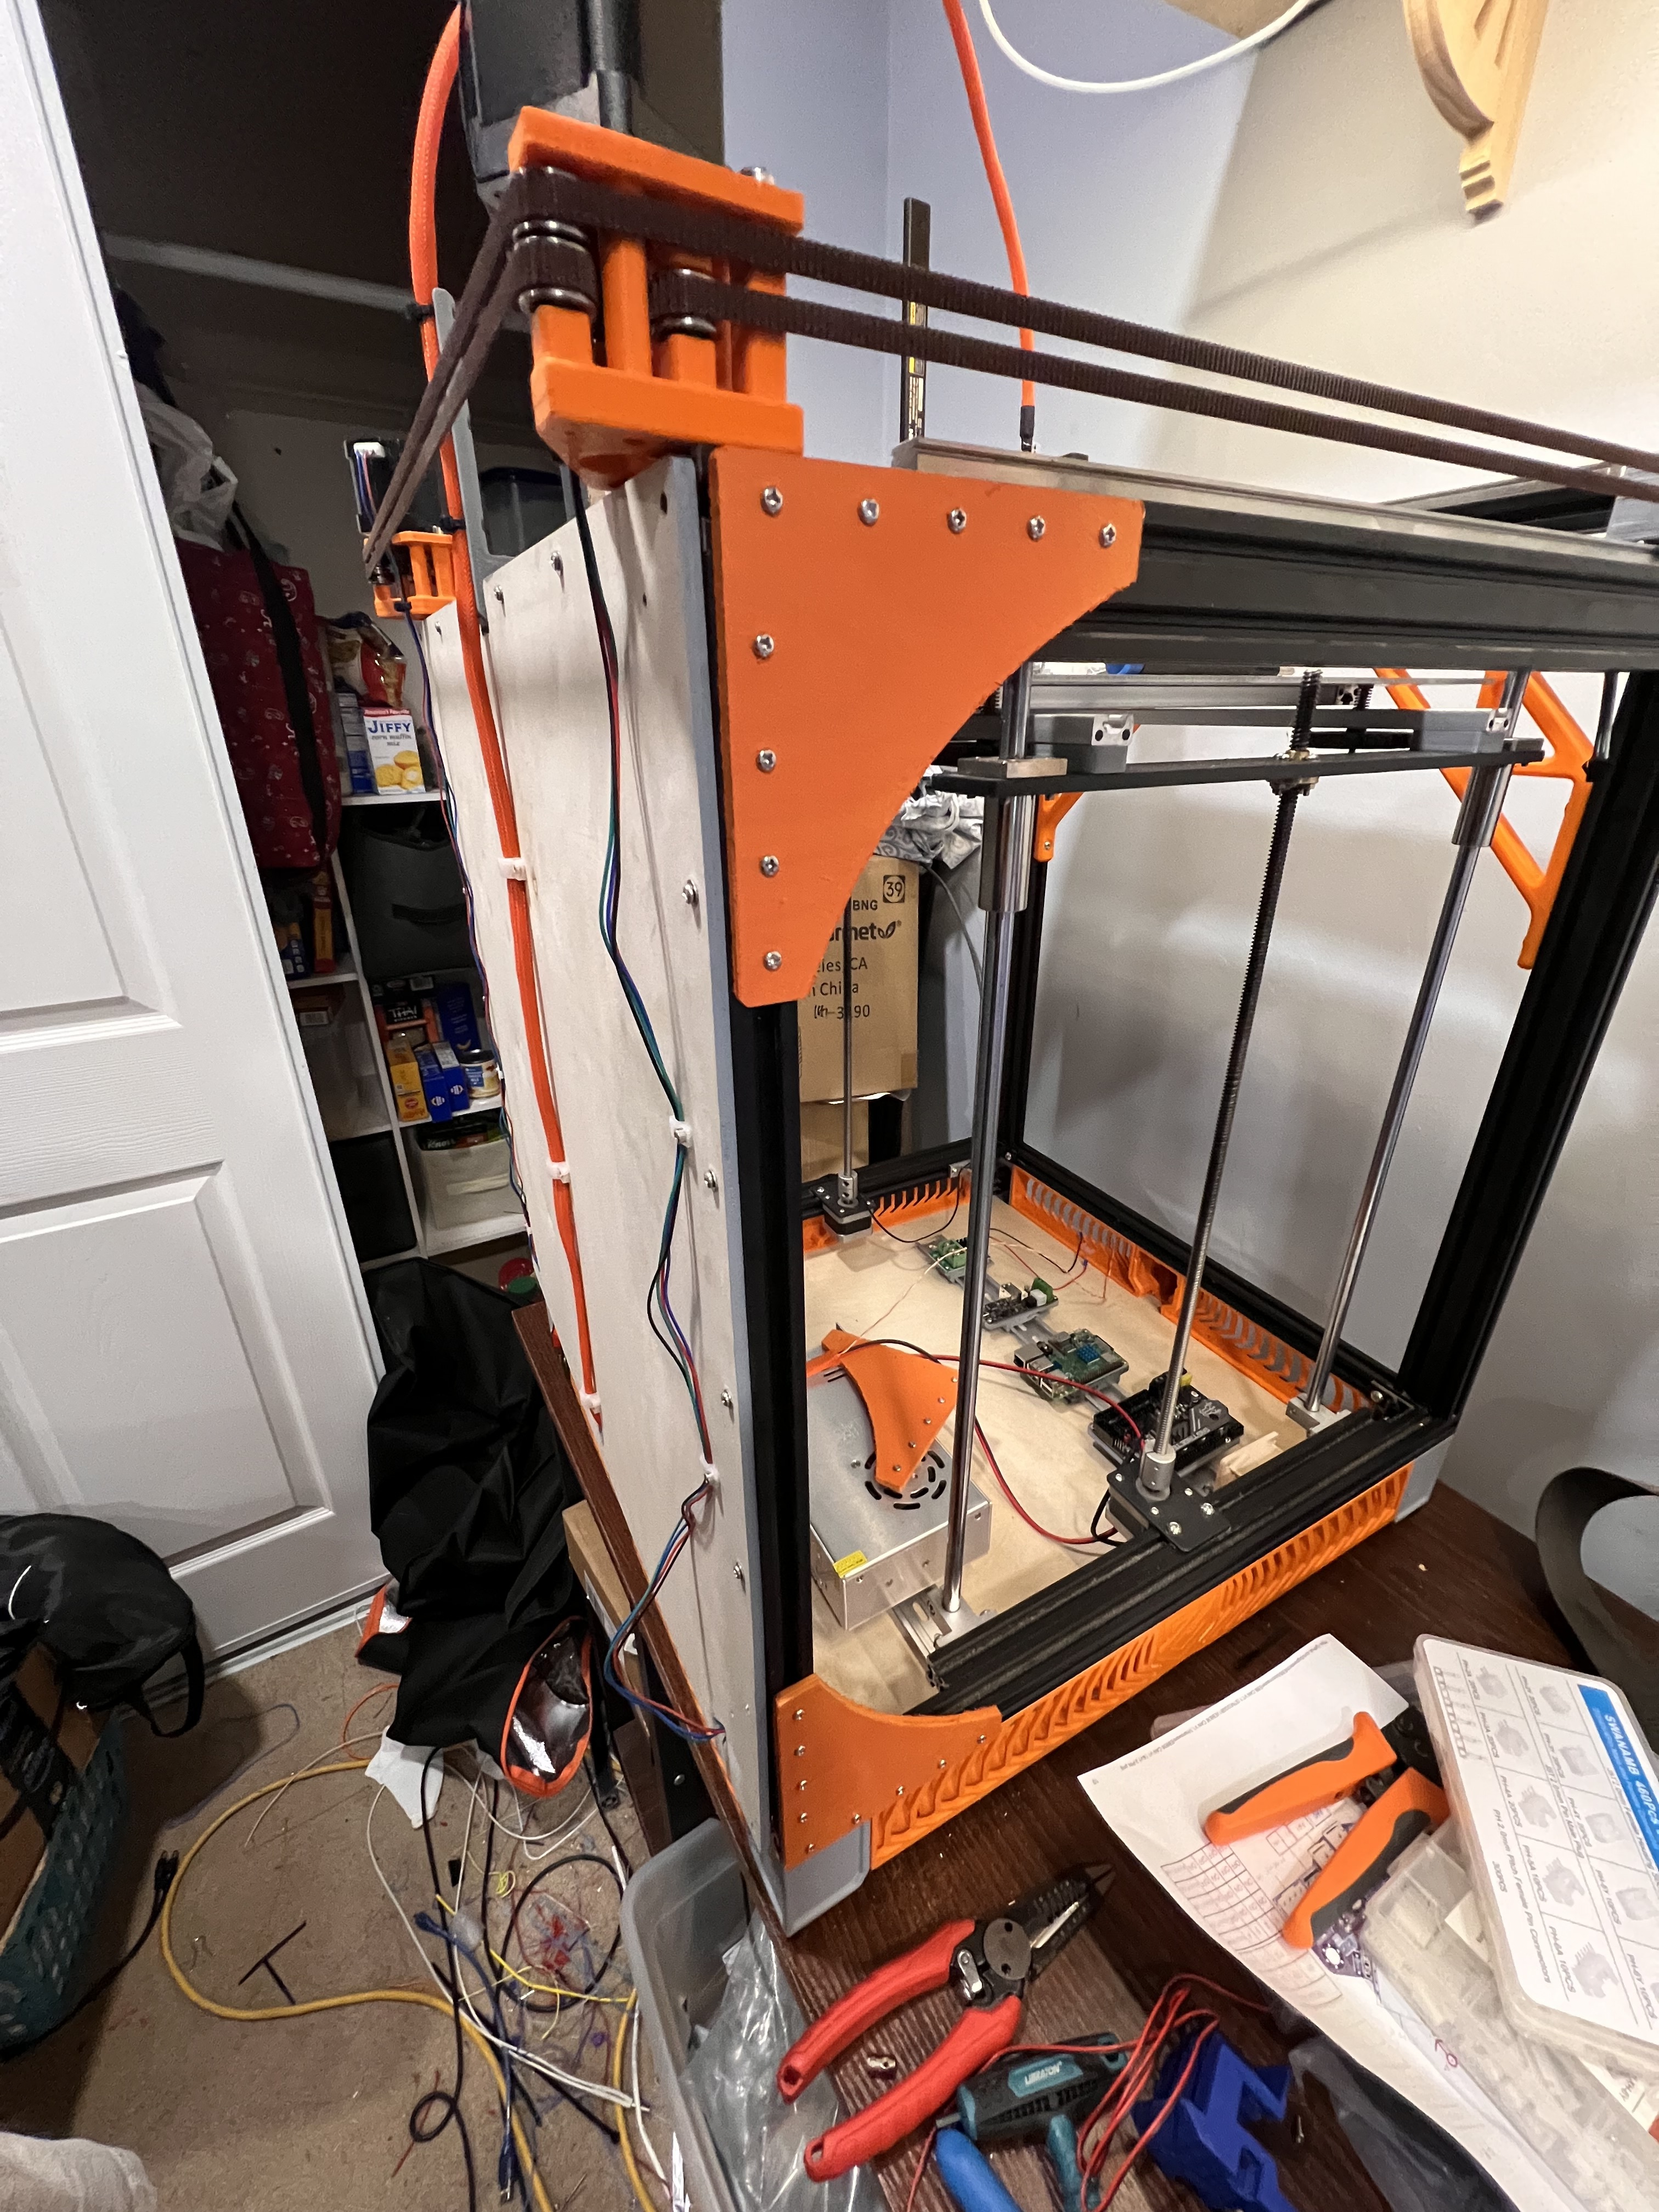
Made a few minor advancements today. Last night I drew up a new back panel and added in some wire management for the steppers and the umbilical cable. Also got the umbilical cable built and halfway installed. Made a mistake in my drawing and the panel ended up 7mm short. That’s what I get for following someone else cad model and not measuring for my self. Easy enough to make a new one. Also installed some of the plywood corner brackets I made up. I don’t think they are going to be large enough to hold like I really want to. I guess I’m going to bite the bullet and order some polycarbonate to cut and install. Looks like I’m finally to the point of wiring up the electronics and hopefully tomorrow I’ll get to power it up and see it move for the first time on its own LOL. Oh and for future reference, a piece of filament inside your umbilical cable sure helps keep it upright where you want it. There is 18ga power for the 24v and a single pair from a cat6 cable for the can communications in there, added a piece of 1.75mm filament and then put it all in heat shrink. Once I had the heat shrink done it sure made a hell of a difference. The one on the V4 has heat shrink but no filament, I will be going back to add that soon lol. Put 2 layers of the orange braded covering, one layer you could still see the black from the heat shrink and it made it look dirty.
I’m thinking about abandoning my 5s1 to merc build and putting all the stuff from it on a new frame so I essentially have a merc 1 from scratch. Would let me get more from it, but would need me to put more in it.
Look around. I think they have the files to go up to a 477mmx477mm bed if you want to build your own frame. Wouldn’t be hard to make a better frame than the one that comes from creality. This this is out of square every direction possible lol
its more of a “what else do I really want to get out of it” and a “how much more do I really want to spend for this”
found this package on Amizon and really that is about all I would need. Maybe a power supply but most of everything to make a super printer is already sitting next me. My printer as is will print the LR core in 10hours so its not a slouch by any means. And yes I can get 2-3 times the acceleration from a corexy but the rest of the printer wont keep up. Finish your build and print a LR core. If you get it done in 5hours, I know my answer.
LOL. No more LR Core printing for me (hopefully) until the V4. I’ve printed enough of them already LOL. I’m trying like hell to get mine to at least move before I fly out in the morning. But been a lot of other crap going on so its been tough. If not it will be here waiting on me when I get home in a month