I agree, I have looked at some of the new parts and I think I´ll enjoy printing and assemble it. I have a partial V2 build and maybe soon a partial V3 build!
Looks like a very neat design and build!
Wheeled carriages for the Y axis are OK at low speeds, I think, but if you ever try to run faster you’ll find it’s difficult to set the pressure of the wheels on the rails so that they will run quietly without chewing up the wheels. Arrakis 3.1 has wheeled carriages and I’ve had real problems getting the wheels set right. The problem is the wheels are in rigid mounts- they really need to be in spring loaded mounts so that minor misalignments don’t turn into wheel chewing, noise problems, especially if you run at high speeds with servomotors. I suspect the misalignments will still chew up the wheels at low speeds- it will just take longer to do it.
In arrakis 2.0 I used spring loaded UHMW blocks sliding in the t-slot rails for Y axis bearings and they have been quiet and 100% reliable for 7-8 hours per day operation for almost 2 years and for lighter use for a couple years before that. I’m seriously considering a redesign of the Y axis bearing blocks to use spring loaded UHMW blocks for Arrakis 3.2.
Yeah, amazing for slow/normal speeds. I am overall not very impressed with the blocks and v-wheel setup, I can’t believe 3d printers were ever made with these things. I would nver use them for anything with any sort of load or speed requirements.
We did run it at 4x what I would consider normal speed for 3 days straight, no signs of wear.
I don’t understand how they were ever used in 3D printers. Maybe they were OK (were they?) because the rails were short and it was easier to maintain alignment. It shouldn’t be too hard to design a 3D printable carriage for v-slot wheels that has spring loading on one side of the carriage, but I’m not sure it would be any better than just spring loading UHMW blocks.
Jeff and I talked about your builds at Open Sauce a lot Mark. Lots of people would ask “how fast can it go!?” We told them about your speed machines. 
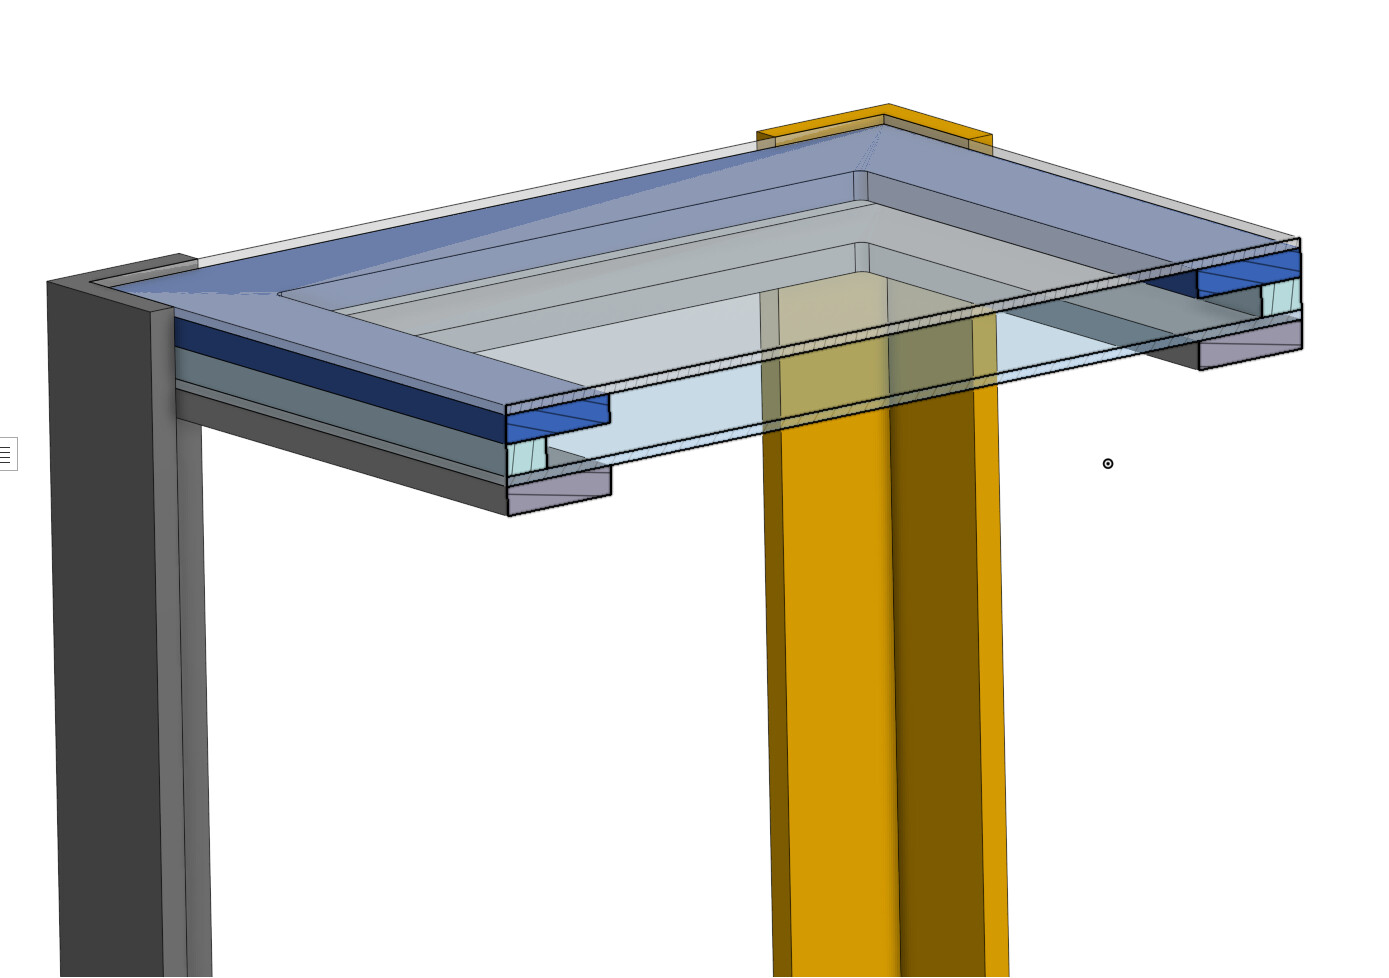
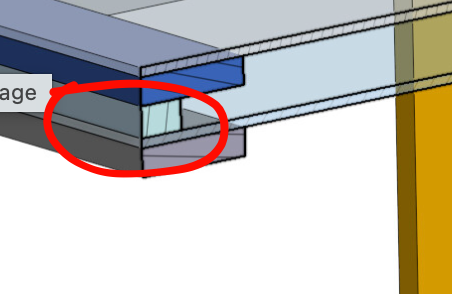
You know it is hard to come up with the simplest basic zen table box that will make it as easy as possible for others to use my CAD. There are a few ways to hold the bottom glass.
Anyone have any pictures of what they think is the most basic box?
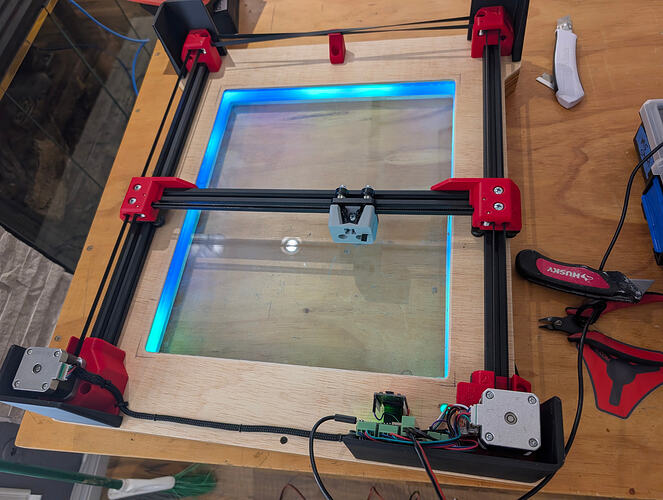
The most basic, I think, is a routed in lip to hold the glass for the top and bottom, and 4 sides, like this one.
If you wanted to get more basic you could get 2 identical blocky picture frames and screw them together, but I don’t really see anything else simpler than what you built there.
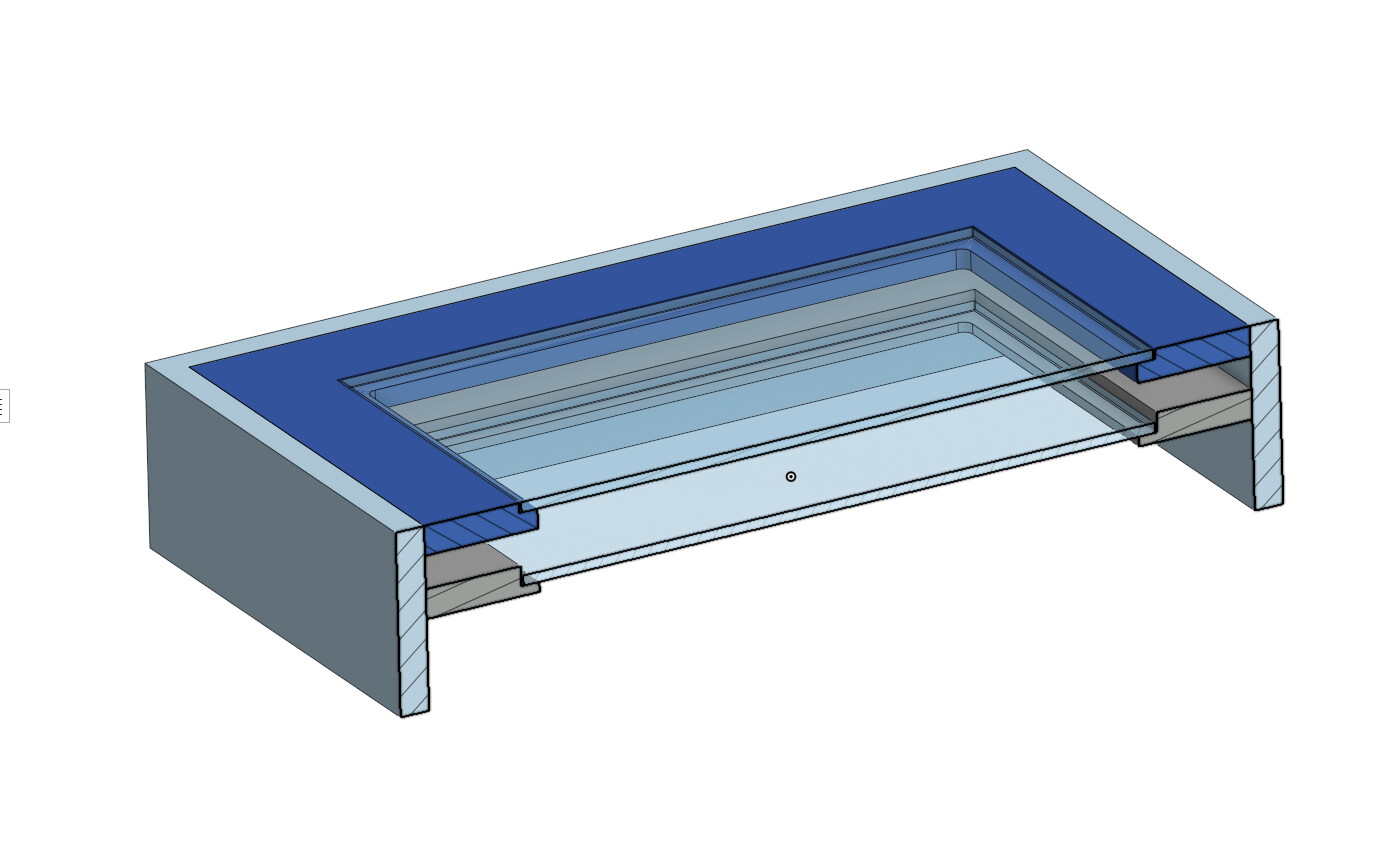
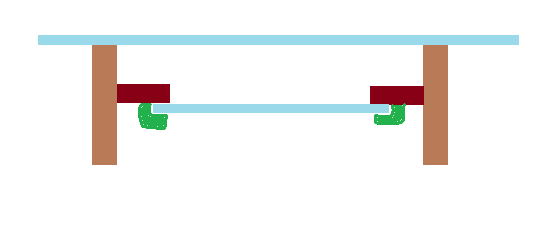
The one I brought to Open sauce was actually a 1/4" sheet of ply, as the glass holder, and a 1/2" ply sheet to catch the sand.
So I guess I need a third drawing.
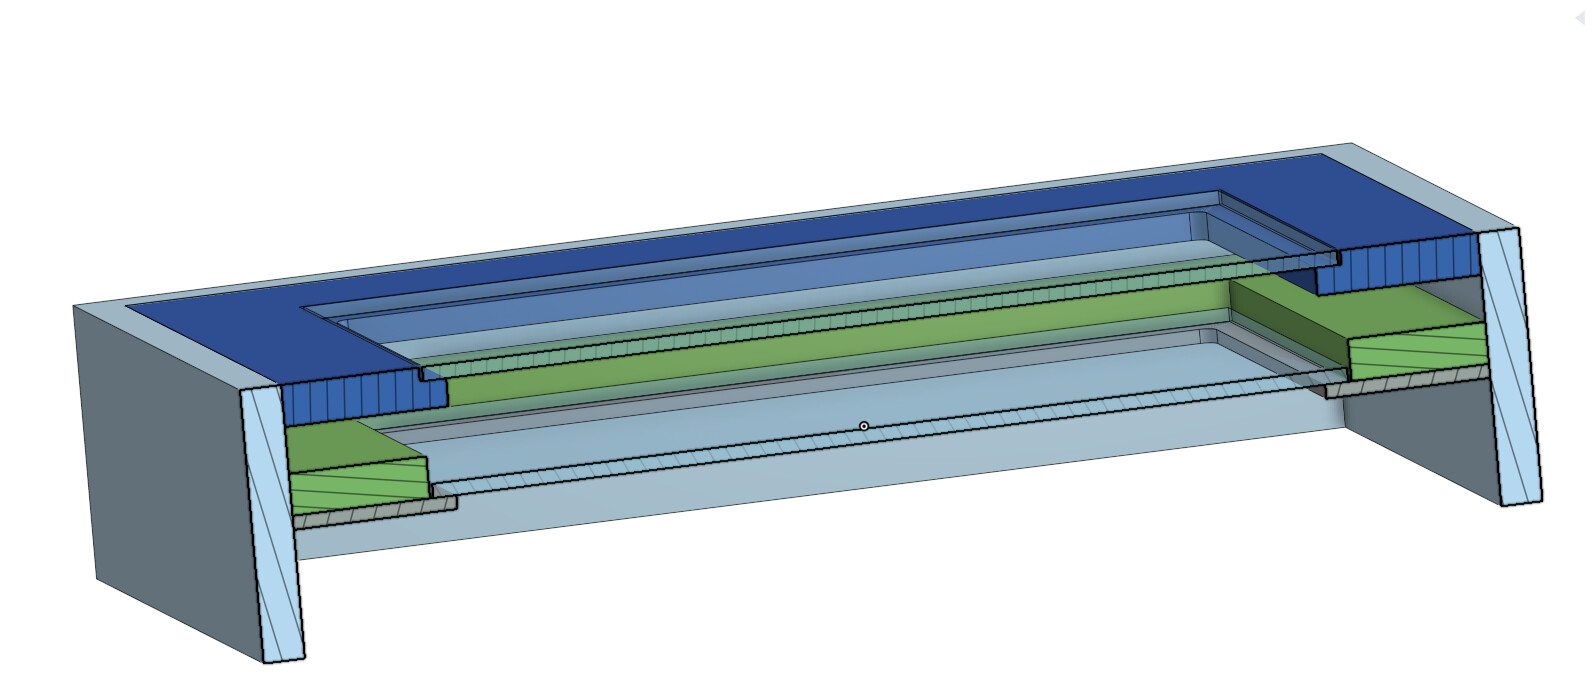
gotta use glass for both panels? or, ok to use CNC cut acrylic/polycarbonate for smaller setups? For the lower if not both panels.
I’ve not checked glass prices yet, will likely size based on something IKEA stock, probably hard to beat their glass price using acrylic/polycarbonate. Heck, might even use a glass door since they effective come already framed e.g. GLASSVIK Glass door, black, clear glass, 23 5/8x25 1/4" - IKEA I’ll check dimensions after seeing how final ZenXY v3 motion design is looking.
That is a great idea if you want to make a massive one - I have a couple of sliding glass doors I removed for our remodel standing the back of the barn. It’s probably far too thick for the bottom glass but could be a whole glass table.
Not sure of the right answer for that. Ikea glass is cheap and easy for most. Plastic is okay if you have some for small tables, MDF and humidity are no good. Creep for bigger tables will be an issue. The easy answer is glass for both.
That is how my big table is. It makes a great effect with the LED’s.
Oh, that is what that design flare is.
I think I see the process now, looks like you can lift the sections easy like a car hood. That is a really clean design, I like that a lot.
I would not use plastic for the bottom (or the top, really). It may be elitist, but glass is more rigid than plastic and any deformation means the magnet will scrape the bottom.
The ikea shelf is a really good size. Many many of the online machines are much smaller than that. It would be my rec for anyone starting out.
Someone at OS suggested that a pinball machine glass top would be great too. They are a common, standard size. And if you can find a pinball show or shop locally (to save on shipping), you can get two for $140 or less.
I am very tempted to make one that size for a coffee table. It would even fit in my car, so it could make it to RMRRF. But honestly, the ikea size is perfect for that show. A big one would be cool for one year though.
Edit: Nope, brainfart… 
Acrylic/polycarbonate for the top should “work”, but would never look as good and would make the machine purely decorative I think?