Hi everyone! I want to say thanks to the ones who created this awesome design and how accessible it is for beginners like me! Thank you! I had a blast printing and assembling it.
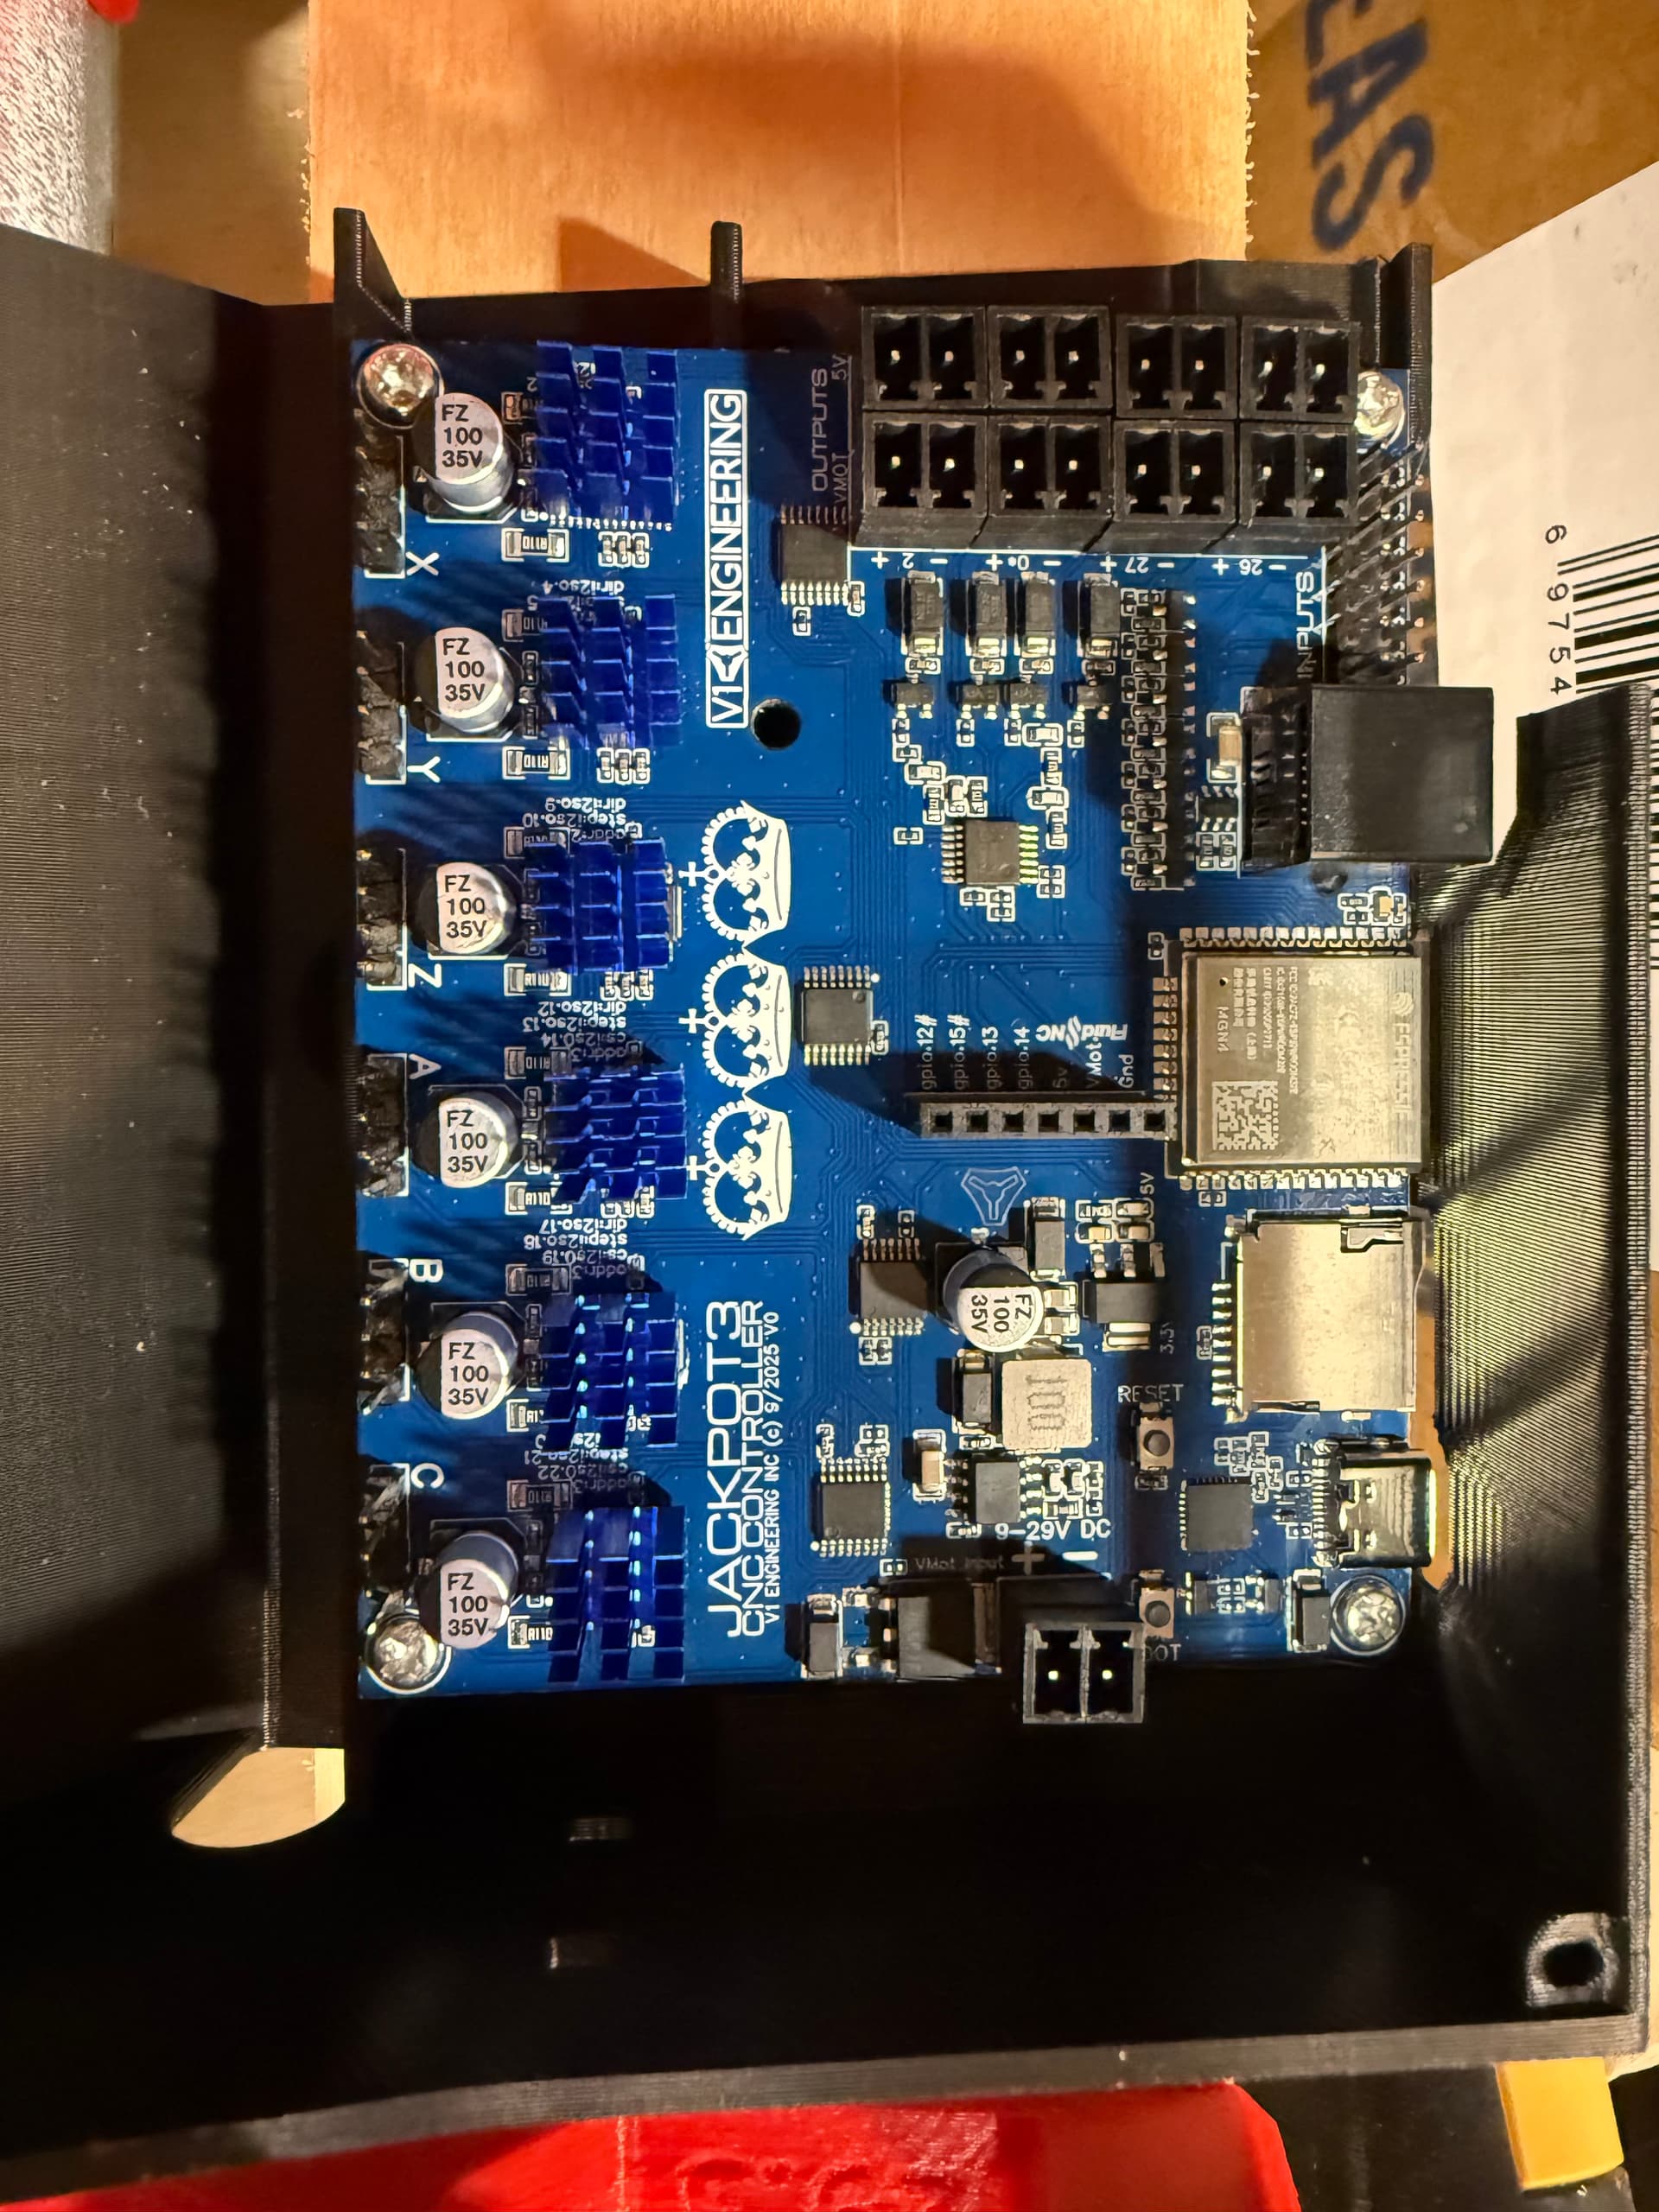
I am at the part where I need to start connecting everything to my jackpot 3.
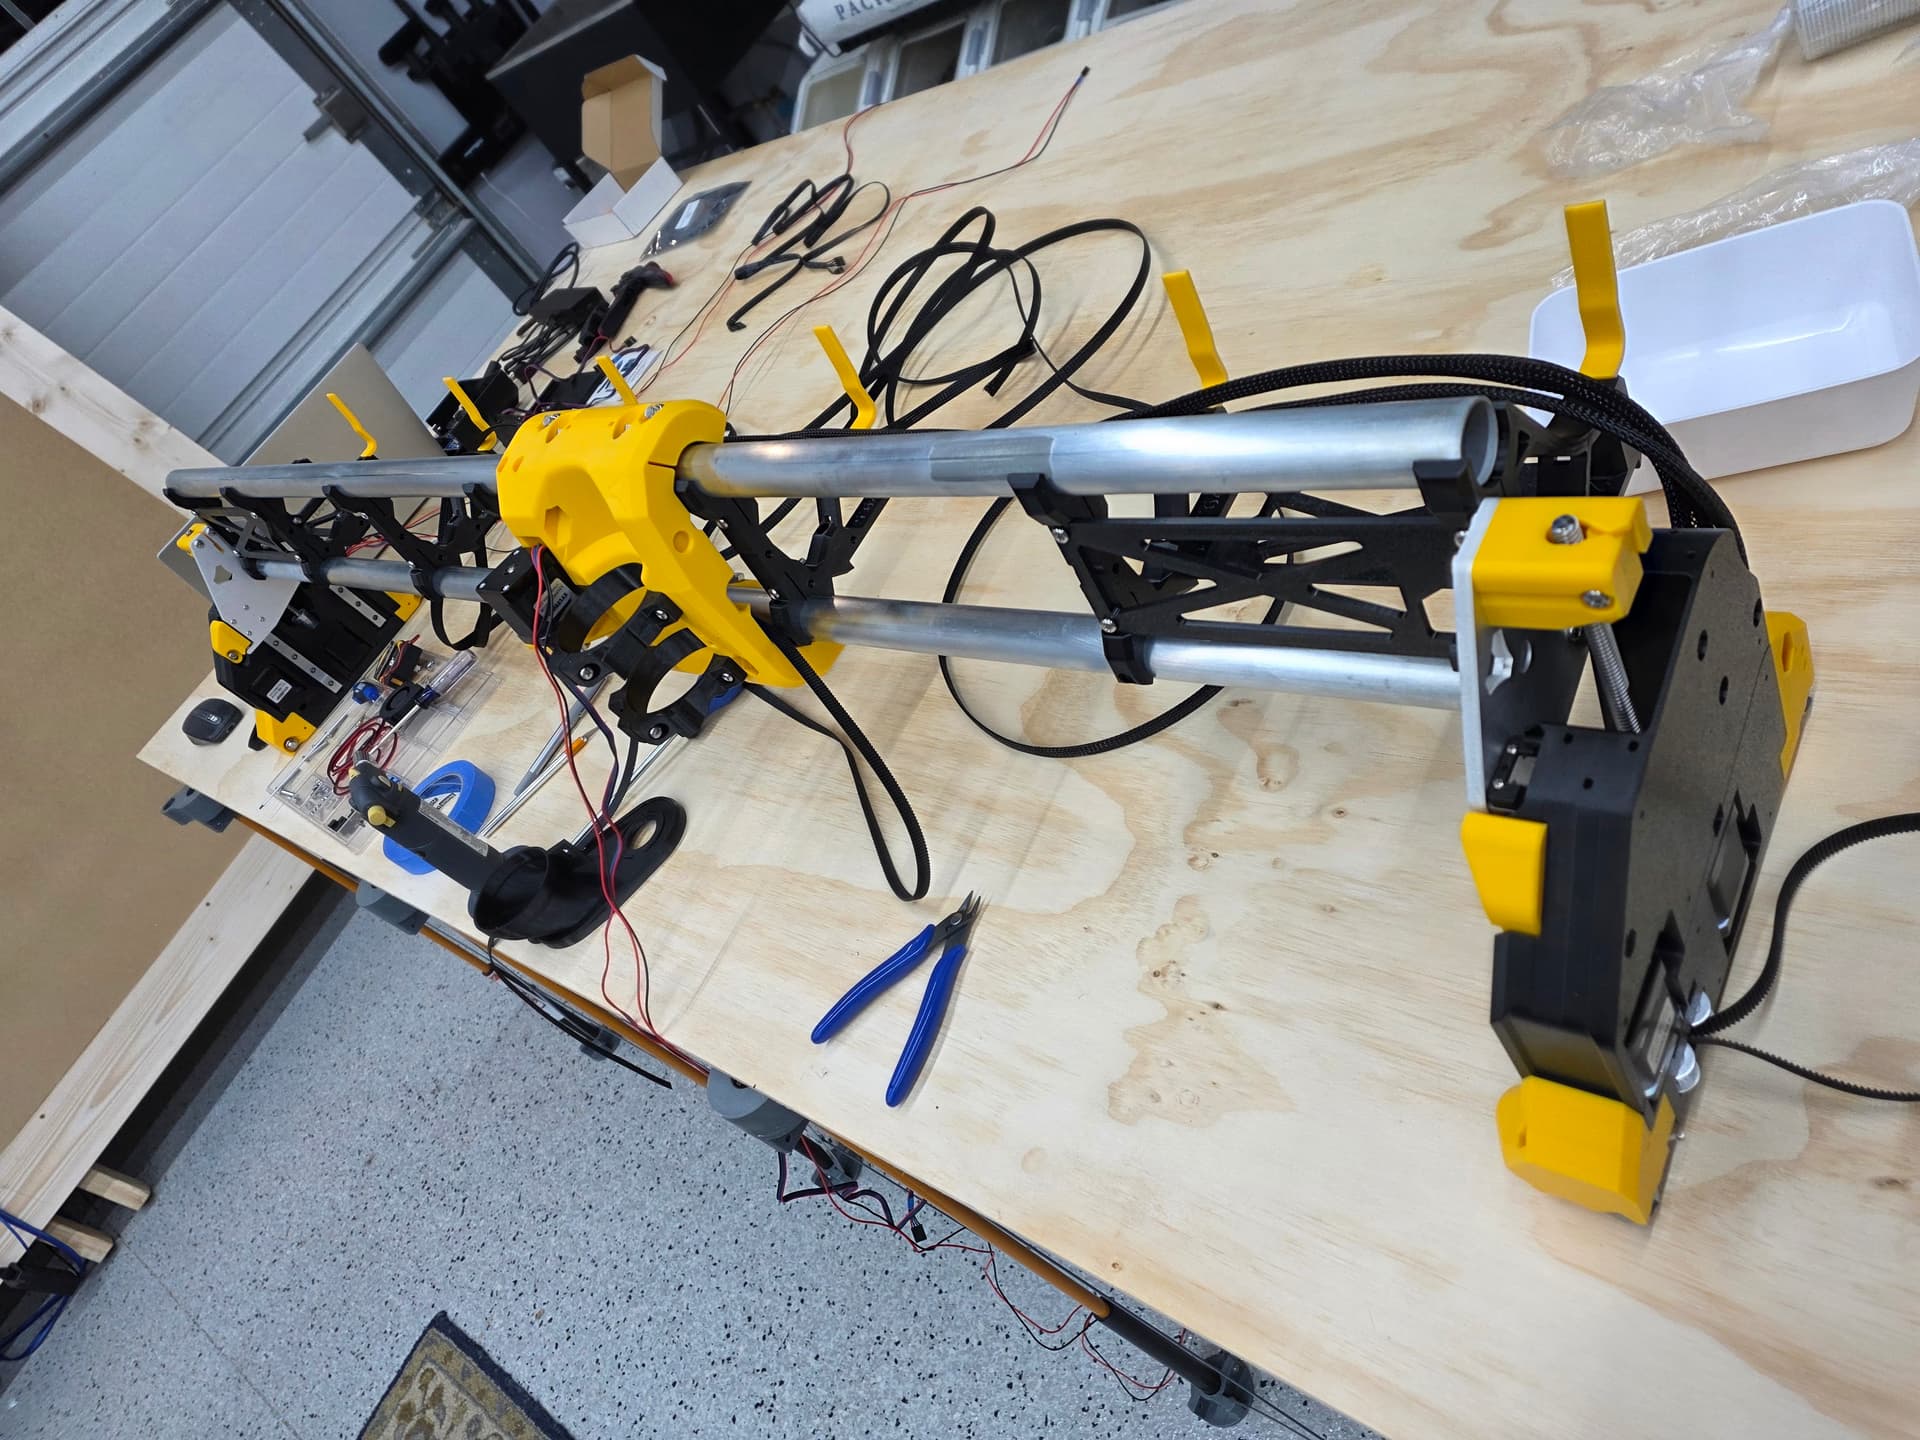
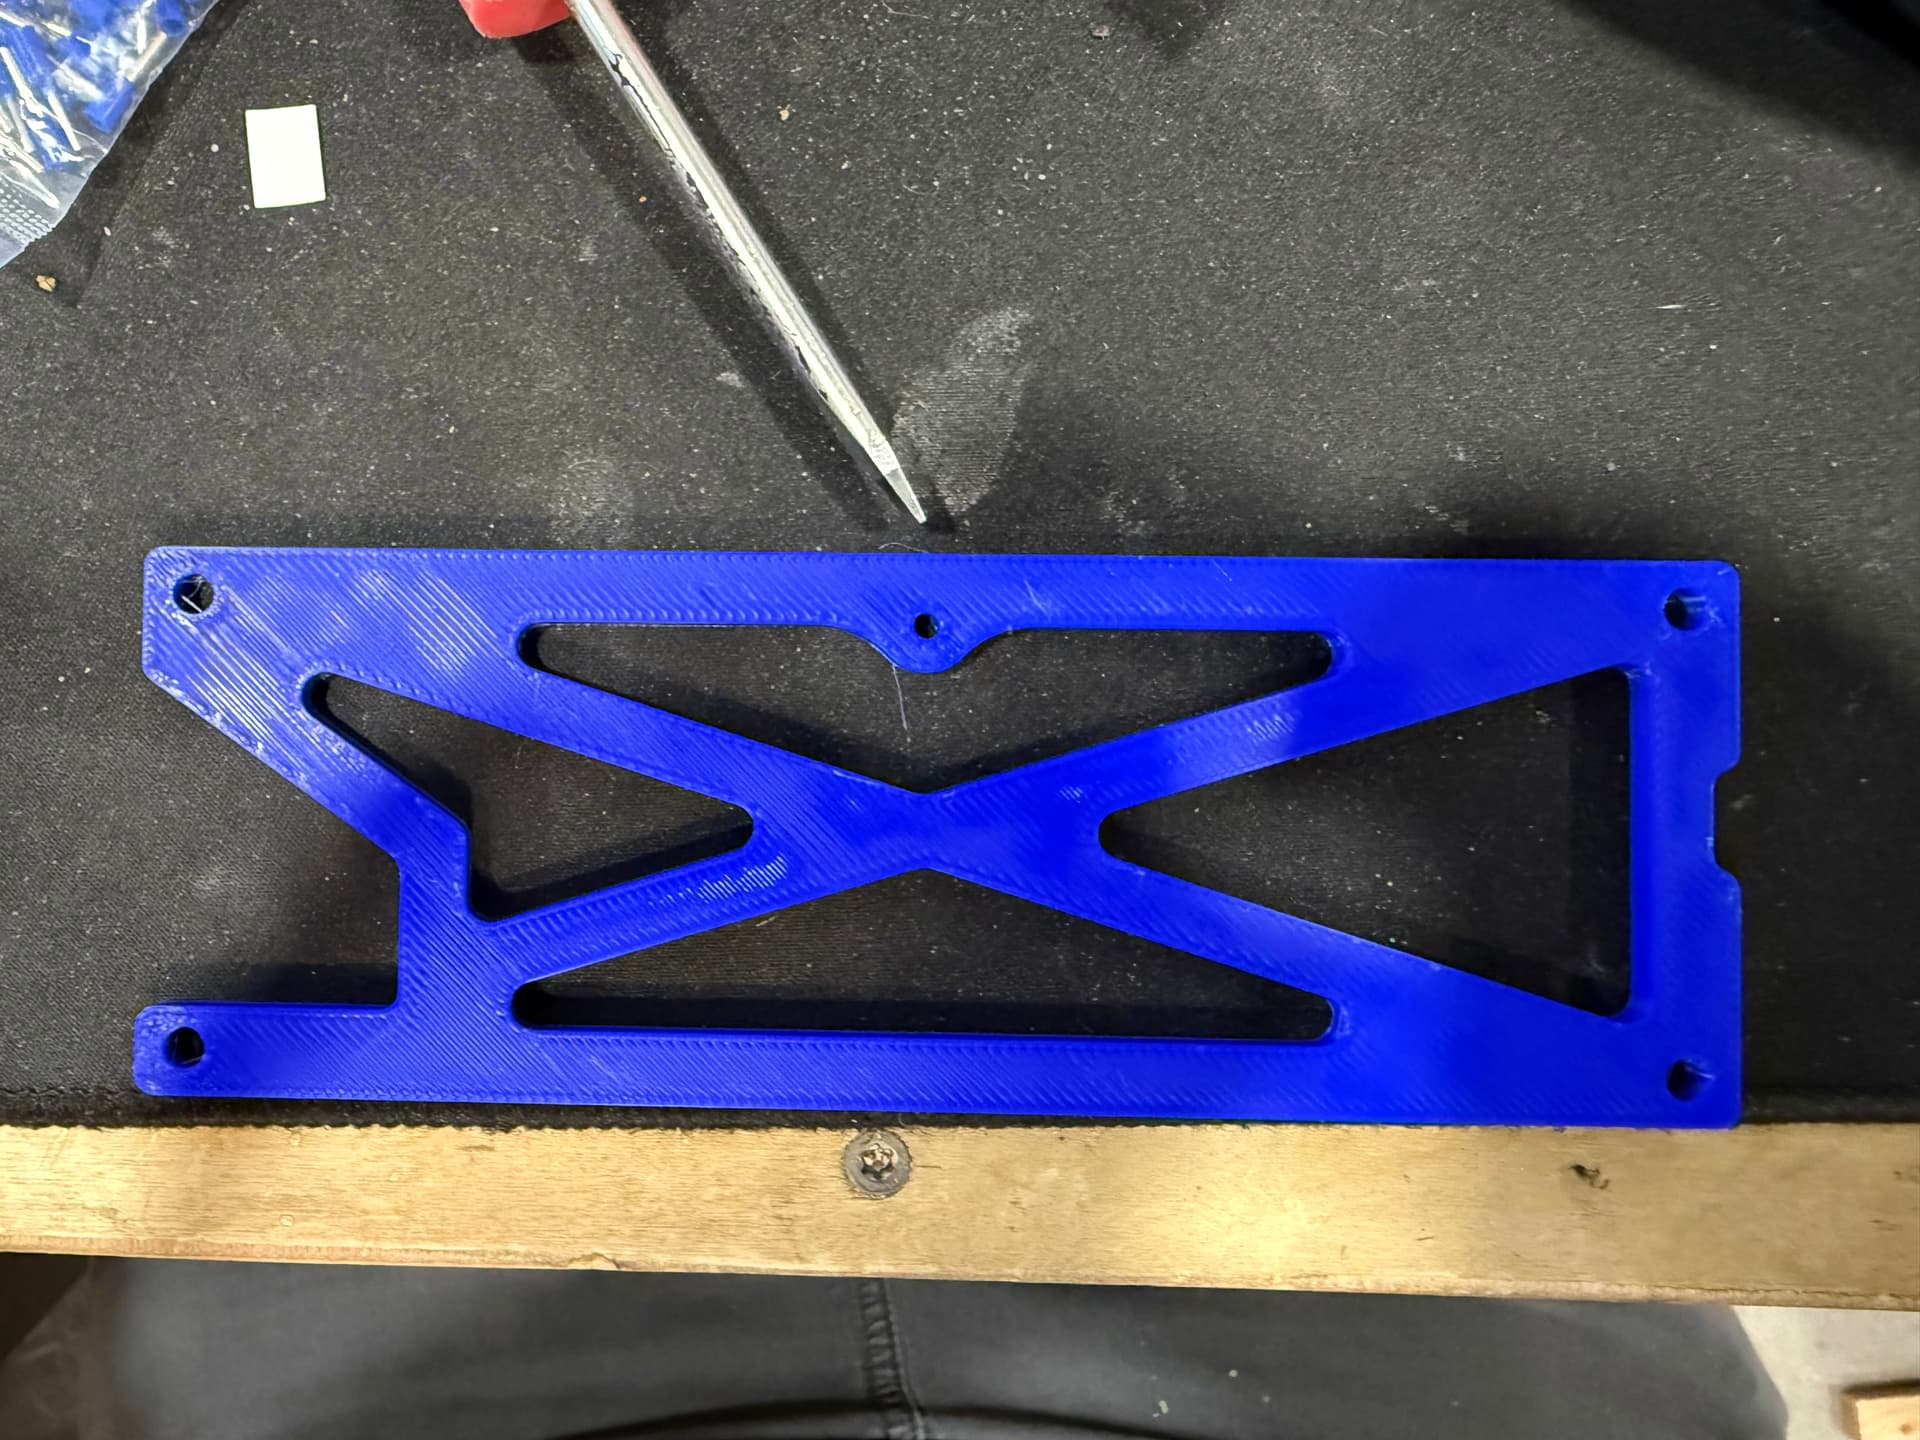
First the 3d files I have for the struts do not have any holes to connect to the jackpot 3 case. I think its ok because I think the idea is to get the struts cut out and it will mount to that. Basically no way to mount the case to the temp struts that I can see.
Second, I ordered a fan but I dont really know how to connect it. All I can find is, connect it to the input power. It seems there may be a way to power it from one of the outputs on the board?
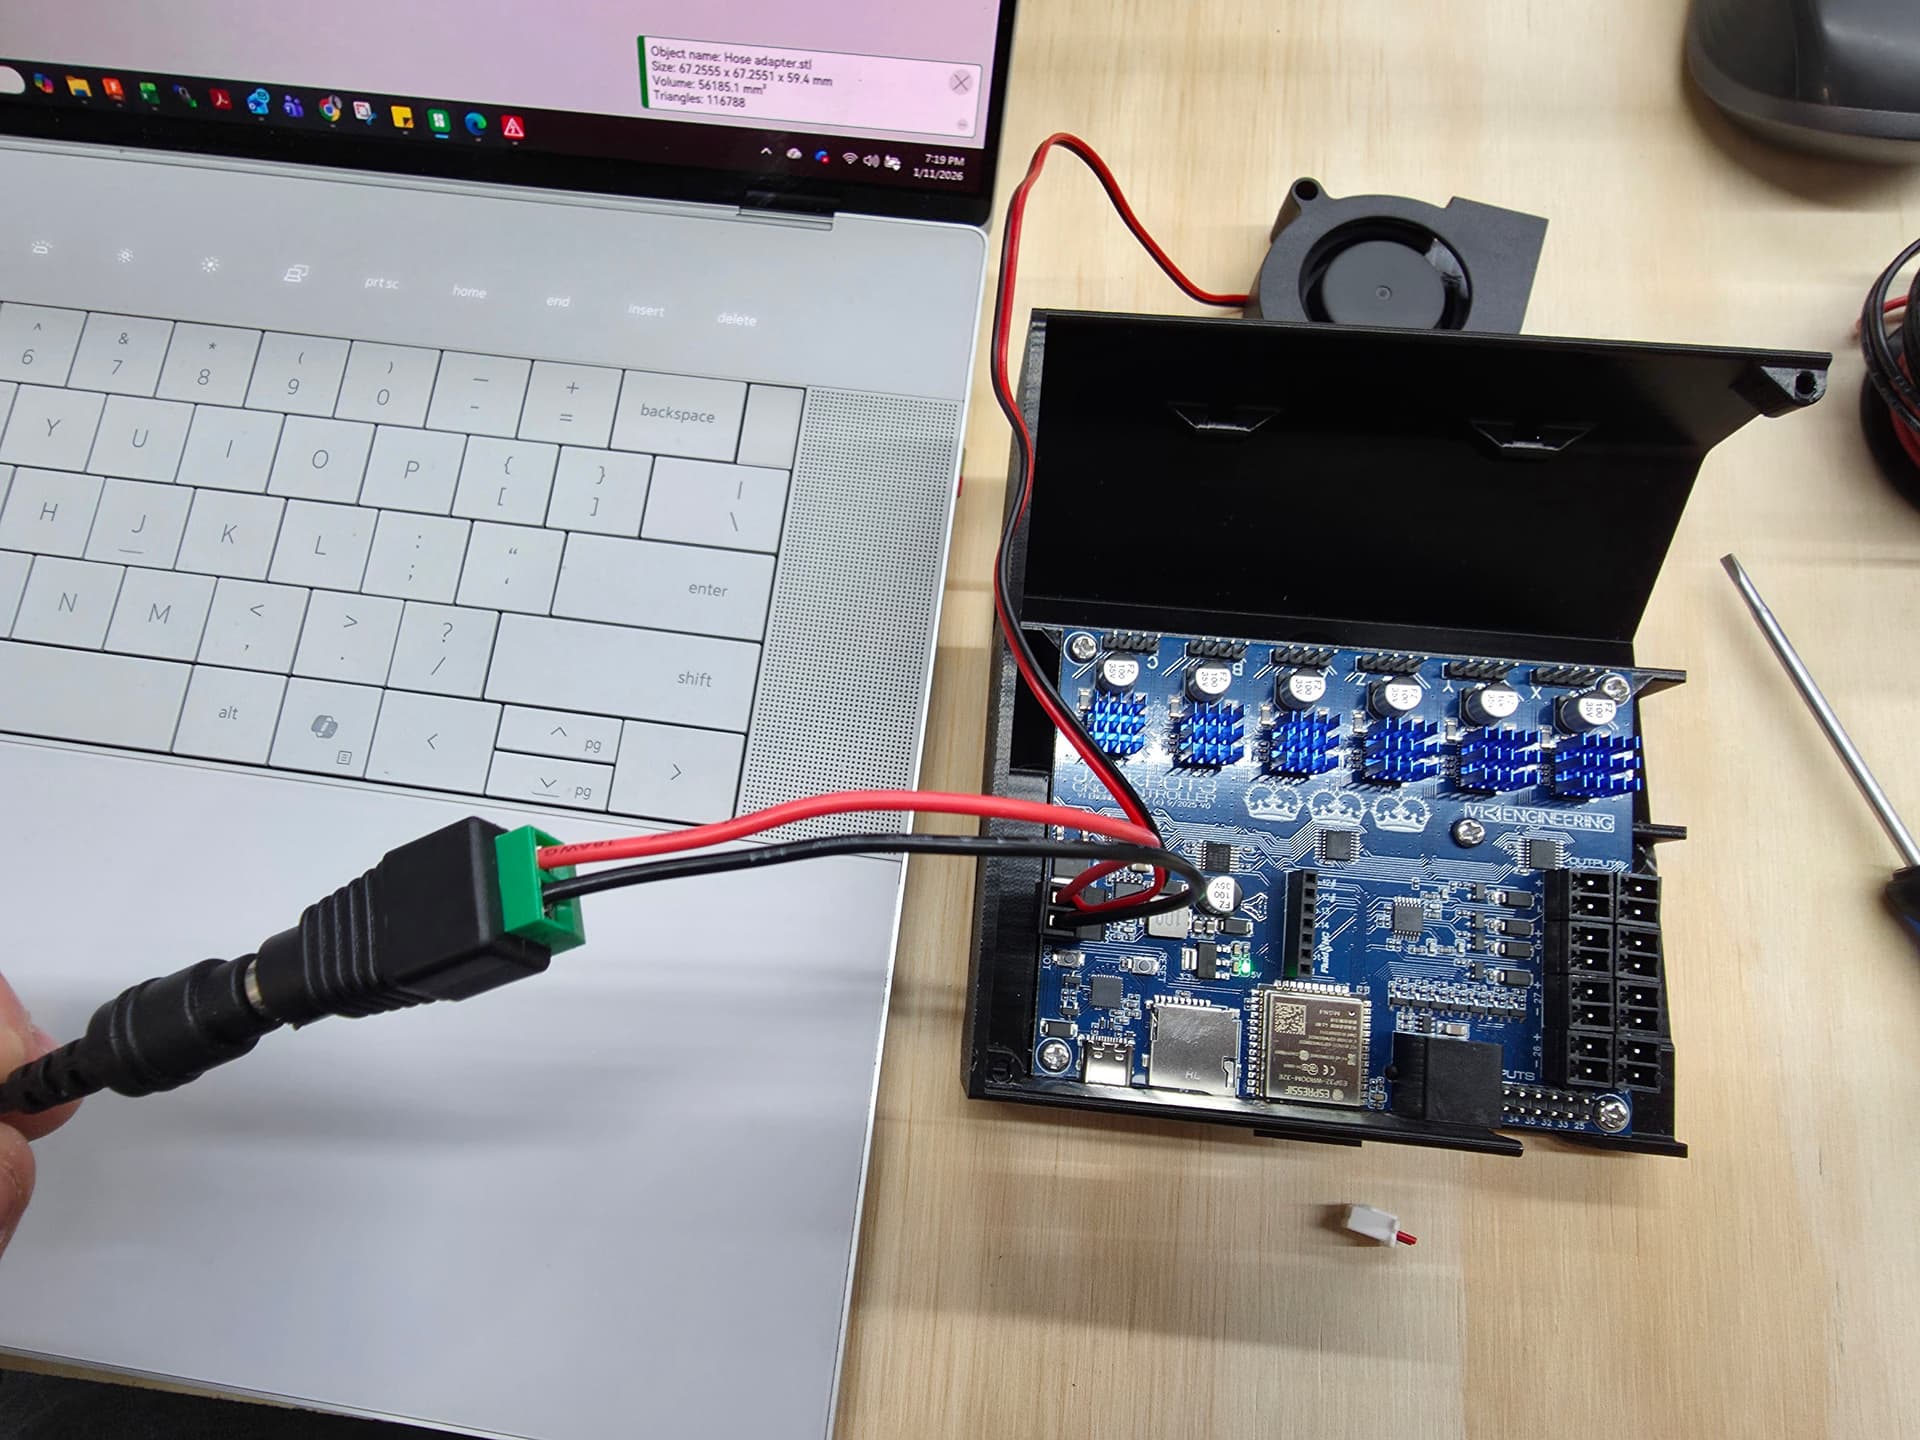
Third, powering the board. I got a laptop charger 24VDC. Do I just strip it back and connect it to the two wire connector just the “J” in Jackpot3
Cut the connector off the cable, strip the cable jacket back to get at the two internal wires.
Strip each wire, and if you have a crimp ferrule put that on each stripped wire. Either way, land the wires into the connecgtor on the Jackpot.
The fan should be hooked up to VMOT power (the same power that goes into your Jackpot.)
If the PS is on, the fan should be on.
You can cut the plug off the end of the fan wires and strip the wires back, then put them in with you power supply wires that go into the jackpot.
In with the bag of heat sinks there is a bag of connectors. Use one of those to wire your power to the board. And yes put the heat sinks on the board. On the driver chips.
That lines up with the center back hole on the case bottom for any of the 3 jackpot boards. You can put one M3x10 screw there to hold the board box to the temp strut wile you cut your full struts.
Also make sure you have the correct board box. If those other files don’t have the correct temp struts I am guessing they don’t have the JP3 box either…
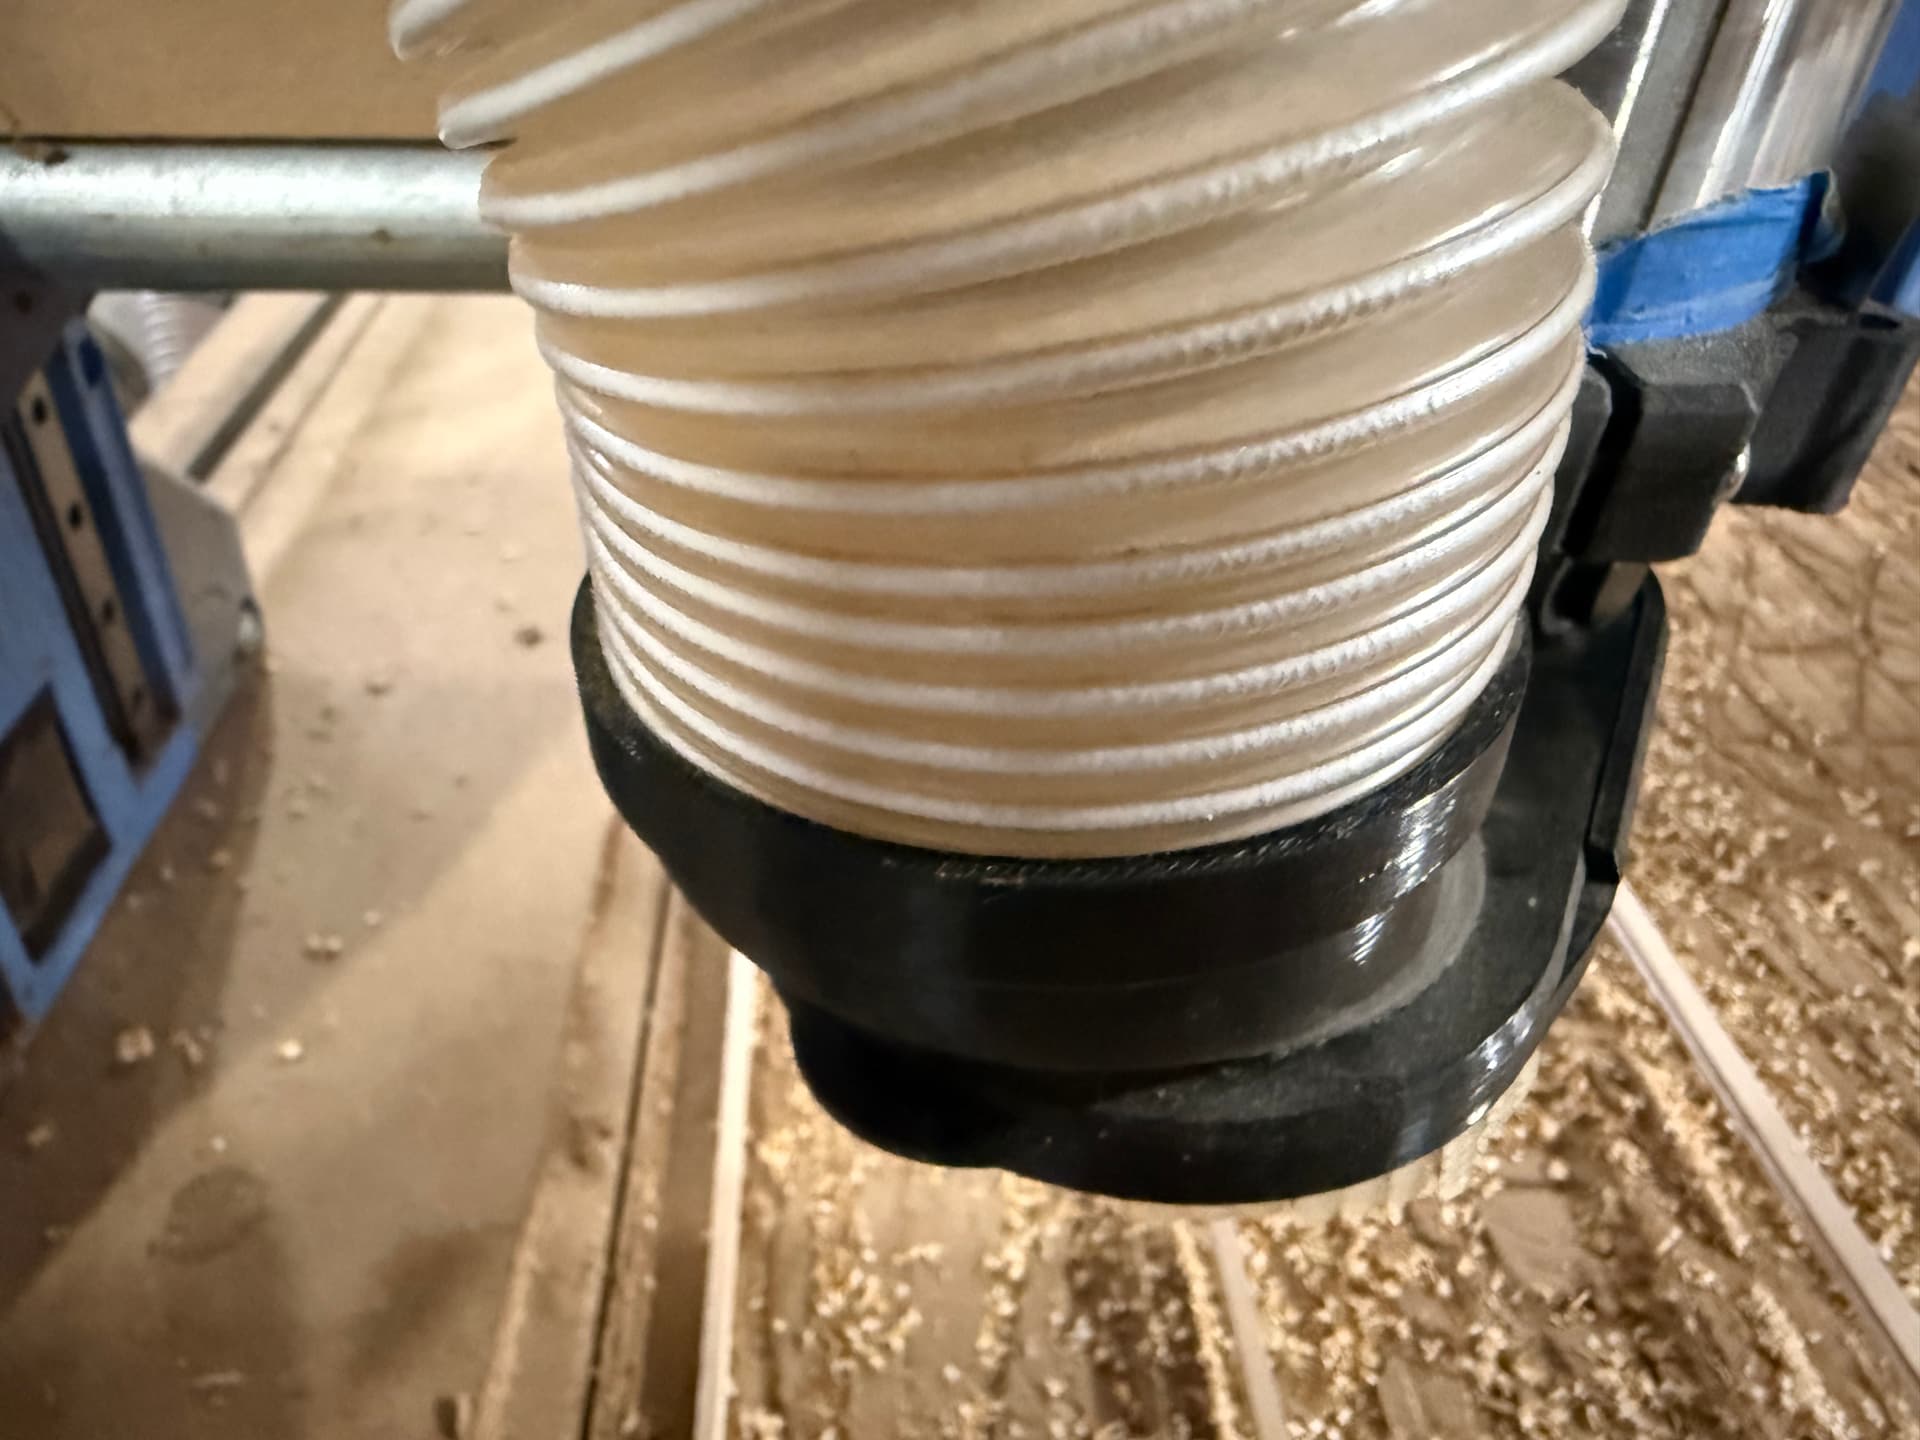
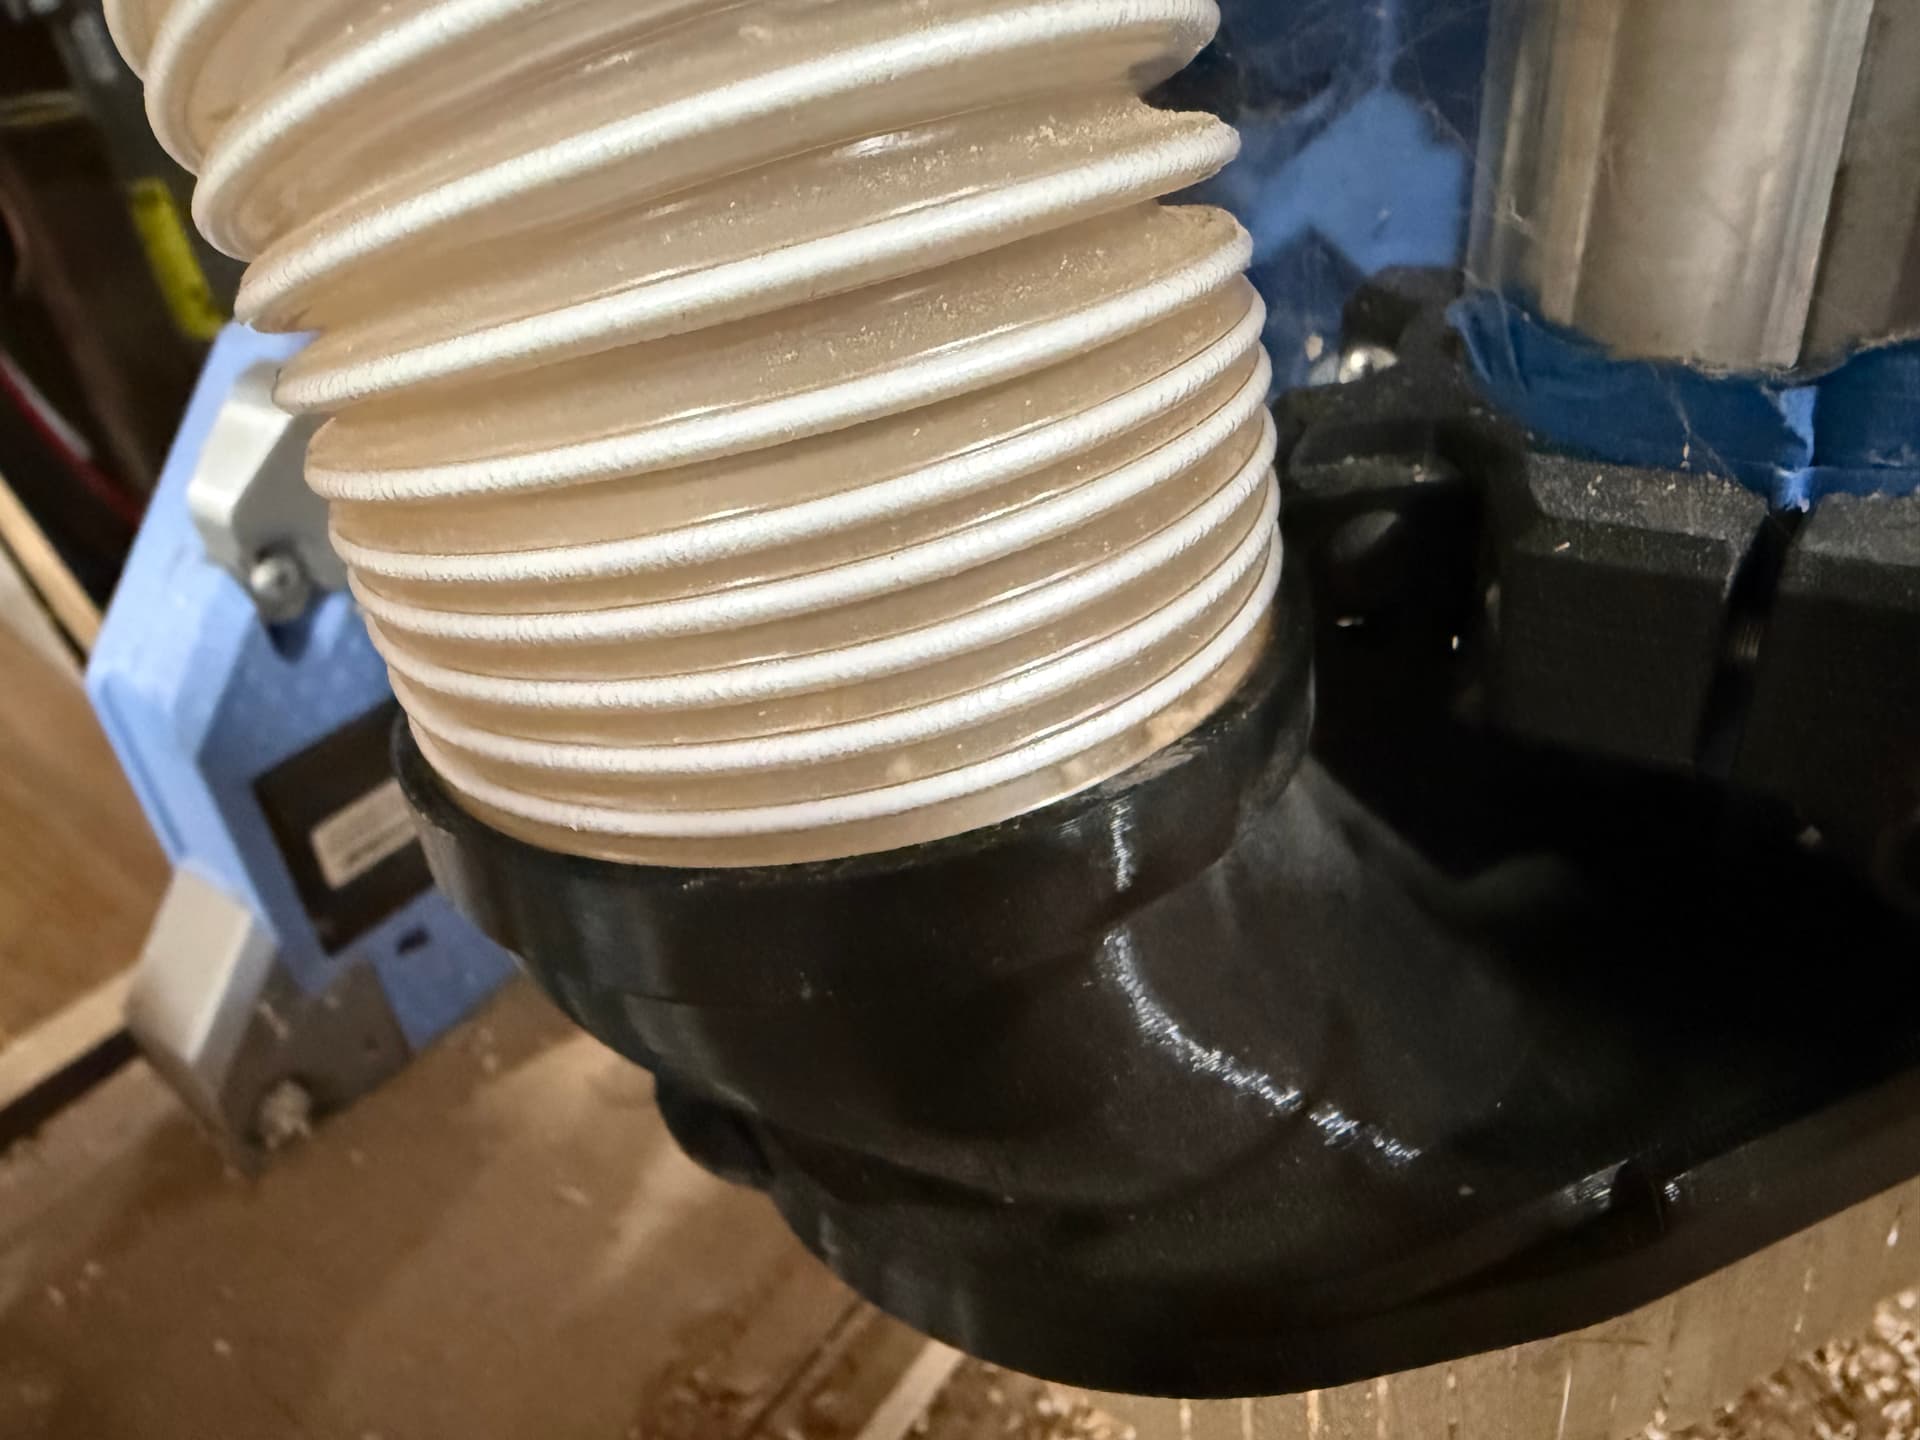
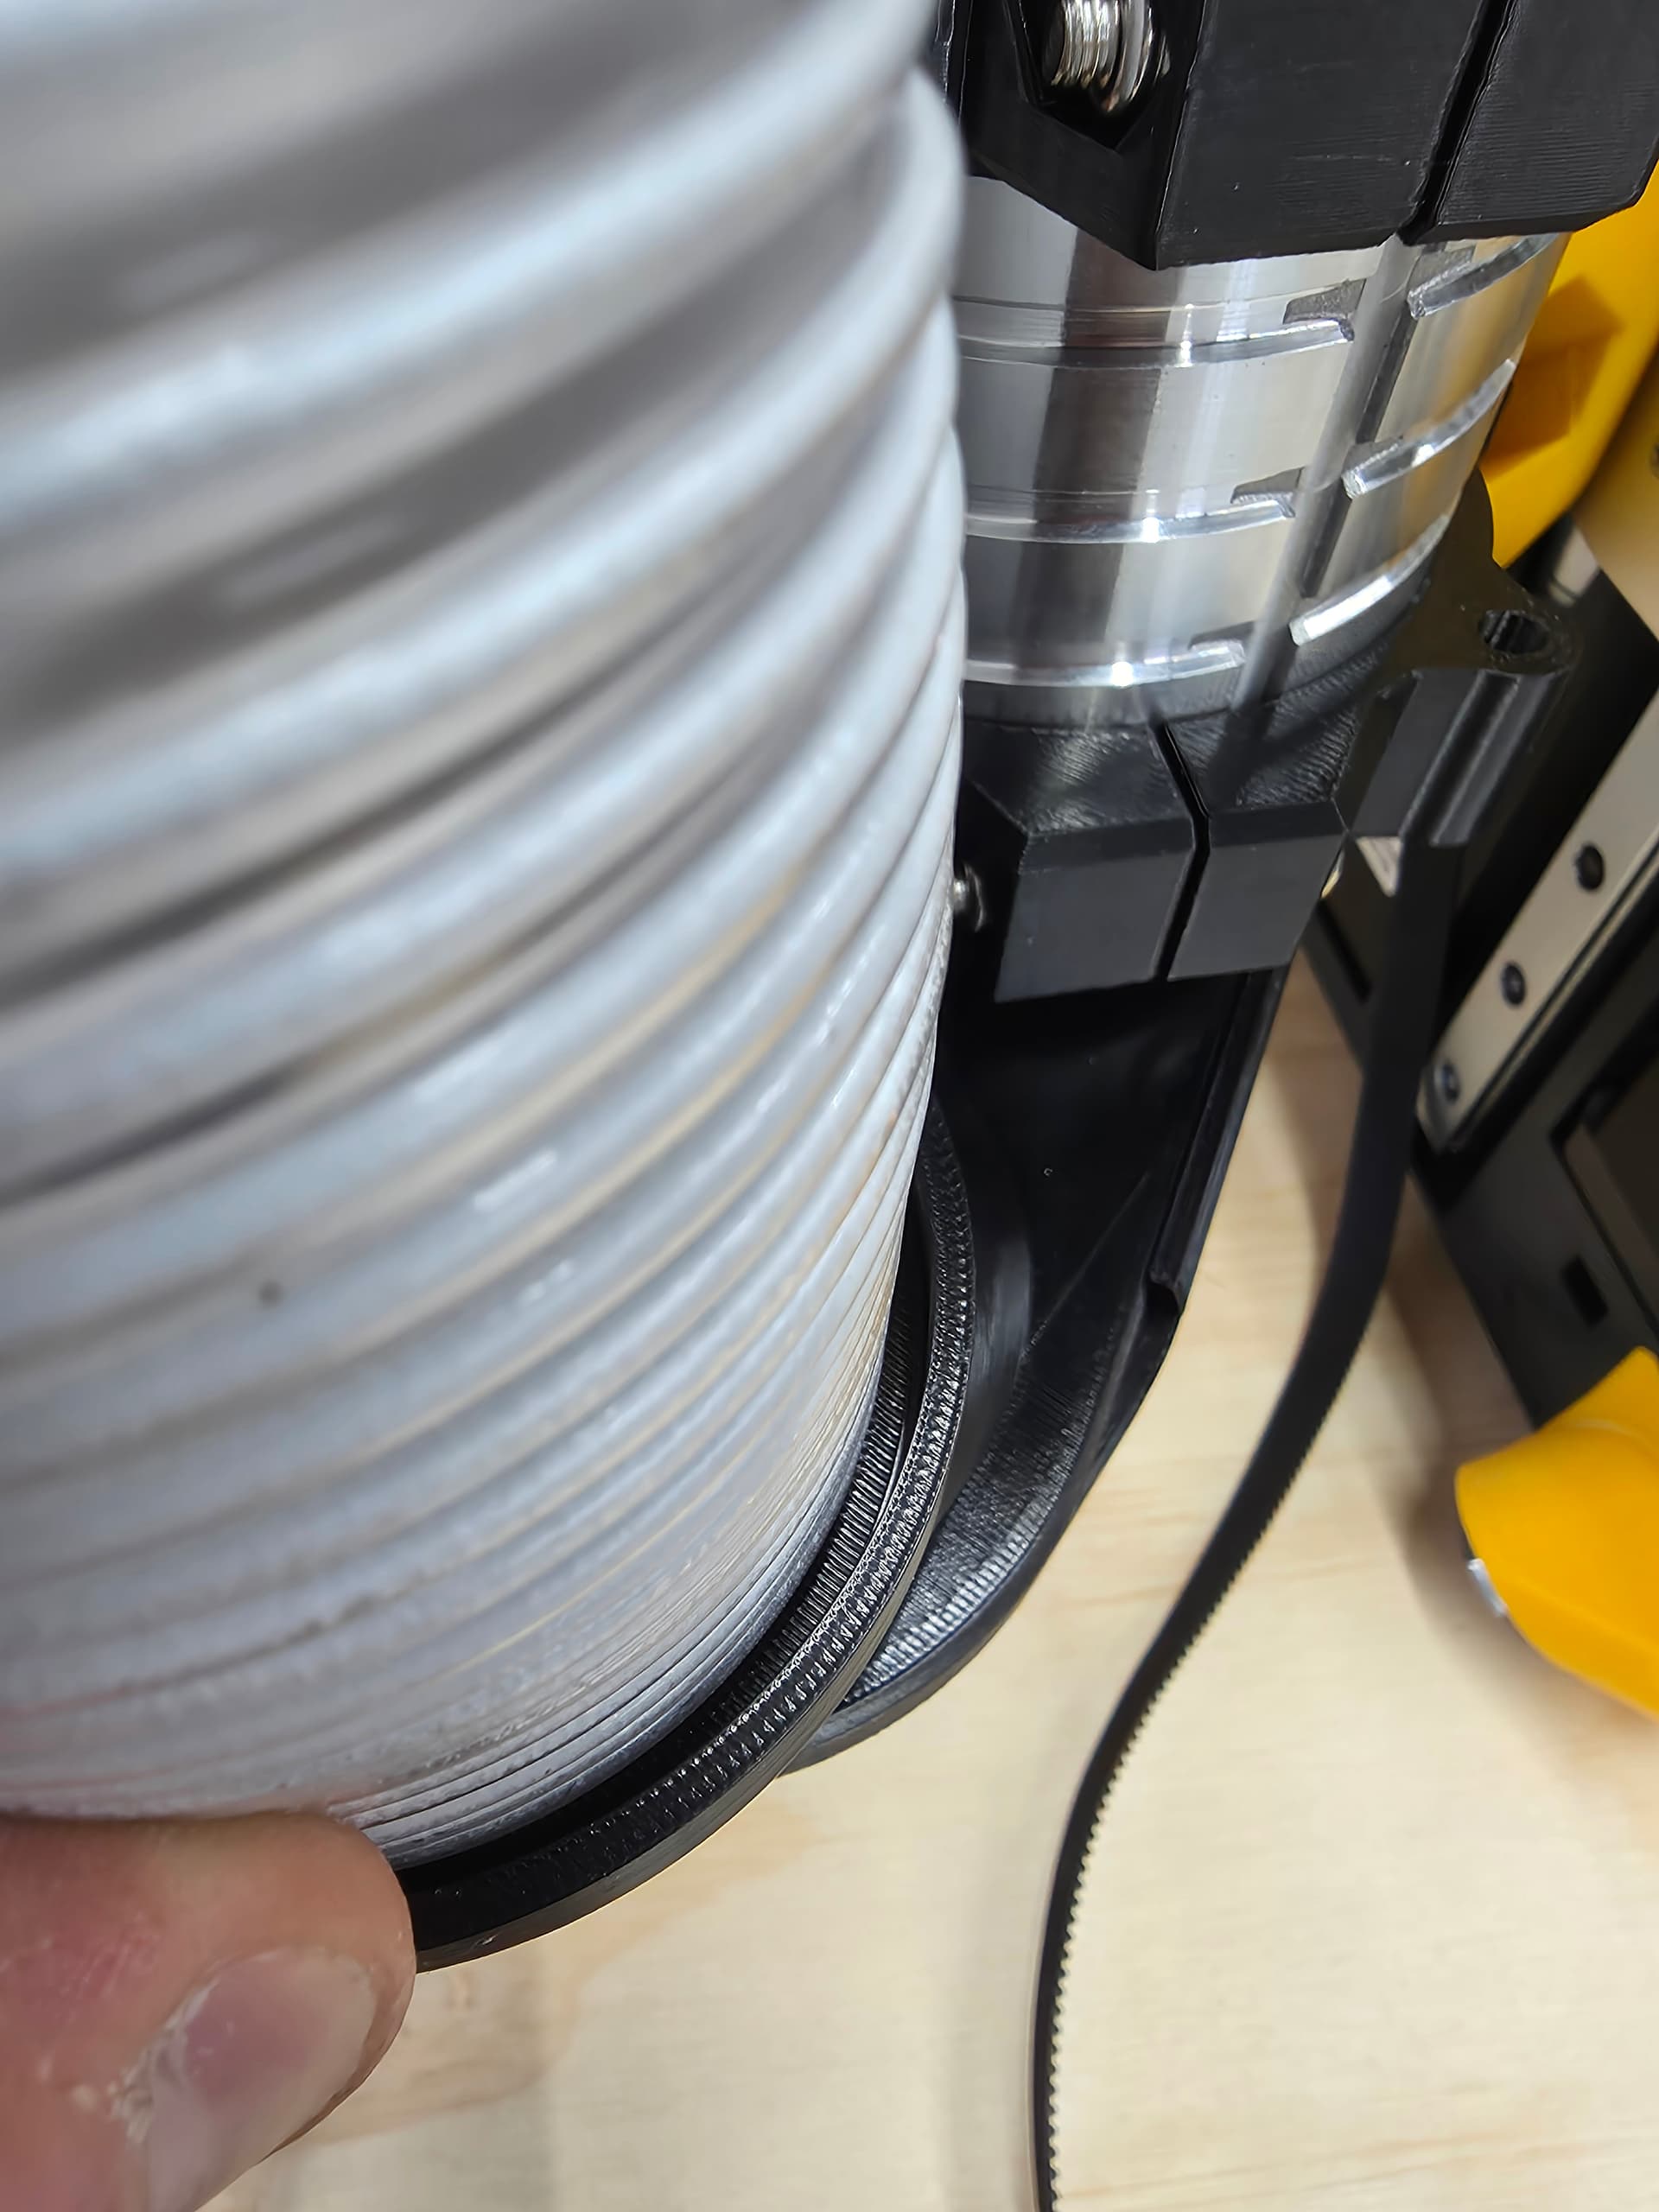
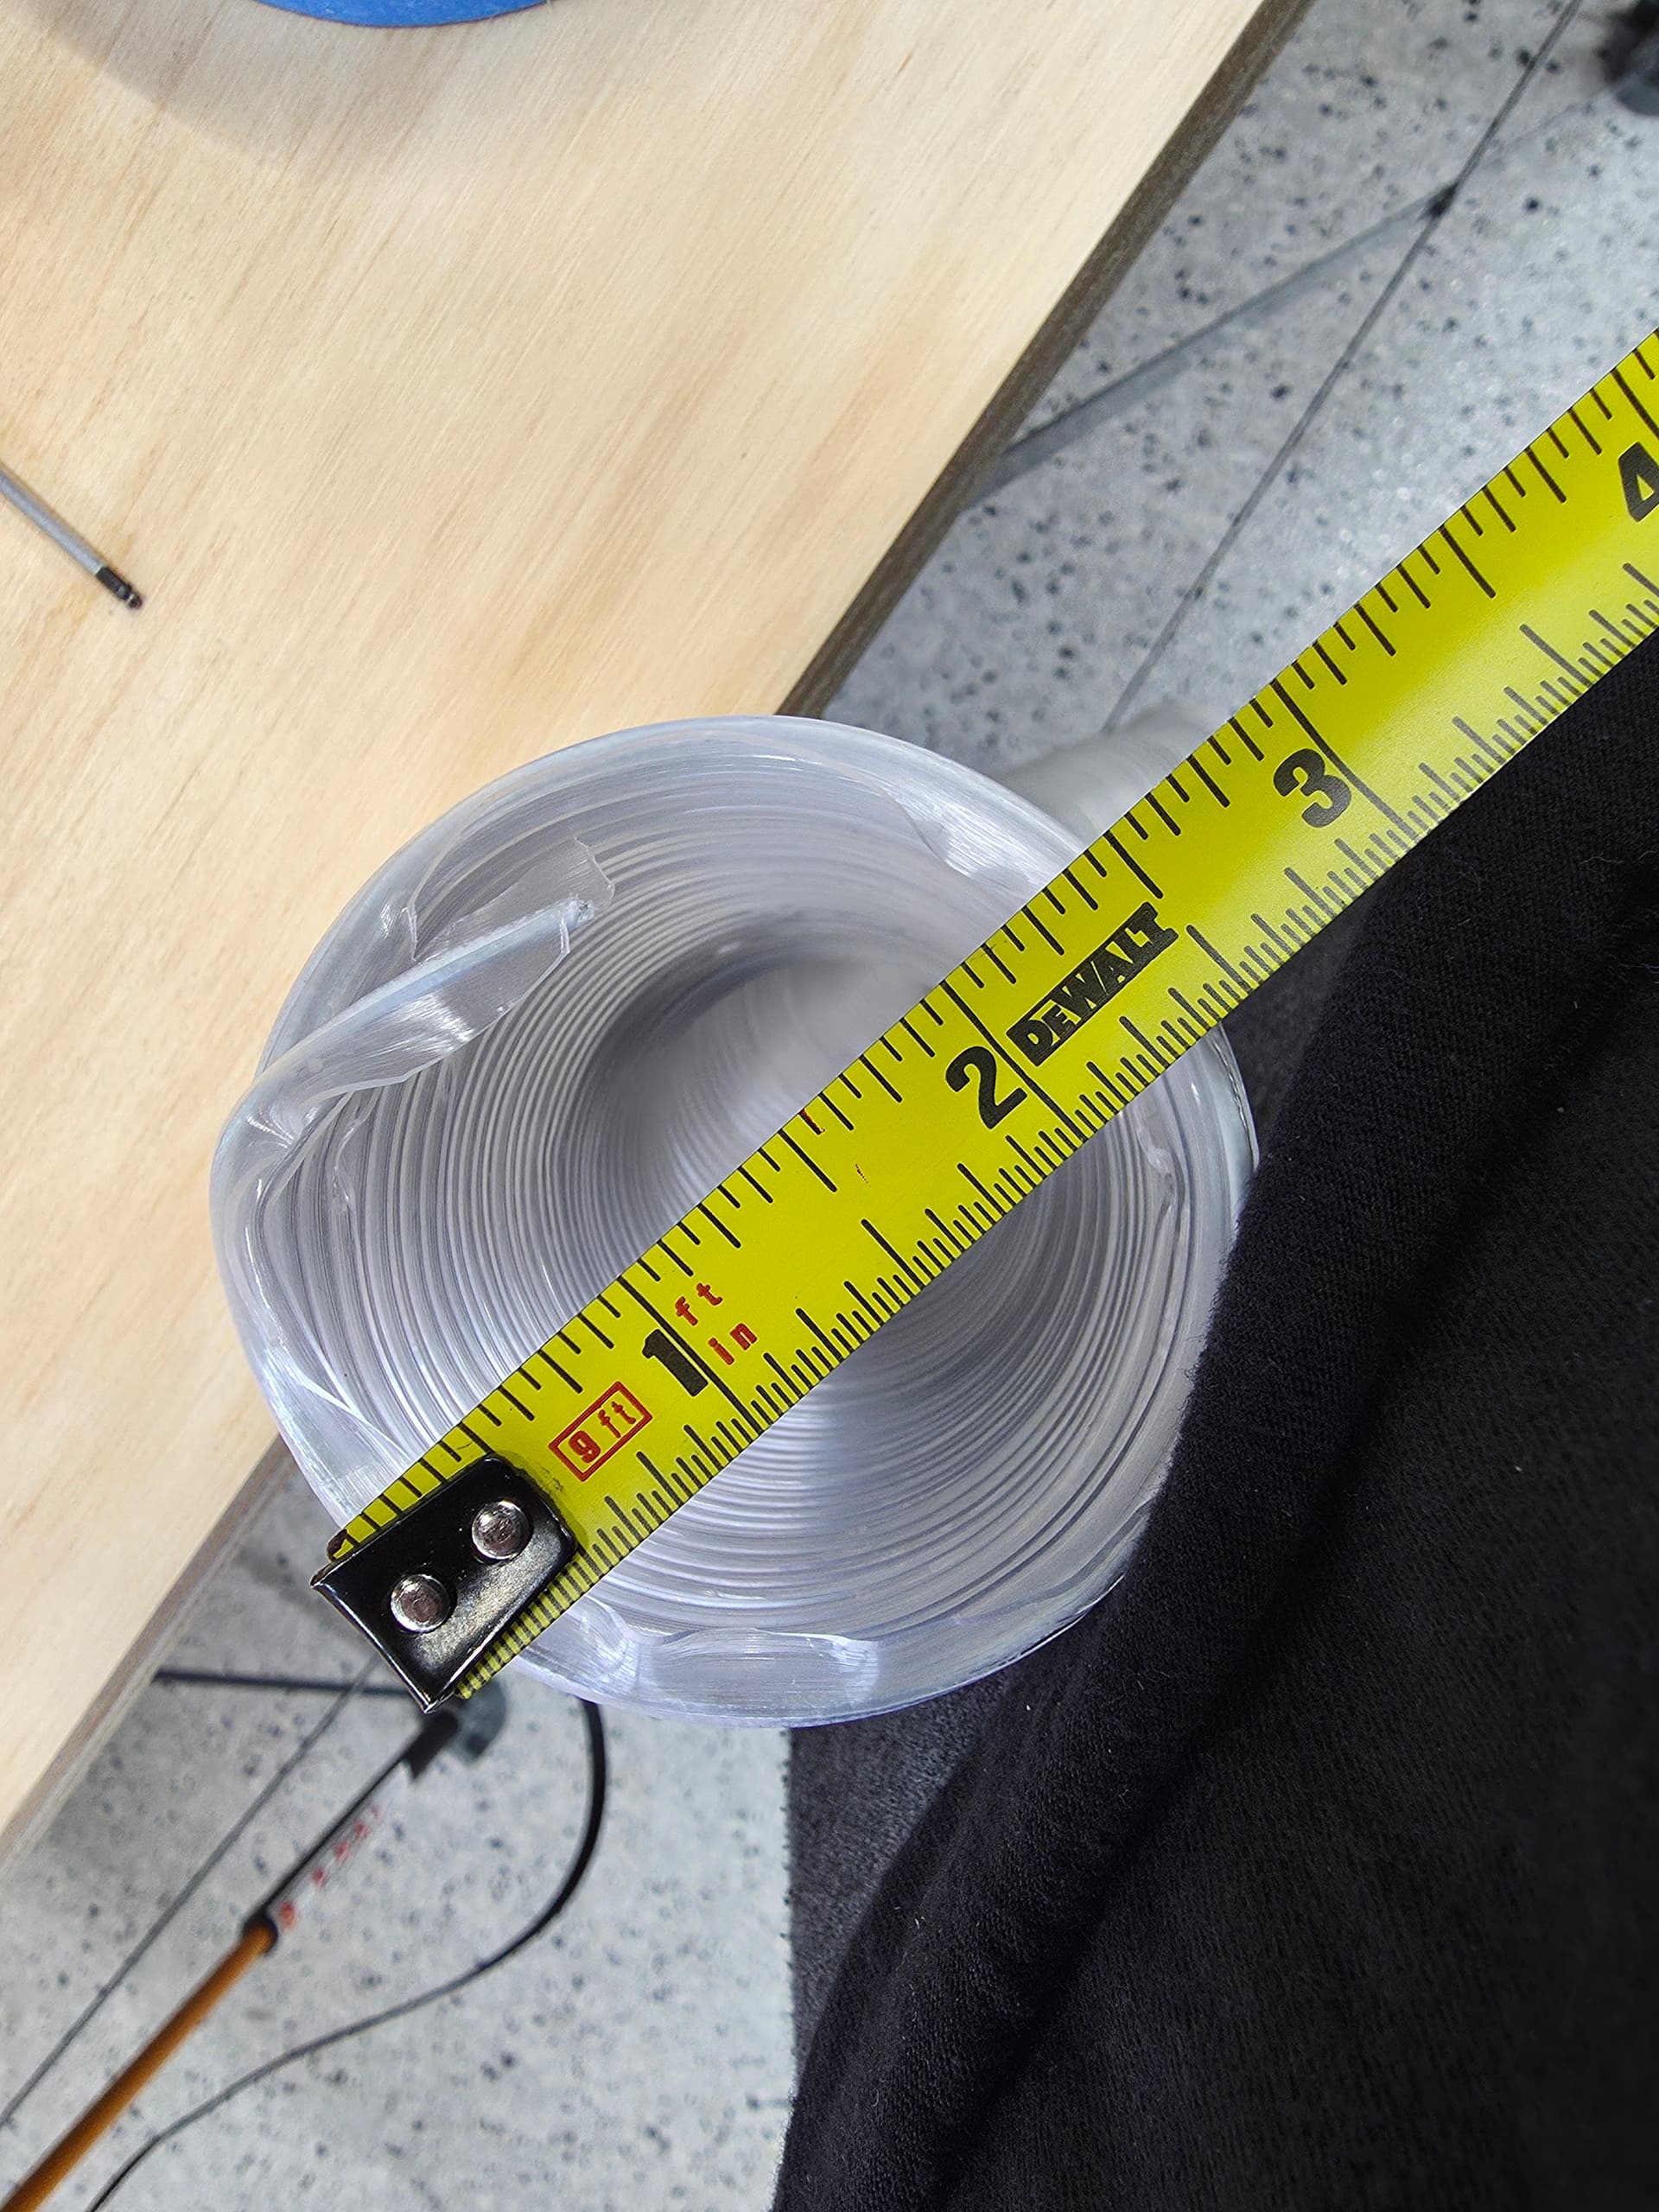
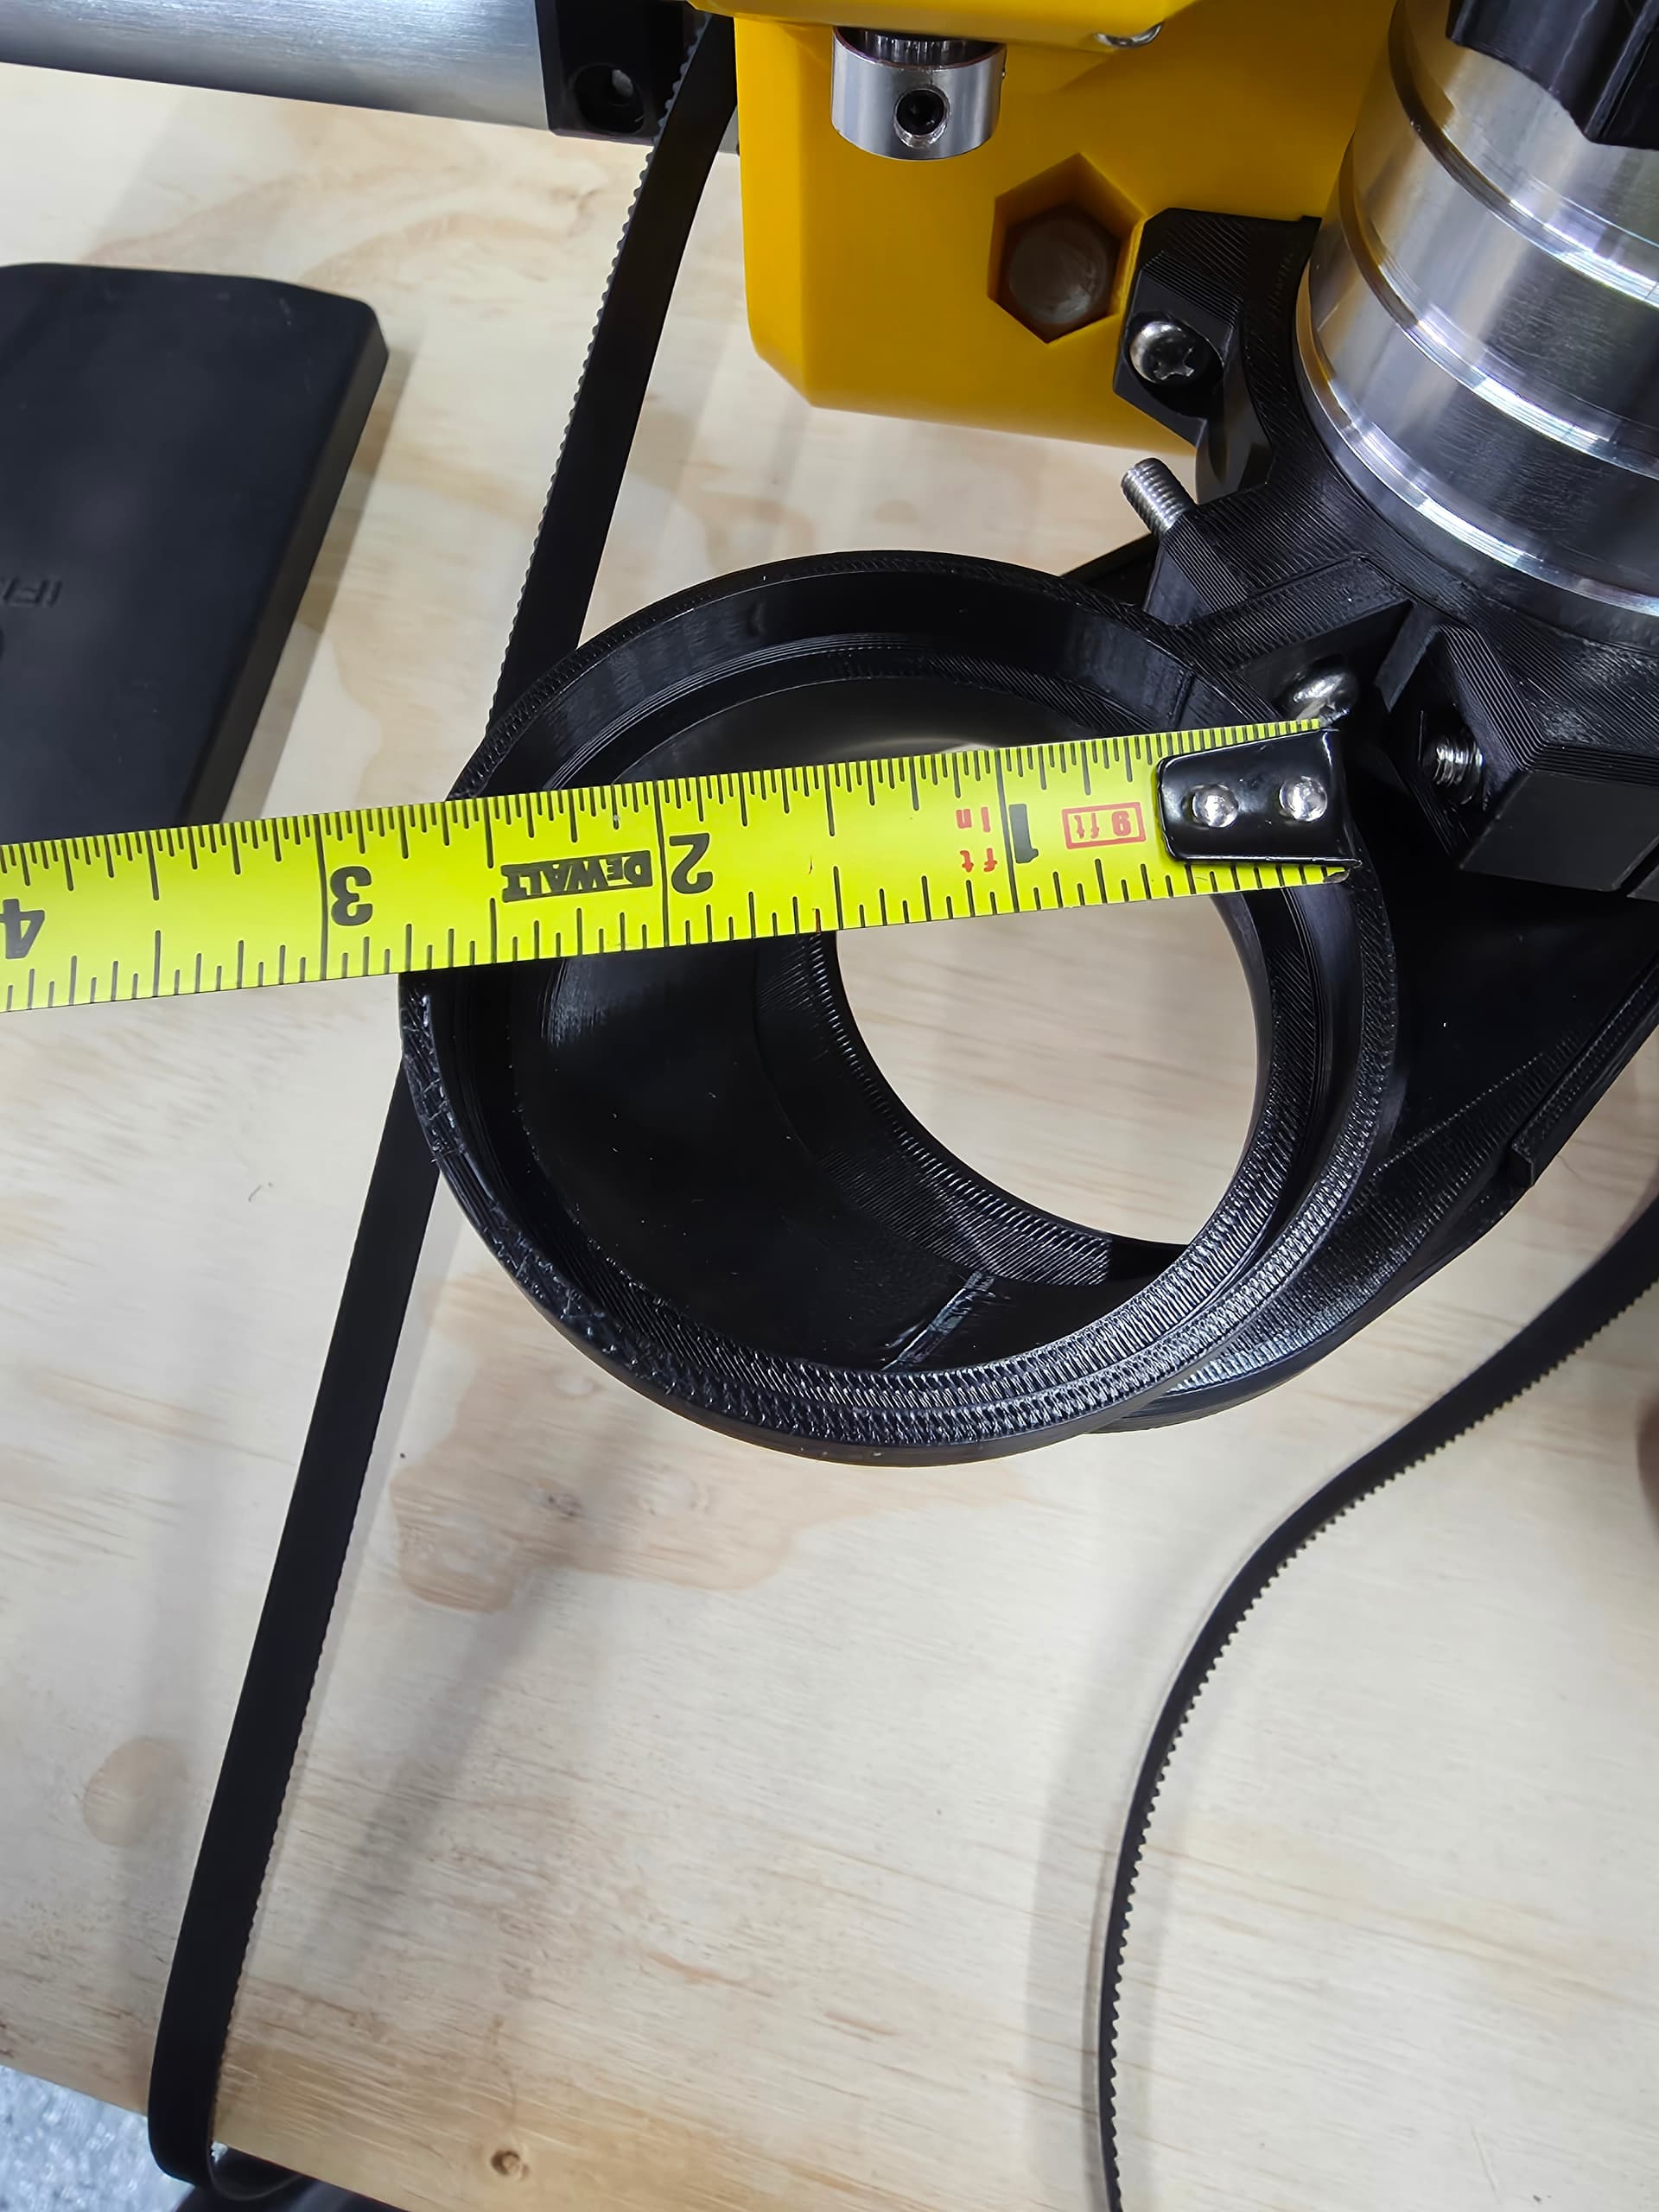
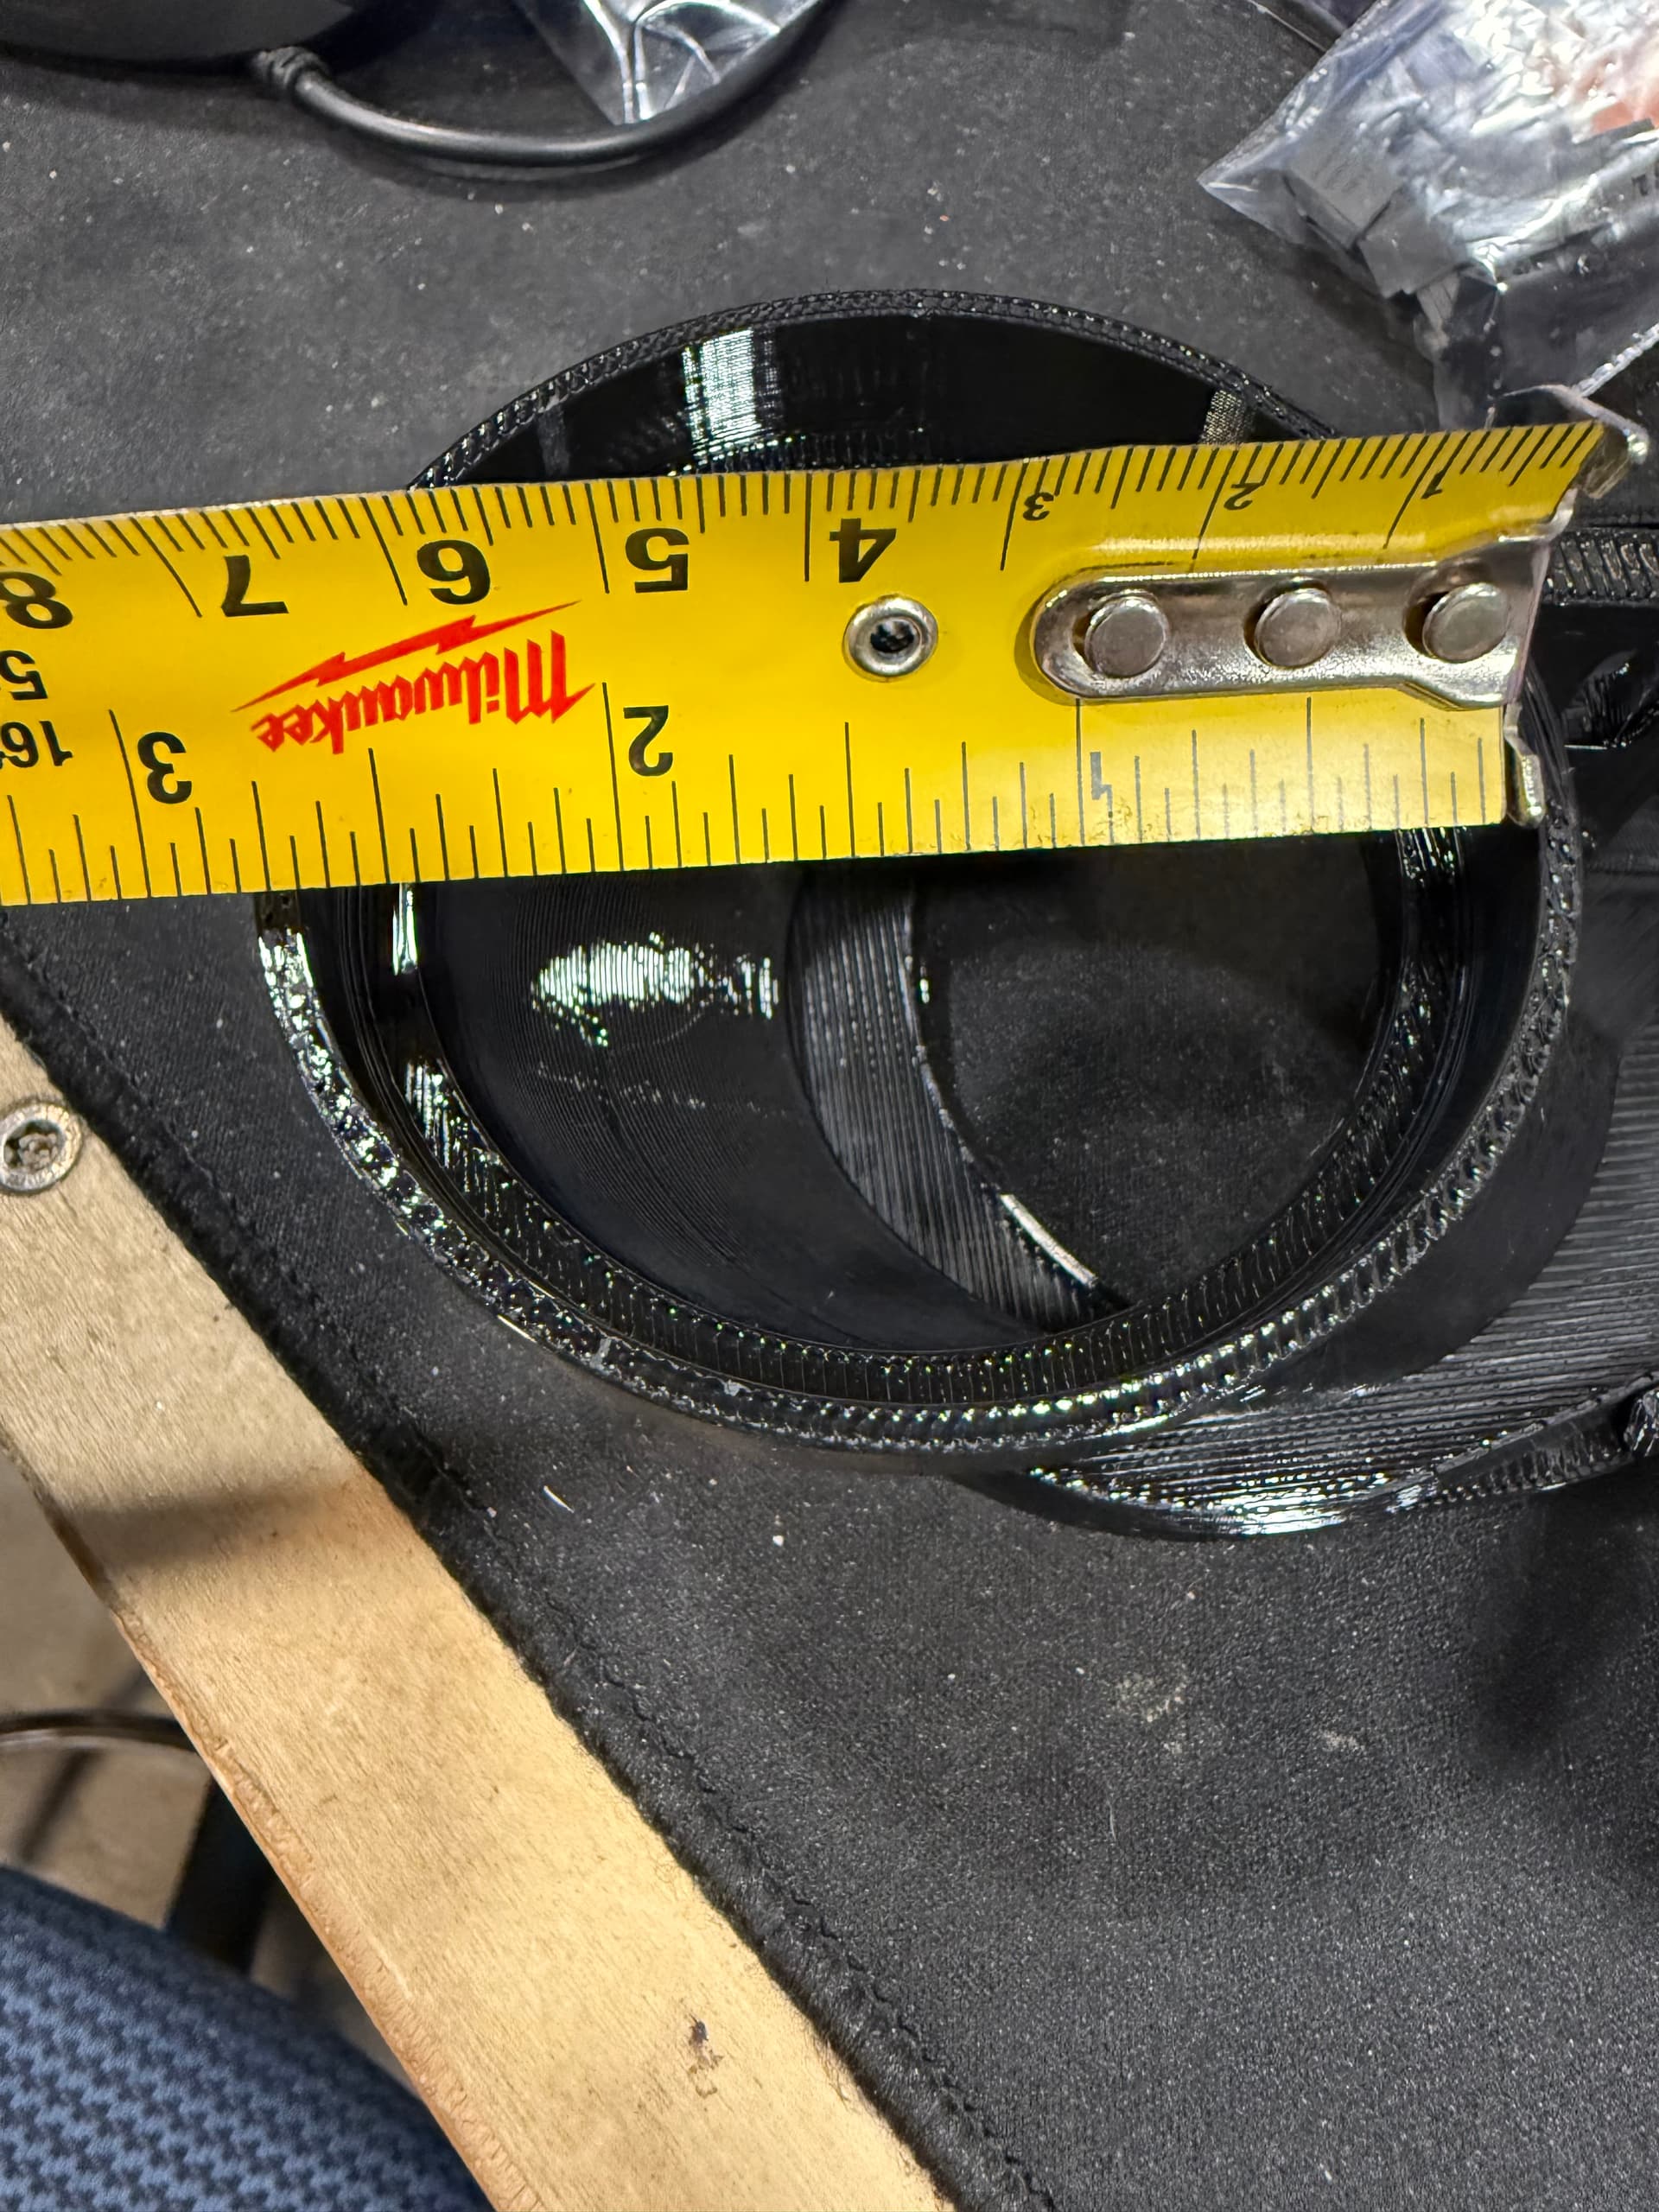
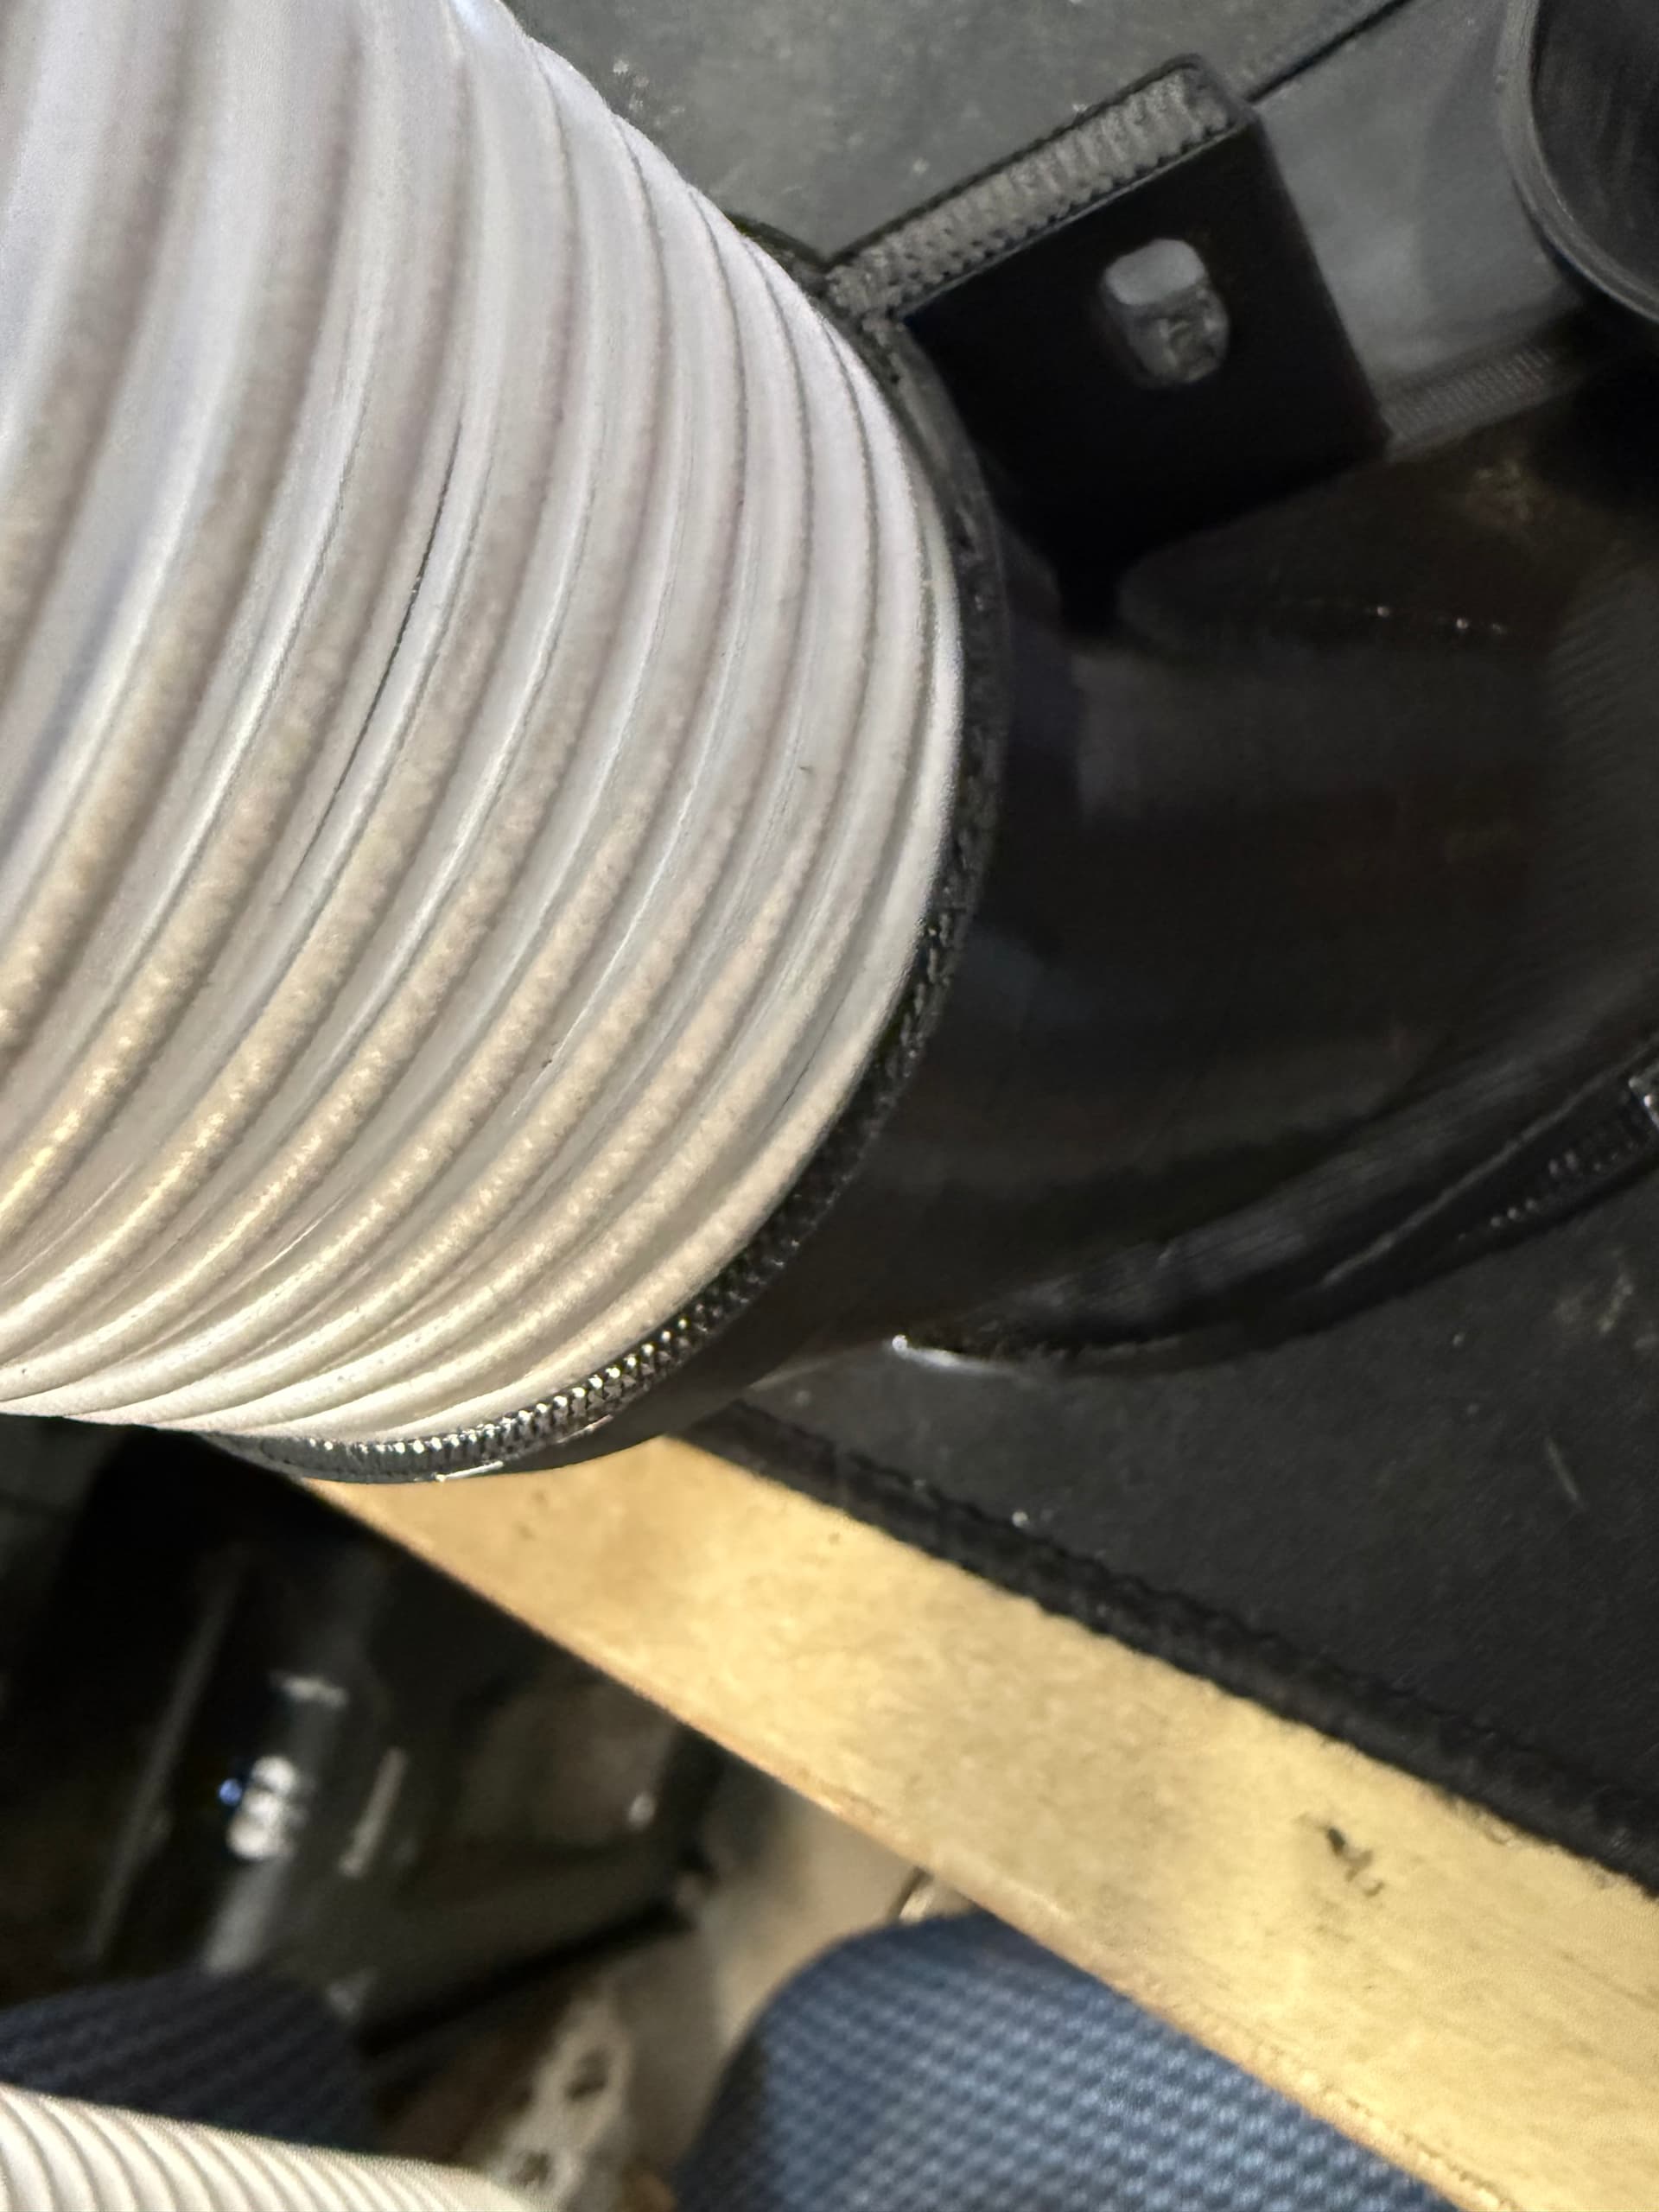
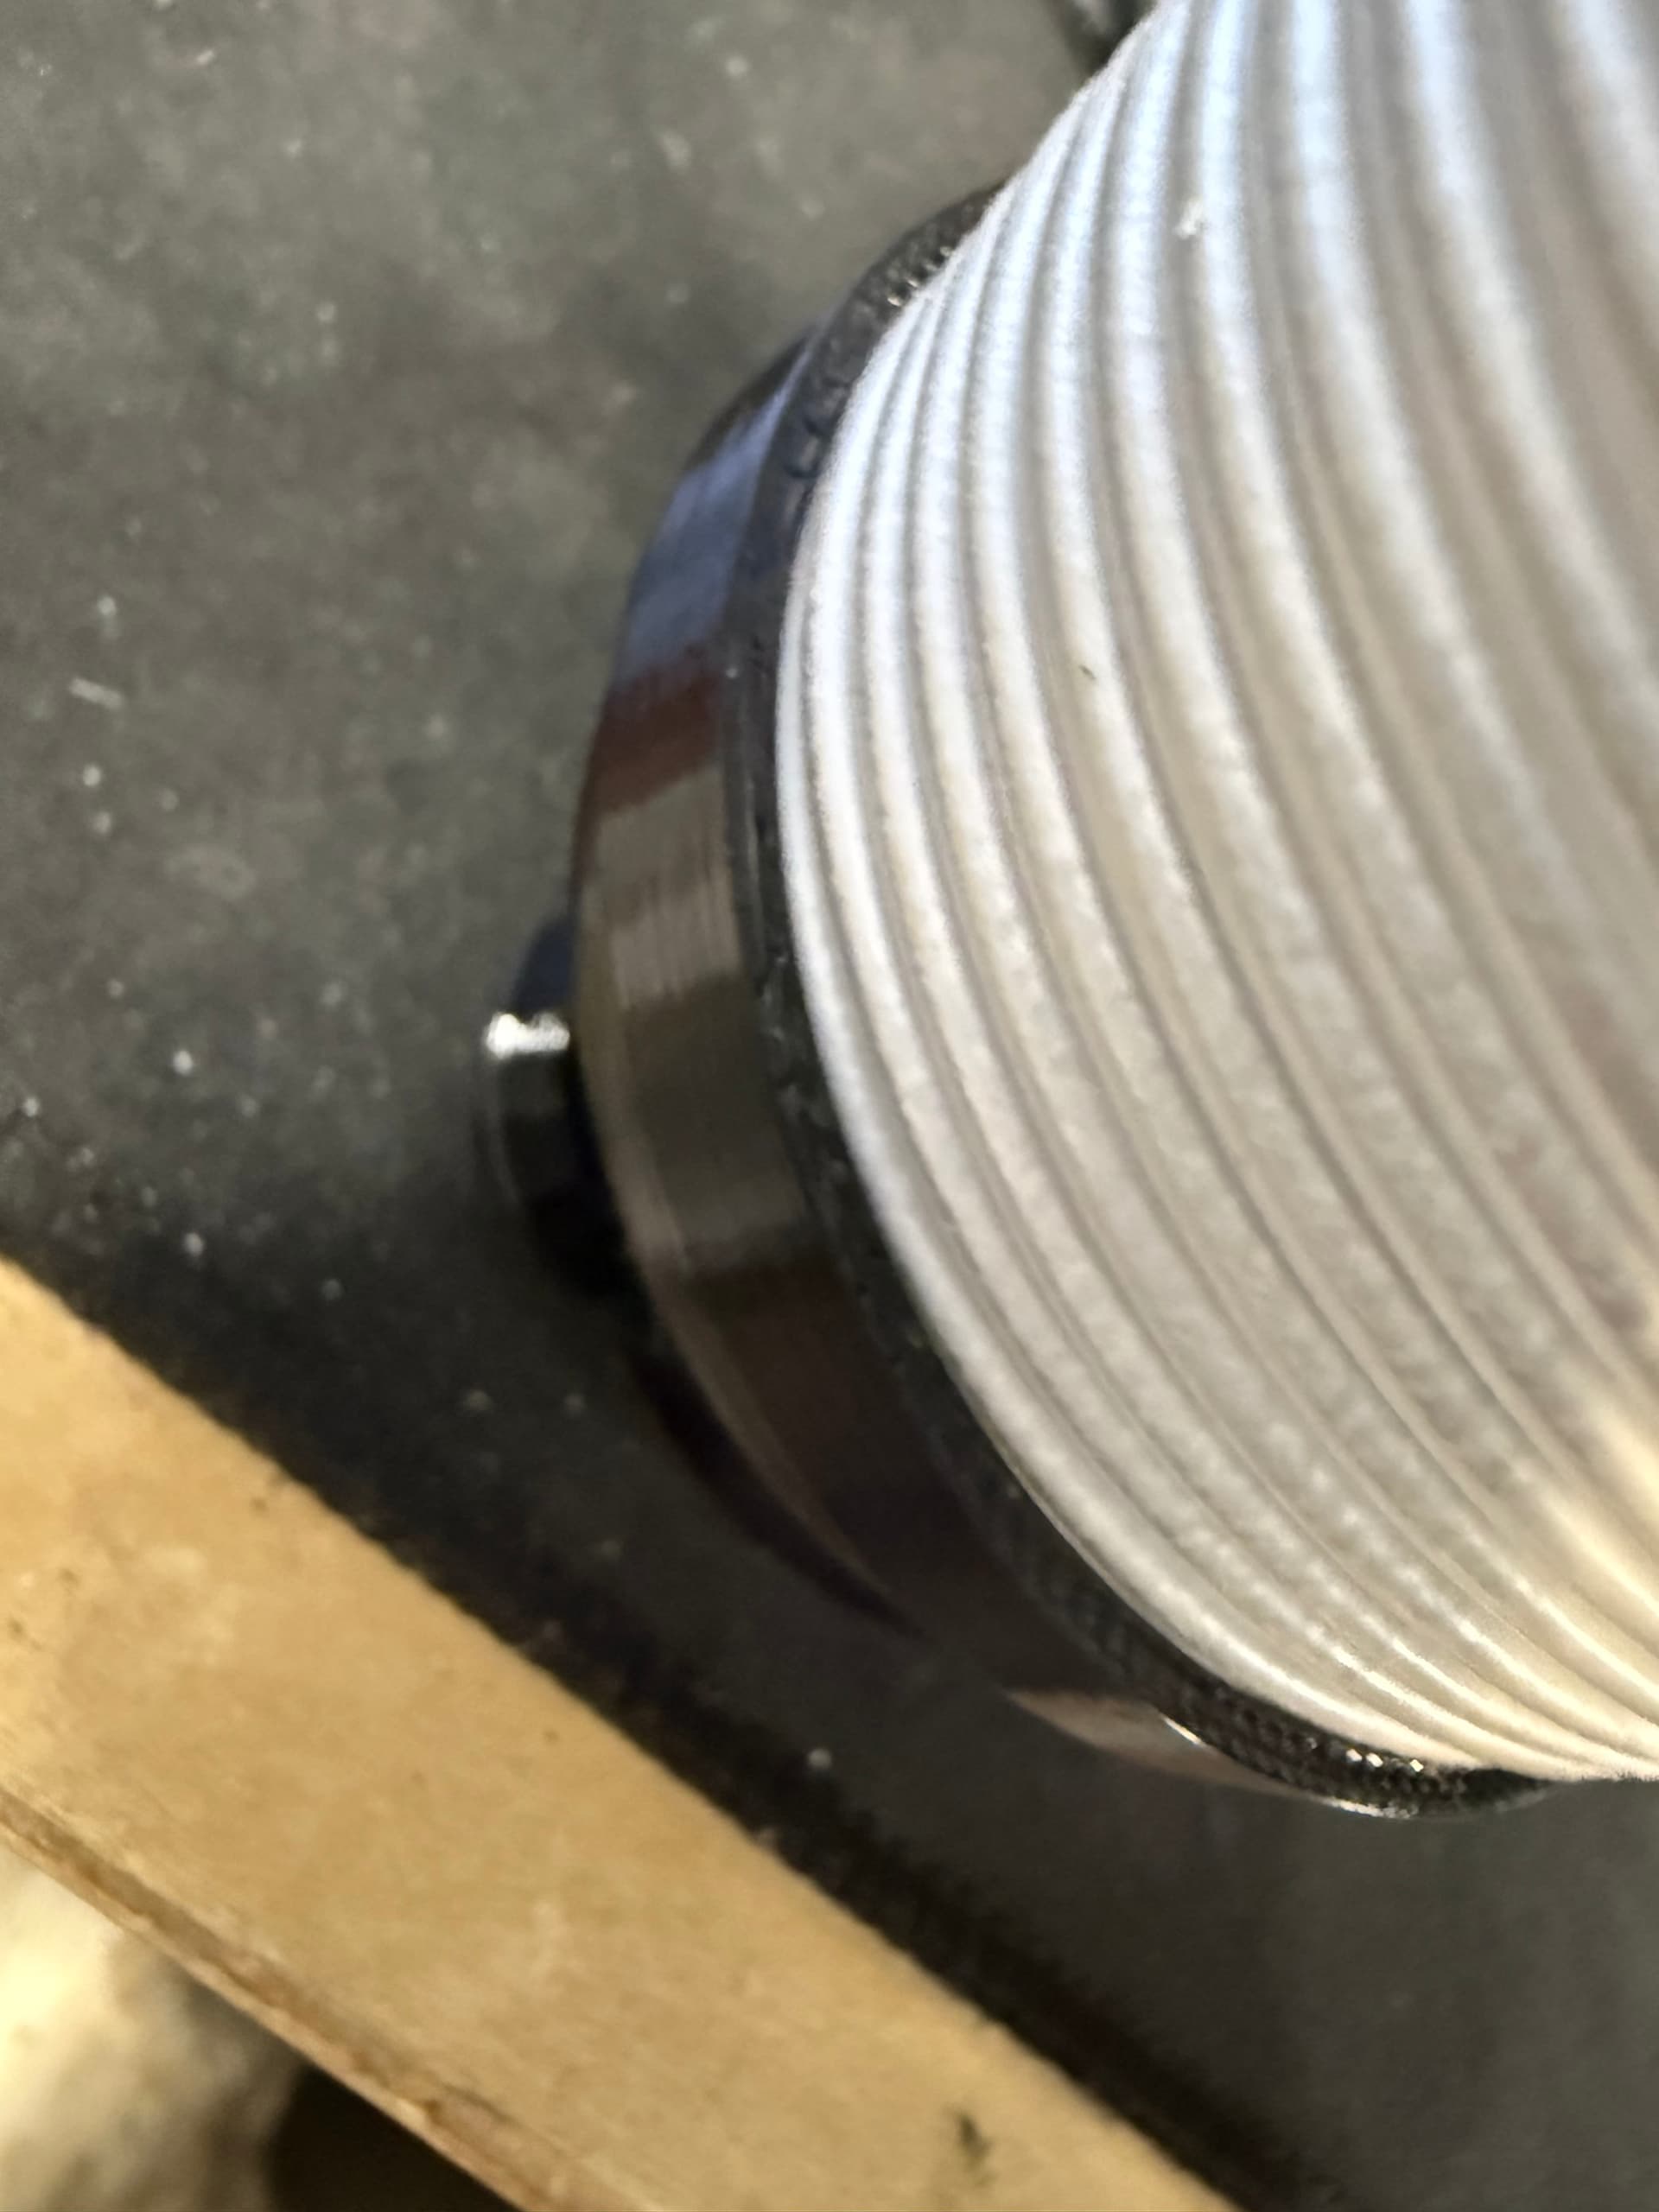
The stock dust shoe for the LR4 is designed to use 2.5" Dust collection hose. I just push mine down into the top of the dust shoe and secure it with a ziptie to the top router mount
IDK its the same hose I have always used and I haven’t seen anyone else have it loose like you do. Its so hard to measure hose correctly with a tape measure.