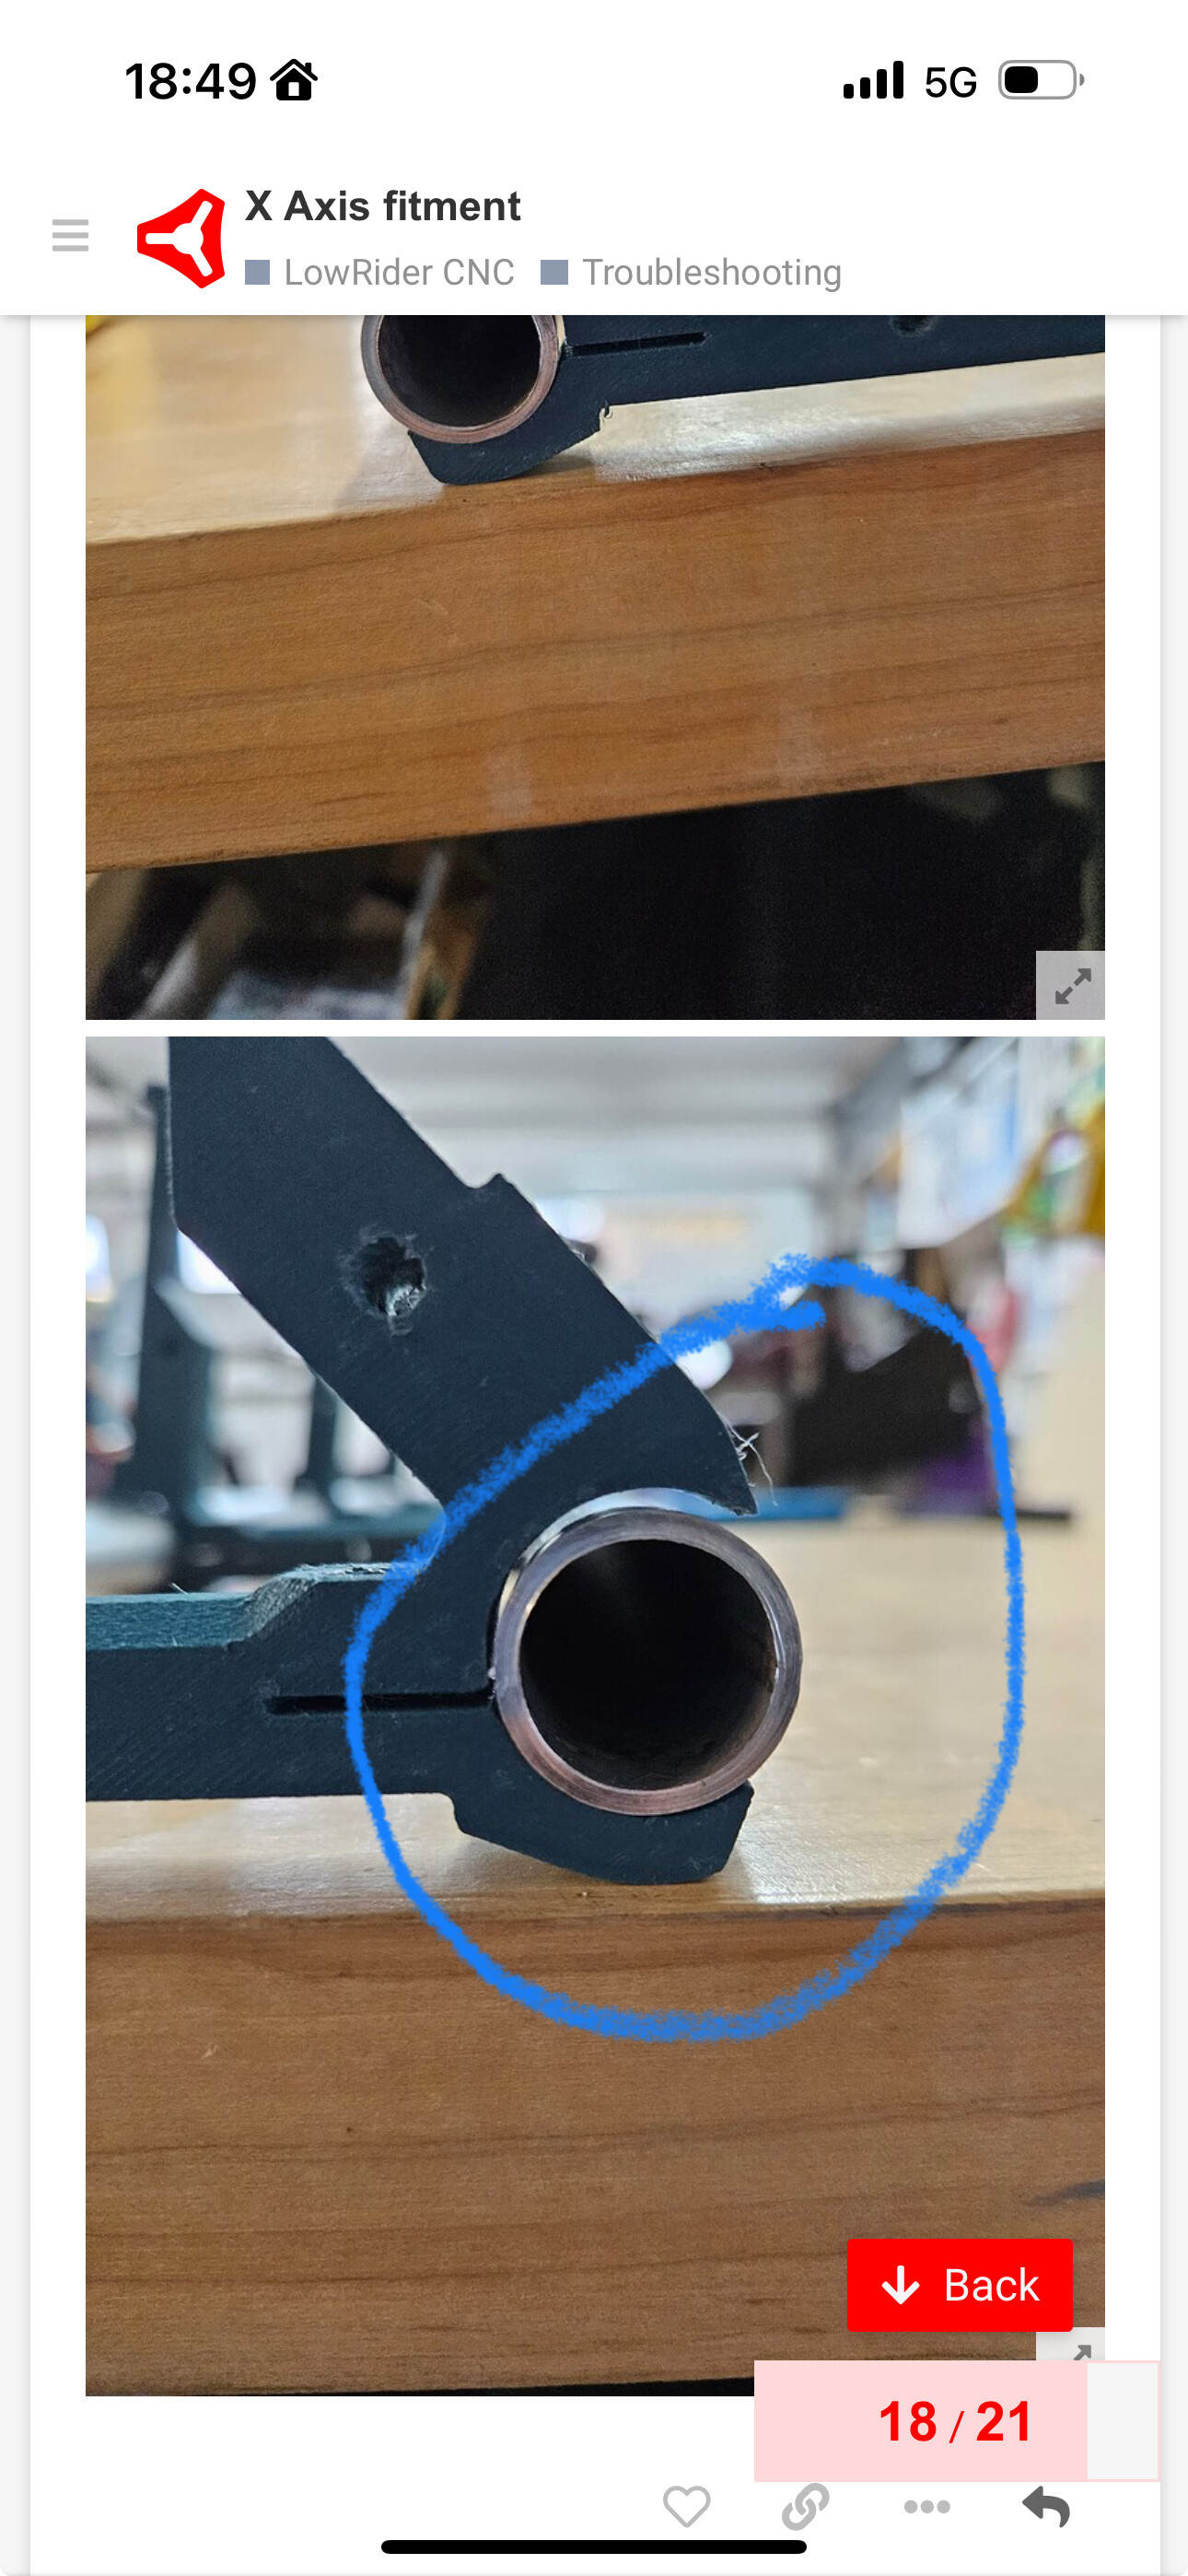
Before you do. Take your calipers and measure the inside of the brace. Where your are trying to install the pipe
Ok, this has been said several times above, but I’ll say it one more time…
There is no size of EMT that will fit your 25.4 mm braces.
25.4 is designed for 1" TUBING (NOT EMT!!!)
Your pictures show you trying to cram a 1" EMT into those braces, and you have possibly stretched them beyond their elastic limit.
If you have already bought 3/4" EMT in addition to the 1" EMT, then the easy solution is to print the 23.4 braces (which are designed for 3/4" EMT).
If you really, really want to use the braces that you have already printed, you need to buy 1" TUBING. Note that you are unlikely to find this at Home Depot or your corner hardware/electrical supply store. Metal Supermarket or some other metal dealer is more likely to have that product. (Stainless Steel Tubing is considerably more expensive than EMT, so if you are already worried about cost, don’t go there). Note also that you may have damaged the braces by cramming the 1" EMT into them.
4 Likes
As others have said no EMT will fit the 25.4mm braces. If you already bought 3/4" EMT then that will fit perfectly in the 23.5mm braces. Easiest to just reprint your braces in that size and use the pipe you already bought. Much cheaper than buying 1" tubing.
I know it seems frustrating but it will get better. All of us have had our own bumps in the road, I know I have had SEVERAL lol. But I will say you wont have any issues with the 3/4" EMT. I run that on both of my LR3s and push them quite hard in aluminum with zero machine issues. All my issues are self inflicted LOL
2 Likes
Thanks guys. There is an industrial metal supply a few miles away and Ill get the 1" tubing ordered. I only said it was expensive because I bought a $35 3/4 emt pipe for the Y axis (which I later cut up for X to try and make it work) so thats useless now as well as the 1" emt stuff. I threw in the super strut too which I think was like $40 or $50 but these are California prices so I’ll stop complaining.
I actually am not using the blue braces (as they got stretched) but the green ones are PETG and pretty snappy still, and also a little more dimensionally accurate overall compared to one another.
I was just stressed, but thanks for the answers. I’m really dreading the part with all the wires. I have at least 3 or 4 printers that I gave up on trying to flash last year as well as a few resin printers. That stuff just doesn’t compute with me.
That new Fluid NC looks pretty dummy proof eh? Im sure I’ve got the right hardware to run it due to all the failed projects I mentioned haha.
1 Like
PS. I’ve been trying to get this thing built for over a year now. So…baby steps.
2 Likes
You’ve had some big obstacles, and you might have more. But I bet you will just fly into it now.
I would slightly recommend getting a controller from Ryan (he sells out of his garage in Northern CA). It will skip over a lot of potential pot holes. Building your own controller from spare parts can be tricky.
1 Like
well i already ordered the rambo mini board last year. Where is this controller board?
and thanks
You can find it here: Jackpot CNC Controller – V1 Engineering Inc
If you also buy the wiring kit (Stepper extender wires. – V1 Engineering Inc), there is nearly no crimping and setup takes about 20 minutes.
1 Like
The mini rambo is a 4 channel board. It does not support dual endstops. That was fine on the LR1 and 2. It will make things a little more difficult on a LR3.
You can’t put two drivers and two motors on the mini rambo (because that would take 5 drivers).
You need two drivers on Y and Z to auto square the machine. Once the motors are enabled, the pair of motors move in lock step. So if you start square, you can hold it square.
But the LR3 doesn’t start even on the two Z screws. So before you engage the Z motors, you need some sort of platform or stop to put under both ends to keep each end at the same level when you engage the motors. You also need to make sure the Y motors are square before you start those motors.
V1CNC_MiniRambo can be found (with the other Marlin firmwares) at MarlinBuilder releases.
If you had a full sized Rambo, Skr Pro v1.2 or the jackpot board, you can assign two motor drivers to Y and two for Z. After you power on the controller you can home those axis and each motor will feel for it’s own endstop, which will make that axis square and they will move in lock step after that.
FWIW, I run my LR3 without endstops, but the more complex setup doesn’t bother me.
3 Likes
i think I confused boards. Mine isn’t the rambo. It’s the one that was suggested for the lr3 when it was released.
1 Like
still trying to figure out this pipe situation.
Is it maybe a full sized rambo? Or the skr pro? We can identify it from a picture.
1 Like
skr pro
1 Like
Ok. That’s easy. There is DualLR code at MarlinBuilder releases.
1 Like

So I finally got it together and already see that I’m going to want to flip the axis so that I can do a 4ft run on the x gantry.
I think that is a more compact and useful size. Any tips? I’ll search too obviously.
As for the Marlin build… I was hoping to use fluid NC because of how easy it seemed and also because I hope to learn it and build better versions down the road.
and I think I ordered a 2 200mm leadscrews instead of 2 100mm ones or whatever they are haha.
1 Like
But ya, Now I’m at my most fearful part. The wiring and trying to make it go.
Like I said, I even have other builds that I always get stumped here. I’ll Just try and do the walkthrough and see if that works before I start my wailing and complaining about how stupid I am blah blah. Cheers
1 Like
And thank you for taking interest with helping me @jeffeb3
Much appreciated.
What are the pros and cons of Marlin versus an NC build?
1 Like
Maybe I’ll save the SKR Pro board for the Primo. Unless theres no reason I can’t do Fluid NC on the skr?