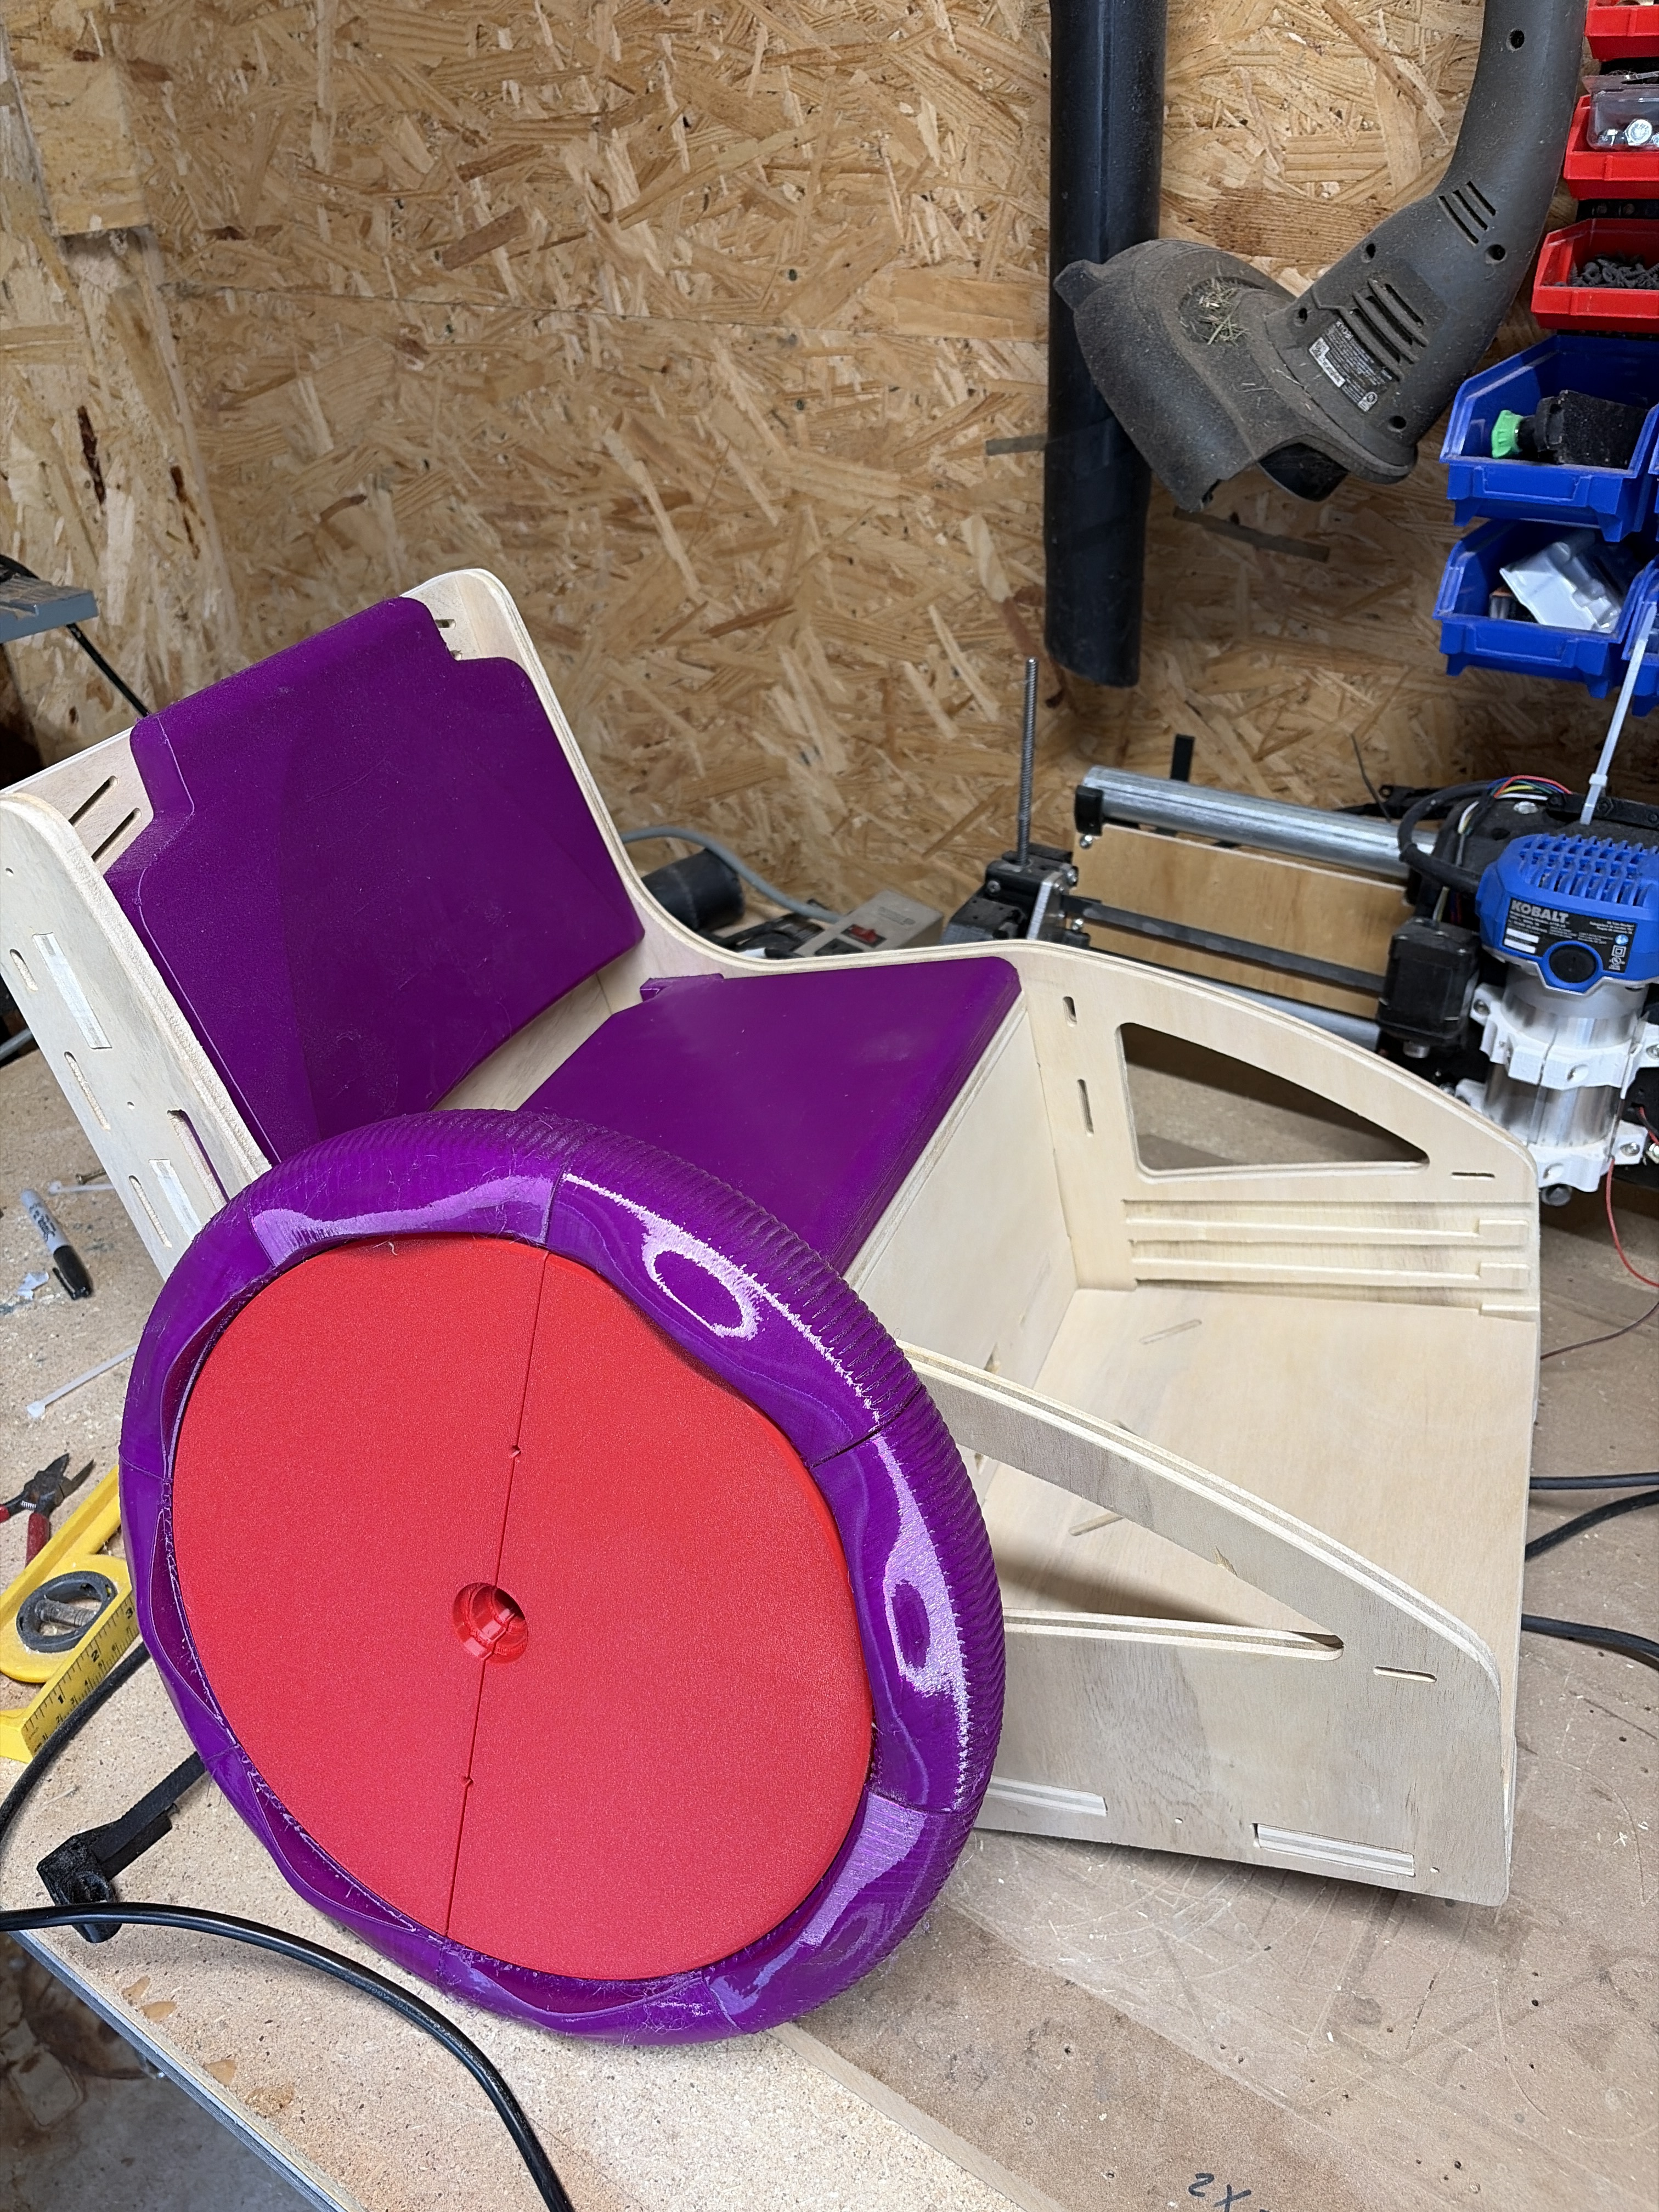
At a good point to assemble and finish. What should I do? As I am looking at it I do not mind a white paint??? But this is not for me
Whatever you want to do! Without a true request to see what they want its hard to say for sure.
so is this build ok to ask? What needs done to approve? I can go online and see if anyone is near that would want it
I don’t think we are ready to start asking families for these quite yet. Dana is doing destructive test I believe. I have a meeting with Noam later today and that is one of the things I am asking.
My suggestion would be don’t paint it yet. Just get it completely assembled so you can see everything works as it should. Straps and all. Follow the work flow guide on your maker dashboard and mark it assembling now. And once you get it all the way together submit it for approval (i am curious to see what the rest of the admin team says here  ). Then once we get the go ahead to give them to families I will help you with that side of it.
The one piece I am concerned about is the front caster piece, it seemed kind of weak, I will get assembled

What’s recommended materials and process steps for solid safe fast assembly that does a decent job of withstanding destruction testing, and real world use? Titebond 3 and screws?
Regular latex primer+paint finish ok?
With Titebond 3 wiped along the already 220 grit sanded cut round overed edges (to help smooth and seal edges), as well as using Titebond 3 to help bond the slotted/tabbed panels.
@vicious1 rainbow arch curve geometry on the side panels would be neat for adding Decals of rainbows+unicorns many kids love.
Predrilling and screws is plenty strong. Some glue always helps. I built my without glue specifically to see if it was going to be required or not…it is not the parts all lock together pretty well and the screws are plentiful.
curious to know if this campaign has any intention of branching out to outside of the states? i’m in aus and would love to contribute to something like this.
Already has!!!
I might be interested in being a beta tester. I’m already set up for the parts that need 3d printing.t. I’ve almost completed 10 3d printed TMTs on my Bambu Lab P1S and I like helping these disabled kids a lot. I’m retired. One of my big hobbies has been woodworking. Sometimes I buy Titebond III by the gallon. I have a heavy duty Bosch Router on a Rockler router table, and a Makita trim router. (I also have a 13" DeWalt planer with a helical cutter head, sliding cut off saw, table saw, drill press, bench & orbital sanders, dust collection system, tons of clamps, a lot of templates, and lots of 18V Makita tools and hand tools. I also have a 5w laser cutter/engraver that can cut thin pieces of balsa wood; and I have the know how to apply lots of finishes. I’m thinking a butcher block finish might work well on the TMT as it water proofs it, looks nice and can take a beating.) Looking at your models, I’d bet you could make the wooden TMT with templates, but I can see this is set up to use CNCs with routers and that way uniform files can be easily distributed & they will all come out pretty uniform. Other than the laser cutter, I haven’t otherwise worked with CNC router equipment for wood. I’d be interested in knowing what I would need to acquire to build wooden TMTs using a CNC setup. If you could give me a suggested list of what I would need with ball park pricing, I think I could then decide if I want to jump in now at the Beta stage vs. waiting for general distribution. I really like the idea of making TMT’s quicker. I saw a post on this site where someone said it takes over 100 hours to 3d print a TMT. In my experience, even using PETG HS filaments, my builds with my .4 nozzel usually take over 300 hours of printing time; so wood likes the way of the future.
Please let me know what would be needed, and if I can be of help in any way.
Hey Tom, since this forum is public, I highly suggest you edit out your details or it’s going to get scrubbbed by bots.
Welcome to the V1 forum Tom. Here are the things you will need from the V1 Store to build your very own LowRider V4 CNC:
https://www.v1e.com/products/lowrider-v4-hardware-kit
This page lists the things you will need to source yourself like EMT, a router, 1/8" and 1/4" single flute endmills, and a table. You can print your own parts.
I was going to try to delete my contact info, but I can’t figure out how to edit the post. Advice on editing would be appreciated.

There is no pencil icon there, just the link, three dots and the Reply icon. Is there something I have to do to get the pencil icon to show up
Welcome to the forum @tomhouse !
Hang out and make stuff. More forum features/options become available over time as you continue to visit.
For now, I just flagged your post as containing personal info so a forum admin can help edit/scrub it for you.
Thank you Aza B2C!
What was the radius on your roundover?
I believe he did a 1/8" roundover