TLDR: be patient, ensure gantry is level, spoil is level, workpiece is flat. Make sure you have the right mill and there is no need to polish if a clear top coat is applied. (This isnt ai → @Tokoloshi, just longwinded).
Background: a while back I sent a request for older used skr or multichannel boards because through skill or lack of, a couple of my boards cooked in rapid succession on a couple different systems and since i use klipper, i can mix and match to get the number of channels needed. One power supply failed. One lit up a couple drivers… Anyway not good. I was able to get a couple used or nos boards at great and very reasonable rates from users here on the forum who had upgraded to the jackpot. These deals are greatly appreciated. @Jonathjon made me a deal that was too on-sided and refused to negotiate, so this was my attempt to even it a little and learn something. I had this piece of prototype product I held on for something just like this and so started on the design to make it into a custom piece.
Steps:
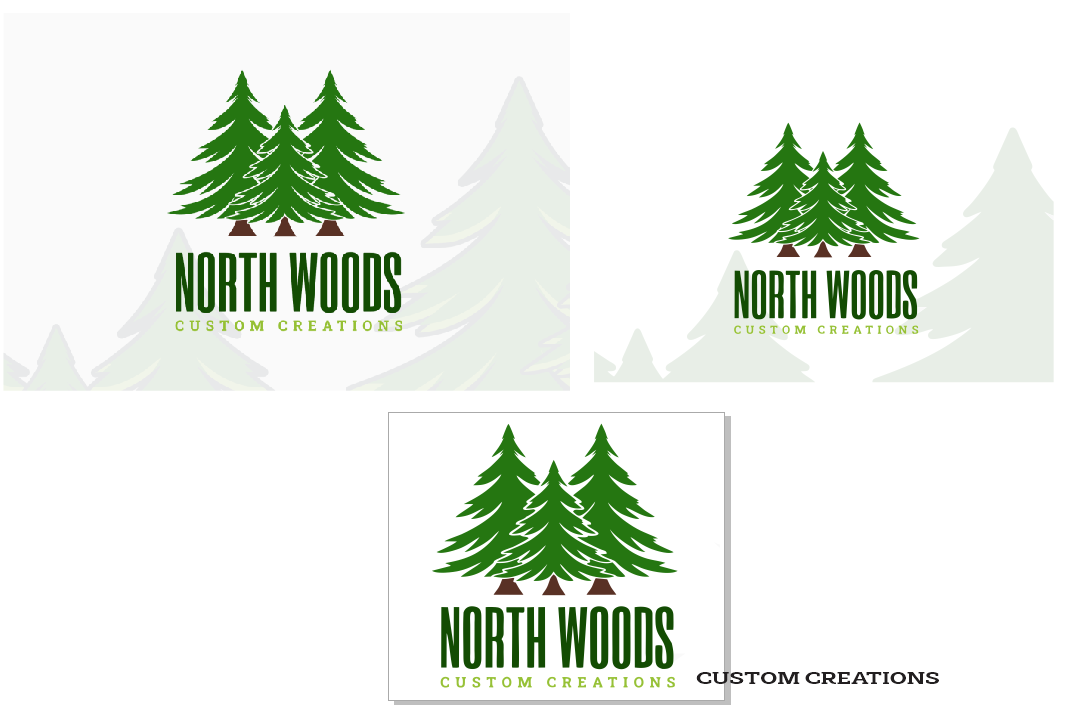
“Acquire” logo. Pulled it off their web page and traced in corel draw and simplified it a little and found a close font.
upper left is bitmap capture, upper right is initial trace. lower center in working box is the simplified logo and the font on the lower right is the closest match and with some scaling became the final.
Maybe a 1/16" end mill for the fine edgework with a 1/4" for the main pockets. Ordered 1/16" tool. Scaled to size, generated svg and pulled into estlcam.
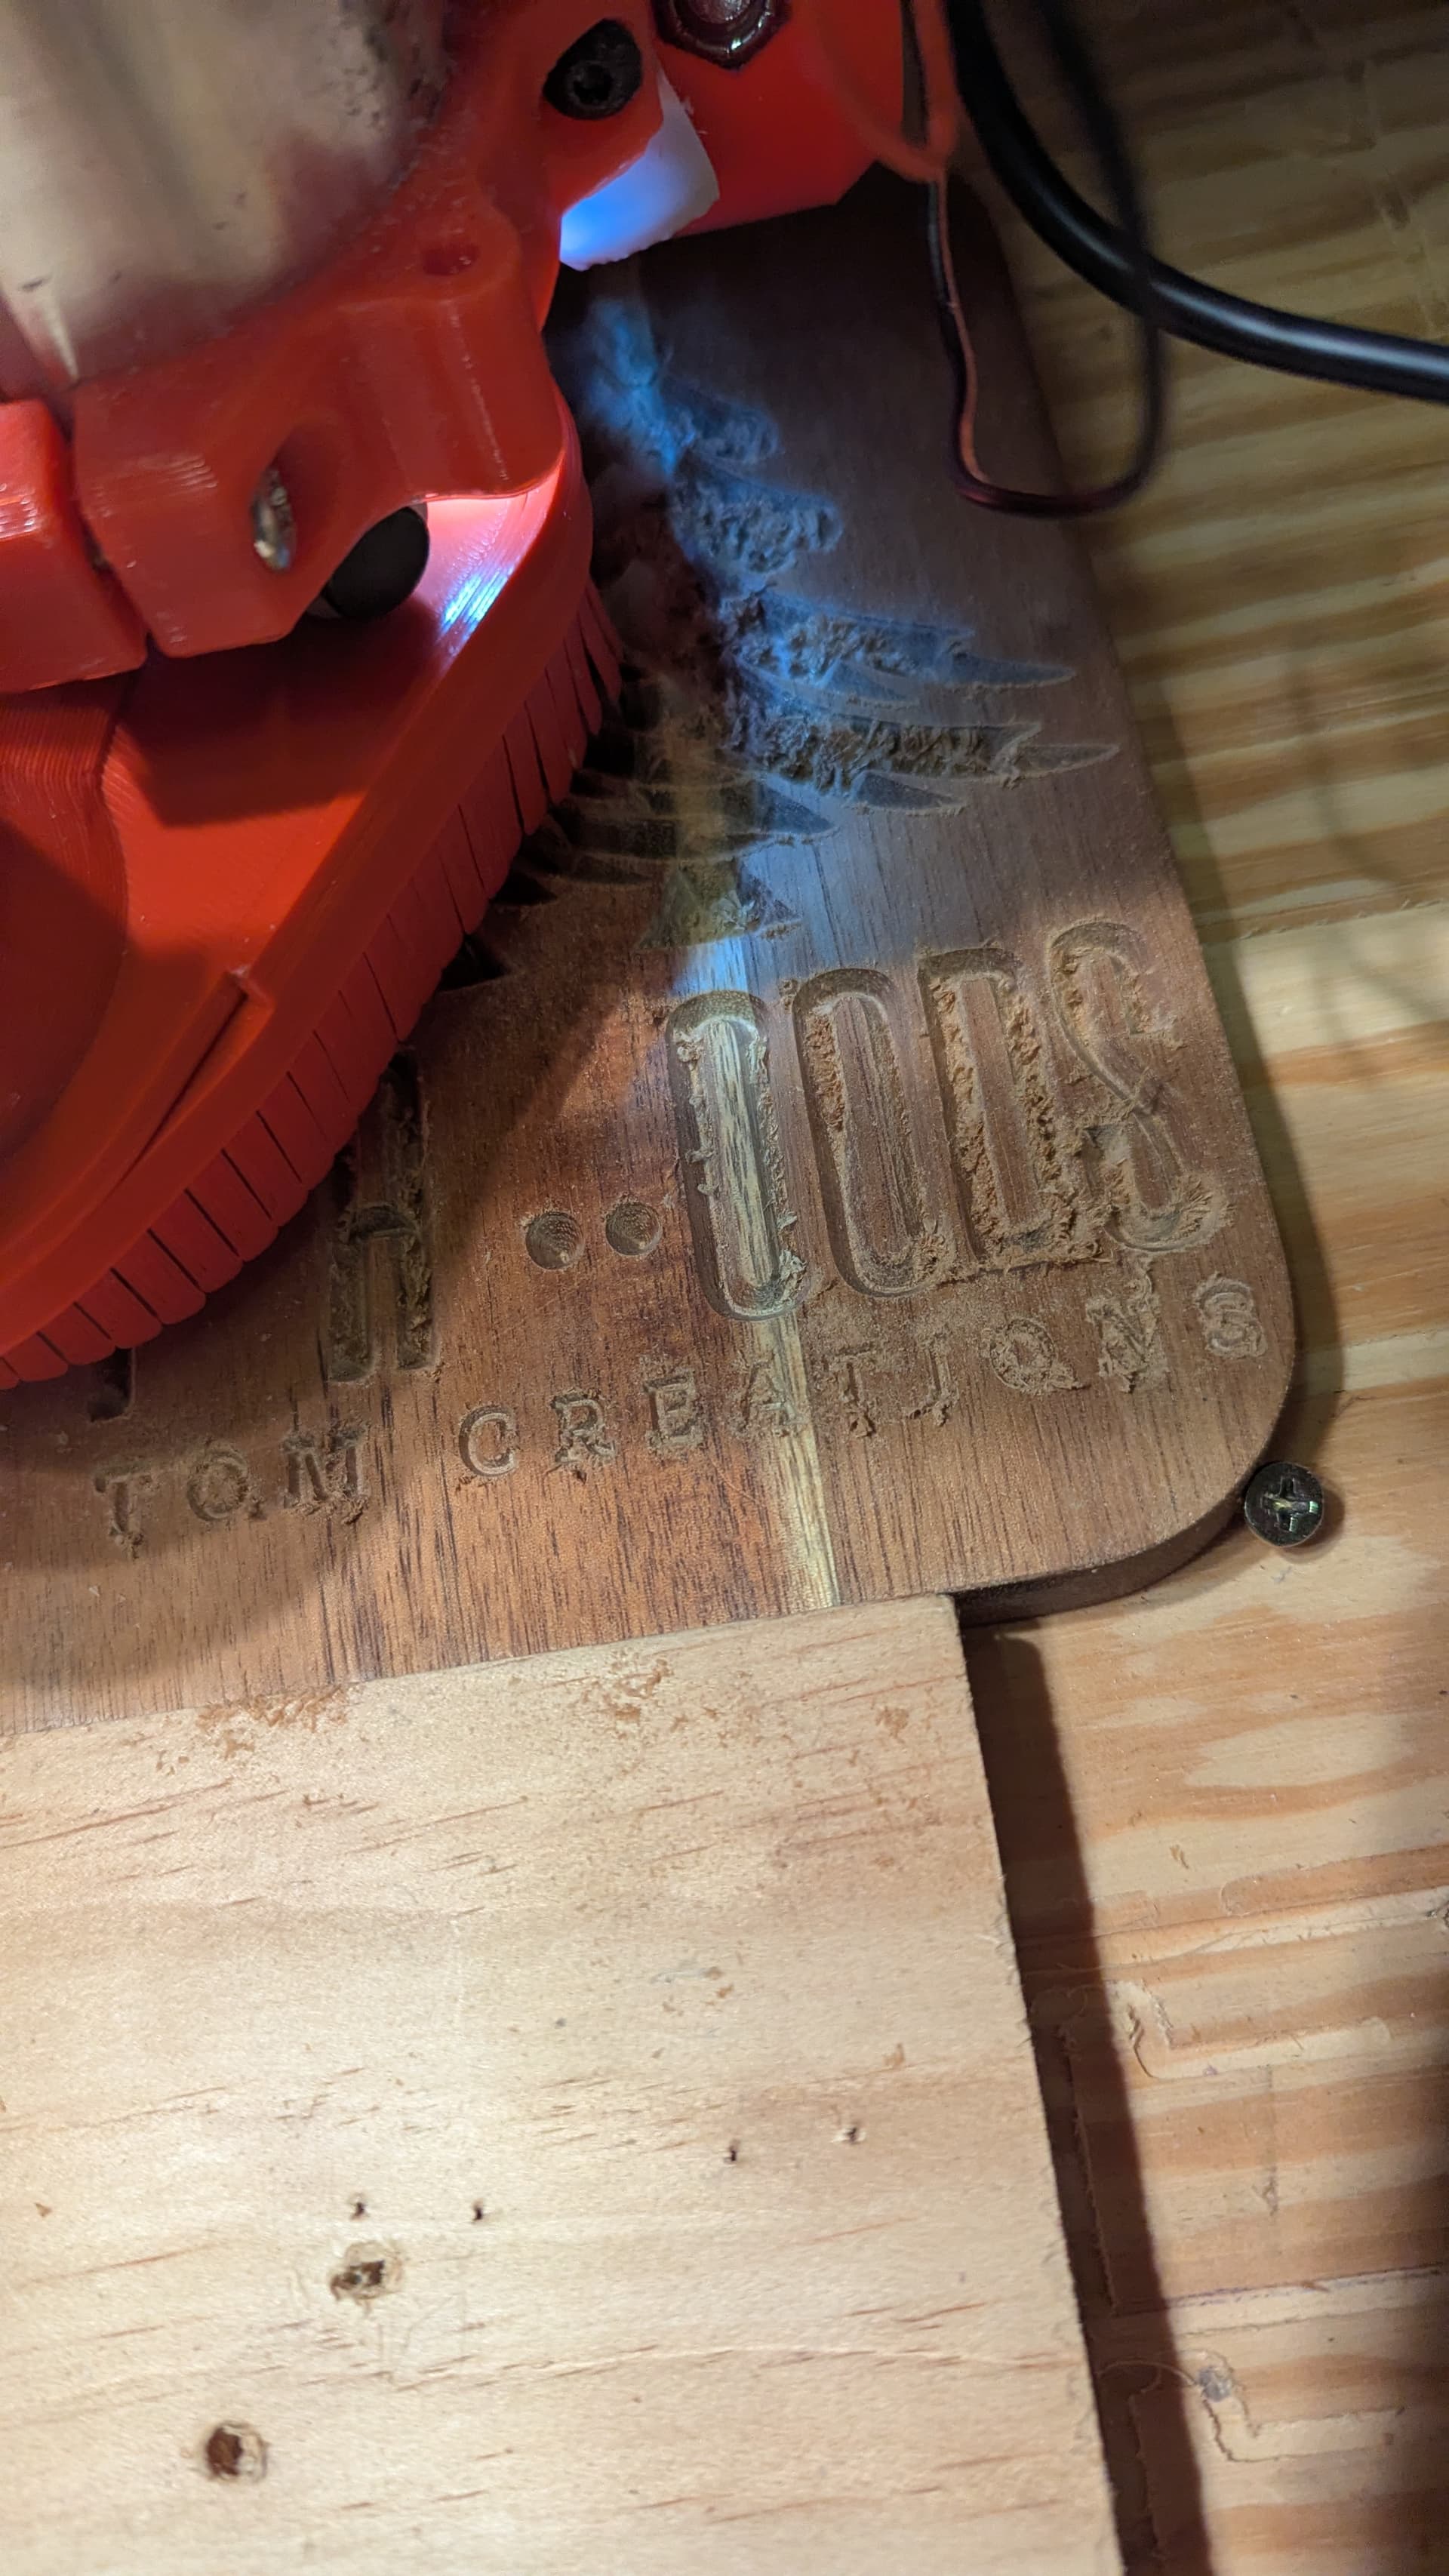
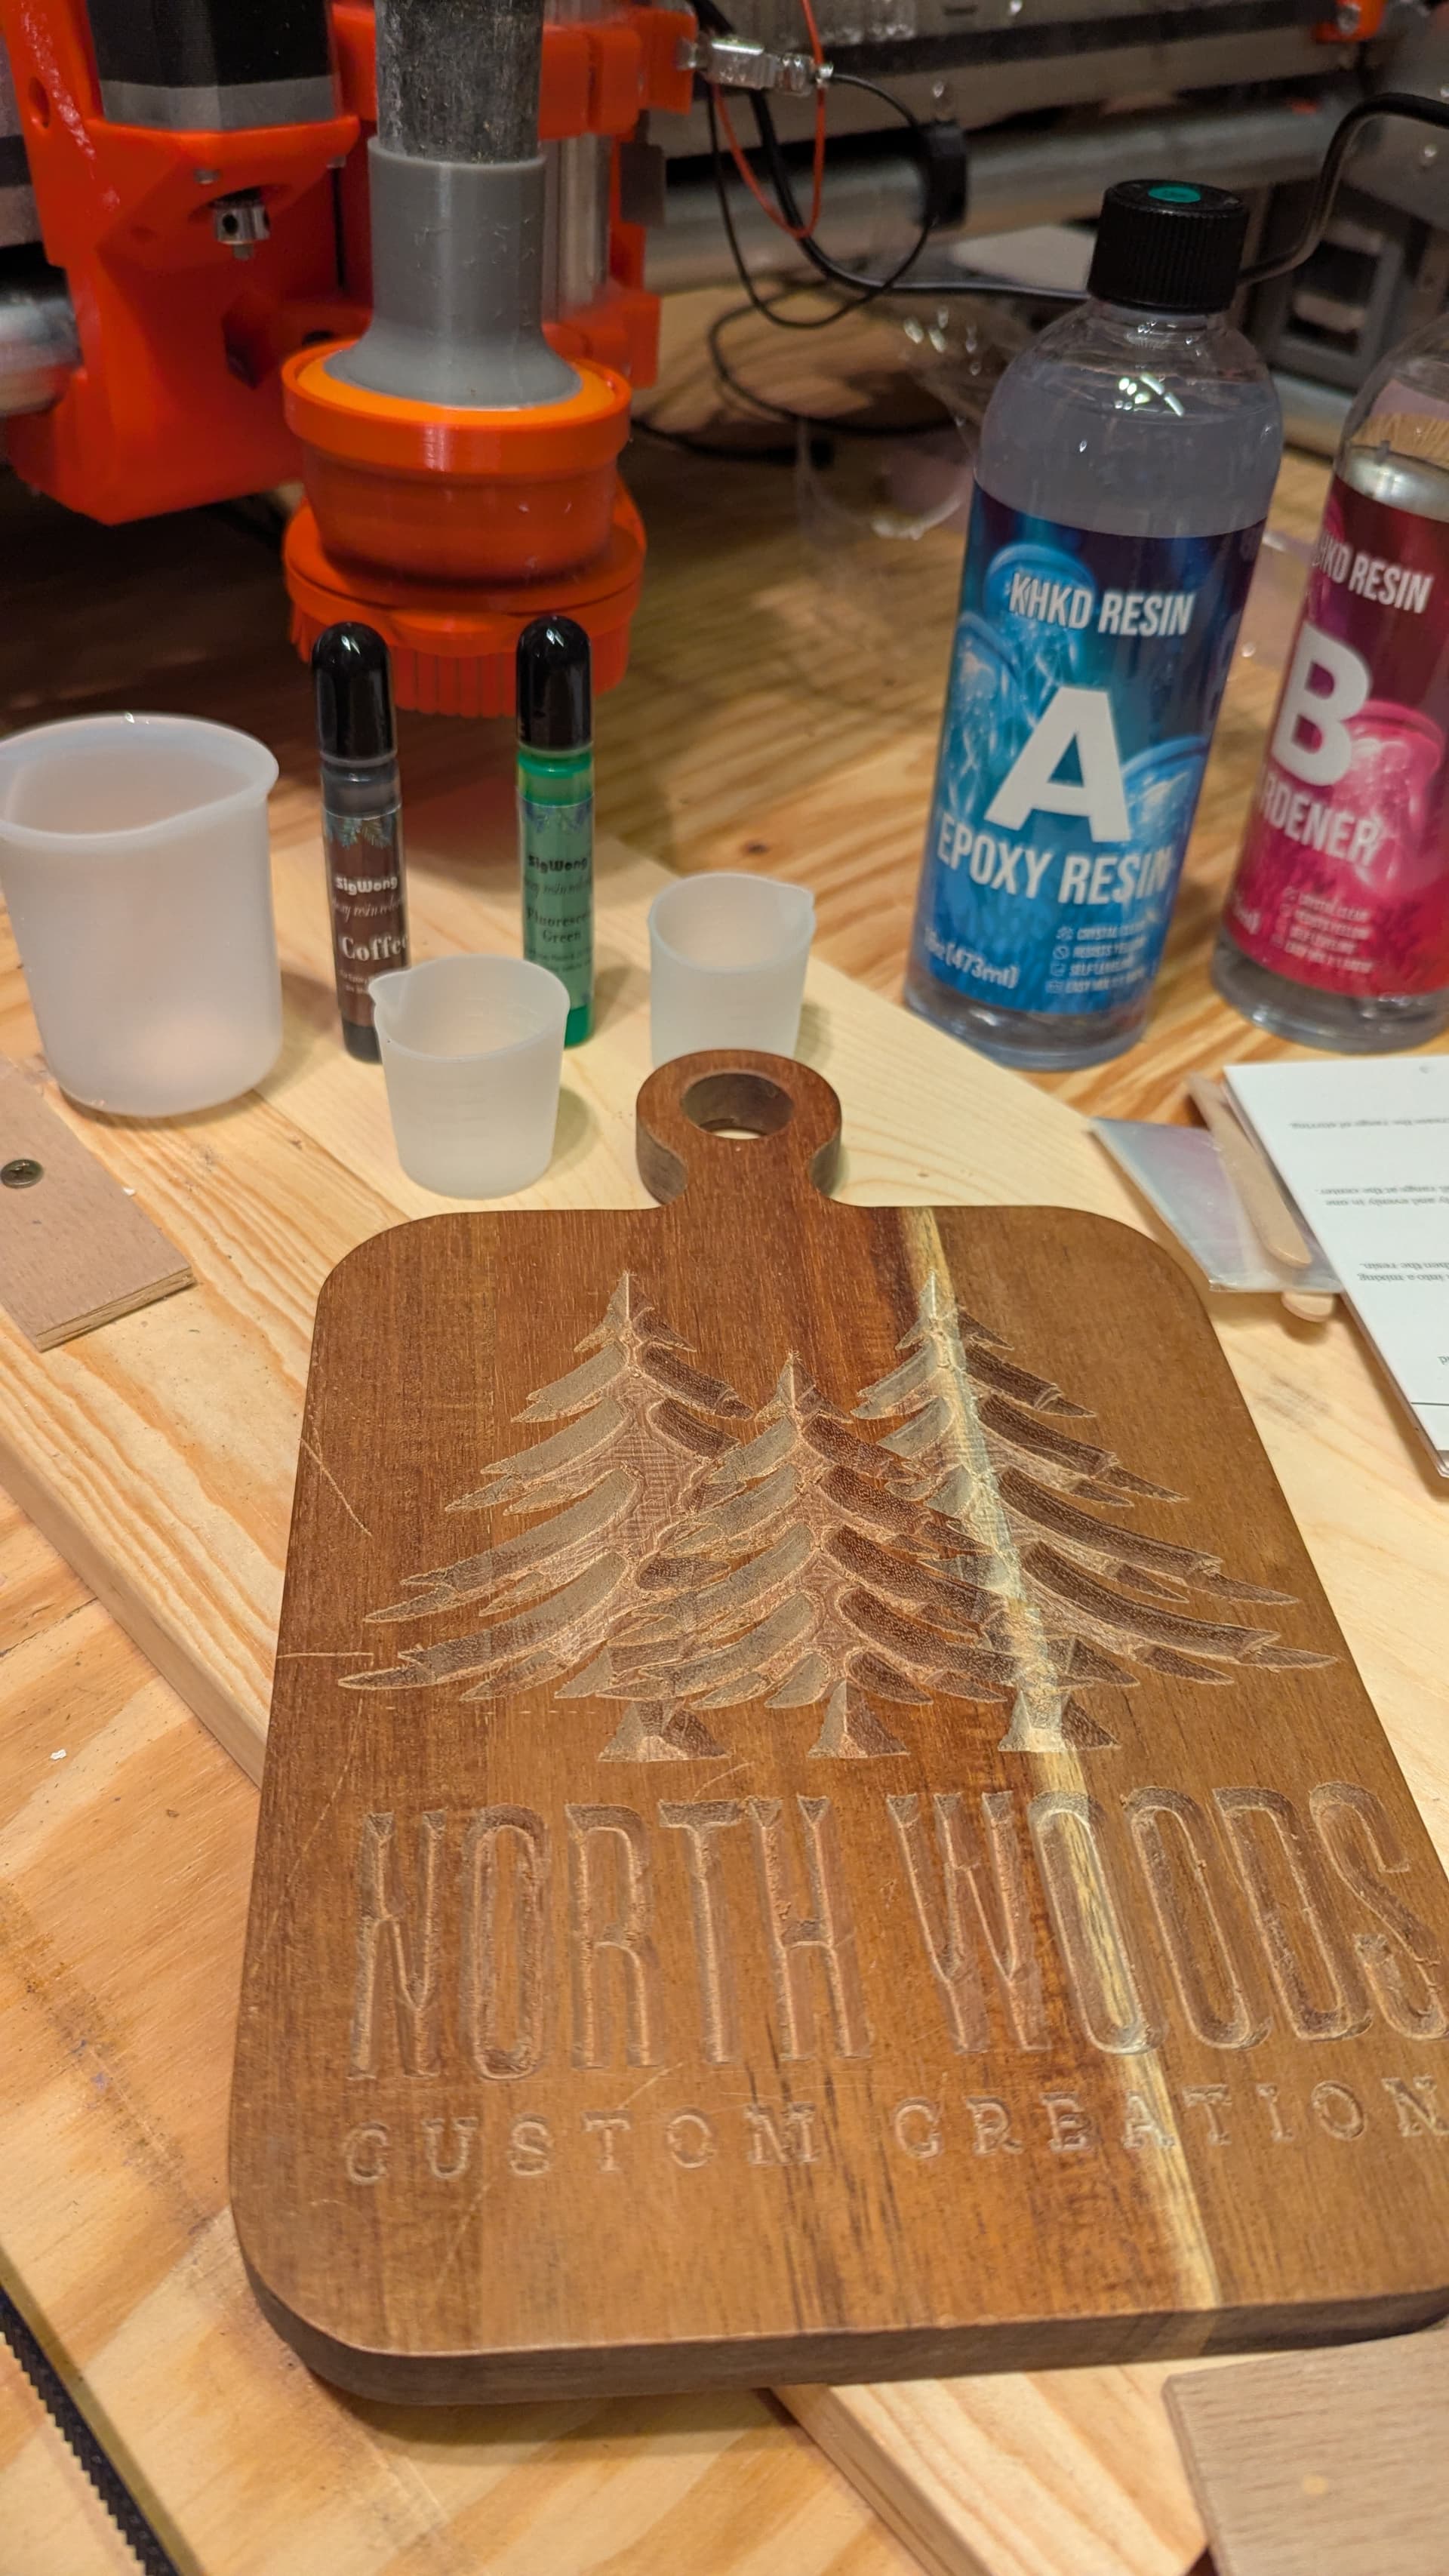
Tool ended up being a drill not an endmill so i pivoted to a 60 deg v bit and set up estlcam as a carve 30 mm wide with a 1/8" endmill for the center pockets max 5 mm deep.
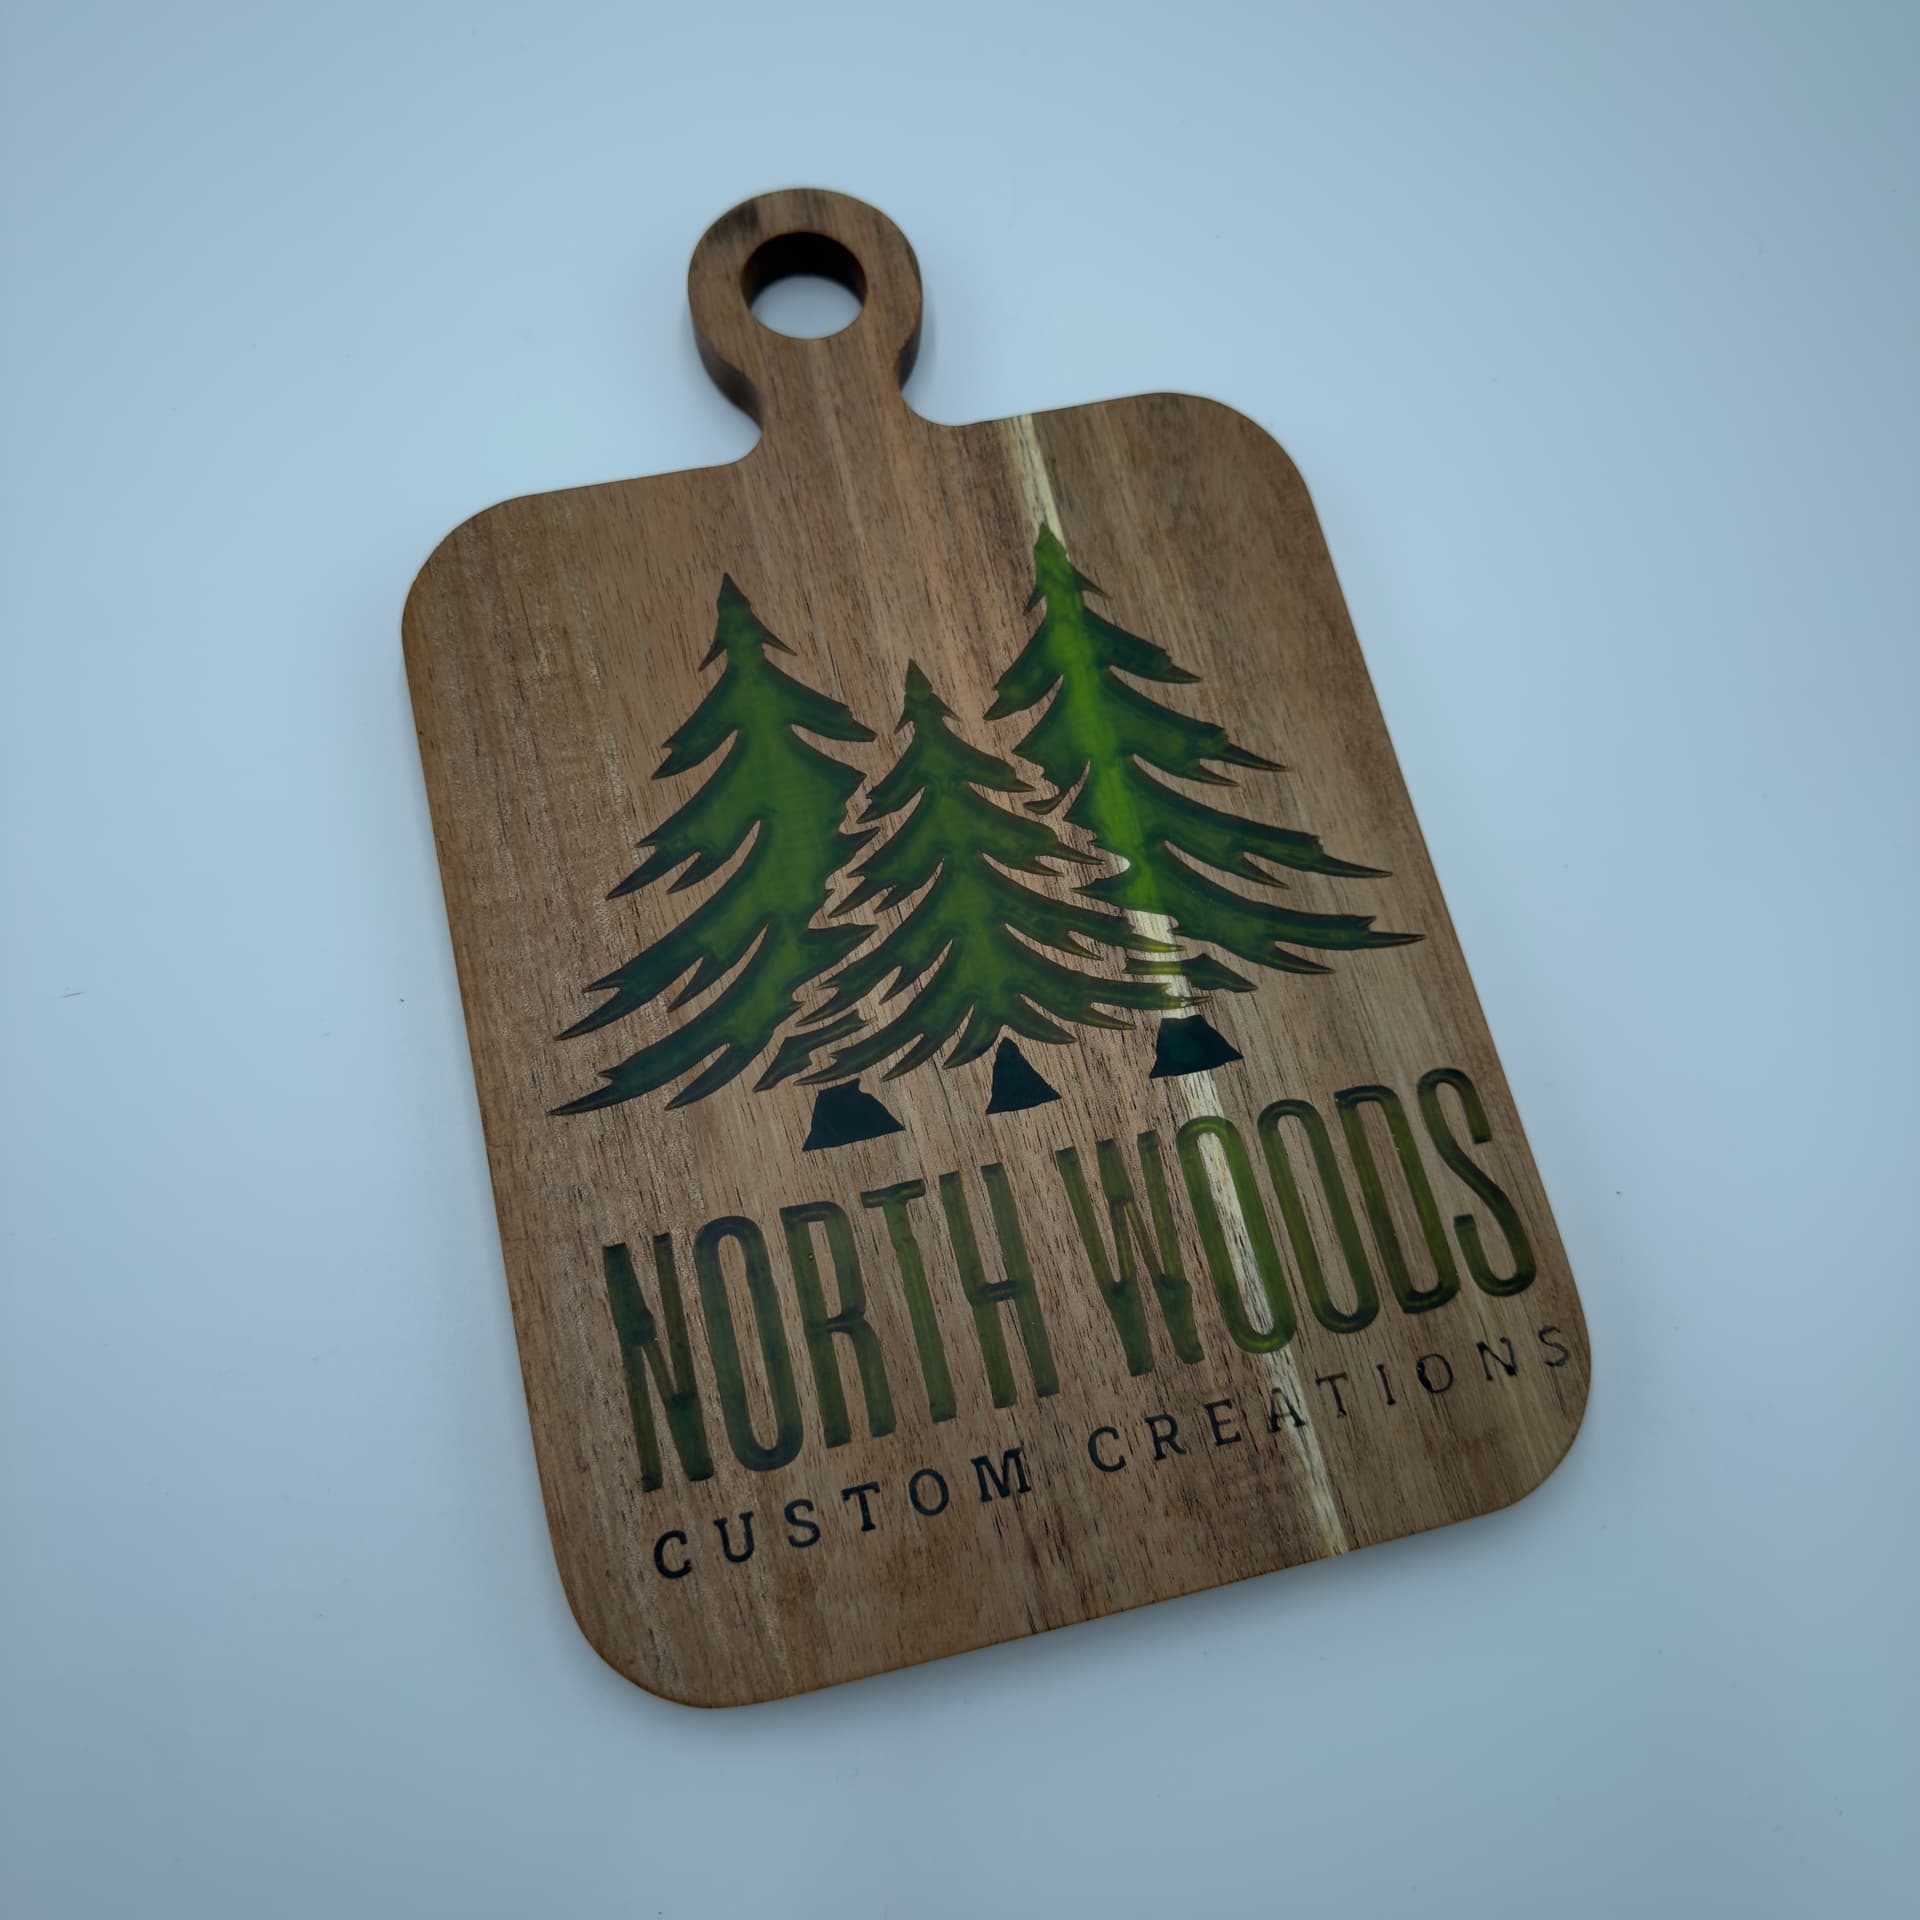
sand with fine grit, put on hardwood floor finish. I learned a ton. I hope after reading this you will brave an epoxy project the next time you have the opportunity.
photo credit to @CarmenJ and @Jonathjon for the finish photo and for overlooking its imperfections.
I have braved a project similar to this, but out of raw wood instead of a finished product already so I think mine was a little simpler because of that. I broke the different color epoxy inlays into different projects from estlcam. Only carved out what color I was going to be pouring, once it hardened I would carve out the next color. Sometimes flattening in between because I am too impatient to wait till the end You did much better than I did in the end since it took me starting completely over to finally get it right Great job and thanks for sharing it here!
Thank you so much for the lovely gift @orob!! I appreciate the thought, effort, time and personal attention that went into creating something just for us. I am glad that you were able to gain some knowledge along the way and I hope to see many more wonderful pieces from you in the future!
AI, in particular ChatGPT, is terrible about littering text with emojis, em dashes, random bold words in the middle of sentences, and lots of extra unnecessary words.
As soon as I saw that post, I scrolled past and was going to say the same thing but @Tokoloshe beat me to it.
All that stuff is distracting and takes away from the post. I refused to read almost any of his posts just because of how distracting all that stuff is.
No human normally goes through the trouble of randomly bolding words in every sentence
This goes back to the long thread we had before. Please let’s not let this place turn into threads full of AI text, and not discourage people encouraging people to be real.
I much prefer reading one of @jono035s long brain-dump messages with little formatting than one half as long full of AI fluff.
(That’s not a criticism of Jono at all. I know what’s like when you sit down to write a “quick” explanation and it turns into 10 paragraphs and you don’t have the energy to even re-read it to see if you said something stupid or not lol)
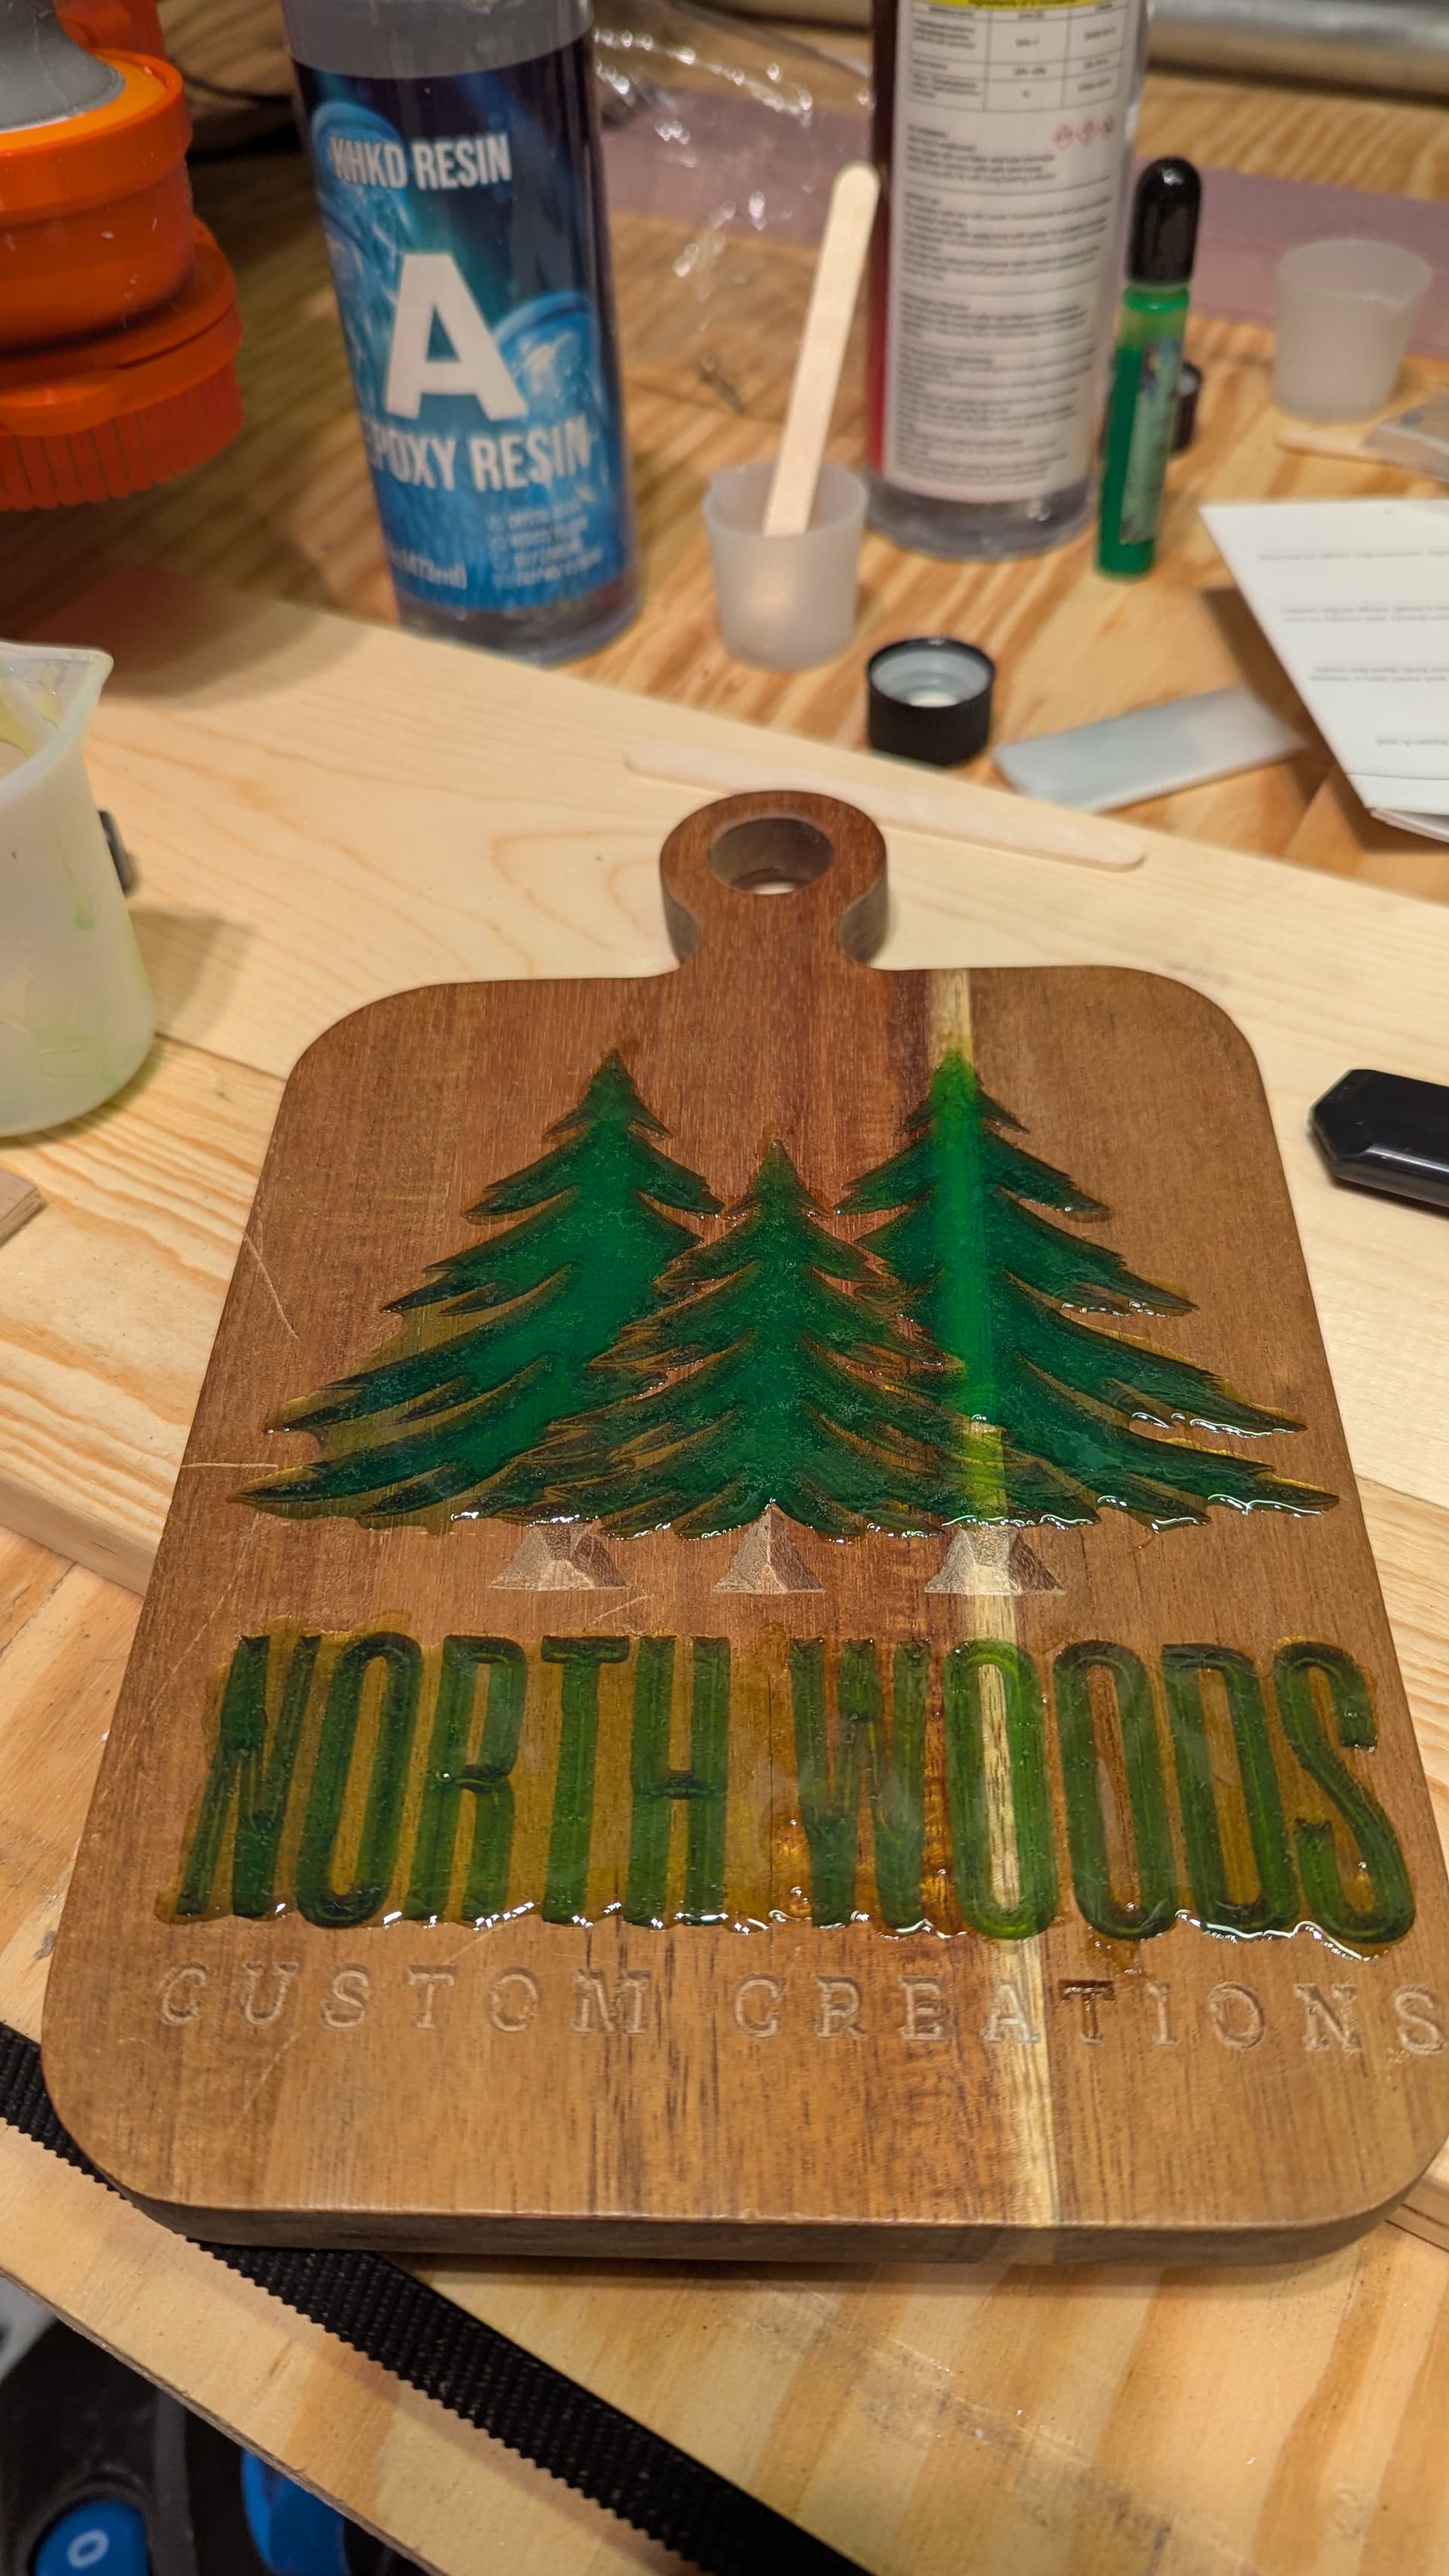
The color kit I bought for the epoxy had some foil in it for glitter and I tried to add some, but it wadded up instead of flaked off and the epoxy was mixed, so I didn’t fight with it. I thought the green would have had more depth with some flake in it… maybe the next one.
I hoard any hardwood I can get my hands on for these types of projects, but it is rare. I haven’t spent considerable dollars on hardwood yet. What do you have in mind?
I have one more for a friend who has a small stump grinding business. His logo is pretty fun so I want to epoxy that.
RIP your endmills. Purple Heart is really hard… I have been working with it quite a bit and with the LR I dialed the speeds down massively so it would cut it without wandering off.
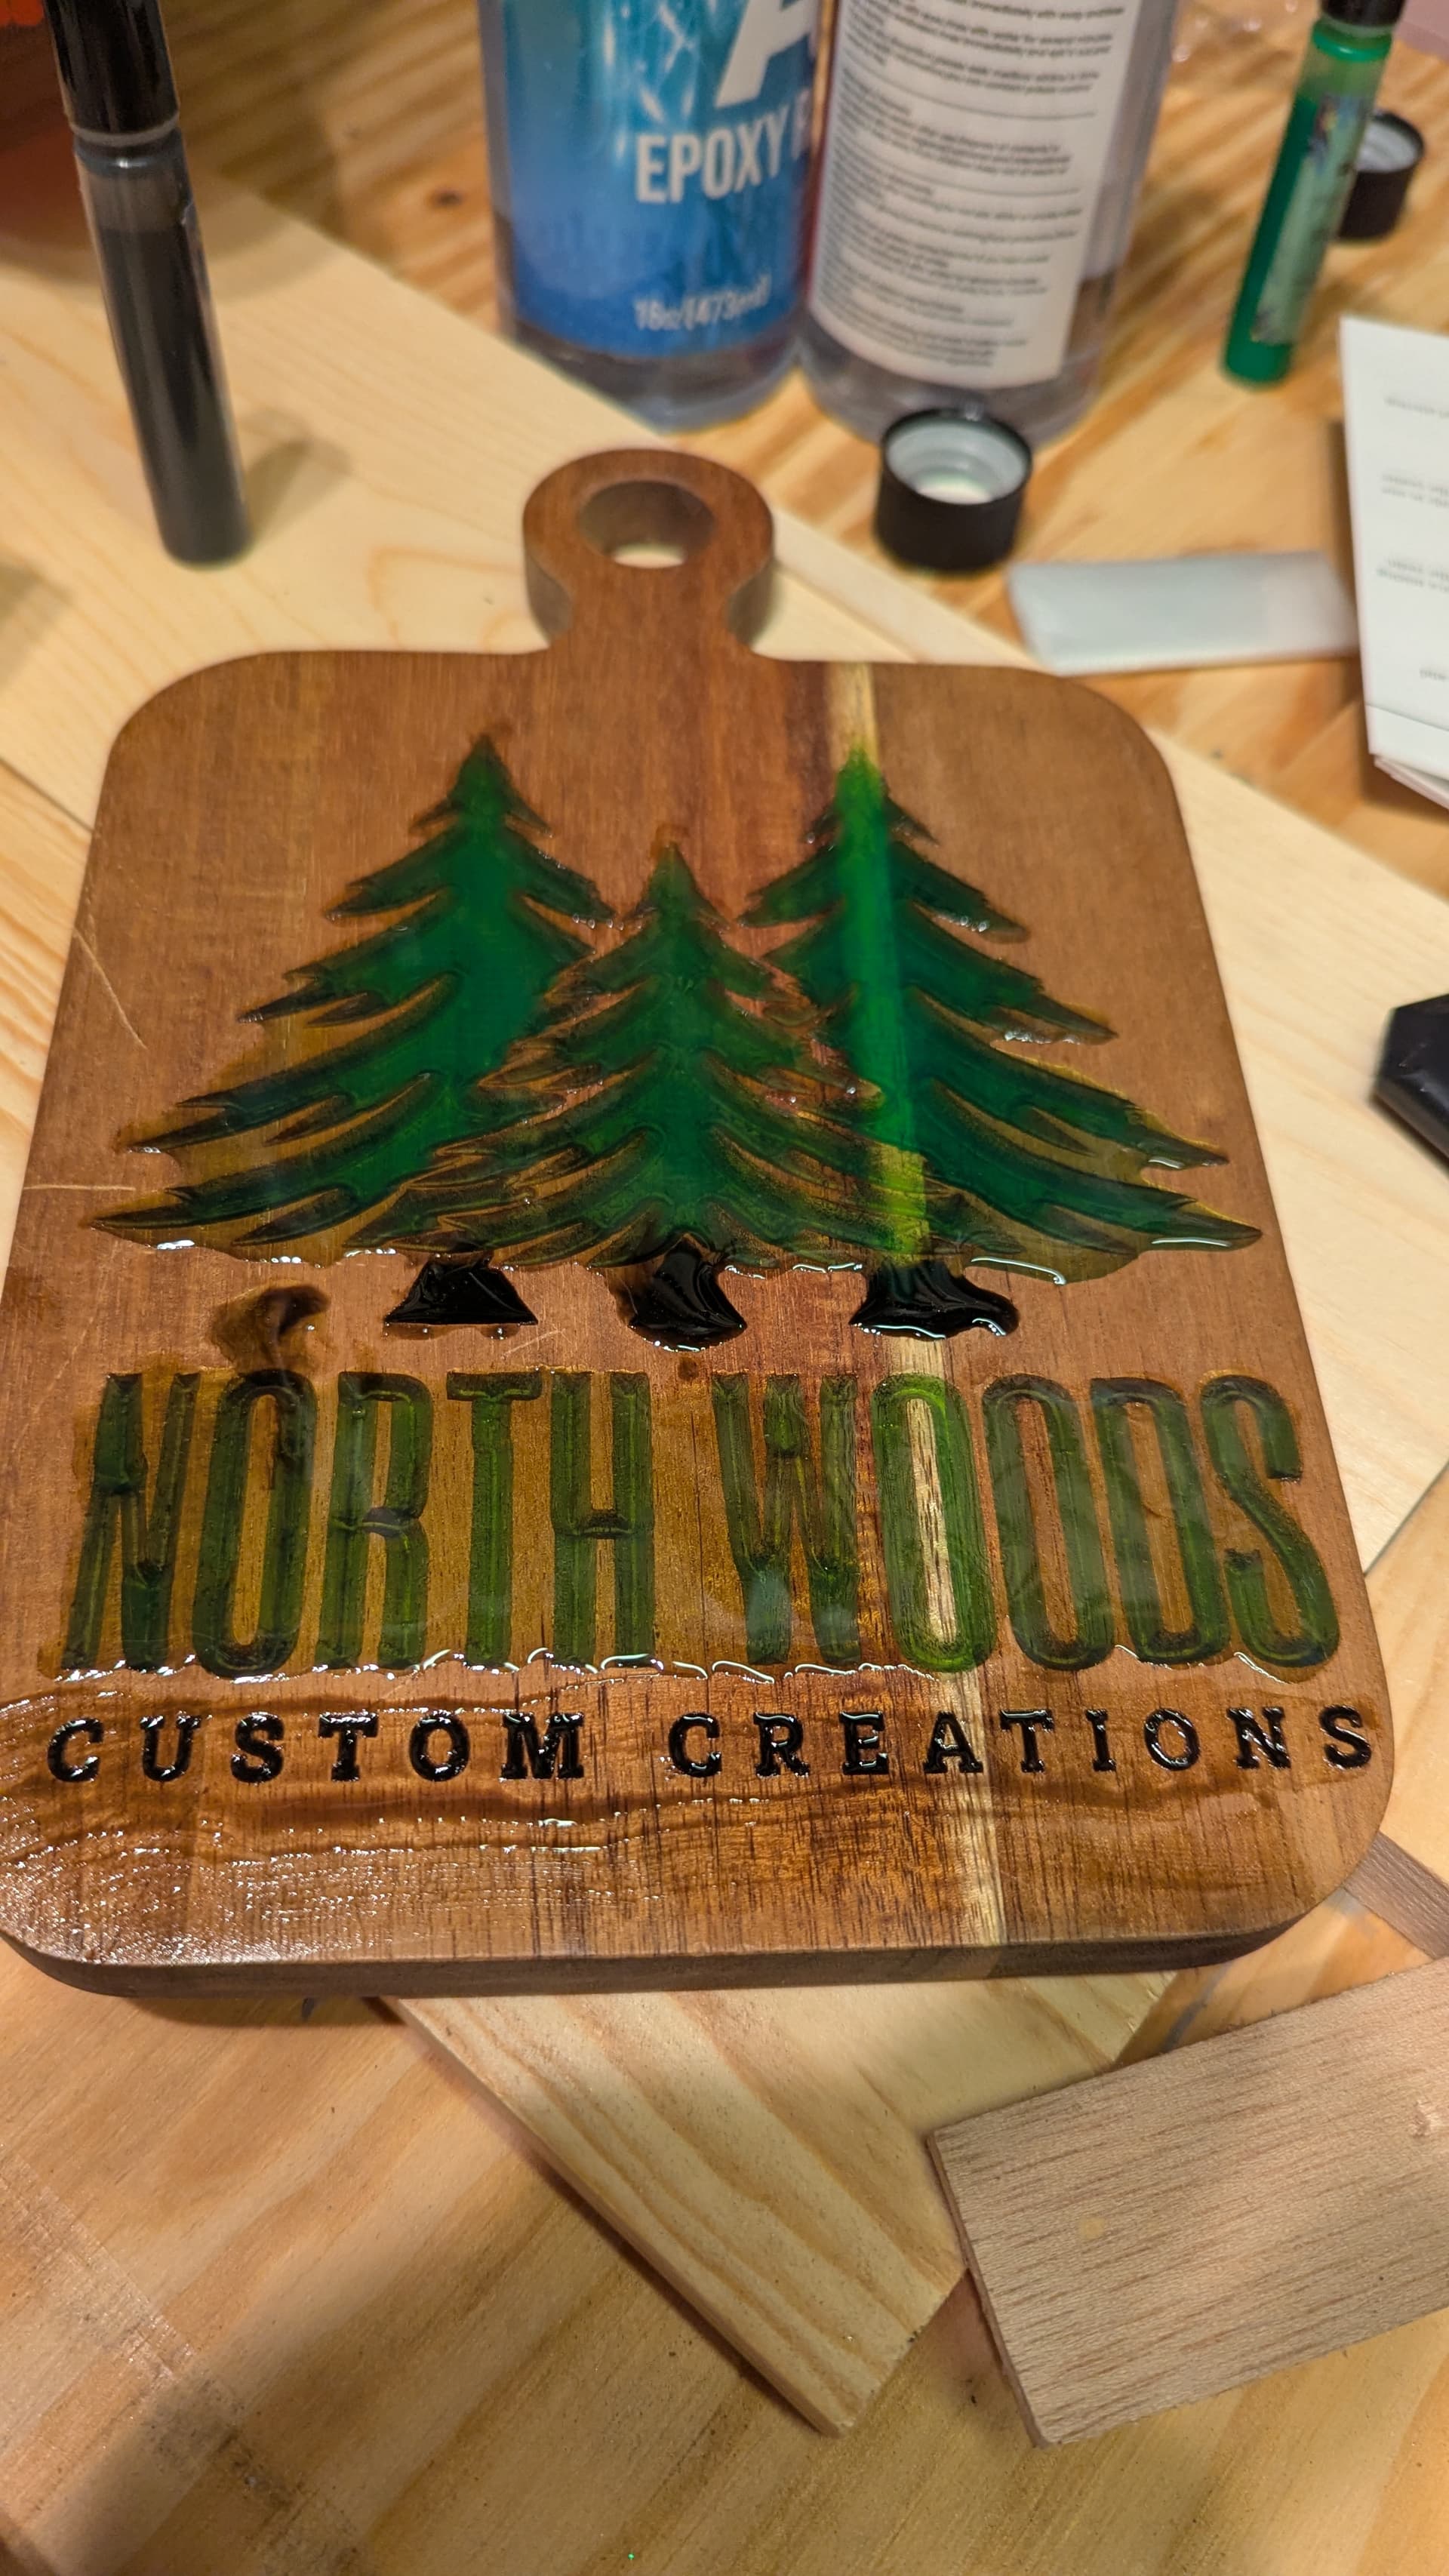
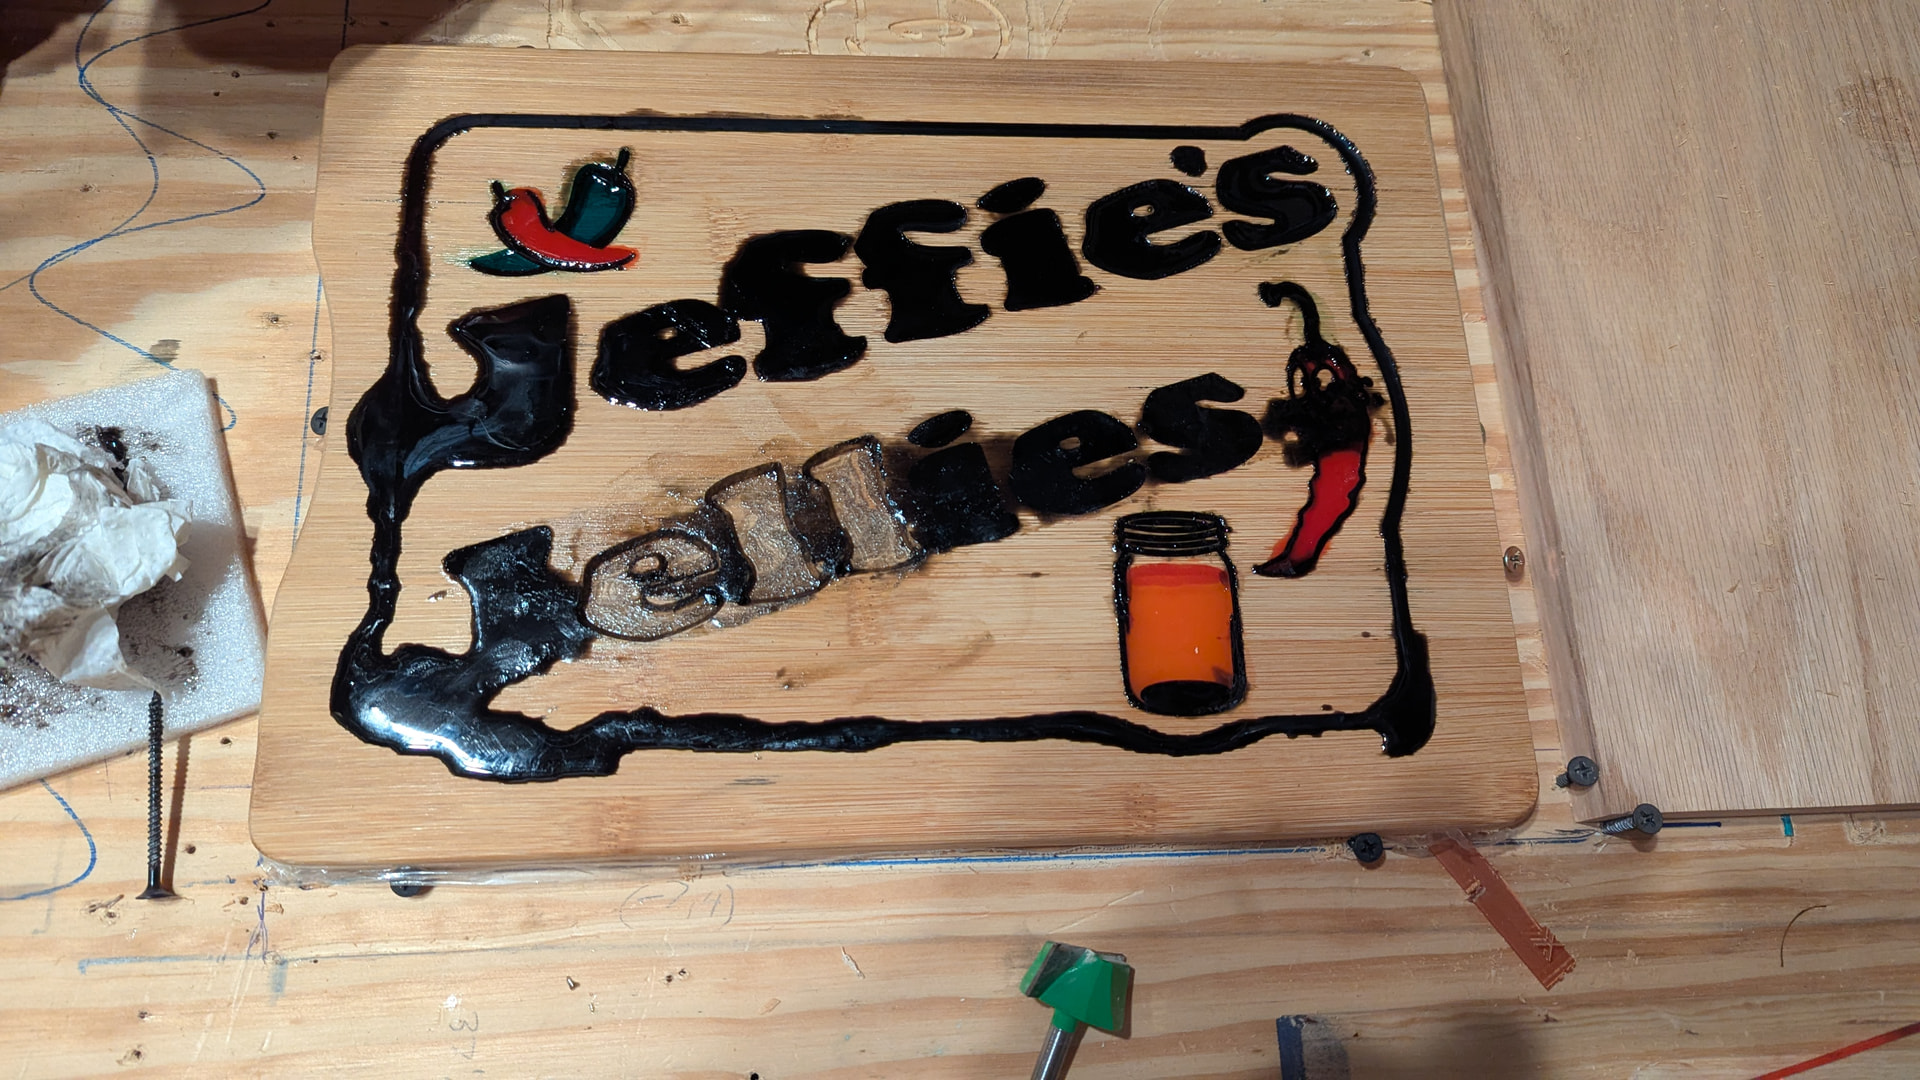
TLDR: even though your cnc and cutting piece are “leveled,” if they arent truly level, the epoxy can flow. And dont forget to heat gun the epoxy to get the bubbles out. the black lettering has dots around the edges.
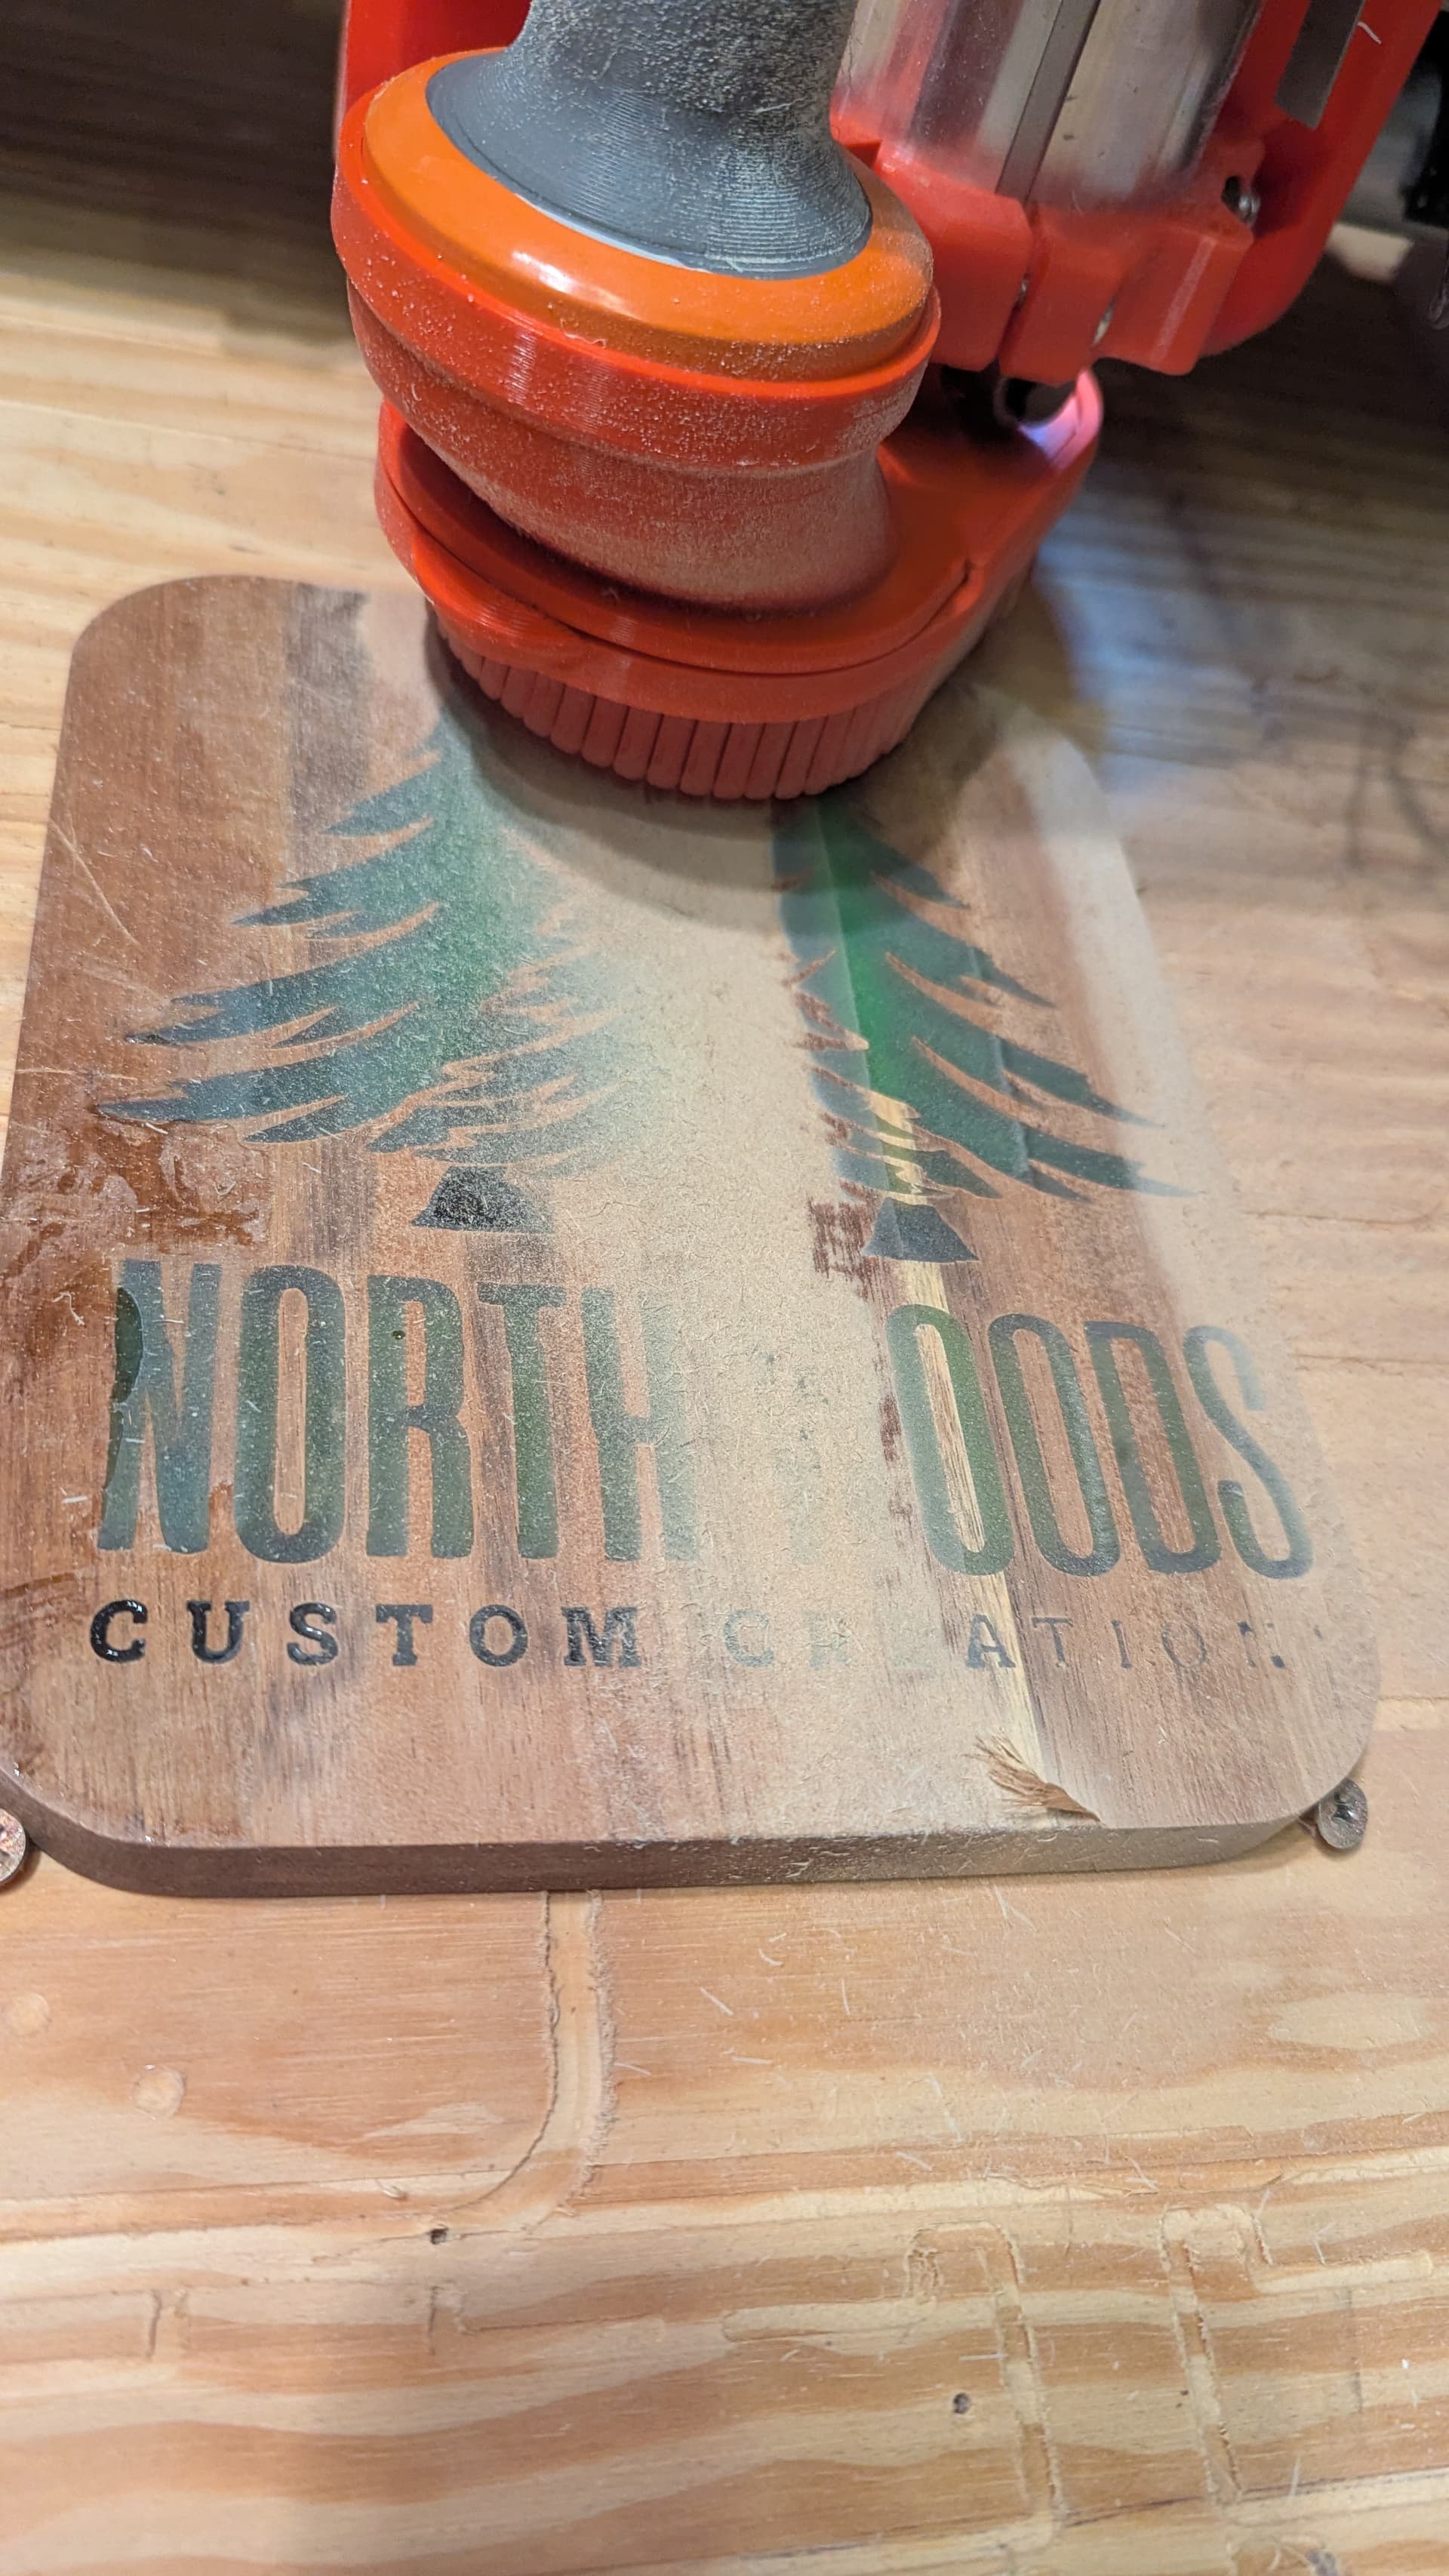
I made another epoxy inlay with a bamboo cutting board recently for a gift for a retirement at work for a guy who makes his own pepper jelly. 1/8” 2 flute upcut mill for the pocket and 60 deg v.
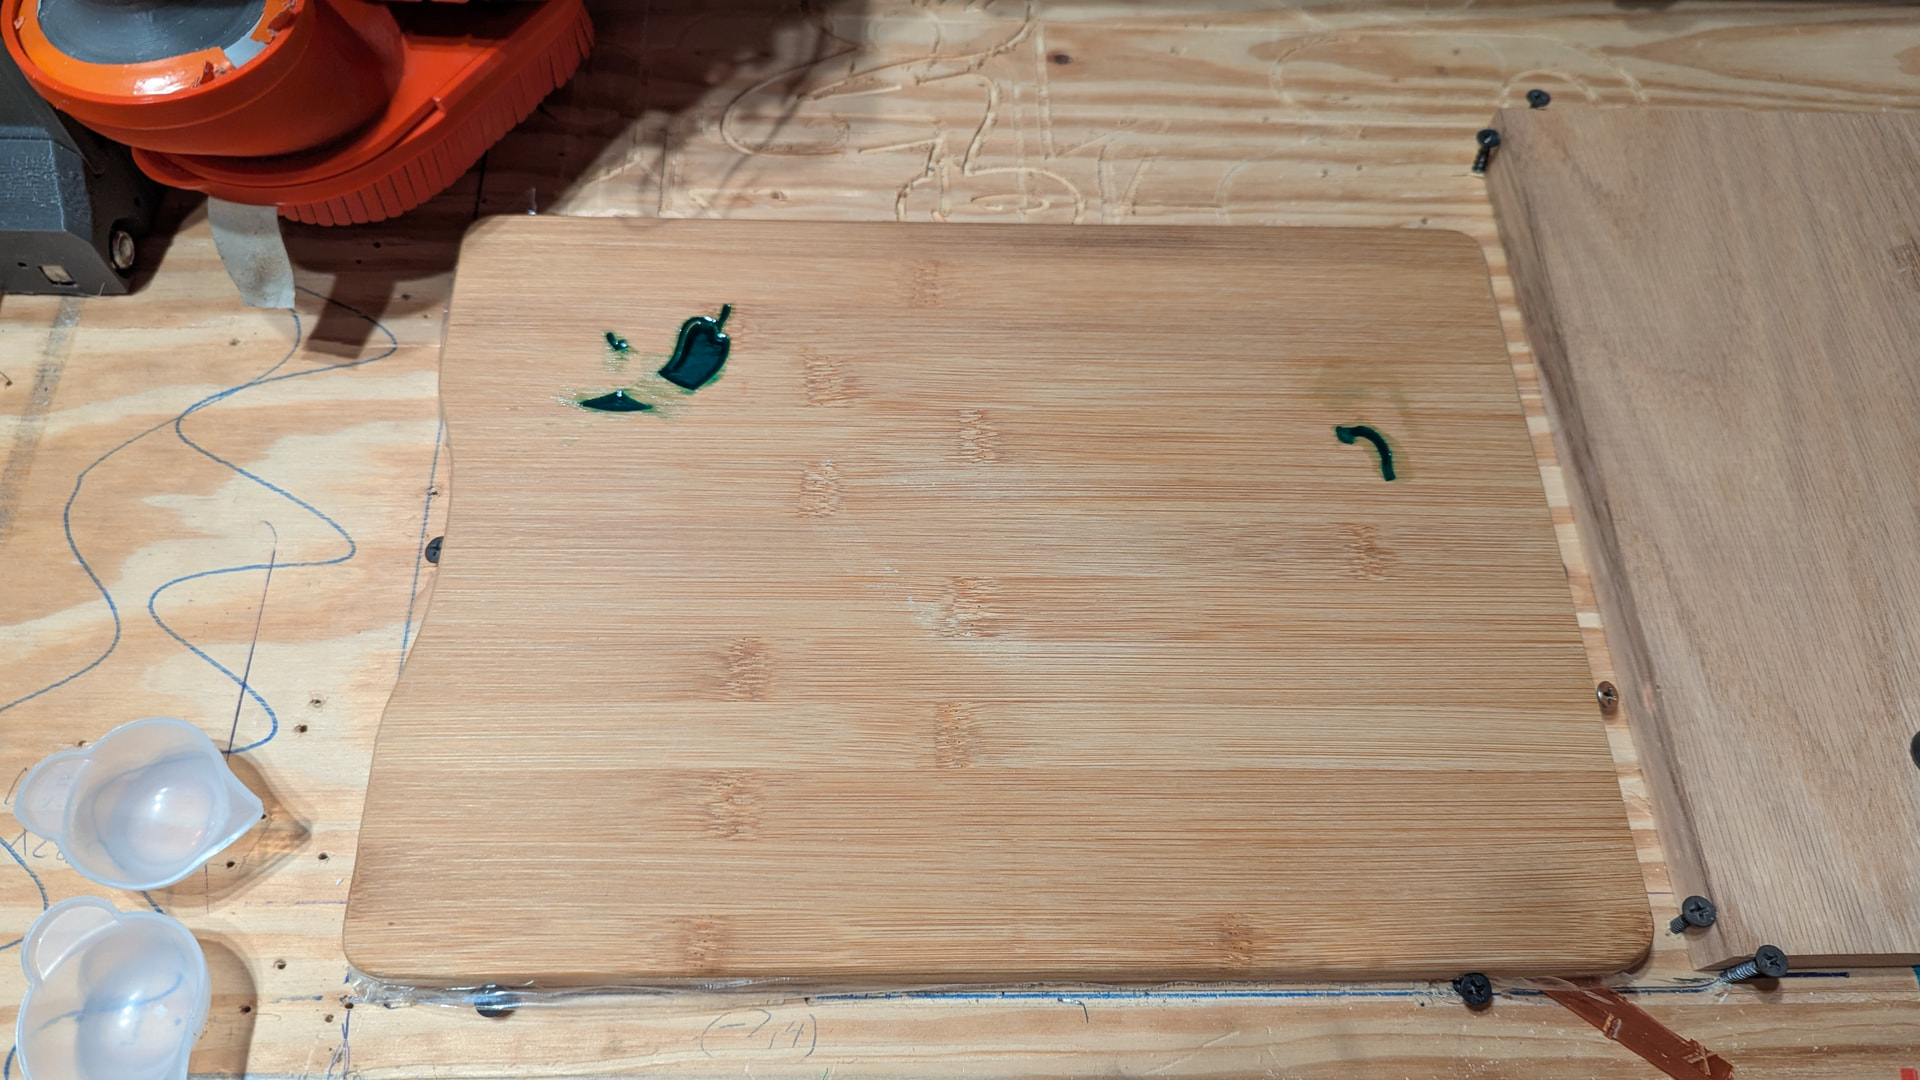
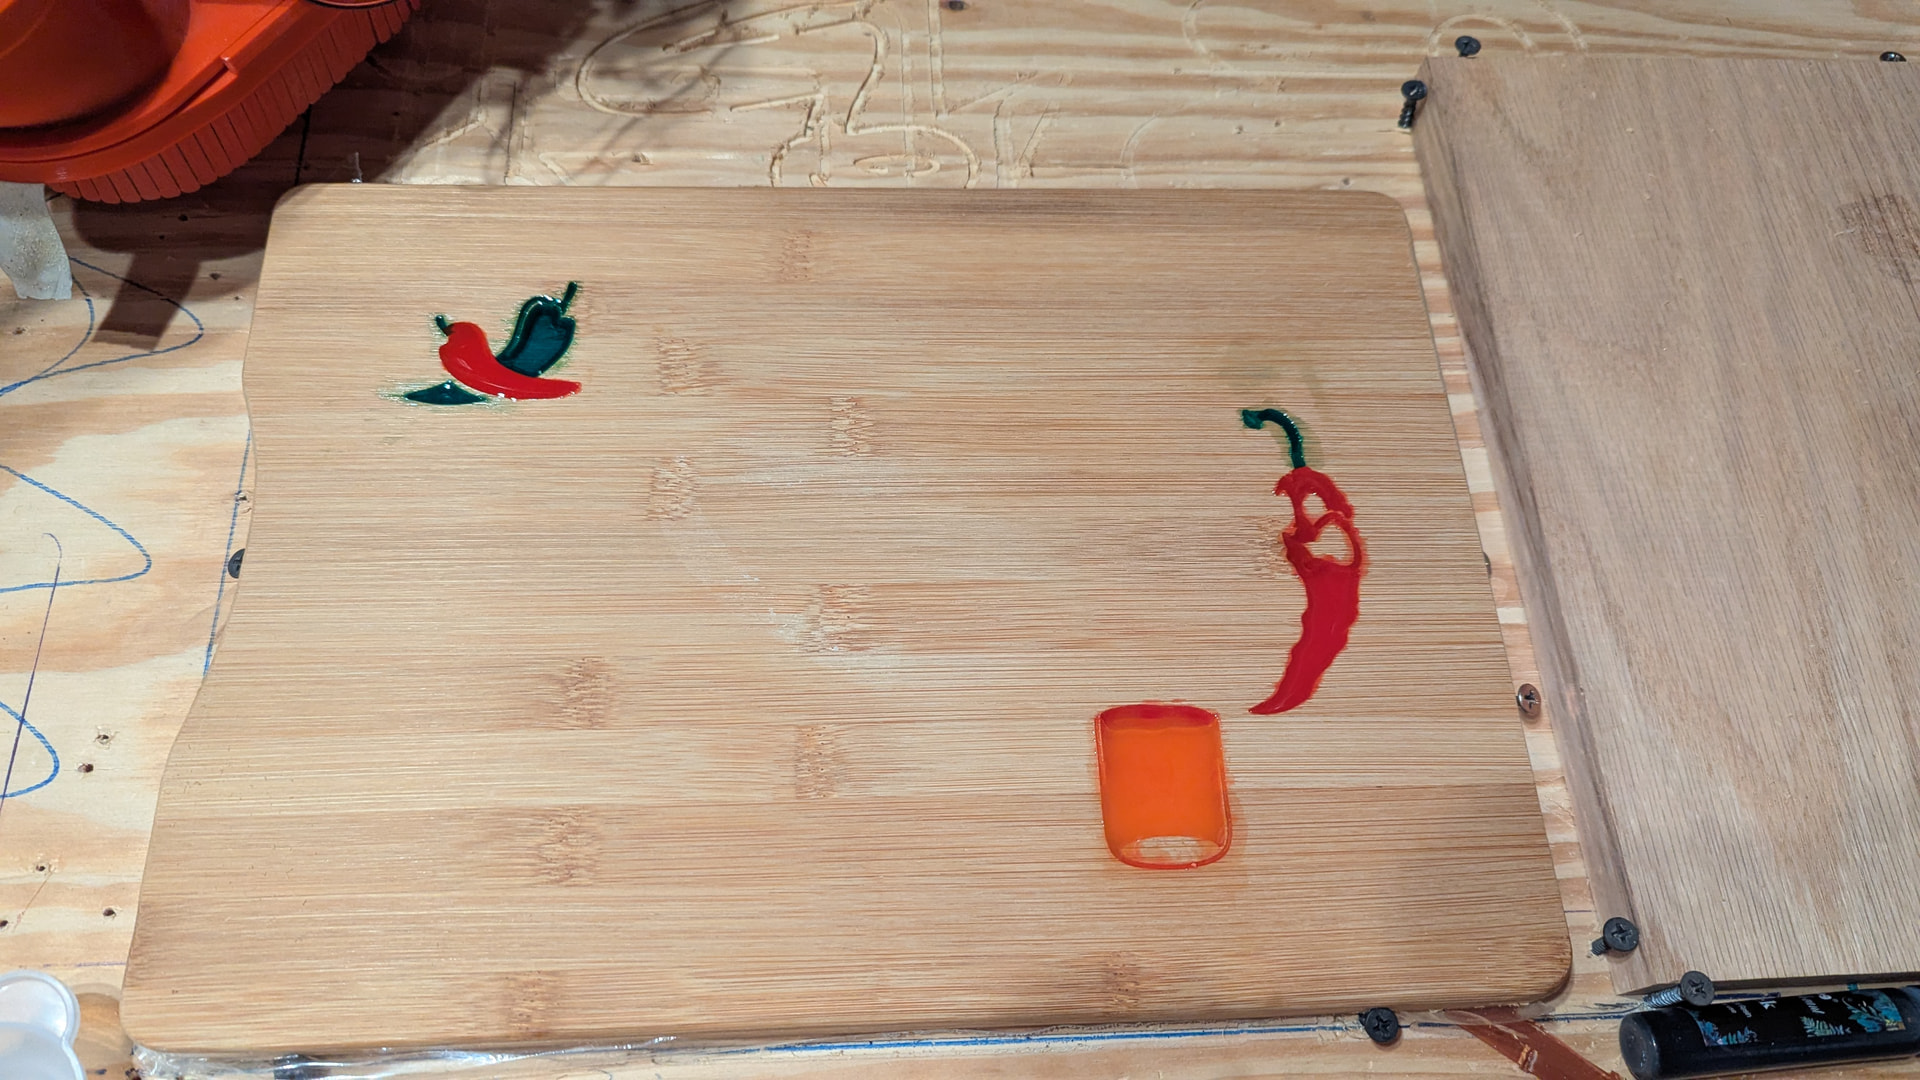
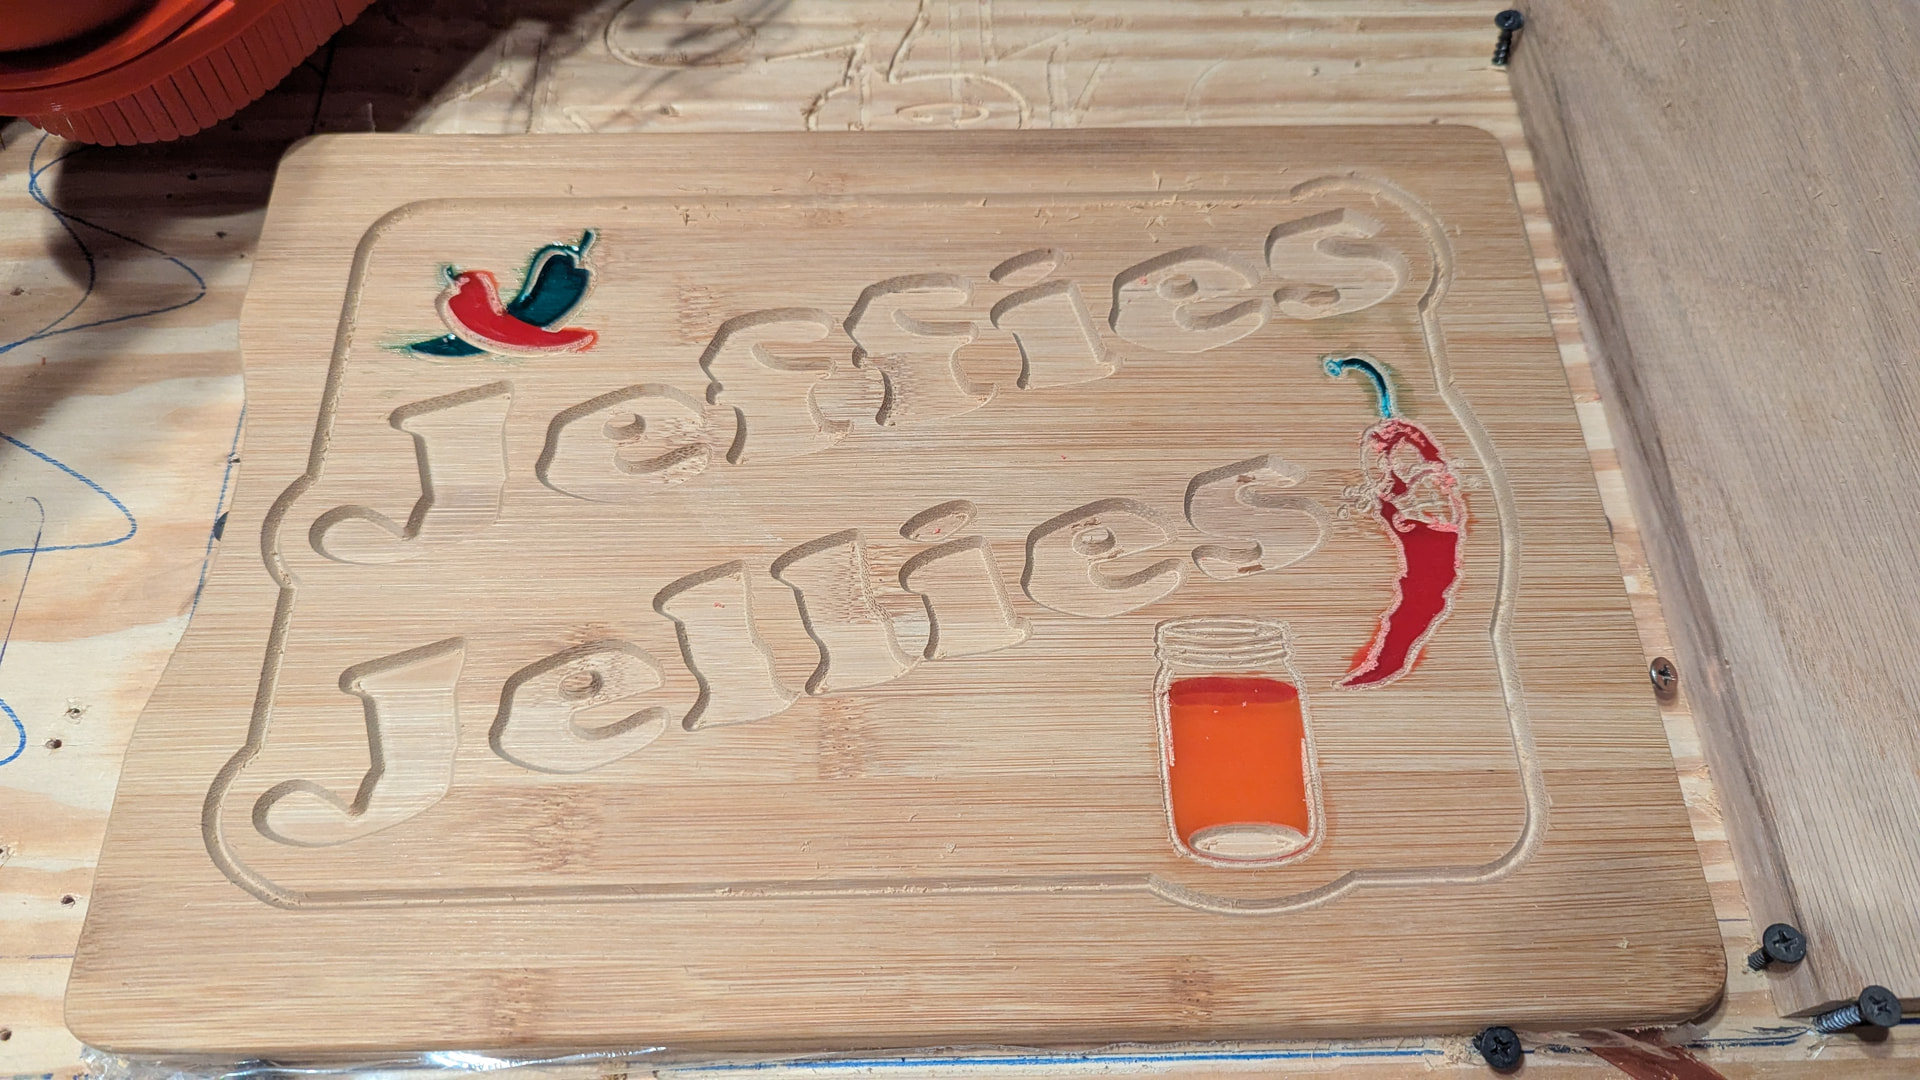
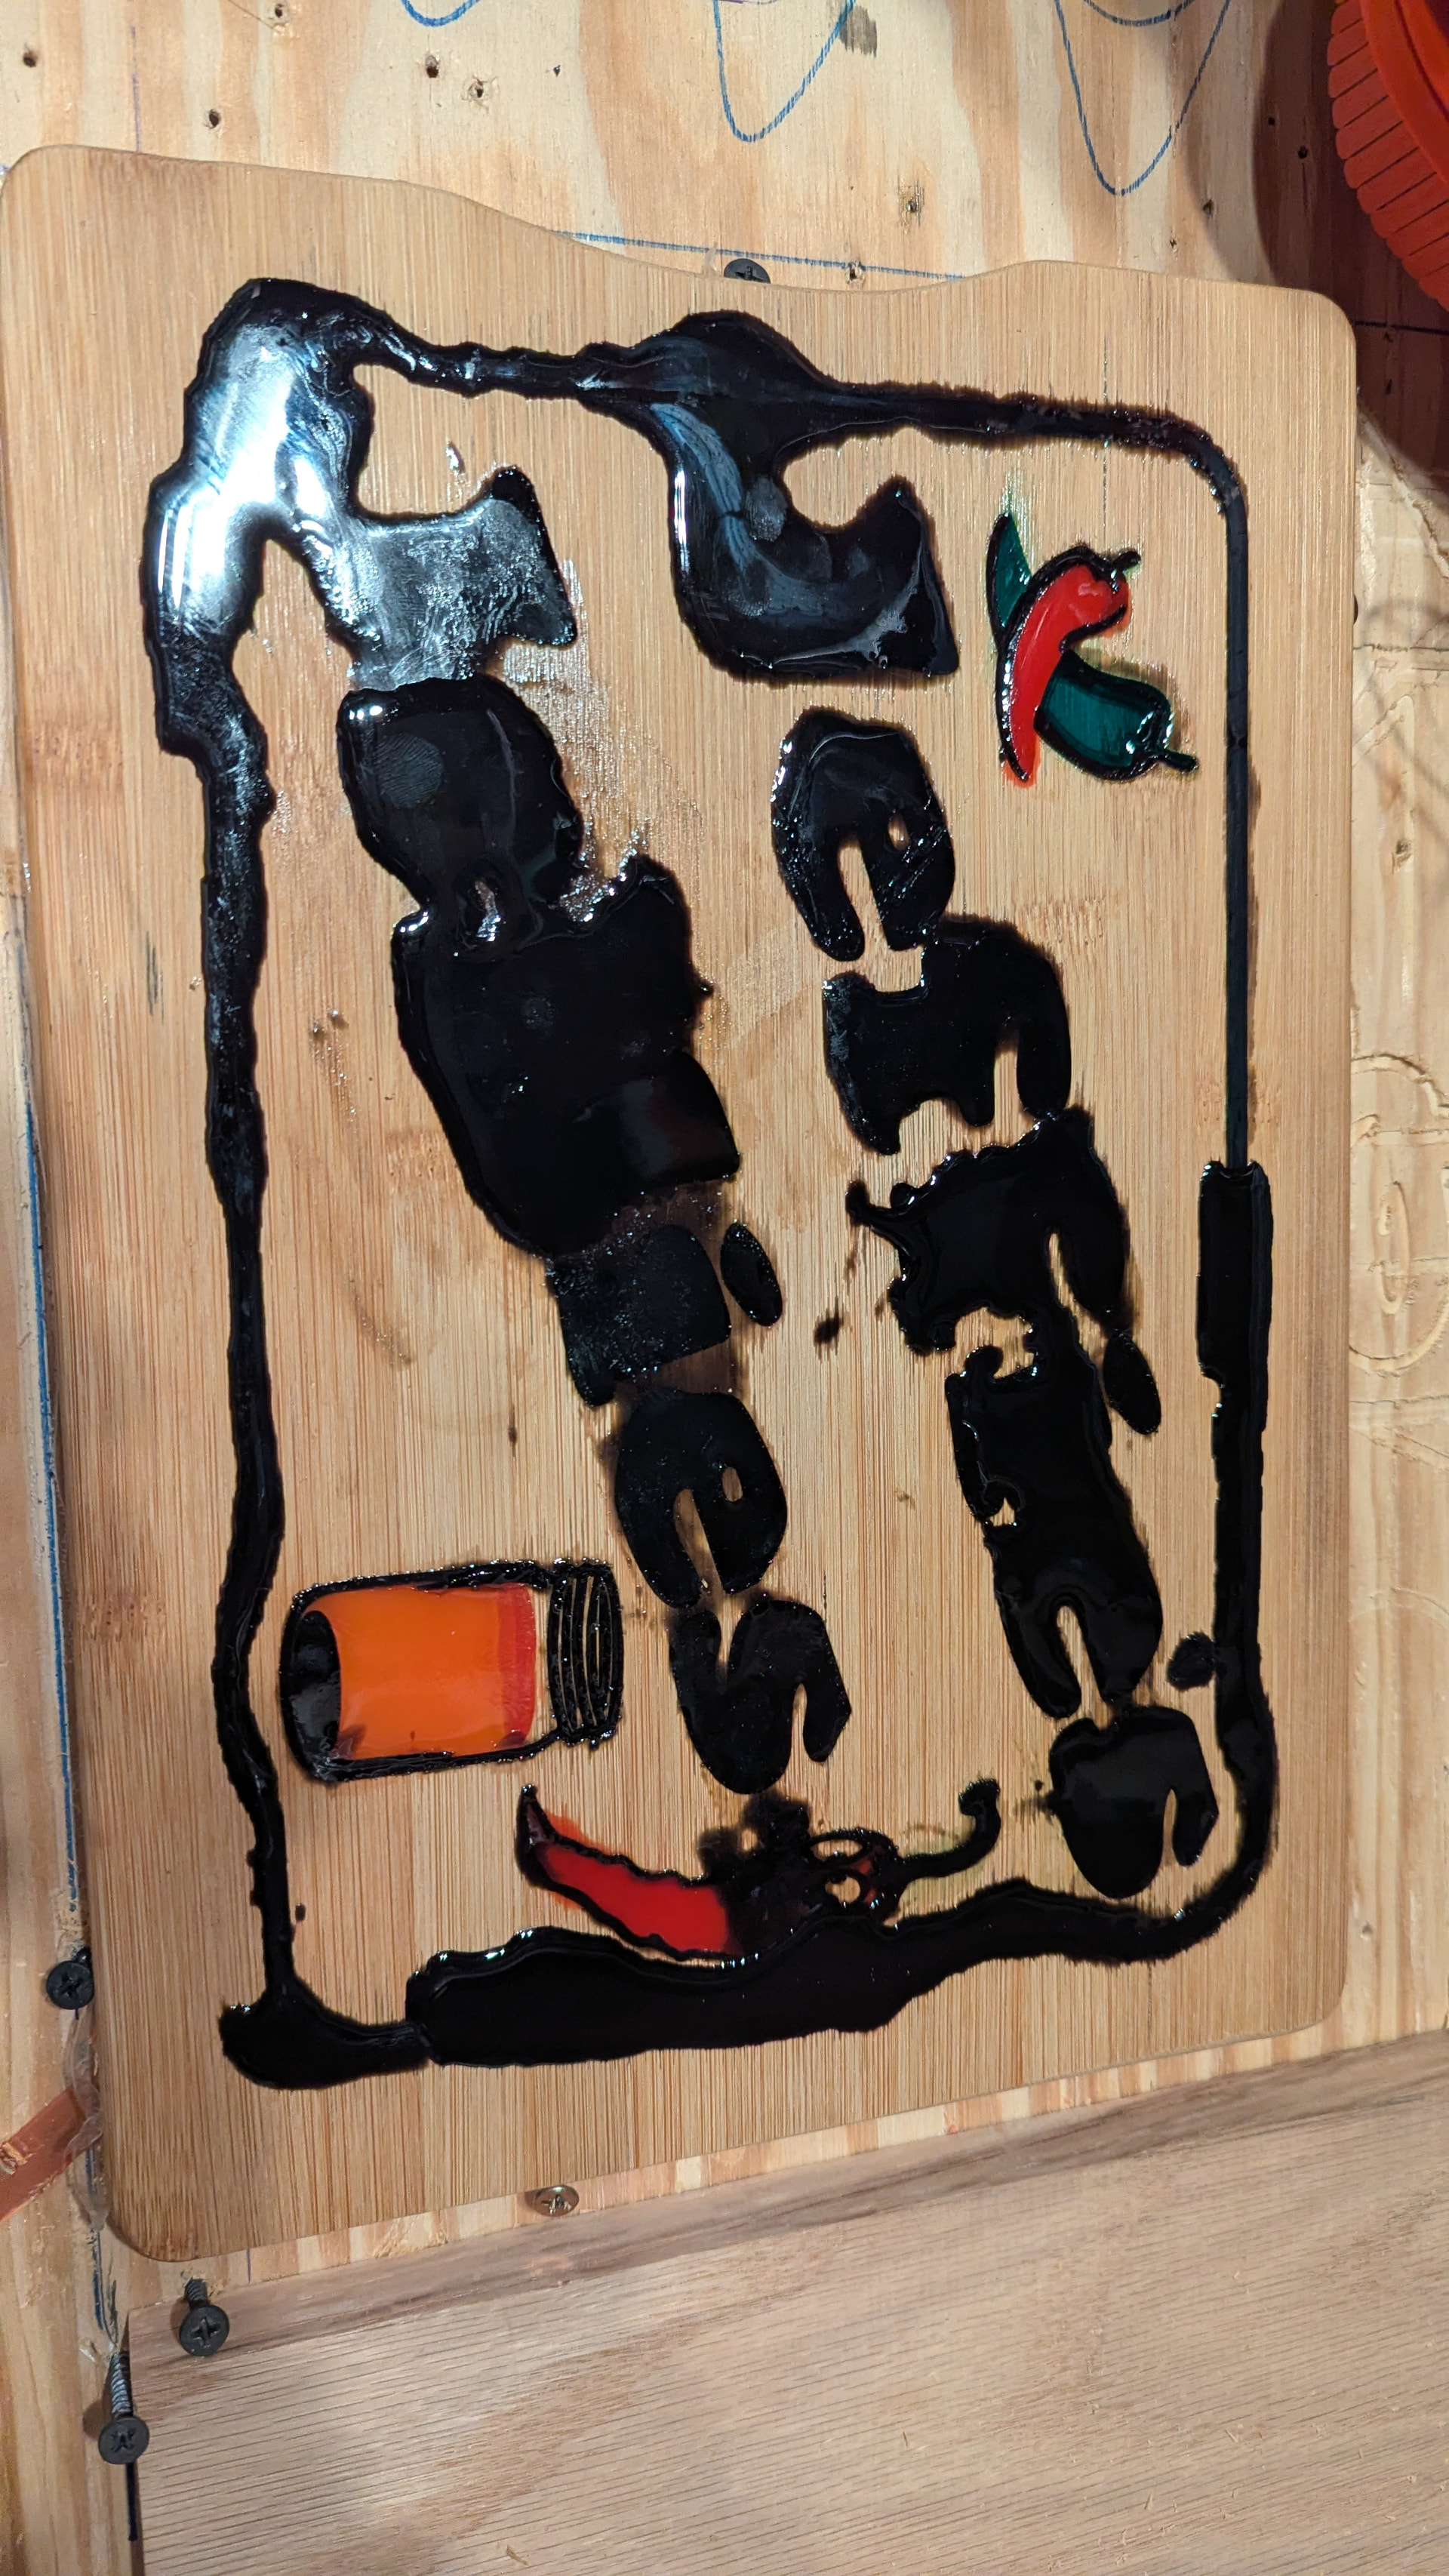
This time the board was “leveled” and only like-colors were cut and filled step by step. First was green, then red/orange, then black. Once the black was poured, either the mixing was incomplete or the resin wasn’t quite right, but a few letters didn’t set up after 3 days, so A few letters had to be scraped out and repoured,
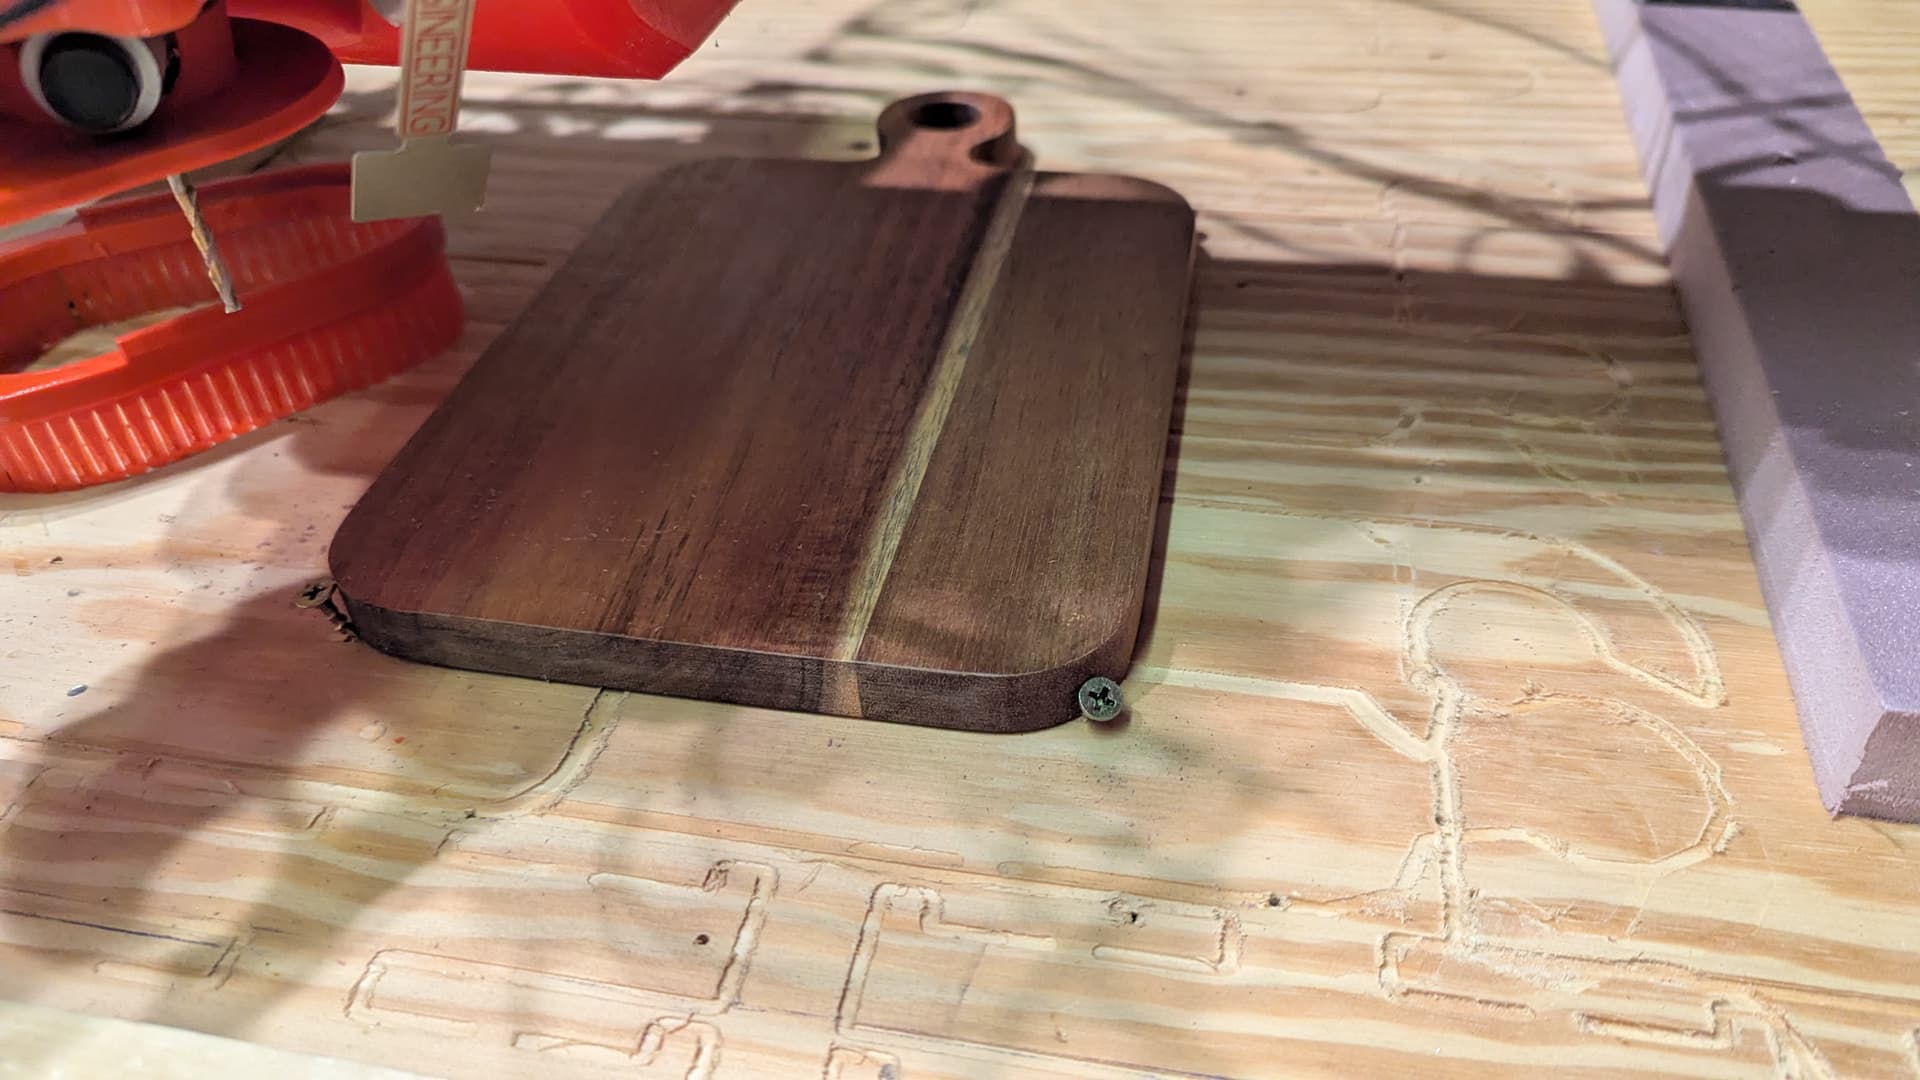
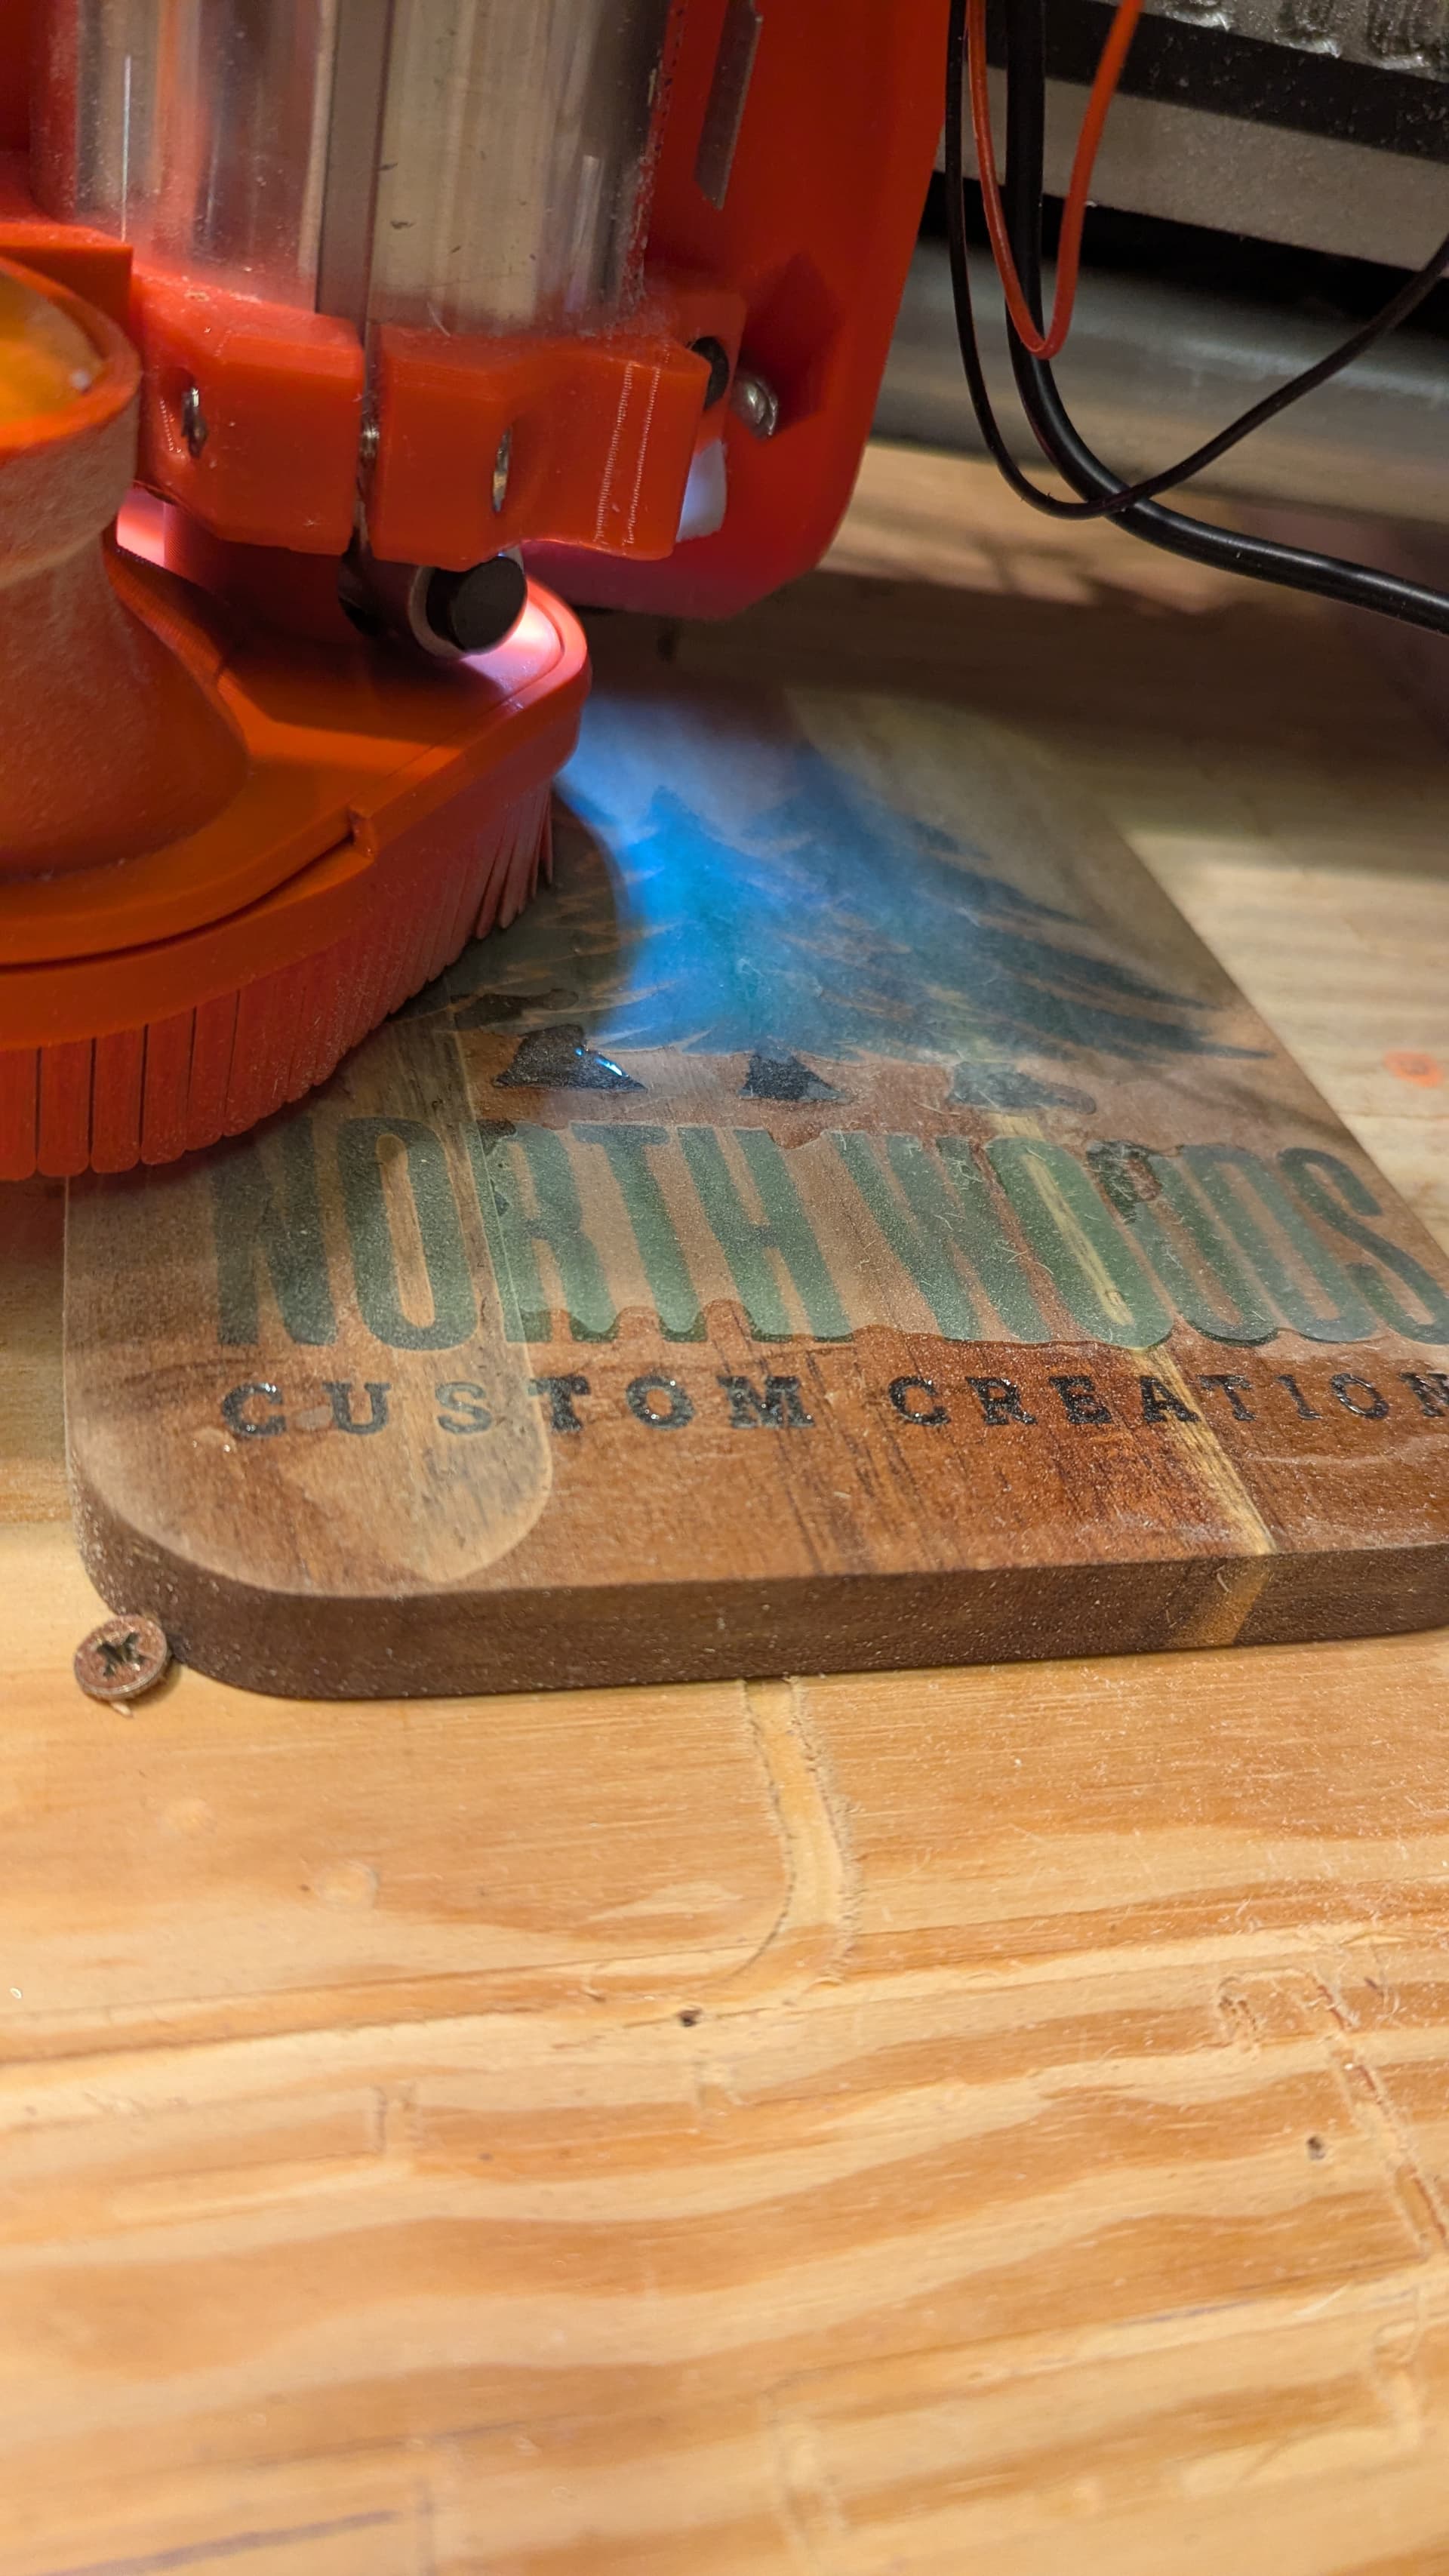
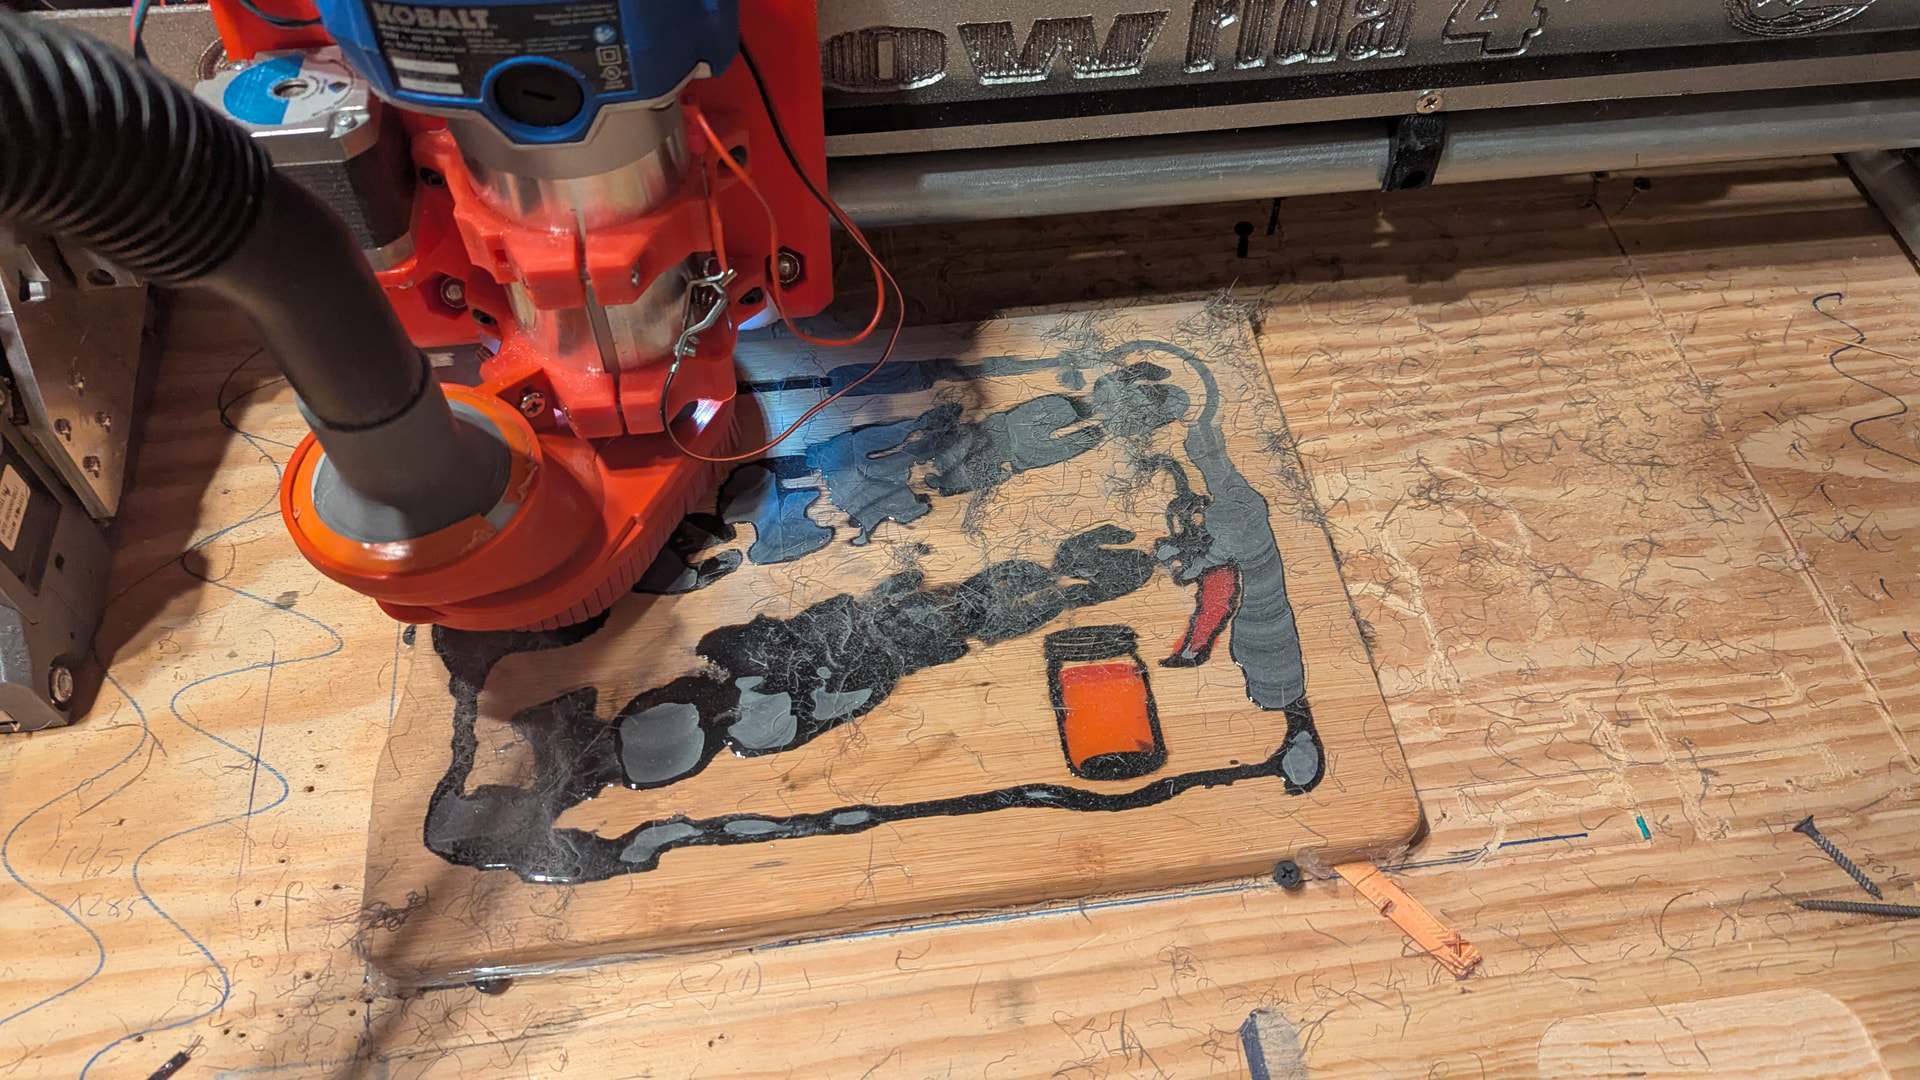
Surfacing revealed the board wasn’t quite leveled with the cnc, so I shimmed it a little and surfaced, then finished the epoxy surfacing with successive sanding with an orbital.
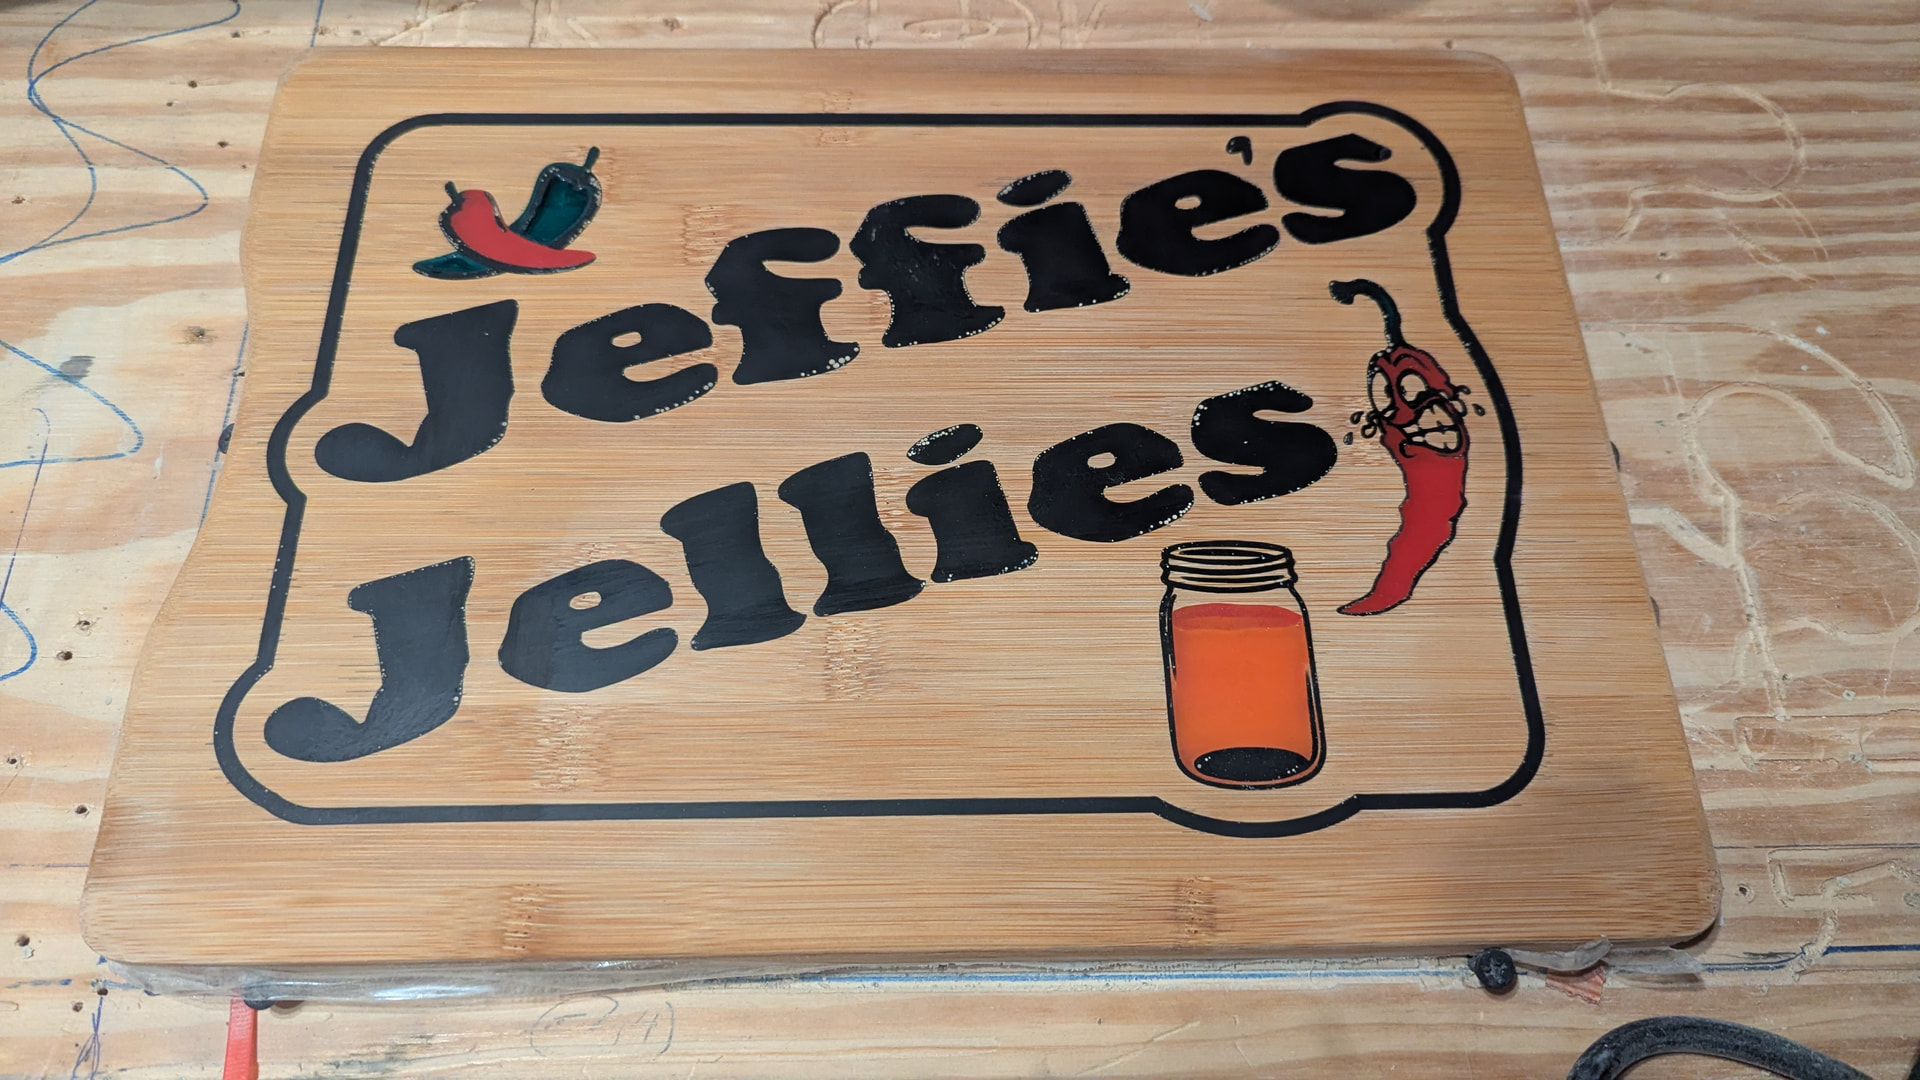
It will do. Photo above is after sanding and wiping with wet cloth. I then black-sharpied the bubble dots in the black epoxy and hit it with clear acrylic spray paint. This is intended as well art, not food prep… how would one finish it if it were for food (other than not use epoxy)?
I think it takes the longest to just wait for the epoxy to set and then the alignment/shim leveling to make sure the fine detail wont be lost in the final planing operation. I have 2 more to make now…
I’ve been using UV epoxy and think I like it better than the 2 part cure. You have more time to de-bubble it in a vacuum, longer with a flame to pop any, and it cures way faster. The downside is that UV light needs to penetrate in order to cure so you can only do 0.5 to 1 mm thick pours at a time with black epoxy. It still goes faster than waiting 6-12 hours for a full cure though. And any bubbles do pop up after cure are quickly filled and sanded.