I have an Android with USB-C (Samsung S24). Why?
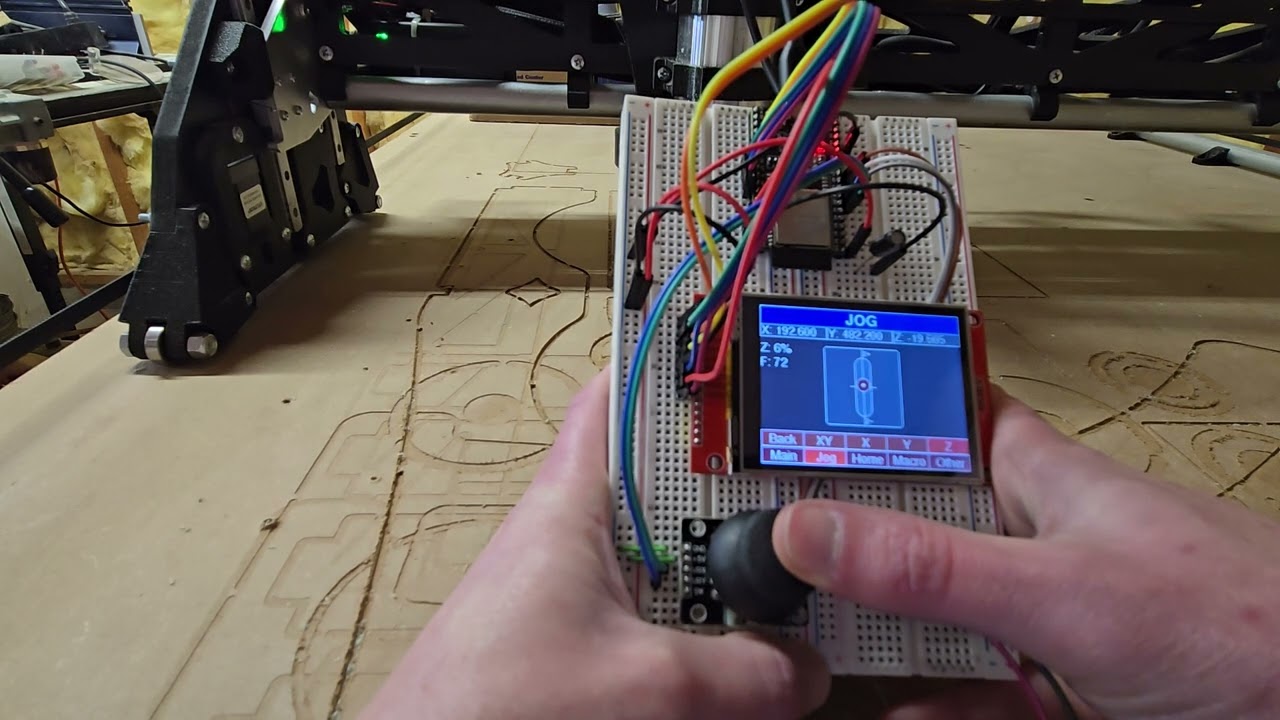
Here’s an update. I’ve made some good progress.
- Jogging
- Added X, Y, and Z jogging (before just XY)
- Gave the joystick values a curve so it’s easier to move slowly
- Increased the refresh rate so display of current position is smoother
- Macros
- Added support via single macro script for up to 6 macros. Highlighting a macro number on the screen will display the macro name and description. It’s a little funky but extremely flexible.
Macro Script - _screenmacros.gcode
o100 if[#<_screenMacro> EQ 1]
  o101 if[#<_screenMacroInfoOnly> EQ 1]
    (MSG, Run Current GCode - Run the GCode file defined in /ScreenMacros/current.gcode.)
  o101 else
    (MSG, Running Current GCode Macro)
    $SD/Run=/ScreenMacros/current.gcode
  o101 end if
o100 elseif[#<_screenMacro> EQ 2]
  o102 if[#<_screenMacroInfoOnly> EQ 1]
    (MSG, View Pulloffs - View the current X, Y, and Z pulloffs.)
  o102 else
    (MSG, Running View Pulloffs Macro)
    M0 (PRINT, Motor Pulloffs: X=%.3f#</axes/x/motor0/pulloff_mm>  Y0=%.3f#</axes/y/motor0/pulloff_mm>  Y1=%.3f#</axes/y/motor1/pulloff_mm>  Z0=%.3f#</axes/z/motor0/pulloff_mm>  Z1=%.3f#</axes/z/motor1/pulloff_mm>)
  o102 end if
o100 elseif[#<_screenMacro> EQ 3]
  o103 if[#<_screenMacroInfoOnly> EQ 1]
    (MSG, Z Level - Z level the gantry by probing Z on both sides and setting set Z pulloffs.)
  o103 else
    (MSG, Running Z Level Macro)
    $SD/Run=_zlevel.gcode
  o103 end if
o100 else
  (PRINT, Macro %d#<_screenMacro>: Not Defined)
o100 end if
I just need to figure out what I’m doing with the “Other” menu, and cleanup messages a bit when switching between things. I also need to clean up the code and make things like Wifi settings configurable. I’d really like to have it start a web server to allow you to connect via PC/phone to make those setting changes. That can certainly be done with an ESP32, doesn’t seem that hard, but am lacking motivation for that particular feature.
I think getting this thing off a breadboard is next. I looked at the CYD display, but not sure how to get both the joystick and encoder (with button) attached to that. So, I’ll probably just stick with what I have and make up some cables. Then make a 3d printed case.
So nice!!!
So did you develop everything? What is on the esp do do all that?
With software, you almost never develop “everything”. You rely on libraries which is external code that you can include that helps make a task easier. I’m using libraries, one to connect to Wifi, one to connect to the websocket, one to talk to my display, one to facilitate drawing on the display, one to handle the rotary encoder, etc.
The ESP is connecting to my Wifi network, using that to connect to the FluidNC websocket, getting the status string and sending commands through the websocket, and using that data to draw on the screen. Everything you see on the screen is happening by drawing lines, rectangles, circles, and text. There’s code to read the rotary encoder and the joystick. I only wrote about 1200 lines of code. It will probably be less once I clean it up a bit.
![]()
^^^ he said only wrote 1200 lines of code, like it is nothin! ^^^^ ![]()
Well, I’m used to working on much bigger projects. A project like this is a fun little side quest.
Compared to something like the FluidDial pendant, it’s significantly less code. Granted it has much less functionality but in terms of scale, it’s pretty small.
That looks like a good project to make at school should we ever have the Makerspace that I’ve been promised. ![]() I love the simplicity of it.
I love the simplicity of it.
![]() bigger screen, im sold!
bigger screen, im sold!
Really? I wanted maybe smaller. All i want is to be able to jog to corner of work piece. Maybe move z, so on of those lil lcds would work for me!!
The lil i2c is what i am talking about. The one bart already supports.
Lol, my setup has a 16" touch screen., i wanted bigger but a 17-24" resistive TS are expensive af
Making it with a larger screen would require a different user interface. Someday I’d like to play with LVGL and make such a thing but not in the near future. Similarly, a smaller one would require a different UI, although simpler. I tried a few different displays before landing here.
Your display is a lot bigger than the one used in the m5 dial. I would prefer it bigger, but thats a start.
It’s the same size screen as the CYD variant of the FluidDial.
Been a bit busy lately but still working on this. I ordered an Elecrow display/ESP32 combo similar to the CYD that I think will allow me to bundle this up a bit nicer. It doesn’t do some of the weird things the CYD does so it has some extra pins available. I also ordered a battery to make it so it can be fully wireless so you only need to plug it in to charge. That means I probably also need to look into making it sleep to conserve battery.
I’m also working on configuration options. My plan is to start up an Wifi AP network, show a QR code to connect to that network (have a working proof of concept), and have a captive portal page to do the config (wifi and FluidNC settings) which will save to flash.
This is more than necessary but as I said from the beginning, my primary goal here is learning and there has been a lot of that.
I’m too waiting on a packet from Elecrow. I have signed up to help Mitch with wiring for the 7" inch panel so that it will be compatible with same interface as the pendant uses.
While waiting on mail delivery, I have designed a small stand/base to attach on the back of the acrylic you can get with the display. The stand will make the display tilt slightly. It could easily hold the battery as well as PCB with connectors and potentially serve as a base for both use cases - with or without cable.
Amazon Prime has ruined my shipping patience.
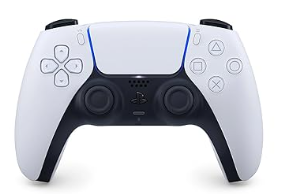
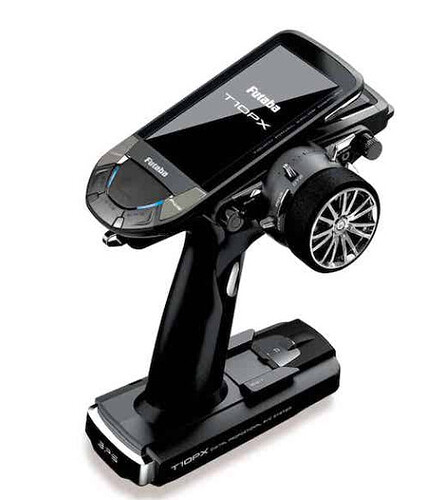
I’m still trying to figure out what I want the case for it to look like. I have in my head something similar to the shape of a Playstation controller. I’m going to make a knob for the rotary encoder so that I can control it with just my thumb, same as the joystick. This would allow for one handed control, although switching hands for some tasks.

Generally, remove the existing joysticks, put the joystick in place of the D-pad, put the rotary encoder in place of the buttons, and the screen in the middle where the touchpad is. My CAD skills aren’t good enough to make it look that elegant. Since it’s a 2.8 inch display, the idea works on paper anyway.
I might be getting too ambitious but we’ll see what happens. I’ll tone down for reality as needed.
Man, if EstlCAM as a controller would only work with my XBox gamepads… Wait, it does… ![]()
You try so hard to get everyone to go get new expensive boards…

