V1 Box - 10 Year Anniversary Edition

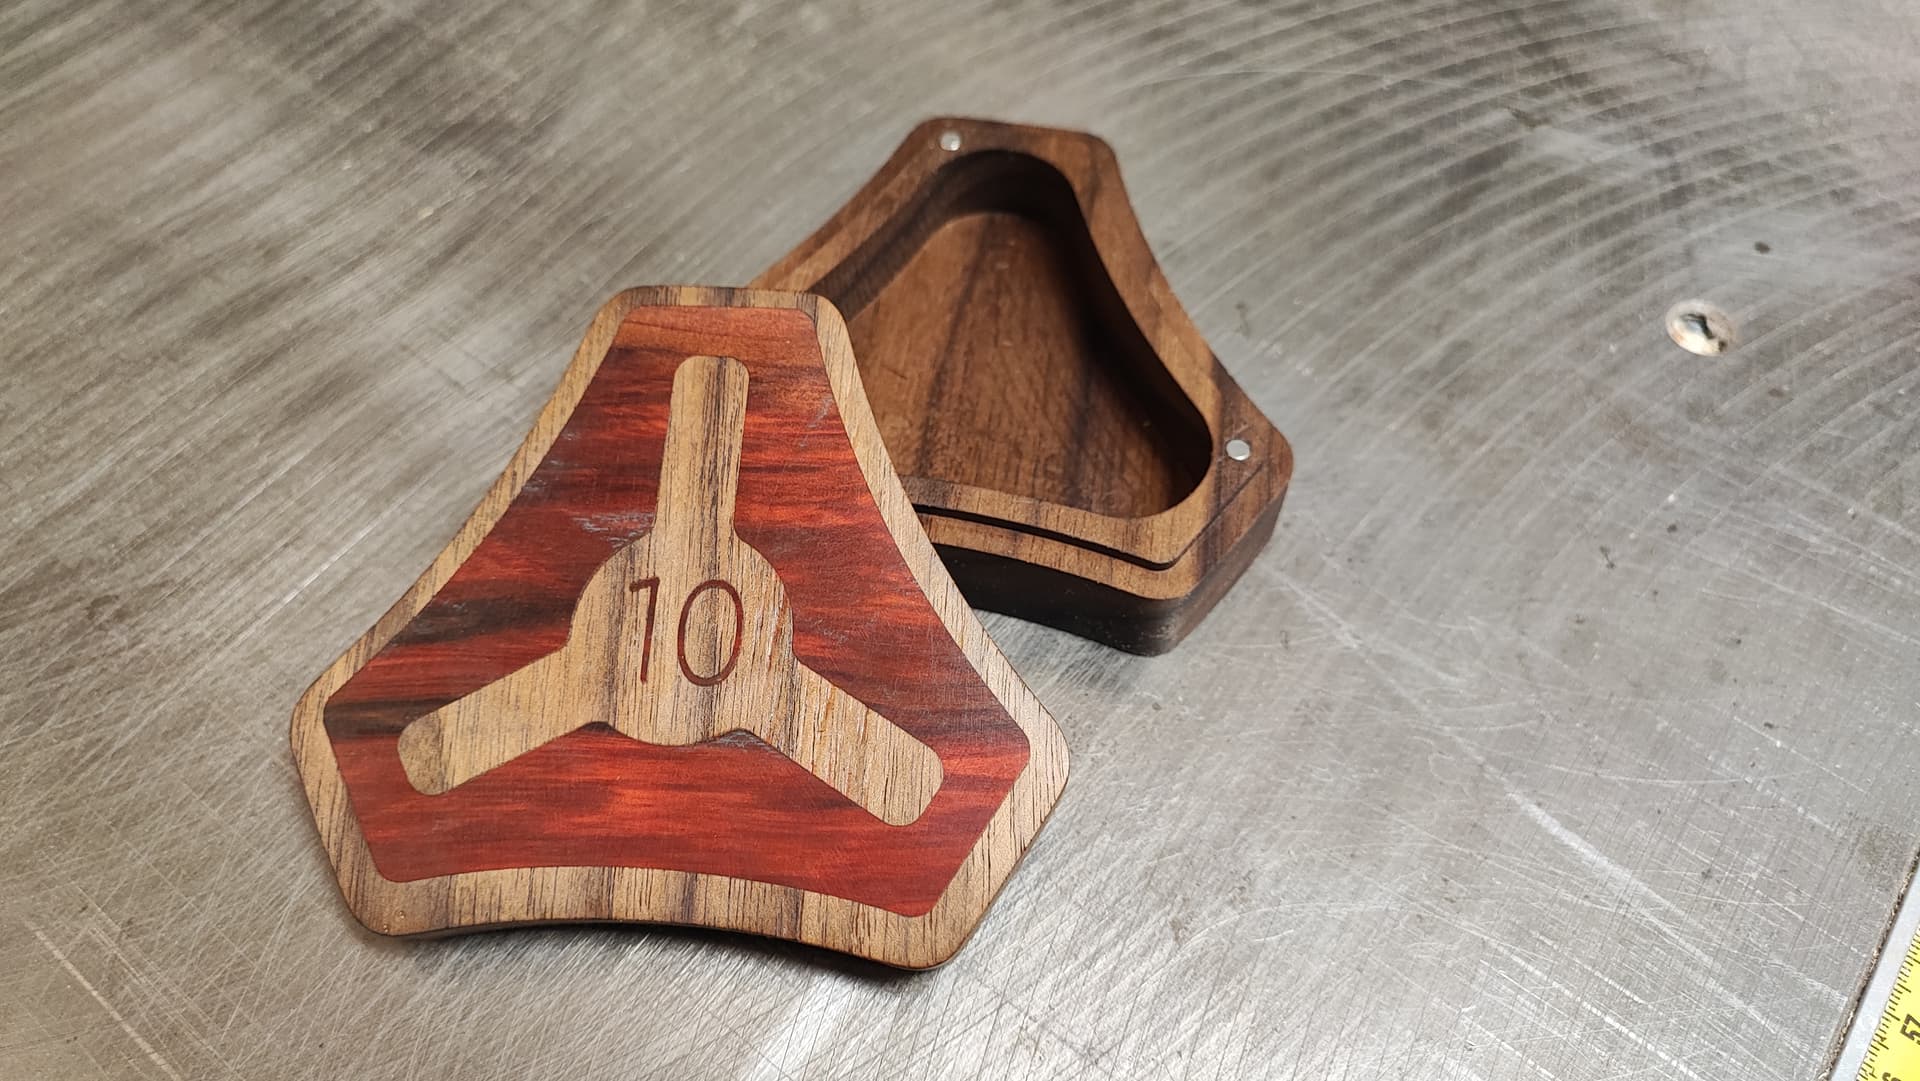
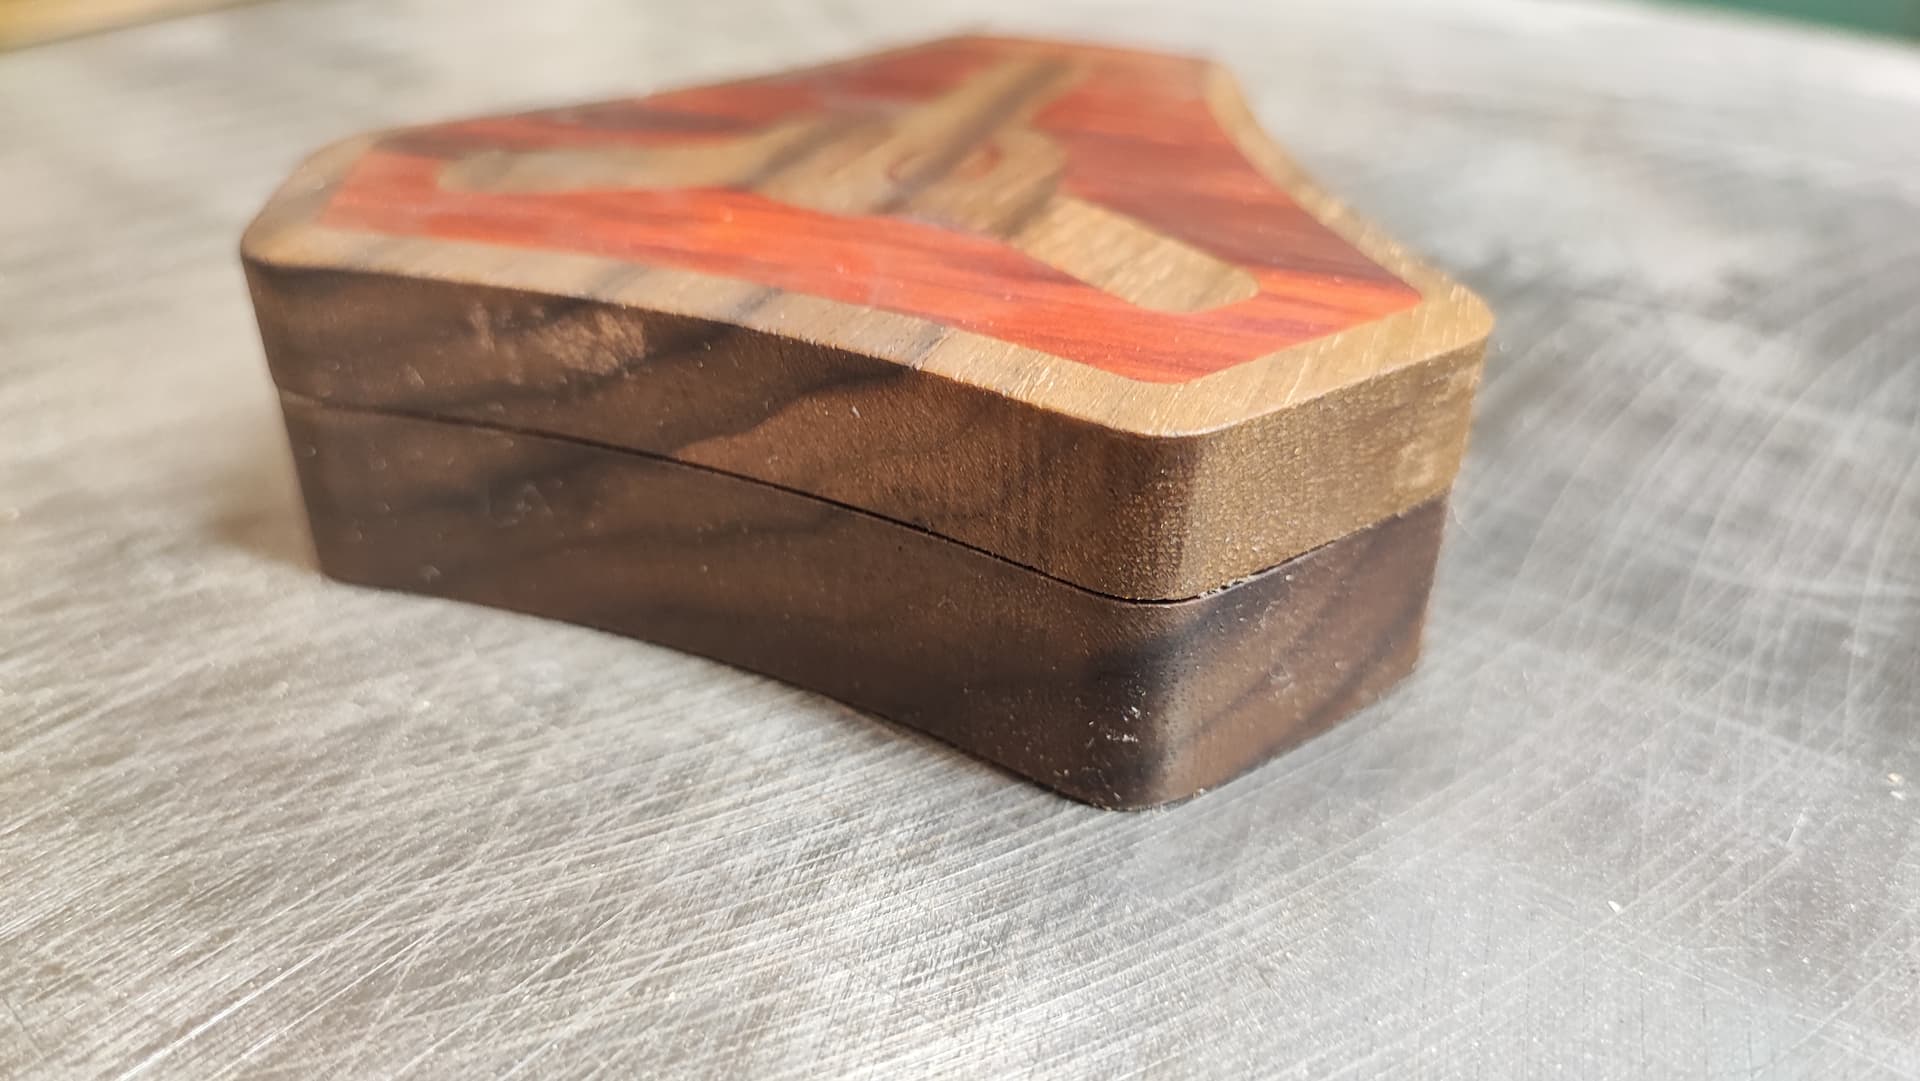
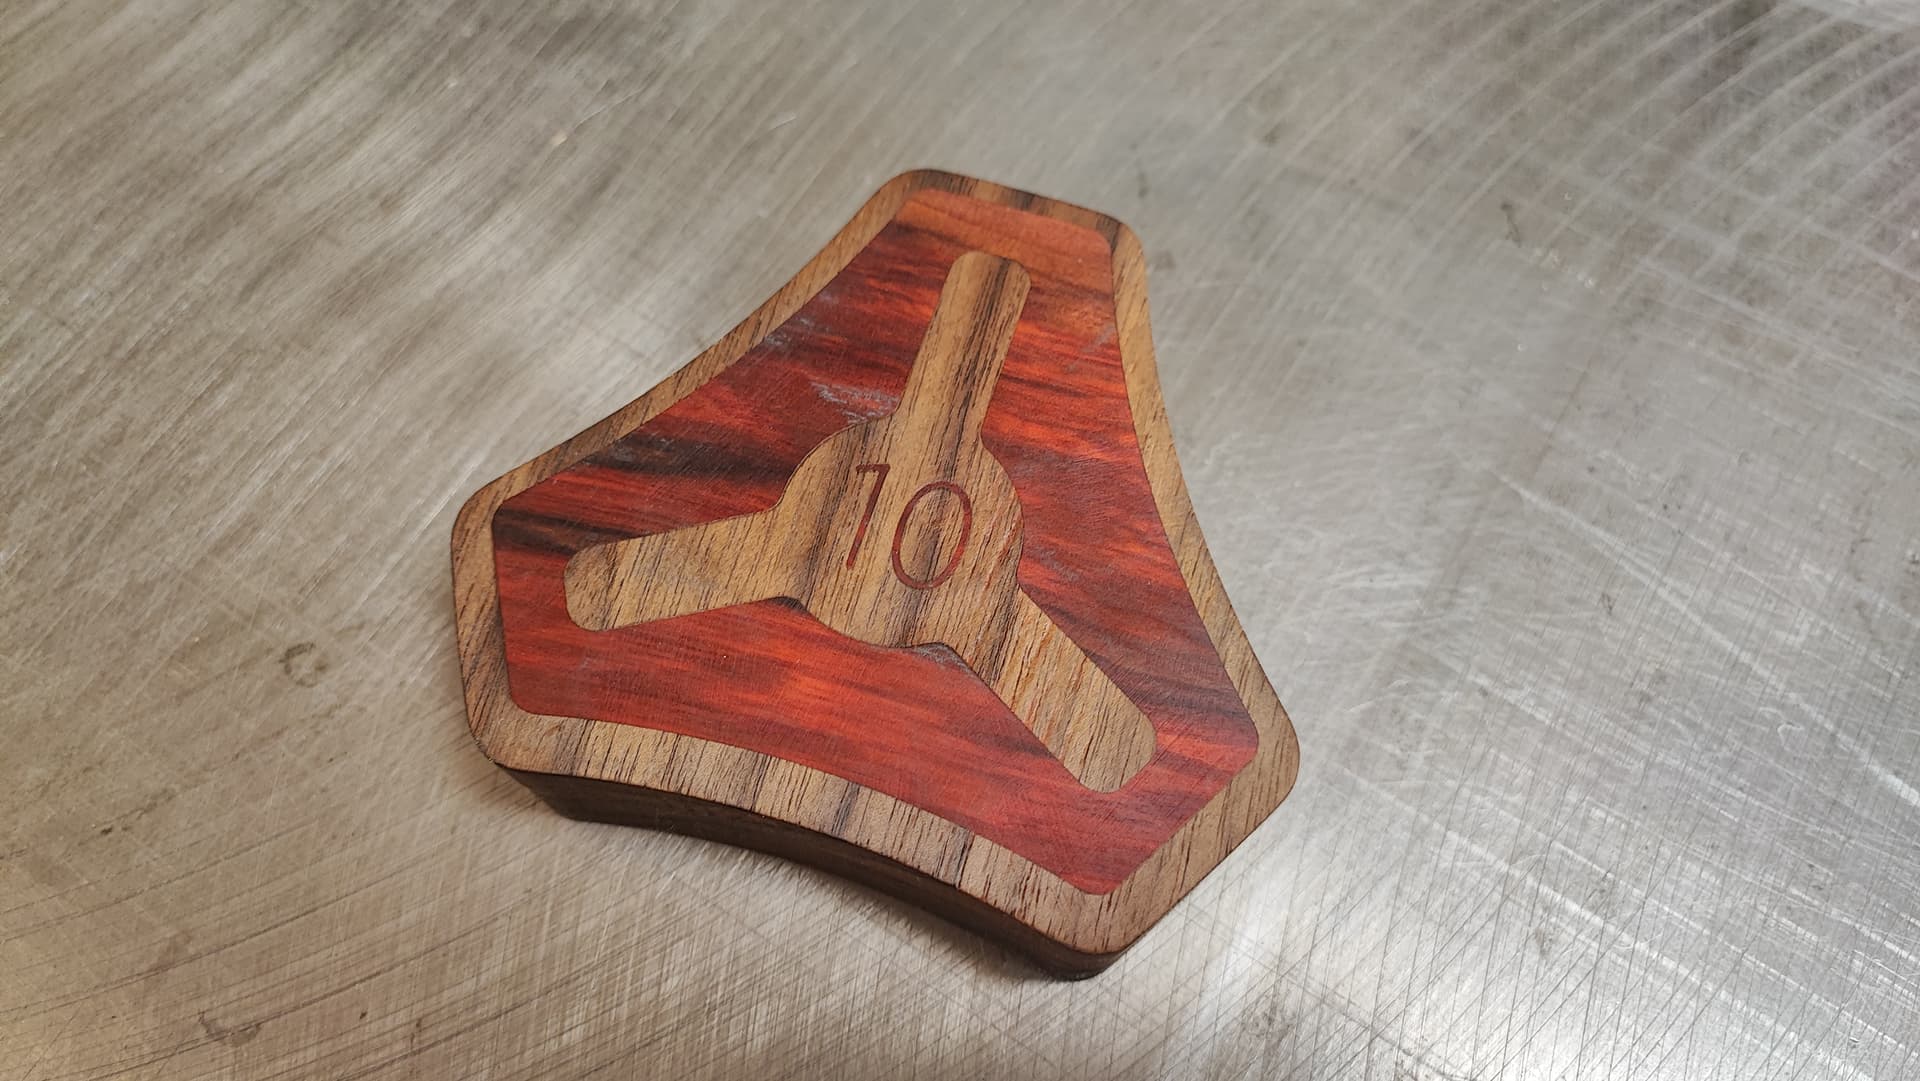
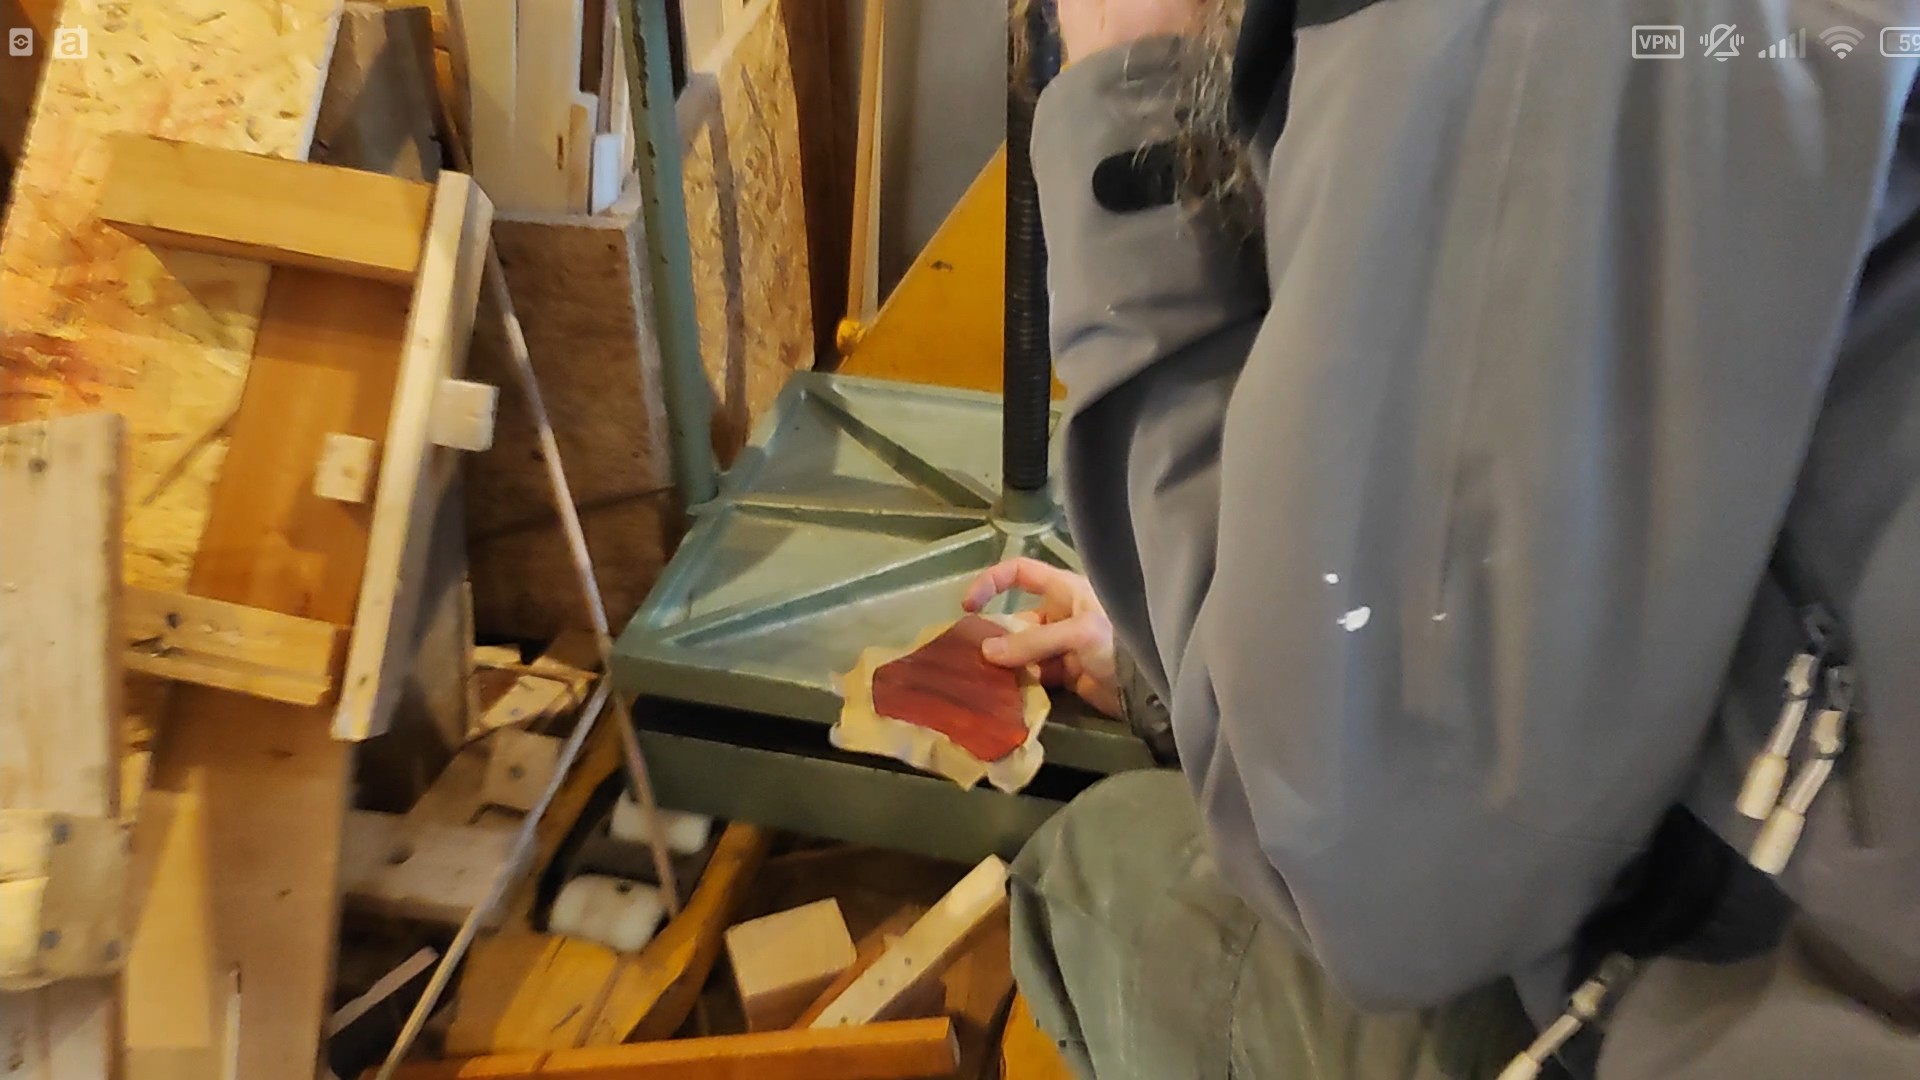
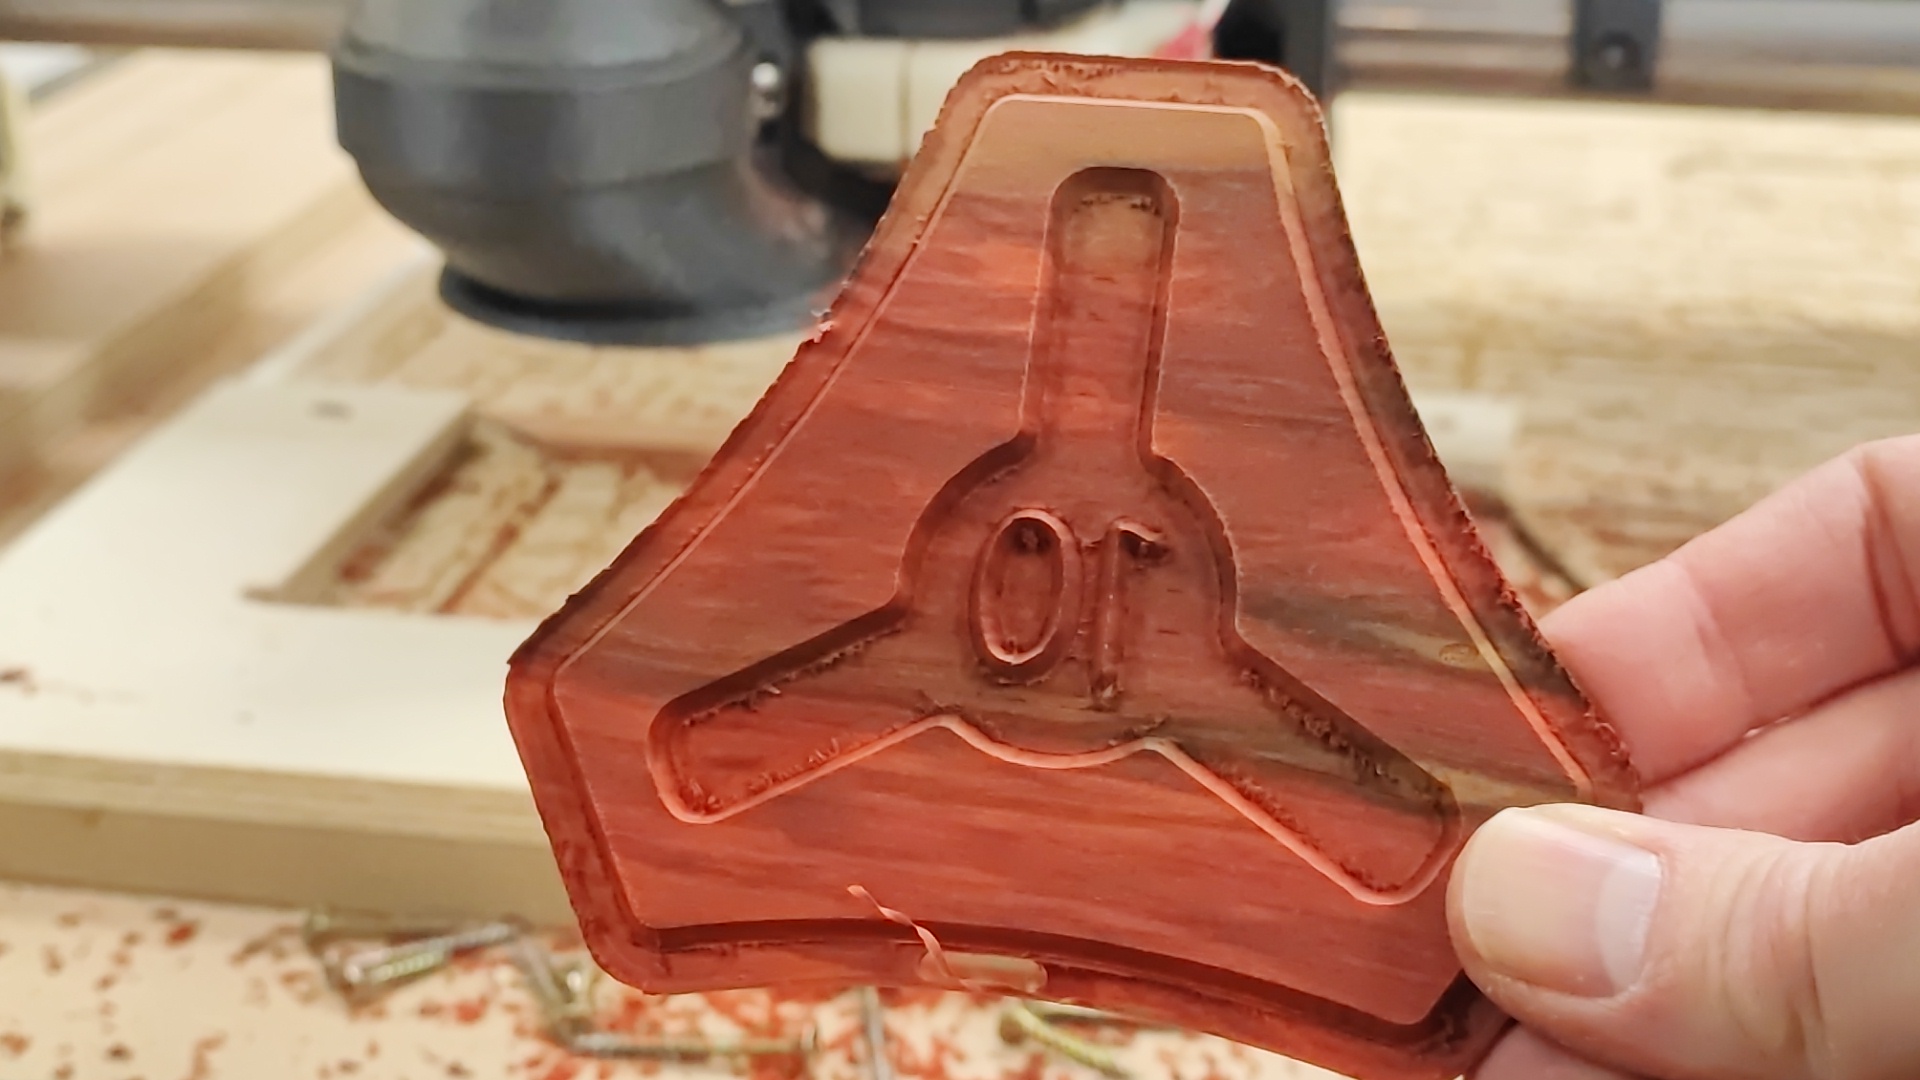
I made a commemorative box for Ryan’s 10-year-anniversary. Black Walnut and Red Heart.
You can turn the lid in every direction and it is always a perfect fit. Talk about a great CNC. :slight_smile:

And there was a little glue on the side… Meh. But no one will know if you don’t tell. :slight_smile:

Don’t mind the scratches, I was impatient and took too course sanding paper at first.


I was also able to finally really test my press. Summary: this inlay is one of the best I’ve ever made. :stuck_out_tongue:

17 Likes

That thin 10 inlay is a gratuitous flex, nice work! :slight_smile: Got video?

2 Likes

Oh, but I crossed the grain directions. Argh. Didn’t notice before… :expressionless:

2 Likes

Gives it character

1 Like

Problem is rather that it might break when contracting/expanding, but it might not happen, with the inlay only being 1.8mm deep.

1 Like

Amazing, That “10” is impressive!

2 Likes

Y’all forgot my teeny tiny earring inlays. :yum::sweat_smile:

6 Likes

Well still nothing fun, packed a lot of orders, I guess that is pretty fitting. Best thing you can hope for after 10 years is a bunch of orders.

I do have a little bottle of champage I was gifted a while ago, Going to leave work a little early and pop that sucker. Wish, I could share a glass with you all! Cheers, thanks for being the cool crowd! :clinking_glasses:

13 Likes

That is great work!

I thought it was deliberate for contrast. It doesn’t look bad to me with the like materials having like grain directions.

I hope that you were able to savor the moment.

4 Likes

Yes, working on it. :slightly_smiling_face:

3 Likes

Rendering… :smiley:

1 Like

And done:

Pretty quickly thrown together, 2/4 kids are ill, one of them was a little :face_vomiting: :fountain: tonight. Yum. :stuck_out_tongue:

And check out how that table saw cuts that board. It’s so satisfying. Much power. Such wow. :slight_smile: Really happy with that purchase.

10 Likes

I like your video and you have really evolved and gotten better and better!

2 Likes

Very nice @Tokoloshe!

2 Likes

I rewatched your video and I don’t see how you referenced the lid so when you flipped it over it cut in the correct location. What did you use to do this? I am thinking of trying a 2 sided project, but I’m not sure how to reference it when it is flipped over.

I didn’t, I eyeballed it… That’s why the bottom border is thicker than the top…
The middle works because I used one of the small sides as a reference… :sweat_smile:

:rofl: Good eyeballs :eye:

2 Likes

im kinda jelly of that drum sander.

Id love to know about the touch plate set up. Specifically the spindle set up. I hate having to clip on the one side. I was looking at the collet the other day trying to figure out how I would keep that wire in place and have it not get damaged.

What the touchplate basically does is to check whether there is continuity, so I have the screw of the one touchplate cable touch the metal end of the router, the other side just has a barrel connector (are they called like this) that I can unplug. That’s basically it. We had some other people make a more fancy connection with the new core with a magnetic solution somewhere.

It was like, 130€, 90 of it being the motor. I think I broke that down in the video. :slight_smile:

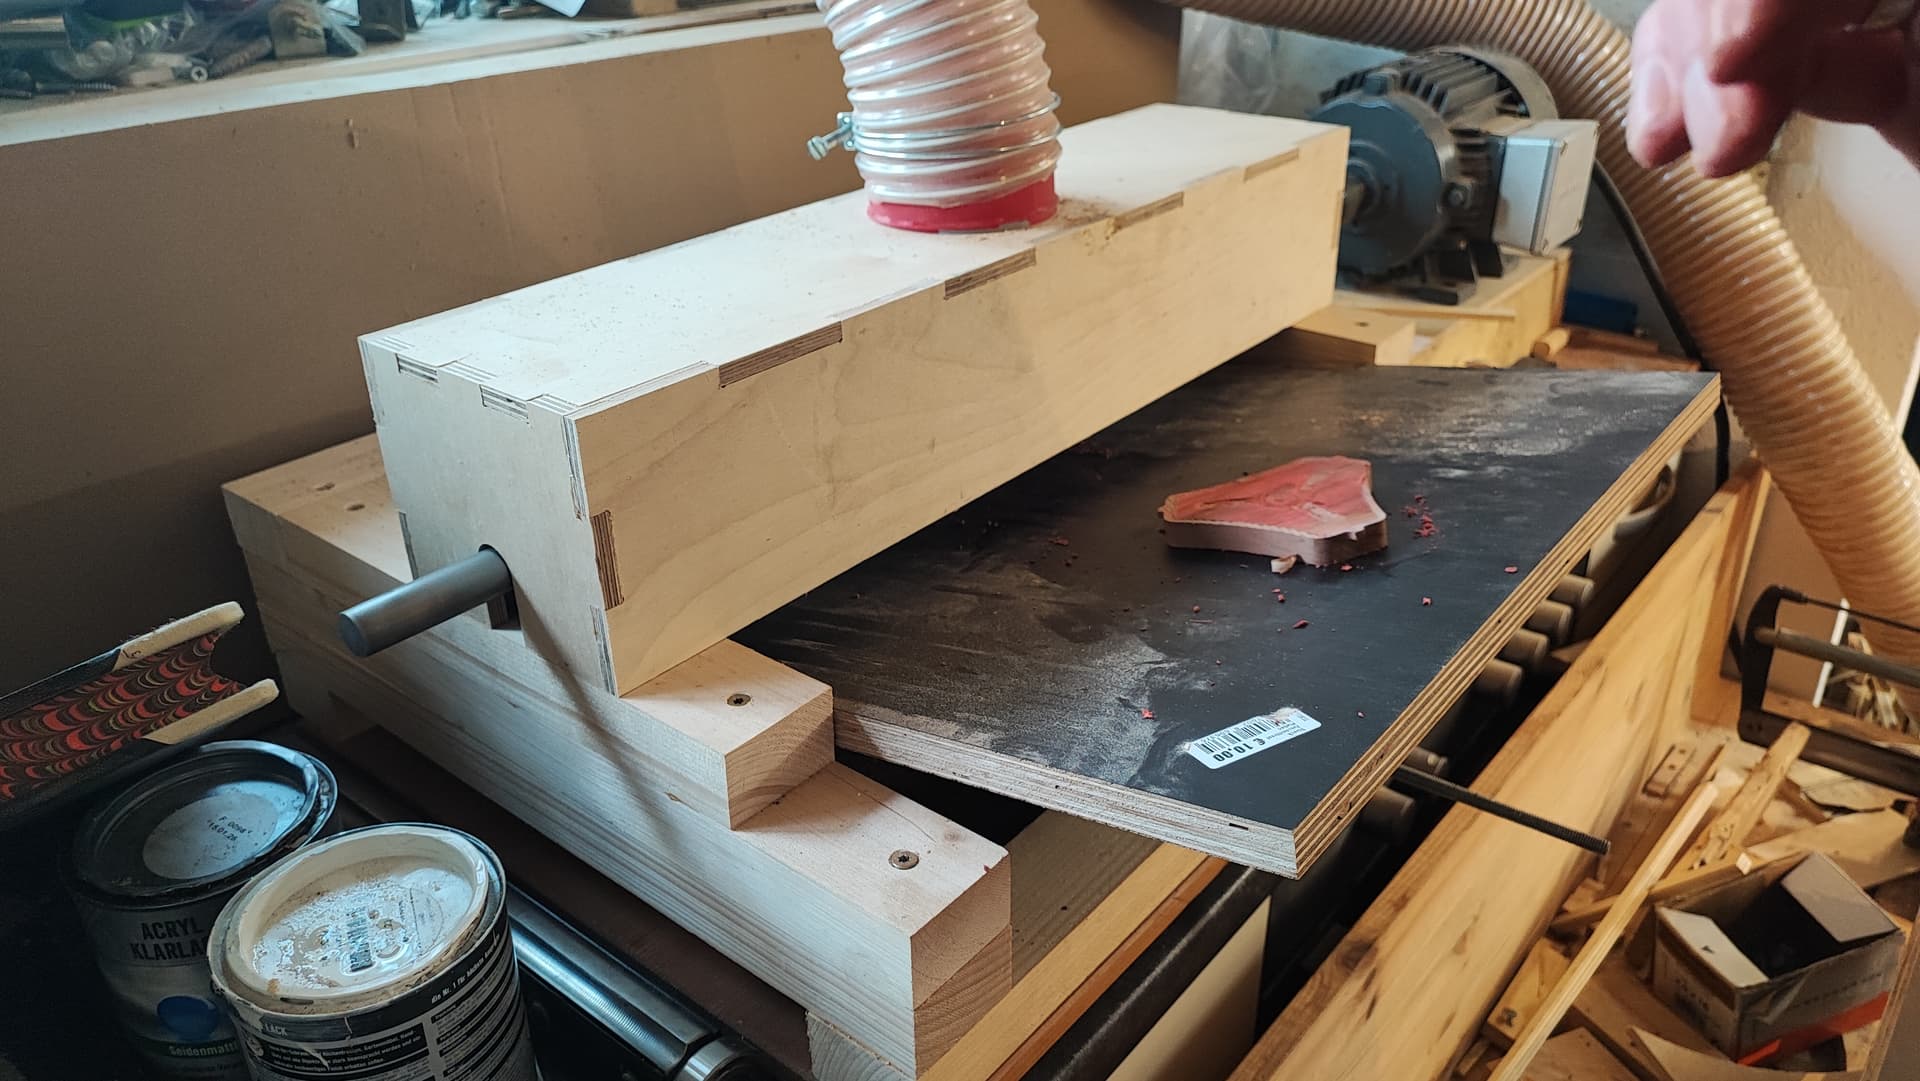
I need to make the riser a bit better so that it’s even, maybe with a chain and threaded rods or smth. I also would like an automatic feed, but that’s too much work at the moment.