I got a Bosch router bit set with the Makita RT0700C. It includes a couple of bits for doing different operations, like chamfers, fillets, rabbets, etc.
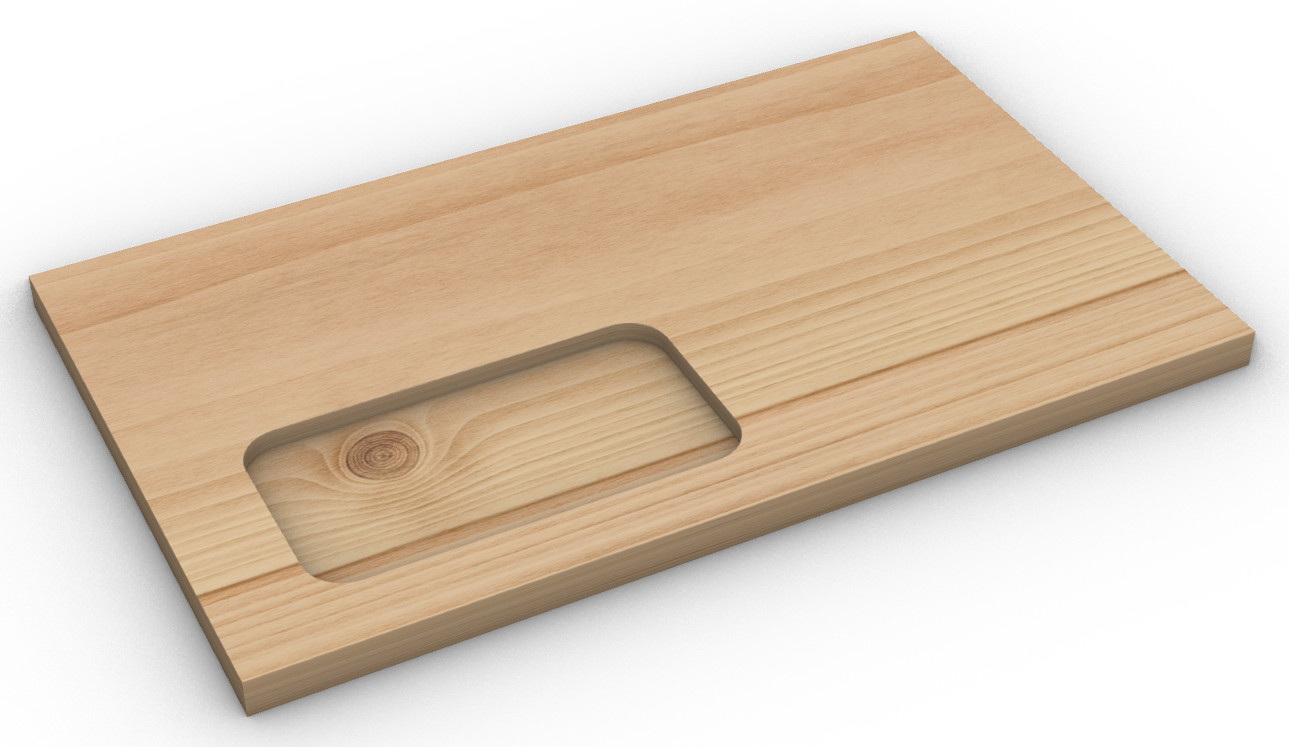
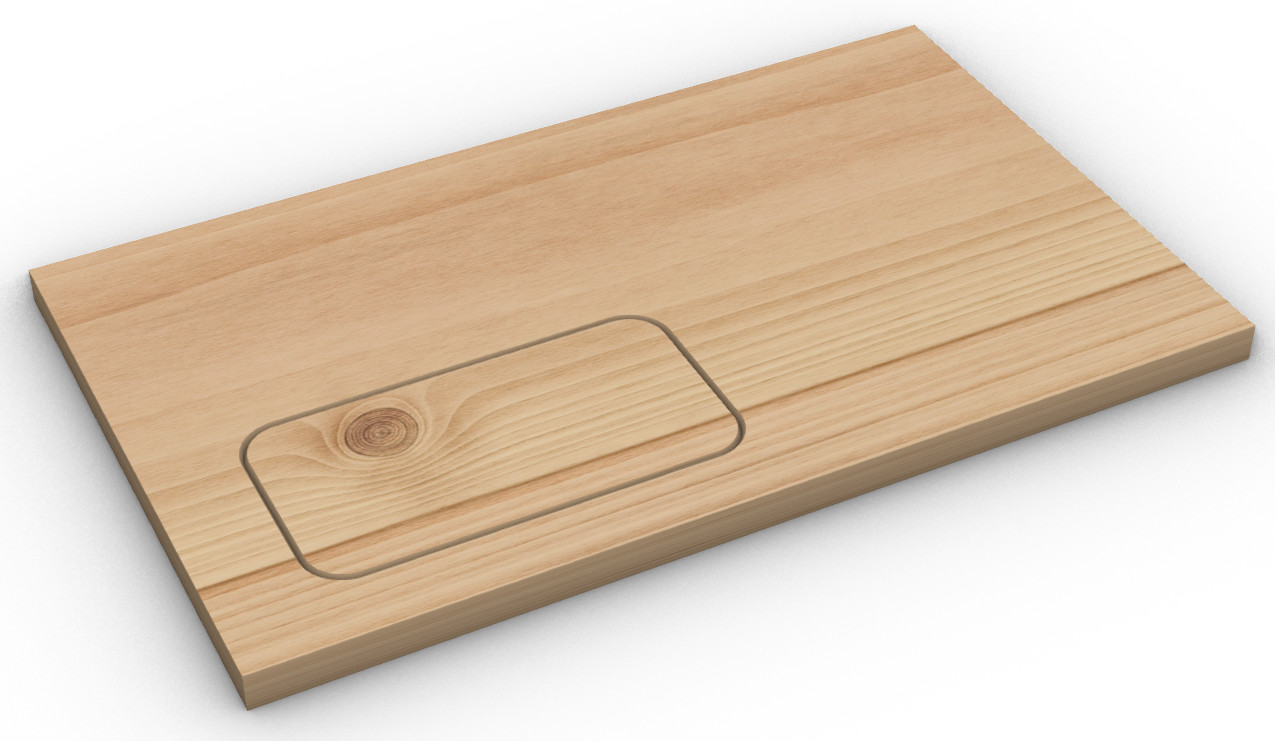
I primarily bought the set to round over the handles that cut into two sides of the torsion box, flush trim its top panels, and chamfer its outer edges slightly.
The table is done, but I still haven’t finished my MPCNC. I’m waiting for the SKR Pro to arrive and some time off.
I was asking myself, if anybody used these or similar bits in their CNC process? Wouldn’t they be practical do specific finishing passes?
If it’s a regular v-bit, it’s easy to chamfer with estlcam. I have a chamfer bit with a bearing, which I use by hand (well, I made a very simple plate to screw the router onto). I’m sure it’s possible to use chamfer-bits with bearings in an automated way - but I haven’t looked into it…
I’m curious about this as well. I’m helping a friend with an arcade cabinet and need to run a slot cutter bit for the t-molding but it kind of scares me running a 1" blade on a trim router. I think the biggest issue will be getting the cam to understand the bit so it doesn’t accidentally get snagged on your workpiece. The bearing may get in your way here.
if something does go wrong it could get ugly fast. Make sure you have on eye protection and an estop away from the machine.
Yes that sounds scary! Just imagine the CNC wanting to move up in z-direction through the workpiece, while milling the T-slot. It would probably tear itself apart.
I think you’re probably safer using the bearing-less v-bits for camfering with a CNC. If you’re cutting the part or hole with the CNC already, then the v-bit just follows the same path as the original cut after the bit change.
If the CNC was running the bearing-guided chamfer bits, I see potential issues with the bearing catching on the work as its moved around (needs a much higher z-height for non-cutting moves), and possibly fighting the motors if there was a little misalignment between the actual part and the planned cut XY locations.
For what it’s worth, here’s my sequence in estlcam to chamfer using the v-bit:
load in the DXF/SVG
Select the standard cutting bit and choose all the parts and hole cuts. Save the gcode.
Delete all the parts/hole cuts.
Select the v-bit and use the Engrave action, centered, and follow the same boundaries for the parts and holes. Save the gcode.
Run the first cutting gcode, switch to and re-zero the Z with the v-bit, then run the second chamfering gcode.
(I know some people get fancier with their tool change code, and use the chamfer tool in estlcam. I don’t trust myself to have all that in a single gcode block, so I keep different bit operations separate with different gcode files. Also, sometimes I take the time in between different runs to reset my XY zeros to and re-square. )
So basically if I were to cut a pocket, but instead of using a 2D path from a DXF, I were to use a 3D object, I would have to mill the pocket without chamfer an then define an engraving path along the top edge to chamfer it using a V-bit?
I wouldn’t say have to - I’ve seen too many creative approaches by the others on here to think there’s just one way. But, yes that sequence is what I would try as my first attempt.
I’ve only ever done 2D cuts + chamfers though so take that with a grain of salt.
It’s easier than that. Just go into estlcam and in your part or hole tool selector it asks what your chamfering tool is and how wide you want the chamfer. Built in.
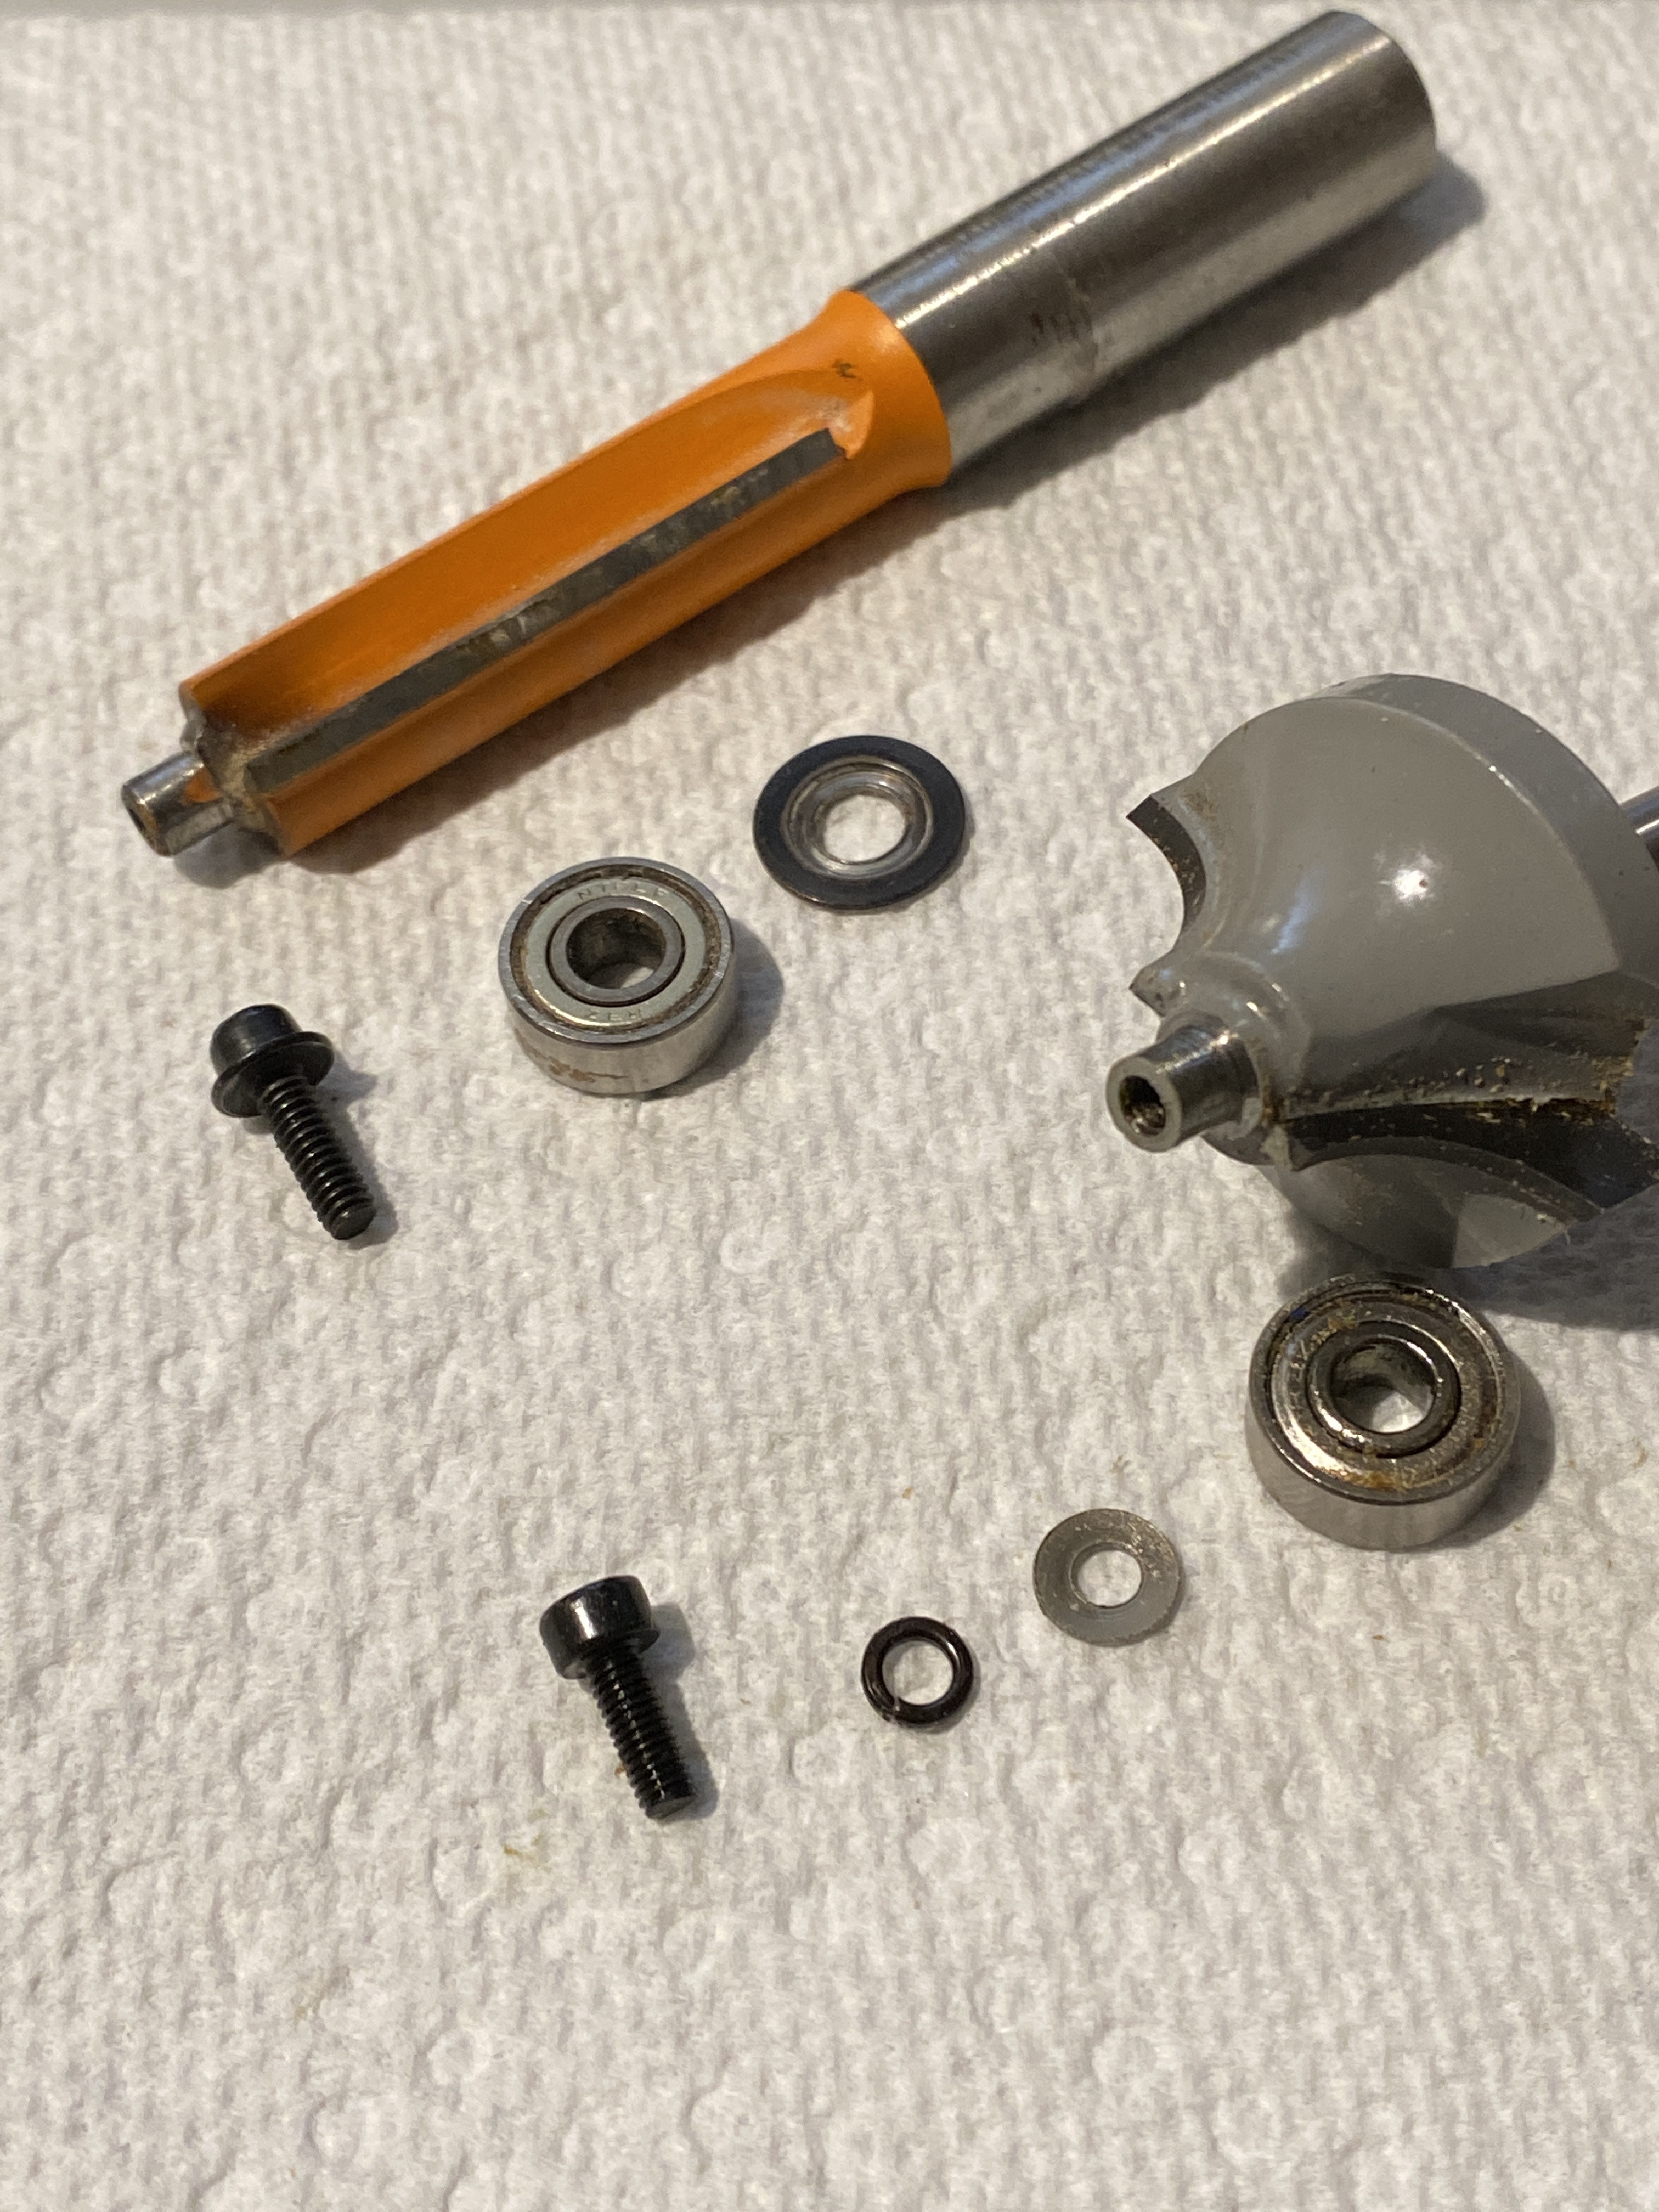
All of the “regular” router bits I’ve got with bearing have a way to remove the bearing. You wouldn’t be able to plunge cut with a bit with its bearing removed, but you could certainly use one to add a chamfer (or roundover or ogee) to the edge of a pocket that had already been cut.
Removing the bearing would let you experiment using bits you’ve already got without the risk of the bearing catching on the work.
You’d need to watch the depth but you shouldn’t have trouble with a reasonable chamfer. Ability to do a round-over or other profile is going to be more dependent on the material thickness.
And for the record, I am not saying this is a good idea, or that folks shouldn’t read, understand, and follow any safety instructions that come with your tools or bits. I’m just saying that if I had the need, I’d be willing to do a little experimenting with this before I elected never to use a “regular” profile bit on my CNC.
I cut my left thumb yesterday, while clumsily trying to unscrew the bearing, just to see what is underneath, which led me to give up. Thanks for sharing a picture.
 Also, sometimes I take the time in between different runs to reset my XY zeros to and re-square. )