I have two issues (at least).
Thank you for your continued patience and help.
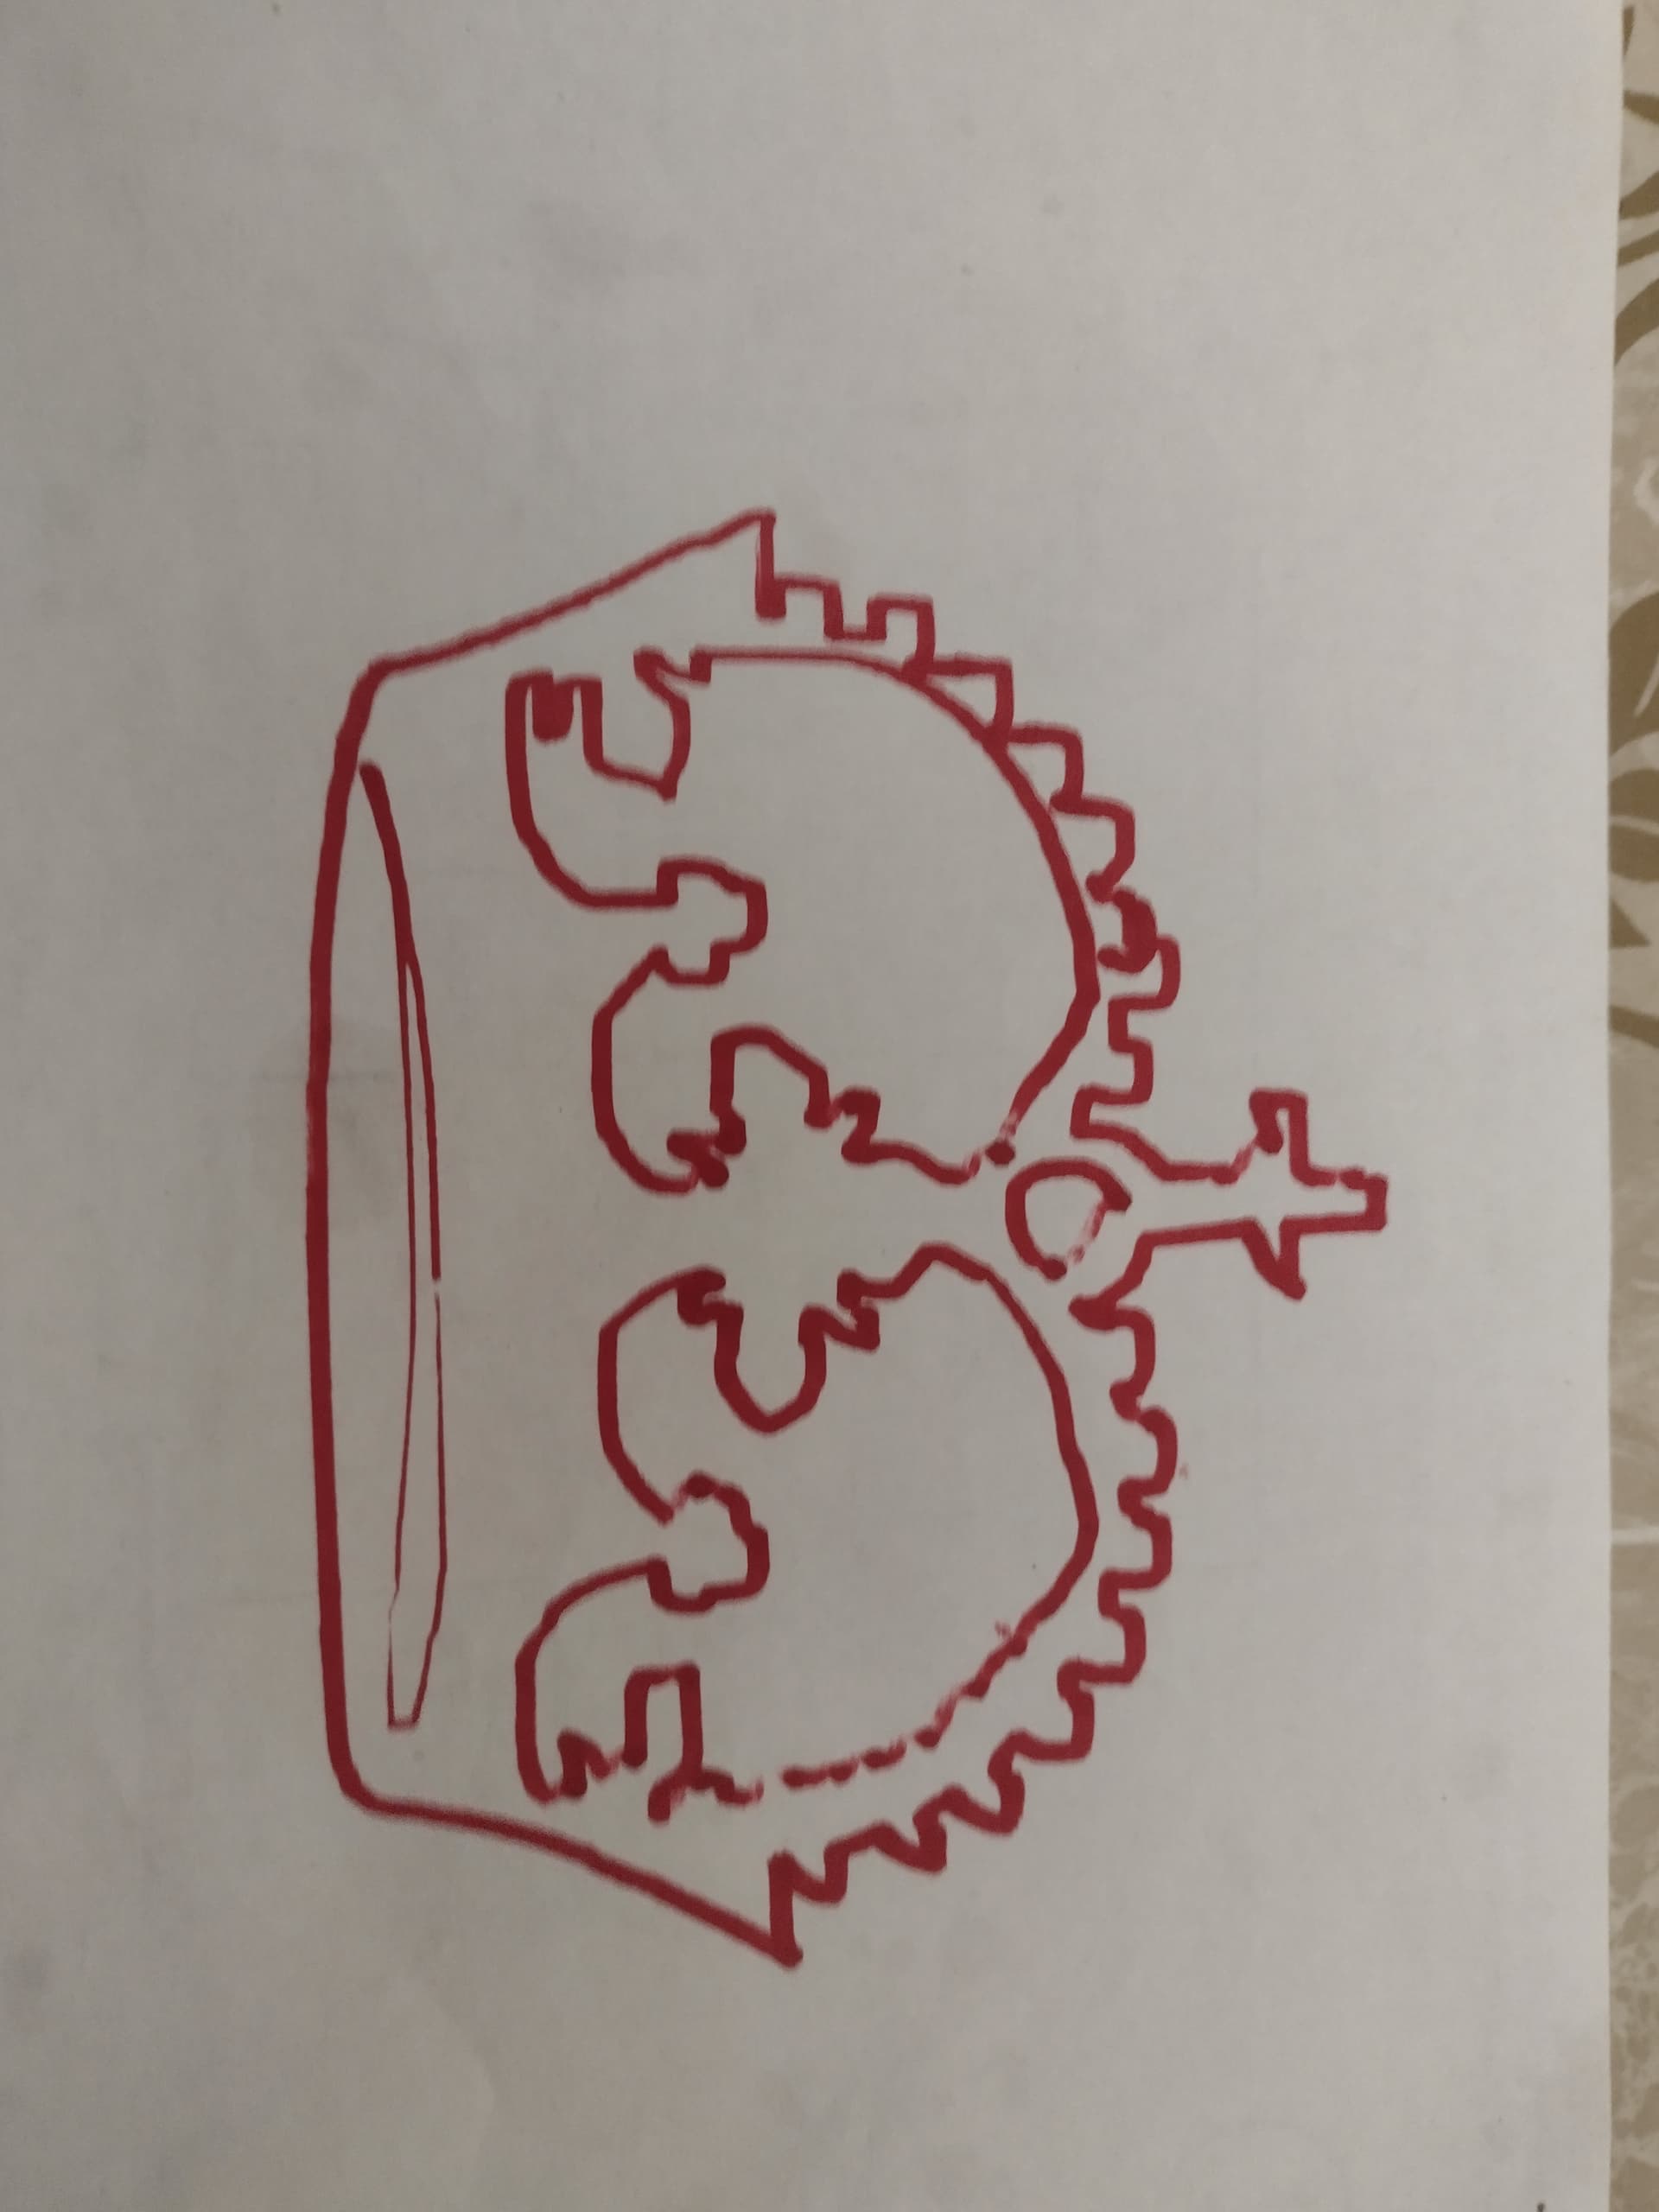
One is with my crown.
I think I’ve followed Ryan’s tutorial but all that happens is the Z just goes up and down.
X and Y don’t move.
I saved with a .gcode extension.
Is that correct?
I can move all axes by command so hey work.
The second problem is my Z axis.
It doesn’t go the whole way to the table top.
There is approx. 2" of lead screw when it stops going down.
It chatters and won’t go any further.
Are you running the premade crown? If not, download the premade crown, unzip it, and run it.
The second problem is my Z axis.
It doesn’t go the whole way to the table top.
There is approx. 2" of lead screw when it stops going down.
It chatters and won’t go any further.
Does this happen when you move the Z axis from your display? If so, this is likely a mechanical issue. As a starting point, run the lead screw by hand and see how much resistance there is moving it up and down.
Maybe I’m not cut out for this CNC stuff.
This is a very helpful forum. If you provide us with enough information and work with us, I’m sure we can get you past your current troubles. Sometimes issues are easy to solve, sometimes they are a struggle, but, in the end, problems are almost always solved.
BTW: For your X and Y issues, I suspect you output your g-code in inch mode, but the V1 maintained Marlin only deals with millimeters. If you post the first 25 lines of the g-code file that is failing (open the file in a text editor and just copy the top 25 lines), we can tell if inches is the issue.
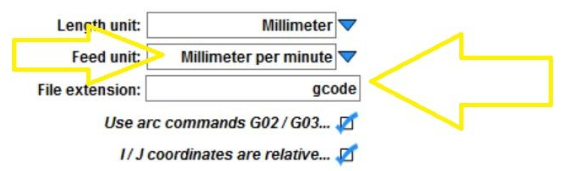
I don’t use Estlcam, but if you look on Setup/Basic Settings, you will find these two settings:
The important setting is Feed unit CNC programs. You want Millimeter per minute. That is the only units the V1 maintained firmware will accept.
As for the g-code, it appears to be in inches, which is what I suspected. I’m guessing you imported the DXF file and created the g-code from Estlcam. The link I provided you above is to a premade g-code file. The top of that file looks like this:
There is another thing here that seems to trip up people when they first start. Note that there is a G92 X0 Y0 Z0 near the beginning of the premade crown. Your code does not have this command. This command establishes the current position of the tip of the router as the origin/home position for your job. Starting out, it is simplest to just have this command automatically added to all g-code files.
Select Setup/CNC Programs
Select Marlin if it is not already selected
Select the Text tab
Under the Program start tab (the default tab open), add the following line below any text in the dialog:
That’s totally fine. I am sure reading that lights a fire in the people here who want to support you. But as the mythbusters said, “failure is always an option”. And I have read a lot of convincing arguments and research that says quitting is good. By the time you reach that conclusion, you’ve probably already passed the ideal time to quit.
However, I would go easy on yourself. Learning is a trade off. You put in energy and get out knowledge. Sometimes it is easy and sometimes it is hard. You’re capable of learning this. And you are not bad at it. You just may have to learn a bit more than other people. It is totally reasonable to see that the juice isn’t worth the squeeze and find another place to spend your precious time and energy.
I hope you can see that you took a risk, and made it very far. I hope the things you did learn will be paid back to you in some future endeavor.
I want to see you break through these challenges and succeed. But I totally support your decision. If you ever change your mind and want to put more energy into it, then we’ll be here.
There are plenty of us here who have hit the same level of frustration with something at some point. Mounting a pen and the router means you’ve reached the final stage of your build. Quite an accomplishment so far.
I’d give it a couple of days, then look at it again.
Mounting a pen to the z axis can be anything from a fancy printed part to just some tape. No judging. Hell, I used a couple of twist ties.
I have a Dewalt DW 660.
I do have the router mounted with some longer screws.
Tried attaching the Sharpie to the router with rubber bands.
That was the most stable so far.
However, it pushes up when i makes contact with the paper.
I may see if I can find a radiator hose clamp to clamp the sharpie to the router.
Trying to see where the pen tip starts from the paper (found it).
Trying again.
Try some tape besides the rubber bands. Then set the z zero just as the tip touches. Don’t need a lot of pressure at all. You’ll get it!
I’ve got the same router, so i can help if needed.