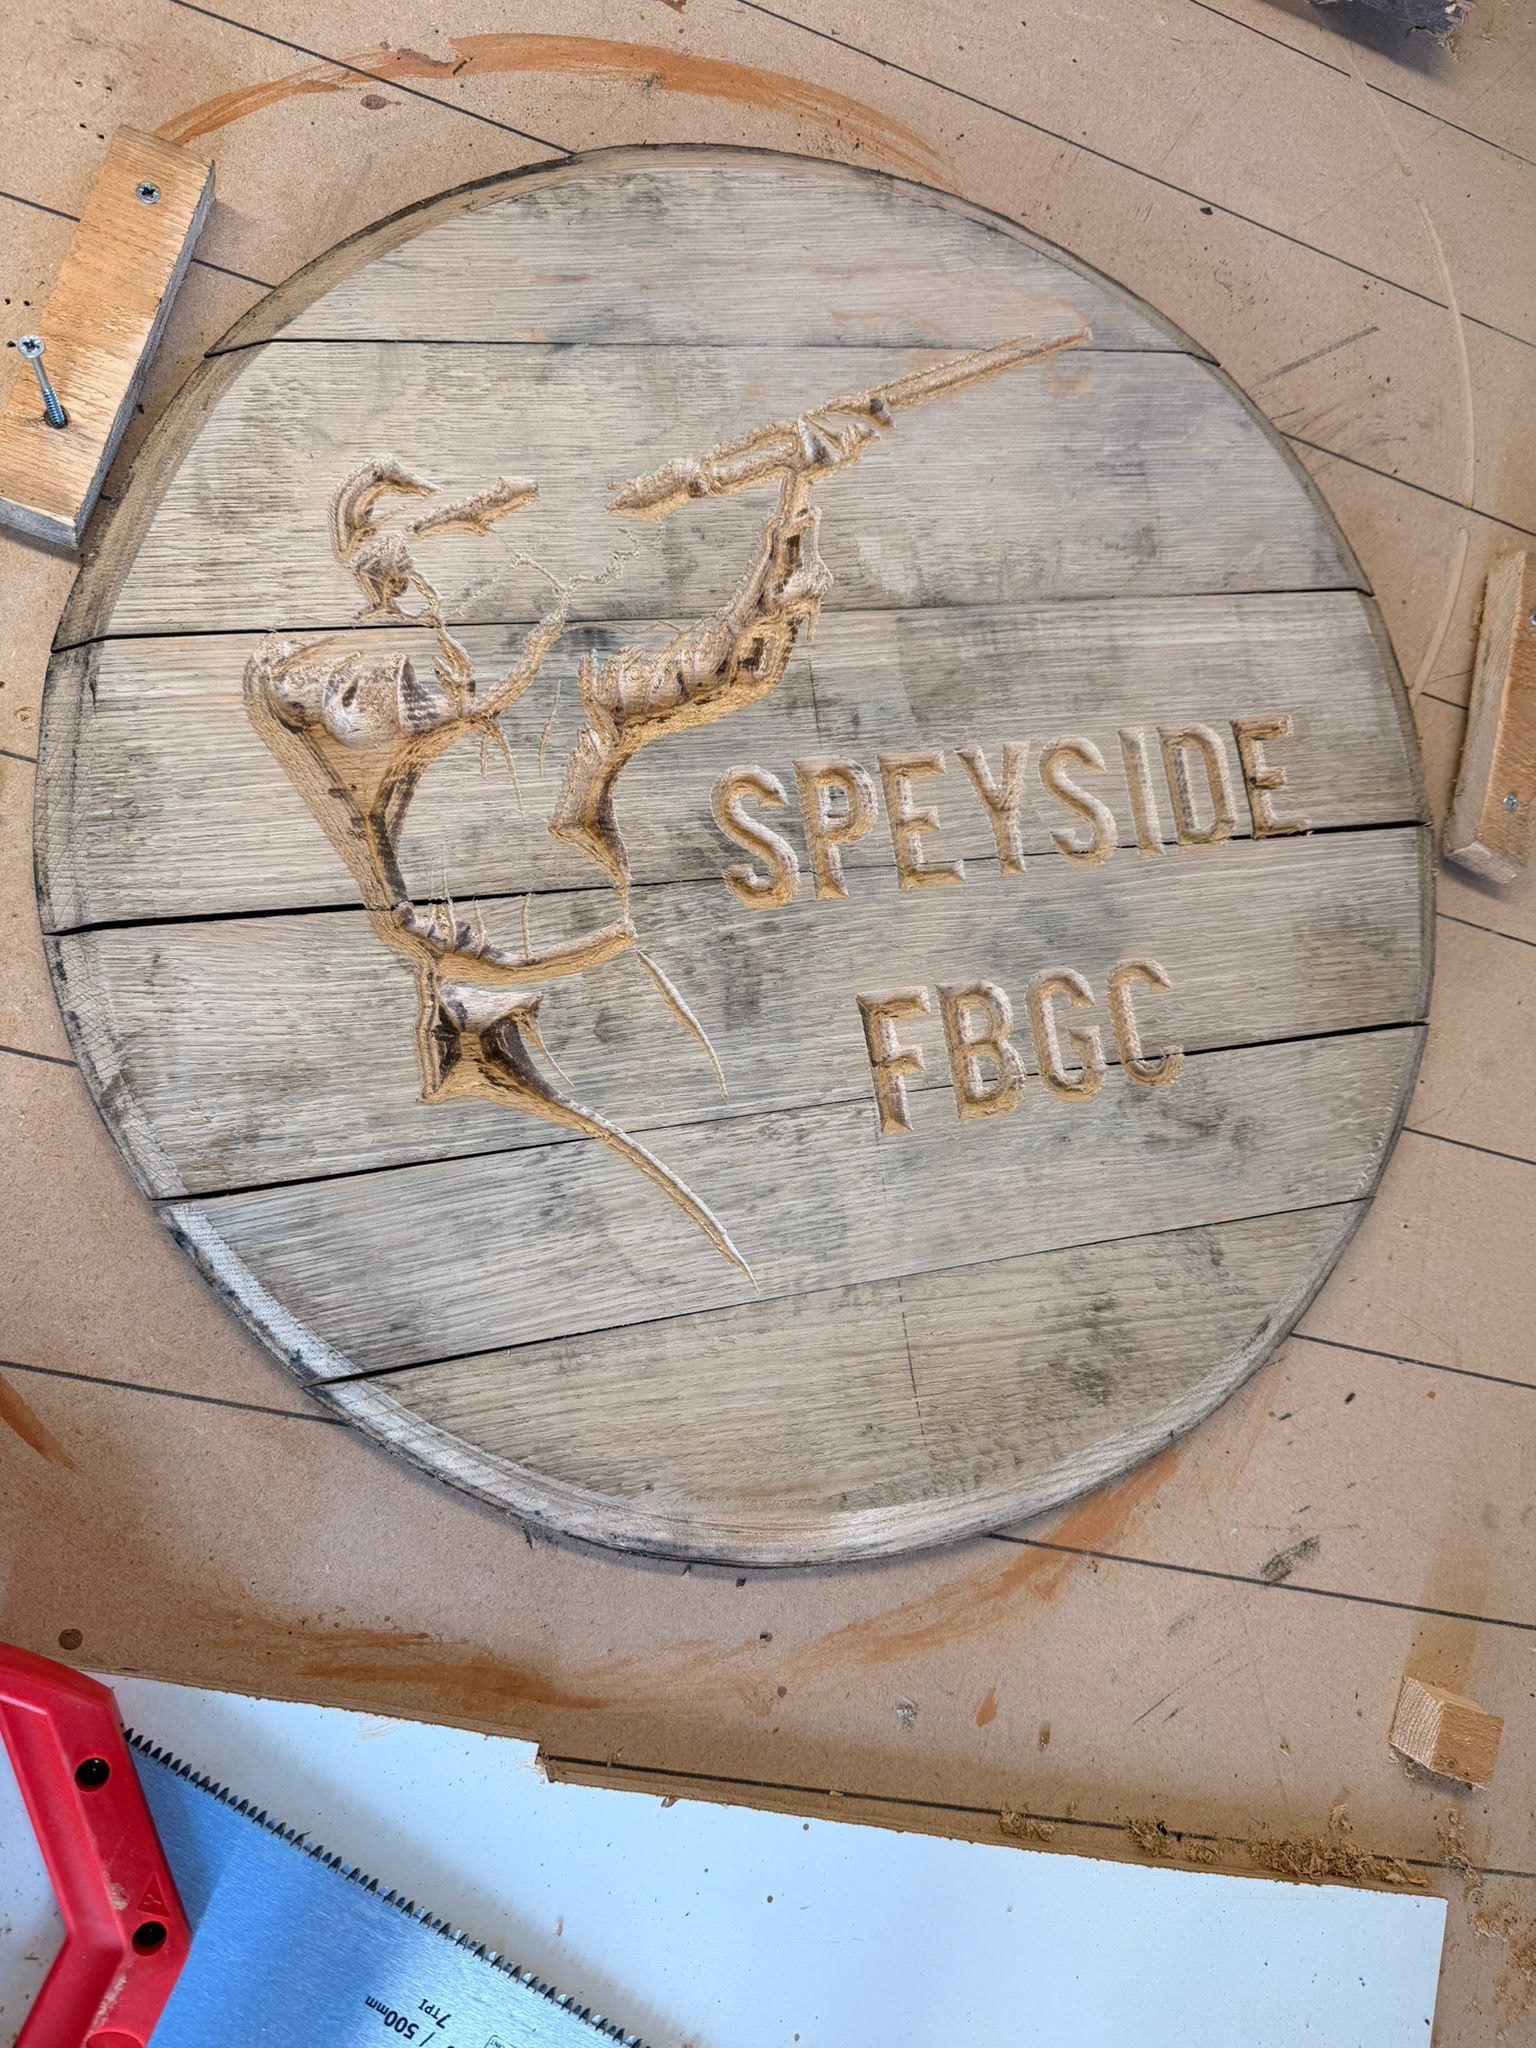
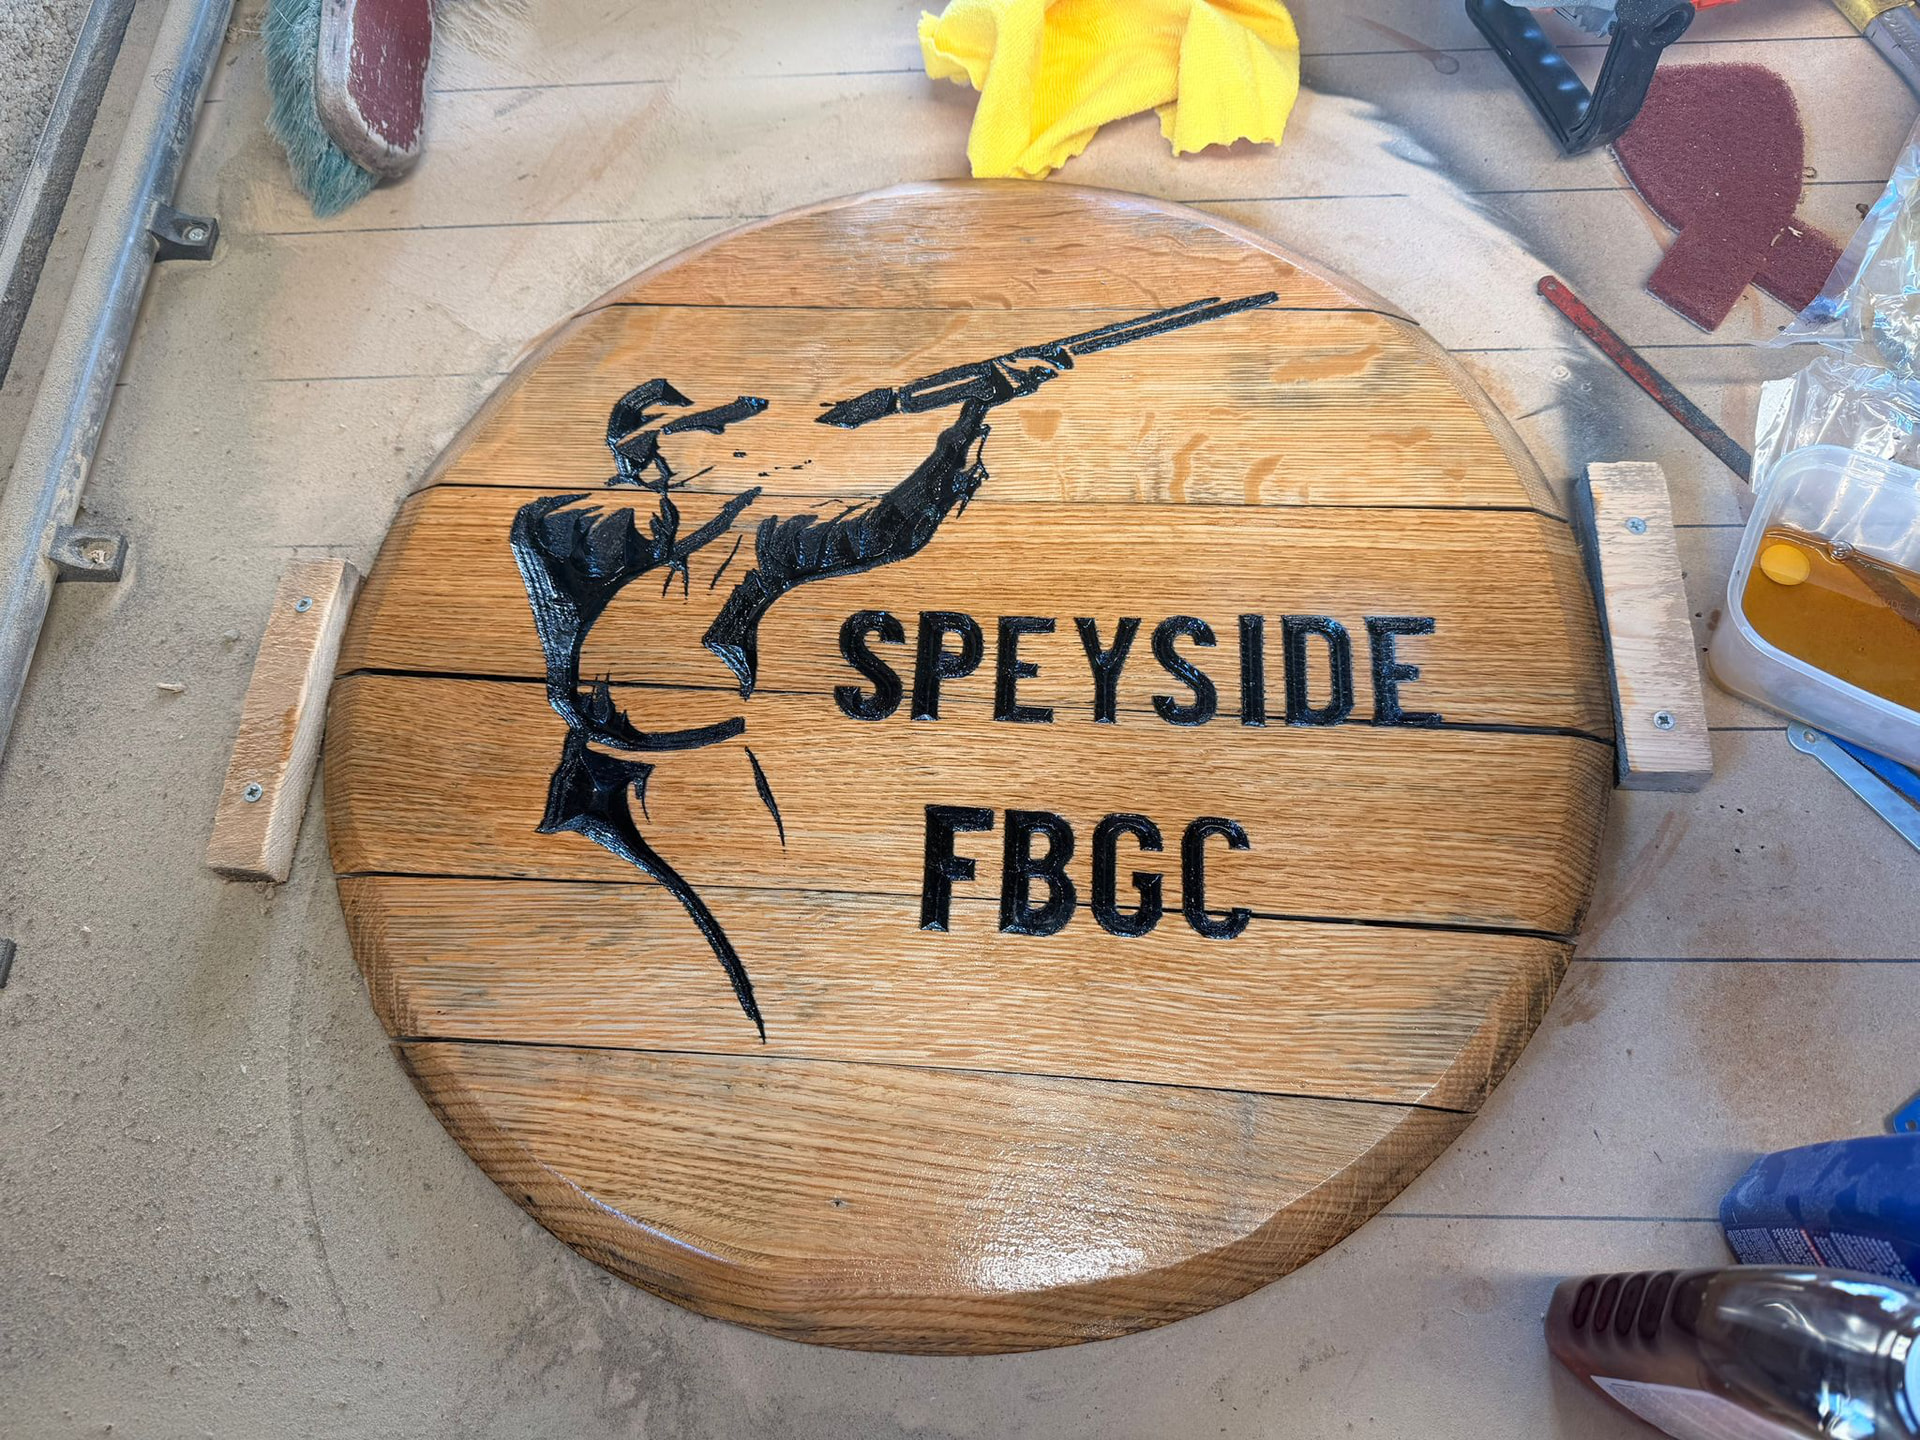
Still no bits here yet, but I used a crap v-bit I got. Why is the UK so rubbish at post!!!
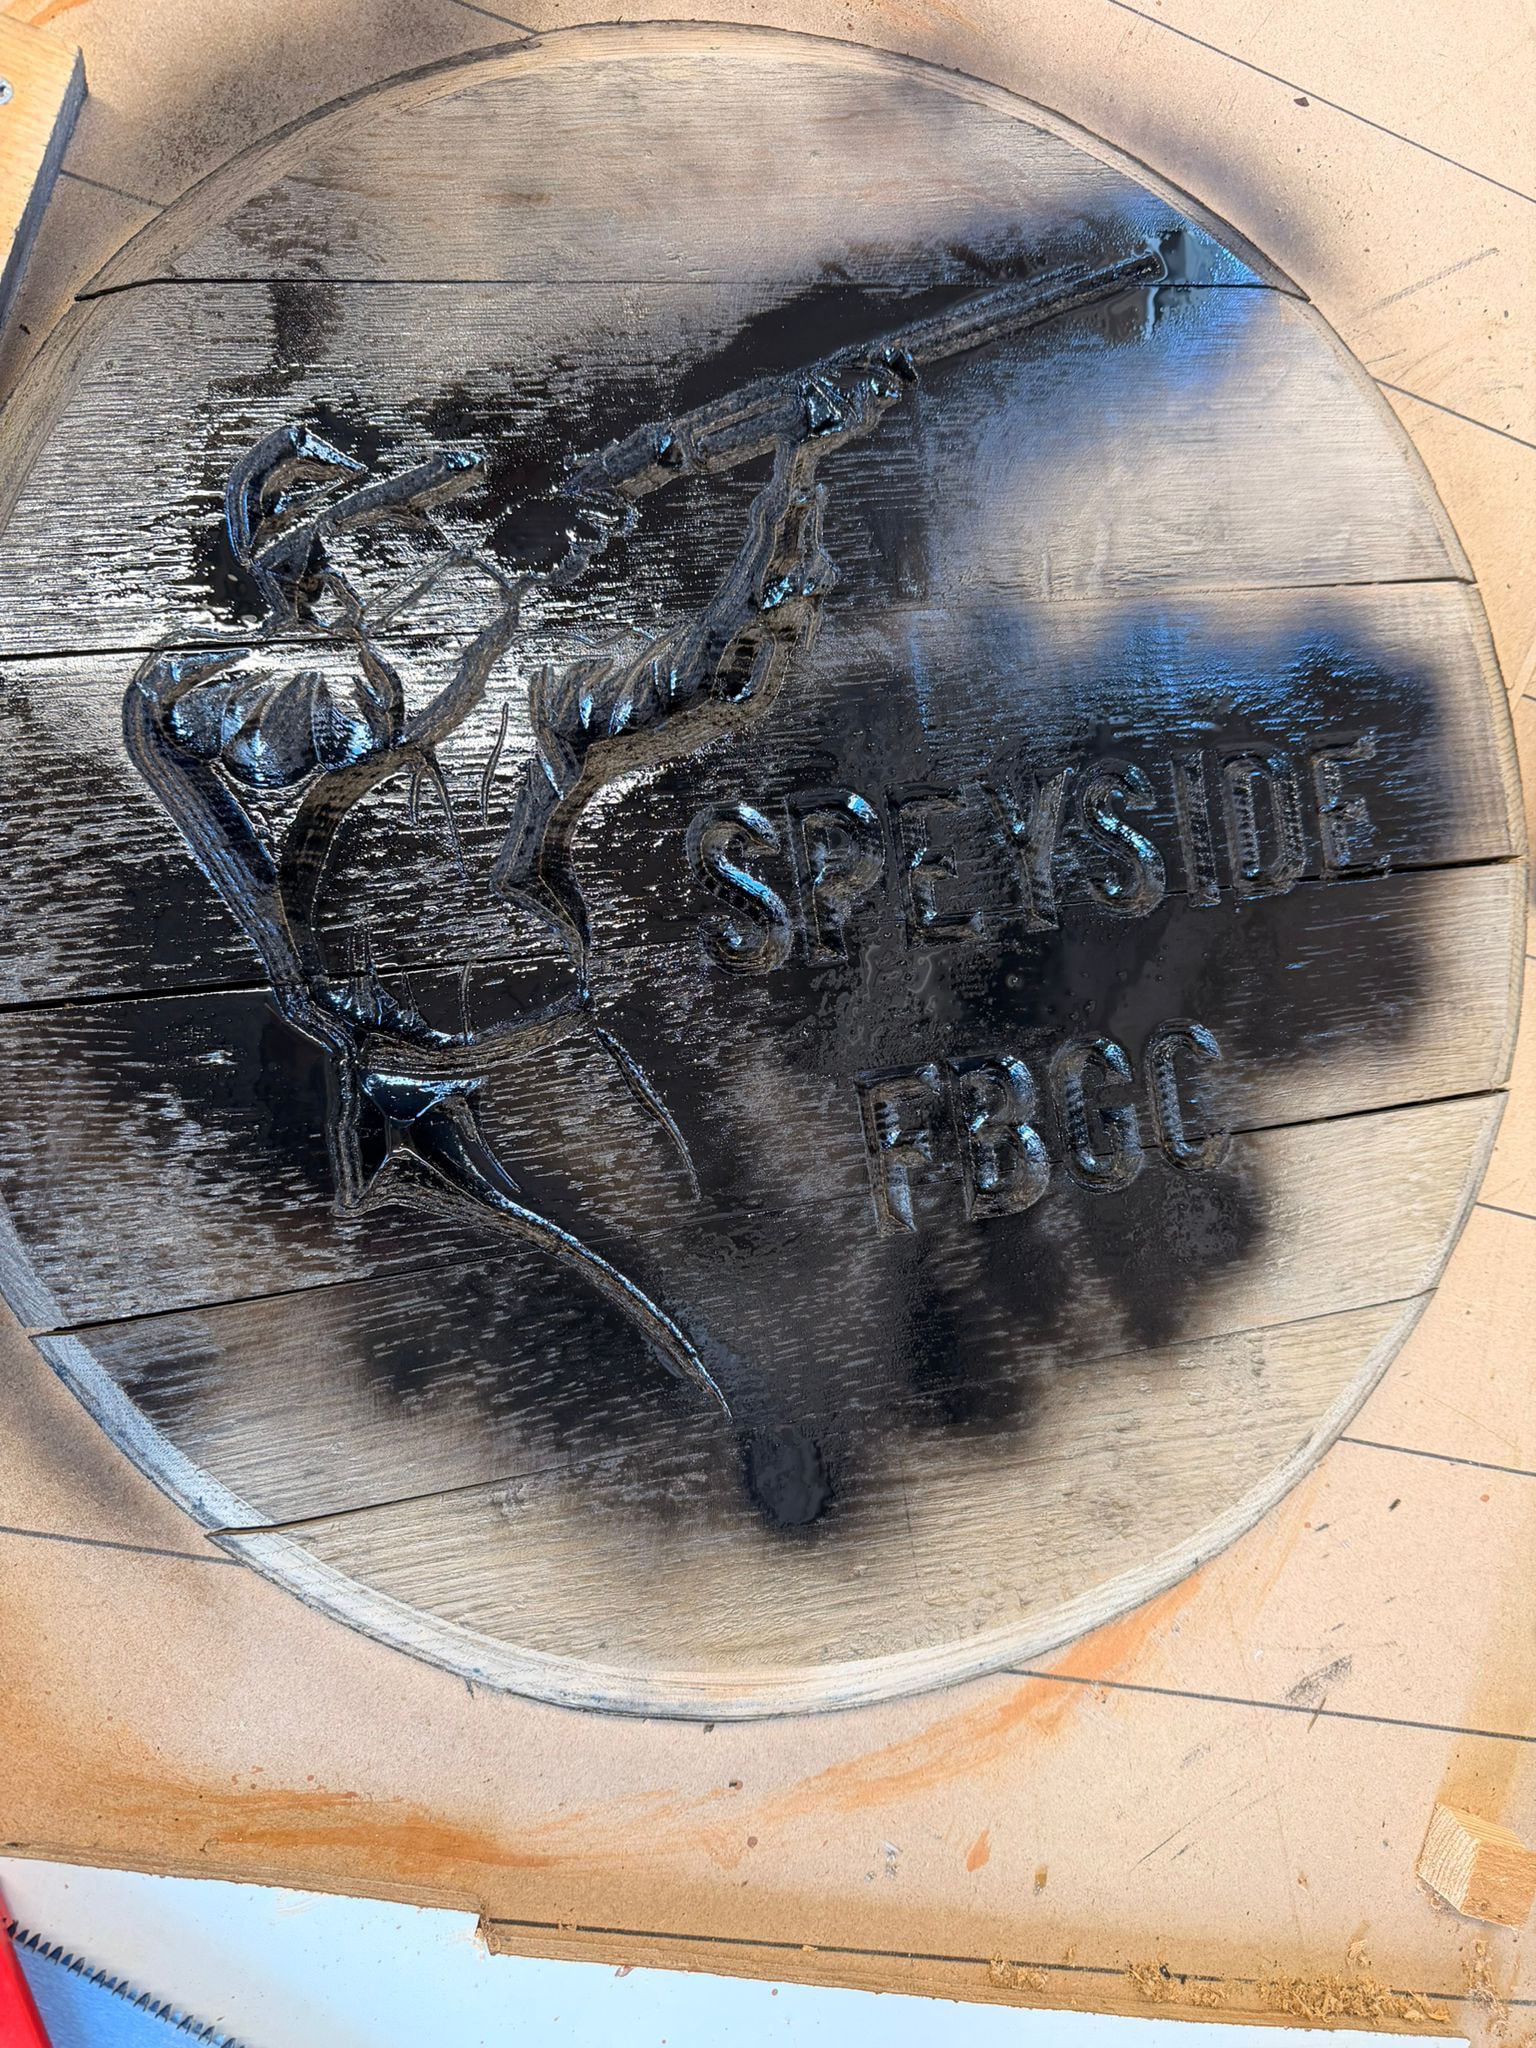
Hopefully paint will be dry tomorrow as its a heat wave currently in scotland….. must be at least 14C
Still no bits here yet, but I used a crap v-bit I got. Why is the UK so rubbish at post!!!
Hopefully paint will be dry tomorrow as its a heat wave currently in scotland….. must be at least 14C
Ah, a good trick there is a clear coat or two before paint, then the color. Helps with bleeding.
Cheers, I shal remember that 
Single flute is really the only option to get reasonable chip sizes in wood. I’m not sure about Aspire (I also have a copy so I could check it out) but EstlCAM will calculate chip sizes based on your router speed (RPM), feed rate (mm/s), and flute count. This sounds like another complicated thing to figure out, because it is, but it’s what will keep your bits sharp and your machine cutting well! Check out my thread here on the topic, it’s for EstlCAM but the info applies anywhere: Useful 'comment' section for tools - #2 by ClineDesigns
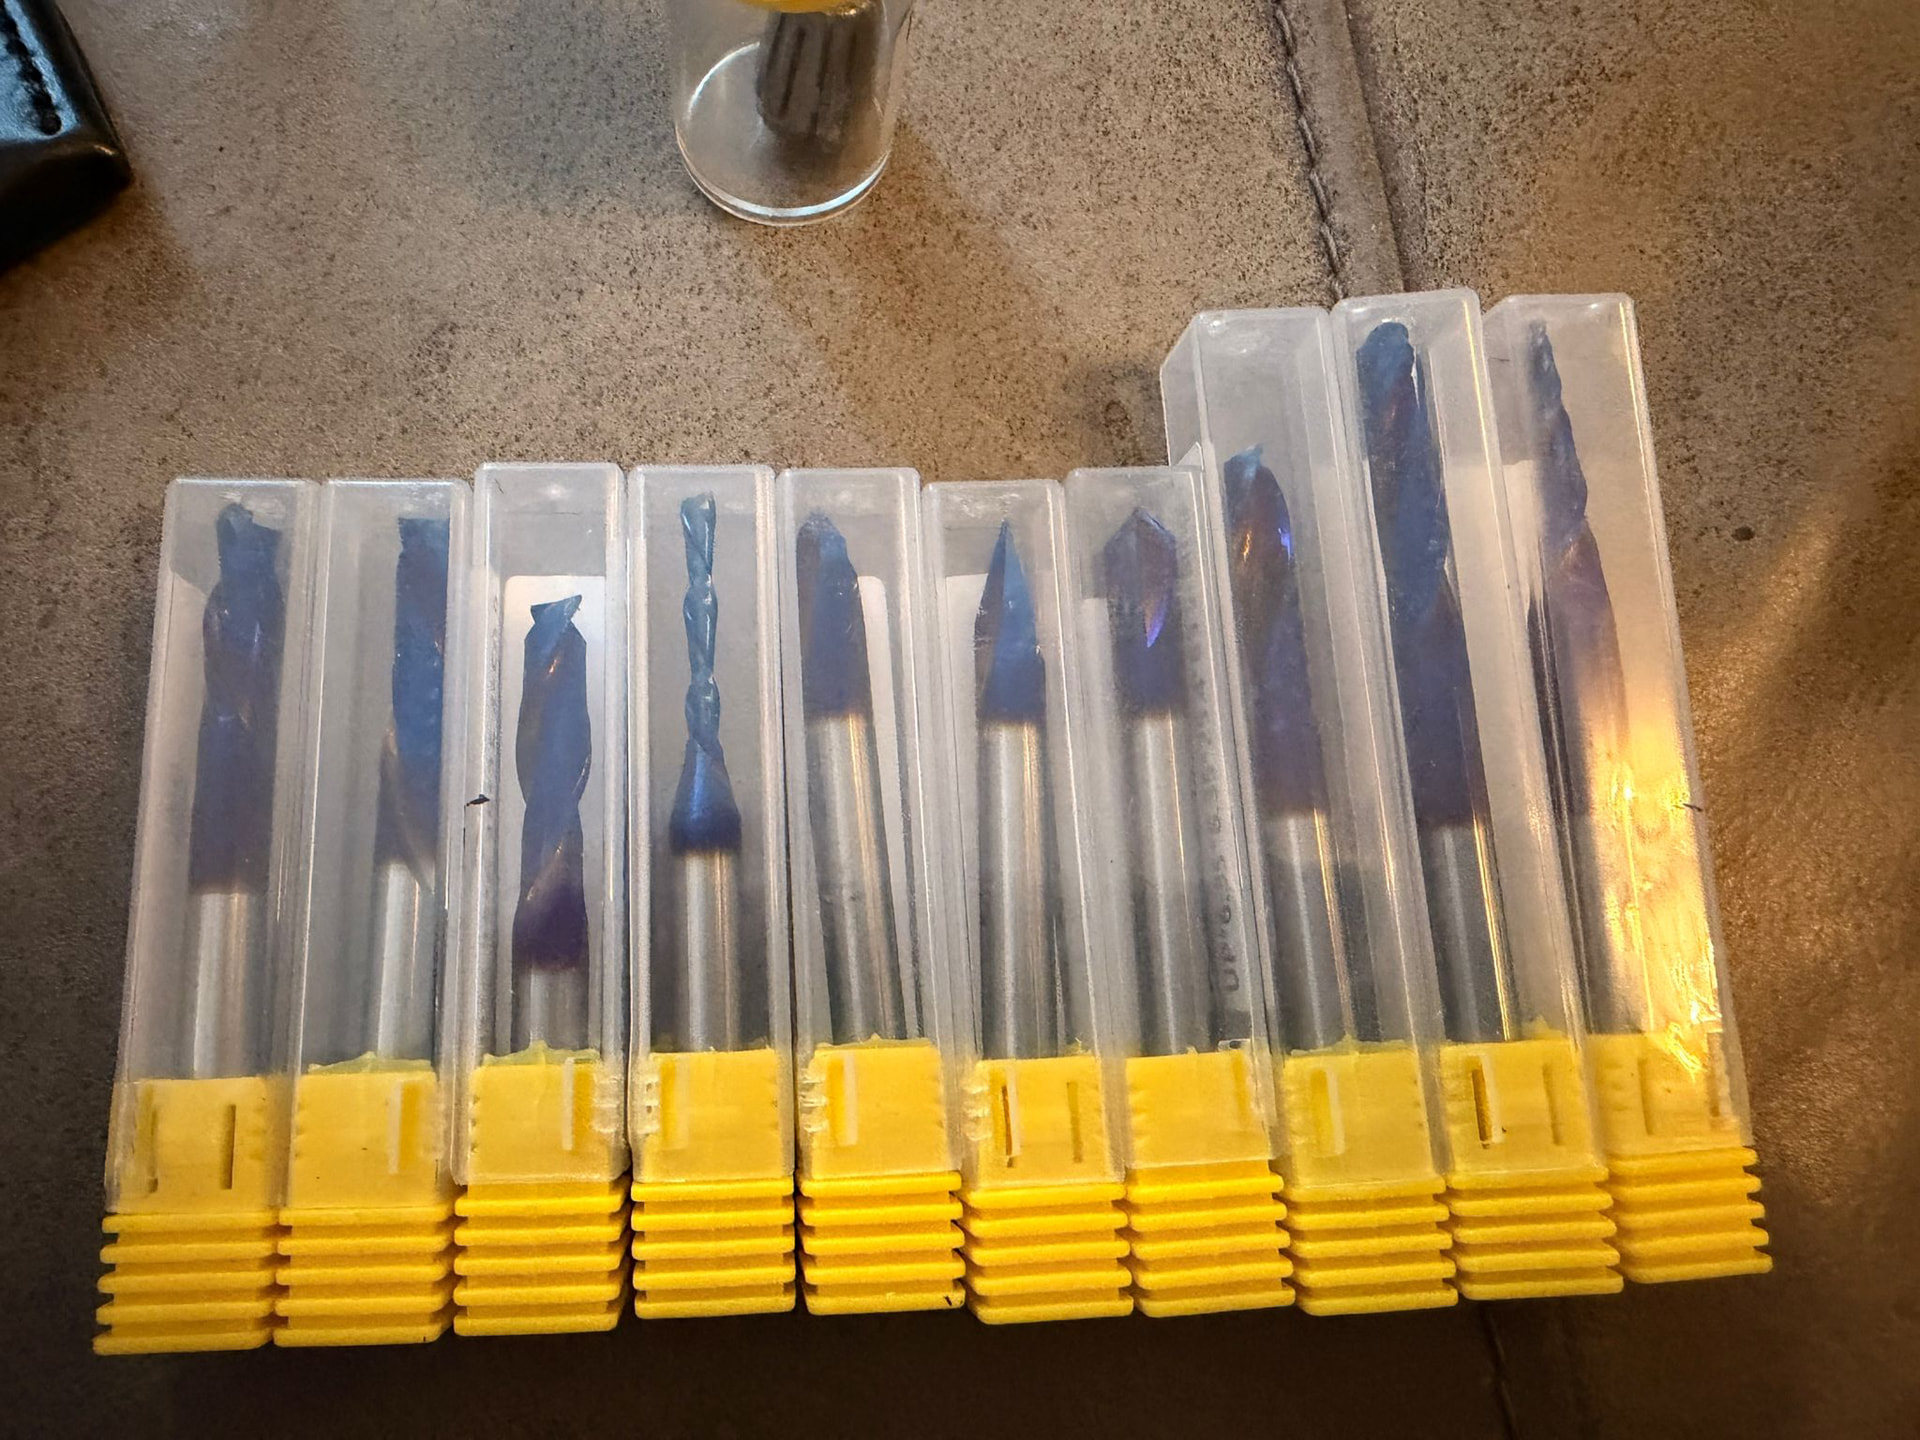
There’s lots of talk about bits and sooo many options for sale, but IMO you can get by with a 3 mm 45 V bit (carves and engravings) and a 3 mm single flute up-cut (slotting/profiling/part cutting). You can also use the 45 V for chamfers by “engraving” along the DXF lines. Then a 6 mm up cut makes roughing a lot faster, and a 3 mm down cut makes finishing passes silky smooth, but those are both “luxuries”. Others may disagree on the types of bits you need vs want, but my focus here is to make it as simple as possible . Also you want to keep a backup bit of each type in case you hit a hold down/screw or a deformity in the wood and break a bit, it happens to everyone eventually!
My 2-flute 16mm (yes, 16mm) bowl endmill disagrees:

Don’t need to do that, Estlcam has a dedicated setting for it for every “normal” toolpath below the clearing tool (setting field is white I think).
Well yeah, I agree. But where’s the fun? 
It does, but it also tells you that you have the wrong bit selected for chamfering but that it’ll do it anyways. I didn’t like that, so I figured I’d find a way that made the software happy
No, it doesn’t. That’s weird.
Thank you all, I shall investigate further. This hobby is amazing fun, I am so glad Ryan made this free for all. It also allows me to make people happy with items such as this
A small step forward…
Honestly, I have had about 50 requests to make things now… unfortunately I dont wish to do this as a business, but cherry pick for close friends, veterans and clubs. I cant wait to finish this and get onto the next project. @vicious1 sorry to be a pest, you said to clearcoat. I thanked you but subsequently thought do you mean before spraying black ( or other colours ) or before carving?
Yeah, if you clear coat before the color, after the carve, the color will not bleed into the grain as much. I am seeing it a bit on that project but not too bad. Then it is easier to sand off the over spray as well. Then of course usually add another coat of sealer after.
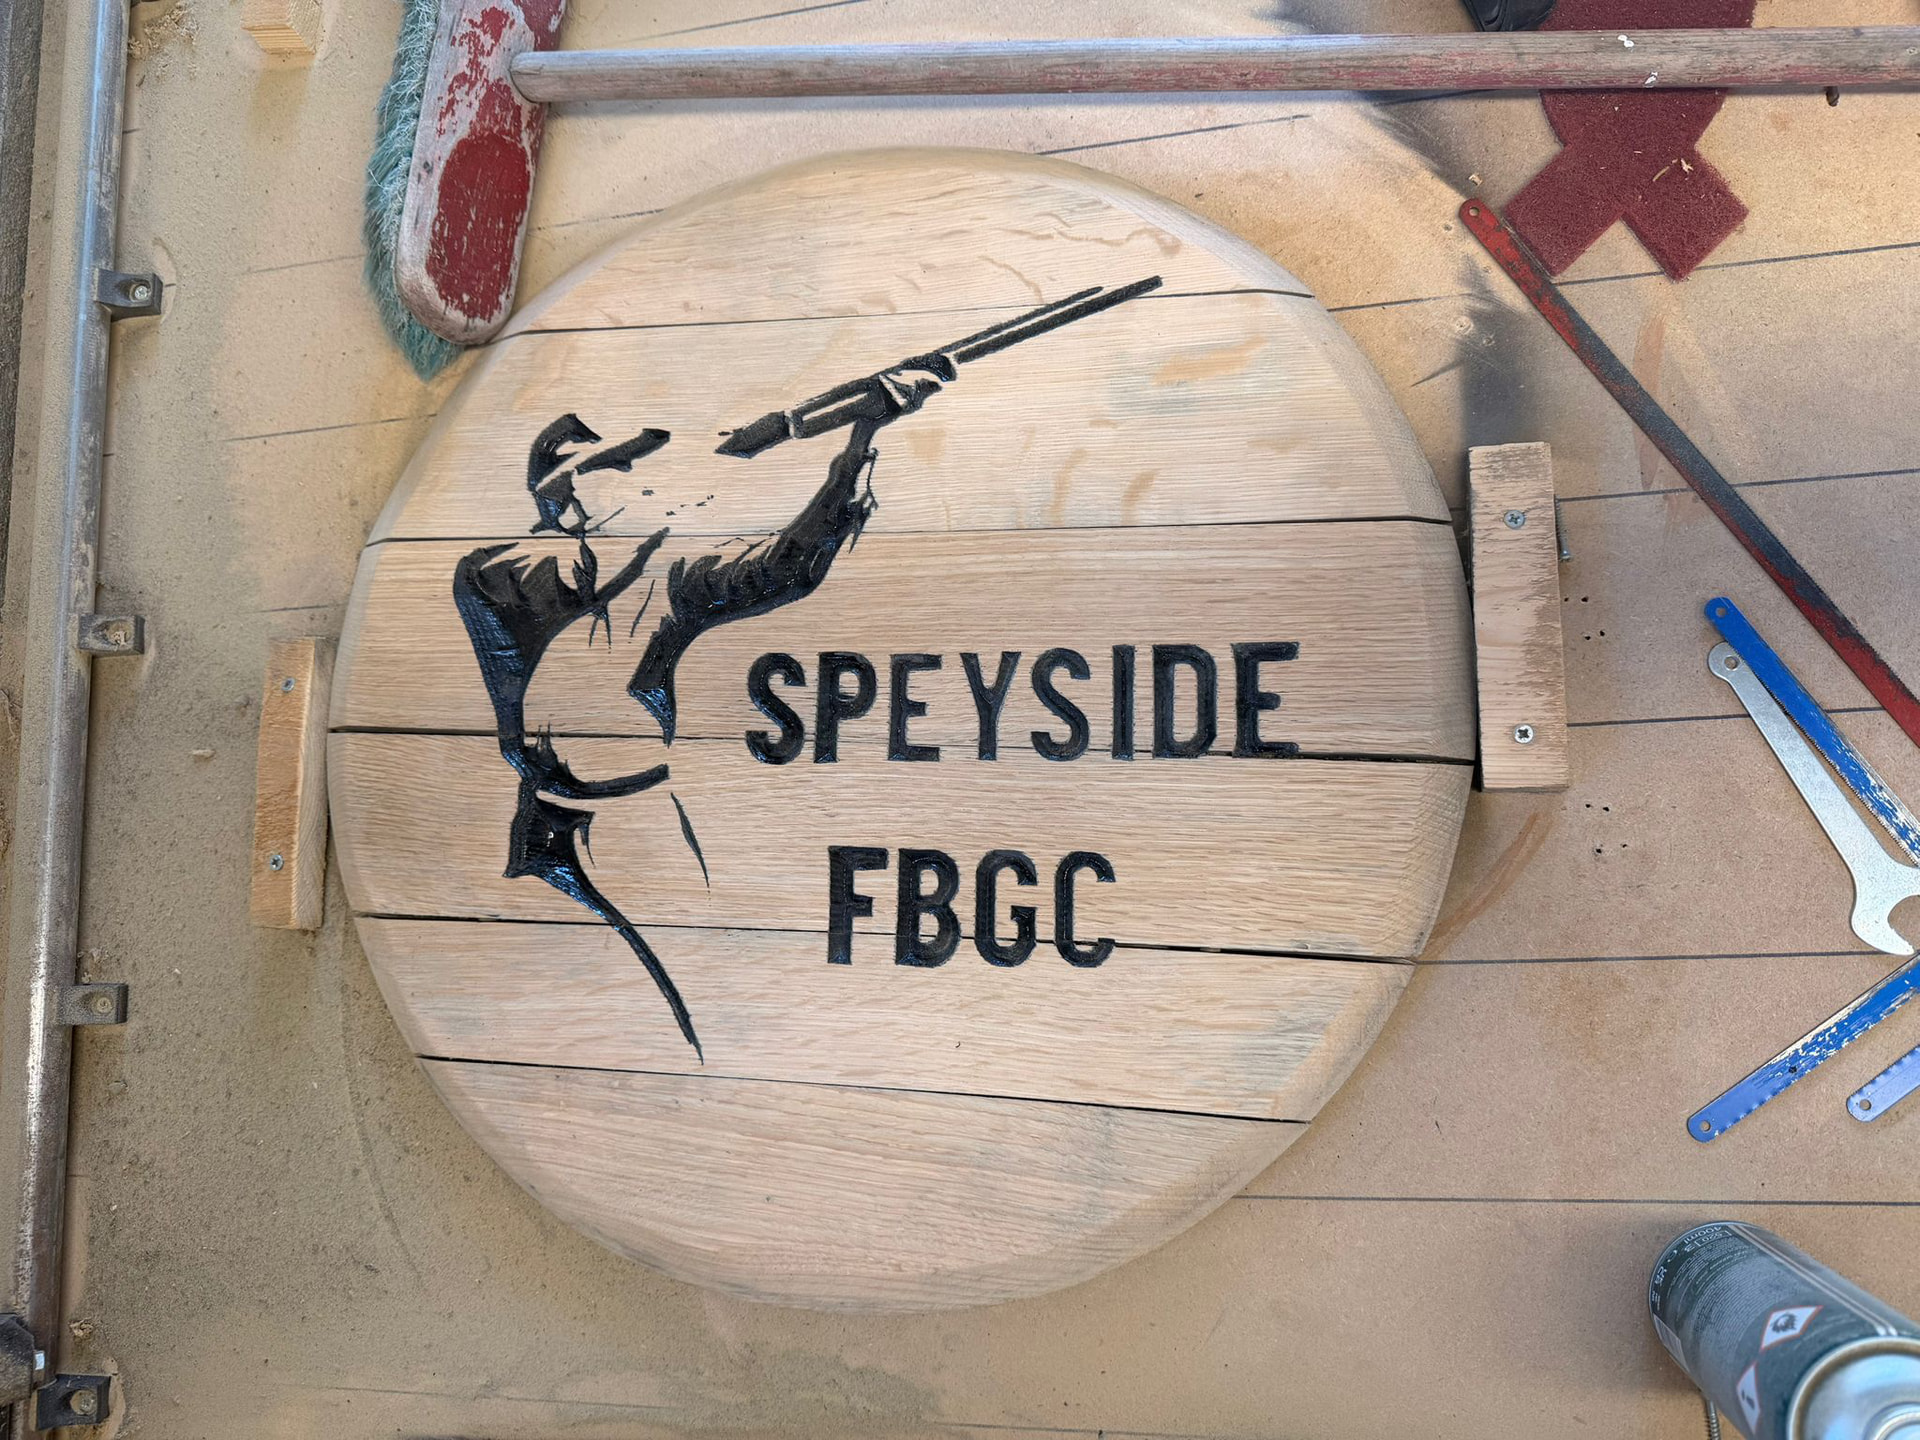
Marketing with product placement is very effective. The piece looks great!
Thank you, but I do not wish to go commercial
Thanks Ryan, I am slowly getting the hang of it
Some of those look pretty long. Stay away from the downcuts for a while, they take some finesse to get right and are much slower.
Start with a single flute upcut, the shortest you have, in wood. As far into the collet as you can without bottoming out.
Have fun!
I can lose up to the blue colour on the long ones without bottoming out, and can move my spindle a good amount
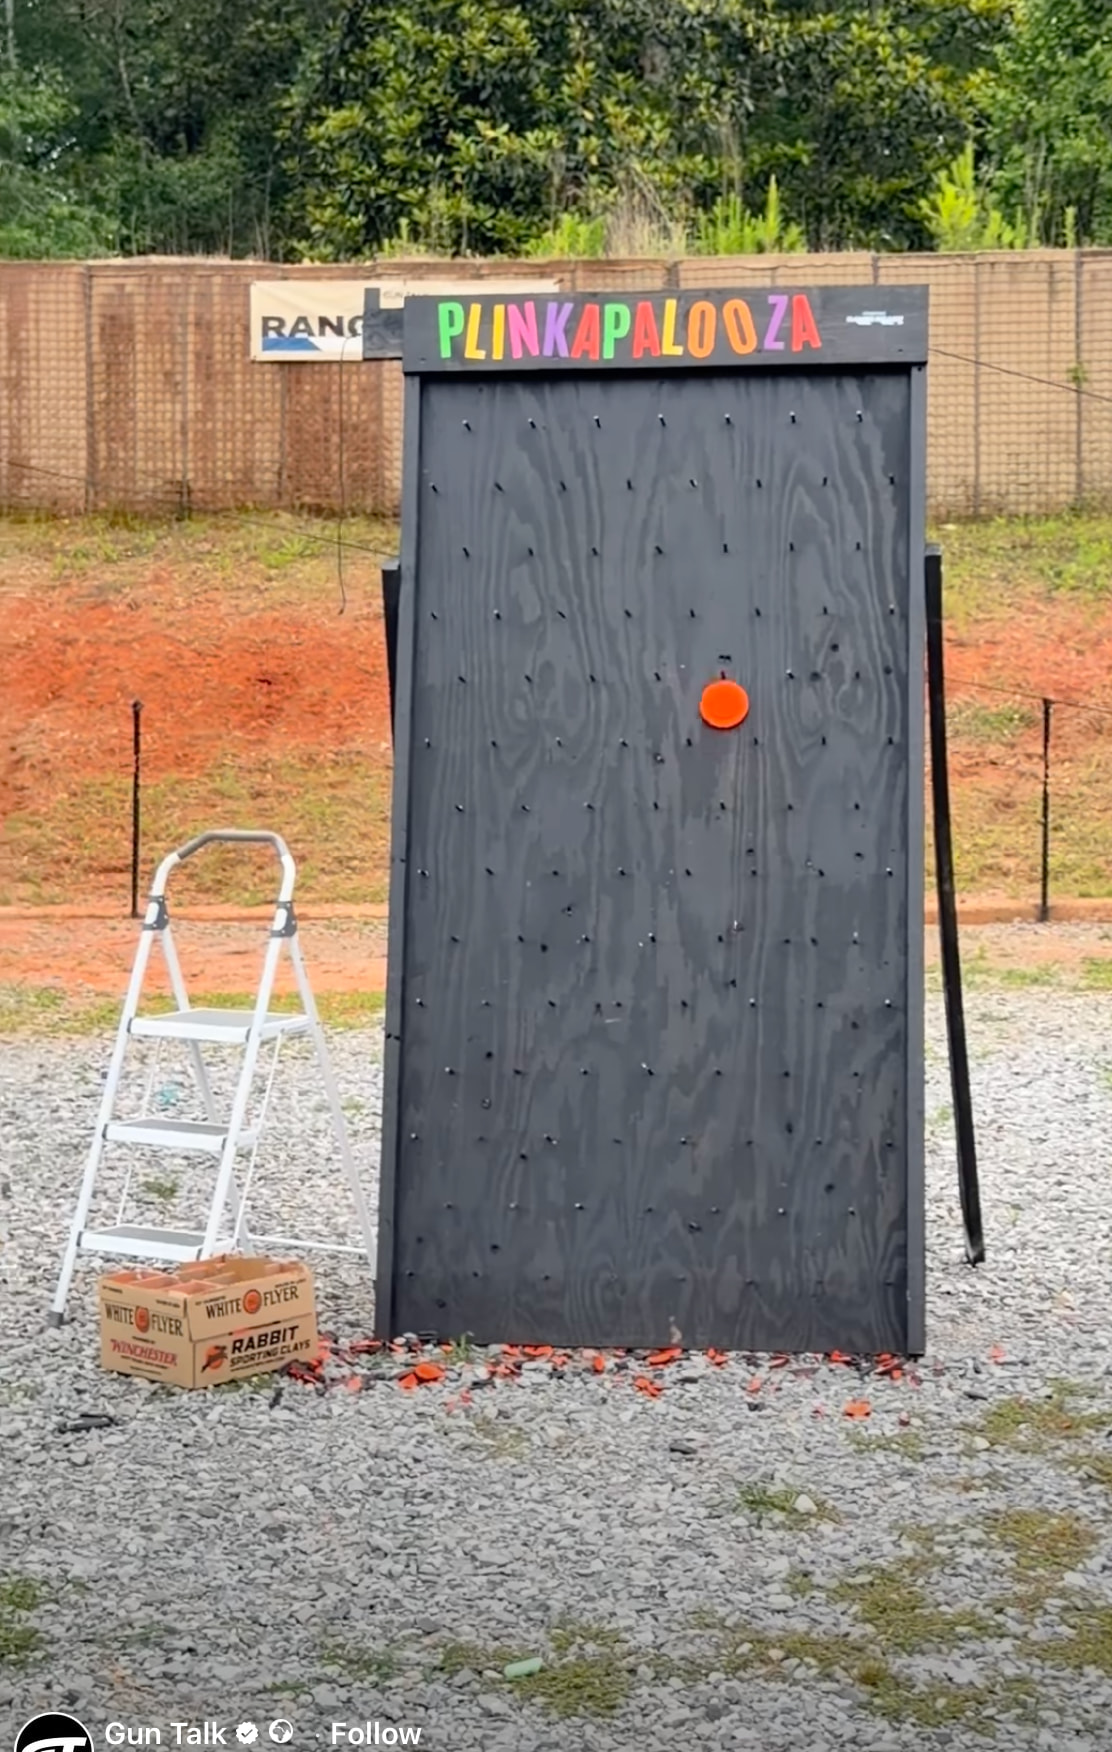
I really need to get some softer wood to practice on, or MDF. I have a project to do as well, making a clay pigeon plinker for pistol/revolver I found on facebook. I hope links are allowed - I want to use dowels rather than nails for ricochet risk tho I think the machine should be ideal for pre-drilling the dowel holes in 20mm ply or similar
EDIT - I also plan to have it mounted higher, and a funnel effect at the bottom into a box to save mess.
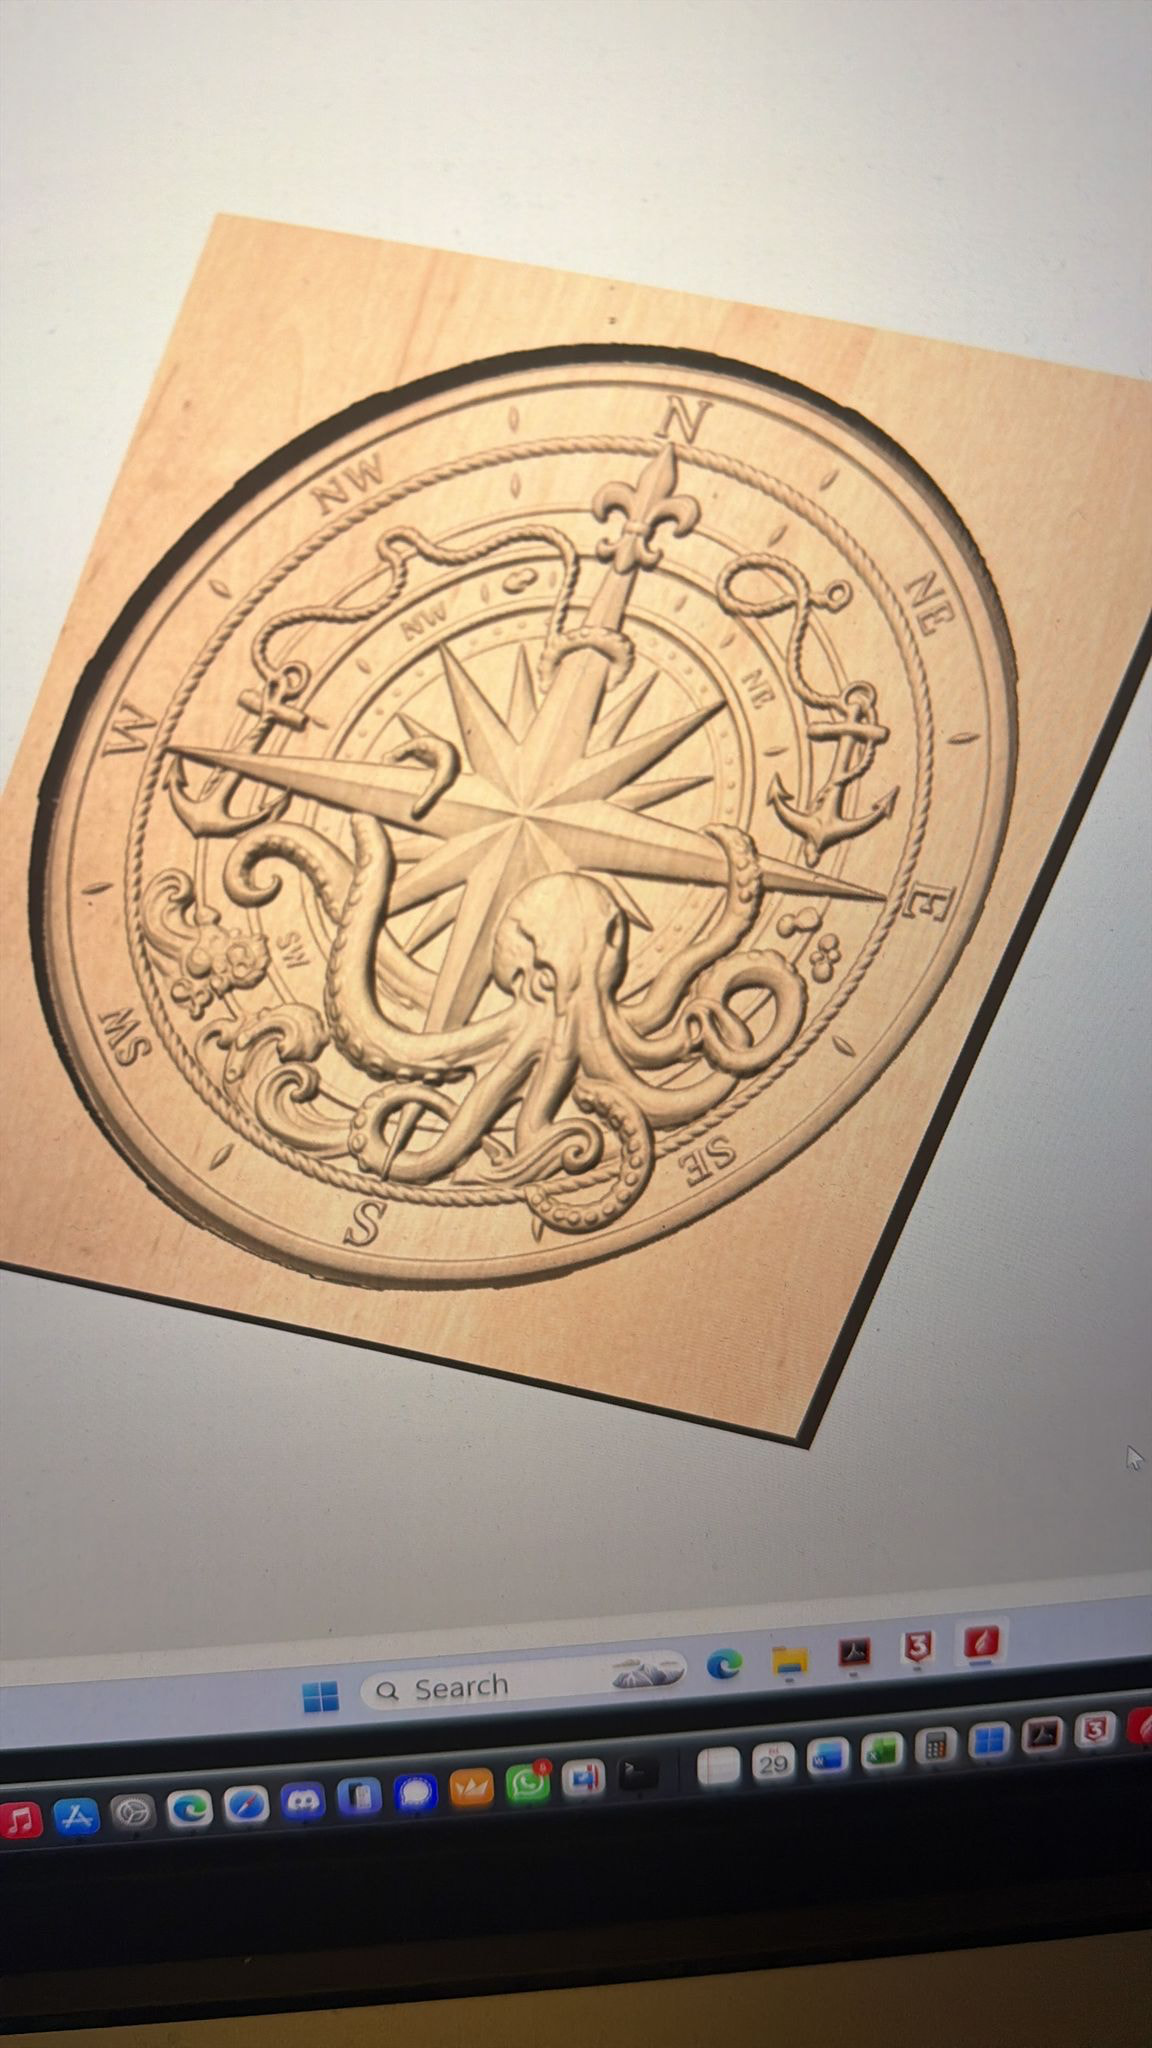
I have also been toying with the idea of this.
My issue appears to be time related. I have tried changing rough cut bits, finishing and such. For a project of approx 525x5525mm - whats a realistic time for doing this? I am getting approximations of 50-60 hours 
Depends on how fancy you want it to look, and the ball end size. You will be using a 5-10% finishing pass stepover so a 1mm ball will take a very long time, a 6mm ball will take a lot less time (with less detail). at least 2 hours up to 10 hrs would be a ball park.
You can do fast roughing passes to get you close, those should take 10minutes, the finishing pass…is the long part.
cheers, it came up with 2 20 hour rough passes, and a few 7 odd hour ones. I shall try different tools and experiment in the program. This isnt easy, is it! still tho, fun
expand the tool setting and make sure the roughing and finishing passes are saved correctly.