I’m sure it’s in here, but I can’t find it and I want to confirm before I secure things. Since one side is about an inch longer than the other, which side of the X-spar gets the conduit rail?
Conduit rail goes on the shorter side (you can figure this out by thinking of the machine at each extreme. The non-conduit side has the motor – so the offset is larger than the conduit side.)
Why does it require you to start over??? You cutting the parts out like that are most likely going to mean your parts aren’t accurate. The machine will be ok at the extremes where your temp struts are but it will be a limp noodle in the middle.
It’s relatively easy to pull the core by loosening the top clamps on the braces and sliding the top rail over, then walking the core off. This provides plenty of access to install the strut plates without a complete teardown.
Both work well. I think they are just about the same speed as well, you can push a 1/4" faster but it has to remove twice as much material. Lately I have been using the 1/4" more often.
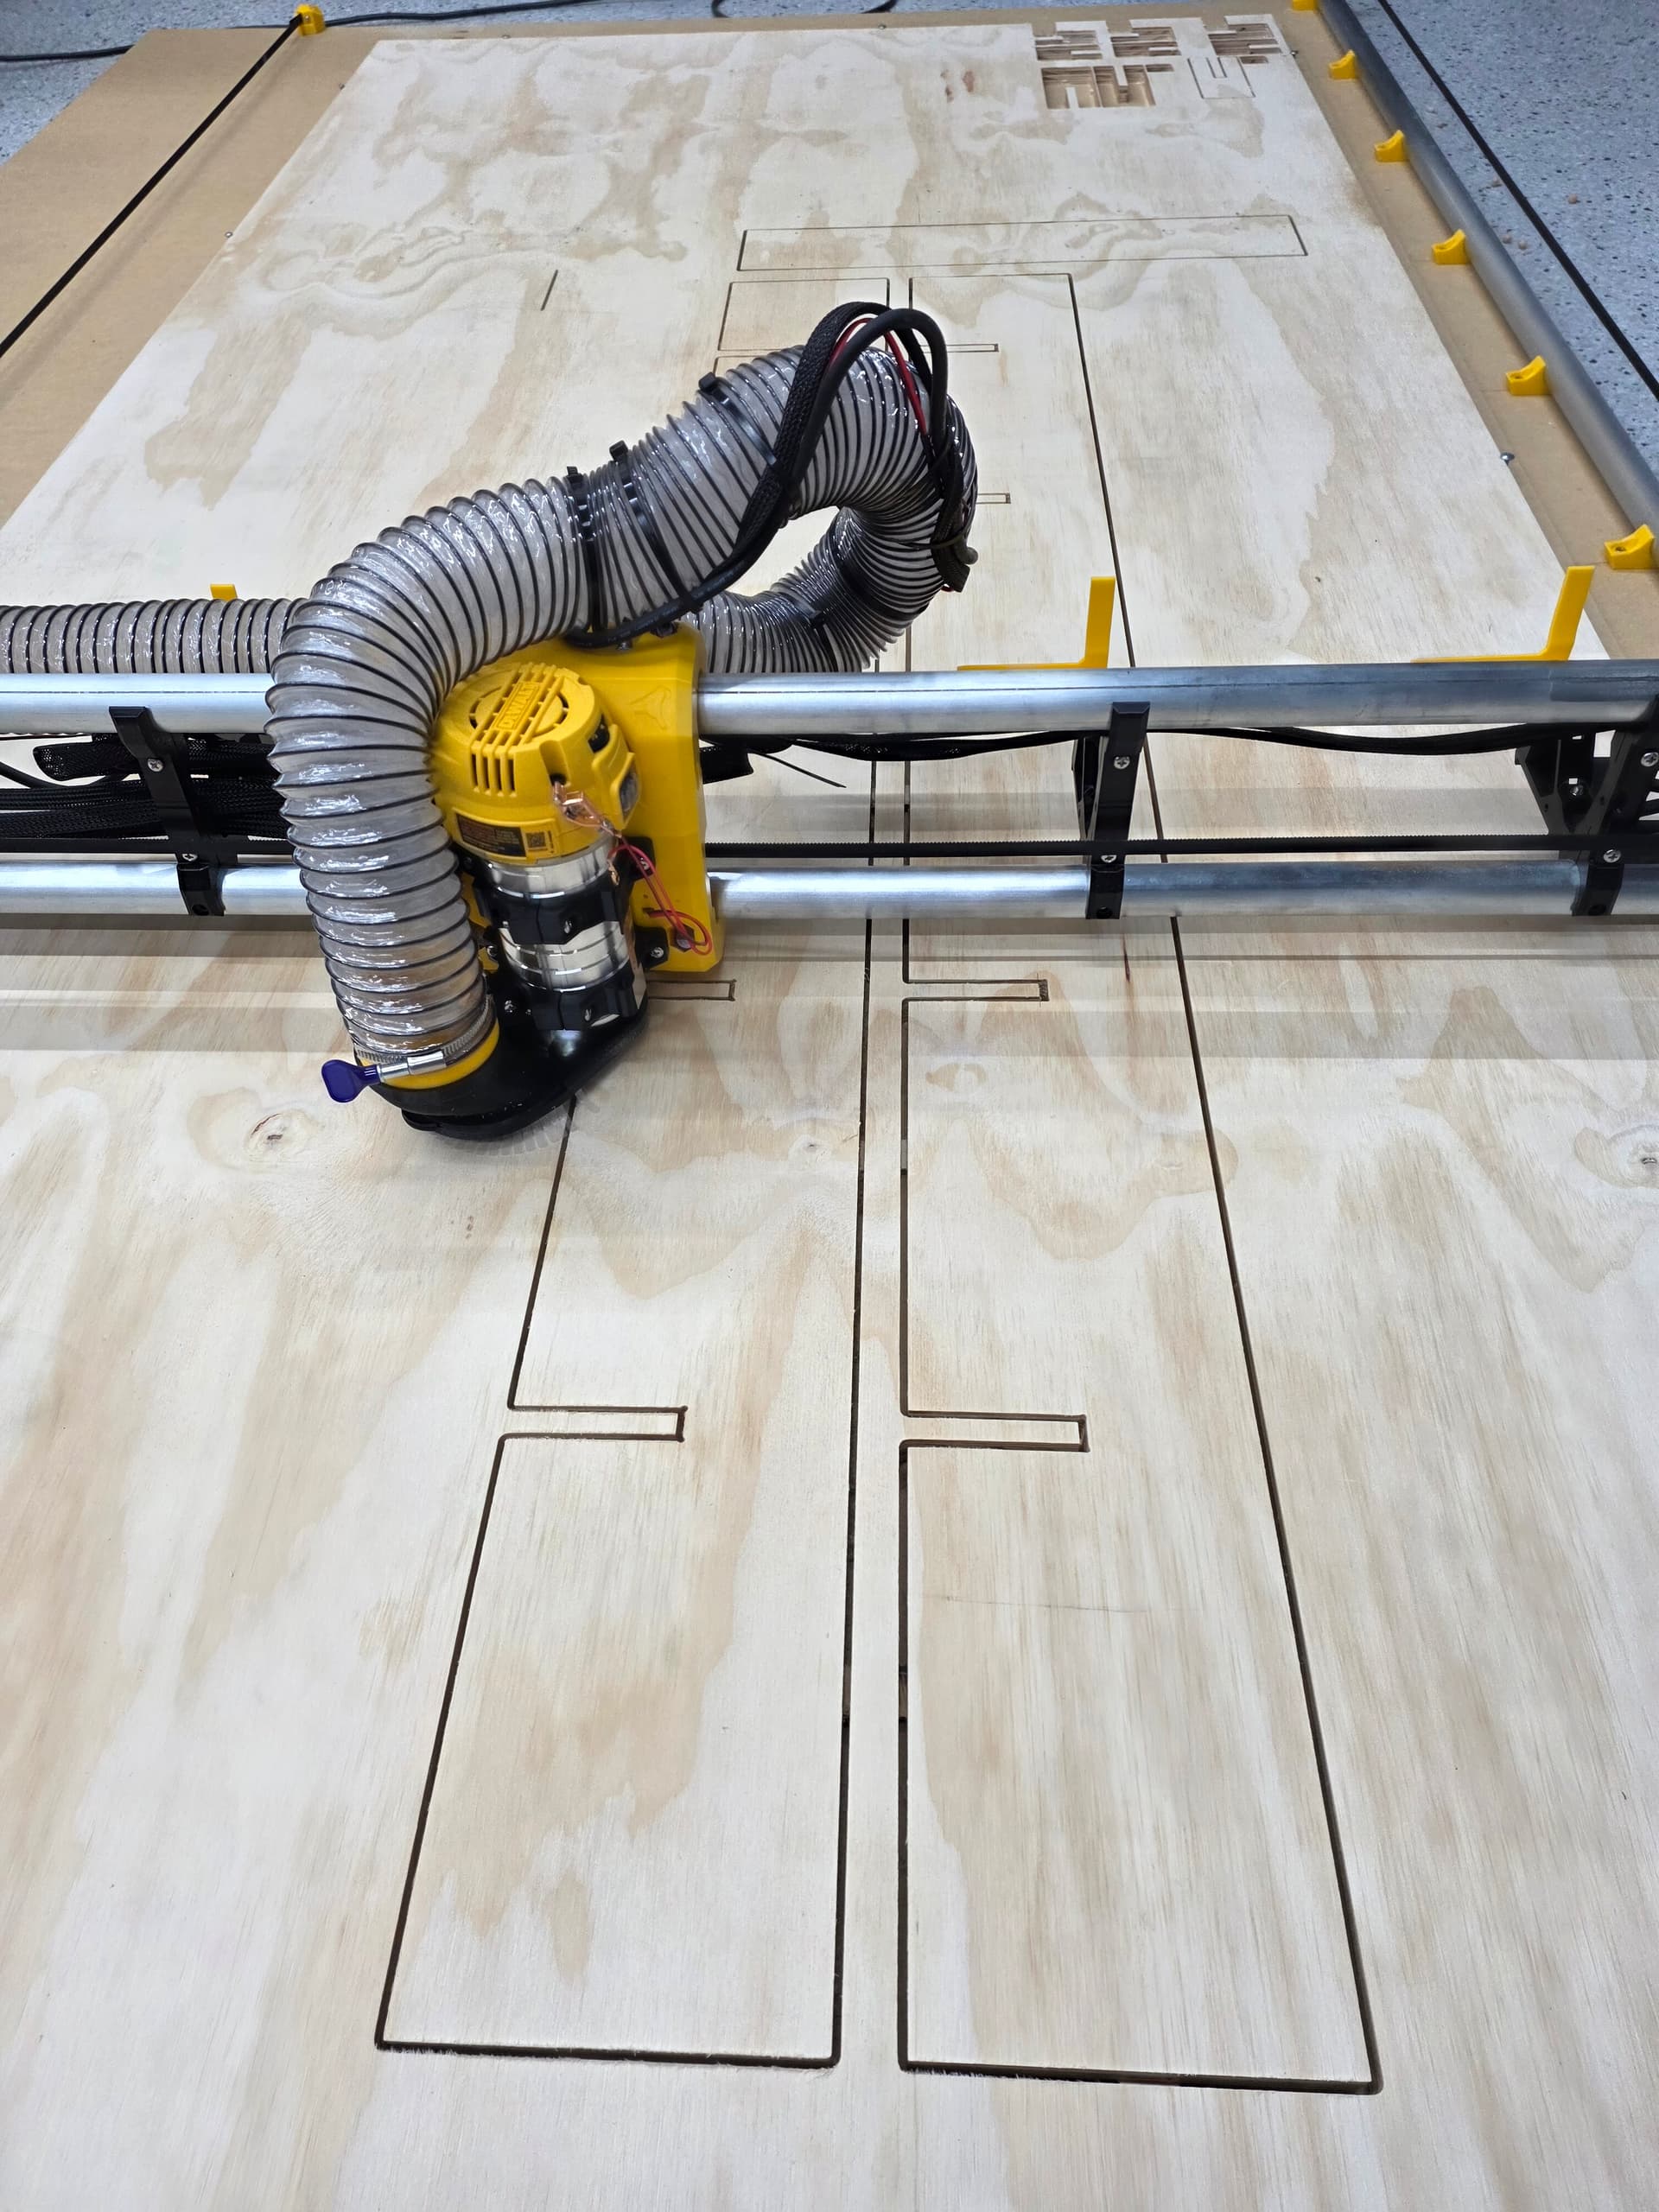
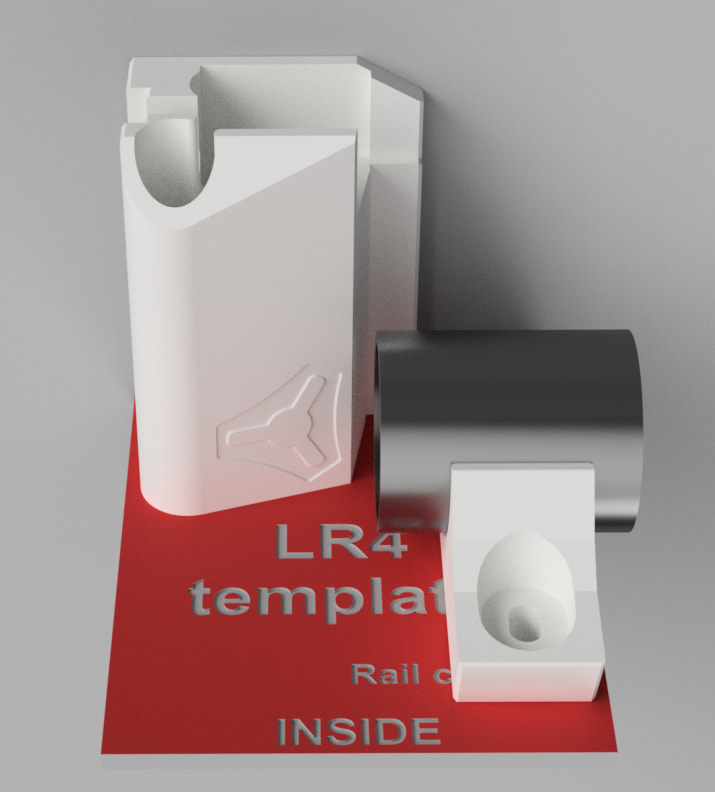
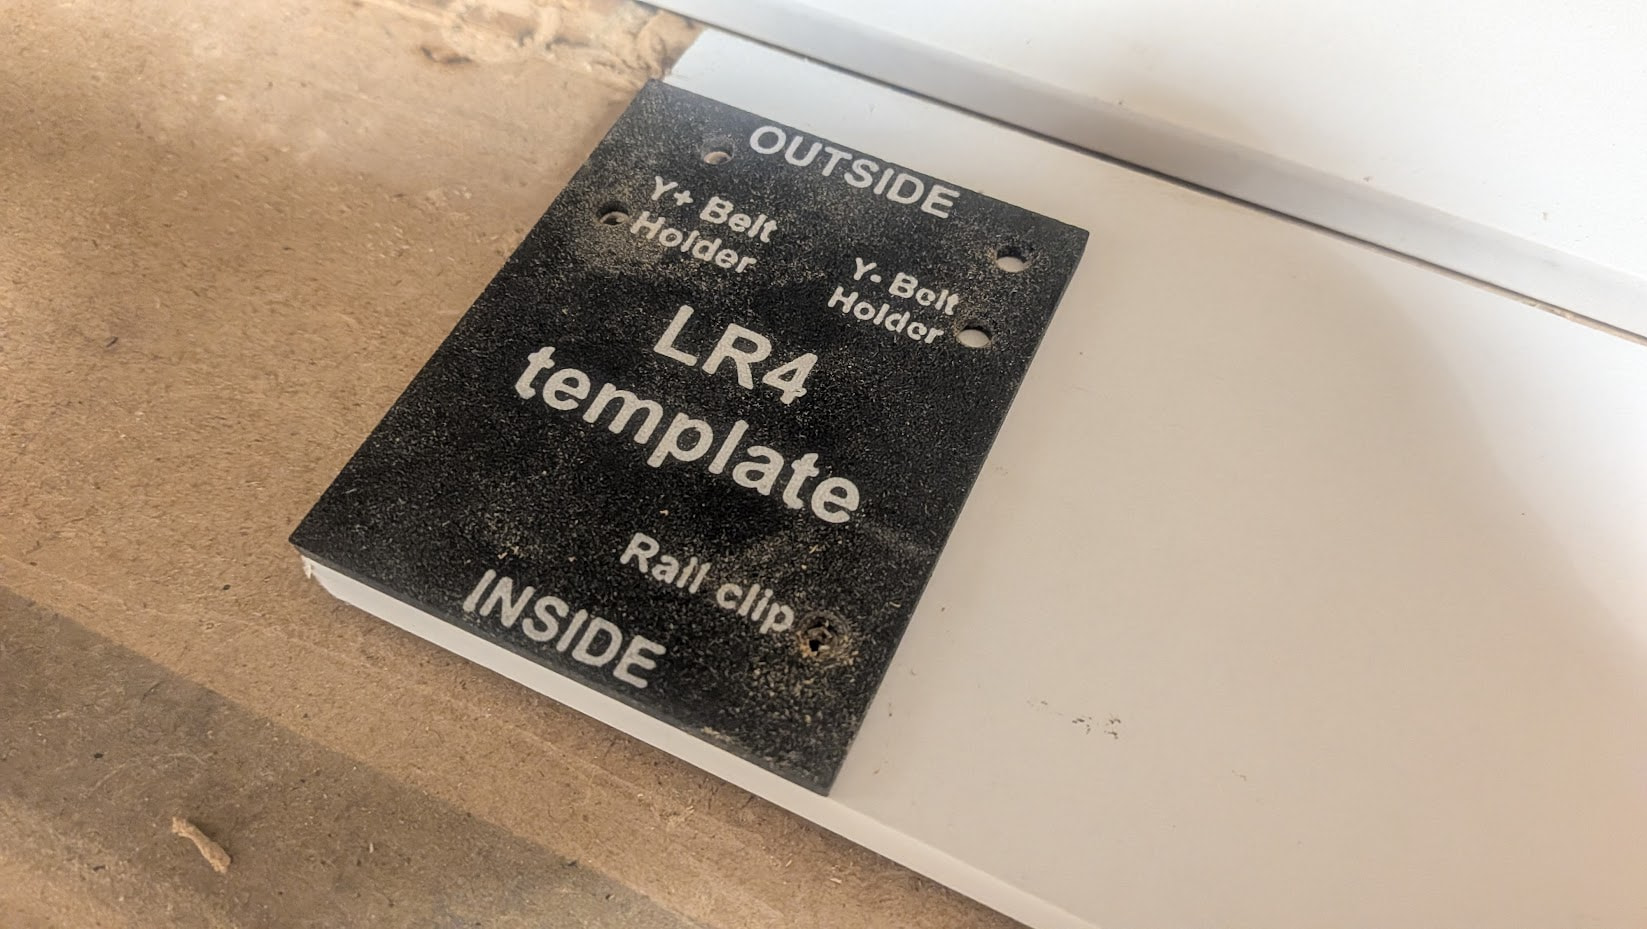
The idea is to used this with 2 thin strips of MDF - like a plinth - as a guide to drillthe holed, and use the plinth as “rails” to align the machine on the table
I just finished installing the Y belts and this method really makes things a lot simpler and error-proof
Grab 2 plinths (or directly on 2x4 on the sides of the table…)
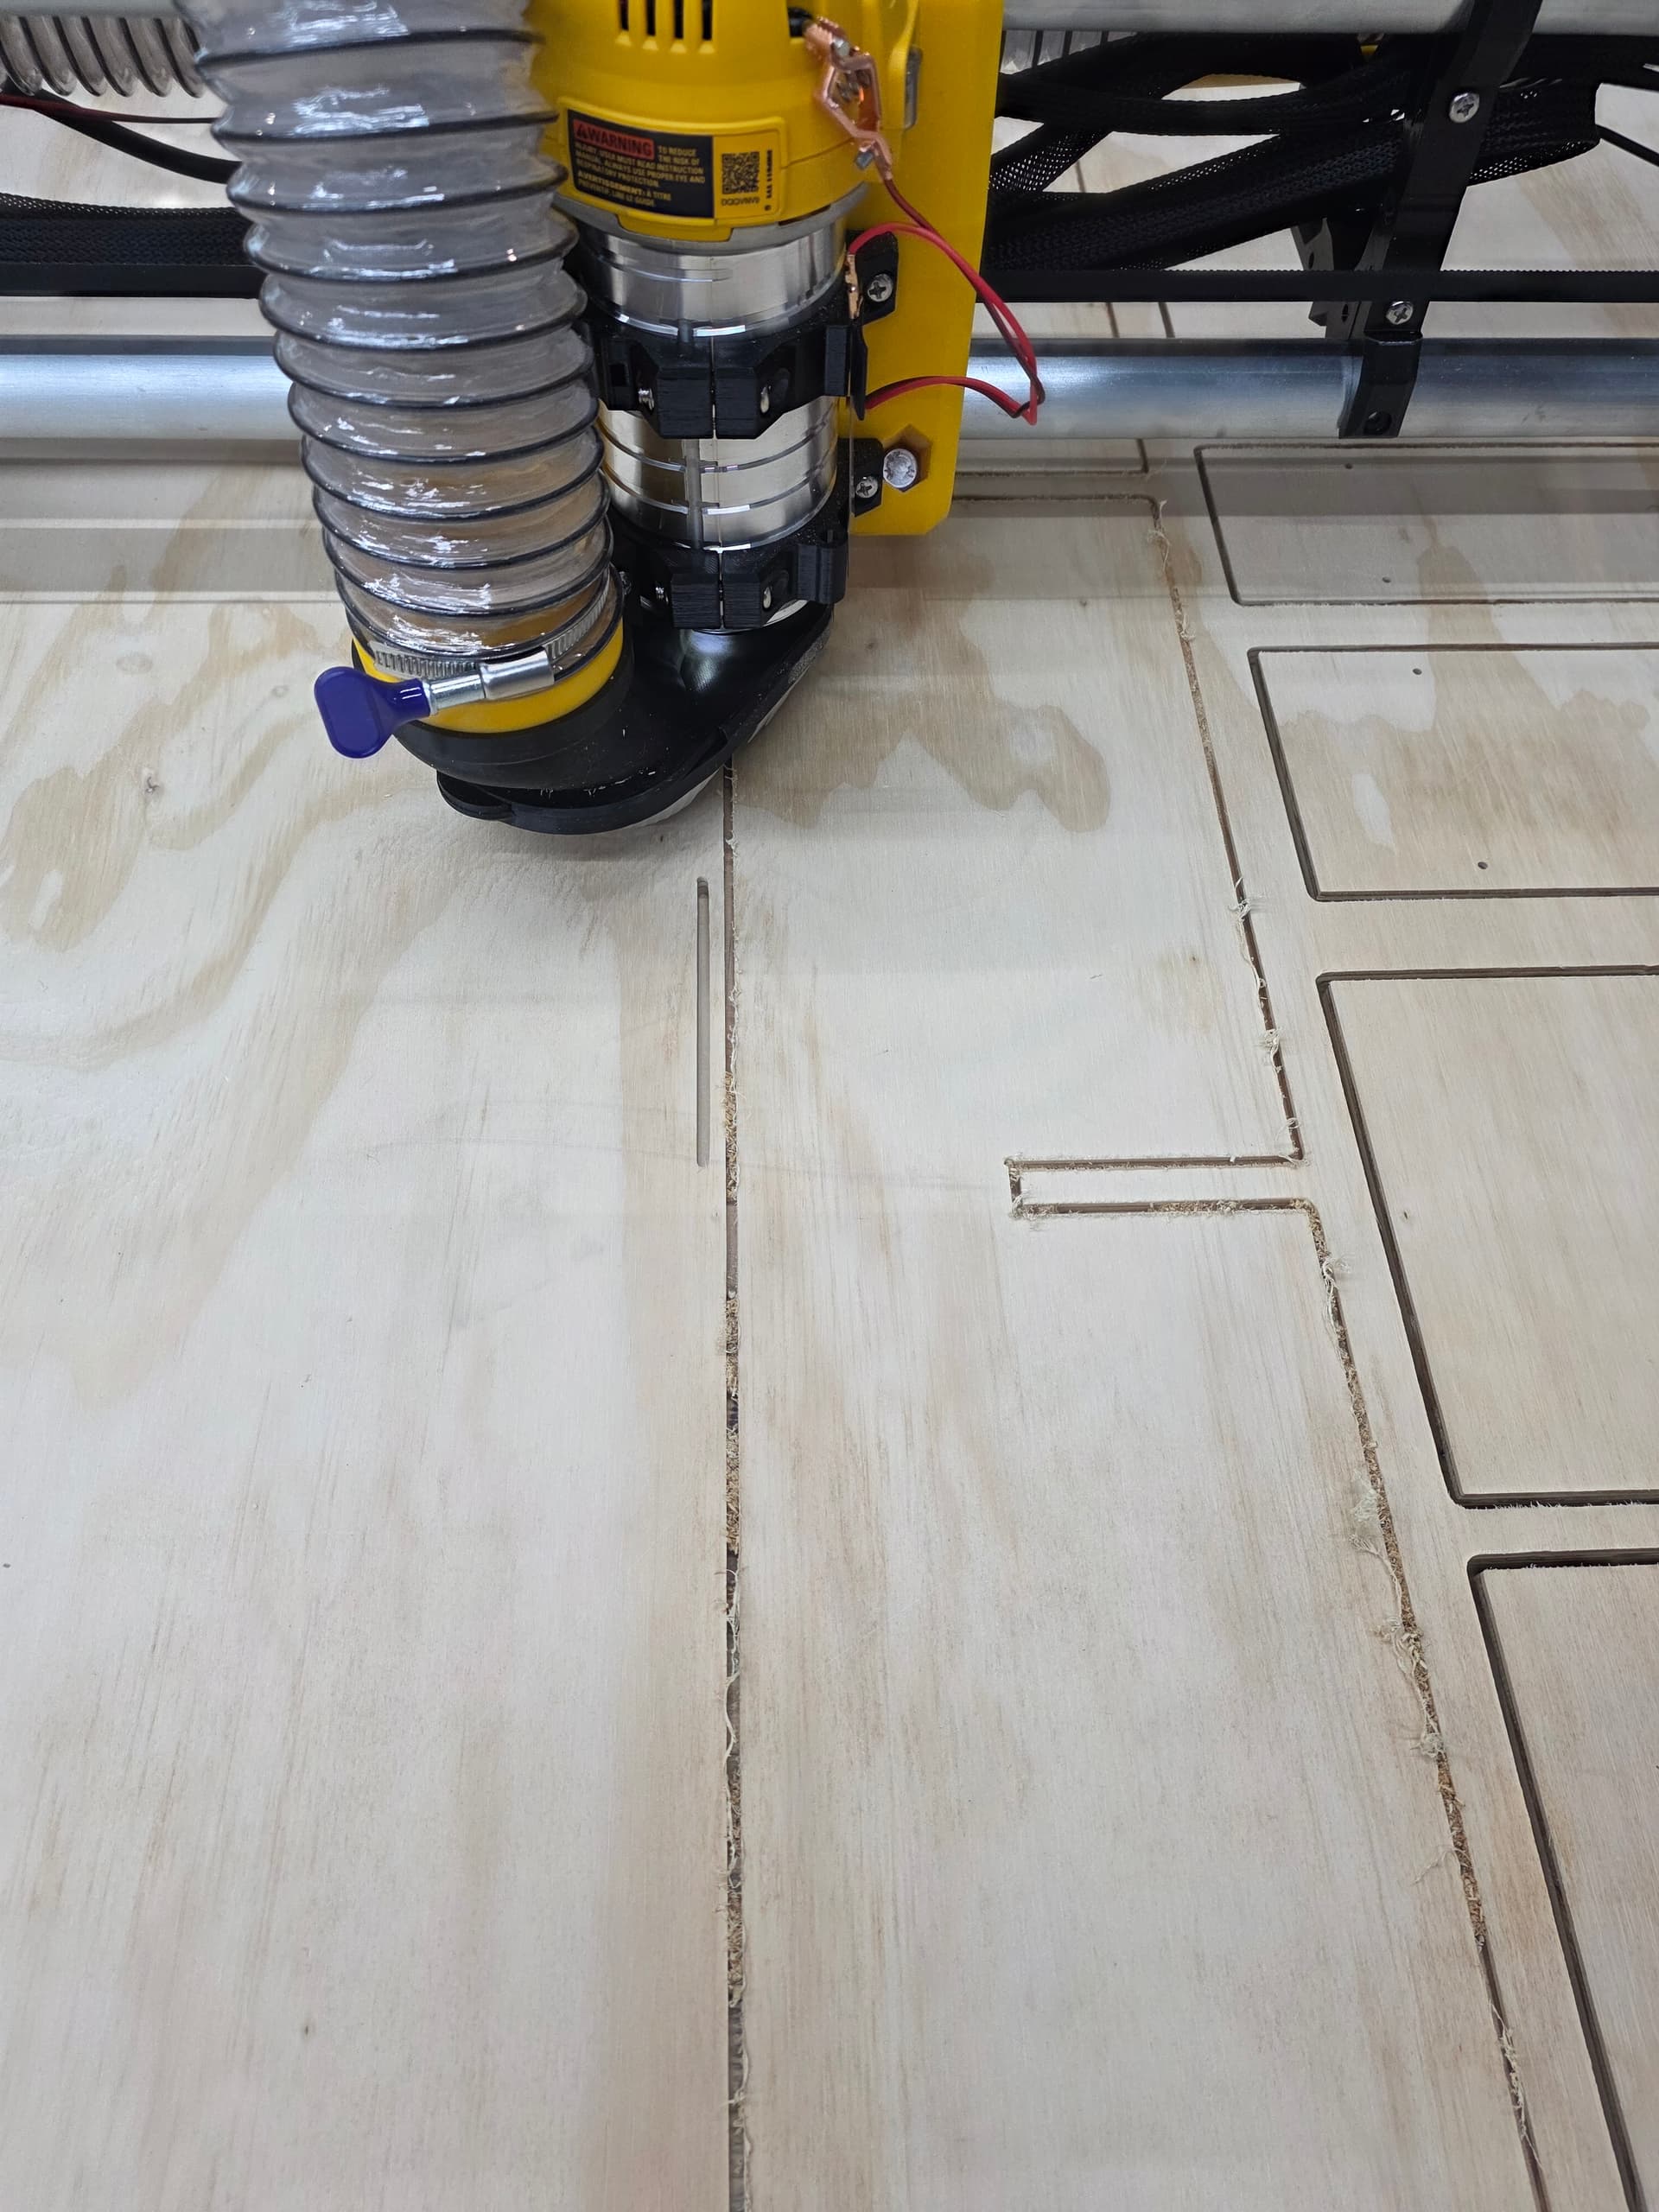
Mark and drill the holes at both ends
Mark and drill Y clips holes
Install the “XMax plinth” screwing through the parts and marked holes
Align the “XMin plinth” relative to the inner side of the Xmax plinth
Same thing, screw through the holder into the marked holes
Shoot a few brad nails through the xmin plinth along its length
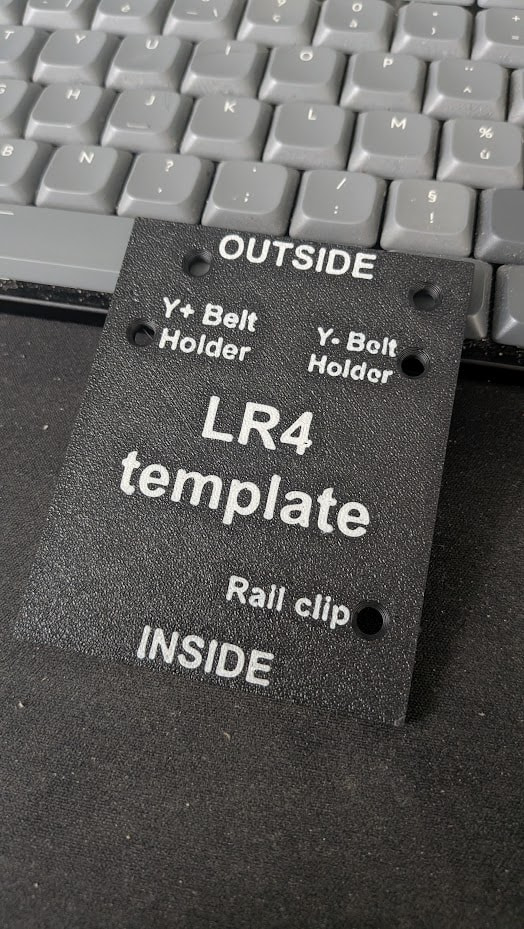
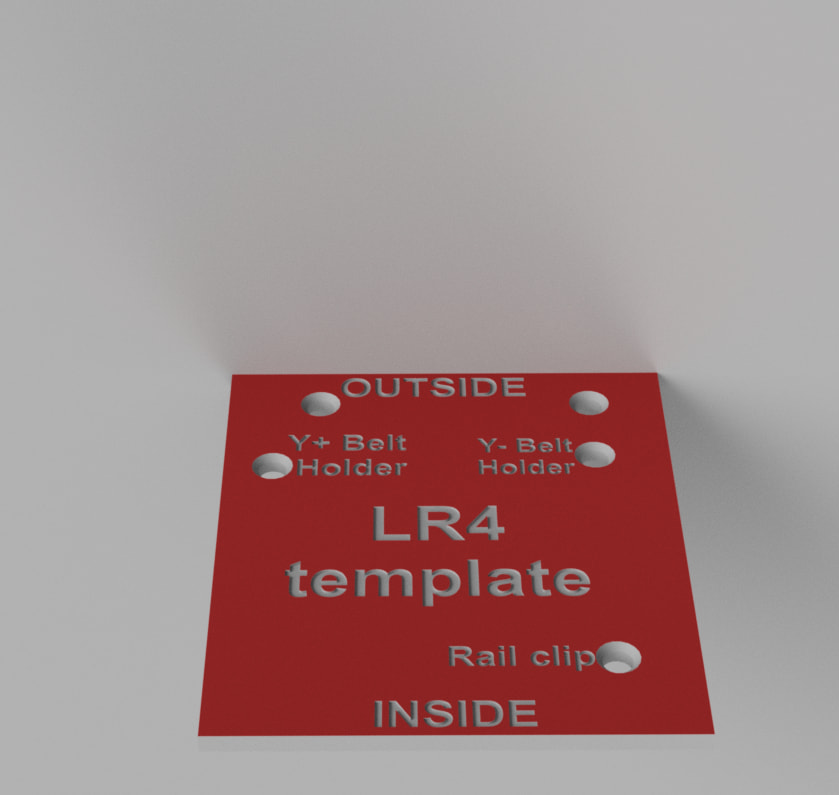
I think the template can be a bit improved because you need to flip it to do the xmin side, which is not really clear by the markings
Also it won’t give you the spacing between the last Y clip and the ymin holder as-is
Don’t know if it would be better to just have multiple thin card printed or a single template with different sides…
I’m thinking about using this generator to put torsion box on top of new bench @vicious1 created from OSB. Two big projects, but before I commit - who already generated this torsion box and how it went? I mean cutting and assembly?