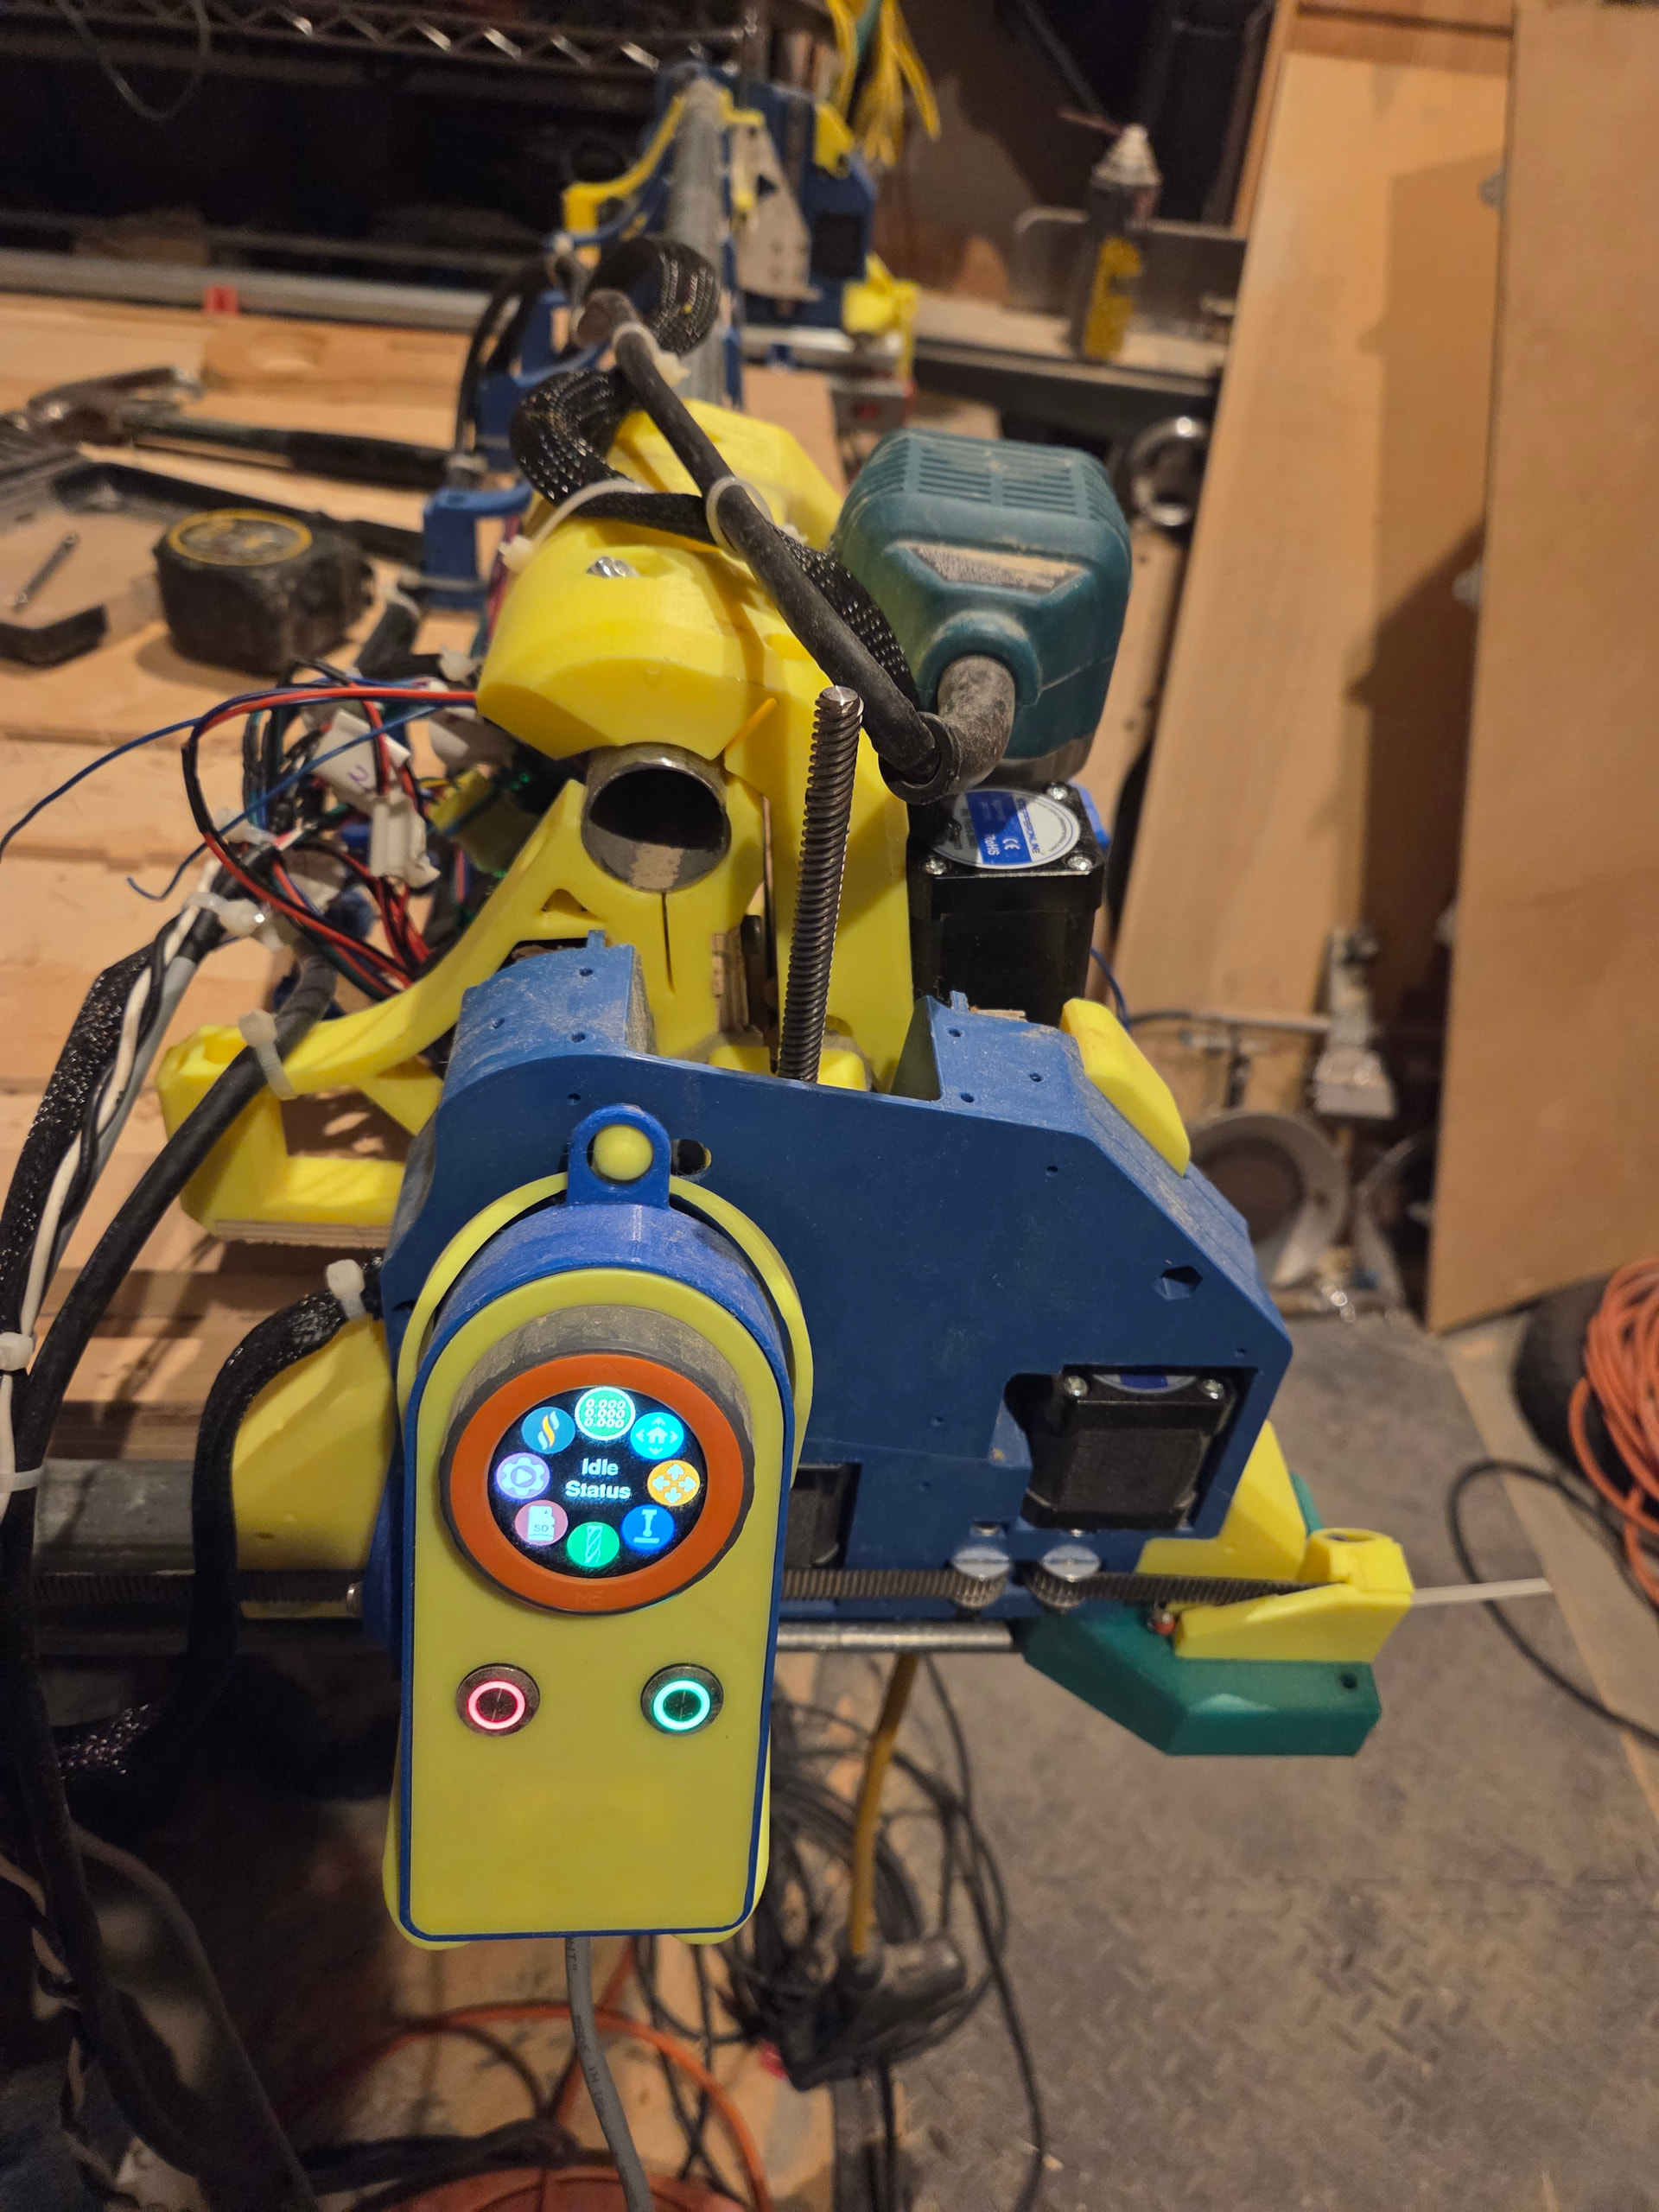
I just finished building Kevin and want to get some advice on using my probe - For years I have always done , touching the bit to the wood while the router is on to start my job . In that process , I could not do a bit change on most of my work .I really was to try this probe thing out on my jackport 3 and Fuild NC ( Best set up ever).
Old Code
(Project <project>)
(Created with Estlcam <build>)
(Machining time about <time> hours)
(Required tools:)
<tools>
G21
G90
G94
G92 X0 Y0 Z0
G1 Z10 F900
I am not using Spindle on and off part so I am going to take that off
New Code modified
(Project <project>)
(Created with Estlcam <build>)
(Machining time about <time> hours)
(Required tools:)
<tools>
G21
G90
G94
G92 X0 Y0
M0 (MSG Attach probe)
G38.2 Z-110 F200 P19.5 (probe down set thickness )
G1 Z10 F900
M0 (MSG Remove probe)
Does this mean , I need to probe -start of every job then when I have a tool change it will give me enough clearance complete the task then probe again and continue where Ieft off as long as the X and Y does not change .
You’ll need to update that G1 after the G38.2 to something like Z30 instead of instead of Z10, otherwise it’s going to drive right into your probe. The V1 touchplate is 0.5mm thick so that 10 is plenty for that.
That looks good to me. The G38.2 is going to set it so the current Z is 19.5 when the probe touches. So, based on that new zero, Z30 should be about 10mm above your probe.
There’s a probe button on the fluidnc dashboard, no extra code needed. You just set your touchplate, click probe and it will probe, retract, and set 0 all at once.
I’ve not been able to figure out why people like putting it in their gcode. If I’m cutting the same piece repeatedly, I want to probe 1 time and be done.
The probe on the dashboard works fine except when it doesn’t.
It doesn’t work after you change a bit and want to probe for the new bit. It tends to hit the probe plate and keep going DOWNWARD !!!
I had asked about this months ago and someone thought it was a relative versus absolute positioning type problem. I never was able to fix it. I don’t think I can edit the commands on the dashboard probe button
My only fix is to hit the E stop when I’m changing bits. Of course this takes a bit longer, because the Wi-Fi has to be reestablished but it does work.
How do you connect your probe? I use magnets and it matters which way round you place them. if you put ground to the spindle it doesn’t trigger reliably - ground has to be to the probe.
I’ve never run into that problem. But to be fair the only time I did in code (mid run?) bit changes was using estlcam. I don’t 'recall having that happen, but it was a while ago. After messing with ecam for a while I went back to vcarve. I set every bit as its own file and haven’t tried doing tool changing with it. Although now that I say that I’m wondering if I was doing the same with the other software. I do definitely remember not at all being happy not being able to decide where to probe to after the bit change.
My goal was to be able to
1.Start a job (probe).
2.Machine Pauses for a bit change.
3.Raise the z high enough to complete the bit change.
4. Reprobe the changed bit .
5 .Resume from where I last left off .
I’ve looked at doing this but I decided against it for a few reasons.
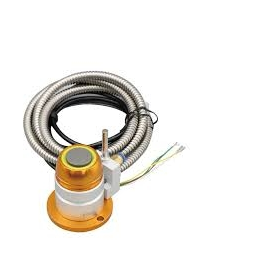
You have to run that cable all the way to the Jackpot. So, if you don’t already have a cable chain, this is a pain.
That video is skipping the first step. You still need to probe the top of the material with a regular touch probe. Then it needs to use this other probe to calculate the offset.
I’m not sure of all the gcode changes this requires.
I don’t think you can do this unless you have a spindle? It needs to turn the spindle off, go to the tool change location, go to the probe location and probe, and then turn the spindle back on.
Unless I was going for a full ATC setup (which I’m not), it didn’t seem worth the effort to save a probe or two.
I use an inexpensive solid state relay to turn my router on and off using one of the GPIO pins on the jackpot. It’s been a big quality of life upgrade for someone as forgetful as I am. I’m also thinking of adding a little 433hz transmitter to turn on and off my dust collector.
There’s more to it than that. I believe this functionality is expecting you to use M6 macros for tool changes which requires a spindle. Although, “spindle” is a loose term. My pen plotter has a “spindle” that is just the servo that grips the pen.
Looking quickly through the docs I have the impression that M6 <spindle/tool id> will call a macro that you specify by defining m6_macro for that spindle. So I don’t see why you couldn’t use that with a router. But I’m much less deep into the fluidnc firmware than you. Is there something I’m missing there?
Each spindle in the config file can have an m6_macro:. This can be gcode or you can specify a file to run with $SD/Run=myfile.gcode. You can use parameters and expressions in the gcode. This gives you access to the tool number, probe values and other information
You’d have the macro do the following.
Turn off the GPIO for the relay
move to above the changer
Pause until the user clicks continue. Change your bit here
probe stuff
Let it get back to work
In order to do this though you’d have to define your router as a spindle in the firmware and have configs for different tools.
But thinking more about this I wouldn’t use and of the ATC stuff in fluidnc. I’d put the steps above in the tool change configuration in EstlCam.