Took a couple days off to lay in bed with back isssues… it happens. BUT, I did finally stop playing with amazon and ordered up the rest of the parts from V1. I have everything I need now except for the Y rail brackets which are printing as we speak. I’m a little surprised the calculator doesnt say how many of these you need. So I’m taking “Y tube length in inches” / 8 +1. I may add more, but the instructions said no more than 8" apart. I can comfortably fit 8 on my printer bed with room to print them one at a time without collision. So with a batch of I can get started with layout then add more as they come off the printer.
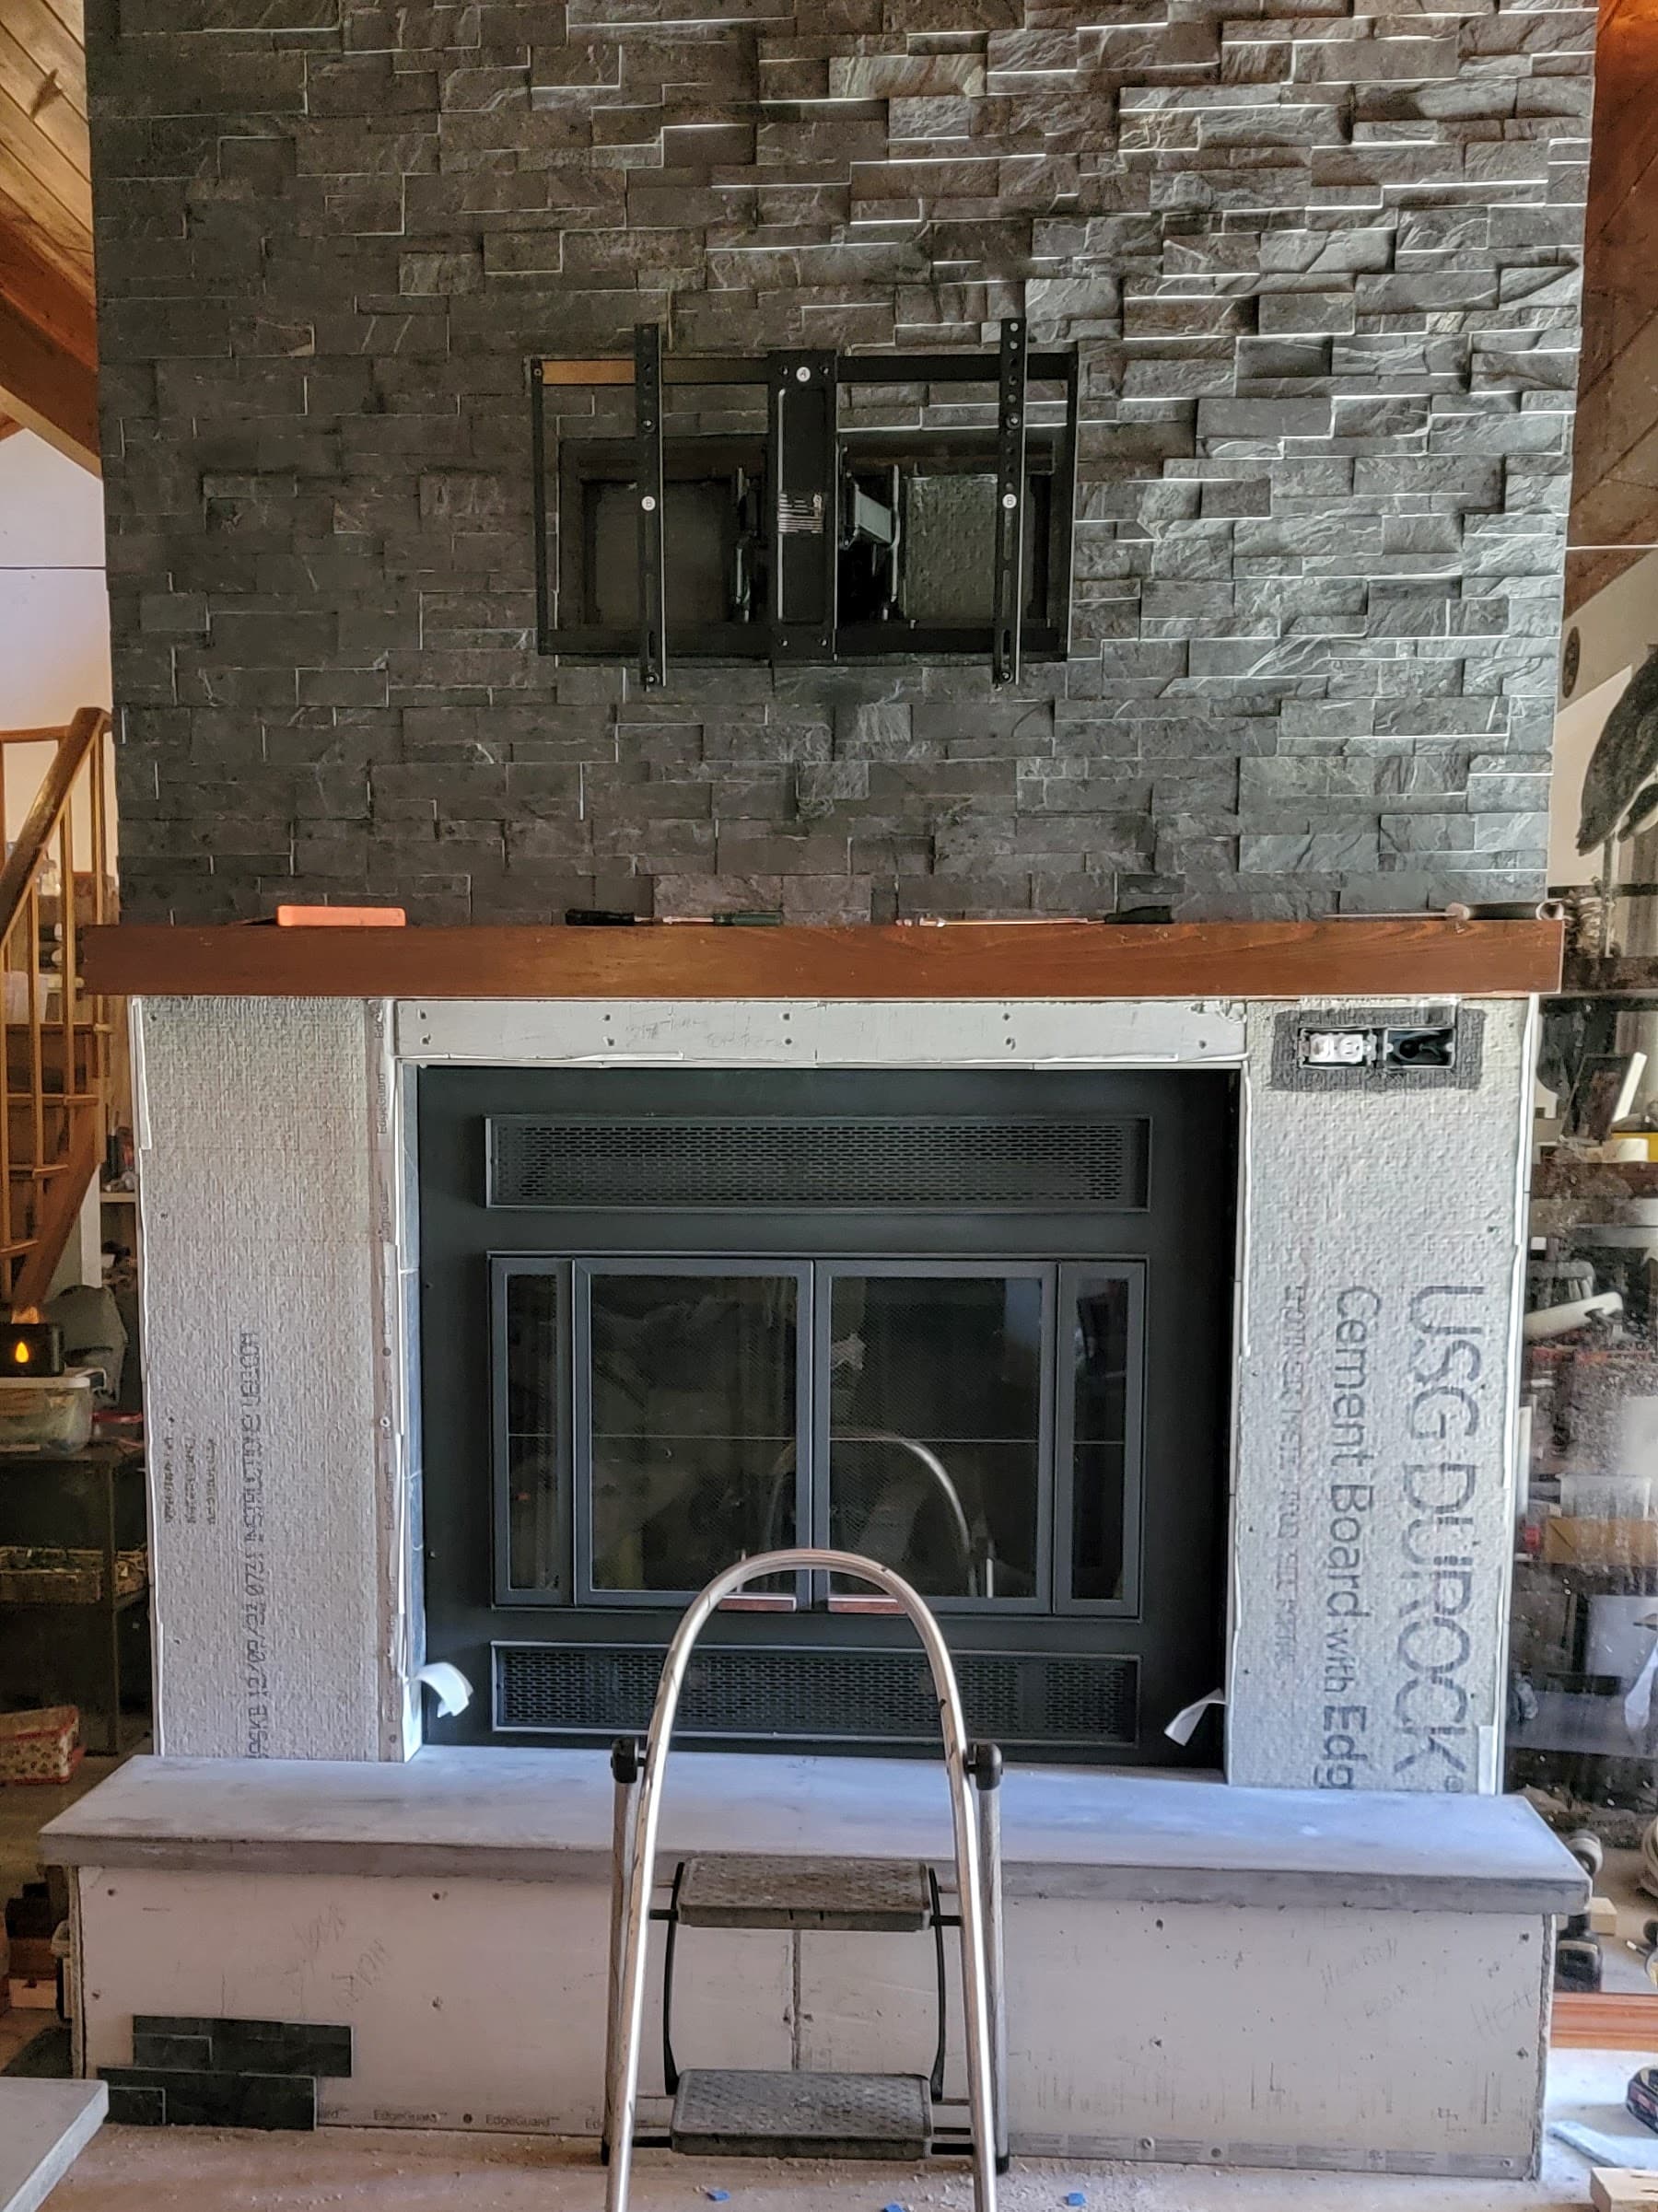
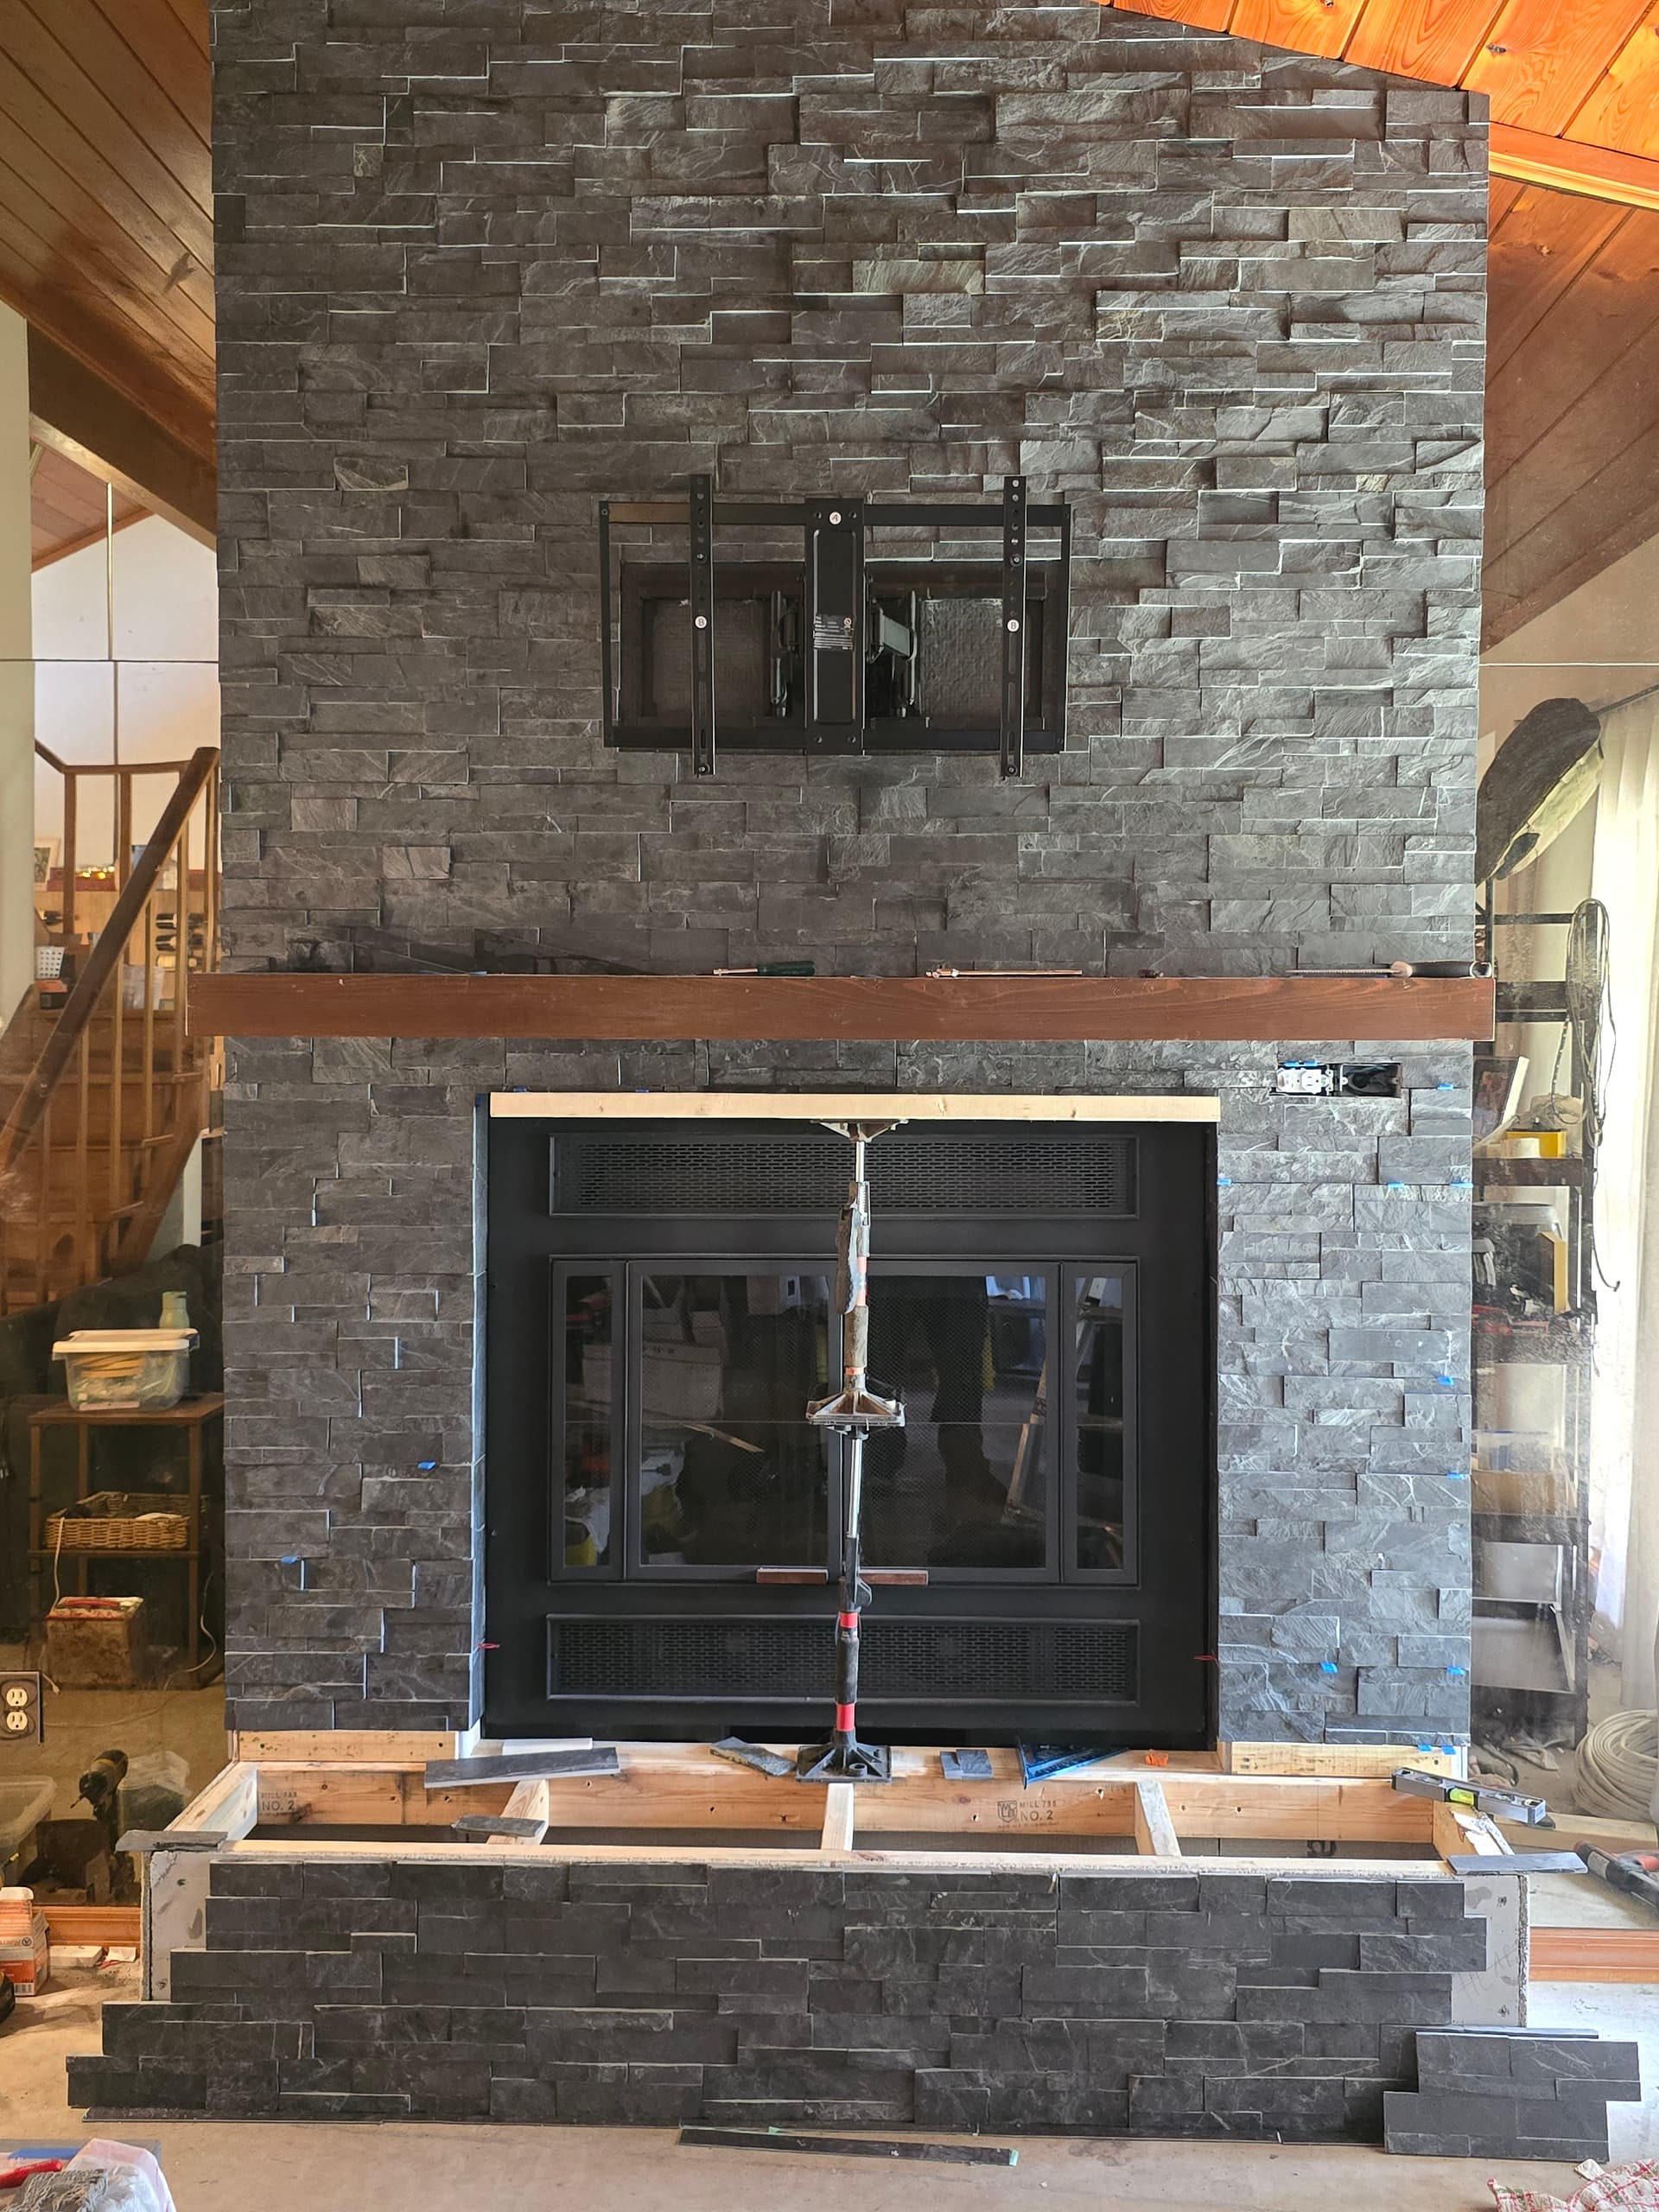
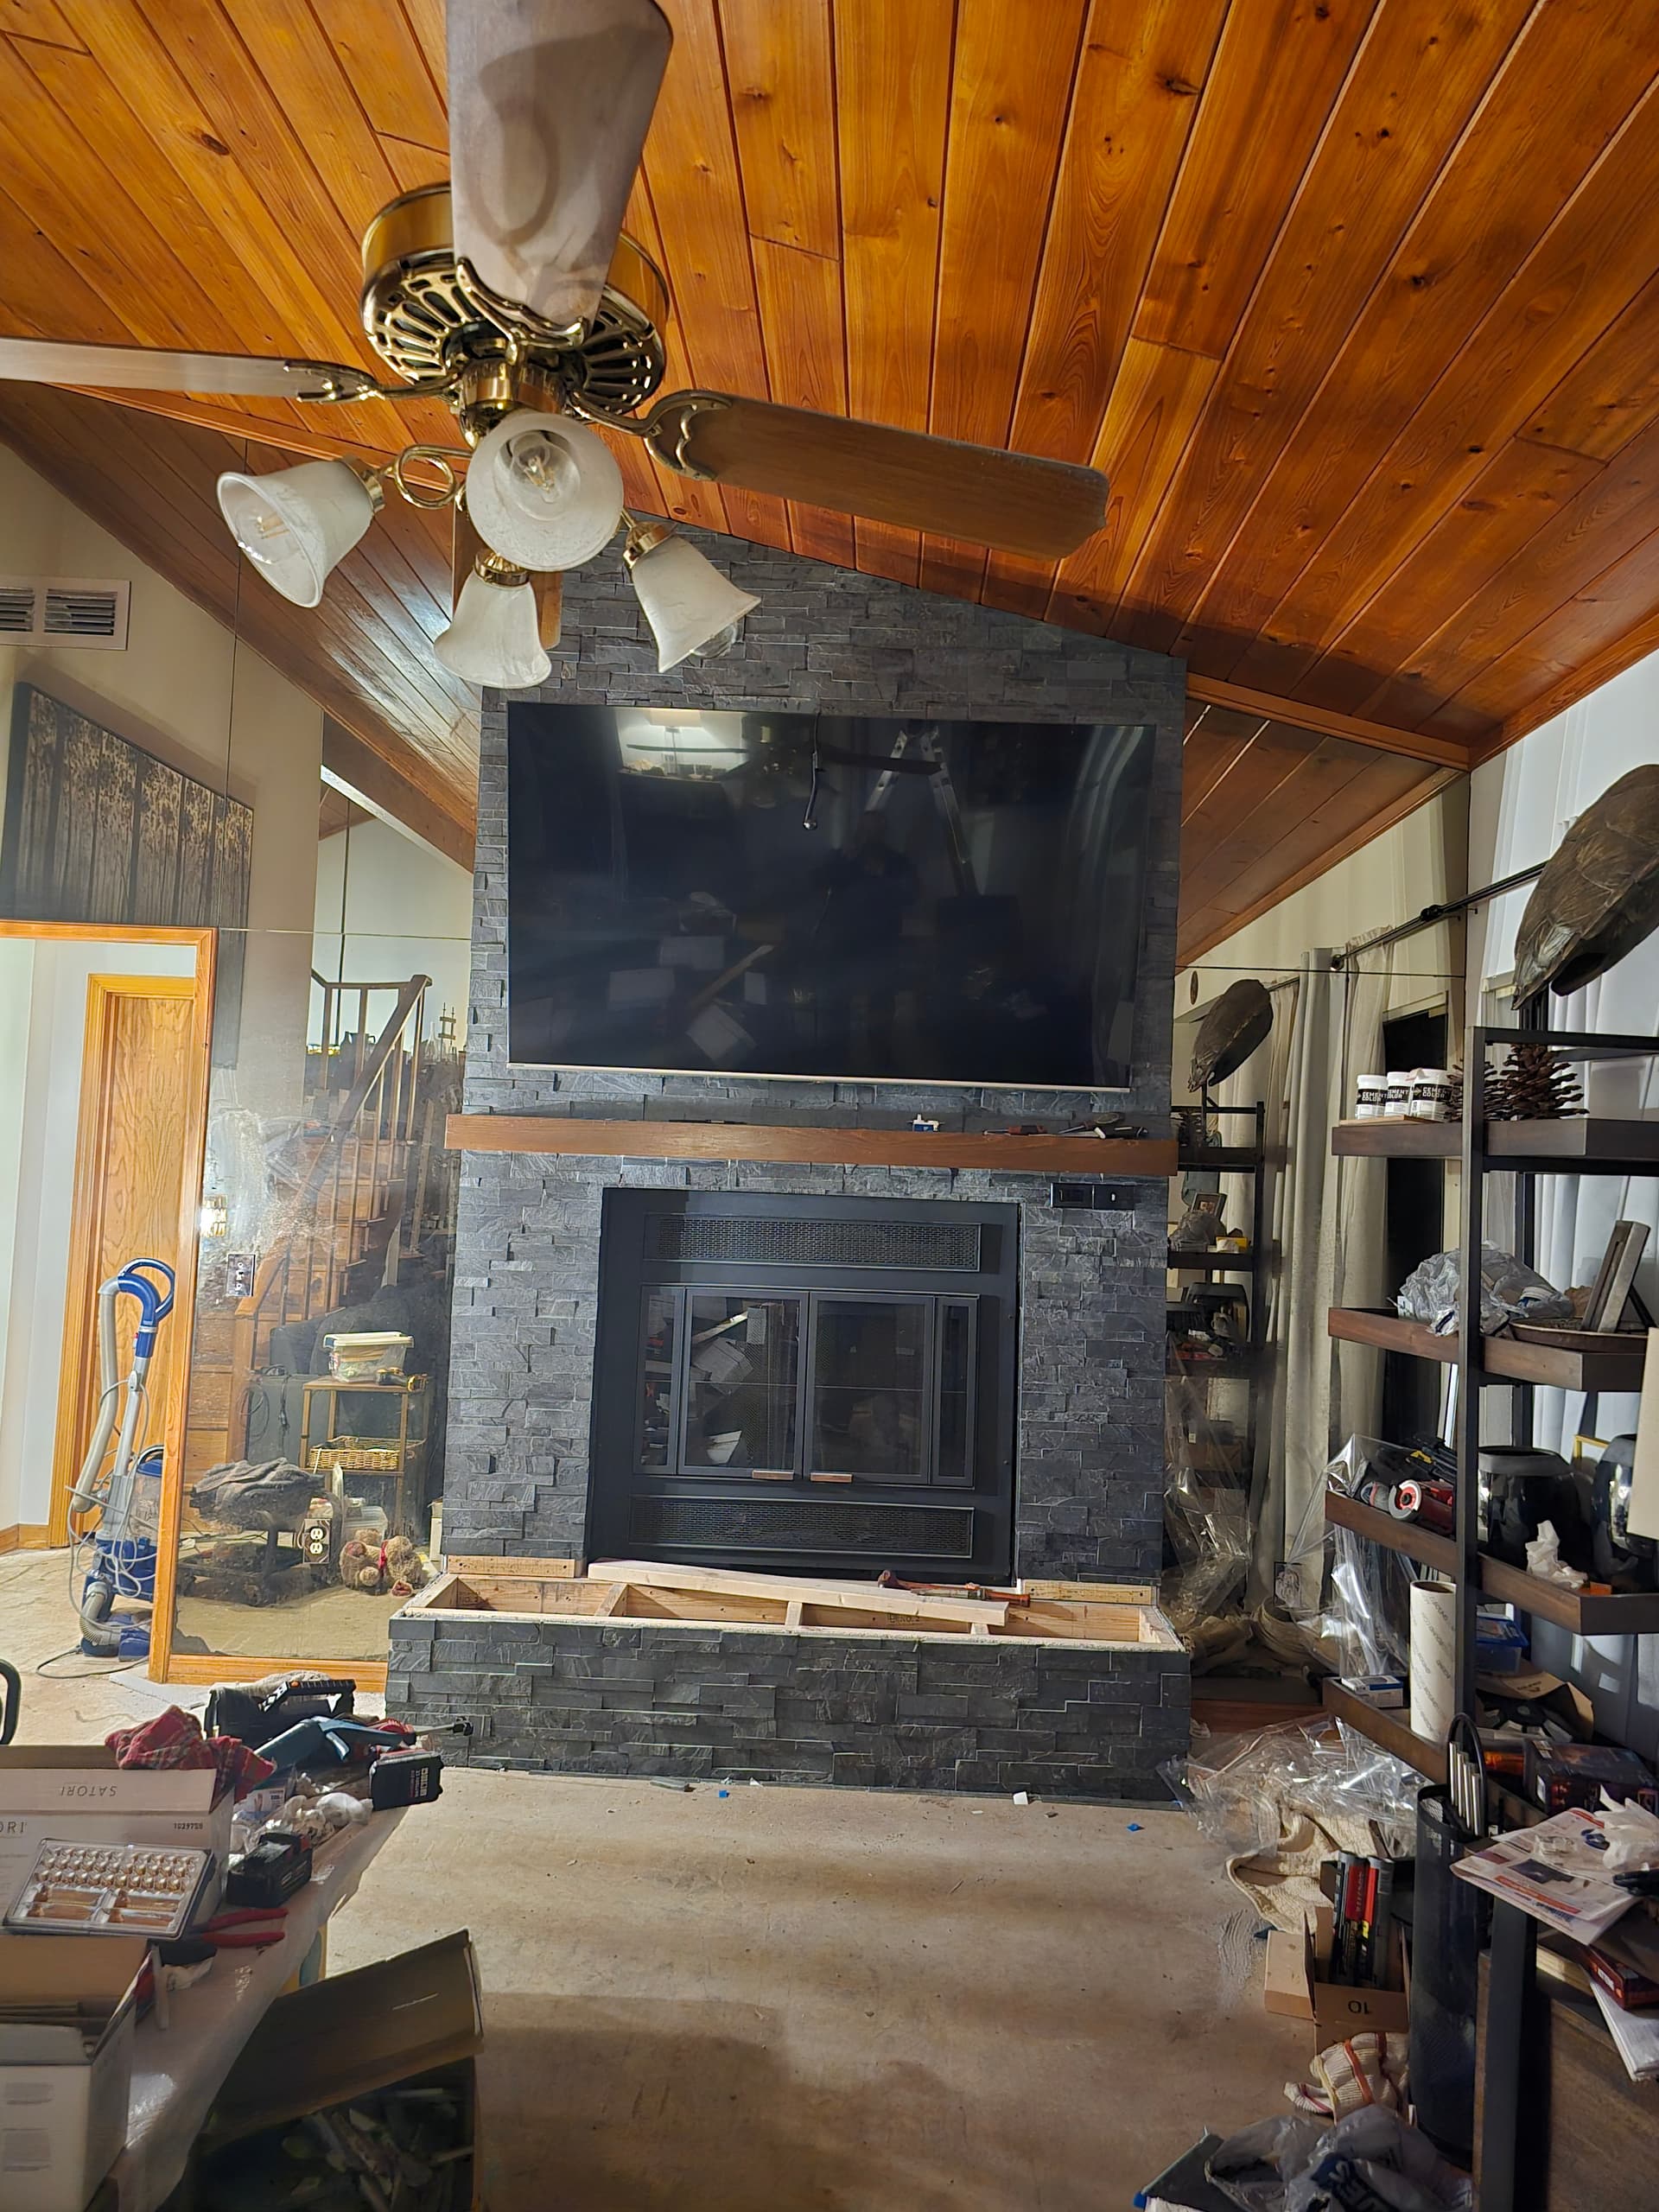
Fireplace is coming along, but it took some time off too. Got the hearth built out and the hearth stone poured out and in place temporarily.
Also making some progress on the printer upgrades. Basically ready to tear it apart and install the new stuff. But I need the printer for the LR3 build and I promised myself I would wait to tear the printer apart until after LR3 parts were done.
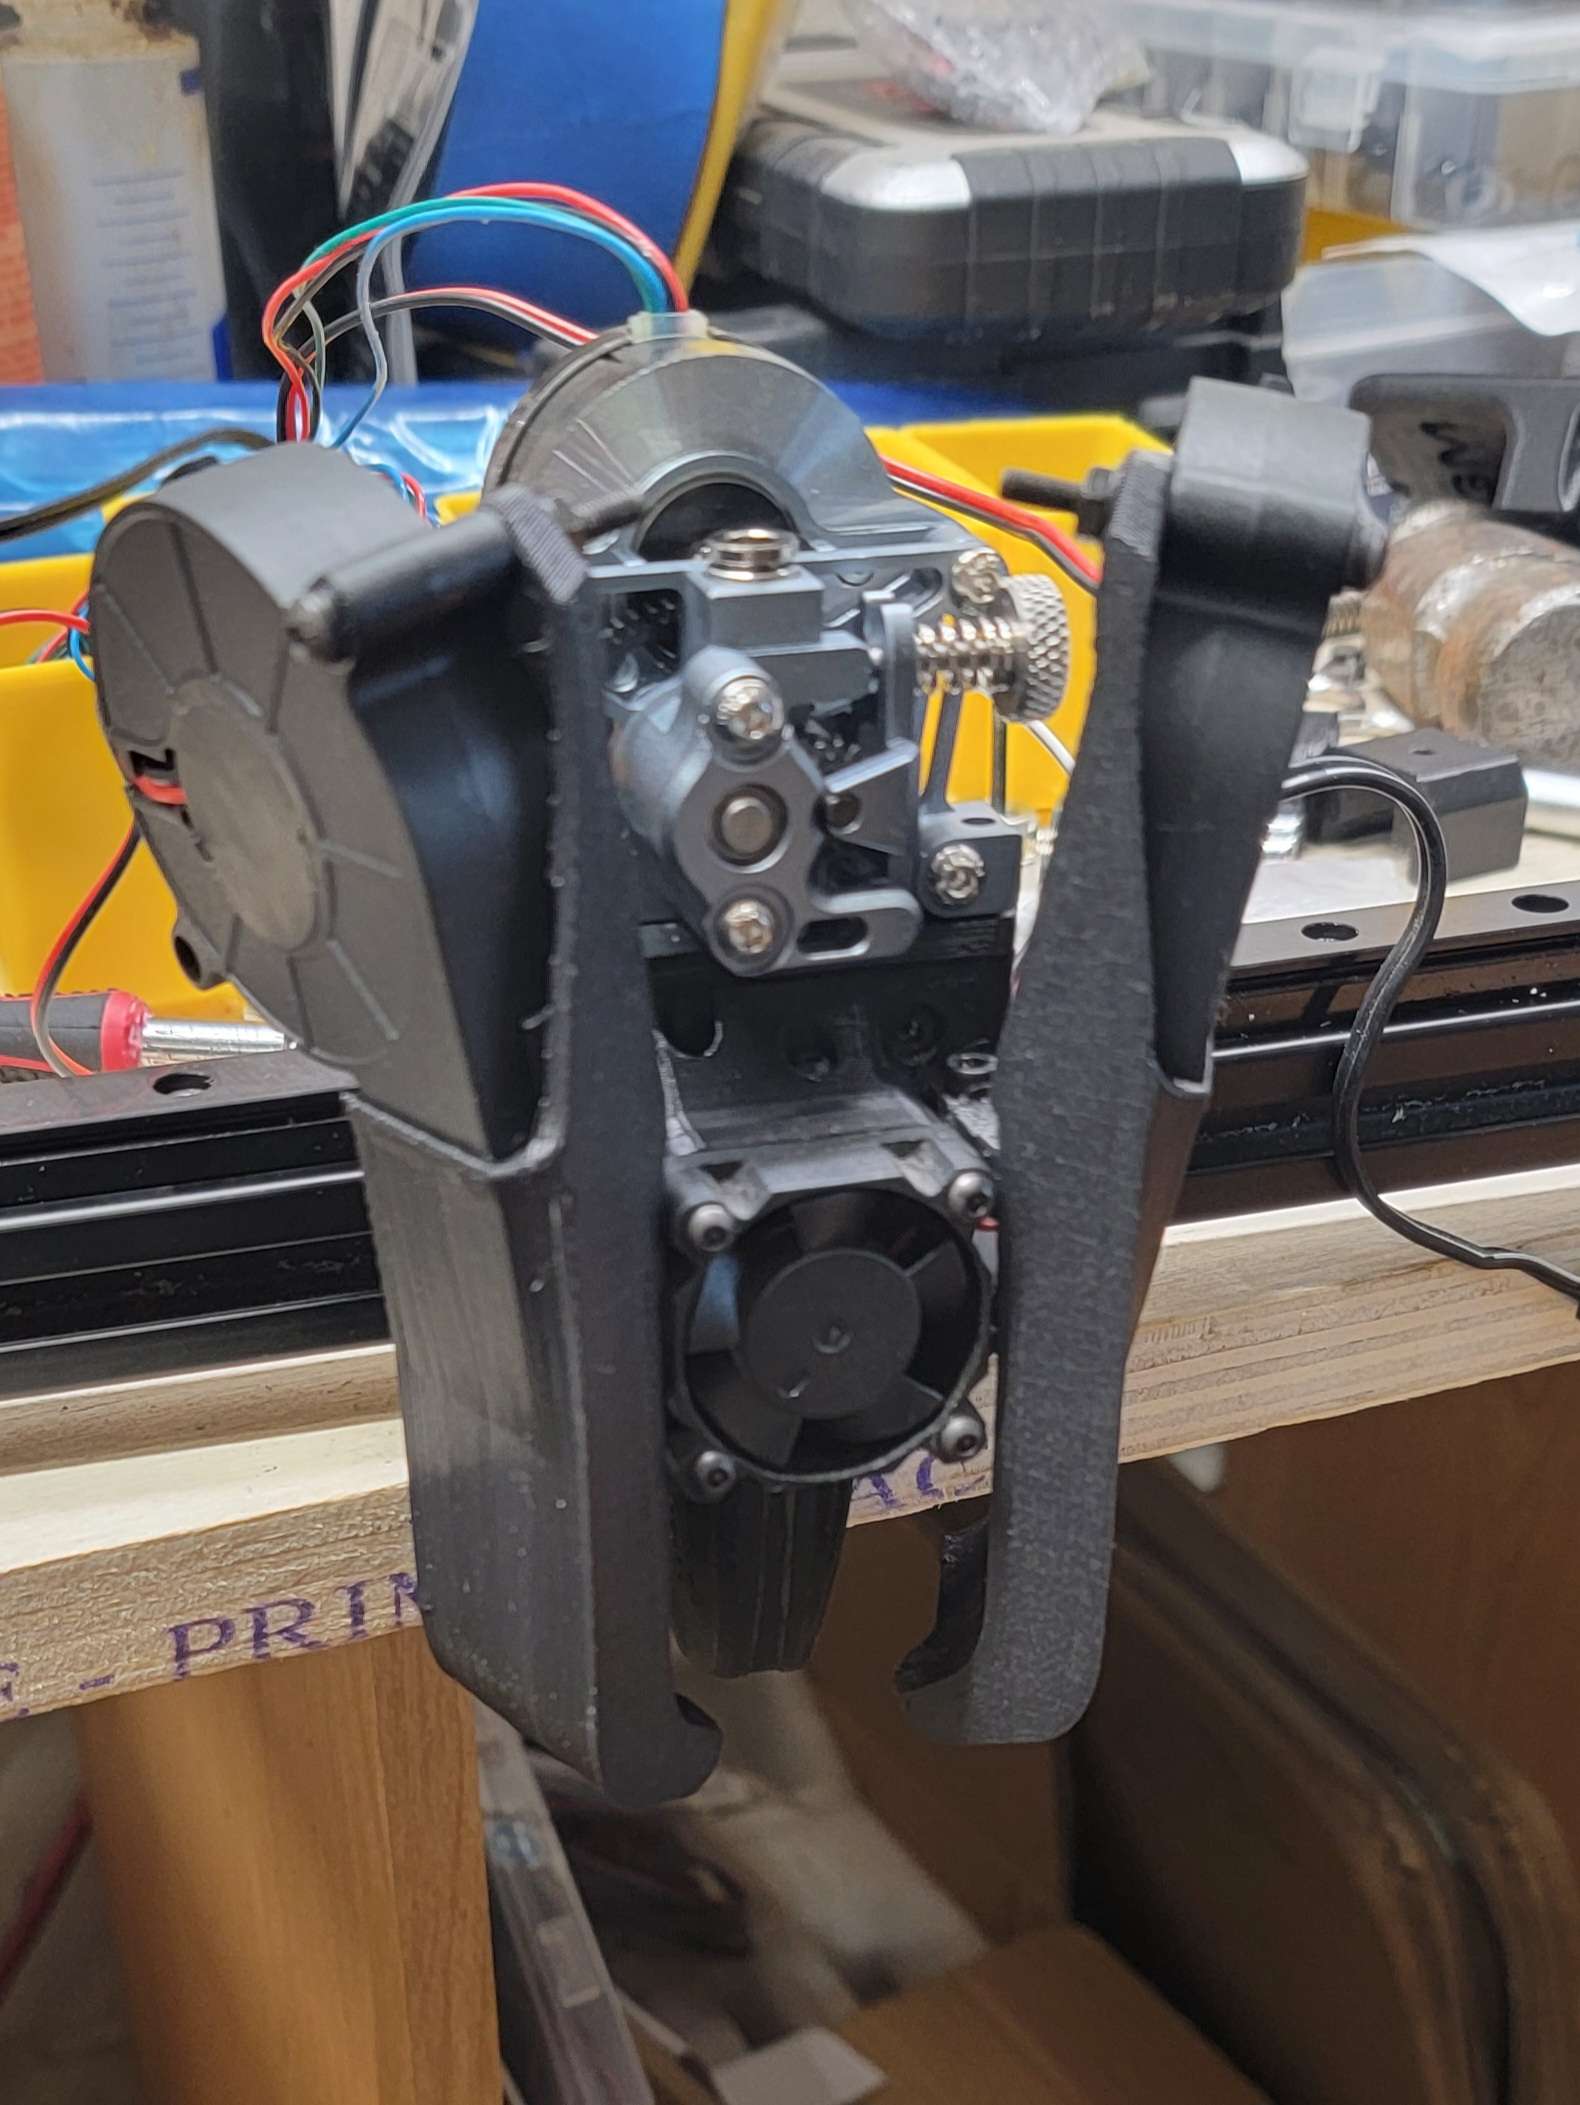
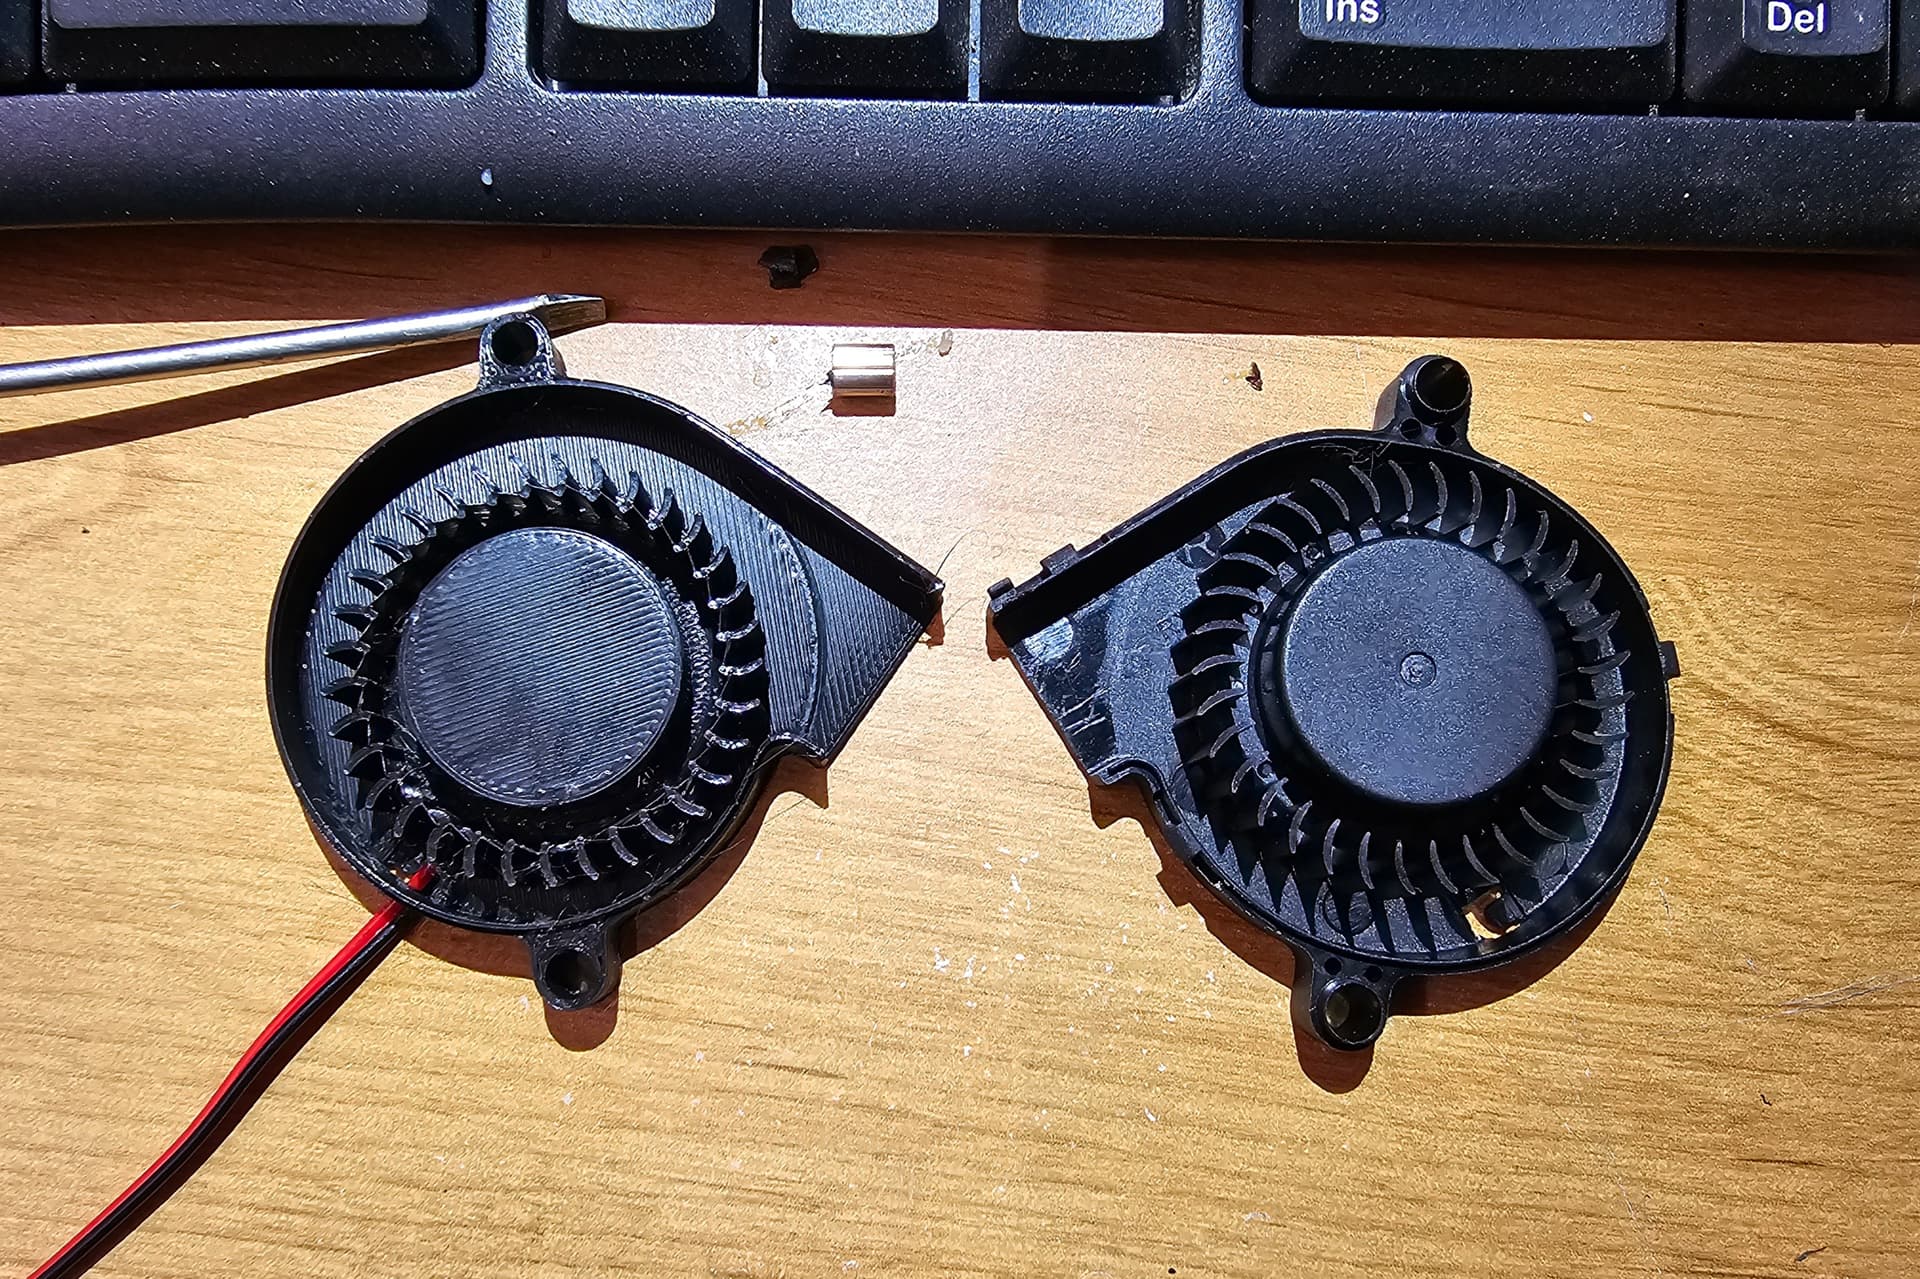
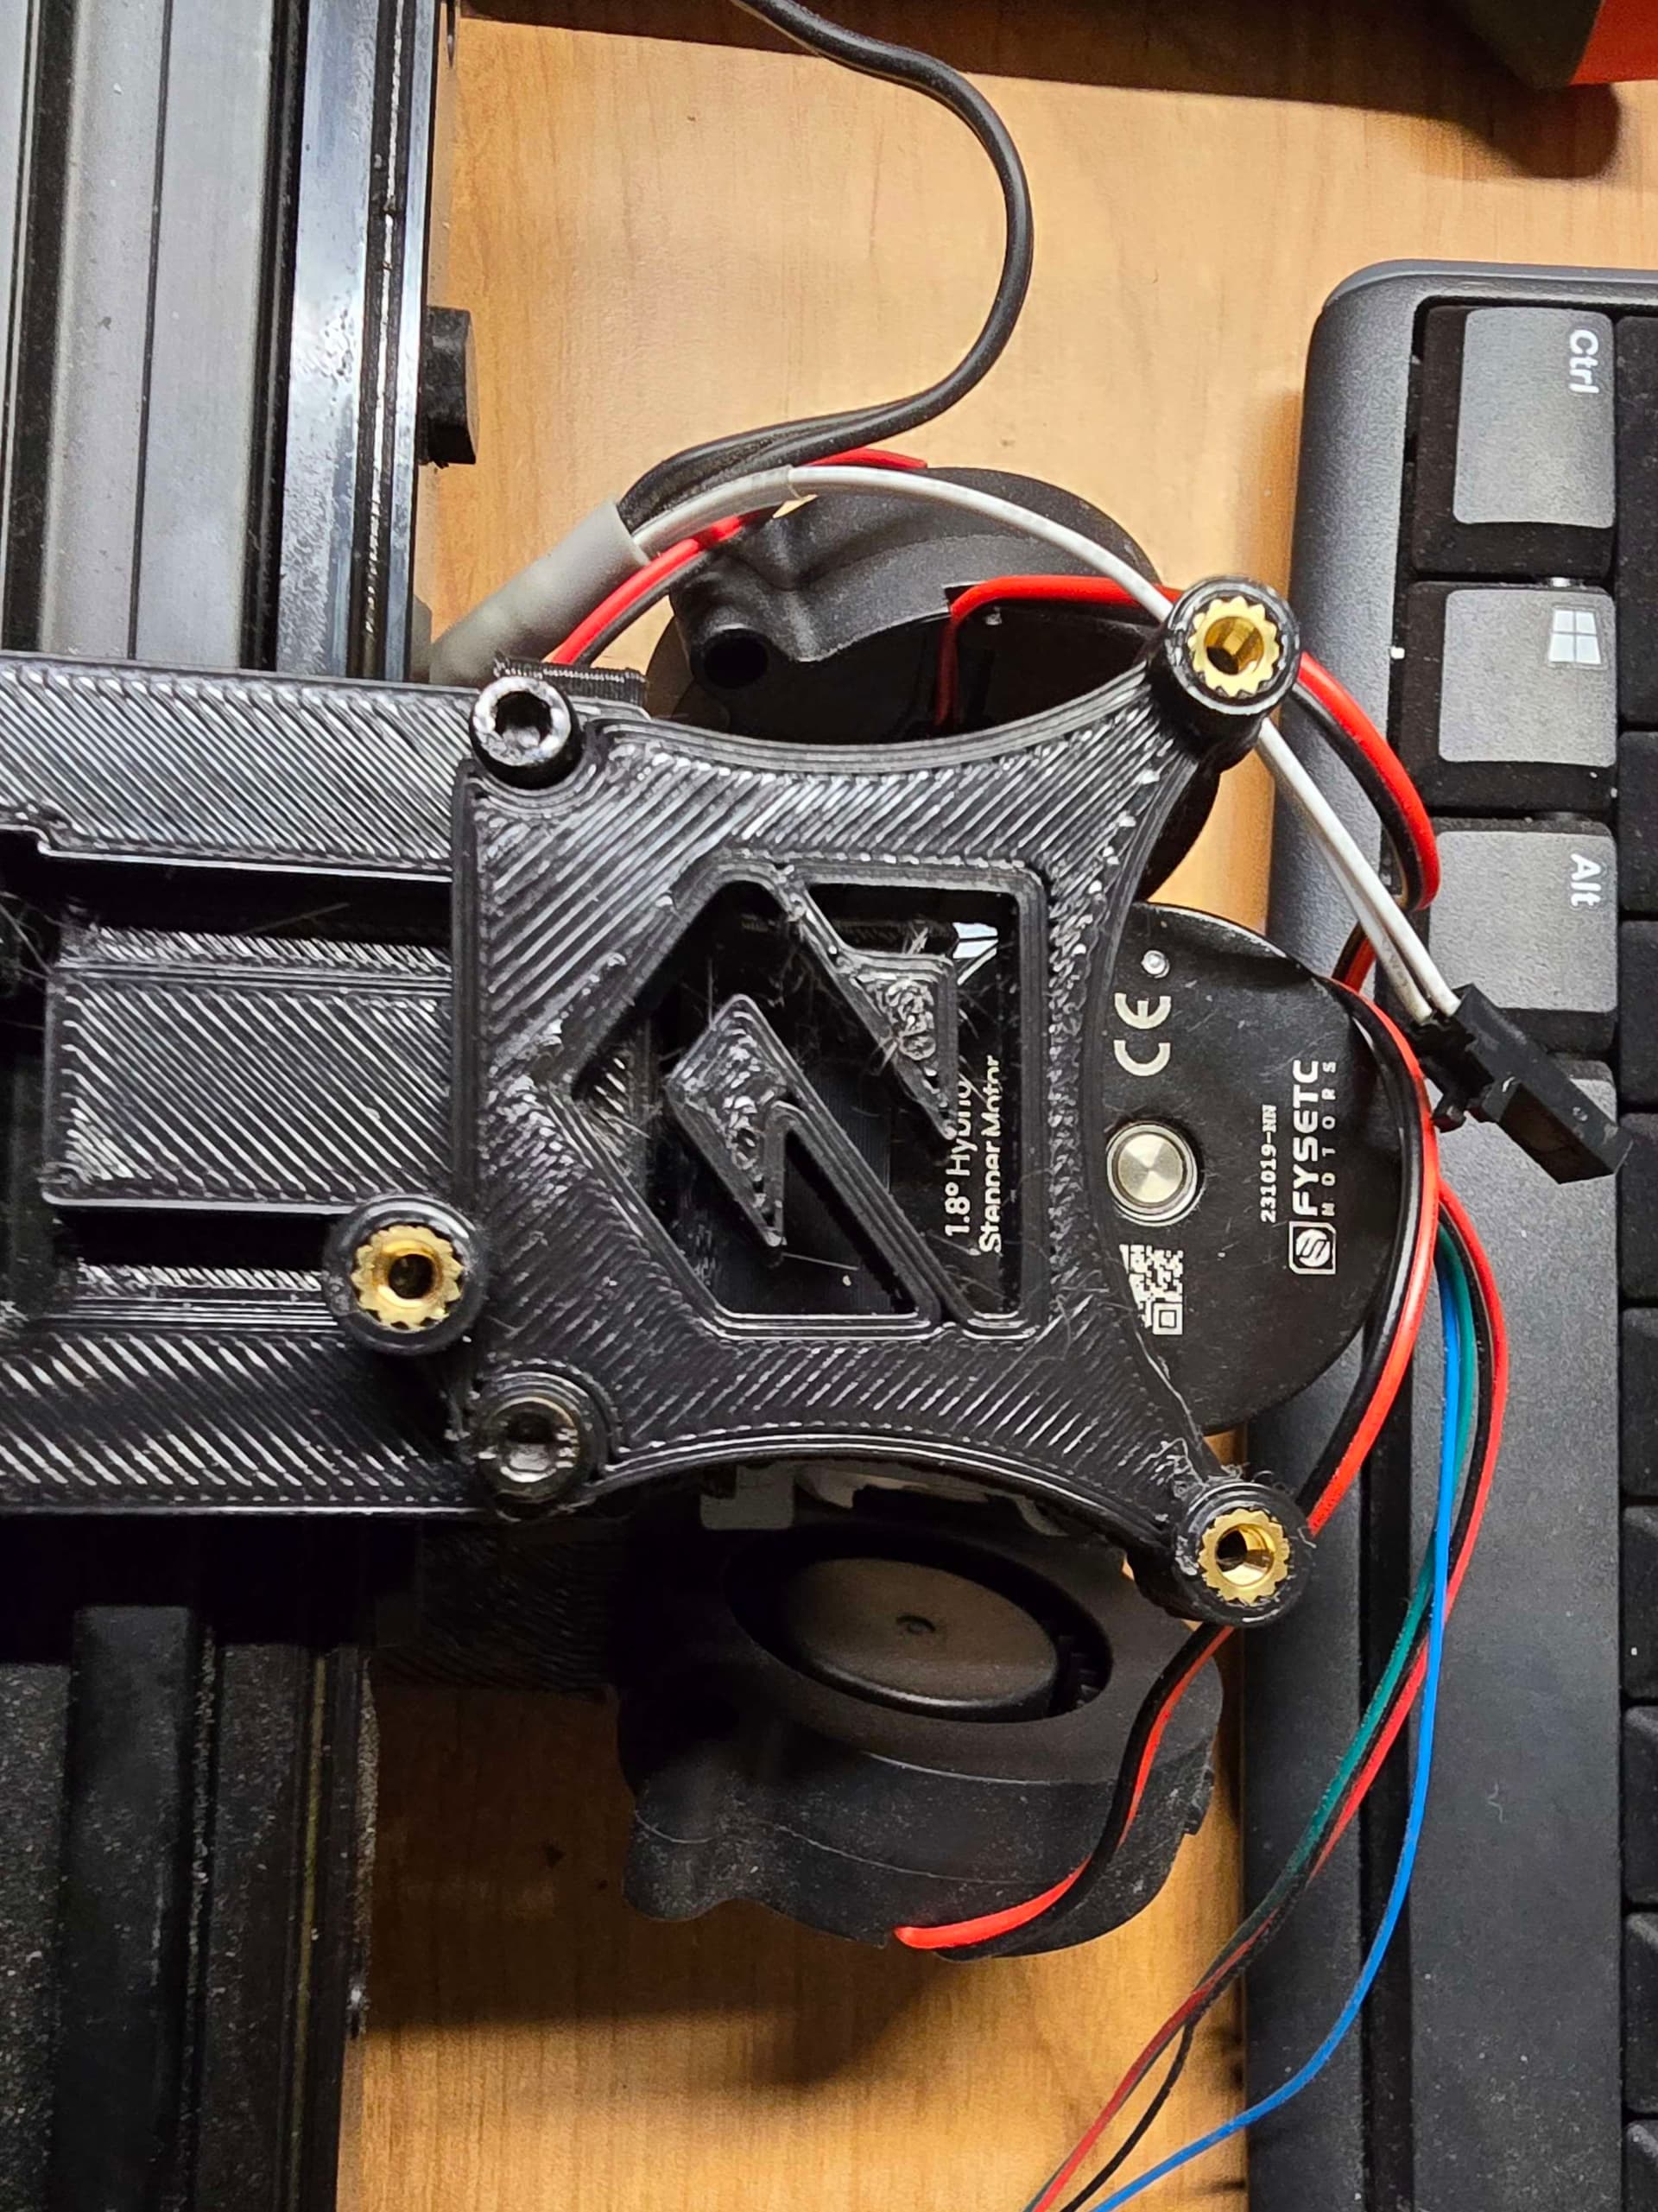
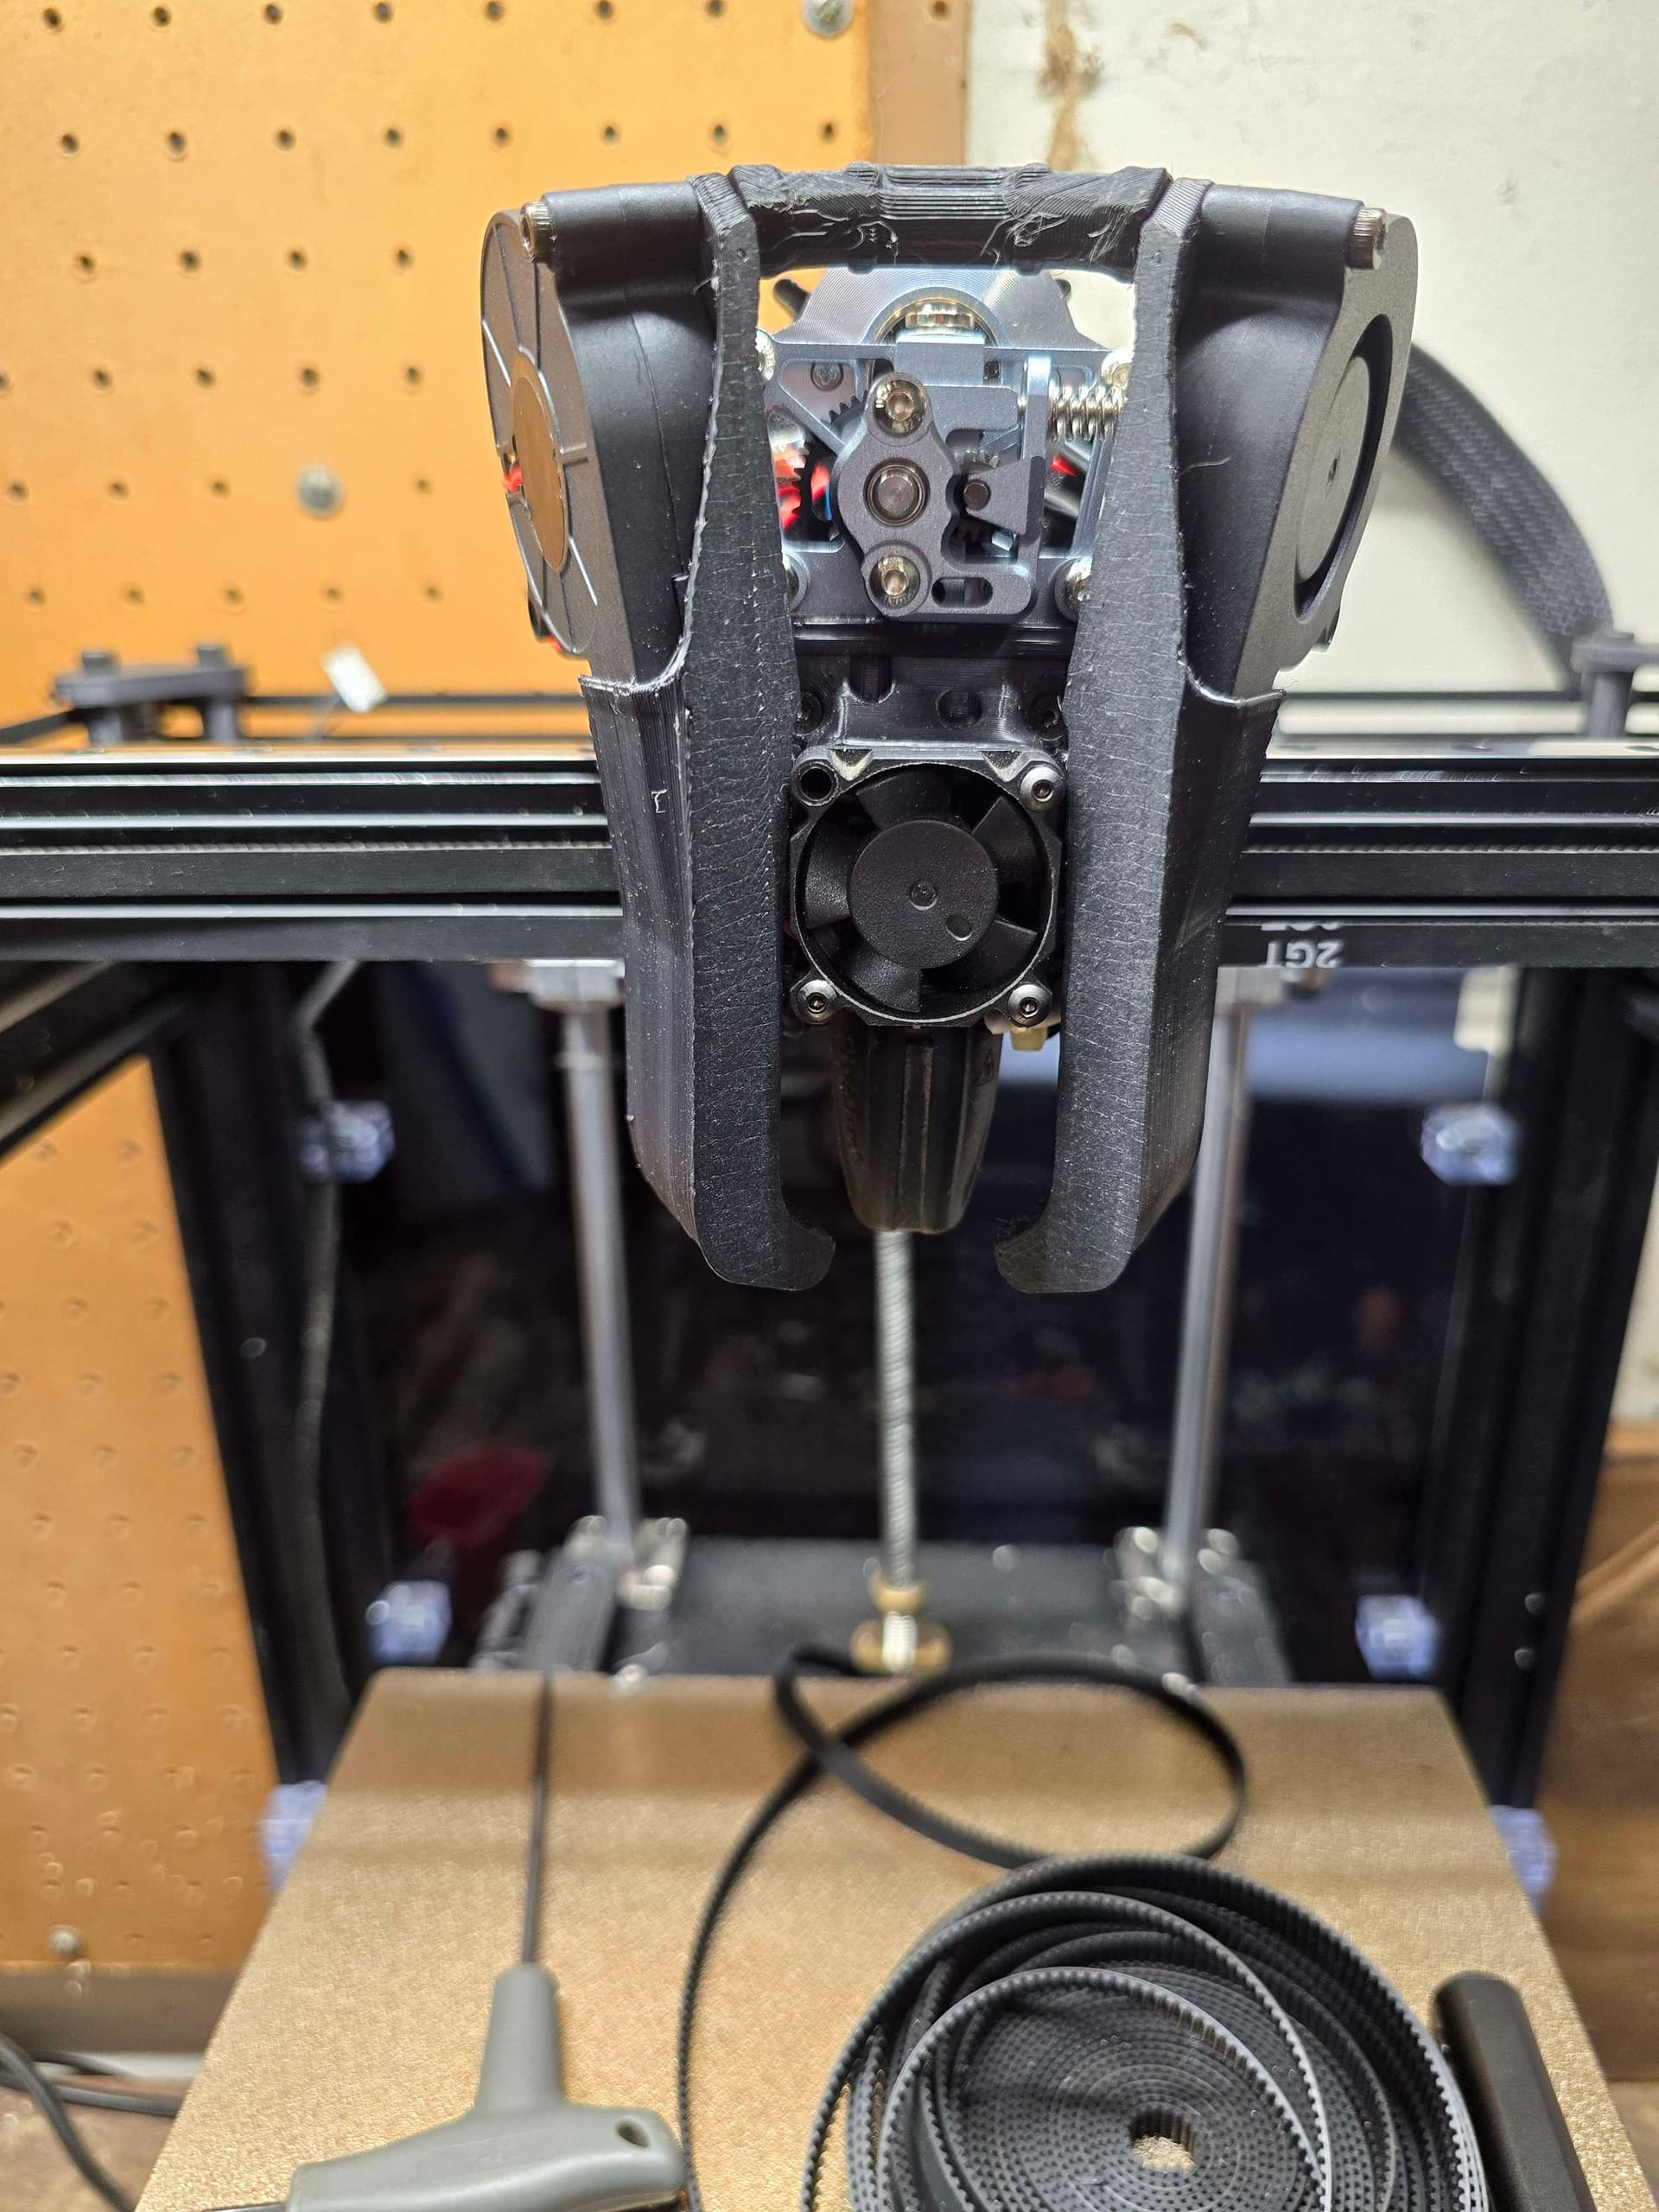
same here, but I did find a model on either thingi or printables for a reversed fan that you take the guts out of the stock housing and drop them in the new printed one. I havent tested it yet, but seems about right just looking at it
Nice! You got further than me, I briefly tried searching amzn/online and printables but gave up. Added your link to my todo list, and taking a look…
With this model, or something similar, maybe there’s a remix opportunity to integrate the fan housing with duct and avoid/improve the bolt flanges that stick out. Am not looking to print fan blades though.
would probably have to reverse the fin direction, but maybe could get away with it because the motor is facing the opposite direction. I may play around with it a little.
edit: I’ll tell you in about 1h49m how the three parts printed
I printed that design. The housing printed out nicely and I think this is might be viable. I got the old fan apart and while it wouldnt likely go back to together, it should be happy in a new home. The fan is no different than the factory so it wont work. I found another design that had other options for turbines so I am going to print the reverse fan from that design.
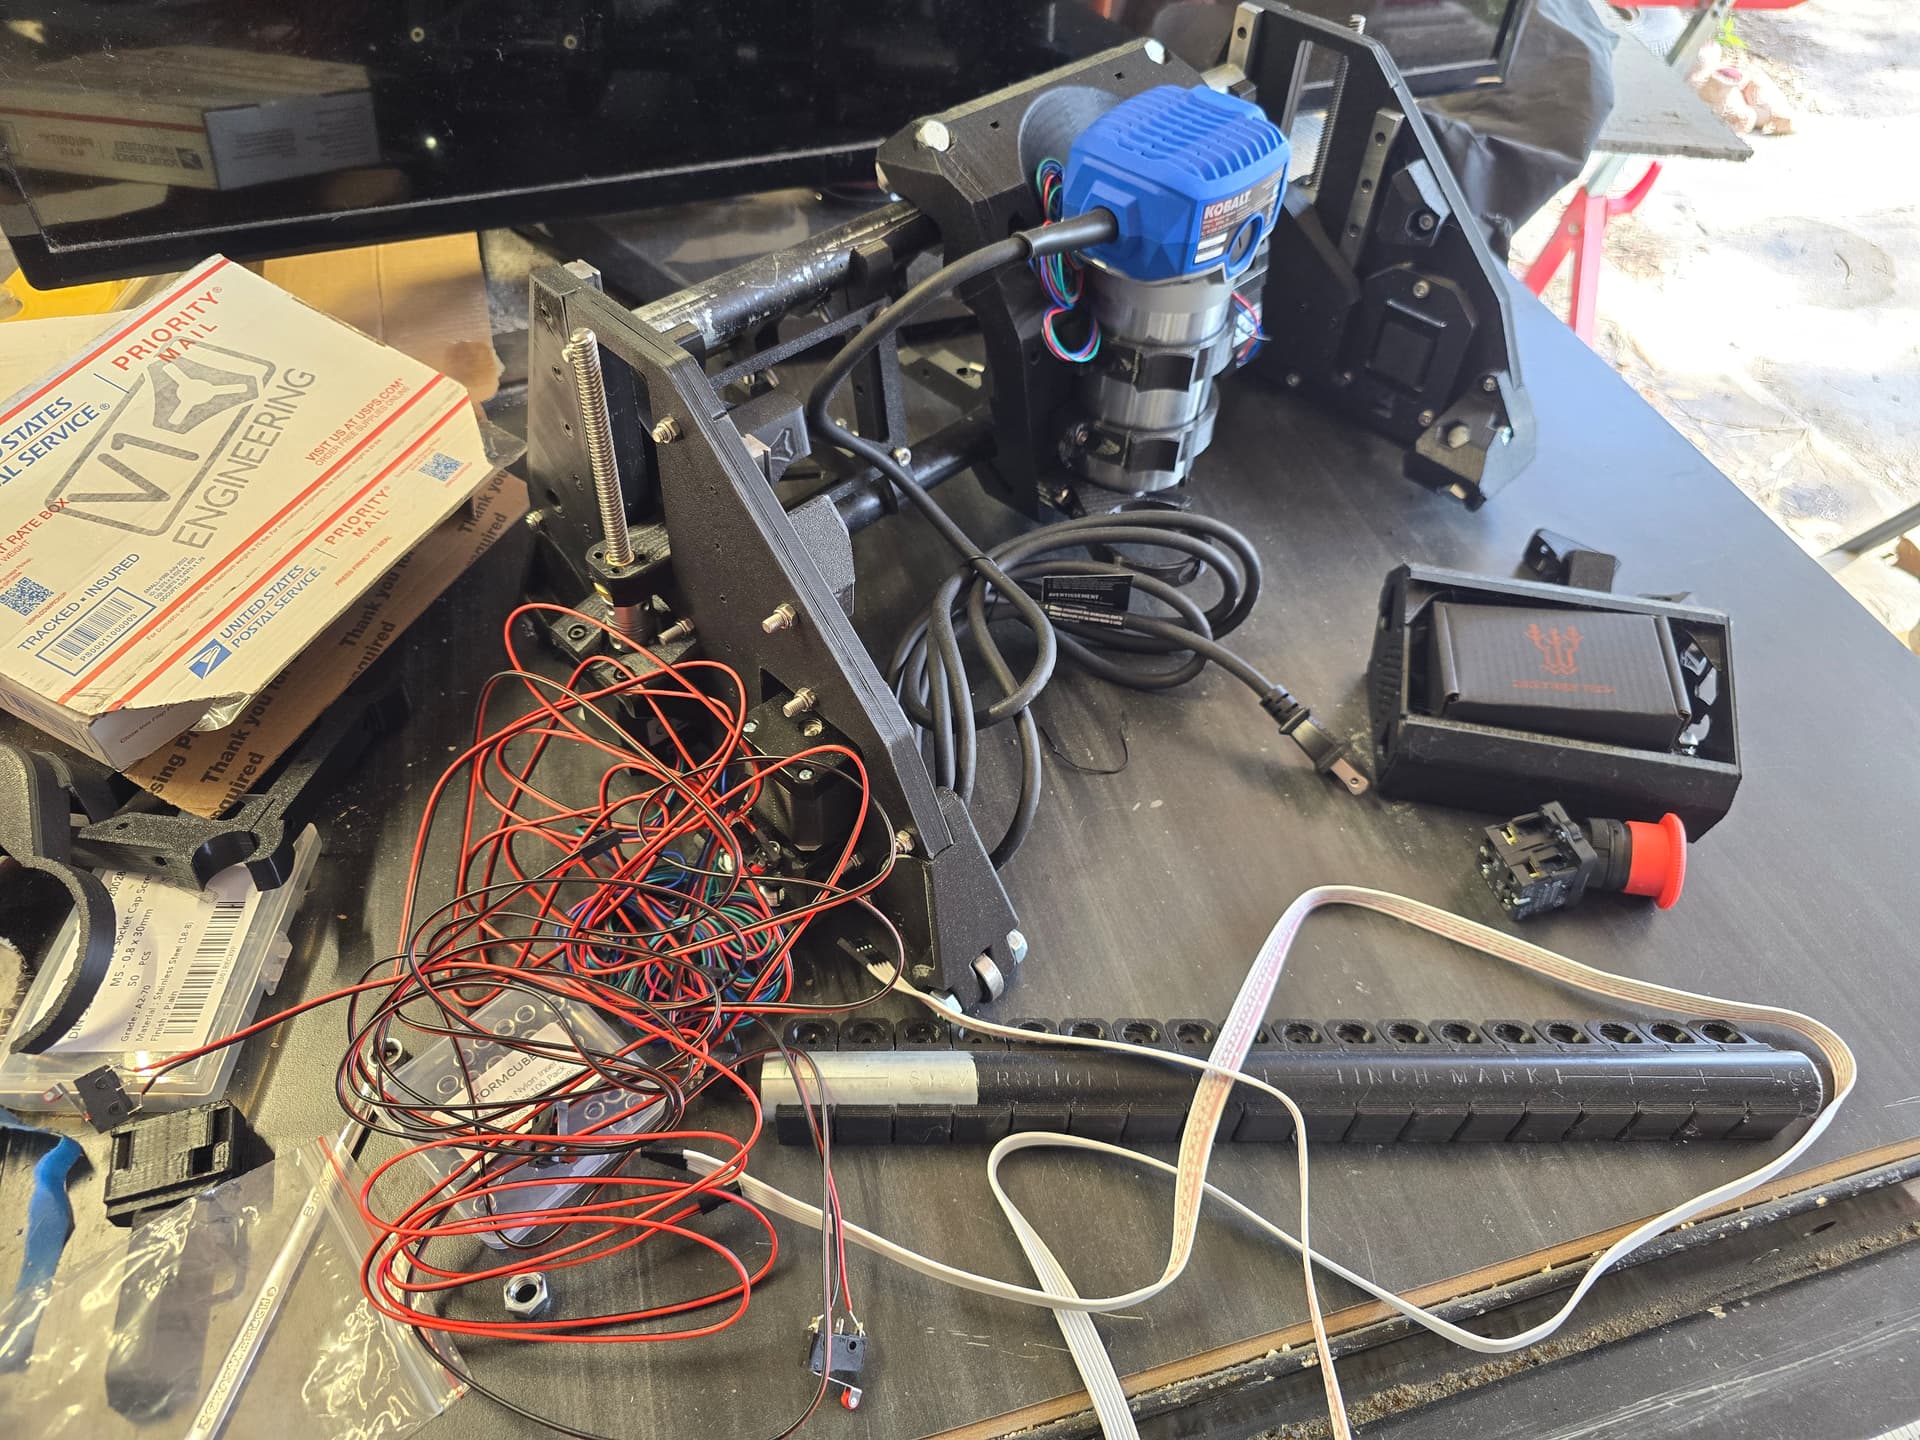
So after finally ordering from v1 like i should have from the start, i finally have everything i need. I need to take the assemblies apart and put them back with all motors facing the correct way and wires run generally where they will go but definitely where they are intended to go.
I know that the docs don’t go into wiring the boards because of the different options, but is there a cheat sheet or picture diagram of some sort for hooking everything to the jackpot?
not sure… But I think I can figure it out from there.
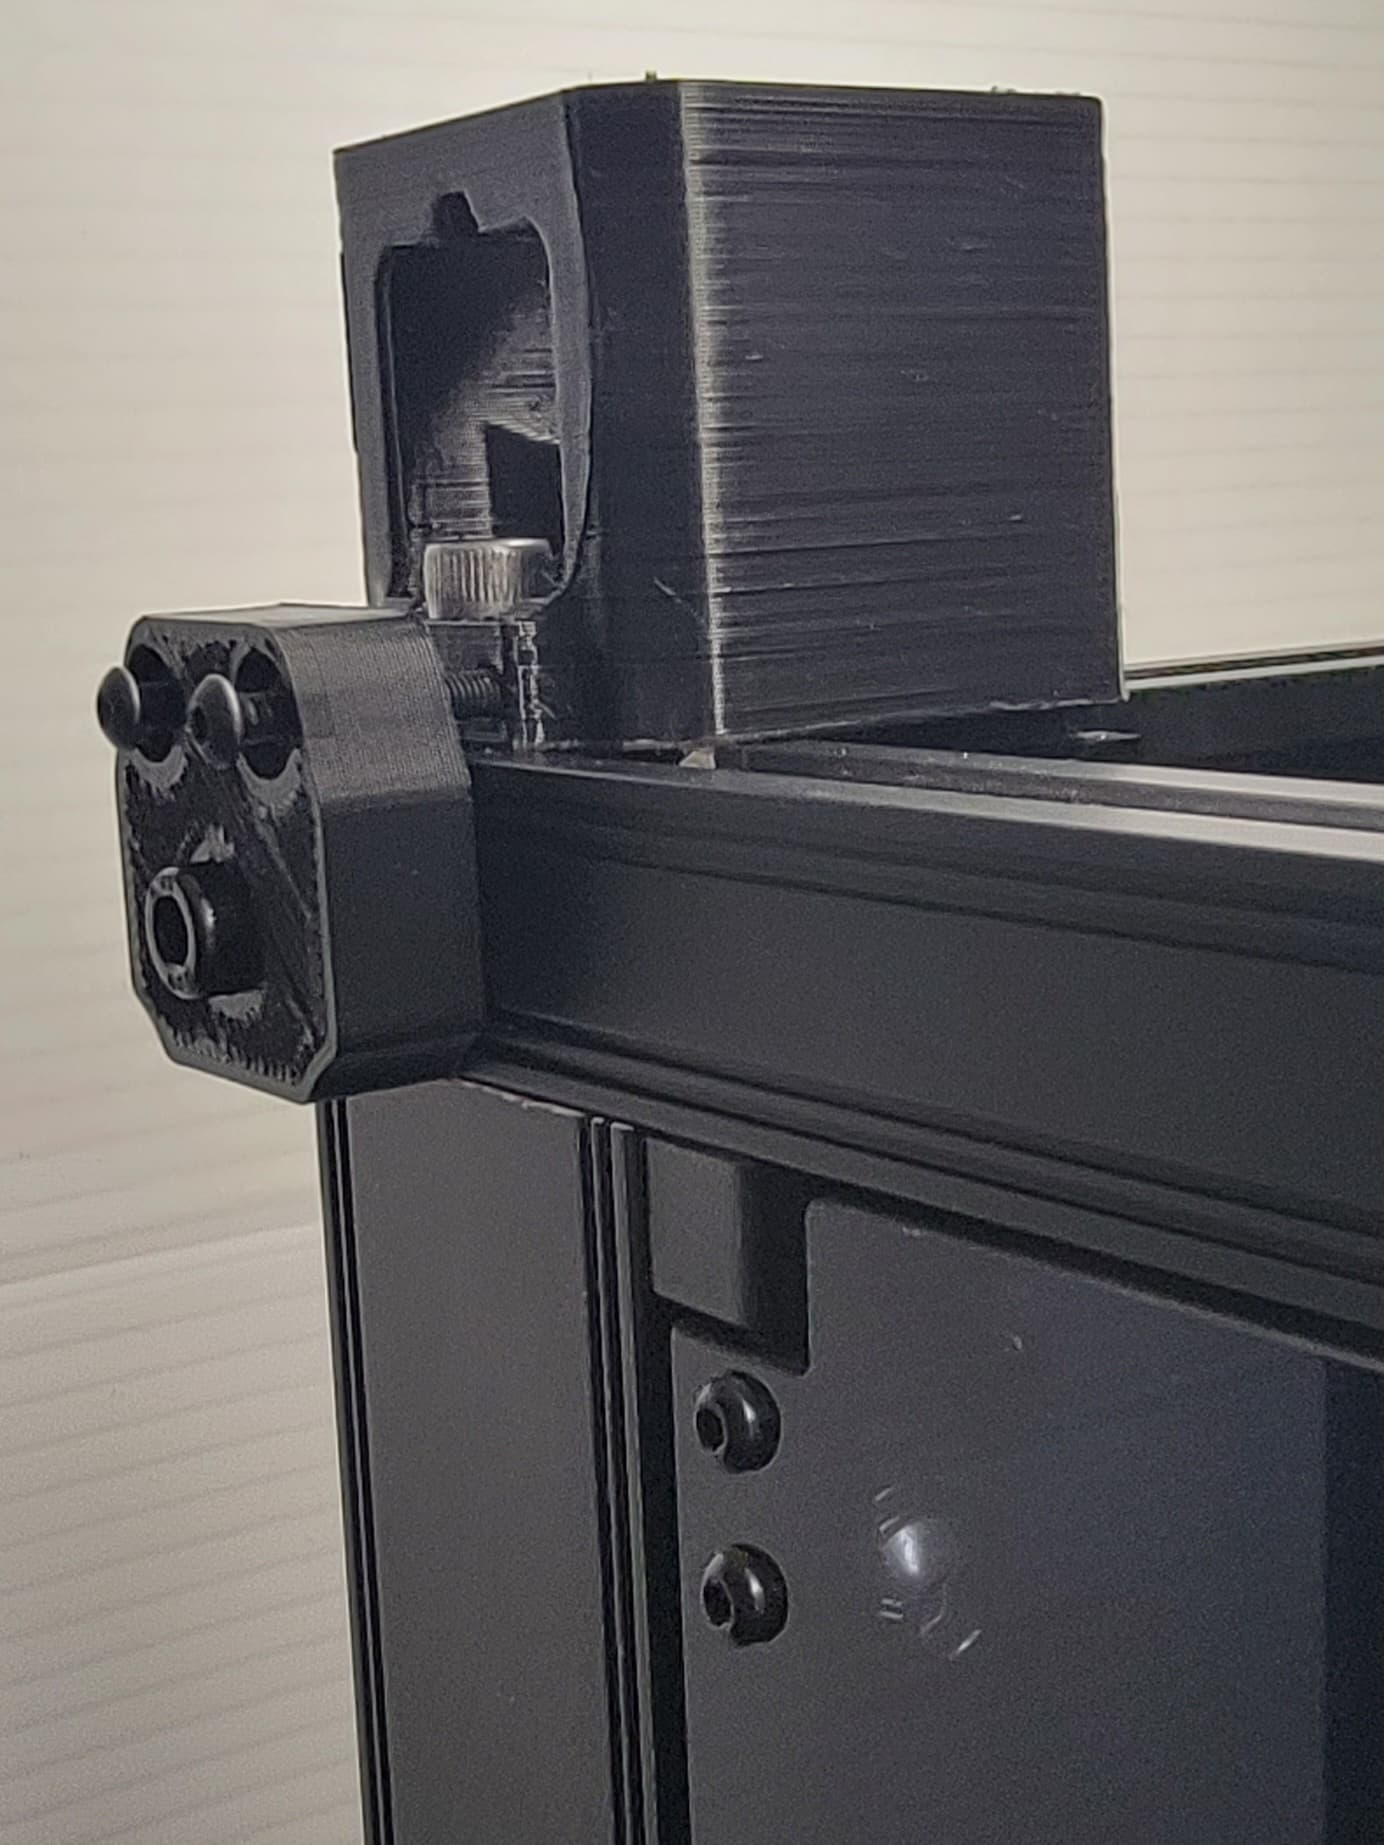
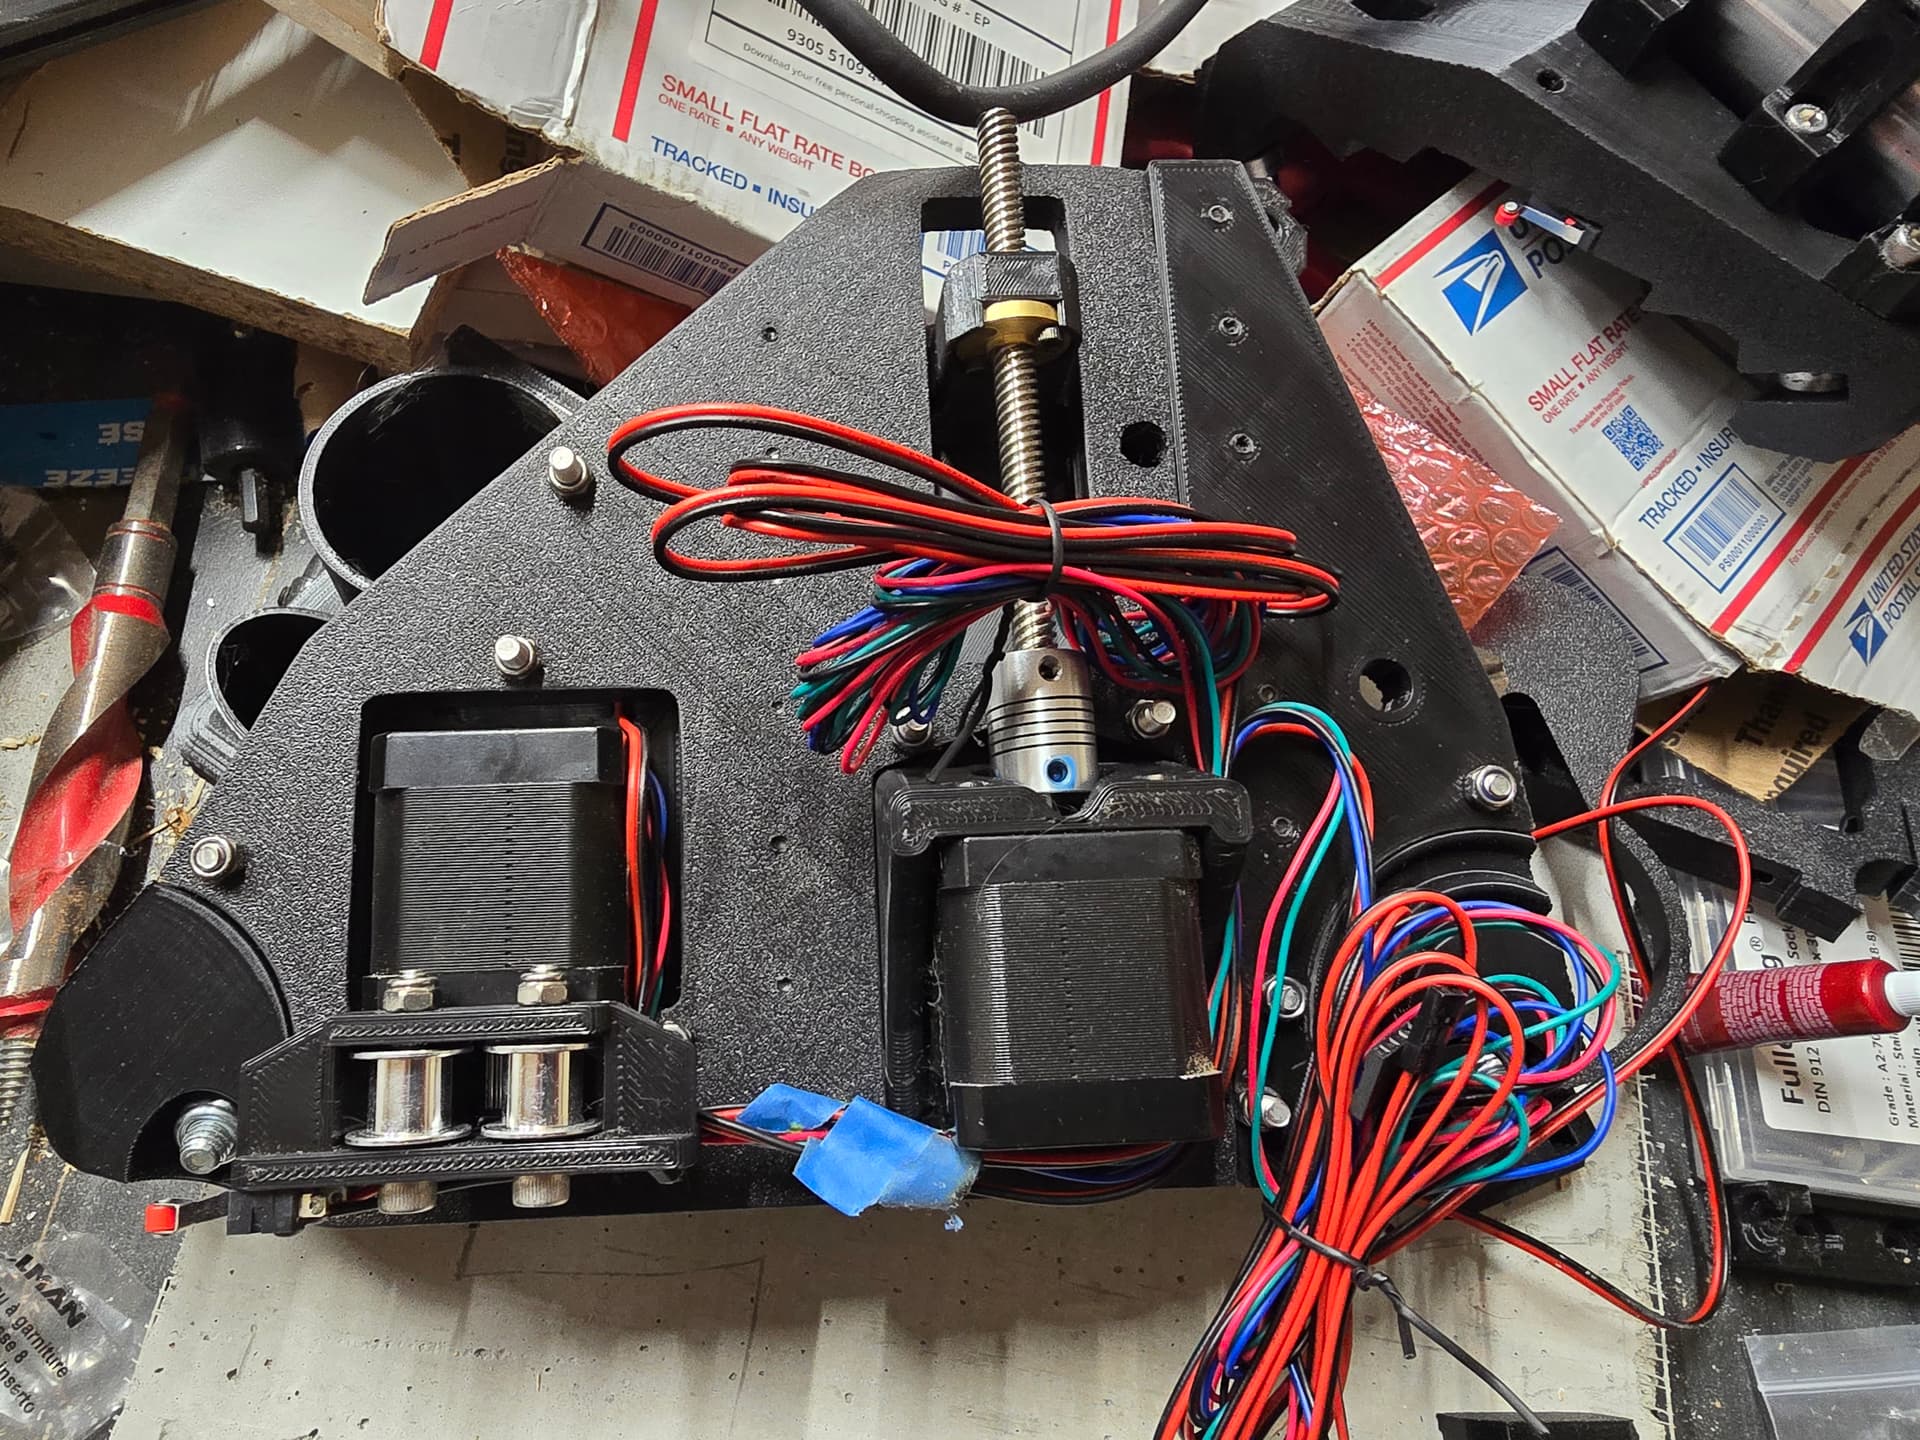
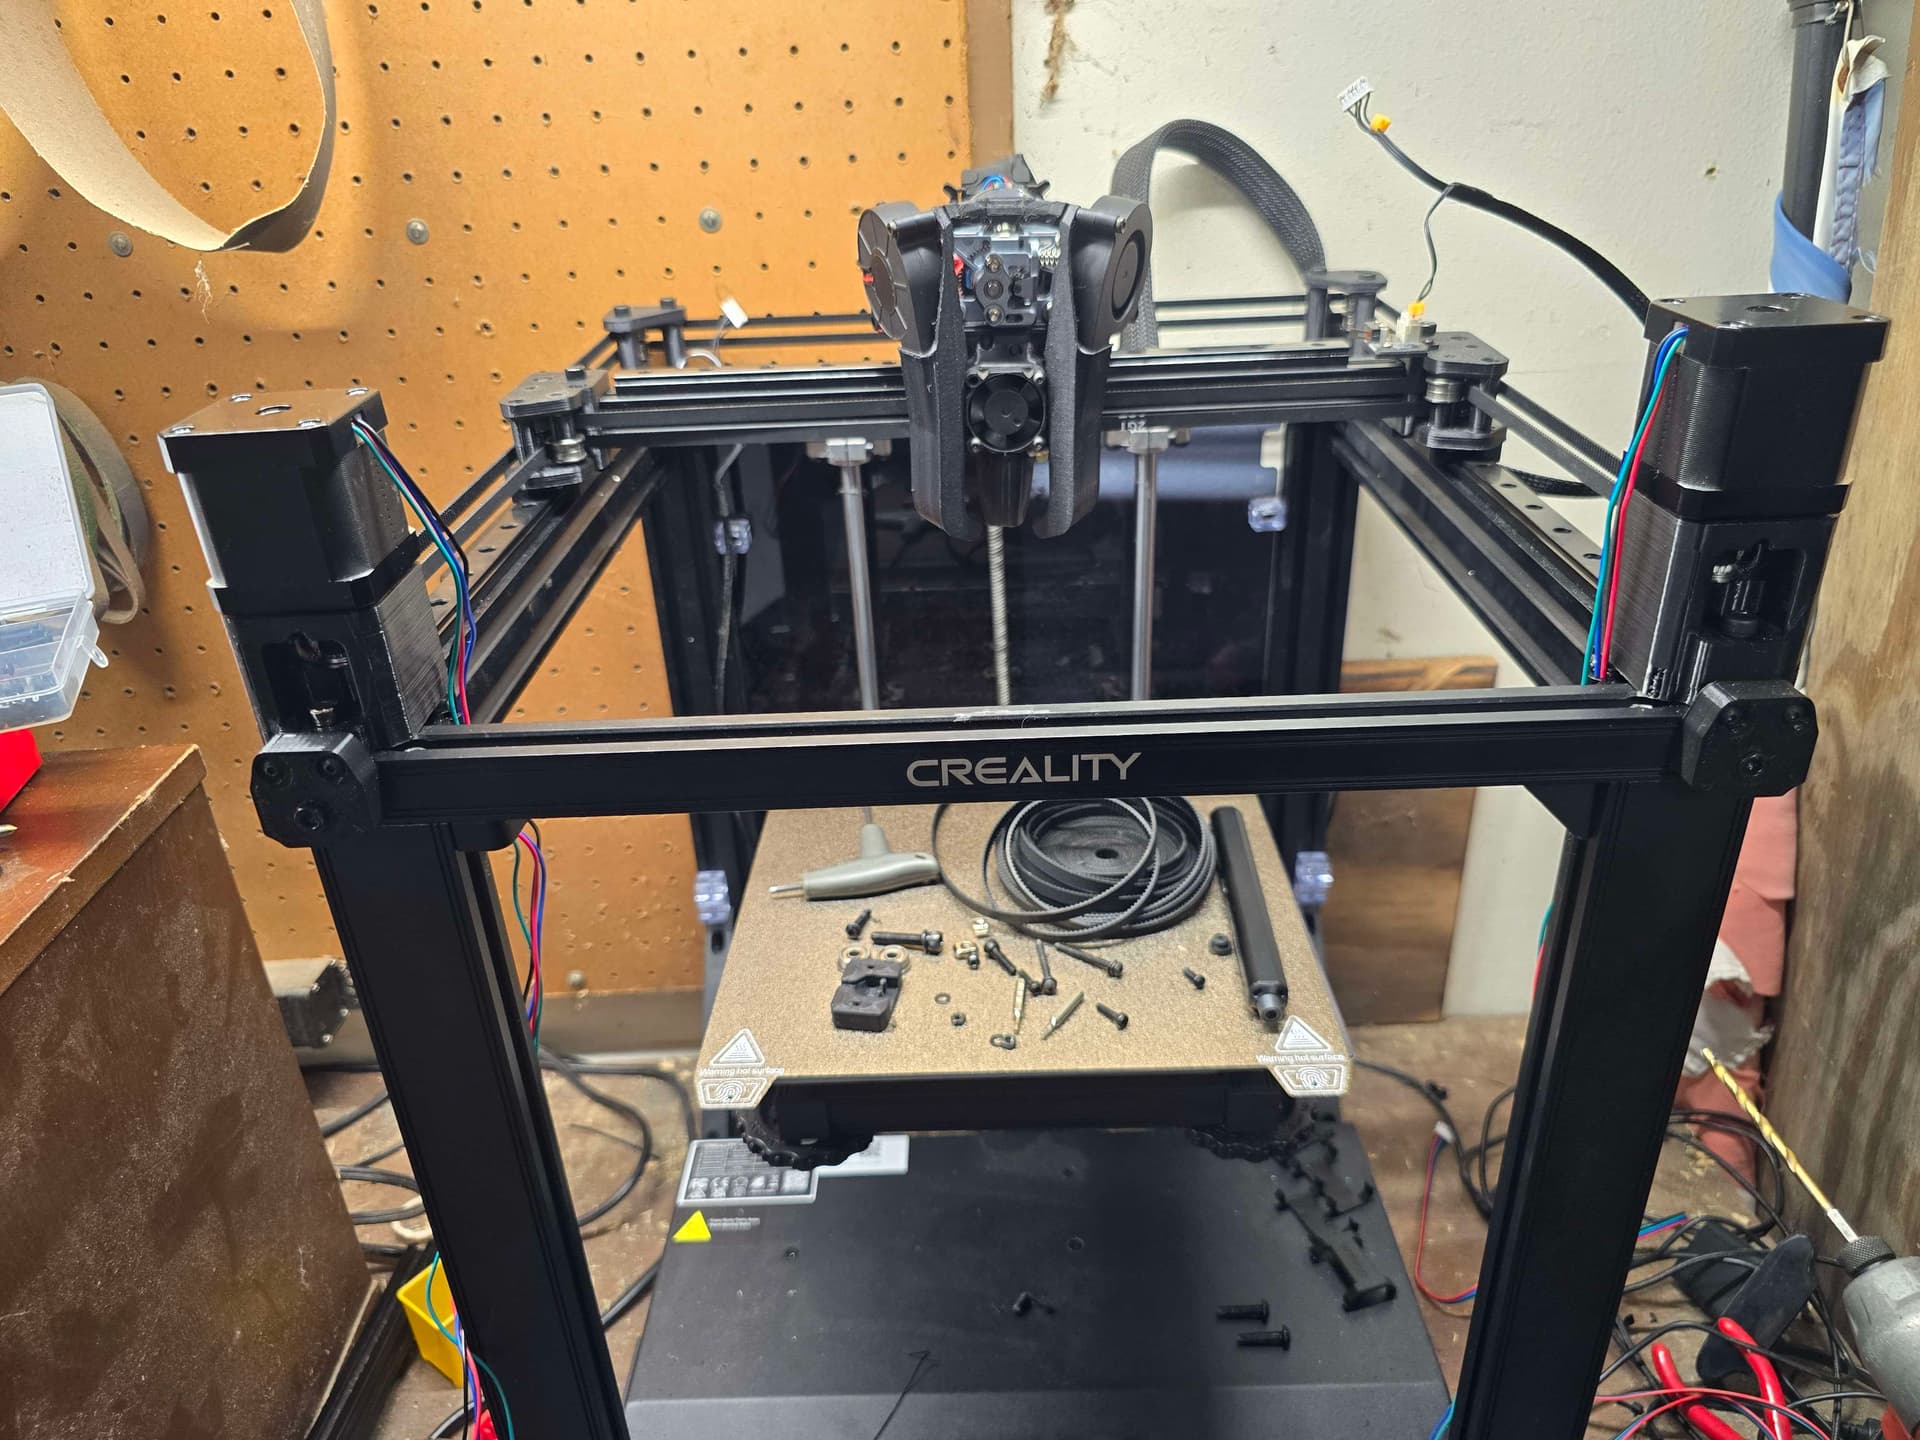
Progress being made is almost invisible. Started with soldering the wires to the limit switches. Then got side tracked with the honey do list for the bulk of the day. Buttttt, I have pulled the core and the Y plate on the rail side apart, installed evrything, ran wires, zip tied stuff down and in place, added blue loctite to anything not in a nyloc, and both of those parts are ready to go. I also downloaded rep host and changed out the settings listed in the “basic set up”.
yes I wiped the exess loctite off after the picture. Now, it might not even matter, but what are the names of these? Im guessing Y1 and Z1, but its worth asking before I send this thing into fits trying figure out why it isnt moving right. LOL
That cross bar you’re suggesting is doable, and a good idea. It would probably best be supported by enlarging that angled part and doing the same kind of angled part on the other side!
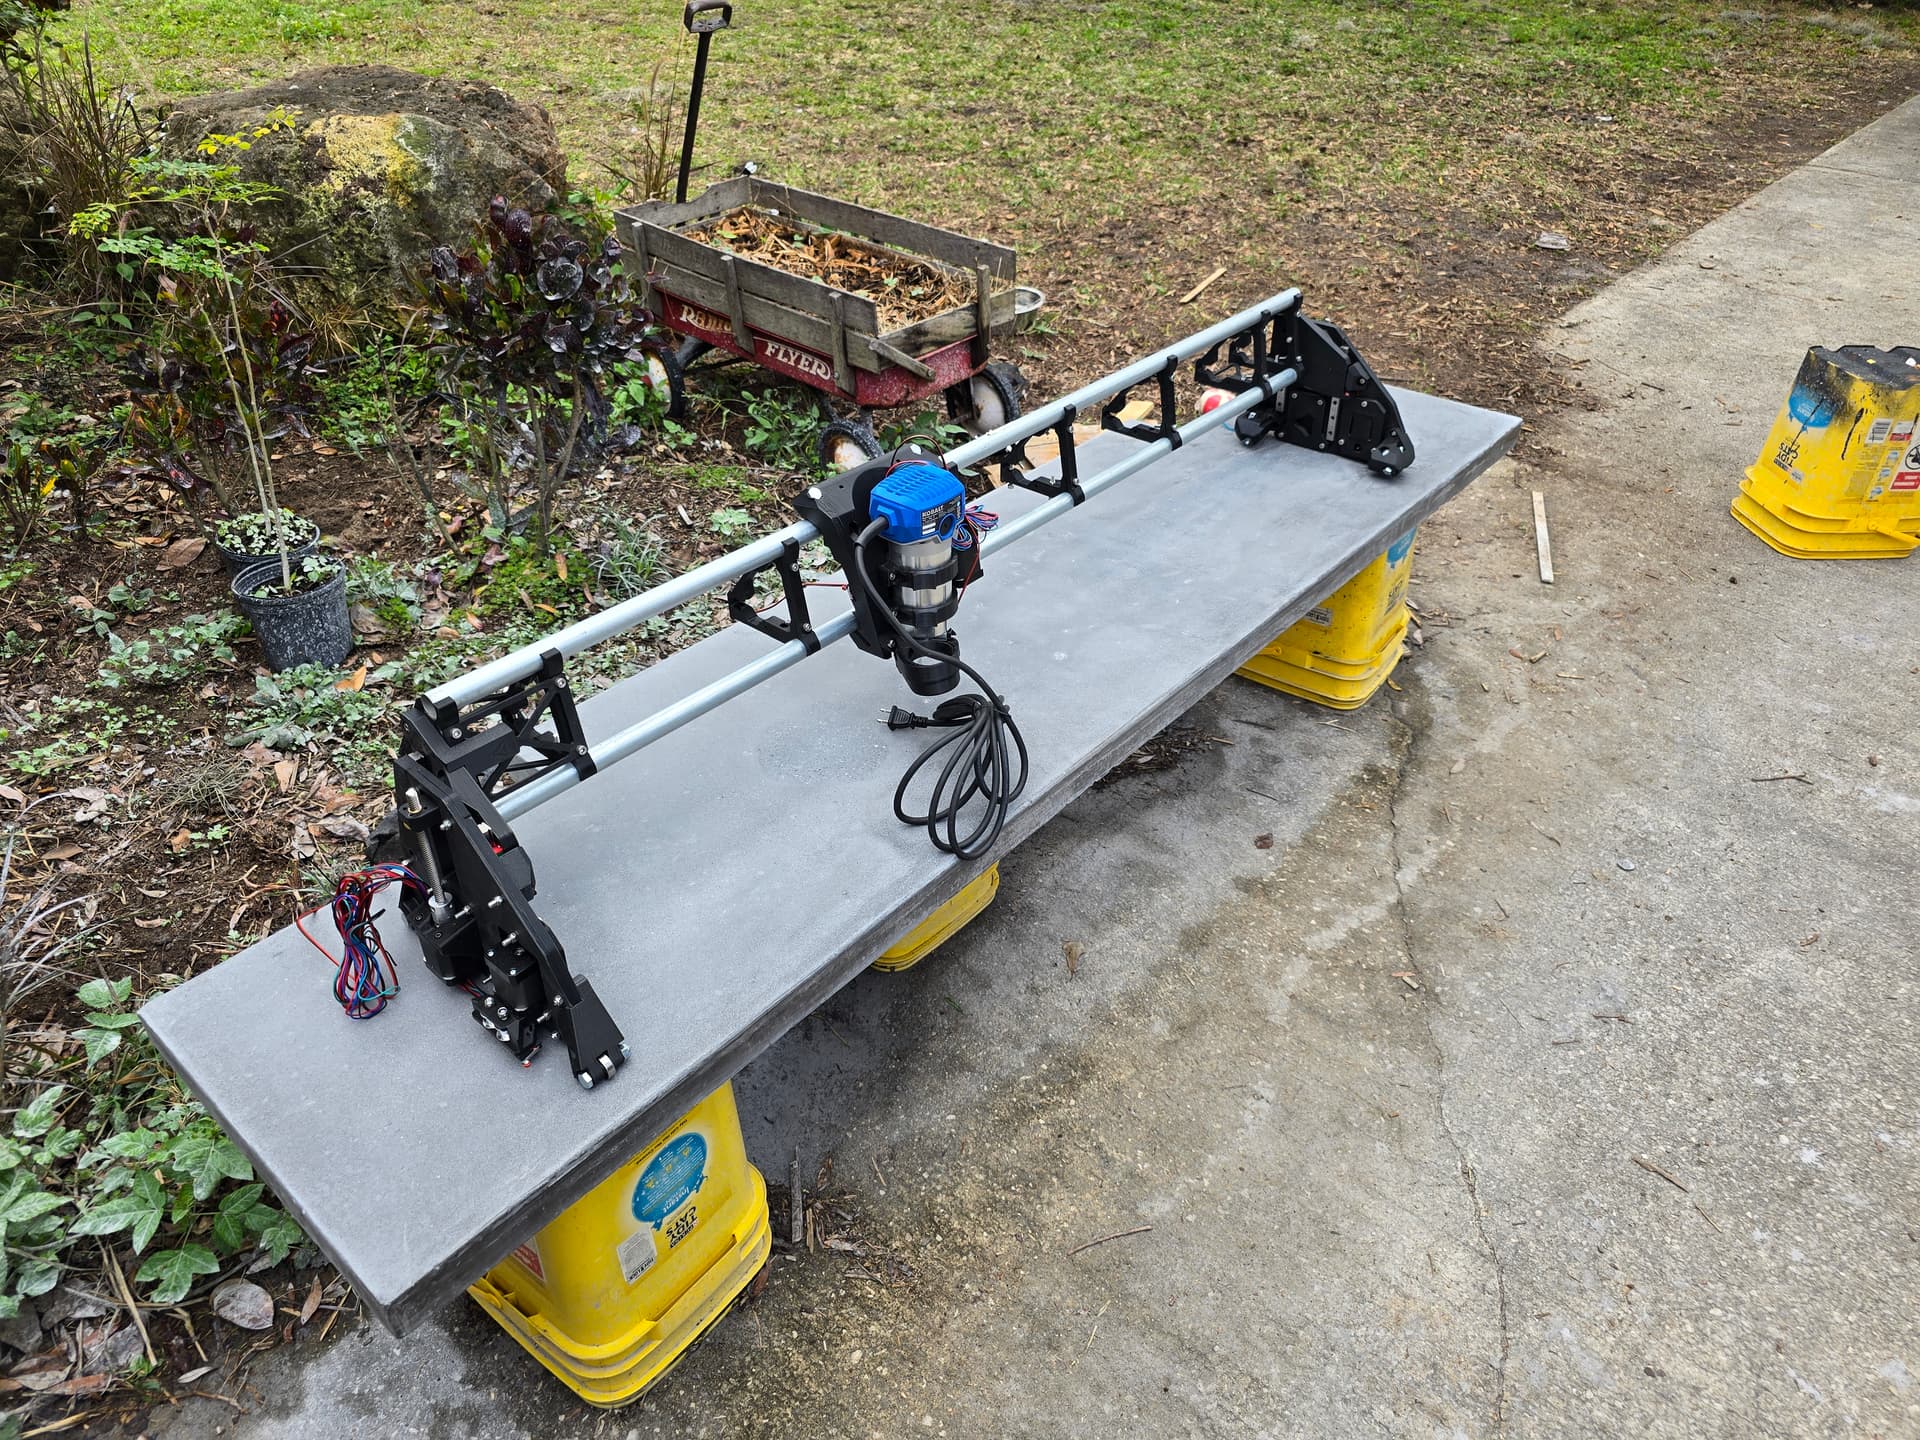
been a few days since Ive had the time to even think about my lowrider build. Between family time and other projects, I have been straight out for the past few days. I have cut the X rails and started swapping the parts over from the little mock up gantry I pictured above. I may end up adjusting my total size to match my 4x8 bench. I REALLY want to be able to cut a full sheet, but the size makes my bench basically 5x10. I’m not sure. I’m still working out thoughts on removable rails that allow me to get the size and support needed when using the LR3 and then shrink my bench back to its regular size when not milling. The right answer is a dedicated CNC bench, but that limits the function of my shop for all the other things I do. Decisions decisions.
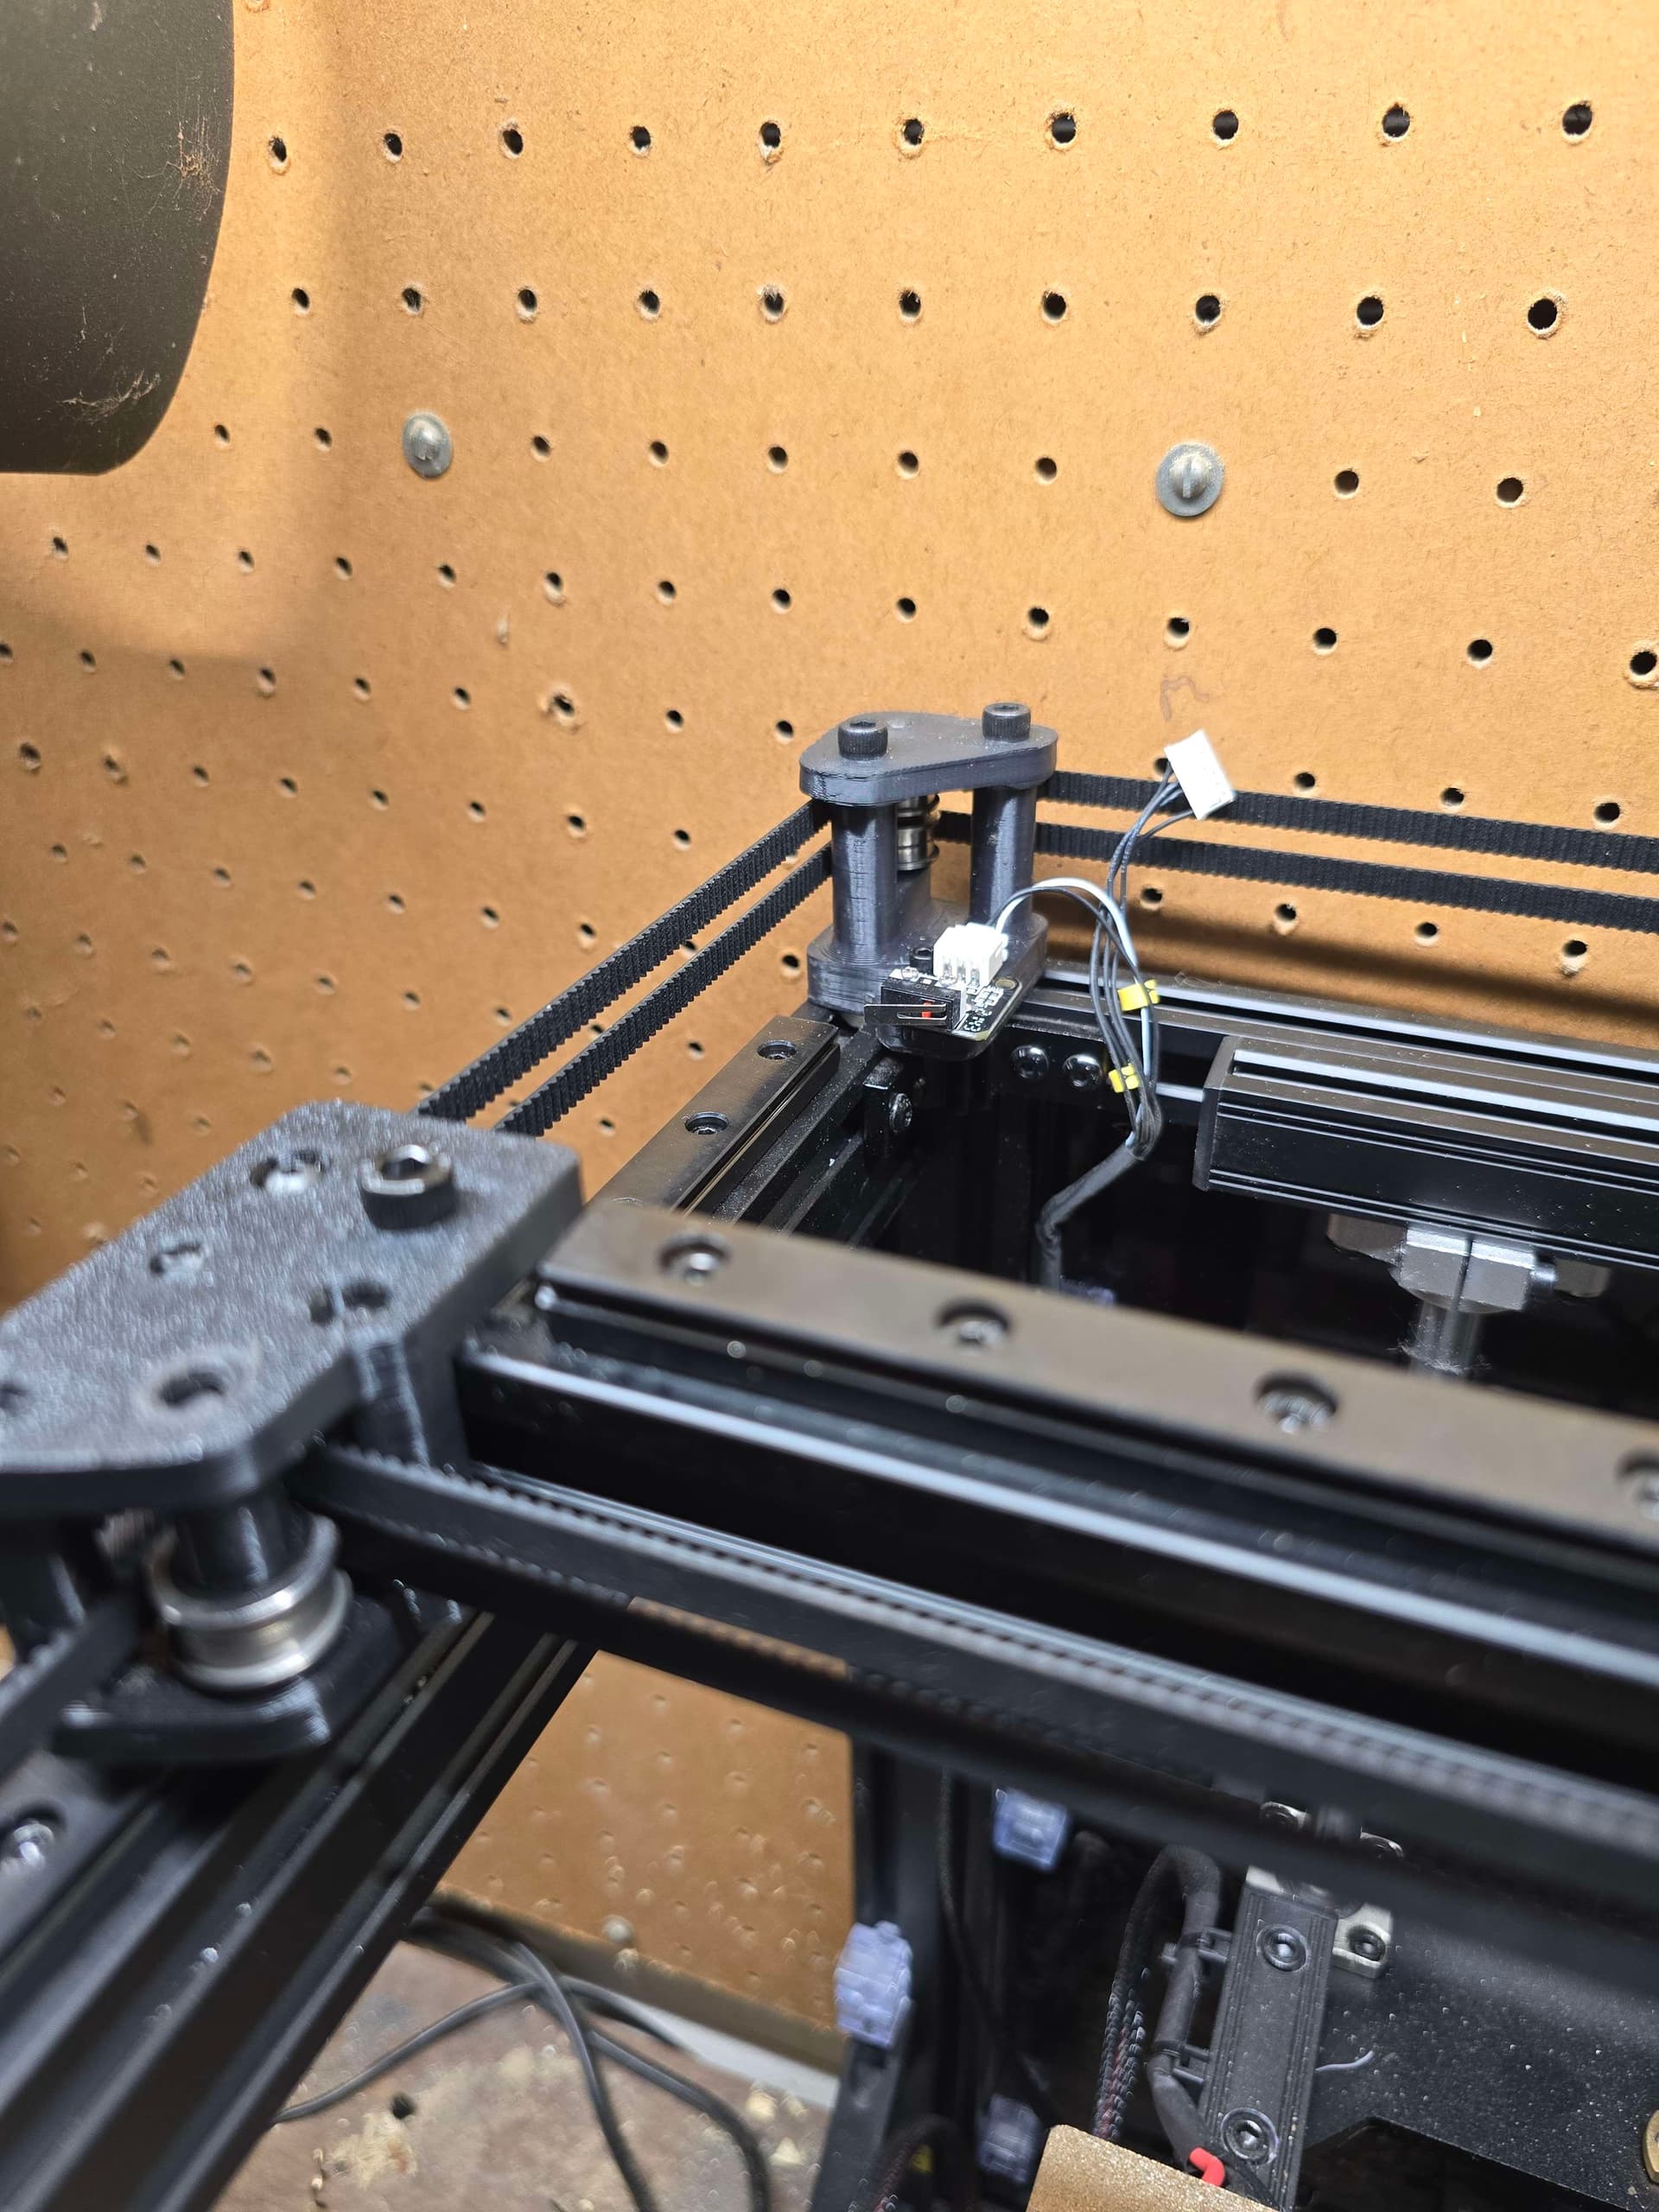
I have started my printer conversion. Lots of extra issues to sort out that I didnt forsee. But its up and homing. Need to do some finalization stuff on the klipper side so it actually knows where its going and what its doing.
Got the fireplace all stoned in, grouted, the tv hung, and its basically done with the exception of polishing the concrete hearth stone. 5 Hours of wet sanding yesterday and probably another whole bunch today.
Looks like you are short a few braces lol. Keep your strut cuts to the far side and have you some printed up and add them in when you put the struts on. Also when you cut your struts you can do the keyhole on top and slot on the bottom like the SVG shows. Or you can select helical drill in estlcam and just drill the holes where the screws go. It’s a little bit more to put them on but a much cleaner look when you are done.
I left the keyholes on mine so it was less work to take off and re-install.
Not having to completely remove the screws was very much appreciated by me each time I had to take it apart for whatever reasons…especially where there was no captured nut
I cut the plates differently for the bottom (with captive nuts.) Thise plates have no keyholes or openings, so they’re solid. It helps keep chips and debris away from the control box. I haven’t had to remove the front/rear plates for a while. It shouldn’t be a “regular thing” once you get things assembled
I have 8. But I am thinking maybe they arent all in that picture. Even still the printed temp struts are 4" instead of 8" so the ends have 2 close together. Maybe the 8th is behind the core? I had the silly idea of running twice as many and keeping the printed struts but using WAY more of them.