go figure! I praise the hard work, and the next file has an issue.
Orca will not load XZ Plate Left saying that there is no geometry. My initial search in this forum pulled up people saying that the two files were reversed by name, but nobody I can tell so far is having this issue. I’m half tempted to just mirror it, but that seems like a bad idea without knowing that the other plate is the same only backwards.
Im also playing around with slicer settings to see if I cut time without corners. I have my max volumetric flowrate set for the filament and printer specifically. both of these are the xz plate right file:
5h50m 3 walls standard, alternating extra walls 0.45mm wall line thickness 250mm/s (flow rate of roughly 19-20 cubes)
4h42m 3 walls standard, alternating extra walls 0.6mm wall line thickness 150mm/s (flow rate of roughly 20cubes)
If I am reading the Orca previews correctly, I get a substantially stronger part (1.8mm wall vs 1.35mm) at slower speeds meaning nicer and less time.
whoa!!! Nice catch dummy! My stupid mistake almost wasted a bunch of time and plastic. So after adjust the infill to 70% for this part my new times are 7h13 and 5h36 still much faster and much stronger with slower movements, but now even more of a difference.
also worth noting but is likely not going to effect the theme of this… my printer did the core in 10h50 while Orca said just shy of 15h. But every part I have printed has done that.
same layer height (cant go bigger without changing the nozzle size in the slicer) but pretending that I have a bigger nozzle for line width I bumped it down to 3h52 with all the same settings, just 0.8 line width and 70mm/s of movement. My Anycubic can handle that speed, though I doubt it can handle that flow rate.
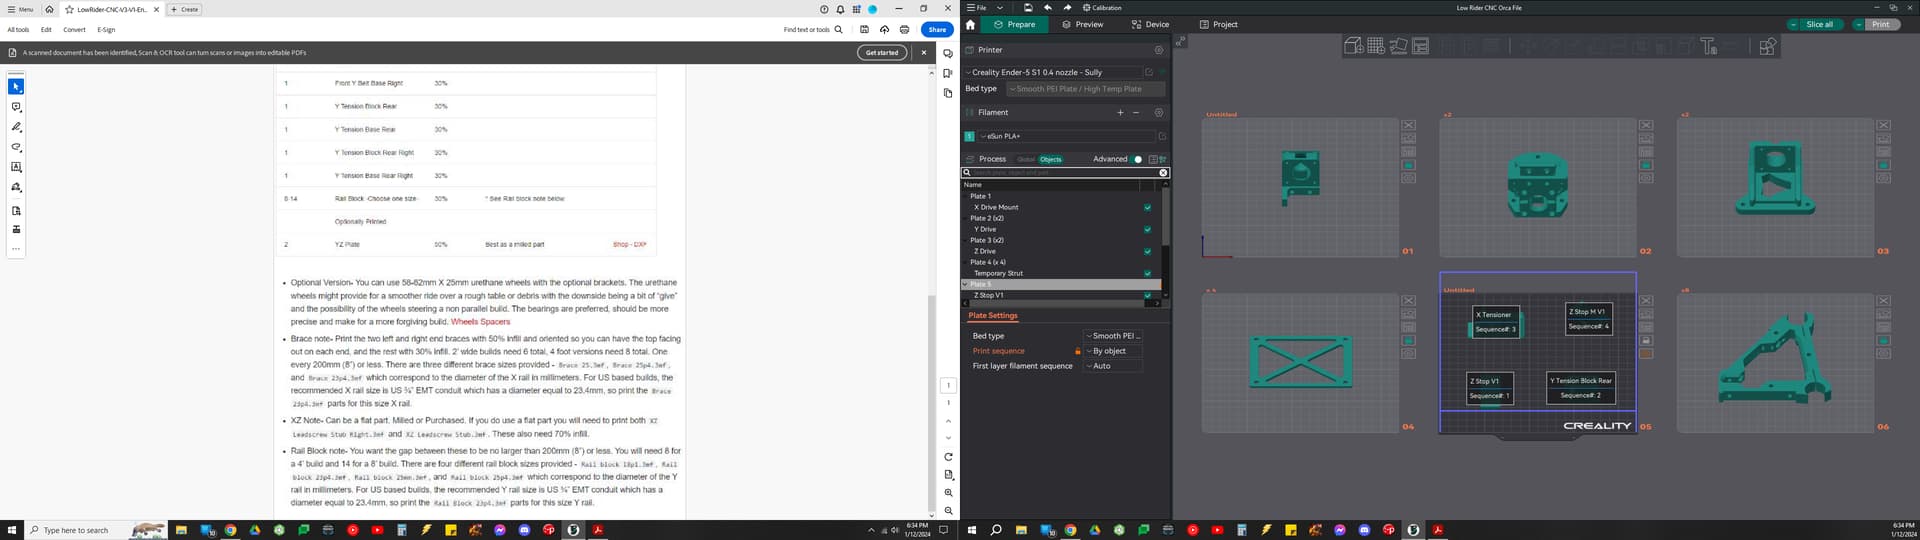
If you havent used Orca slicer yet, give it a try. Plates are a wonderful thing! Also a thumbs up for multiple monitors. I have one screen with the V1 page and the other is my slicer.
you can adjust each plate according its own needs and adjust each item on each plate. I have the entire project sliced and ready to go (except for the XZ Left which I need to figure out) and I just keep hitting print as I go. The names of the plates match how many of each part I need to print off.
Just downloaded the file for the XZ left plate again but this time on its own instead of the zip. It worked. No idea what happened, but the issue is solved for me
They also include nearly every common calibration print right inside the slicer to start it from there, measure, adjust and just save it directly to your profile. 3-Click-Calibration-Cube? Coming right uuup
we should probably have very similar builds when you’re done. I have rails coming in for the 5s1 and from there I can run almost any voron or ratrig toolhead. That is going to make my rapido swap the easiest. Plenty of those have set ups ready to go tried and tested. I have been contemplating going with the Mantis toolhead for its massive cooling power.
honestly, I should just go corexy at that point because I will have rails, upgraded hotend and extruder, 2nd 5015 blower, customized tool head and kenetic mounts… really its almost dumb not to.
Yeah, flow testing was my favorite discovery. To have it built right into the slicer means its easier than ever to test each set up with each filament and be sure you are getting it right.
I think I wore out the Pressure advance one getting ready to print these files. lol. I ran it like 5 times in a row getting more and more specific each time.
I have the Fabreeko kit sitting here for my E5+. Trying to get the V4 dialed back in after my last hot end blow up which lead to a full change around lol. Got it printing finally. One more connection and the part cooling will be done and back to testing. Hopefully tomorrow I will start printing Merc parts. Just have to open this kit up and see what size toothed idlers it came with so I get the right parts.
I’m still undecided exactly which toolhead to go with. Leaning towards the EVA but not 100% sold yet. I do have a CPAP Blower here for it, which I didn’t realize used a smaller hose than the 10 normal human cpap hoses I have here already LOL
Which slicer are you using for that? I was planning to use CNC Kitchens setup for flow testing but now you have me wondering if the slicer method would be easier. Hell I already have the scale so might try both.
I like the modularity of the eva, but its ugly imo. I’m not that big a stickler for pretty, but I have choices so why not pick on I like a little better.
Almost done printing the basics. Will still need a bunch of printing based around options such as tool holder etc.
I think I’m going to assemble various components before make any kind of decisions so i have a better picture in my head of what at it
The lr3 needs and what my work flow requires.
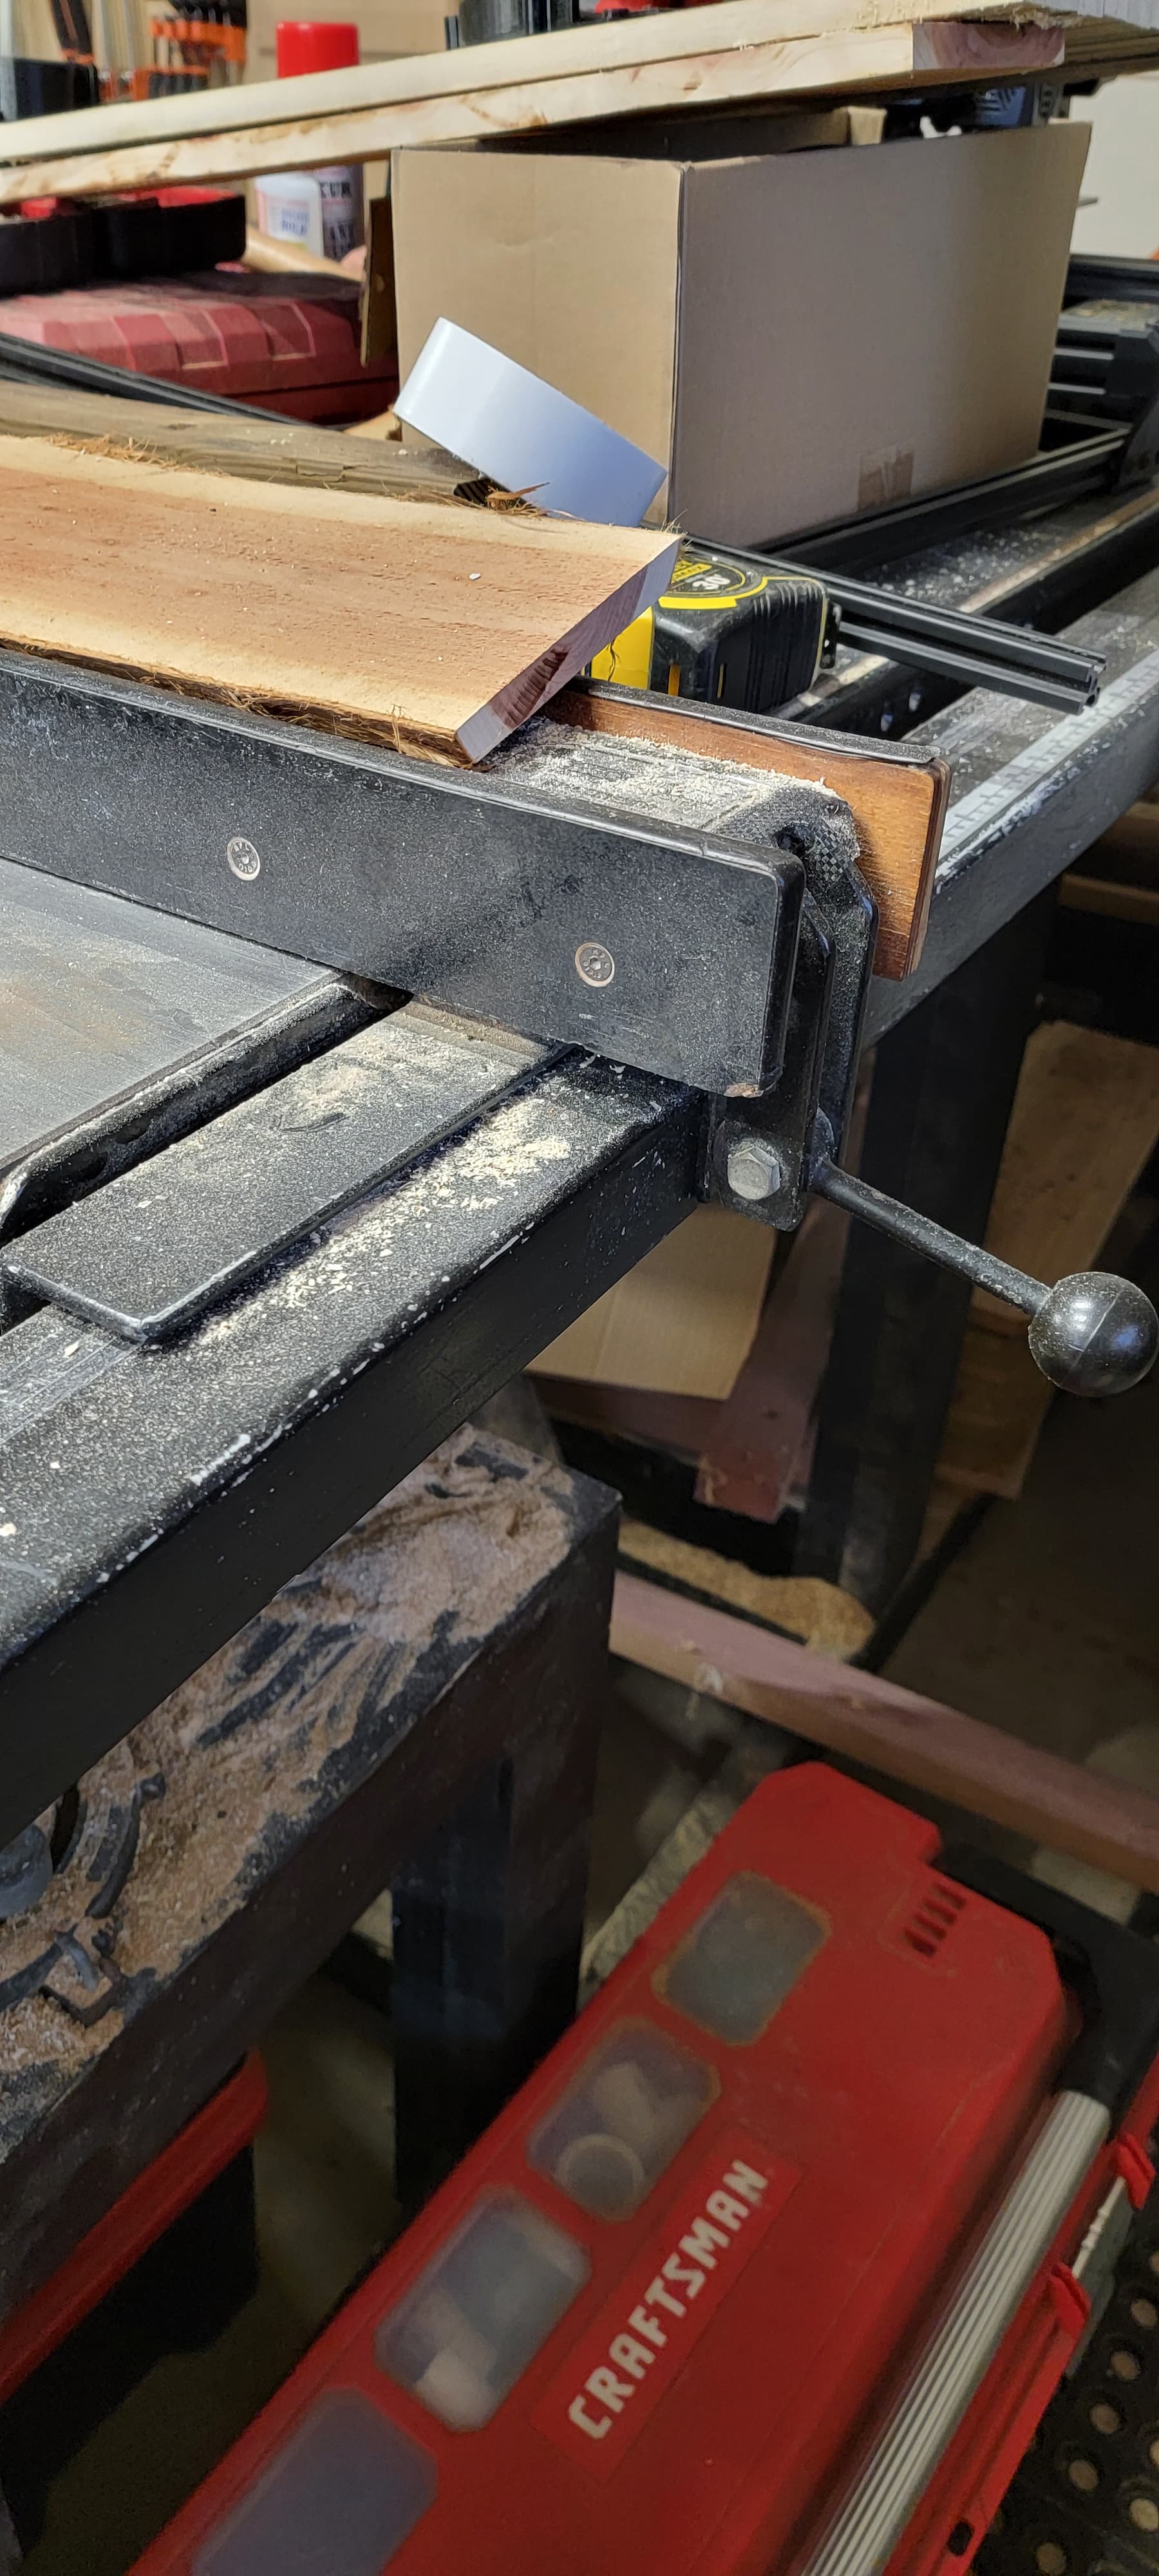
My apologies if you answered this already above, but are you planning to run a spoilboard on top of the table saw for the LR3 to ride on? That’s going to be a mess trying to move all of that to be able to use the table saw. I’m sure you have a plan already and I hope it works out.
Also I agree with you on waiting for the extra mods. Build it and use it a little bit so you can get the feel for it and what you actually need/want.
My loose idea is to use a removable spoil board. Using the calculator i need about 62 inches across for a 49"cut area. I may end up building a dedicated table for it. Time will tell. I think maybe tomorrow I’ll grab some scrap emt i have kicking around, cut it to length, and then play around trying to figure out what will suit the shop the most.
I think in the end you will be much happier with it on a dedicated table, given you have space for it. It doesn’t have to be a torsion box and all that. They are nice and great but its not a necessity by any means. My full sheet machine is sitting on top of cabinets I built so I would gain much needed storage space and a nice surface for the LR3. Even has an open area about a foot wide down the middle to store long Items out of the way.
When you live up north like I did, everyone says that they could never move to Florida because its too hot. I have lived in Port St Lucie for like 18 months, and now in Inverness which is like half way up the west coast for a little over 3years now. I have once seen it get above 100 degrees like New Hampshire does every summer. And this is a new problem to me, but its too cold in my garage shop to print even PLA.
If it looks stupid but it works, is it stupid??
for reference, I have an Ender 5S1 with partial enclosure
I doubt I could print ABS like this because it isn’t enough of a difference, but it stopped the warping with PLA that I got on one of my prints.