Long story short: I have just moved from Utah to Minnesota. My original LR3 build did not make the cut (pun intended) for the moving truck, so I thought I would document the second build here.
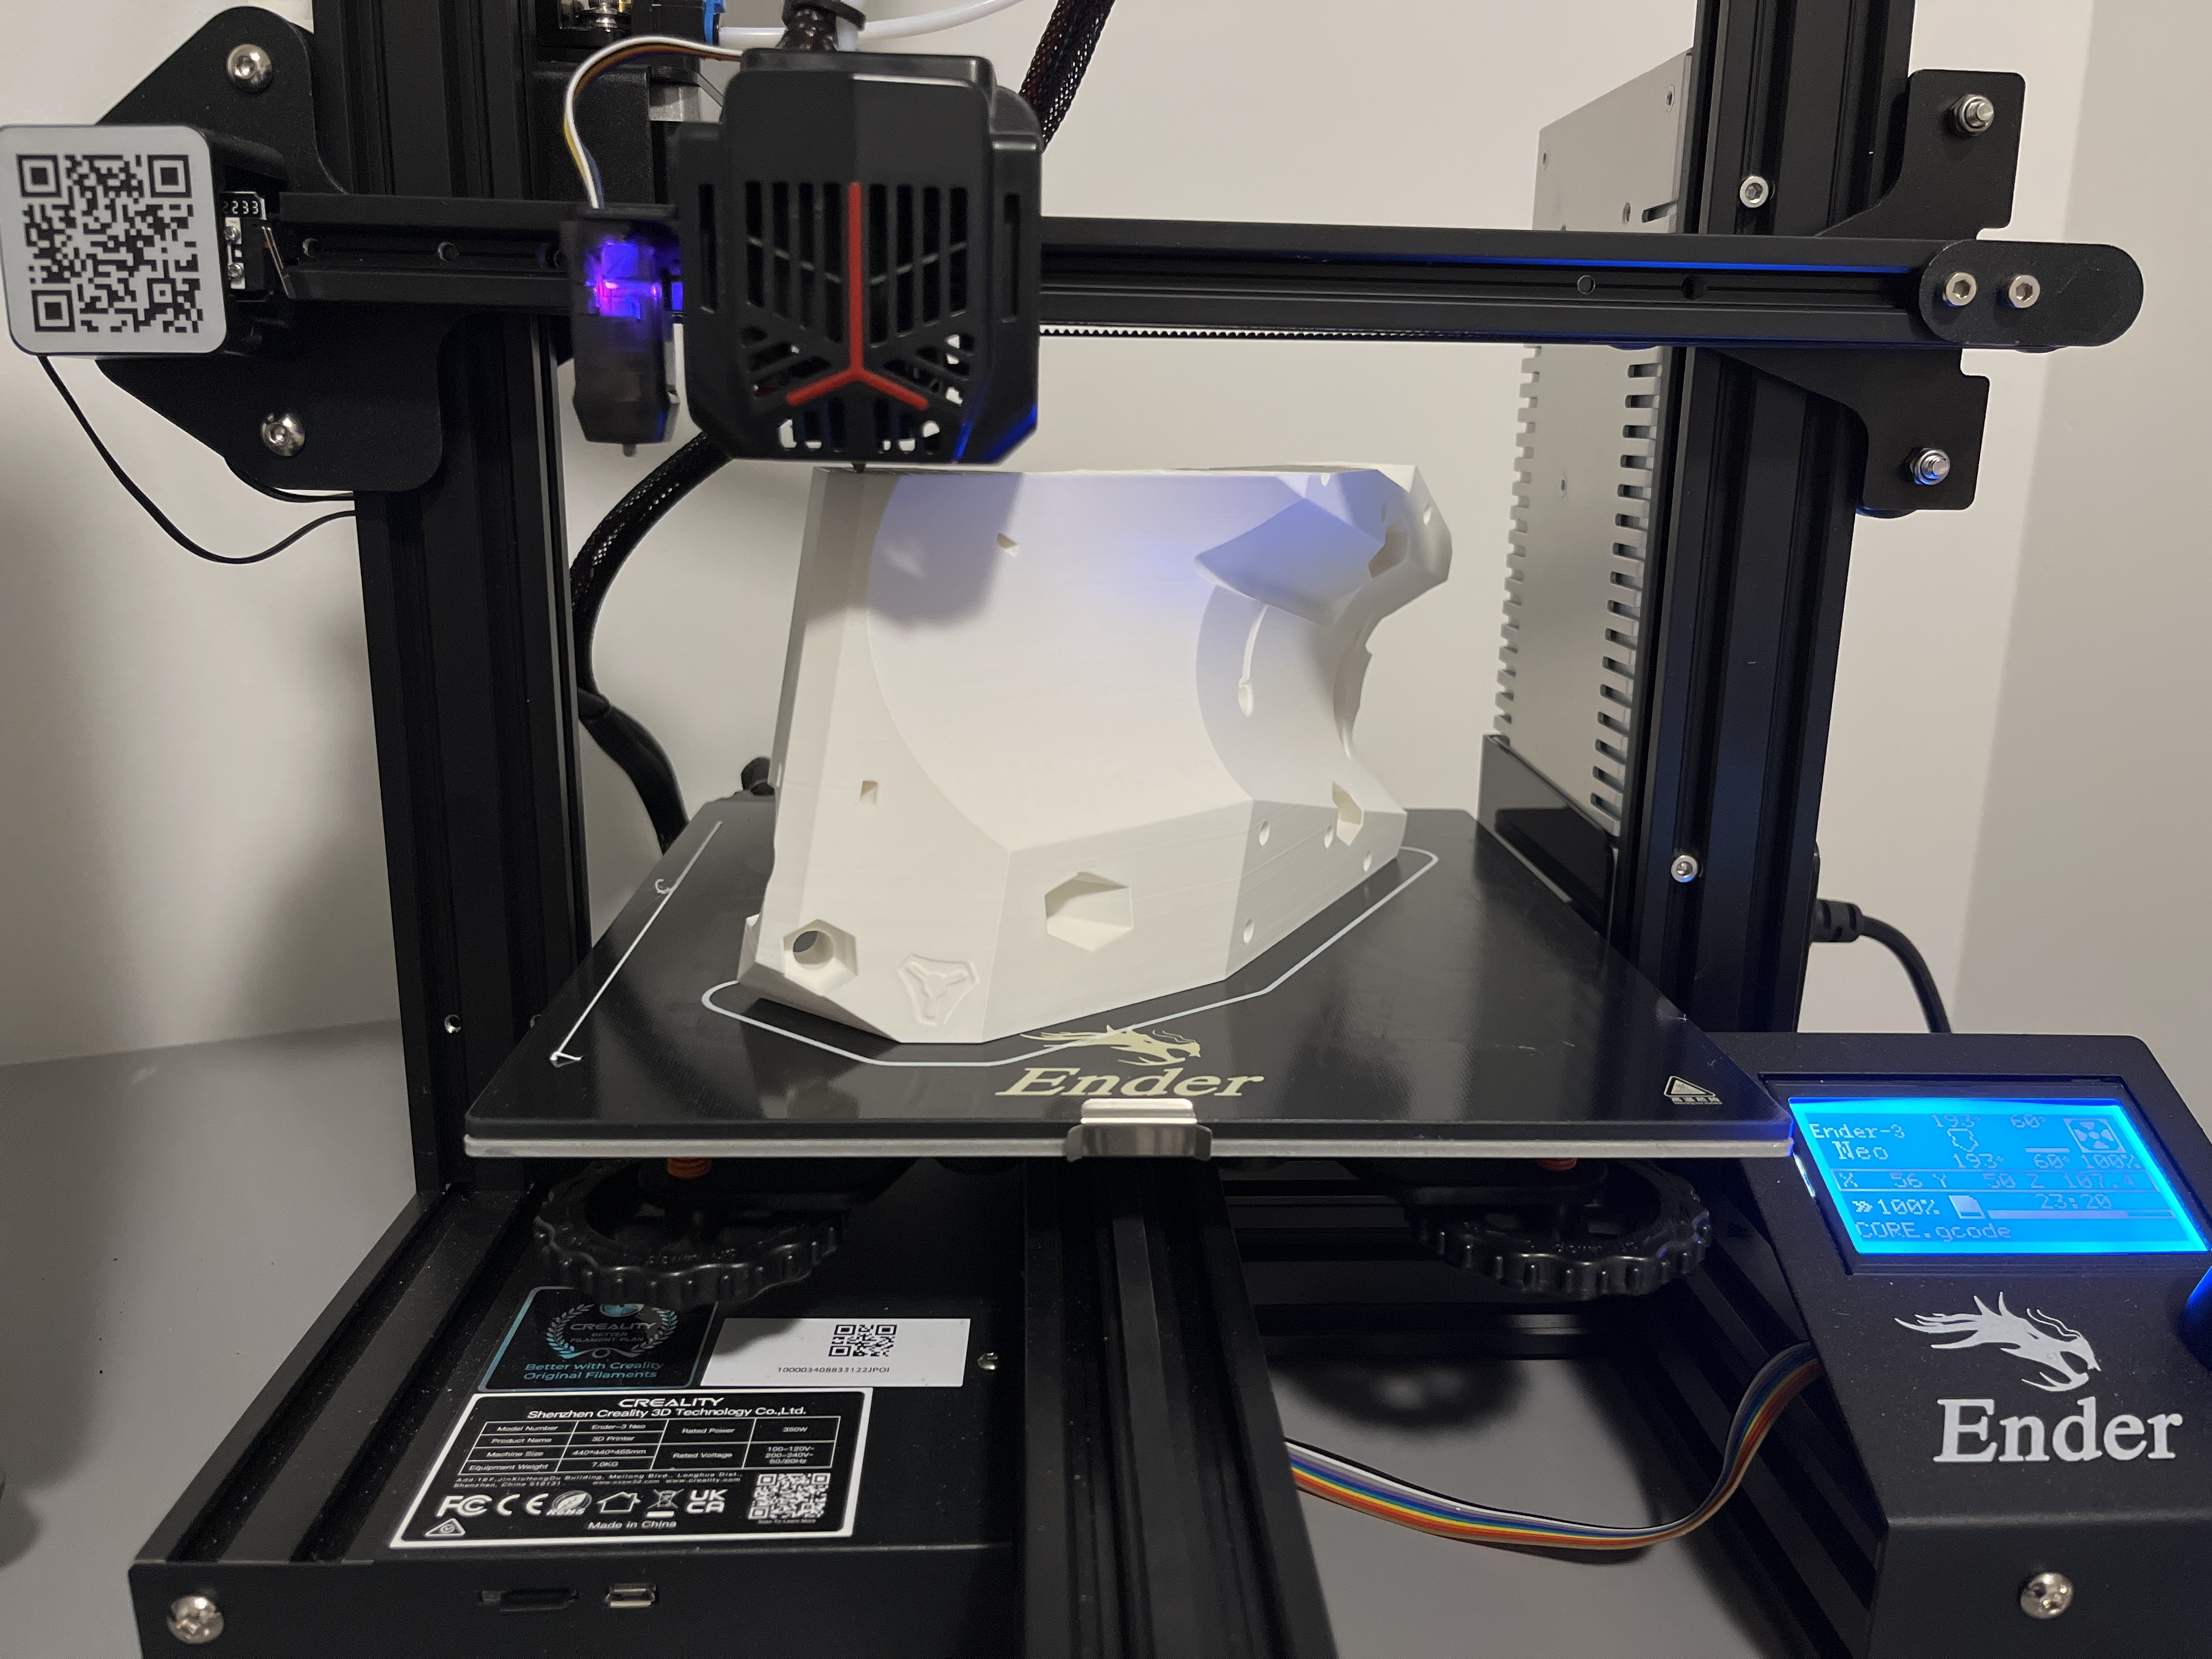
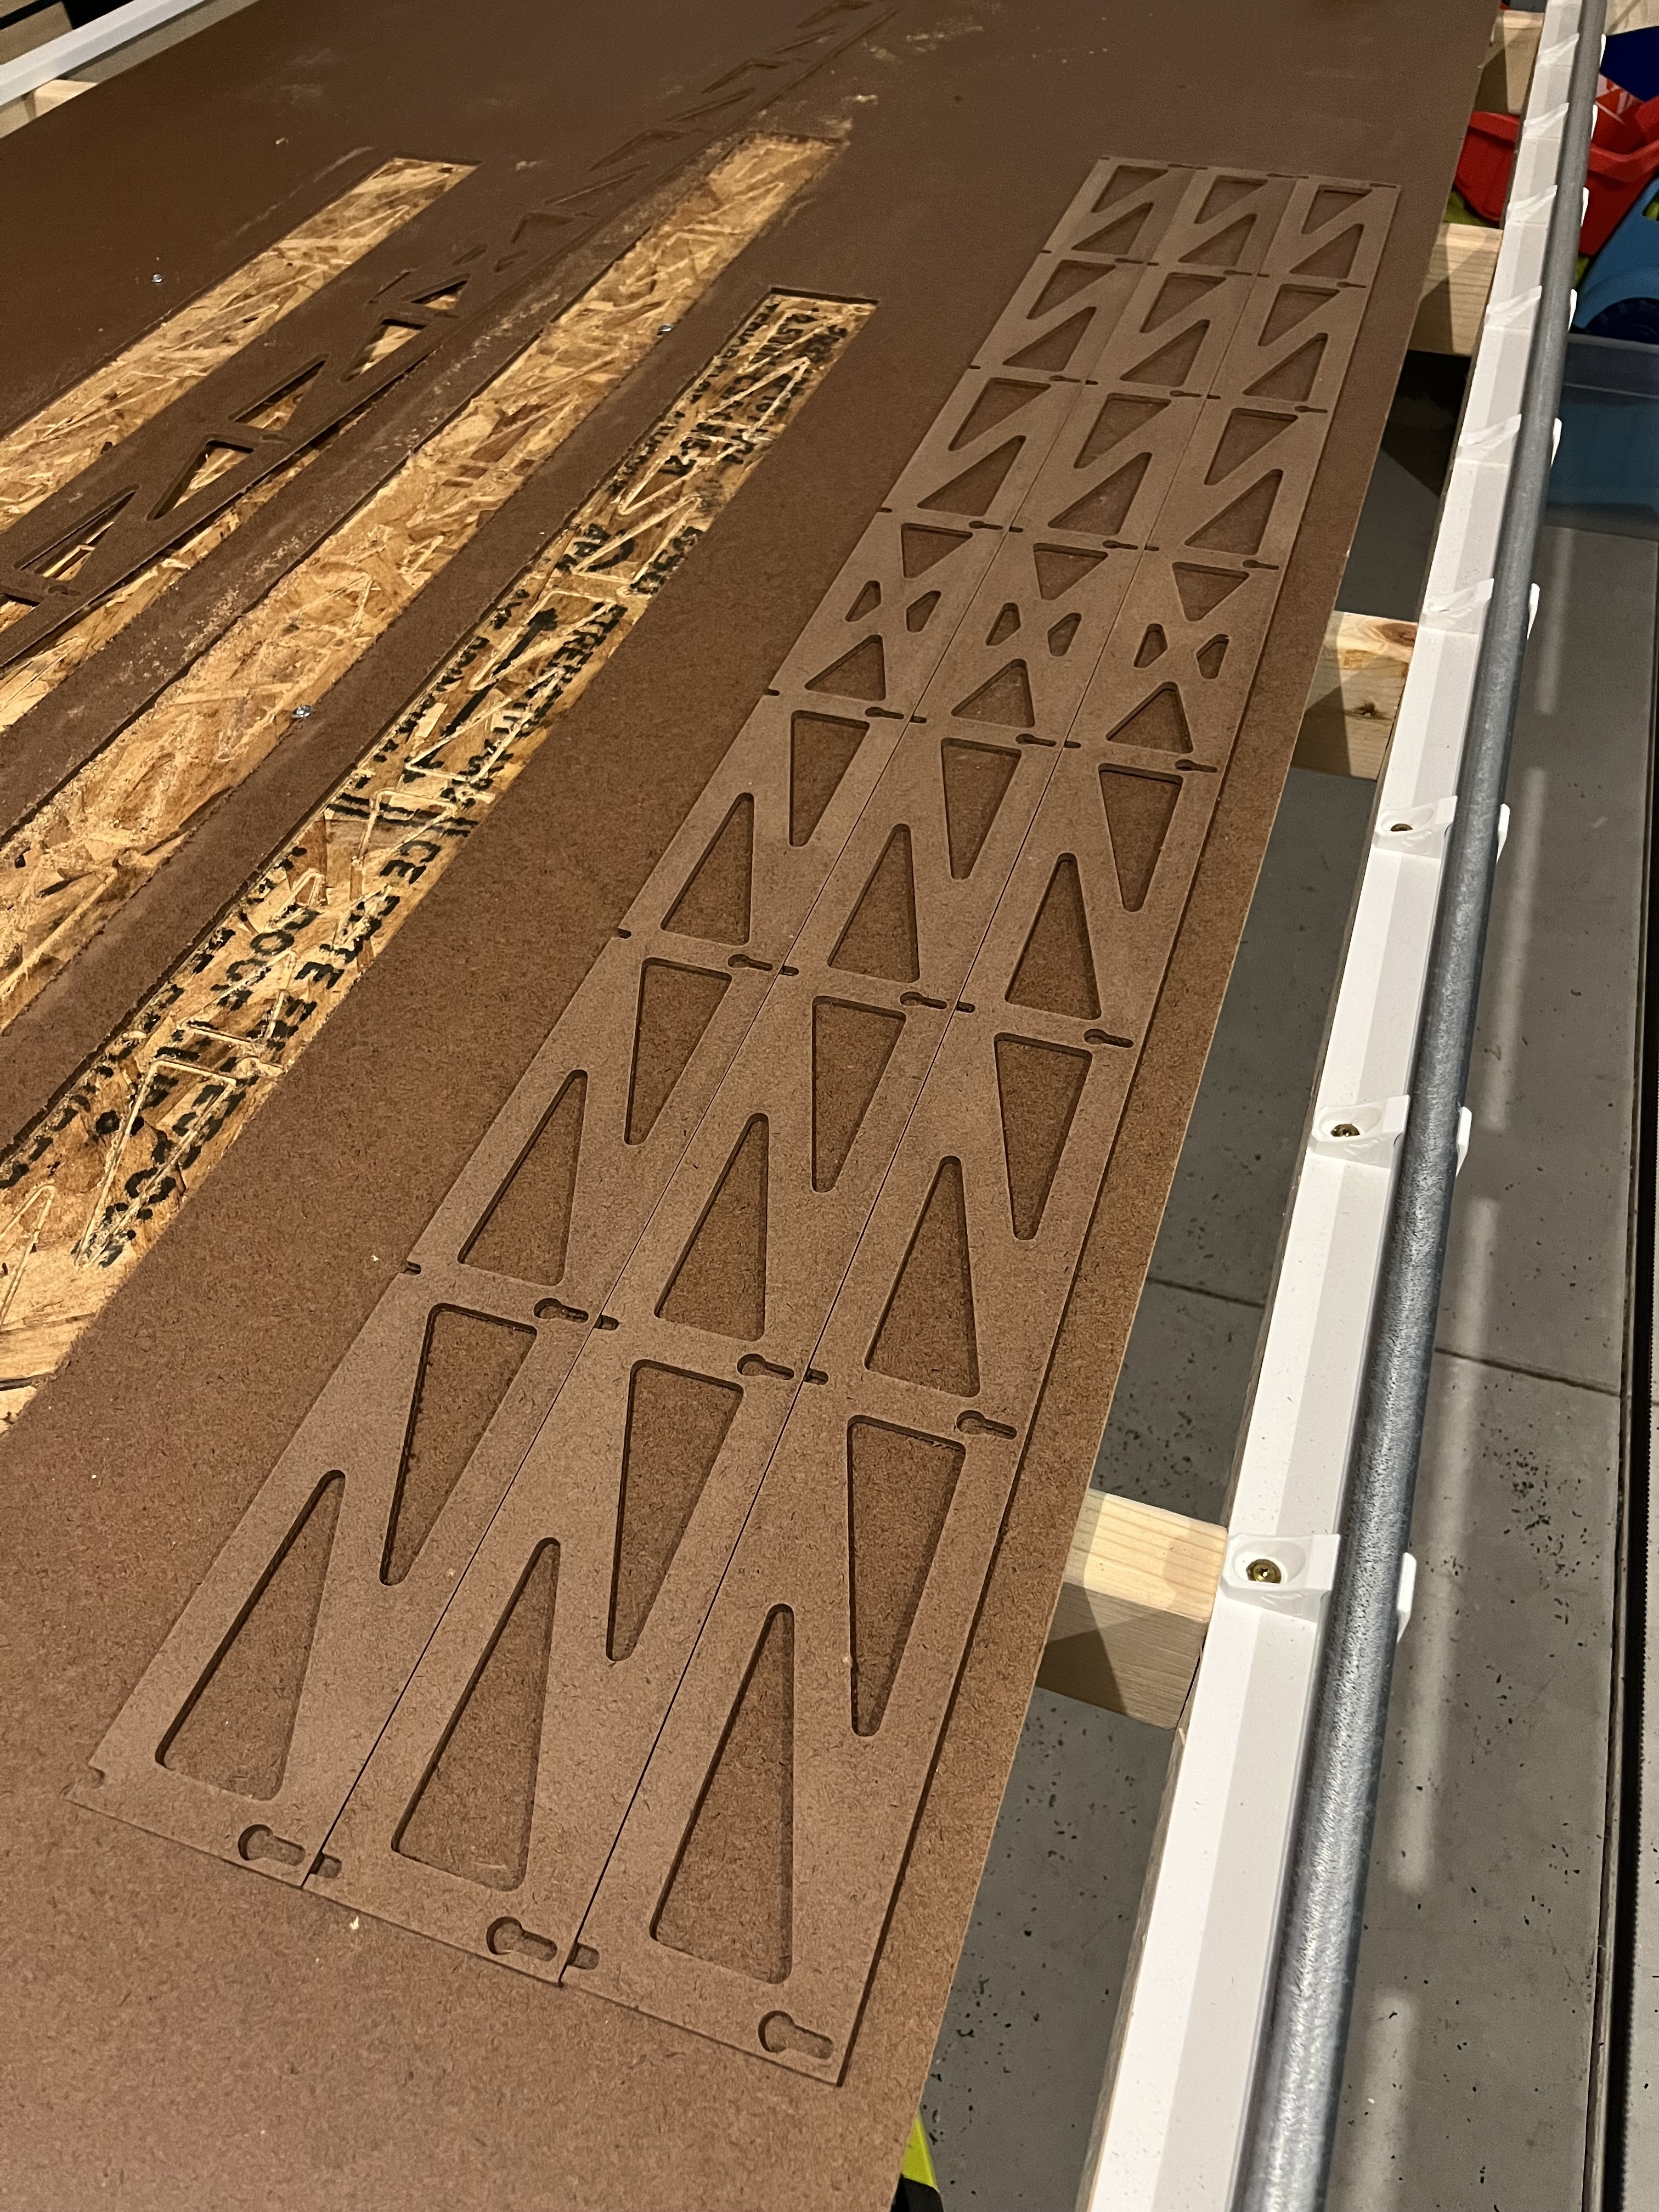
I’ve barely finished unpacking the essentials, but managed to find my box with filament. I transported my 3D printer in a car, and gave it a once over for loose parts. Printer looked good to go, so decided to recklessly start with the most daunting print first, or course. The core.
The printer has been humming away for a few days now. My V1 order has also arrived, so I guess I can start putting together sub assemblies.
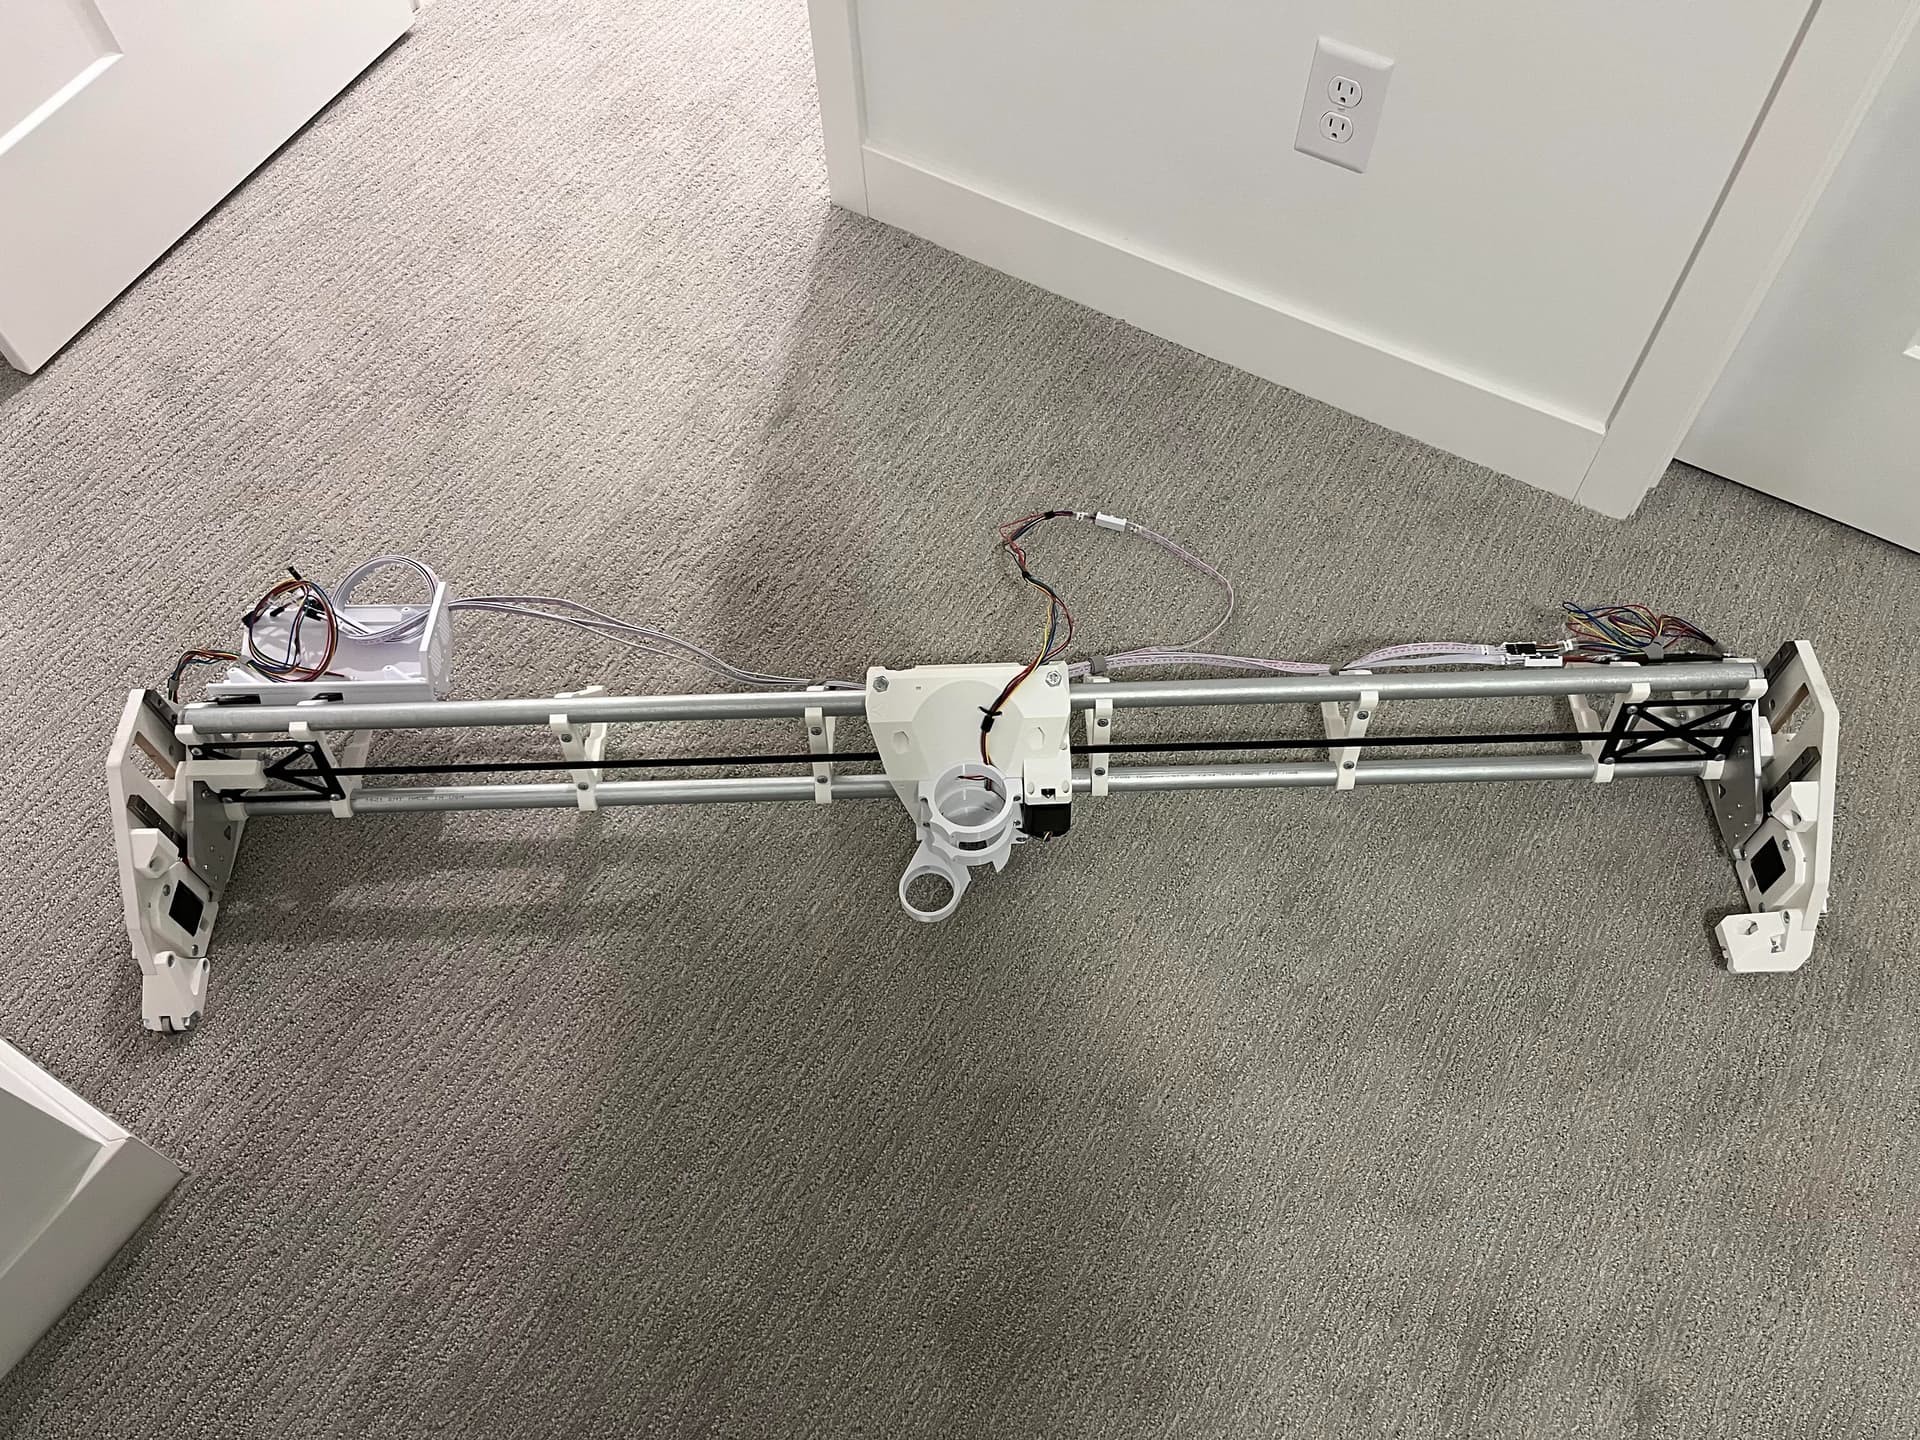
I’m doing a few things different with this build vs the first. I decided to go with the 23.4mm Y rail this time, because I had a difficult time finding straight 18.1mm last time. I also printed the outside mirrored gantry braces at 90% vs 50% infill, because once I upgraded to Corian YZ plates, the braces felt like the next in line to get a little beefed up.
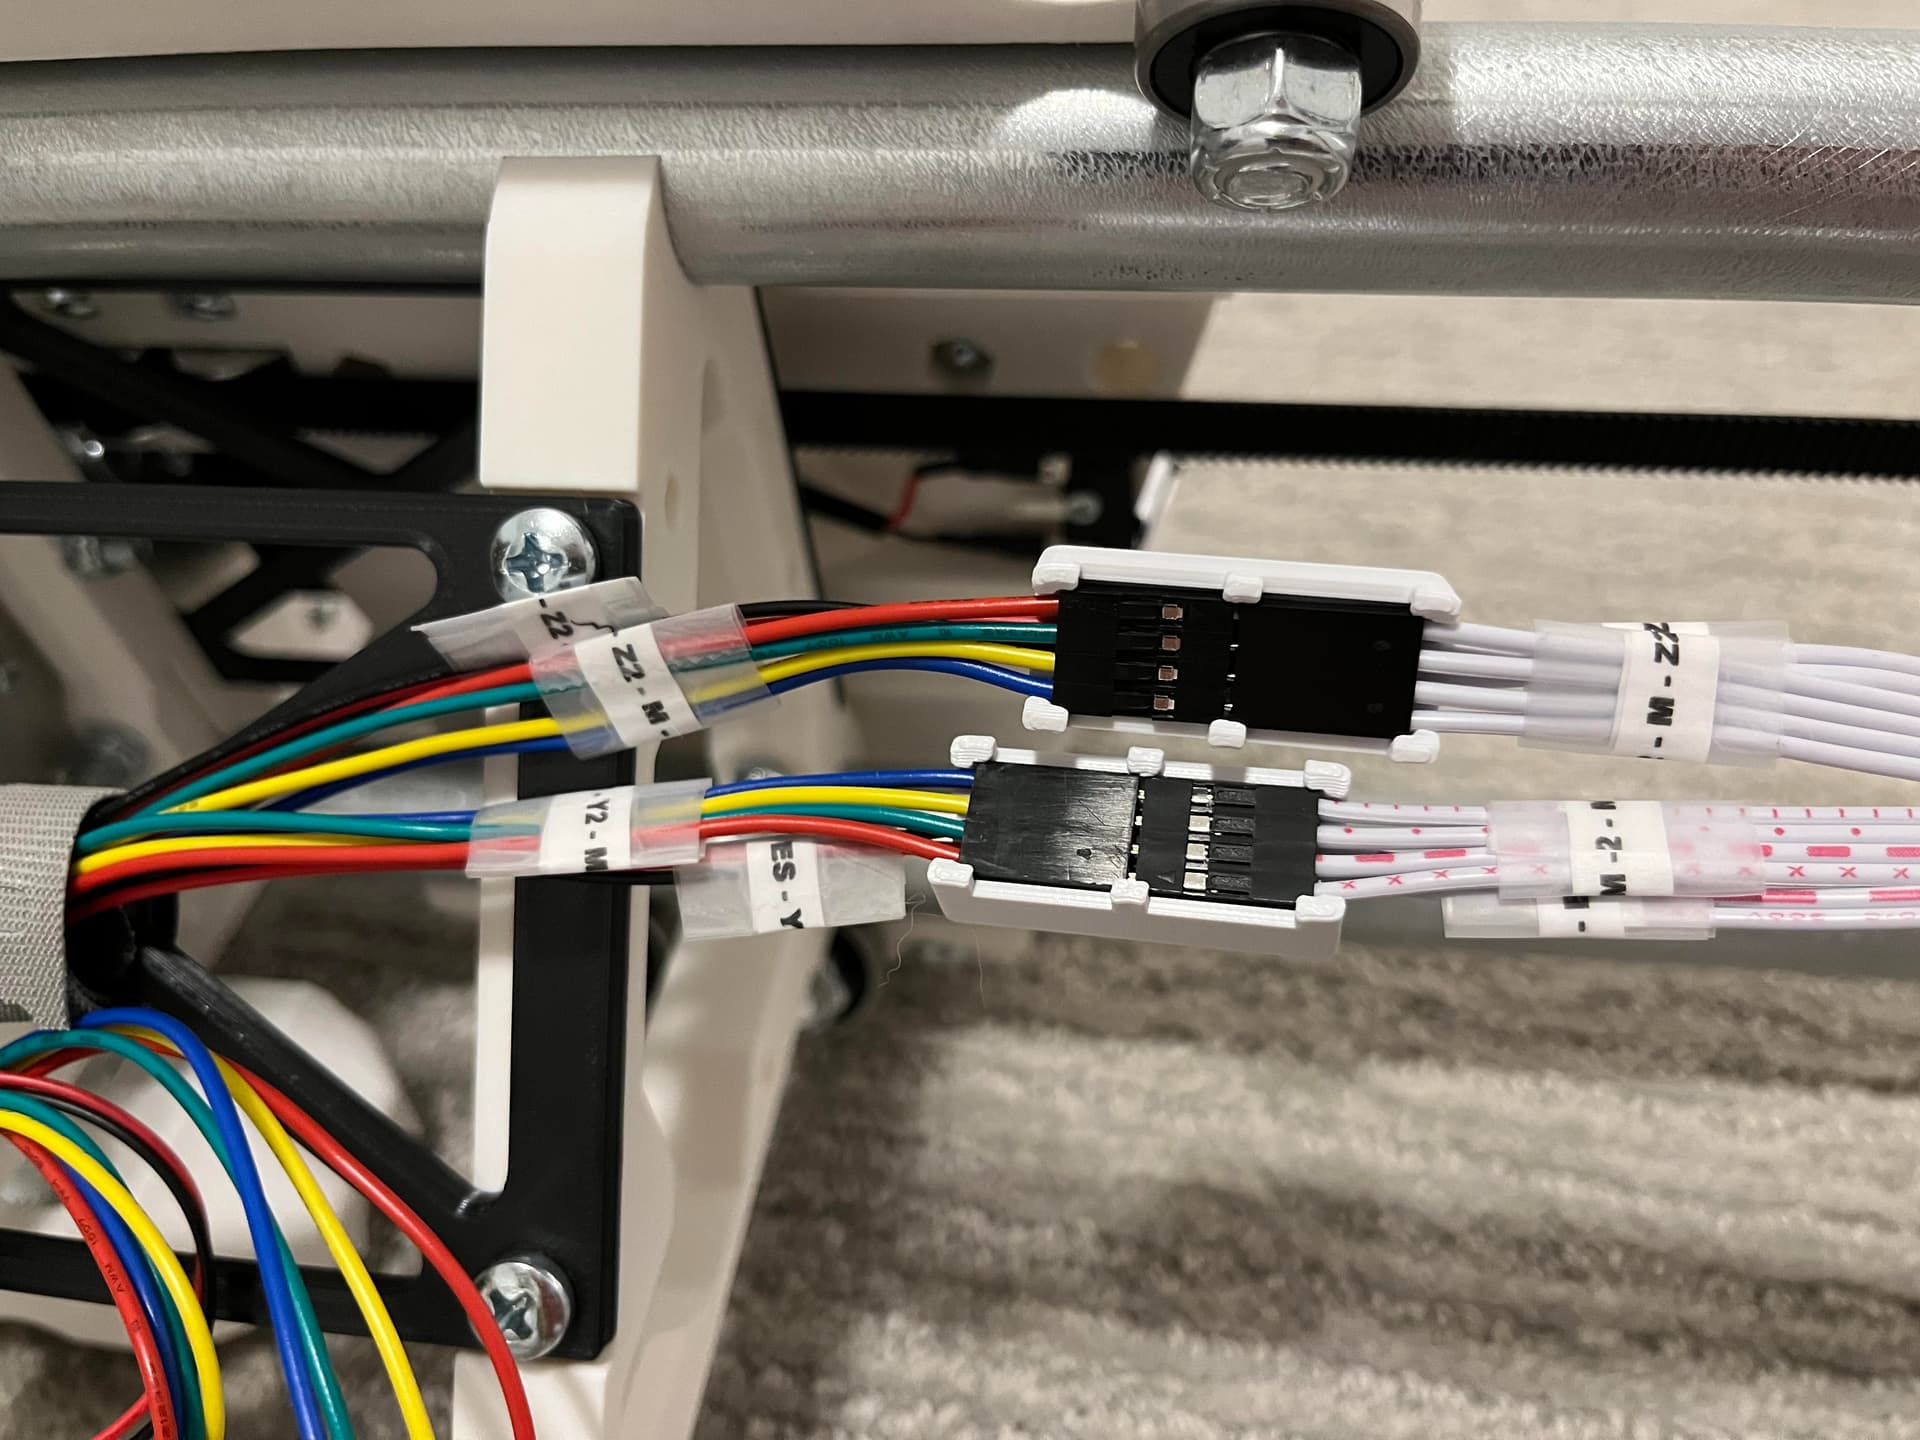
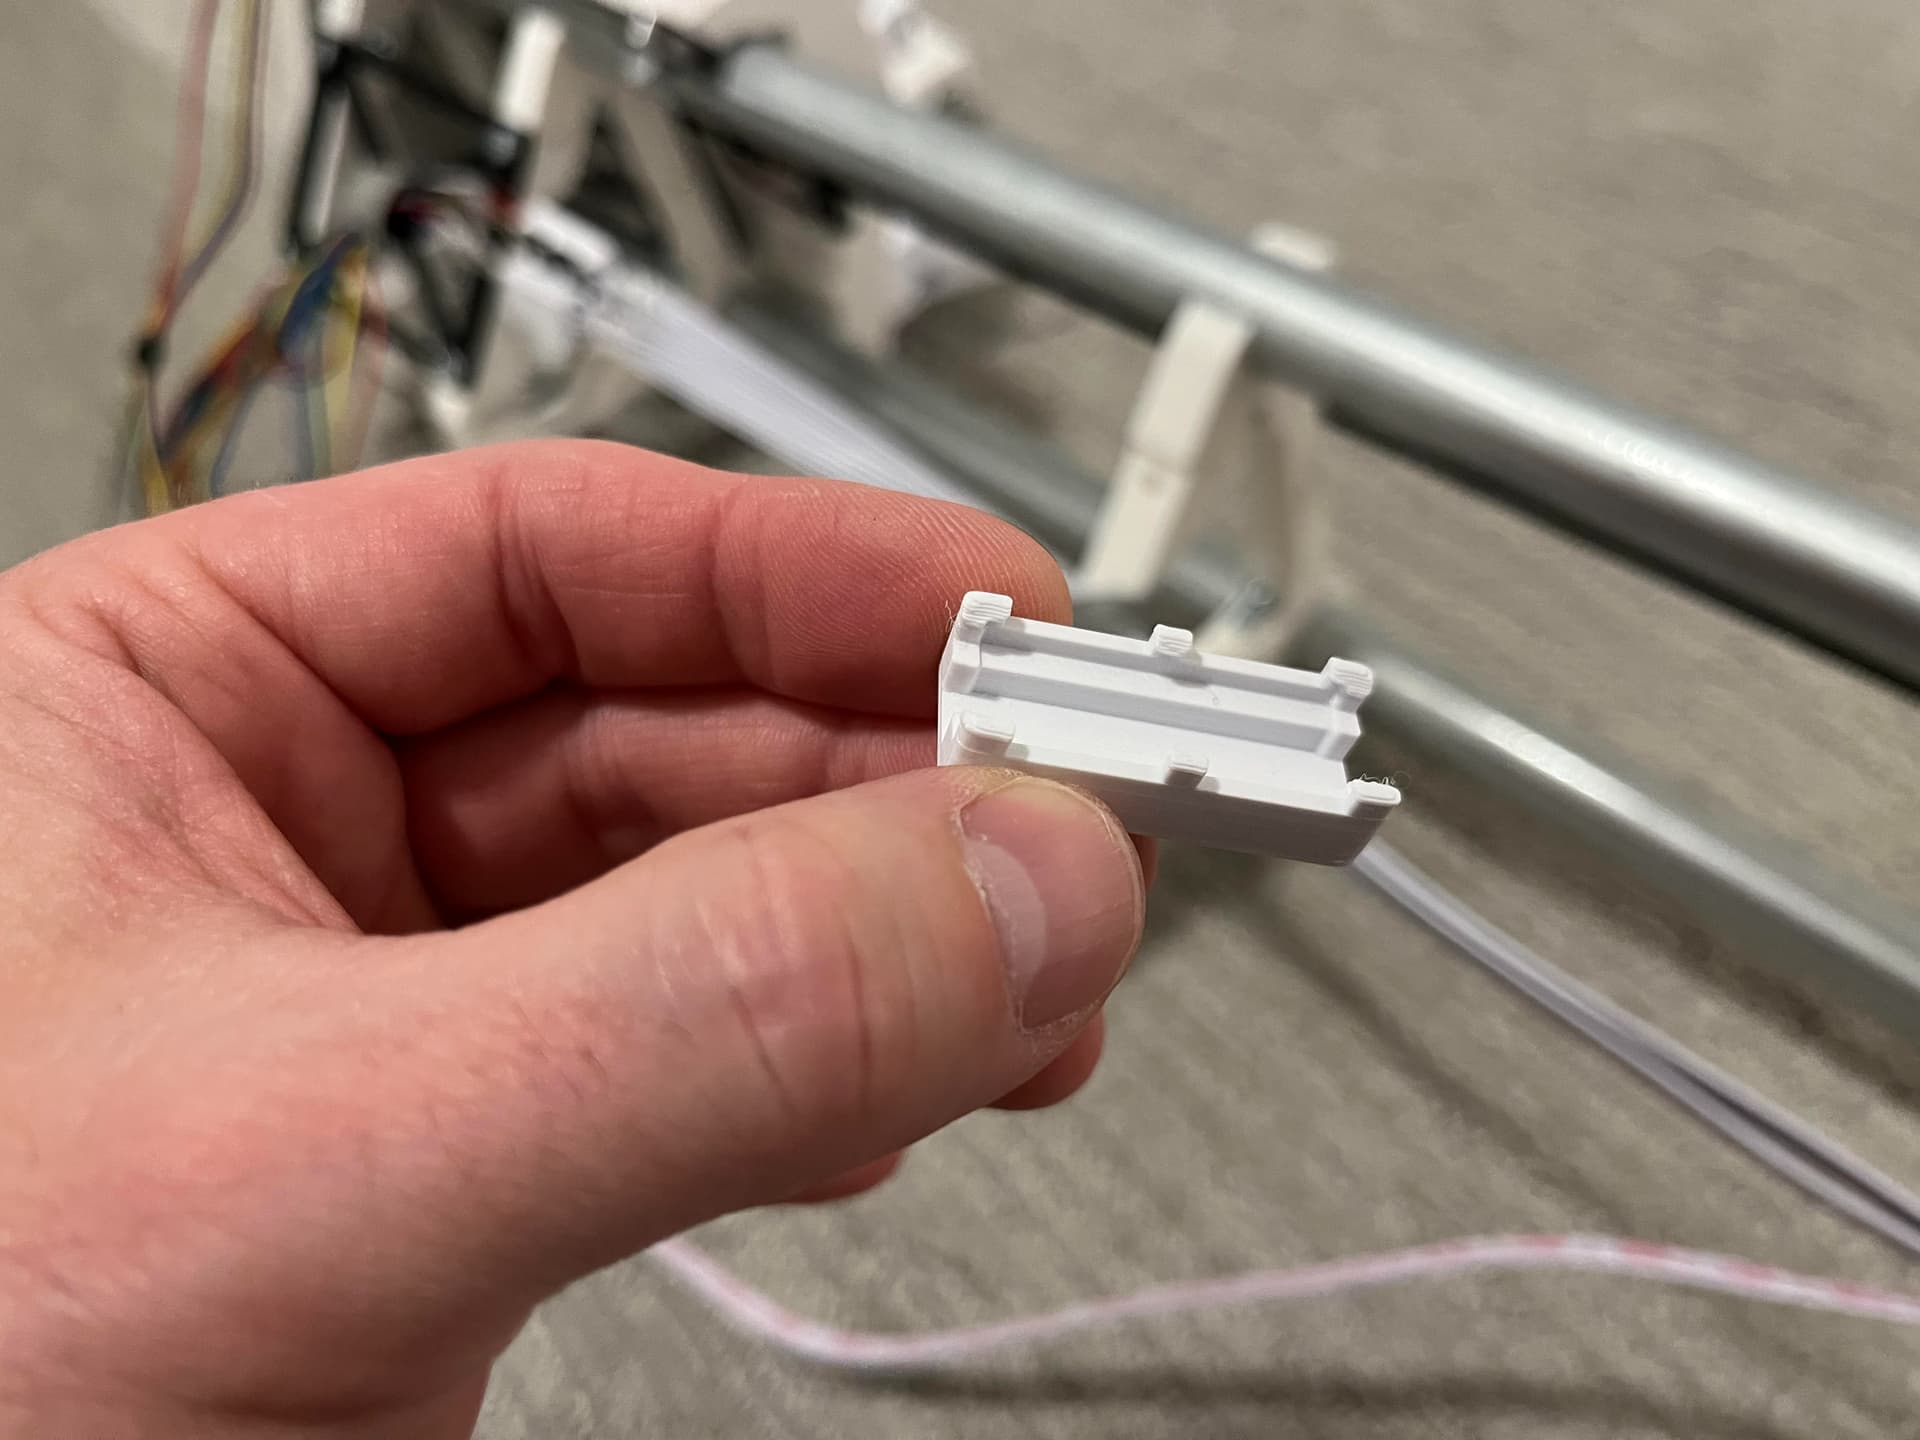
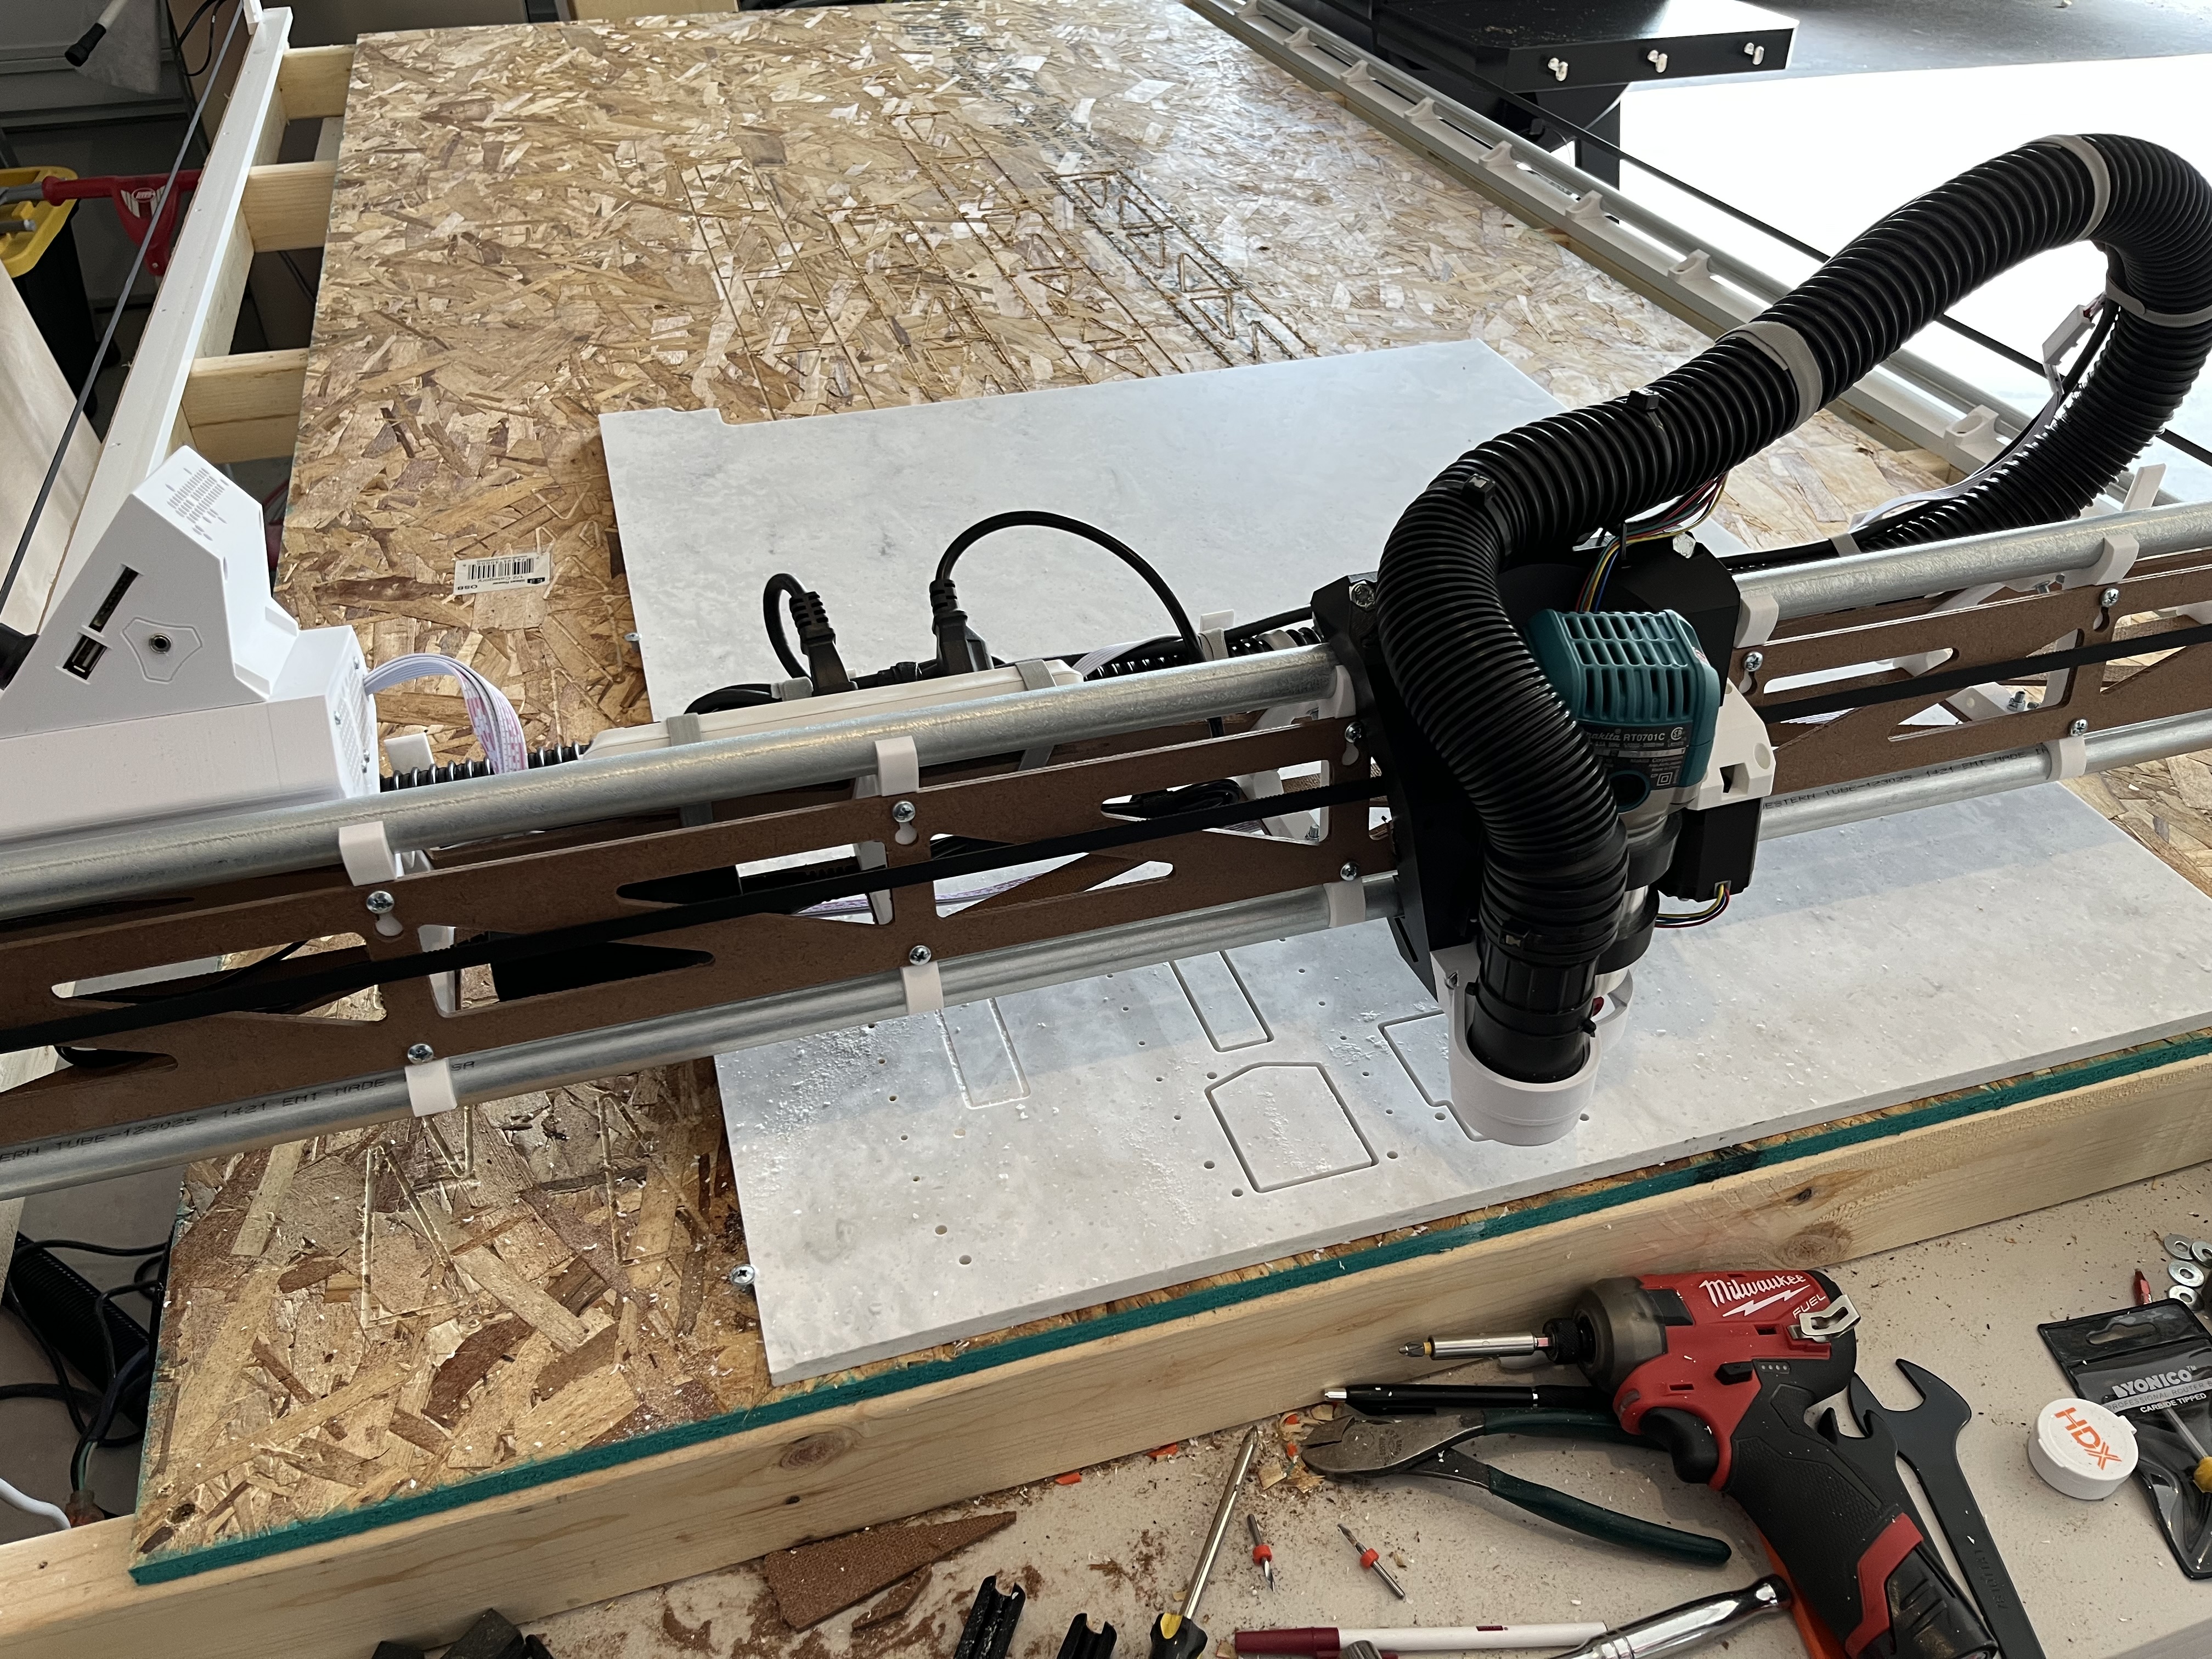
Slowly making progress. Have the gantry mostly assembled, and now need to move forward with getting the SKR mounted and wired up. I decided to create a little clip to hold the stepper and endstop plugs onto the extensions. I had an electrically taped connection come loose/disconnected on the last build, and wanted something more mechanical to keep them in place.
If you’re interested in the clip, here’s the link. I would print one as a test first, as I was quite surprised the print worked out on the first try with overhangs that didn’t seem like they should work. I printed several without any issues. Thingiverse link for the clip: LowRider 3 LR3 CNC Stepper and Endstop Extension Clip by stuffnobodyneeds - Thingiverse
Oh, I see, thanks. I have them wired directly to my board and used long cables. But I like the general idea, I found some connectors on printables that are slimmer. Thanks for the good idea.
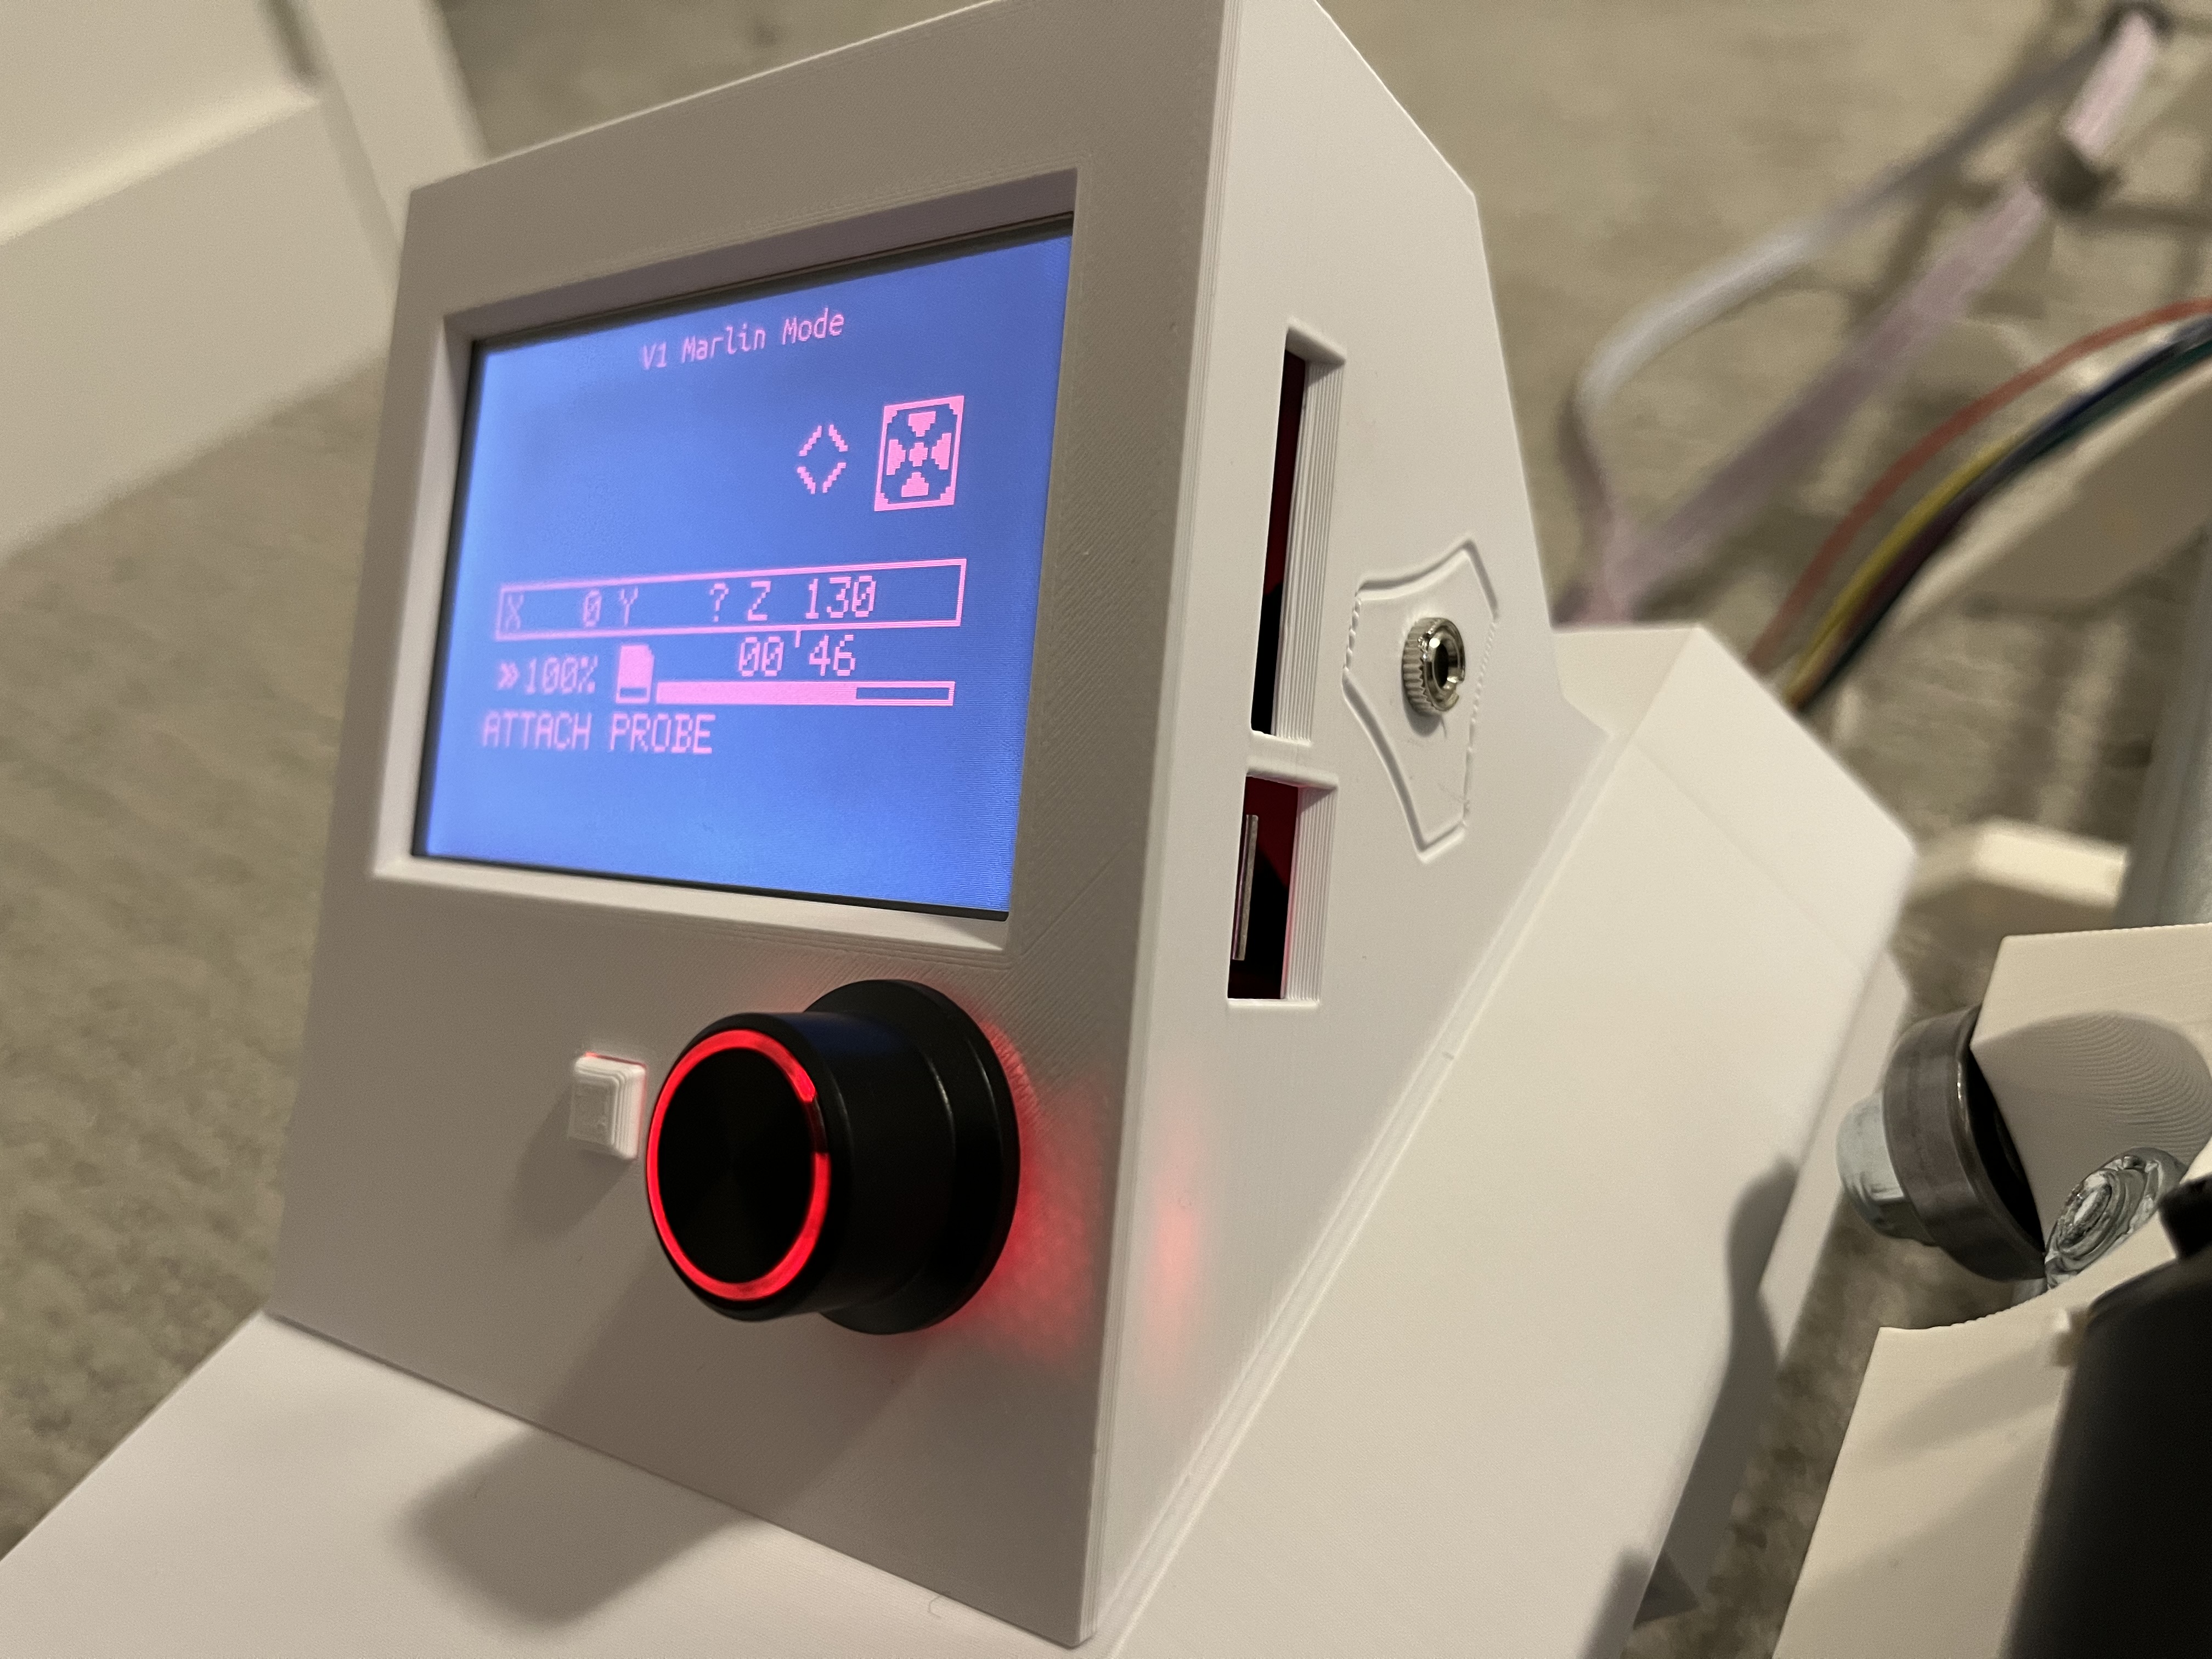
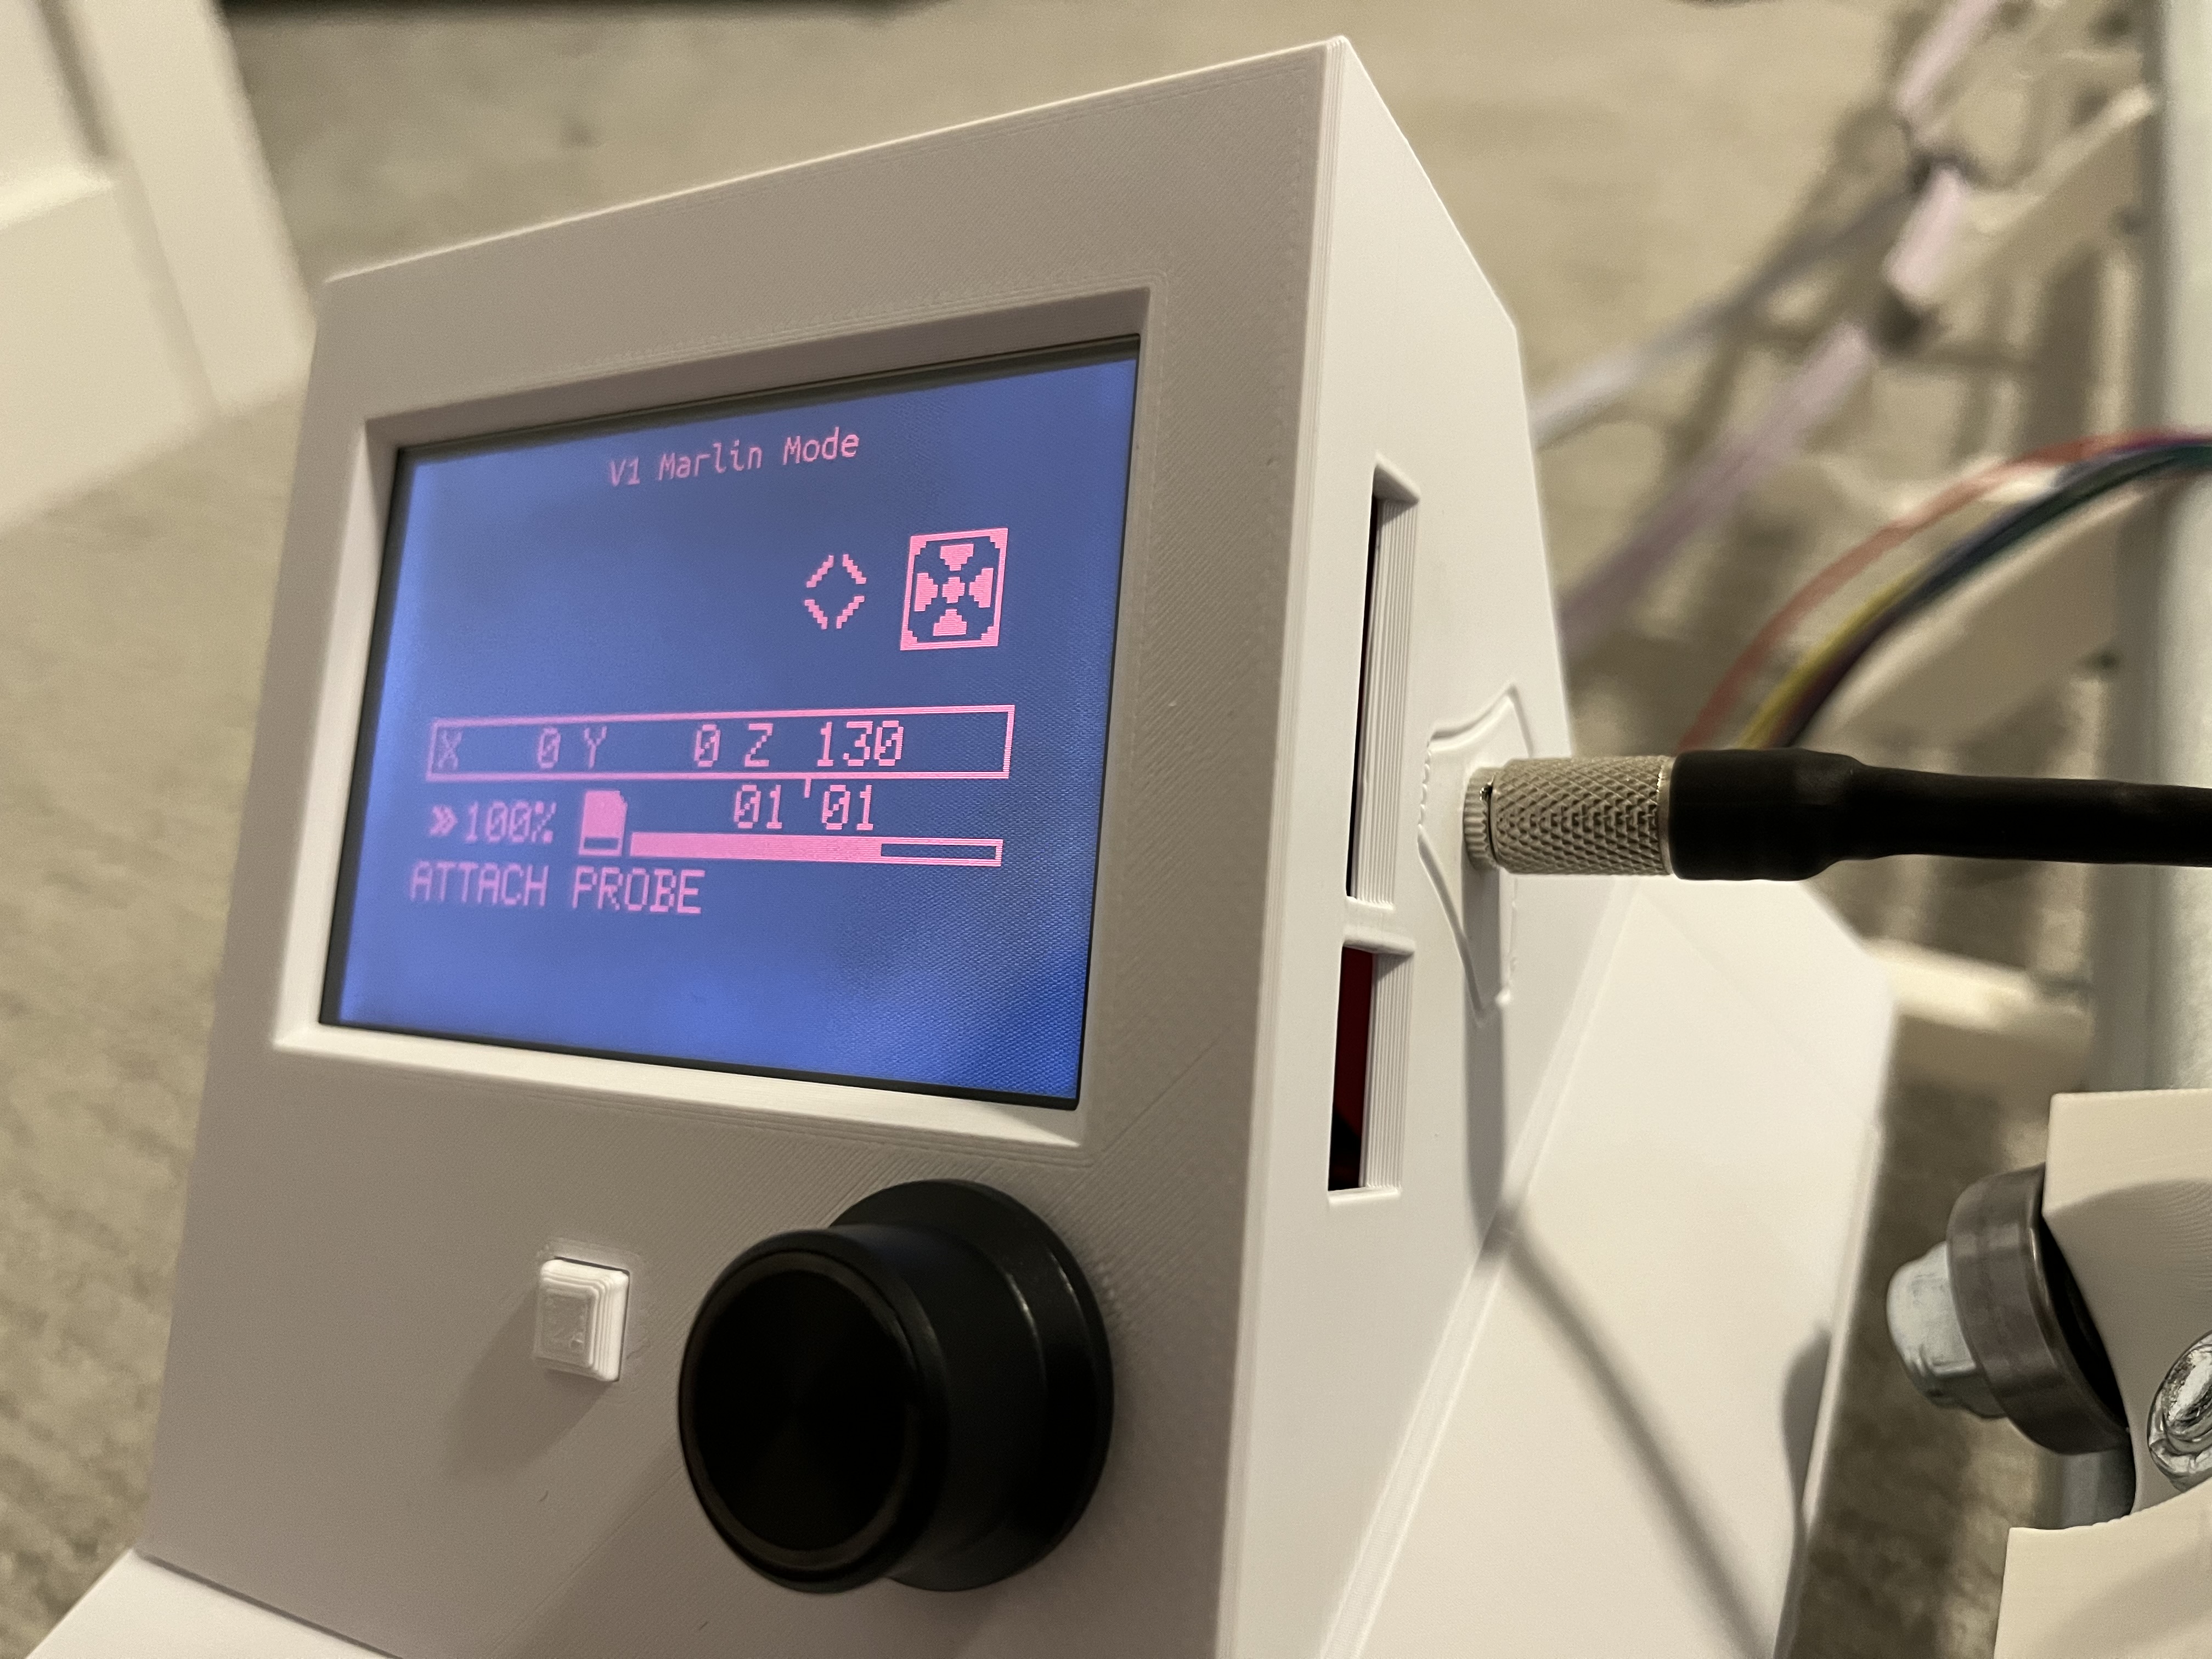
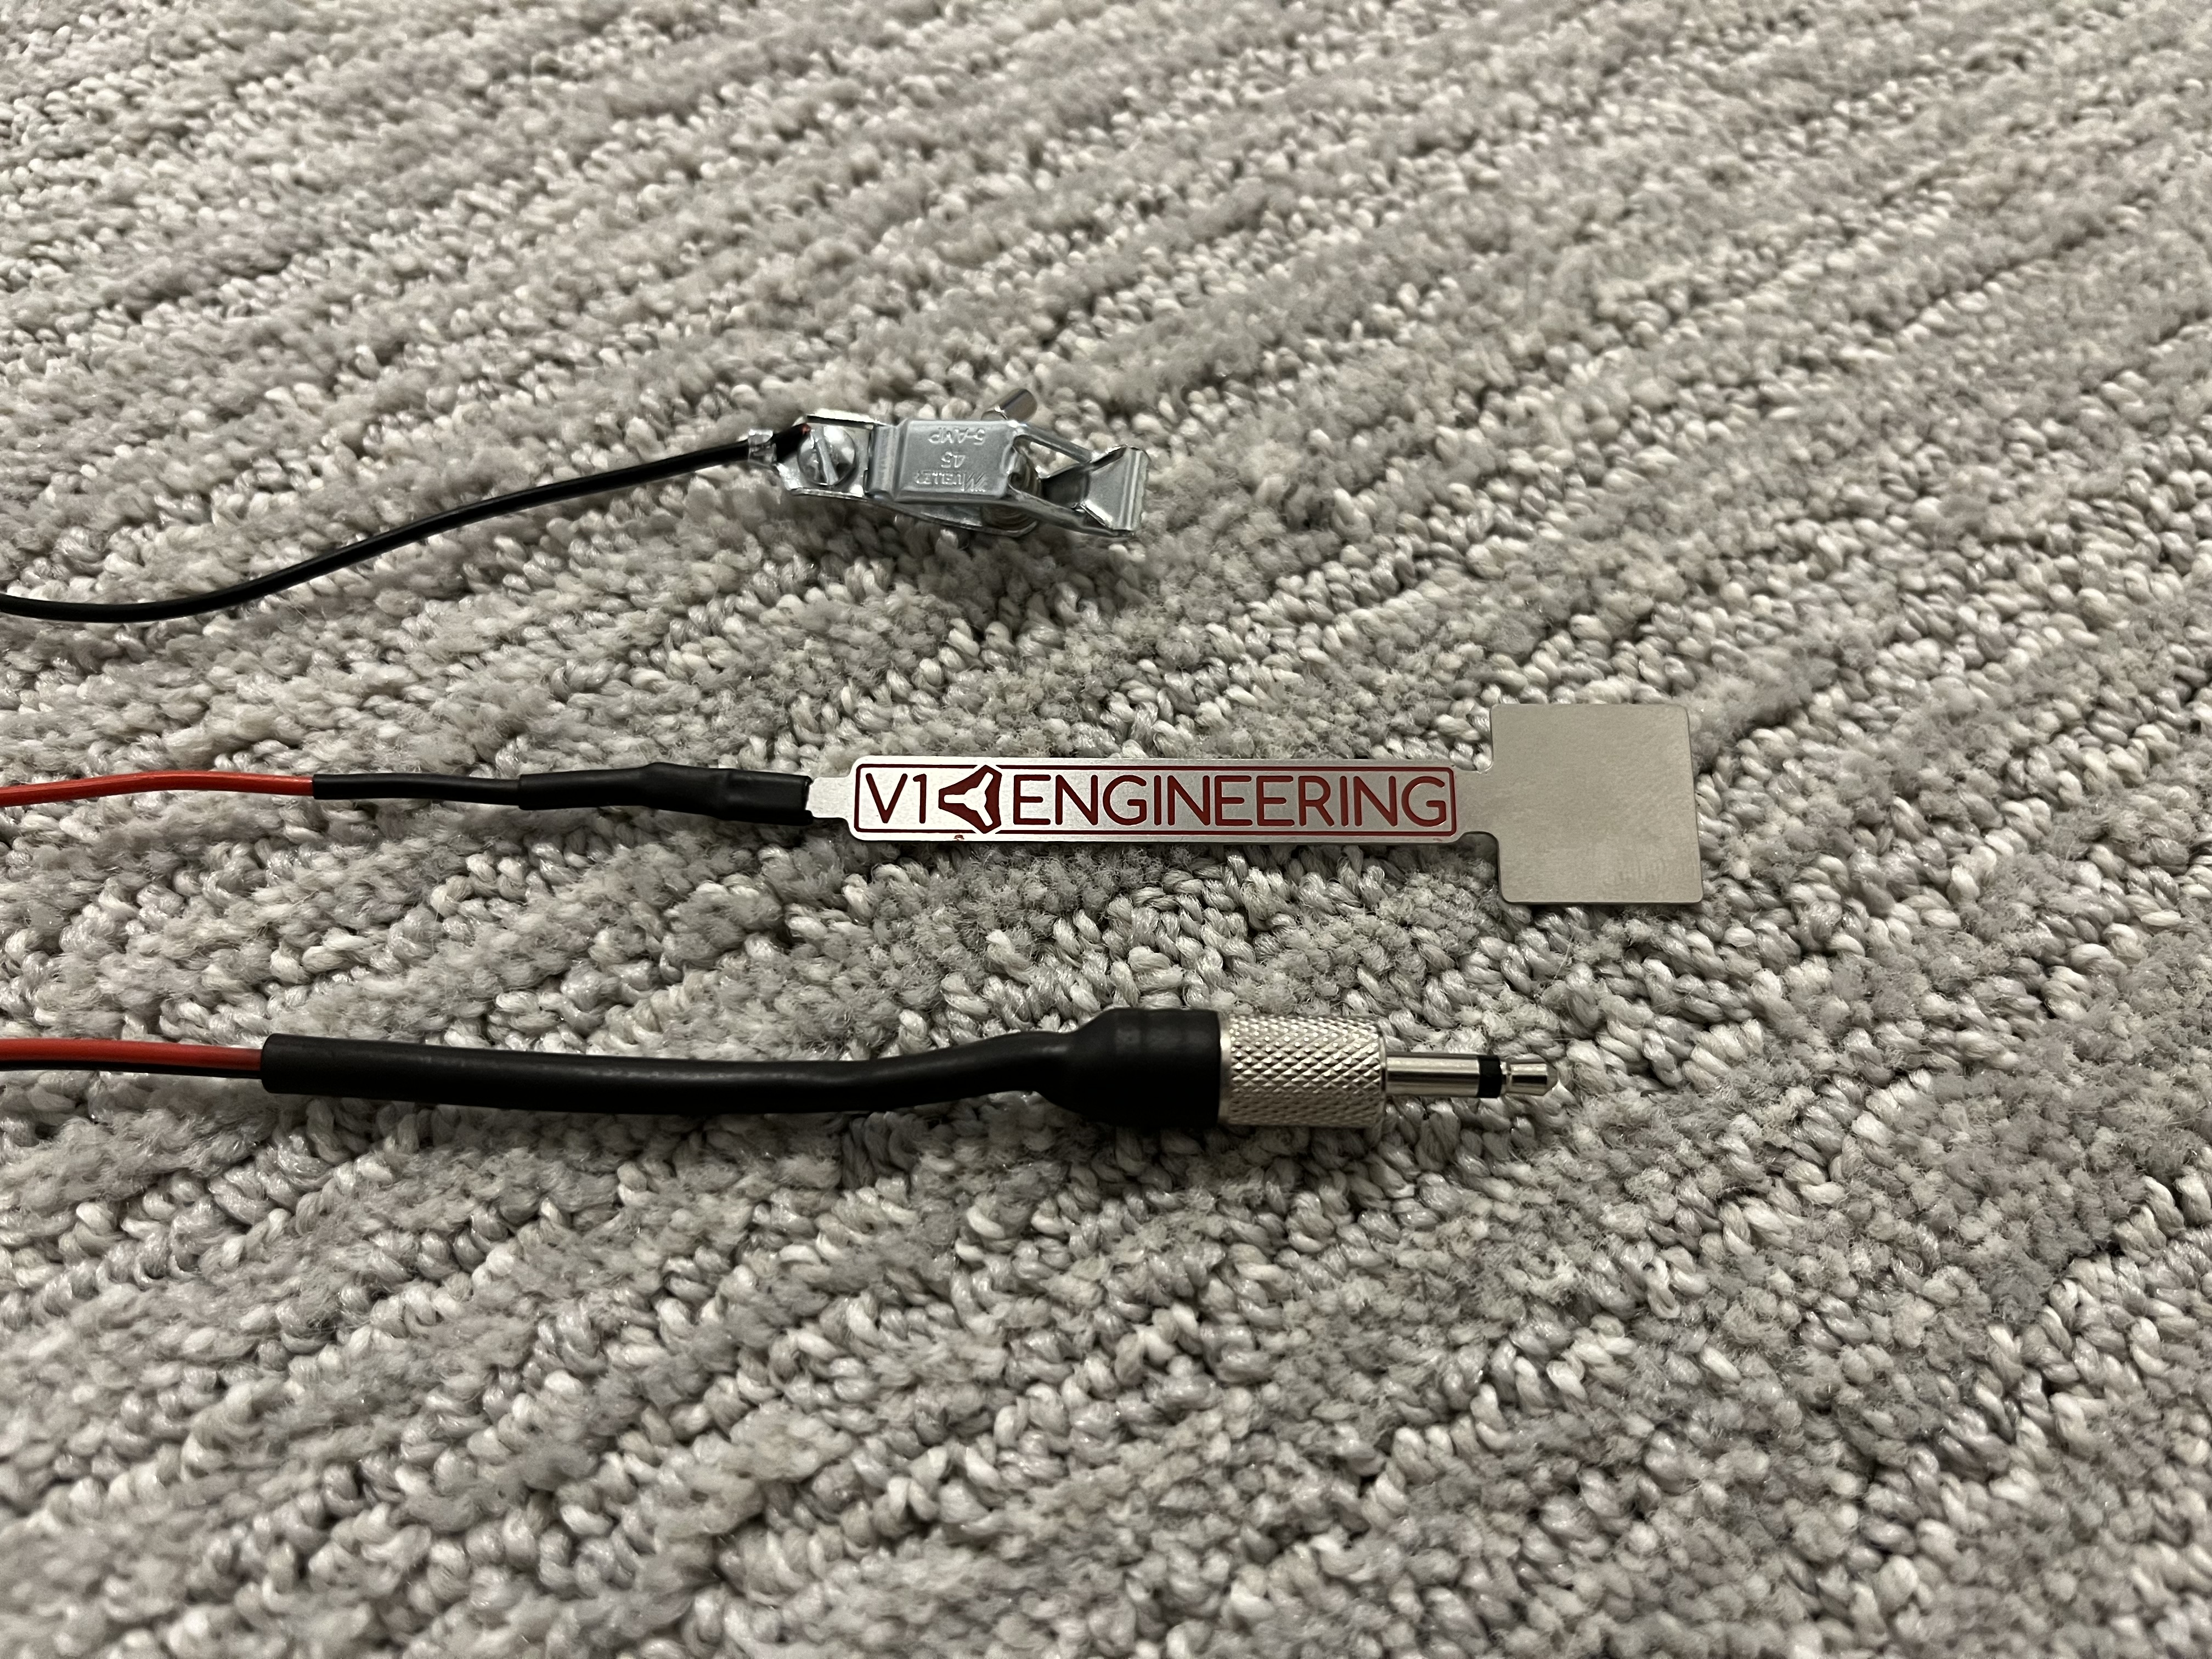
Got everything successfully wired up and tested today. Wired the touch plate to a 1/8” mono jack. The SKR seems to home everything as it should, so no resistors needed yet. Time to build a table.
My machine now seems to be running reasonably well, however, I’m running into heat issues.
My router clamps seem to be loosening or stretching, and my steppers are also in regular need of having the mounting screws snugged up.
I’m running 60-90 min cuts, with ambient temps in the high 90’s, and the router body and steppers are hot to the touch. Stock firmware, with conservative DOC and mm/s cuts.
I’m assuming the ambient temp is the majority of the problem here.
Would high infill PETG perform any better in this scenario?
It was 109 here over the weekend and the garage was sitting at 98, running a makita at the lowest speed(slow fan), no issues with PLA for me.
You can use any material you want for the tool mounts, as for the steppers I would use some locktite, they should not be getting above 50C ever. PLA glass transition temp is 60C if I Remeber right.
I’ll have to dig out my thermometer to see what my temps look like at the end of the next run. I have also had a few fractures in other random parts, so it may be a problem with my filament/prints also. The cool part, is that I can just print replacement parts as needed and slowly troubleshoot. It’s reassuring to hear that you aren’t having any heat issues on your end.
I just ran a 60 min air cut with the Y axis steppers peaking at 51C. The others weren’t far behind, with the lowest temp being about 46C. This sounds like it’s within spec. I’ll add thread lock to the stepper screws and keep an eye on them.
I would drop your current by 50 to 100. that is a bit too high. If you have a day that is 5 degrees hotter those numbers will be 5 degrees higher as well. I would play it say since you are having issues and shoot for 40-45C max. You should not see any power /accel differences.