Be realistic about expectations on cutting 1/4" “junk” ply with a laser. While the thin veneers usually cut clean, the glue can be a problem, so you end up not making it through, even with multiple passes.
This is my experience with a K40 nominal 40W CO2 laser, I’d expect a diode laser to have even more trouble.
yeah, i should have been more clear. thanks for the heads up
with the laser, id buy ‘laser-rated’ basswood ply or the like that seems to be very common on amazon for this application. i wouldnt use this junk stuff. i expect this particular piece i bought for this project is going to end up in the back of the garage for the next 6 years, because i even feel bad burning it as scrap after smelling how it came off the circular saw.
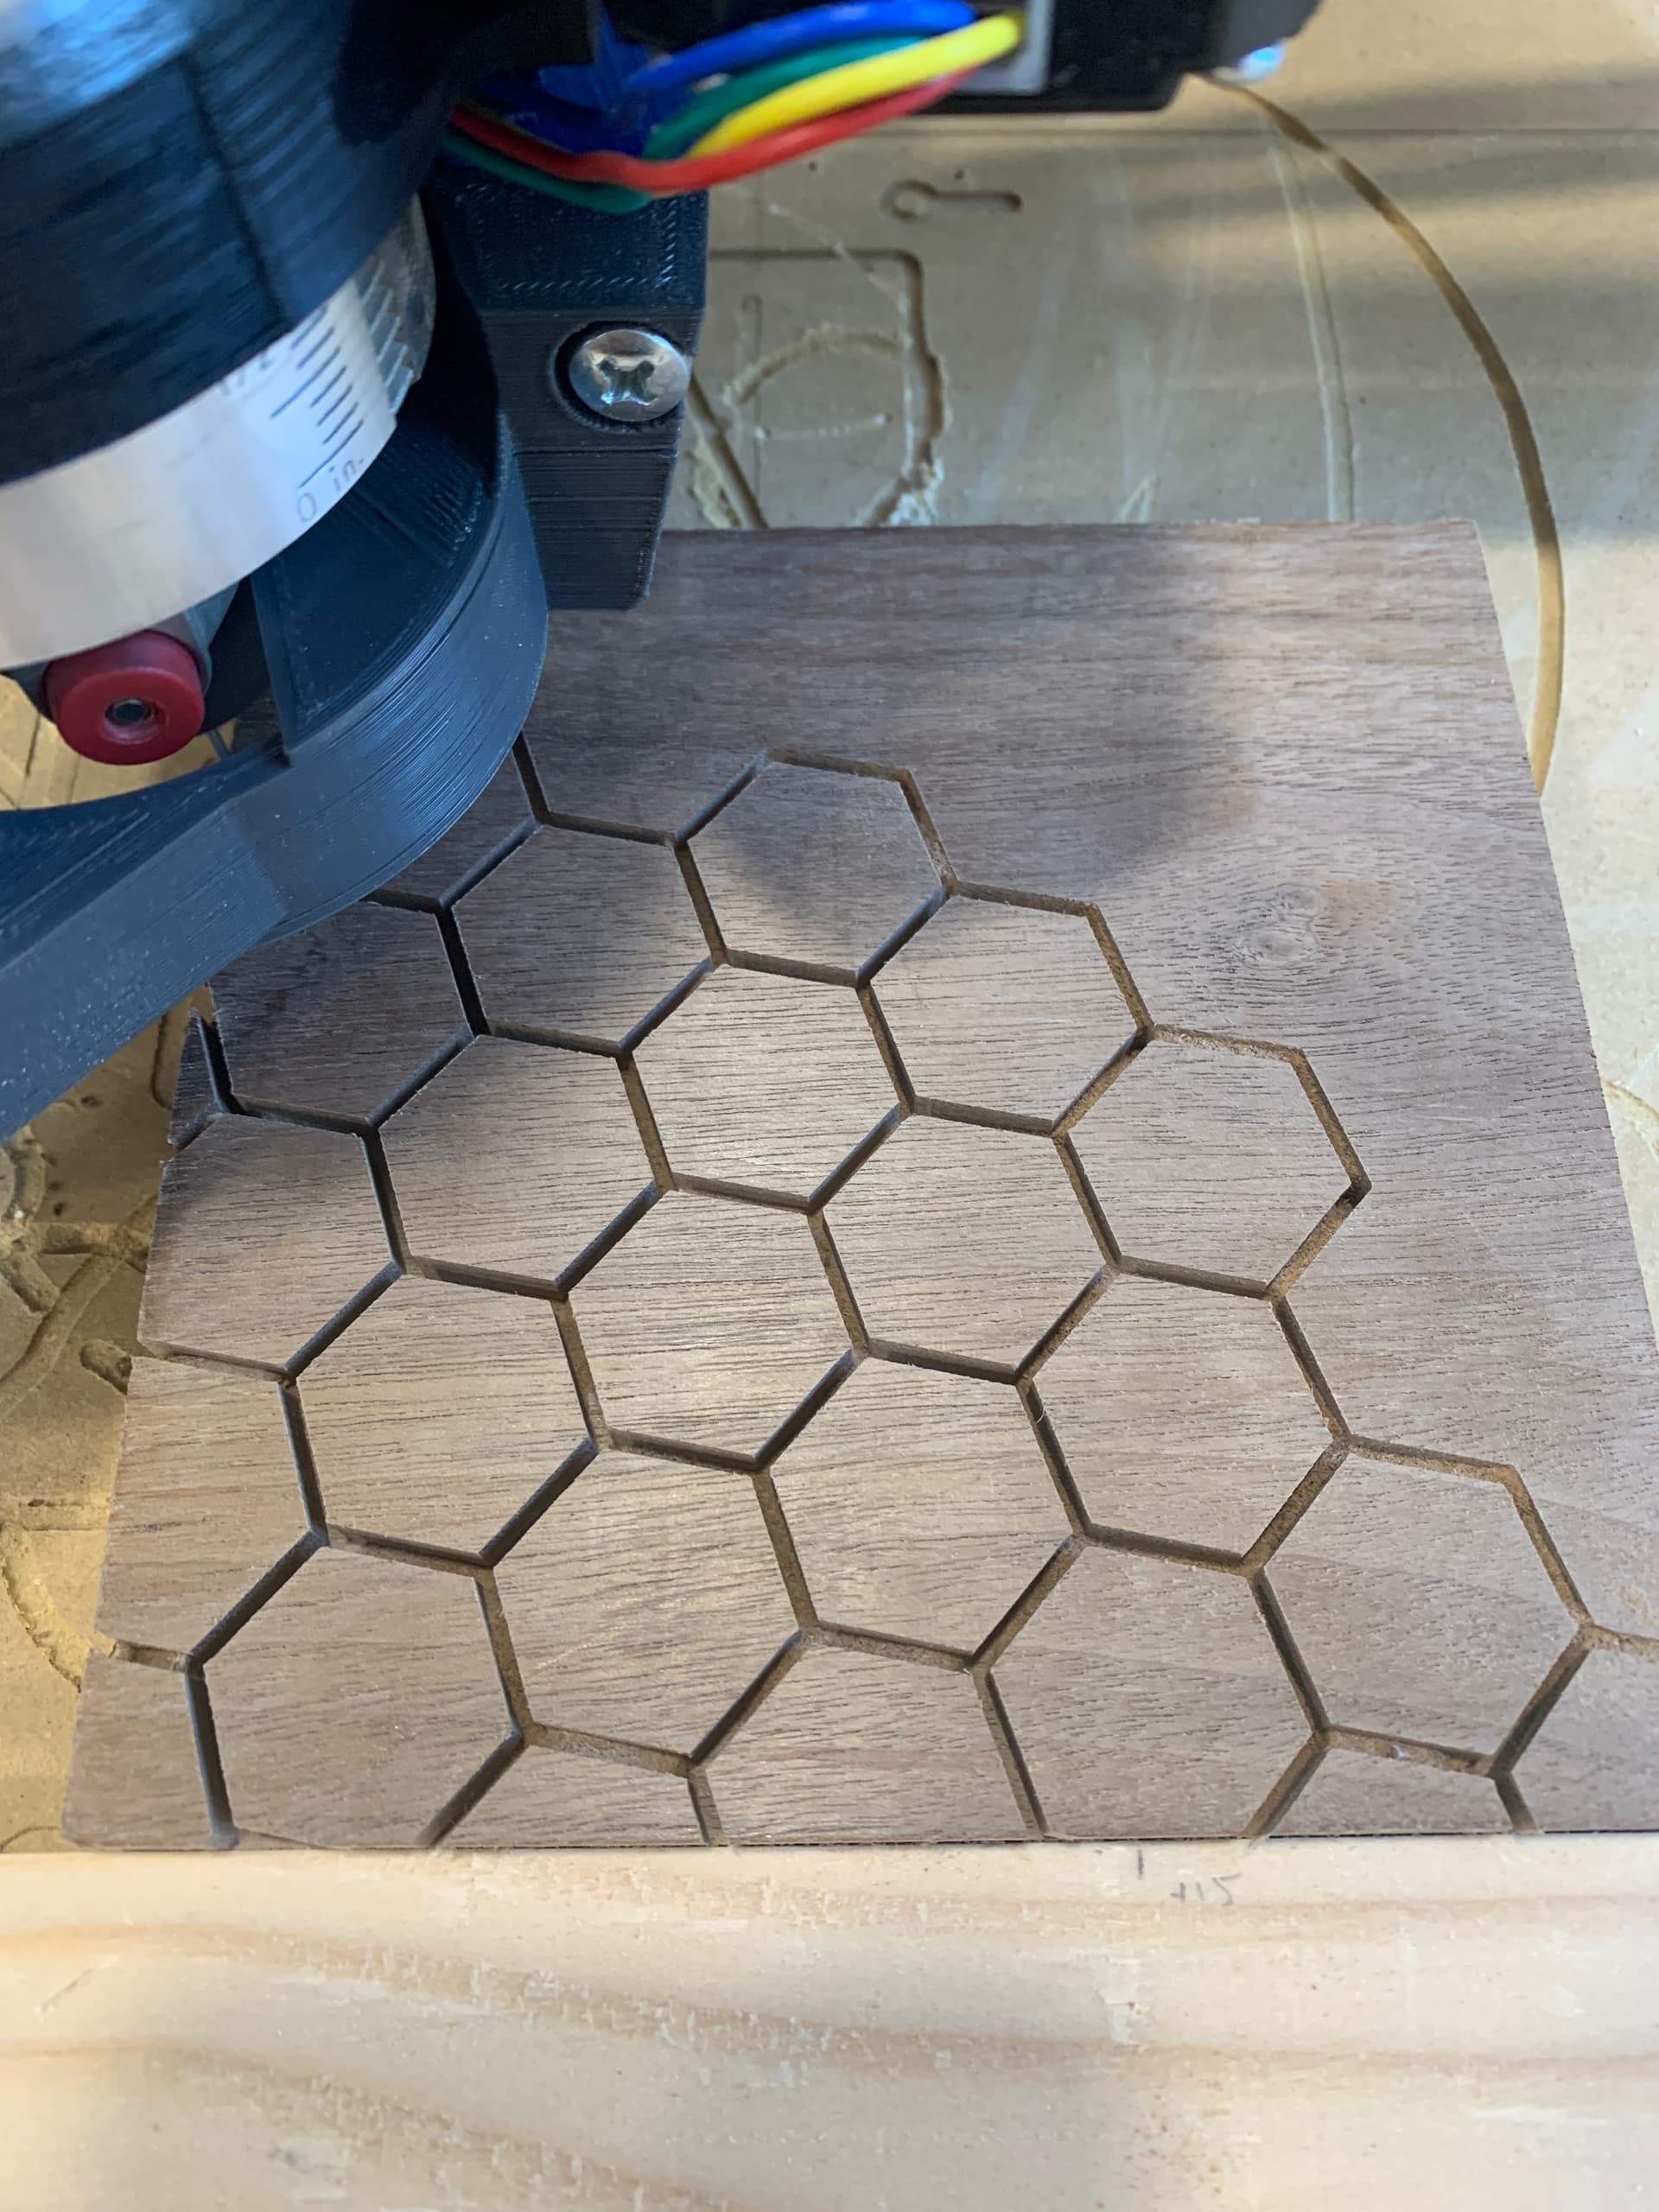
Right? I love it. This is a tester piece to nail the design. The path is 1/16” but I may bump it to 1/8”. I forgot to clear the cells with another toolpath so I did it with a handheld router
Plan is to scale this up and do a 24”x 60” 2” thick white oak desk top and do a rainbow gradient fill.
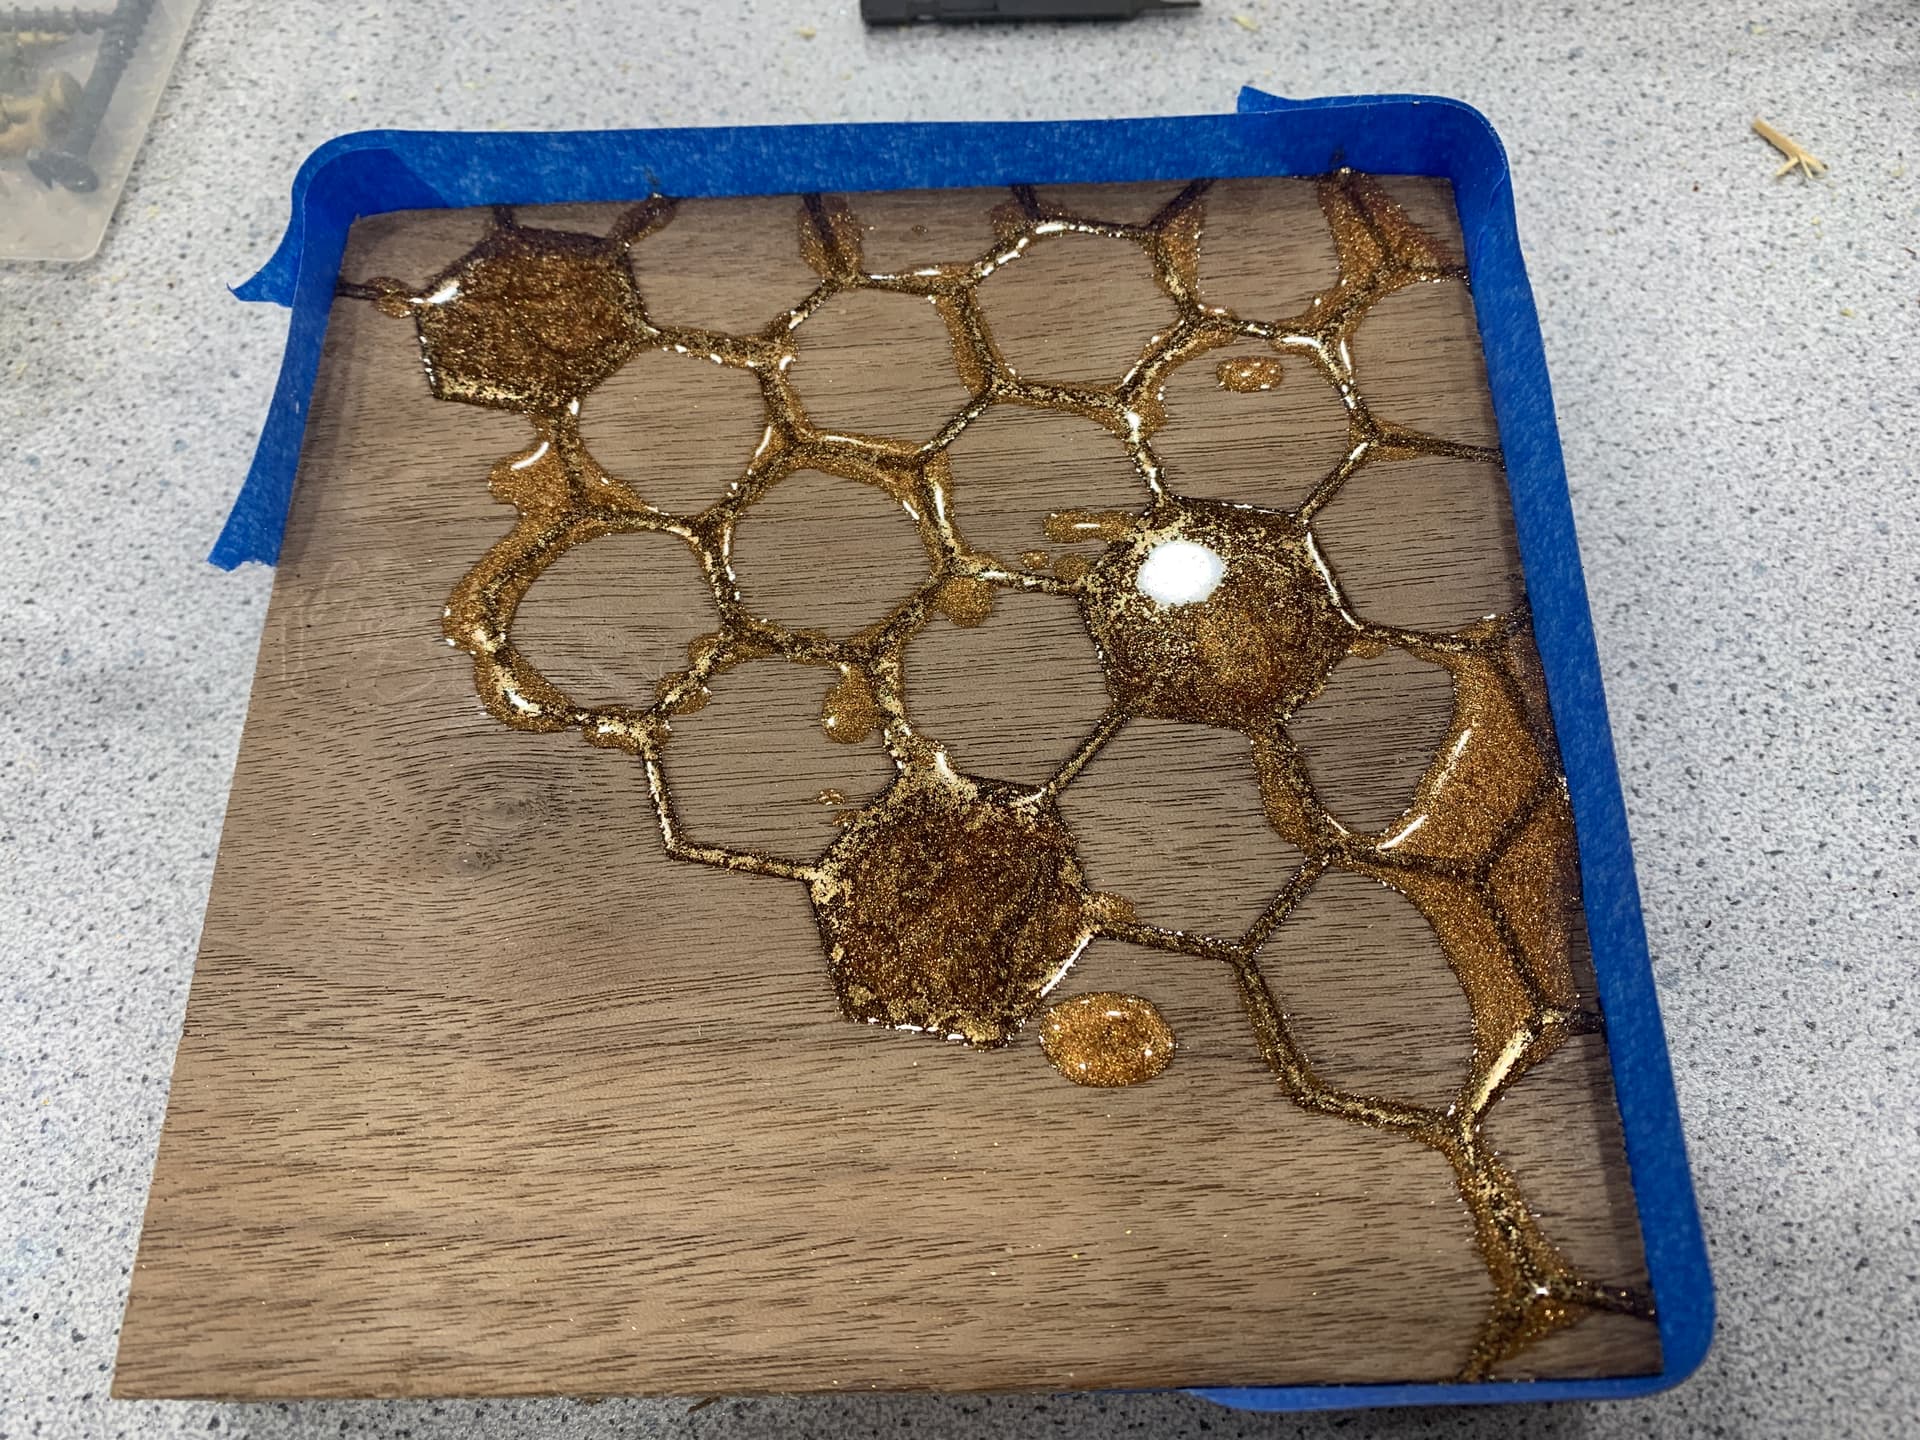
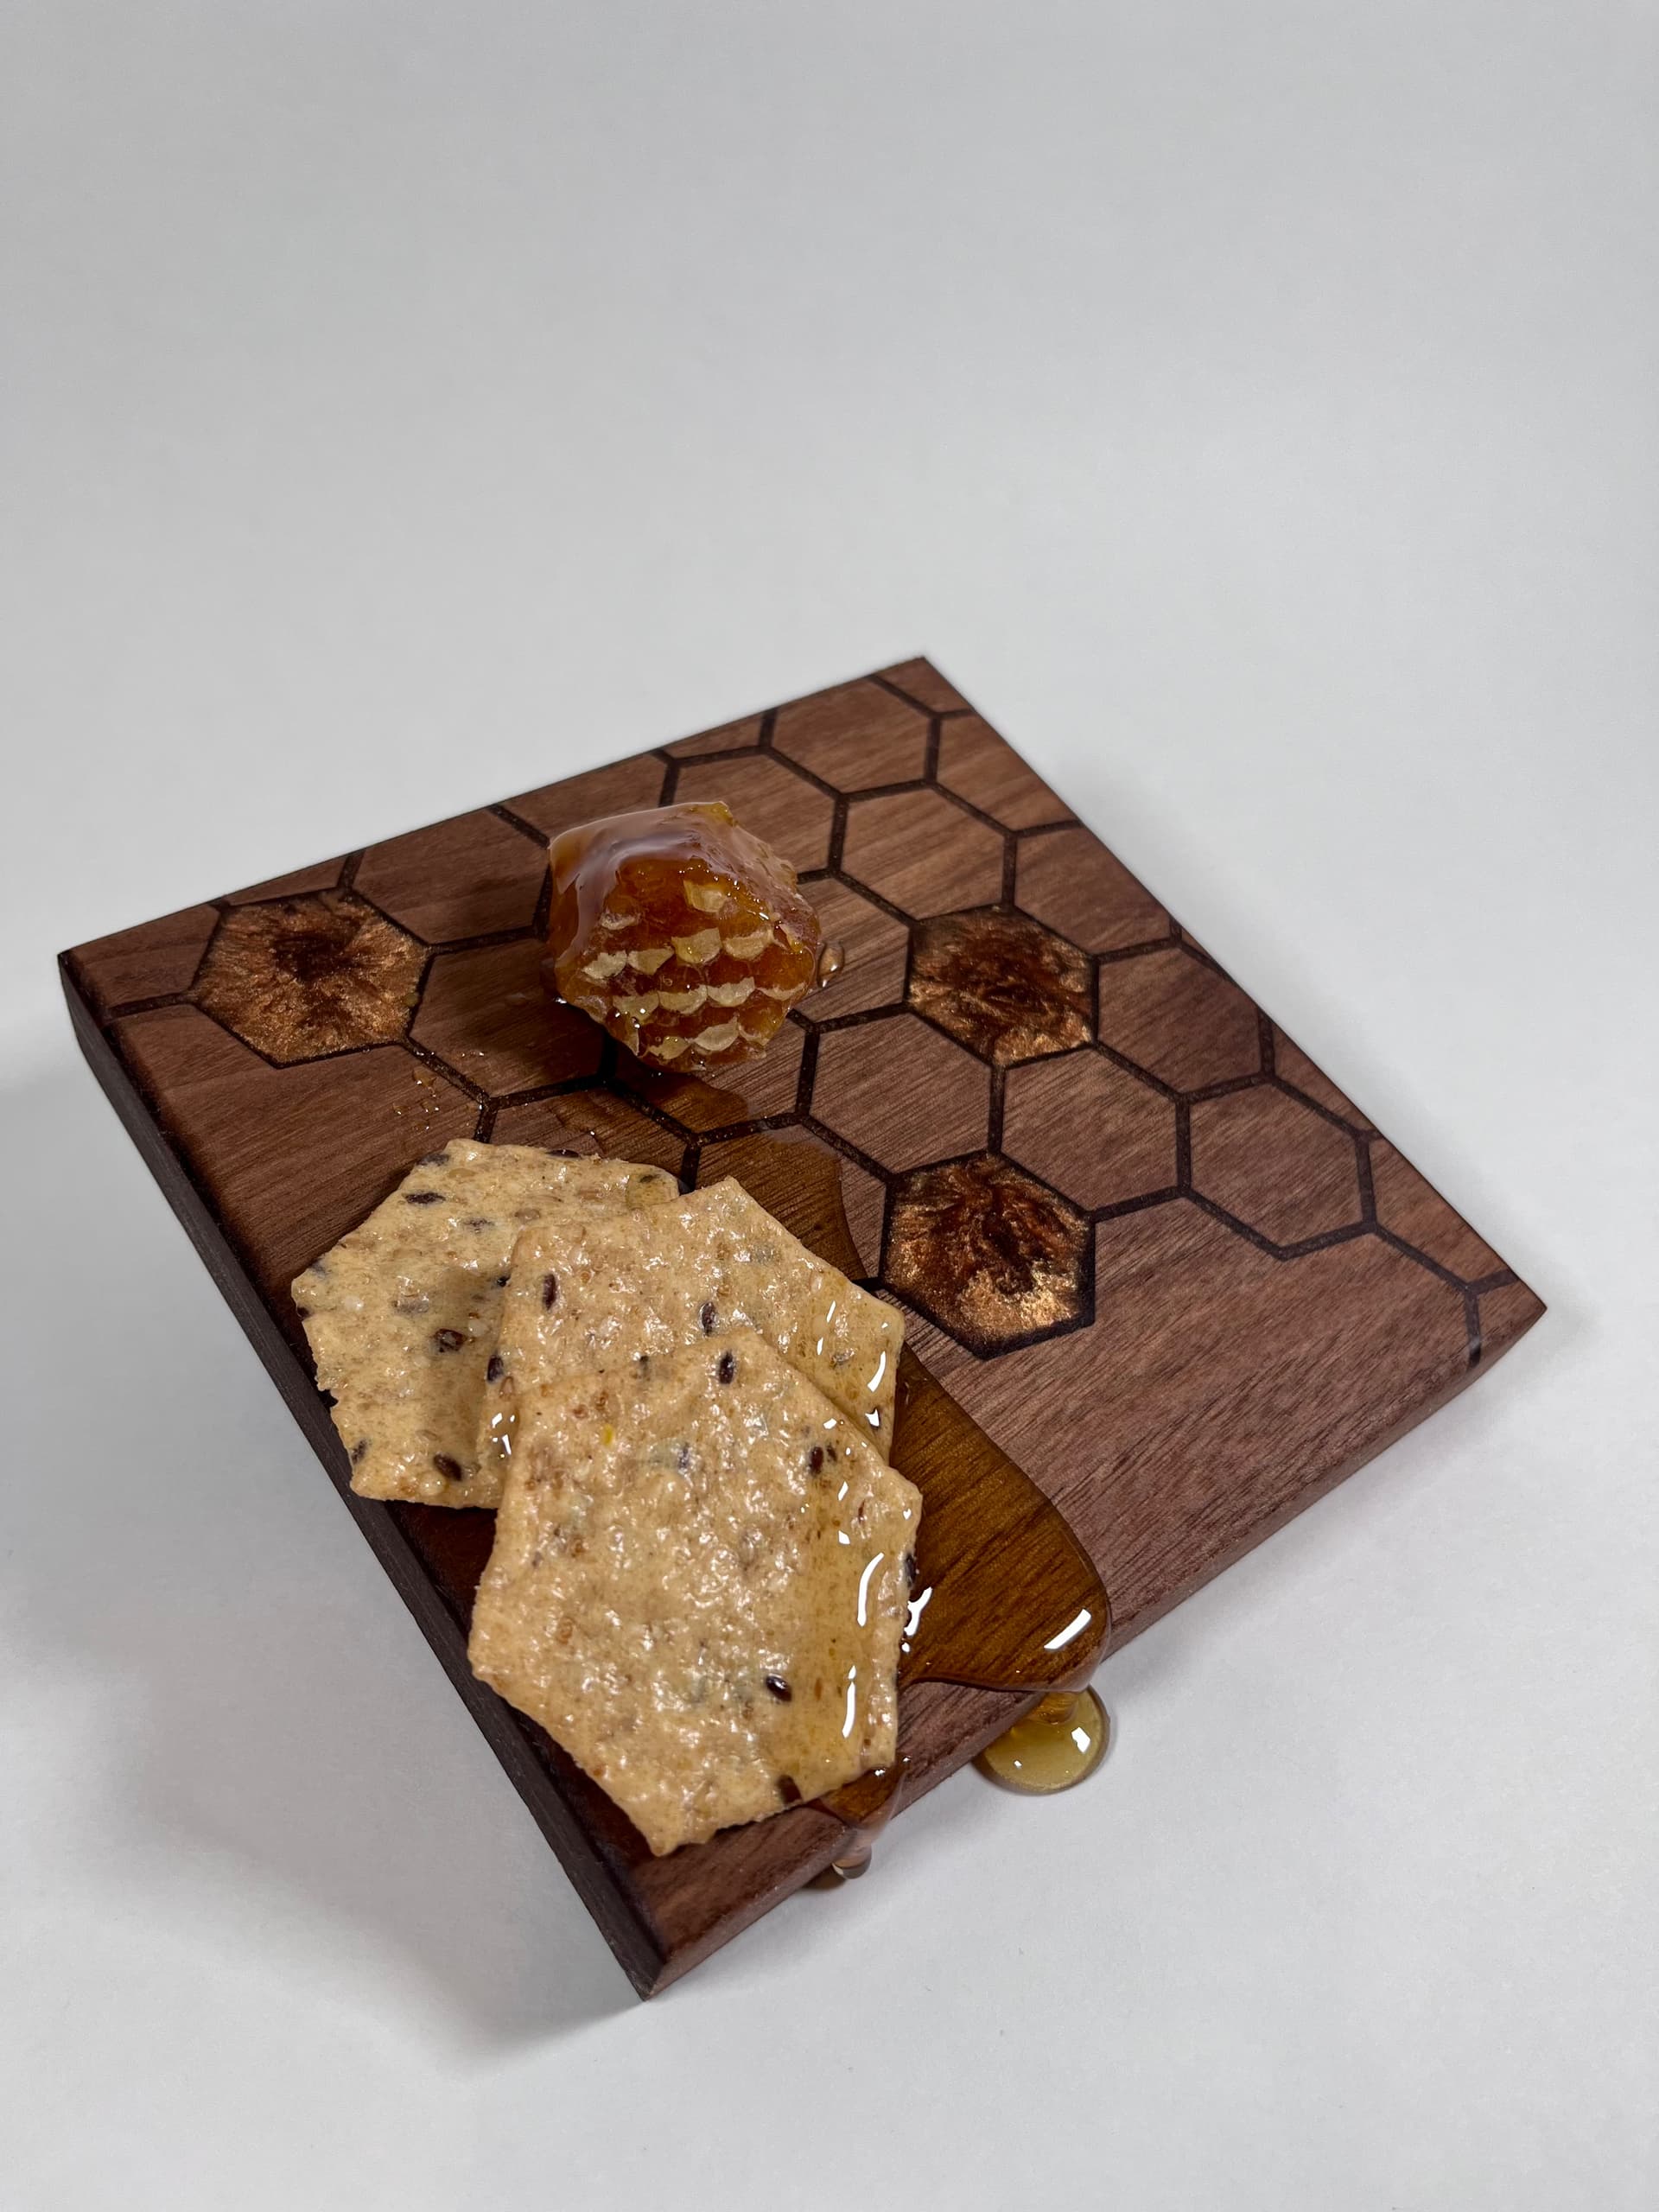
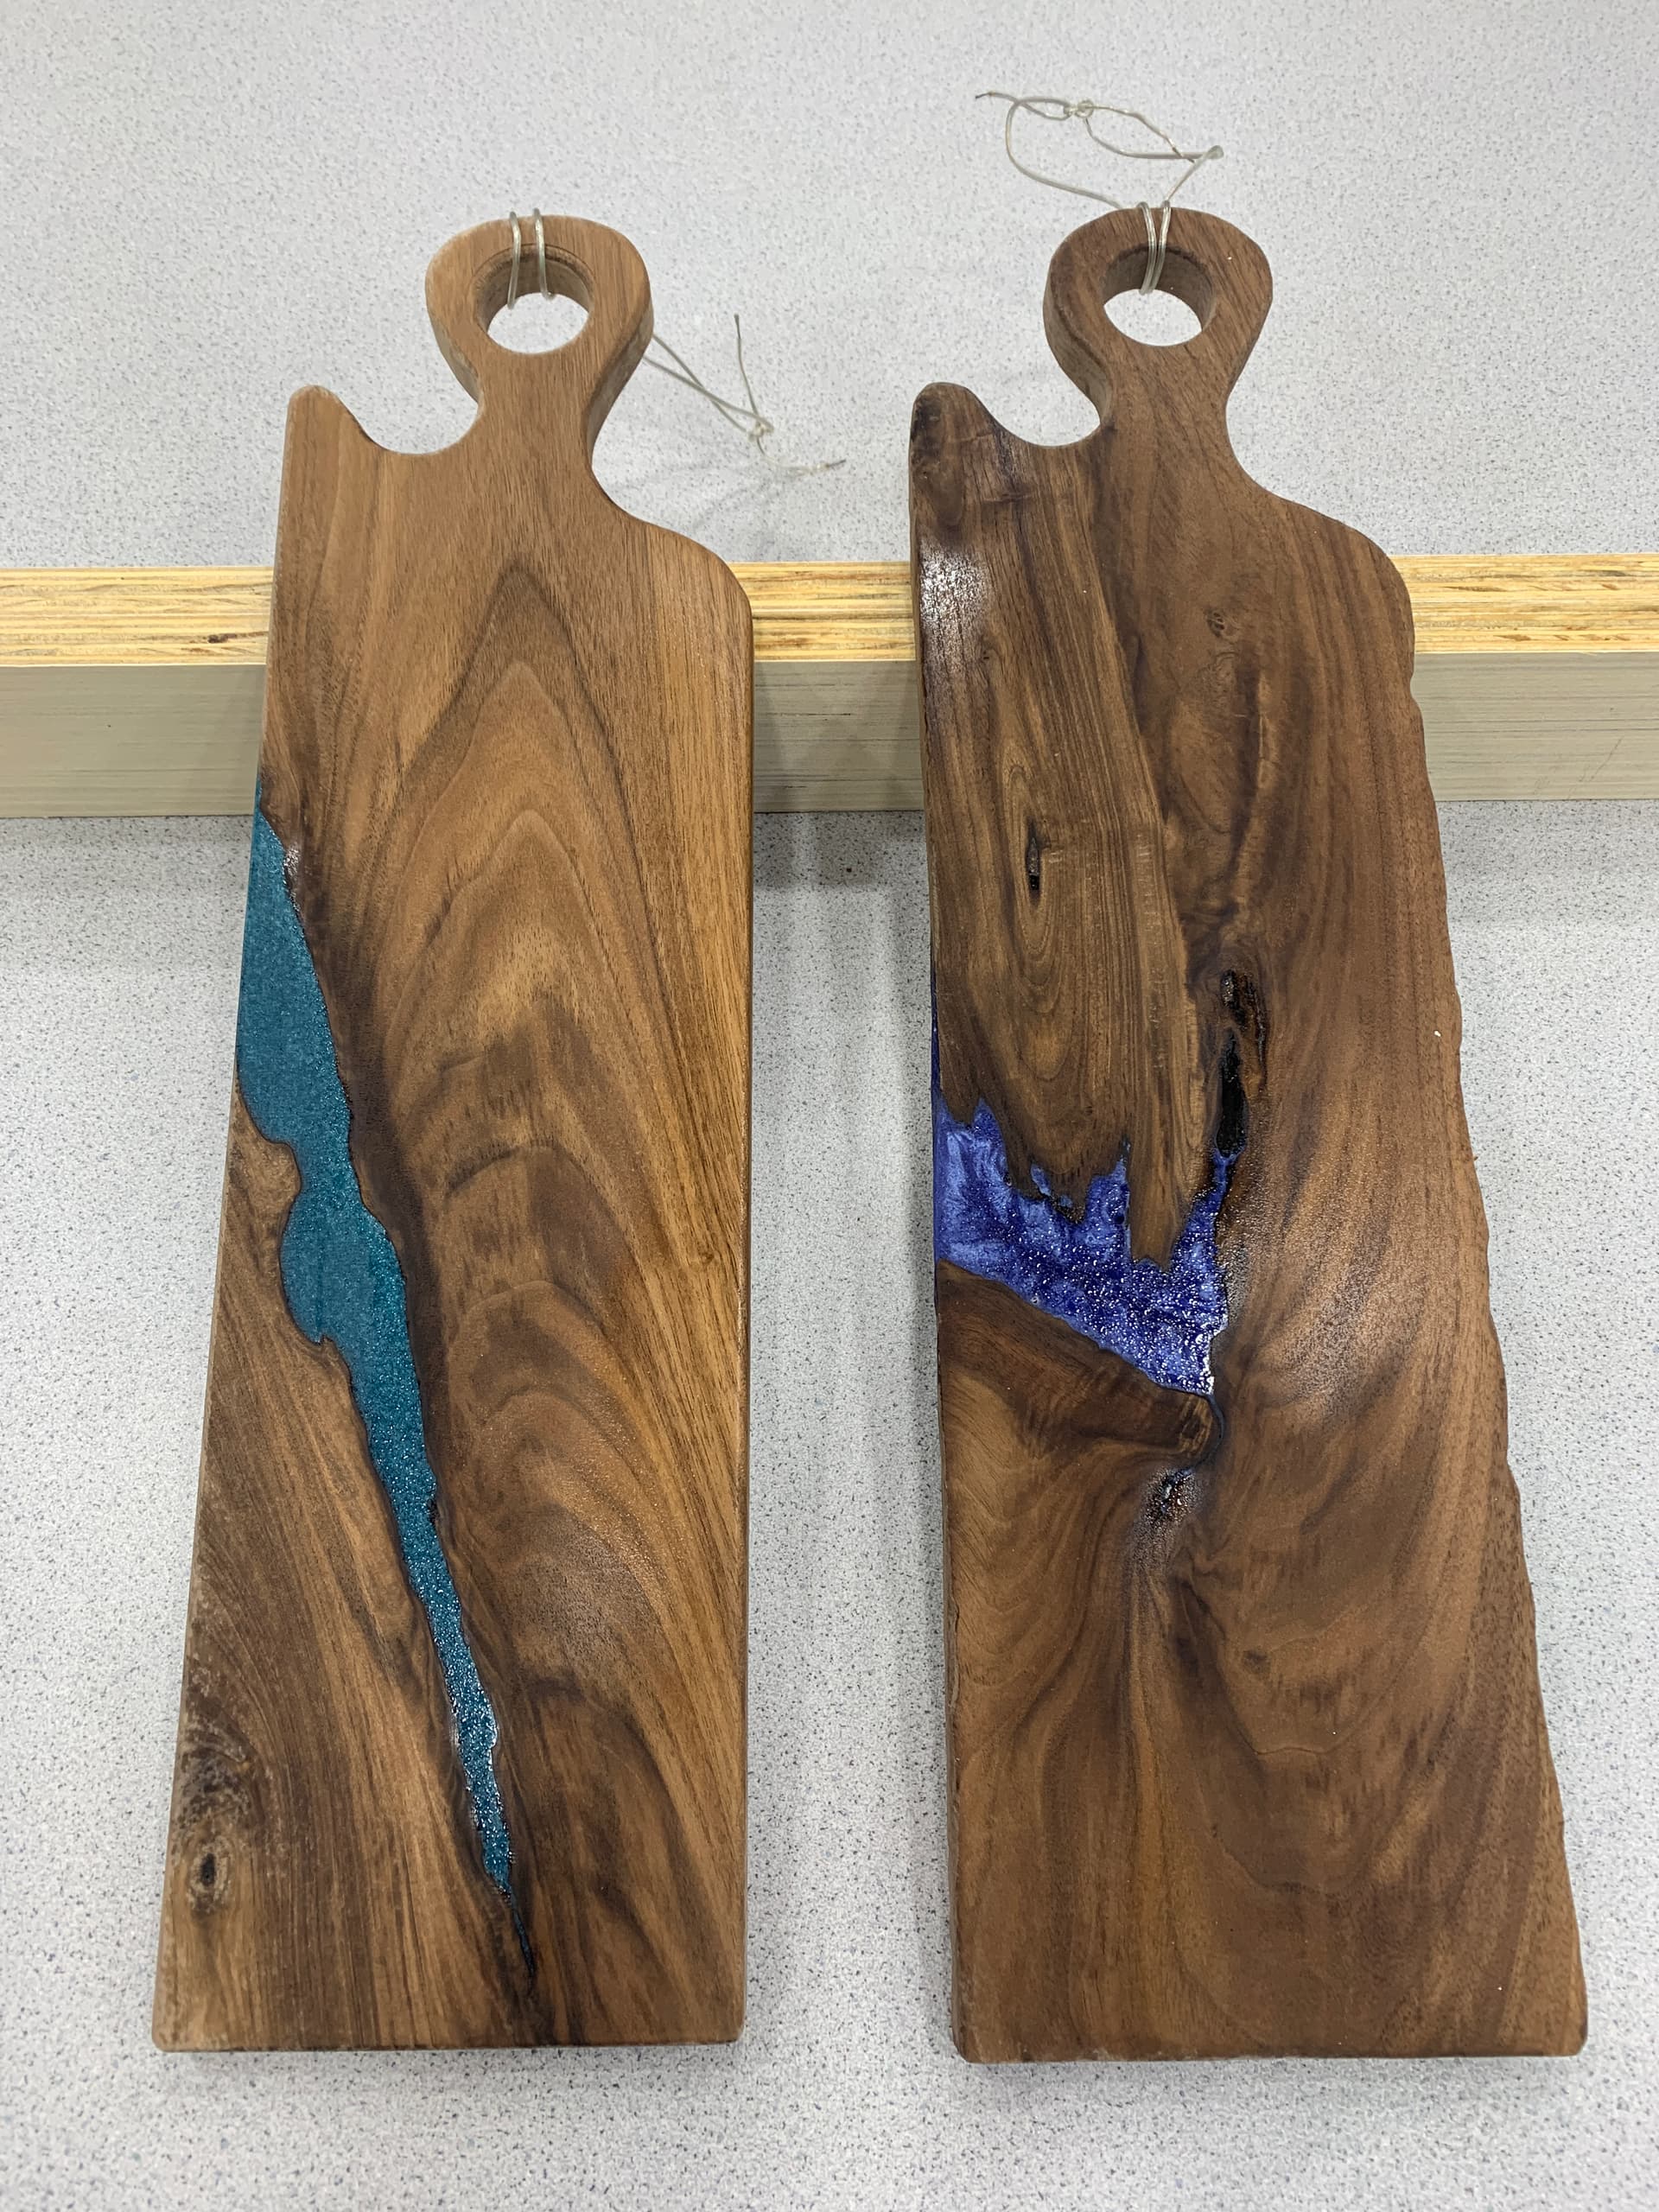
Also going to do ‘honey boards’ like mini charcuterie board for holding honeycomb. Big seller at craft fairs around here
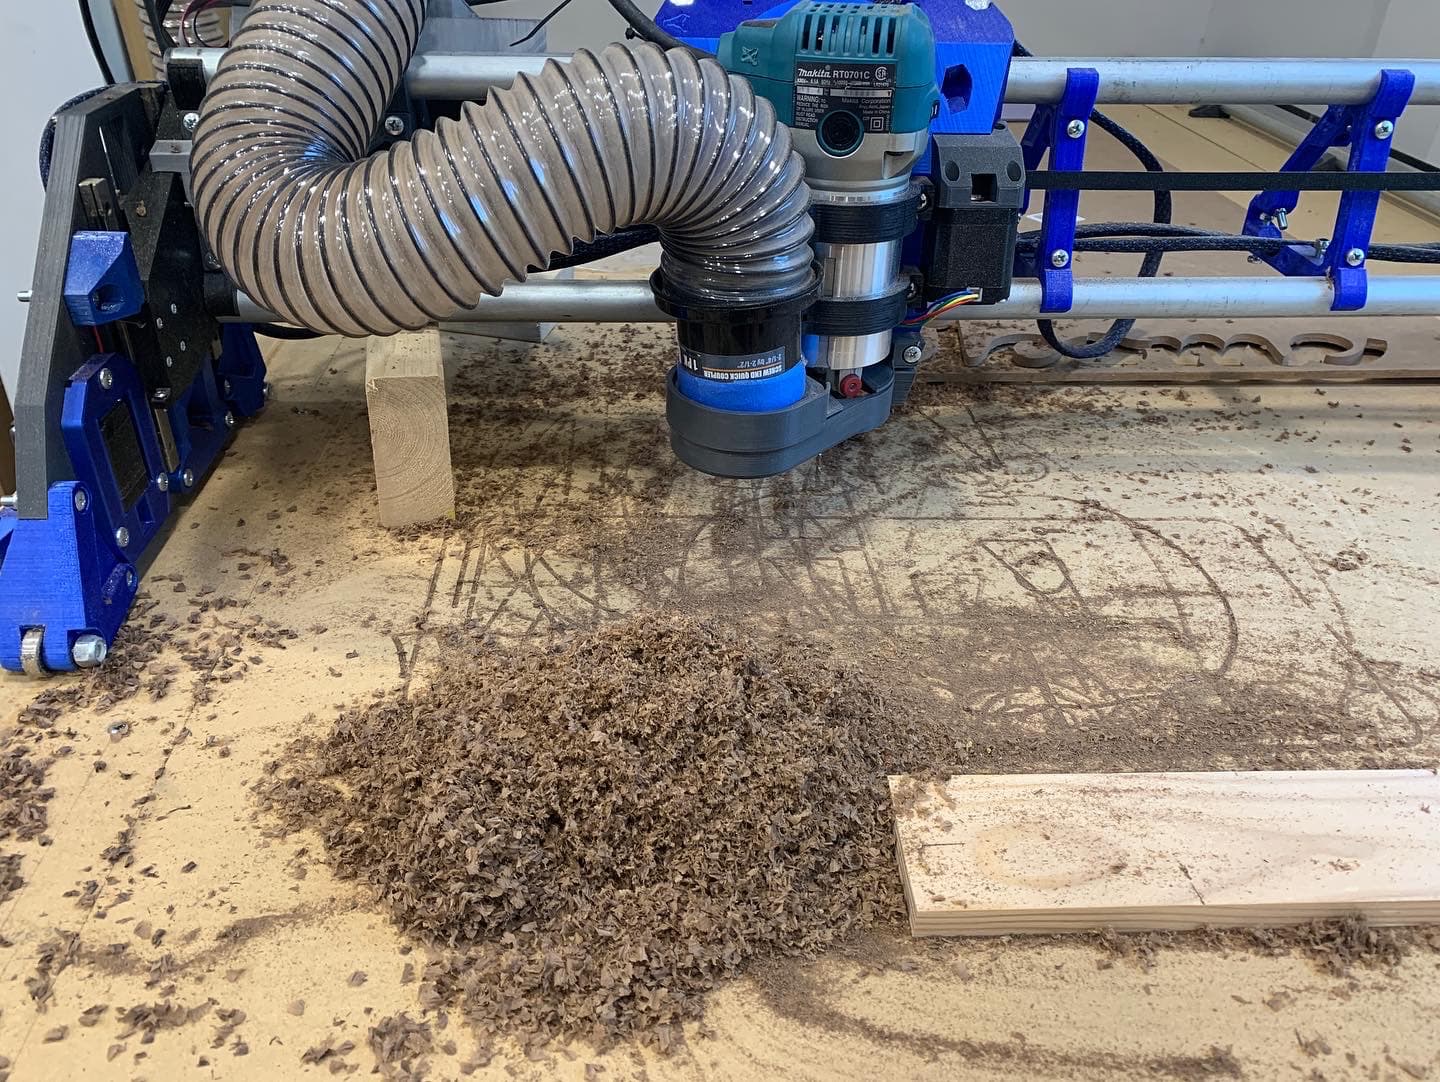
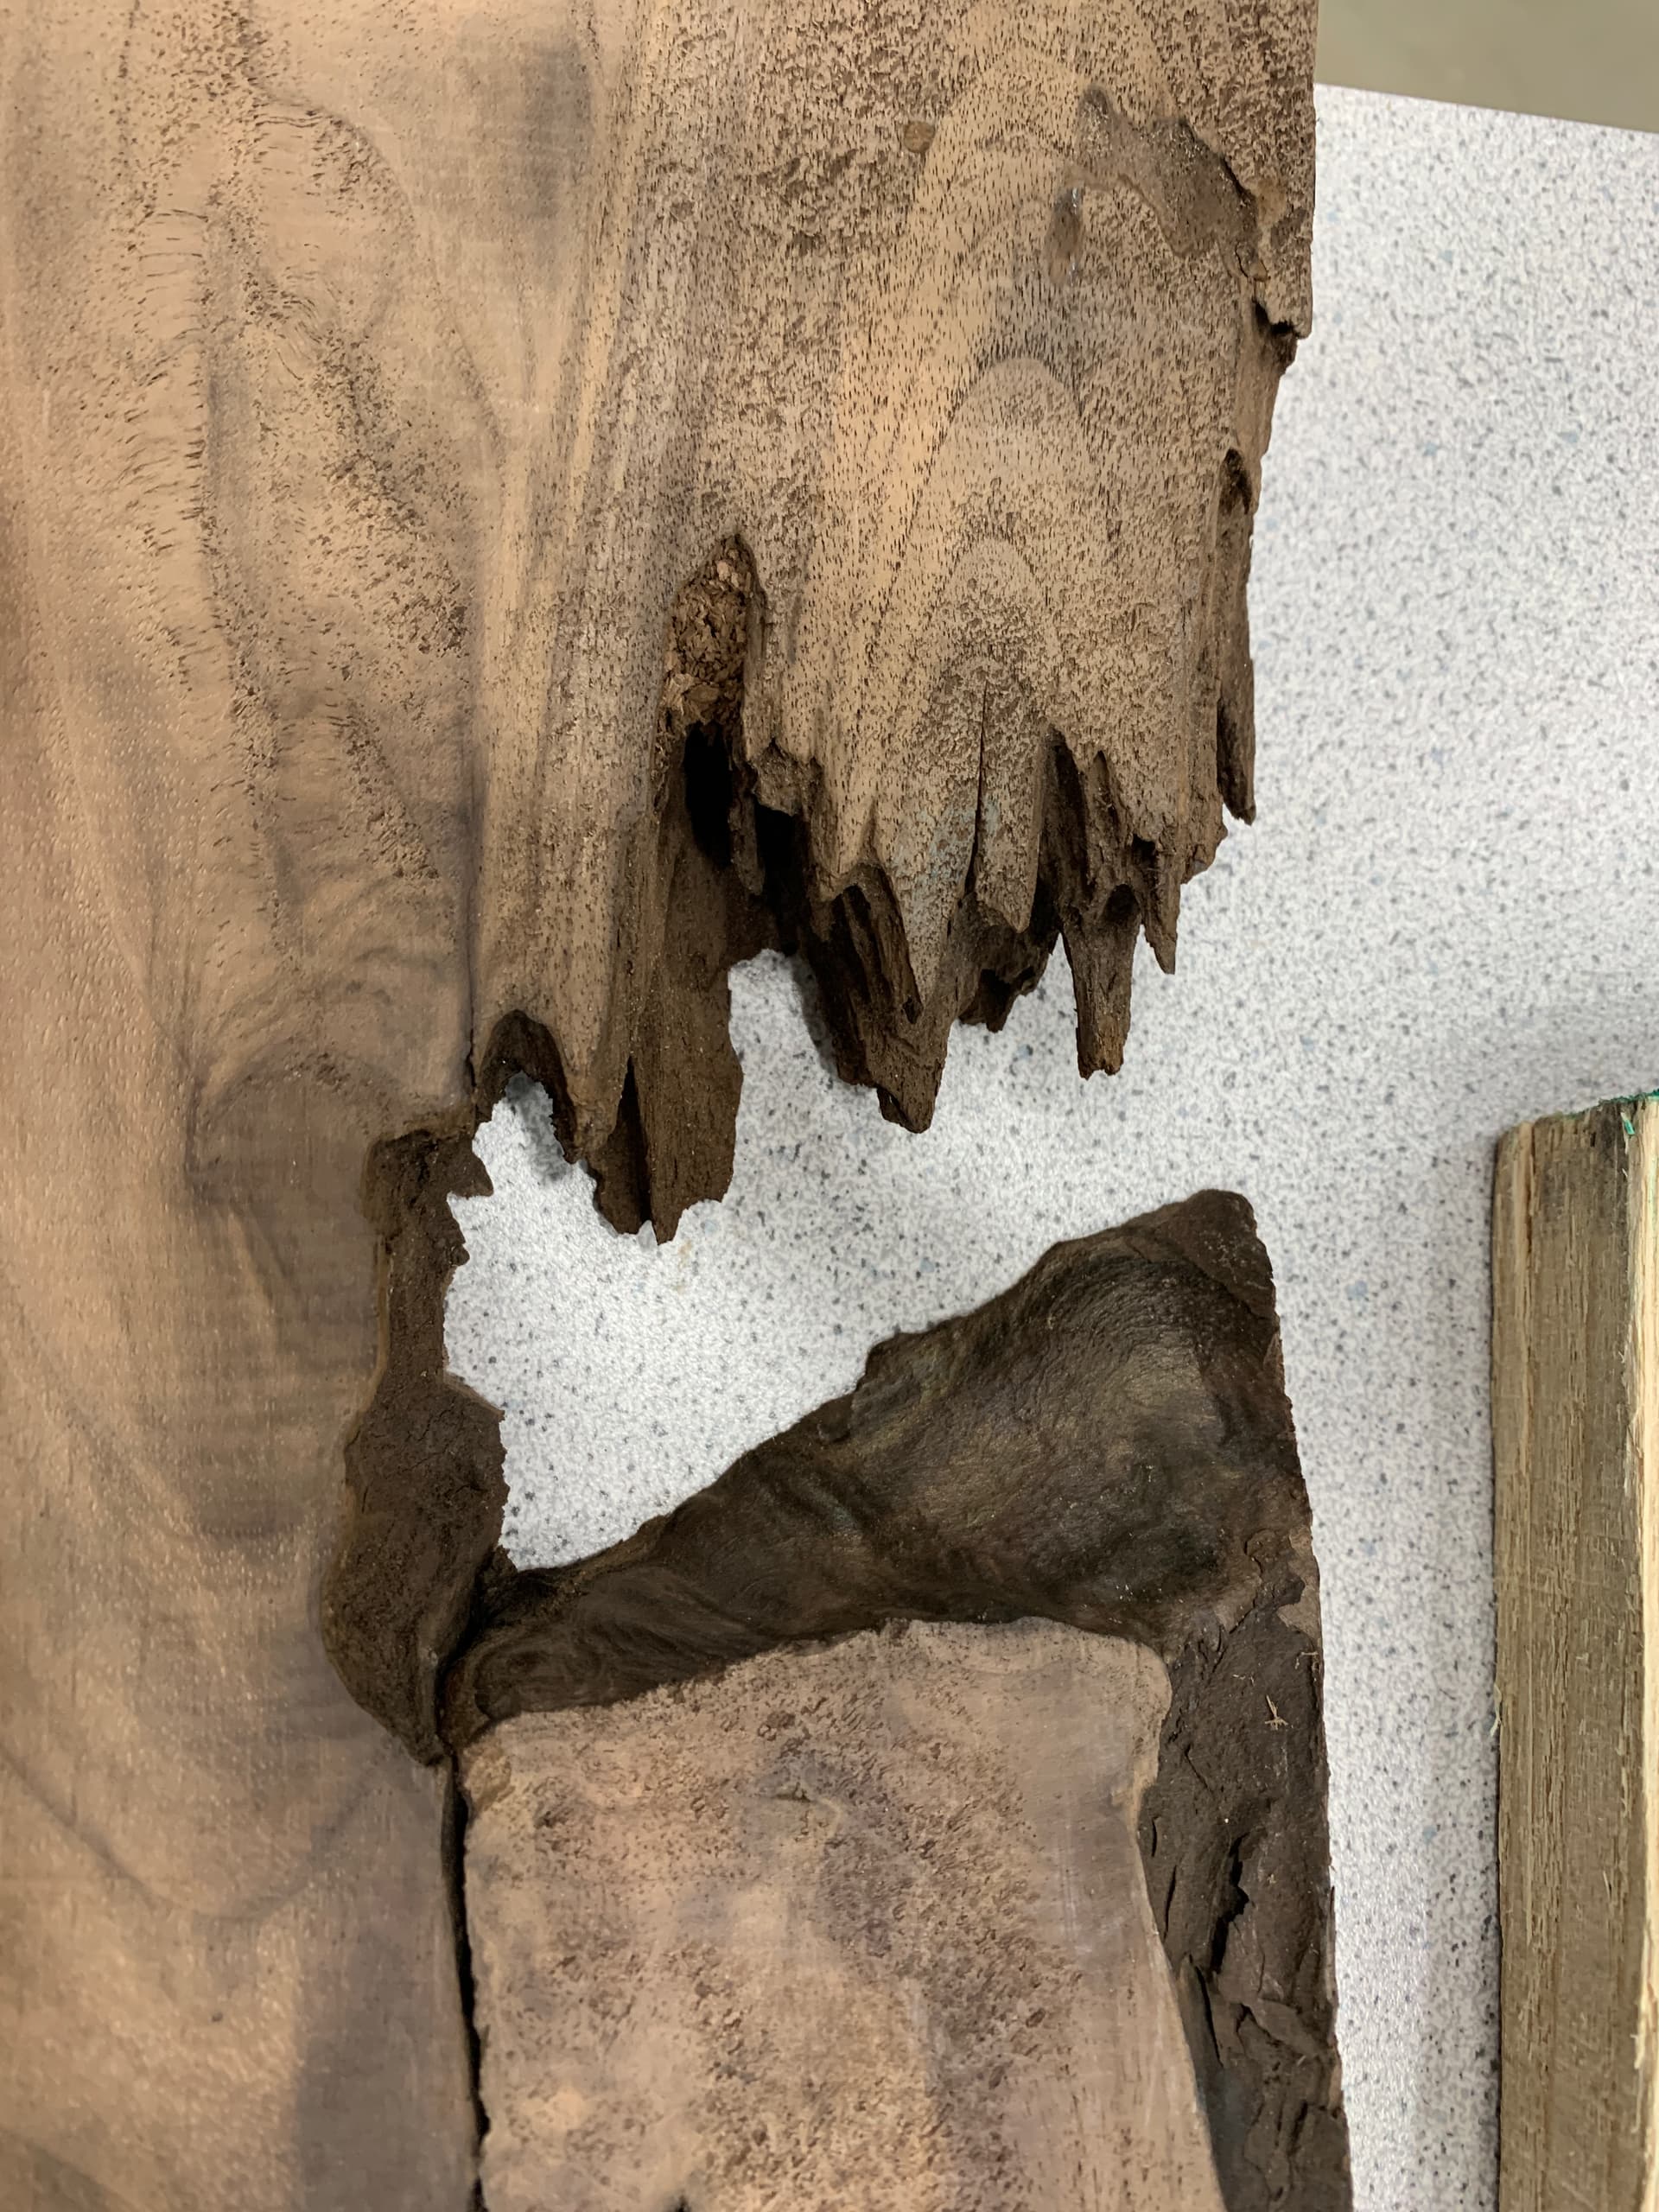
Found a walnut off cut- 27 minutes from finding it, to this end product. That includes 5 minutes finding the sd card and another 3 because carveco crashed (I had 11 project windows open, lol)
And my laser came today. Won’t get a chance to fire it up until after kids are in bed. Feels like Christmas lol
Still need to figure out the mount. I might just end up squaring off a face of the makita mount rings on the belt sander and epoxying a piece of acrylic on there, that I can then bolt the aluminum plate (comes with laser) to
I’m about to start building the LR3 for the CNC aspect, but I would like to get a laser installed on it at some point. When you have yours all setup, can you please give us info on it? (what laser you use, problems you have, etc)
I got the Neje E40, which is a 10w module designed for extended run time for cutting. I’ve seen video demo of it cutting 10mm birch ply n one pass, and 18 in 3 passes. It has integrated air assist which is what swayed me against the A0406 (I think that’s it)
Plan is to use it for cutting 6-12mm ply for signage, and for come engraving (company logo wood coins). Wife want to use it for 3mm cuts for decor
Apparently it’s a simple 2 wire hookup to skr pro board PC9 pin and ground, and separate 12v 4 amp power.