Awesome thanks.
Ordered.
Awesome thanks.
Ordered.
I meant more about keeping the wires and wires loom secure enough I. The box that it doesn’t slip out etc.
A couple holes and a zip tie will do the trick.
Should hopefully get time to work on table and cable clean up at the weekend.
I gave a little wire strain relief into the mainboard box by leaving a little “loop” (just a little extra wire swooped inside before leaving through the slot). I used 2 zip ties tight on the edge to act as strain relief in that mainboard slot where the tft screen wires exit. that seems to work just fine. Did the same ziptie strain relief on where the wire exits the tft case and that works well there too. with the 1m length, i have no issue with it being in the way of anything with the 3/8" loom on it. it drapes towards the back vacuum hose side of the machine and all i need to do should i want it more tucked away is just give it a little push and it hooks on the vacuum hose hook and stays tucked away. I’m planning on doing some cutting this weekend and i’ll make sure to take some pics when it’s setup
lol, 16 days ago
never did get that time to do the table or wire cleanup.
Cutting parts for the table this afternoon though
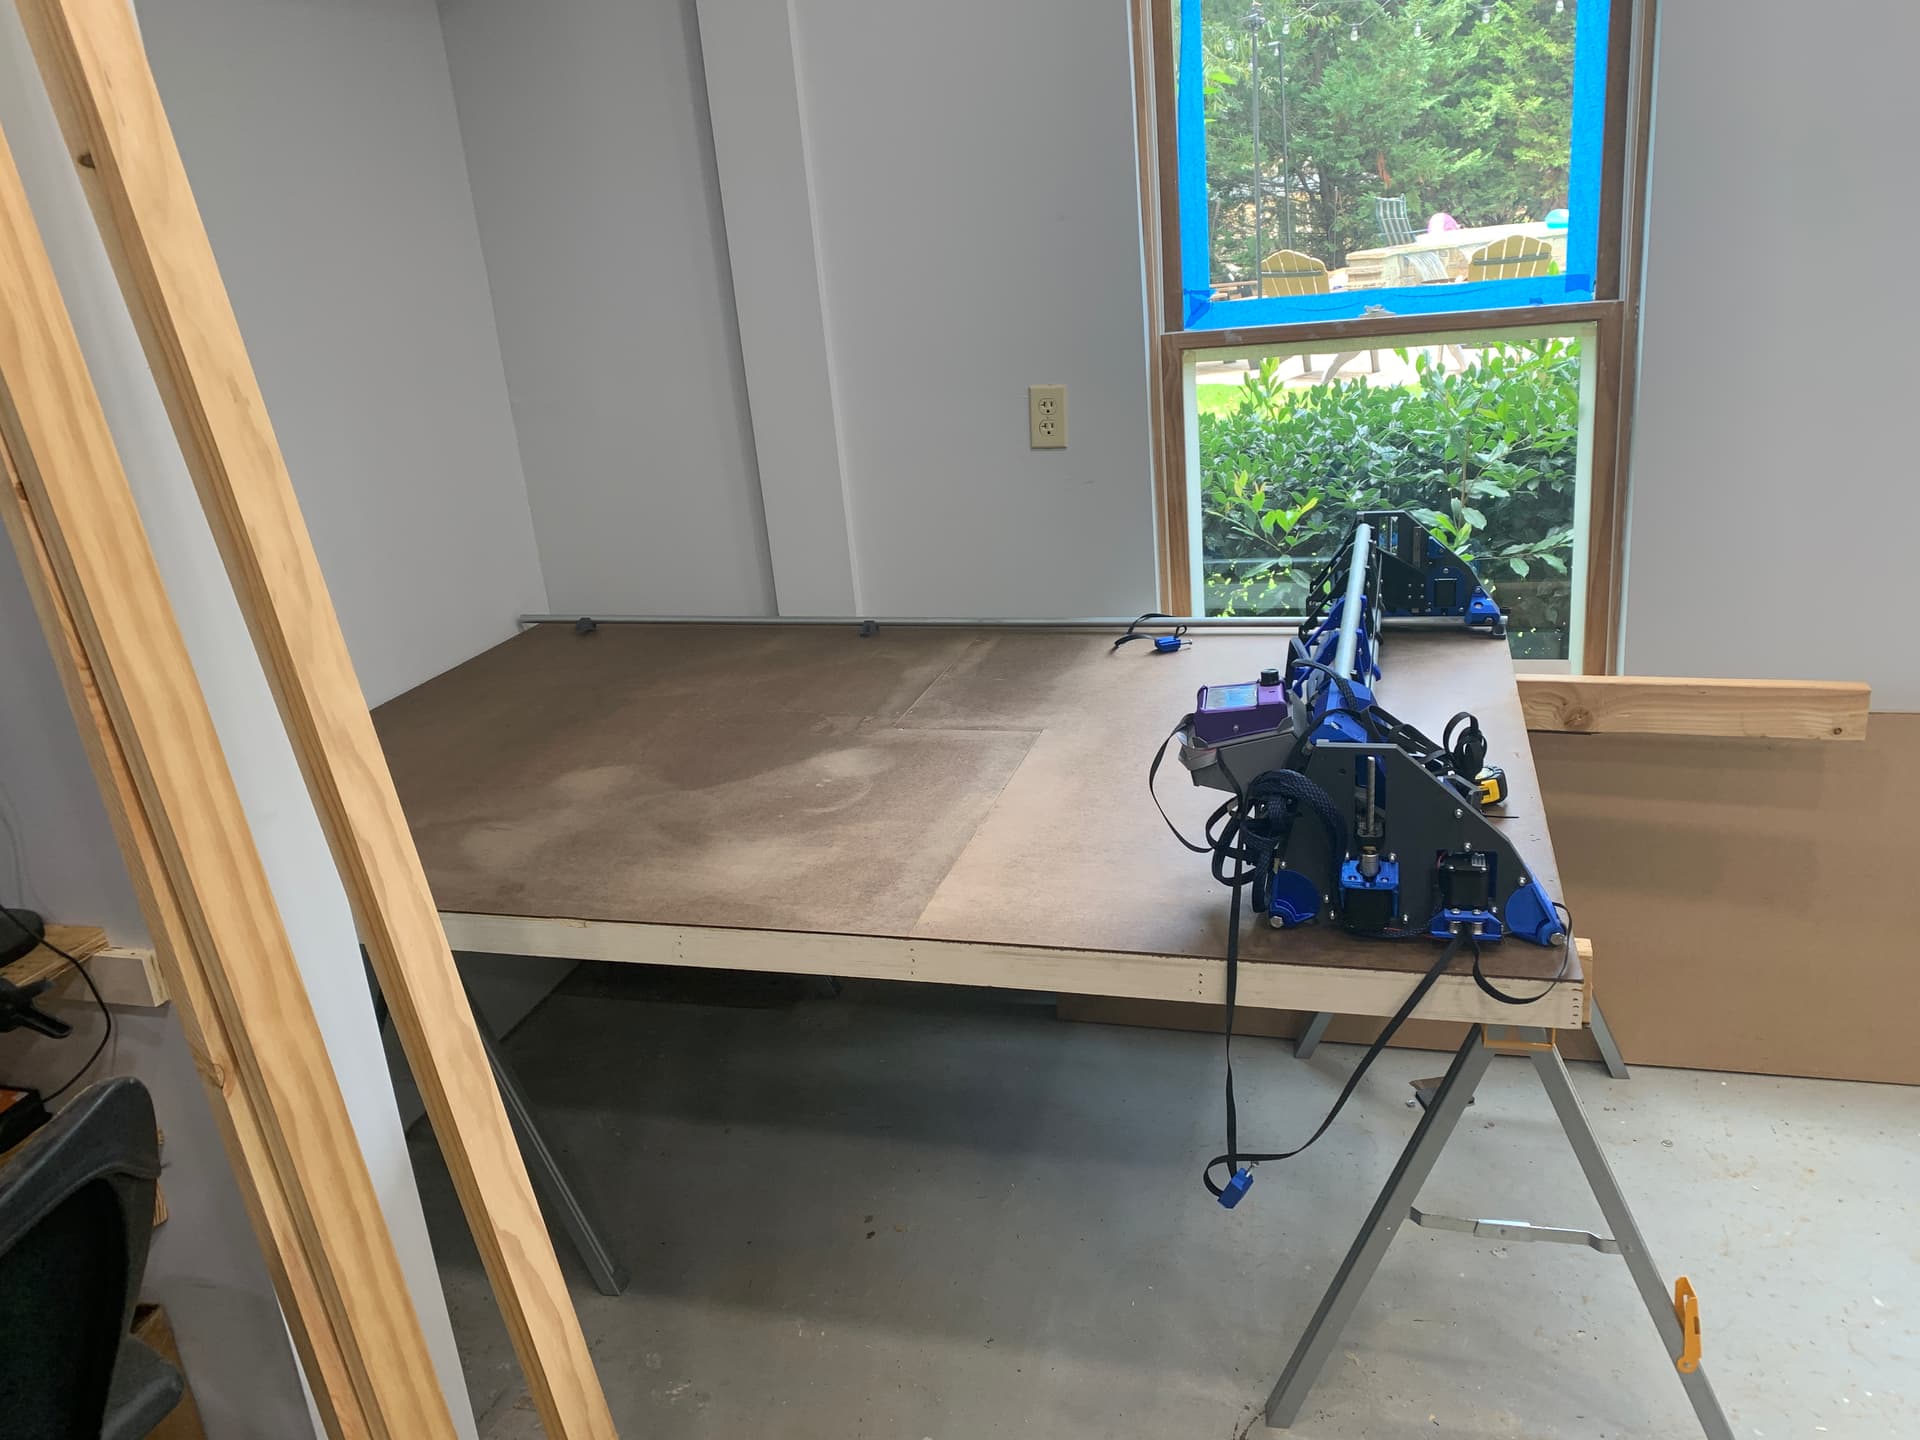
simple platform table top frame made out of 1x3" , faced with hardboard front and back. Then additional 3/4" MDF rails to screw the clamps and tensioners into, and 3/4" spoilboards. designed it to rest on top of a coouple sawhorses and 2x4, will be light enough to break down and store. I need it off my outfeed table, lol
V2 will be a fold up table, once plywood costs come down a bit (or i may use laminated sheathing ply for the table fold up frame
My wife did put me to work drawing out some 3’x2’ posters on foamboard for a project-my outfeed is not flat, lol. some dips made the pen lose contact. im fixing that with a new outfeed top- double laminated 3/4’ mdf finished with formica
Feel so dumb
Just spent a good portion of the past two days building a frame out of 3” rips of 3/4” plywood, with the intention of adding 1/8” hardboard skins, 3/4” mdf spoilboard on top
Had to do some extra supports, and use odd shaped cuts in the skins because it’s 51” wide, 75” long. I didn’t like the thought of a single seam across the entire width, so I staggered it a bit hoping to offset any inconsistencies
I should have just cut my lr3 tune down 3” to make it for the 48” sheets goods. I probably won’t ever miss the extra 3”
Target fixation on the table top, and should have looked for a different solution
Too late now. I’ve cut and glued the frame and one of the 4 boards.
I’m so dumb sometimes
I have been there, and felt that way. Also sometimes being obsessed with overthinking it so you don’t make any mistakes (to avoid regret) can be paralyzing. Sometimes it’s better to just bite the bullet and get something done. I had an old friend who used to say “let’s do something even if it’s wrong!“
I also like, “do it poorly” as a way to beat procrastination.
If it’s worth doing, it’s worth doing twice
I’ve been hearing “fail fast” recently. I like the feel of this as it is saying “if it’s not going to work, let’s find out so we can get to something that does.”
Made me think of this…

Great if you aren’t already sweating about $67 mdf and $80 BC ply…
Got some time to finish the table top- almost- its a frame of 2" wide 3/4" plywood i repurposed from an old french cleat wall i pulled down when we moved. skinned on one side with hardboard, and dumped on top of a base consisting of a couple sawhorses and 2x4s.
Plan was originally have it easily broken down so i can pack it into the corner, but it doesnt feel as intrusive as i anticipated, so its possible itll stay out most of the time. Its also a bit more awkward to move than I hoped, with the width, so i think ill get to V2, fold up table quicker than i thought
Next- 6" wide, 75" long strips of 3/4" MDF will make up a couple pads ill run up the sides in the direction of the Y axis, to raise the height of the pipe rail and the belts to the same height as a couple 42" x 36" 3/4" mdf spoil boards. this way, i dont lose cutting height due to the thick spoilboard. im considering adding some hardboard under the spoilboard to raise it 1/8th" to give me some surfacing depth, and still end up flush with the pads
i haven’t sheathed the underside, as i still have to glue in some blocks ill use to attach the spoilboards with threaded inserts and bolts. then i have to cut some holes that will take 1" long 3/4" PVC pieces ill use in conjunction with wedges for work holding
lolz
I hate having down time between parts of a project, too much time for second guessing and redesign
I’m going to sheath the other side in 1/4” ply, and use that as my top surface. Cut the width down to 48”, cut the top tube the relevant amount and then build a flip base for it. If I’m not lifting it, I can afford the extra rigidity in the bed by adding the ply.
That’ll be a project for next week. This weekend, I’m building drawers into my outfeed table to hide the junk that used to be in that corner
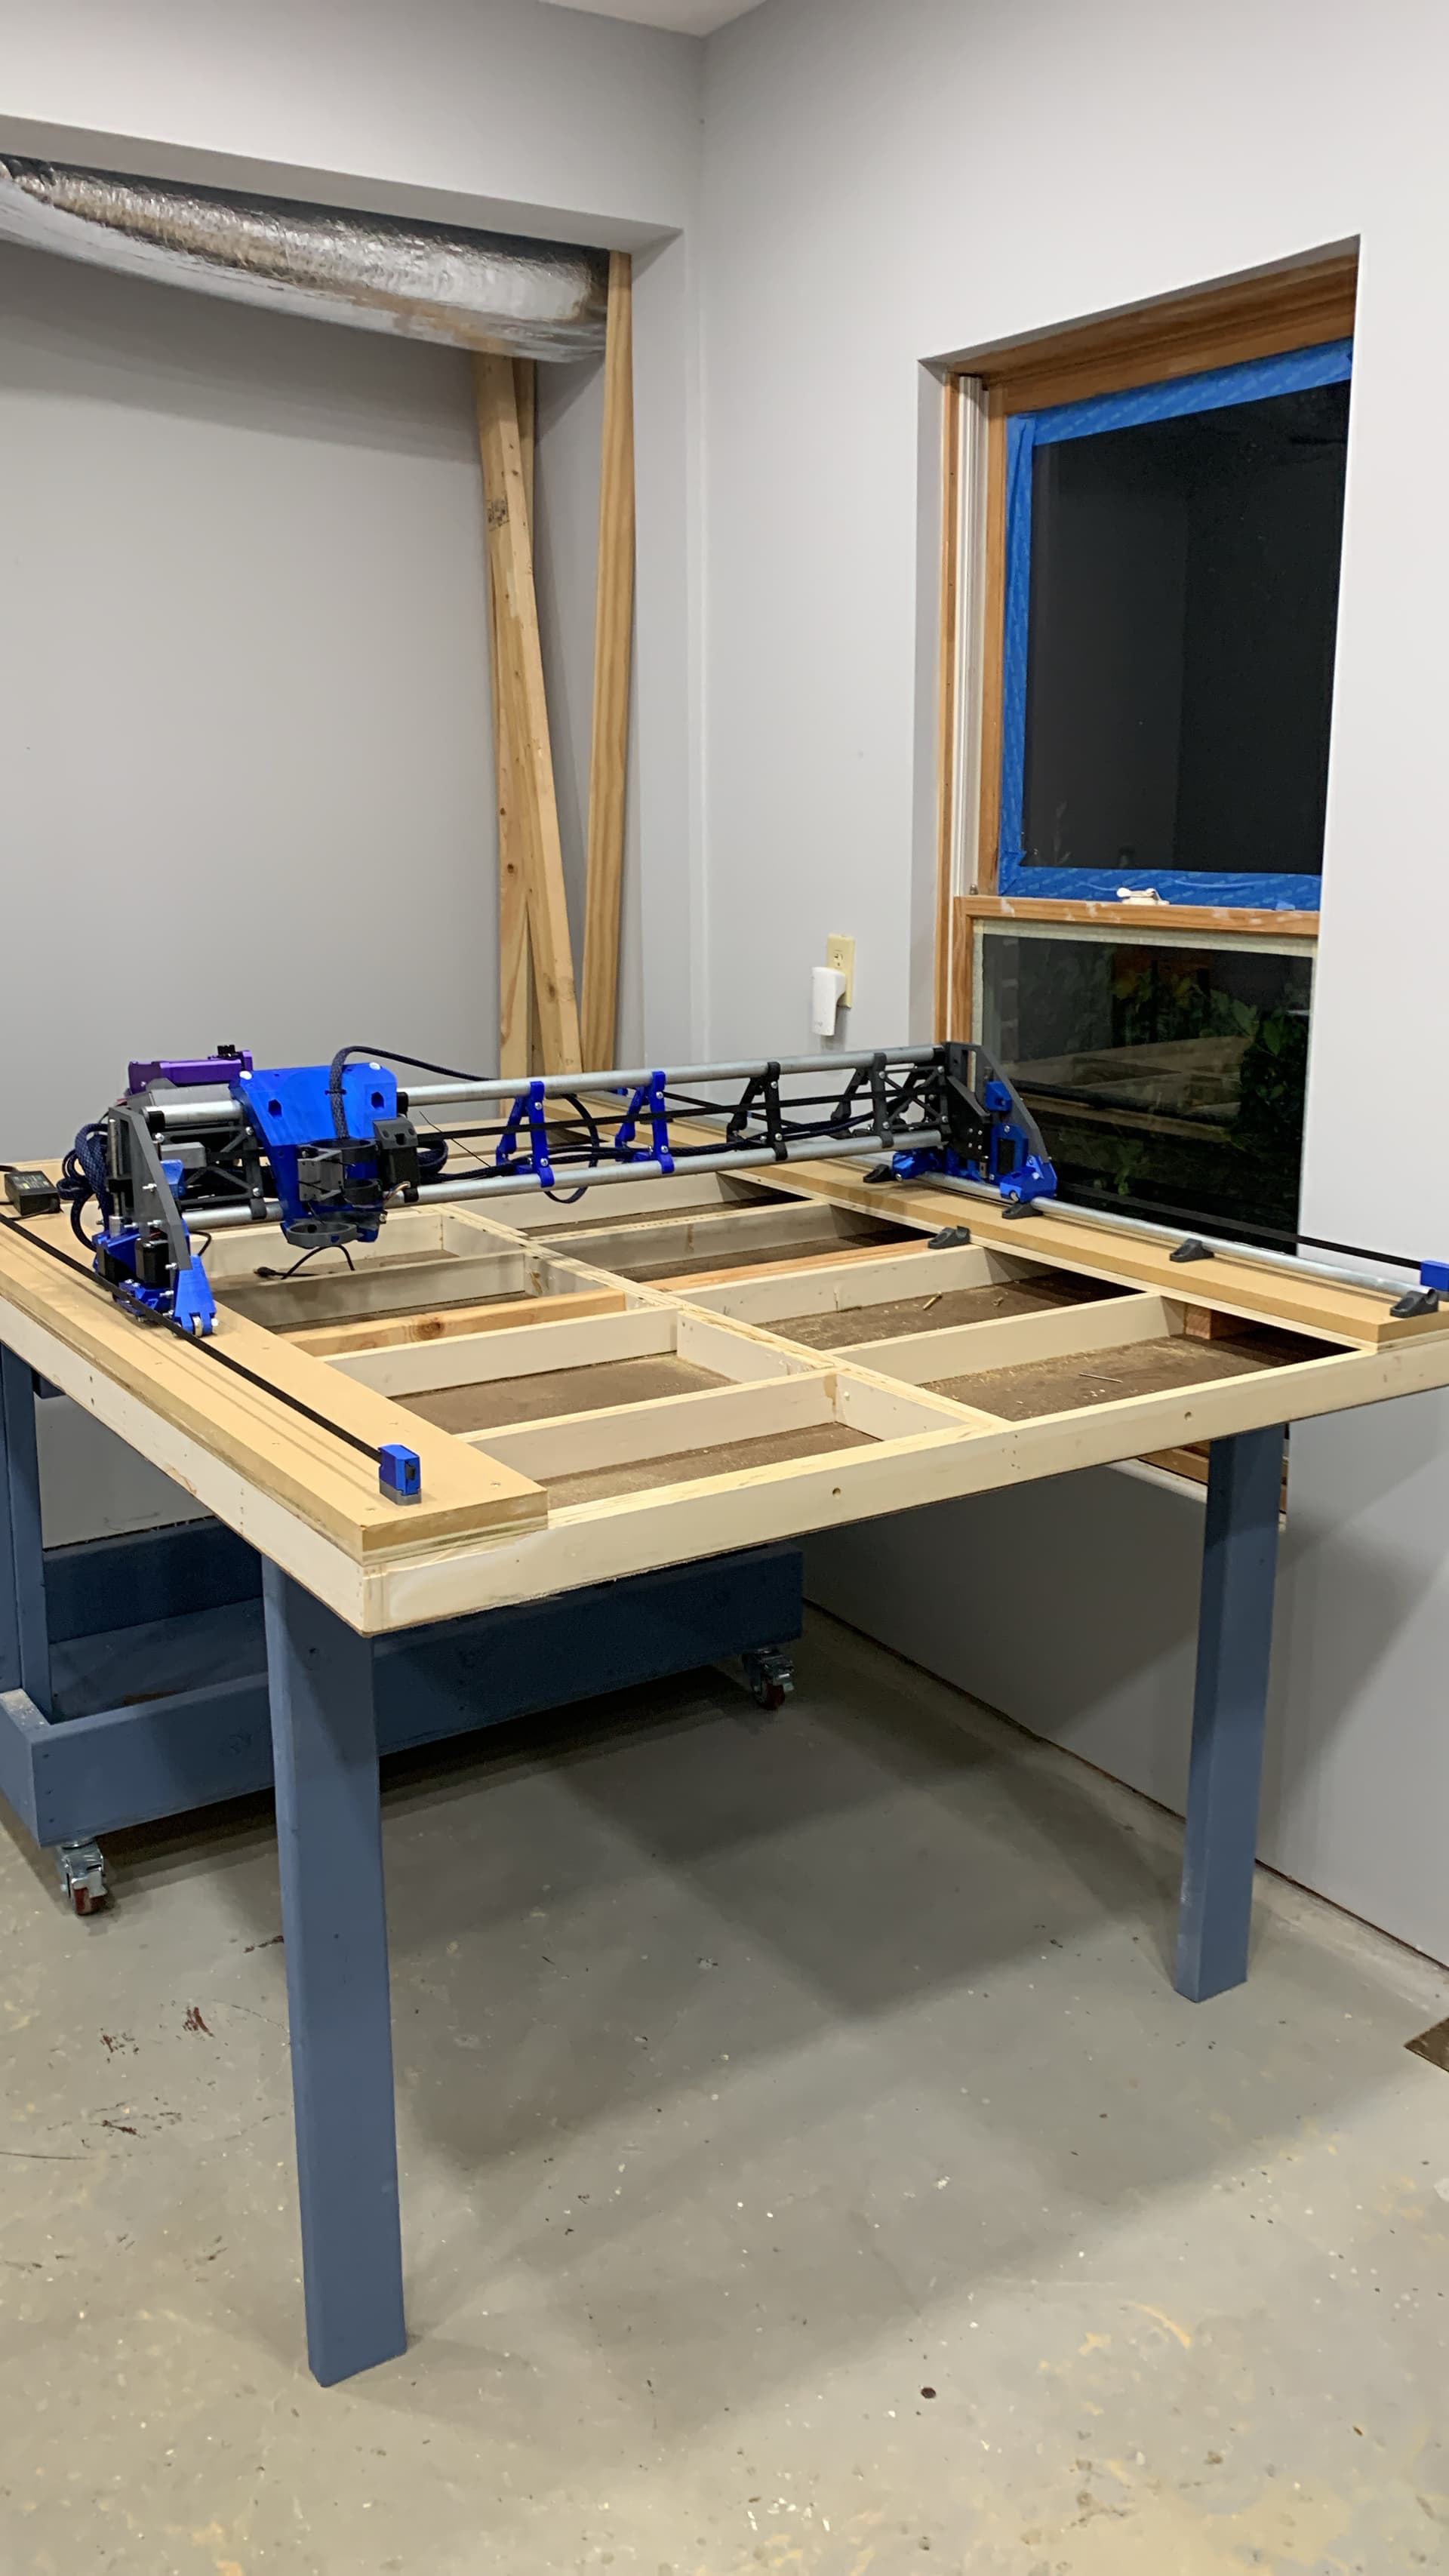
My ‘next week’ project turned into a ‘next month’ project. Kids went back to school, so I had to tackle the backlog of house projects, so I only just finished the base.
My FIL gave me 3 sheets of 1/2” 4x8 ply he had just sitting, so that’s awesome. One will be the ‘sub-top’ onto which I’ll put the 3/4” spoilboard.
Problem is- when I added extra support inside the torsion box top (kinda, not really) I was supposed to cut one side down so it was 48” final width. I forgot. So table is 52” wide, 75 long.
I can cut two pieces of the plywood and have a seam running at 48”, across the width, or use one full sheet and a 4” strip along one long side. I’ll be putting 2x 6” strips of 3/4” mdf along the long sides to hold the rail and as a flat base for the wheels, and have 2 removable spoilboard of 3/4” mdf in between- so a long plywood seam under 3/4” mdf might not even be noticeable.
I think I’ll go that route first and change tack if there’s an issue
DUDE! That is slick
Thanks
Working on the actual top, ‘rails’ and spoilboards today/ tomorrow.
Hoping to be cutting struts over the weekend
1/2” plywood for racking resistance, followed by 3/4” MDF ‘rails’ for the apparatus to ride on.
Middle section is a full 36.5x 64” cut area, and will be 1/2” ply topped with 3 36x 22” spoilboards.
Haven’t figured out how I’m fixing them in place yet, or workholding. Not a huge fan of the mdf segments and t-track, but it works for the big boys.
Thinking regularly, strategically spaced holes that will accept small cut offs of 1/2” pvc that I can use as stops for wedges. I’ve seen it done on “Broinwood” YT channel and it looks like it works well
Just make sure you have clearance for clamps. Some of those t track clamps are too big to fit under the LR.
I just have a spoil board and I use drywall screws as clamps. I’ve even hit one before and it was fine. If I can’t drill into the workpiece (because it isn’t a cutout part), I use a scrap piece of wood with a woodscrew in it as a clamp. Works for me.