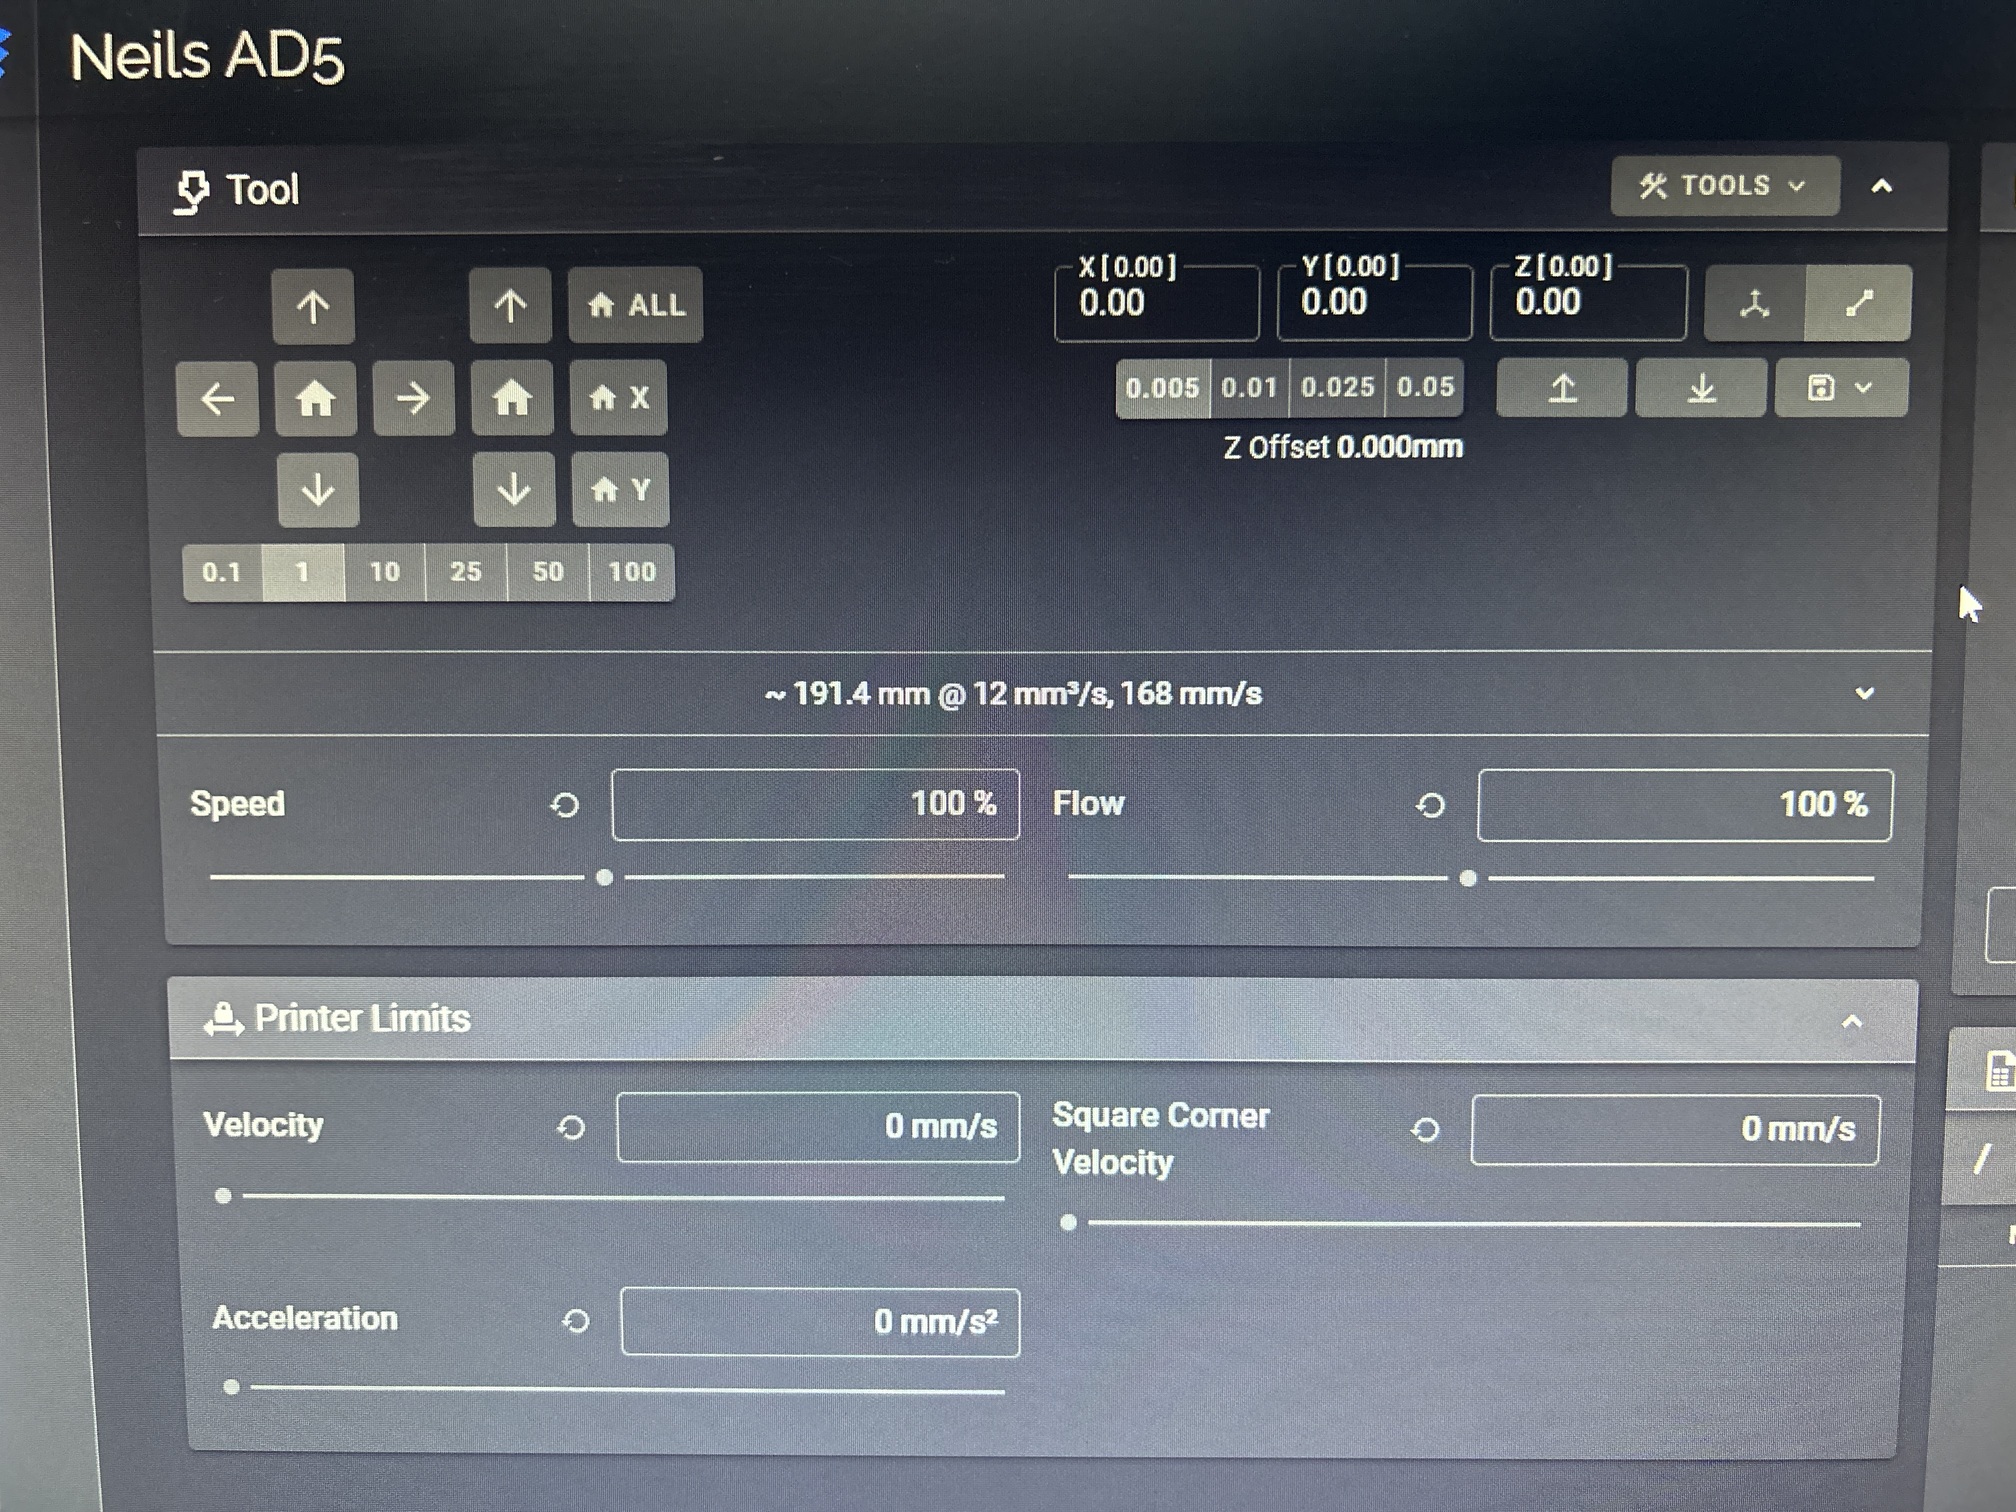
Fluidd and Mainsail are the two main UI choices for browser based access. They are very very similar. I started with Mainsail for some reason and never really did more than temporarily look at Fluidd. Maybe I will try it out some more.
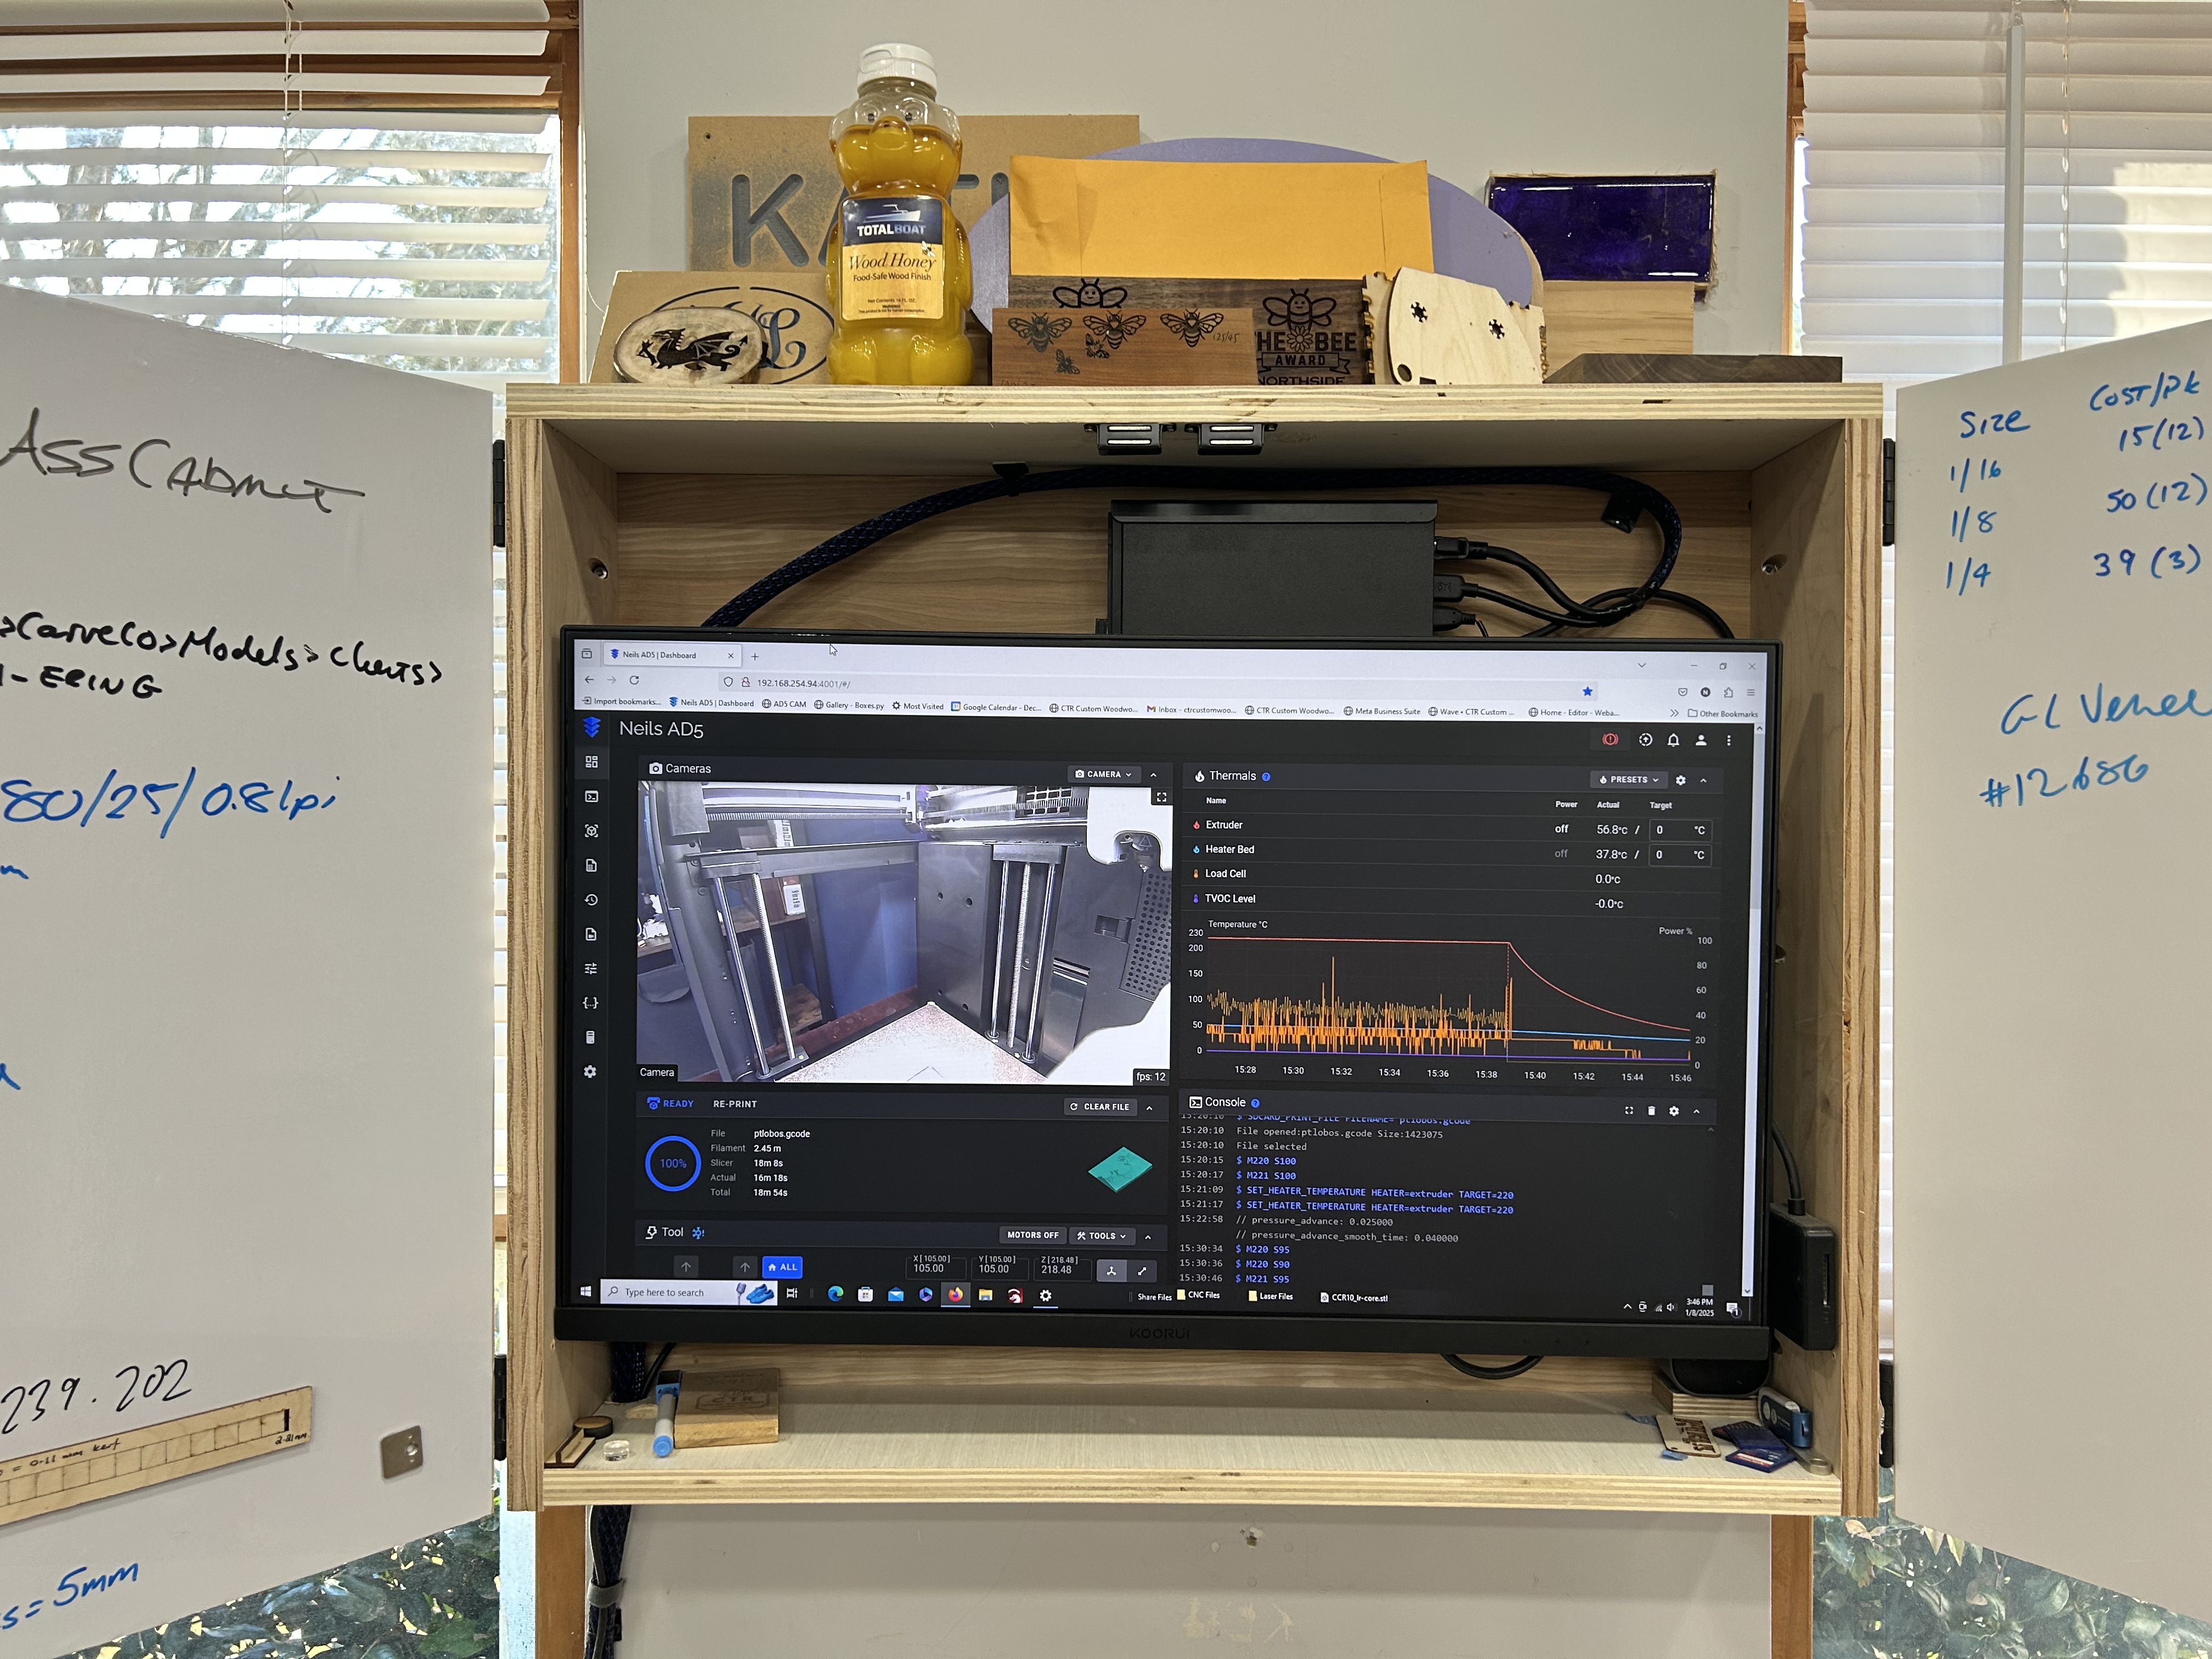
Mainsail uses port 4000, as opposed to 4001.
1 Like
What would the port # be for that, if I wanted to try it.
My post with the port number passed yours on the way to the server.
1 Like
Oh, I like mainsail better, LOL
1 Like
I’ve been flipping back and forward between mainsail and Fluidd.
I’ve decided I like fluidd better, mainly because I was able to figure out how to get “cancel object while printing” working for when I do batch jobs with multiple items on the plate.
Printing those drag chain links has been keeping me scratching my head- siffered two nozzle clogs, which took some effort to clear. Turns out two of my rolls consistently clog, my others don’t. $14 vs $21 rolls.
Anyway, being able to exclude objects that are failing without losing the whole plate is something I liked on my old printer running octoprint, so I’m happy I got that functionality in this build.
Running calilamtern tomorrow!
1 Like
Sometime you’ll have to show us how you do that.
2 Likes
@DougJoseph definitely. It’s actually a lot easier to do than it seems from the literature. Couple radio button clicks and it works great.
I am however having issues with Mainsail / fluids connecting to moonraker, which leaves me in the position that I can’t even use a usb on the screen to run jobs.
1 Like
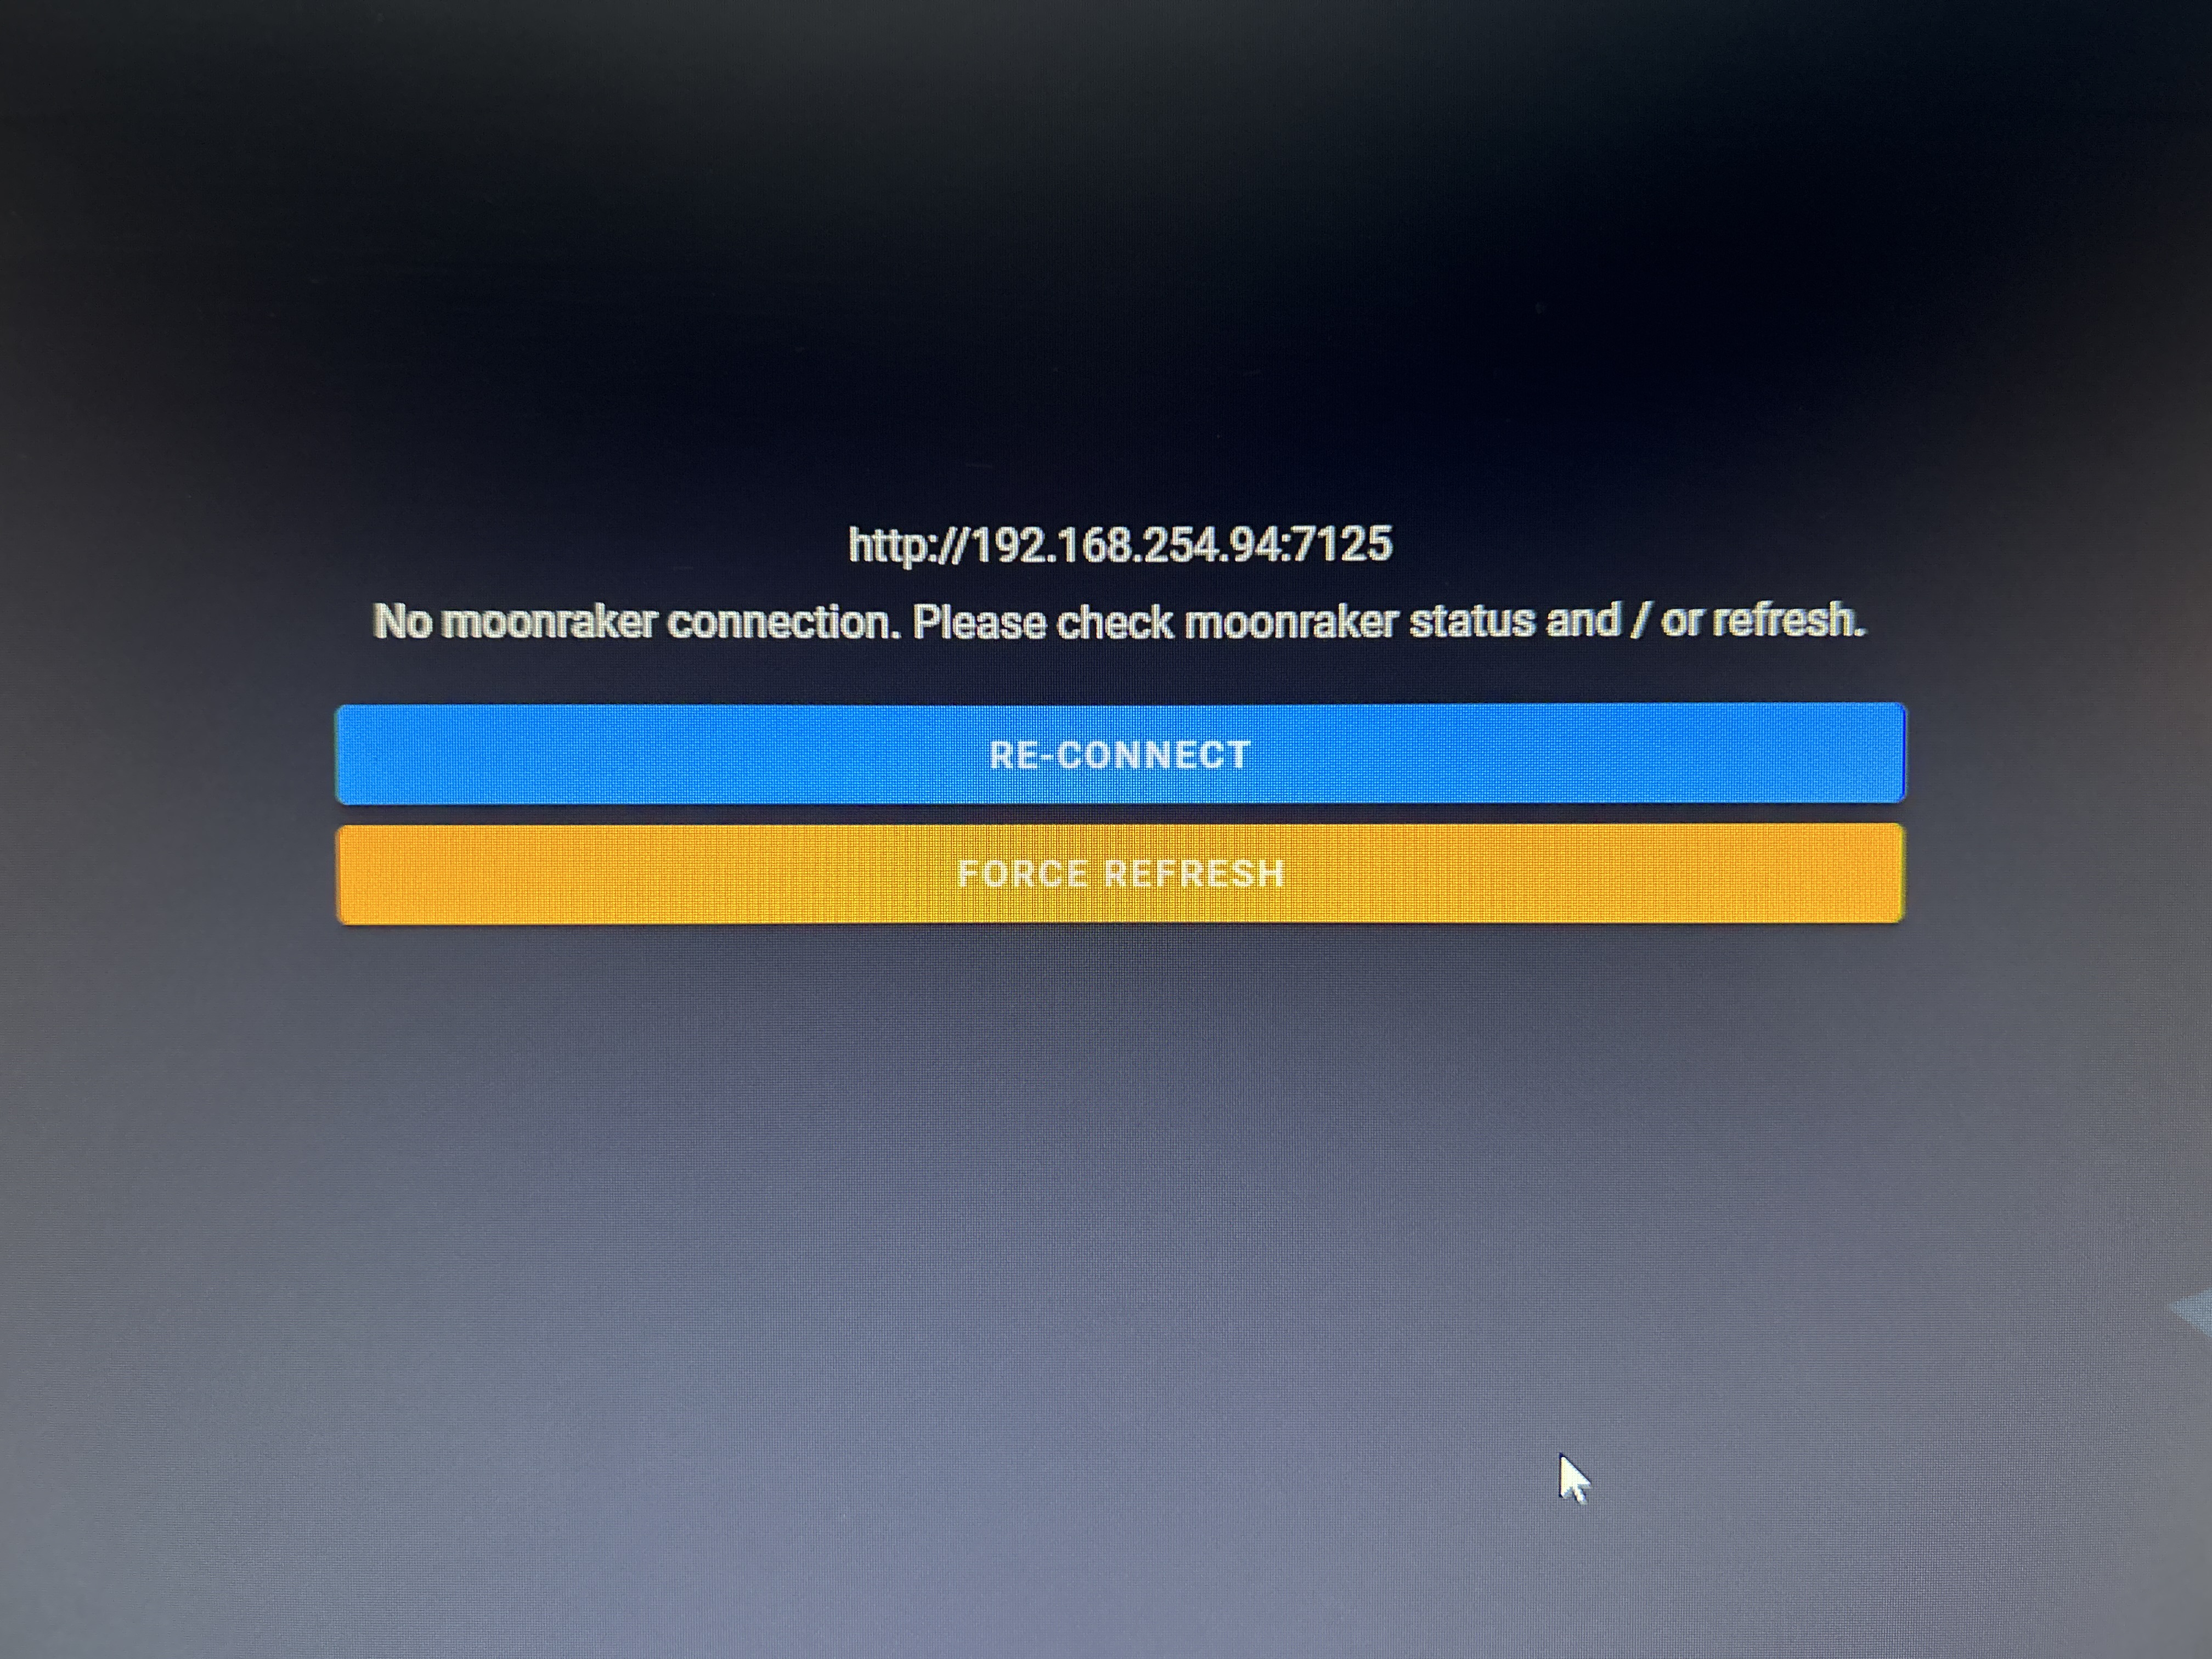
Apparently there was a moonraker update that caused an issue.
I simply uninstalled and reinstalled Klipper, now I’m back in business
2 Likes
I am not positive, but I think the Klipper Mod’s default values and settings don’t have updates set to happen, and I’m OK with that given the thing works. If some change is made that causes auto updates to start happening, it could be problematic, because the authors of the mod had to work very carefully to get a certain version of whatever to work with the slightly older version of Klipper that comes stock on the AD5M’s main board, and I think they recommend keeping it at those versions.
I don’t even know where to start looking to check if they somehow auto updated or to turn it off if so.
Seems to be working now though. Fingers crossed it sticks
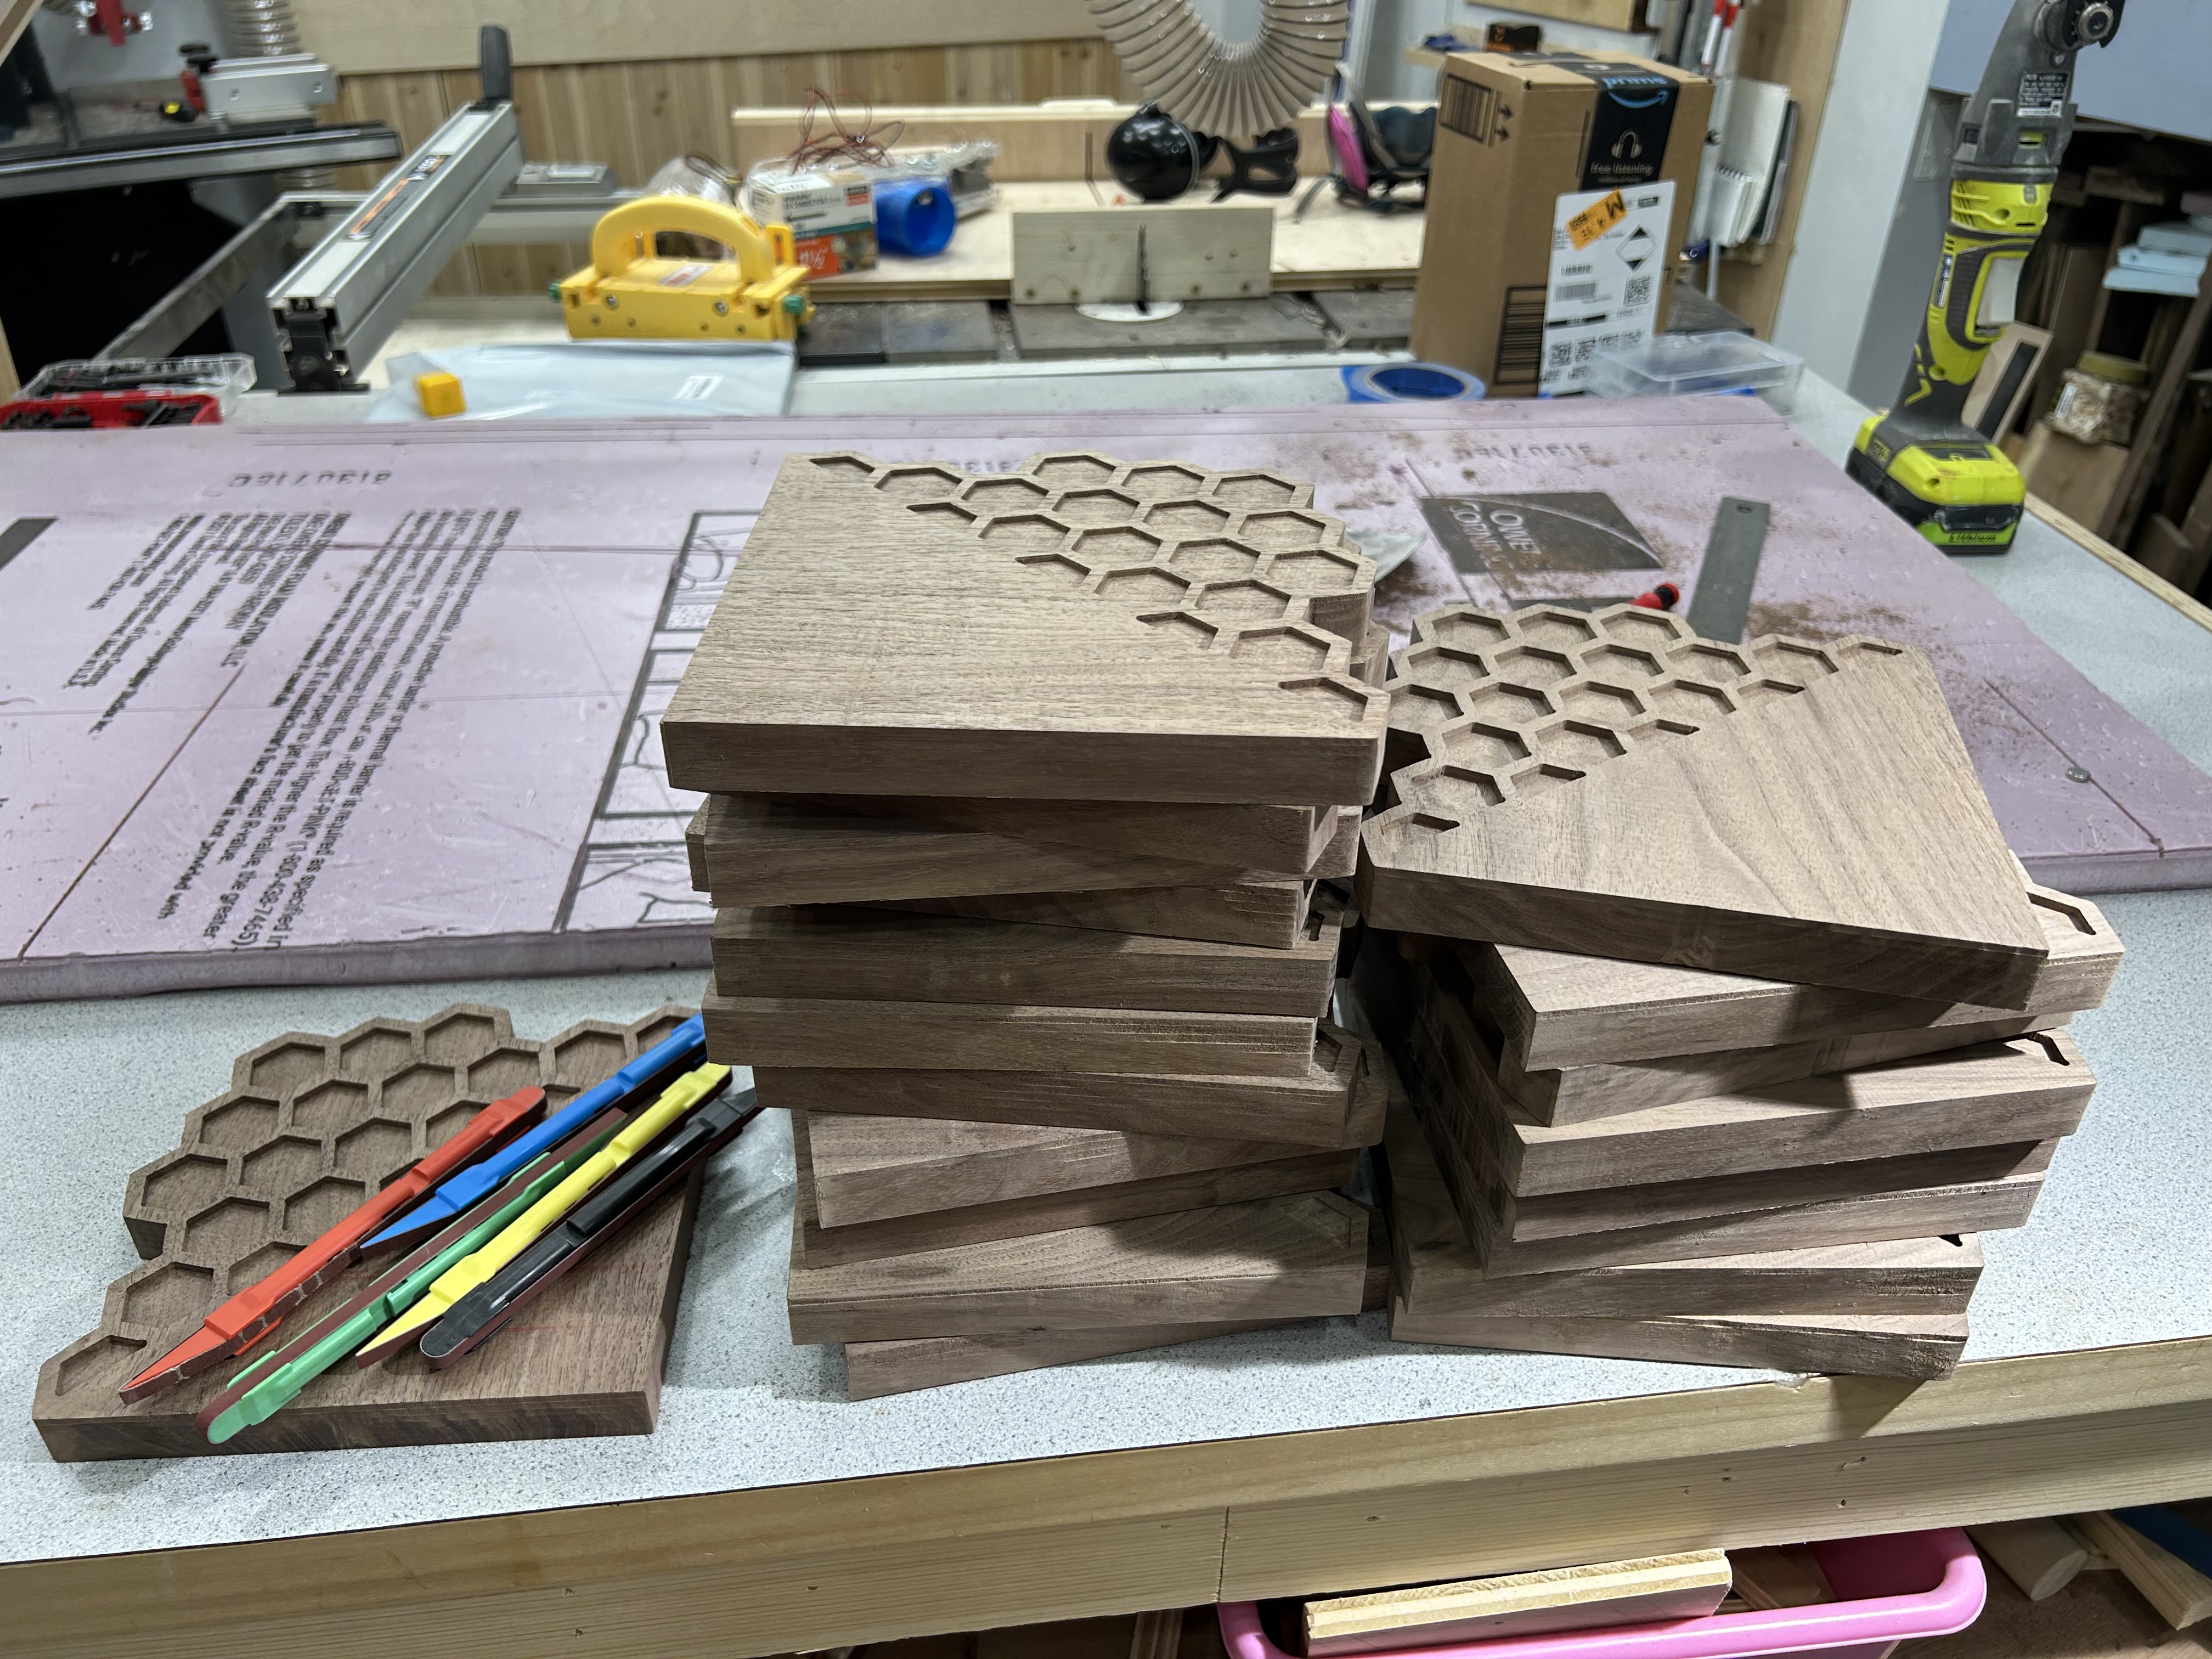
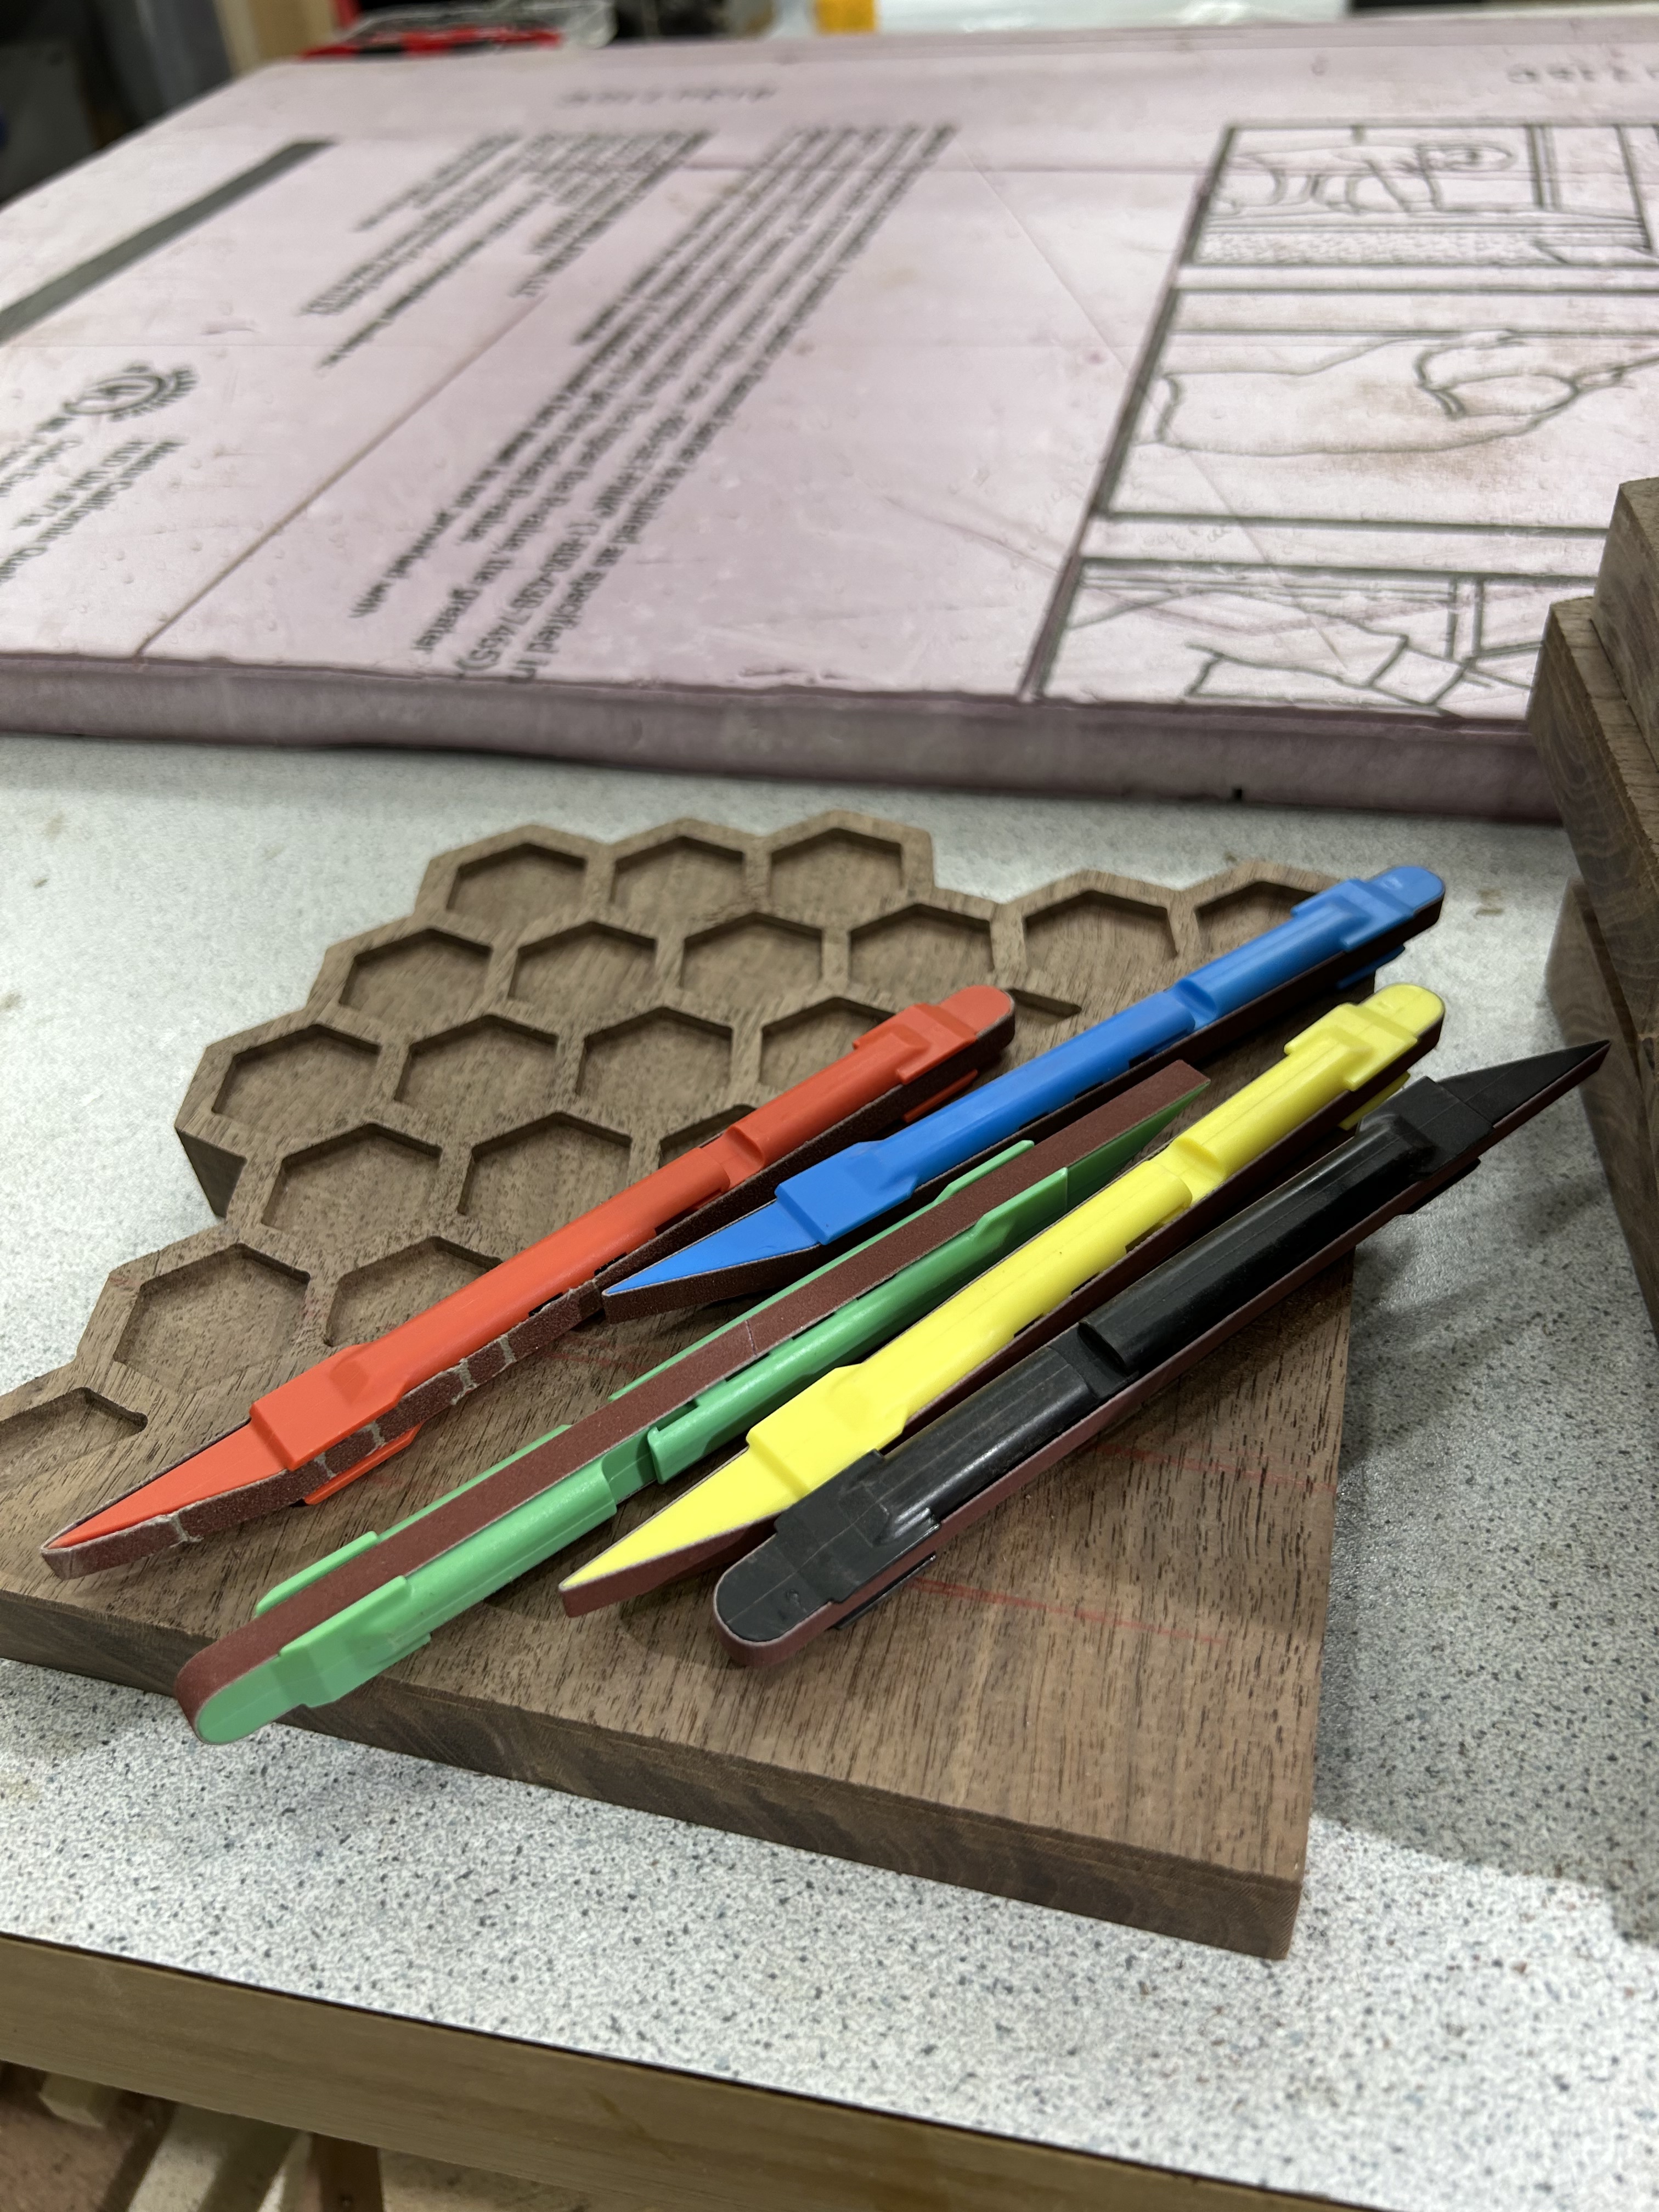
Guys, talk to me about ‘finishing passes’ lol
Detail sanding every single vertical face on these boards… uugghhh
2 Likes
Always worth a shot. You can do a regular roughing and finishing then a second finishing only. It would not cost you much time.
I think the biggest trick is the first finishing pass needs the right amount of material left and a dialed in RPM. The second one should help with any fuzzies.
1 Like
Yeah, the RPM thing
This last batch was making dusty dust, not chips. The lumber had been kiln dried, then extra dried for a couple months in my shop. Moisture is at 9%. Lots of fine dust being produced but I don’t have time to mess with speed and feed on this batch. Due Friday.
I printed a new LR3 core, and may install over the weekend. I might steal a few hours and try testing speeds in this next batch of lumber and new core.
1 Like
This batch out the door
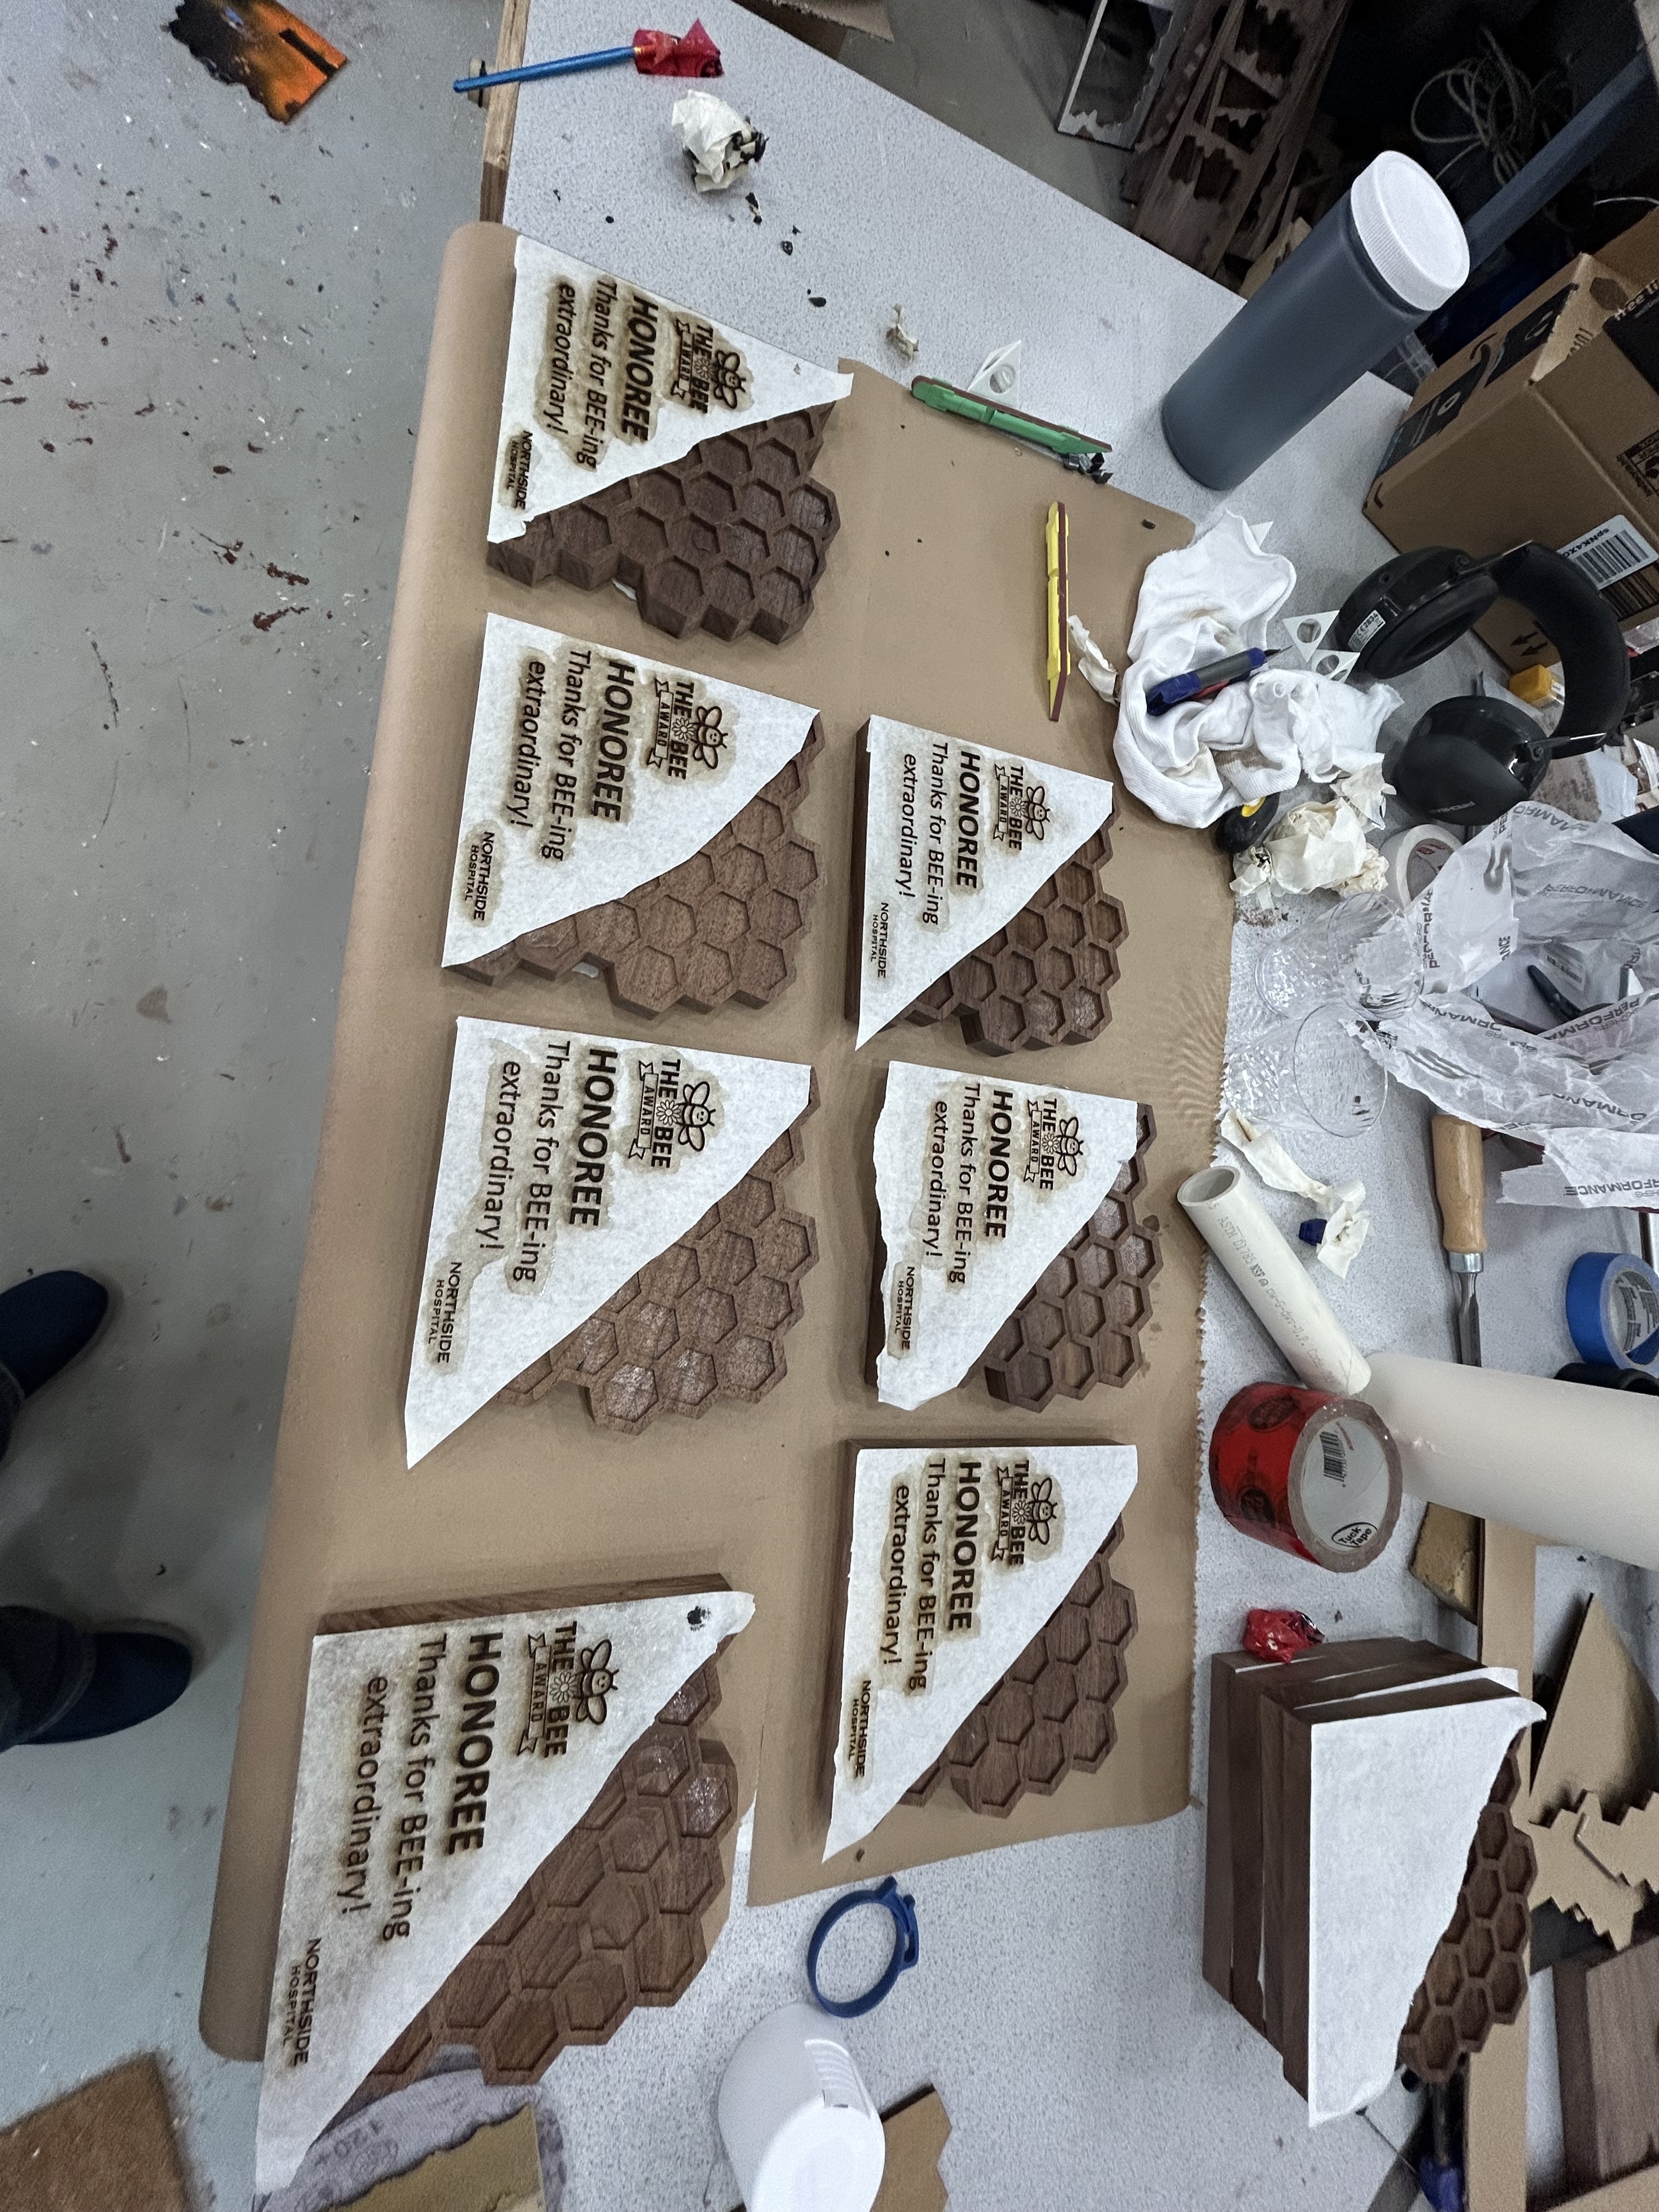
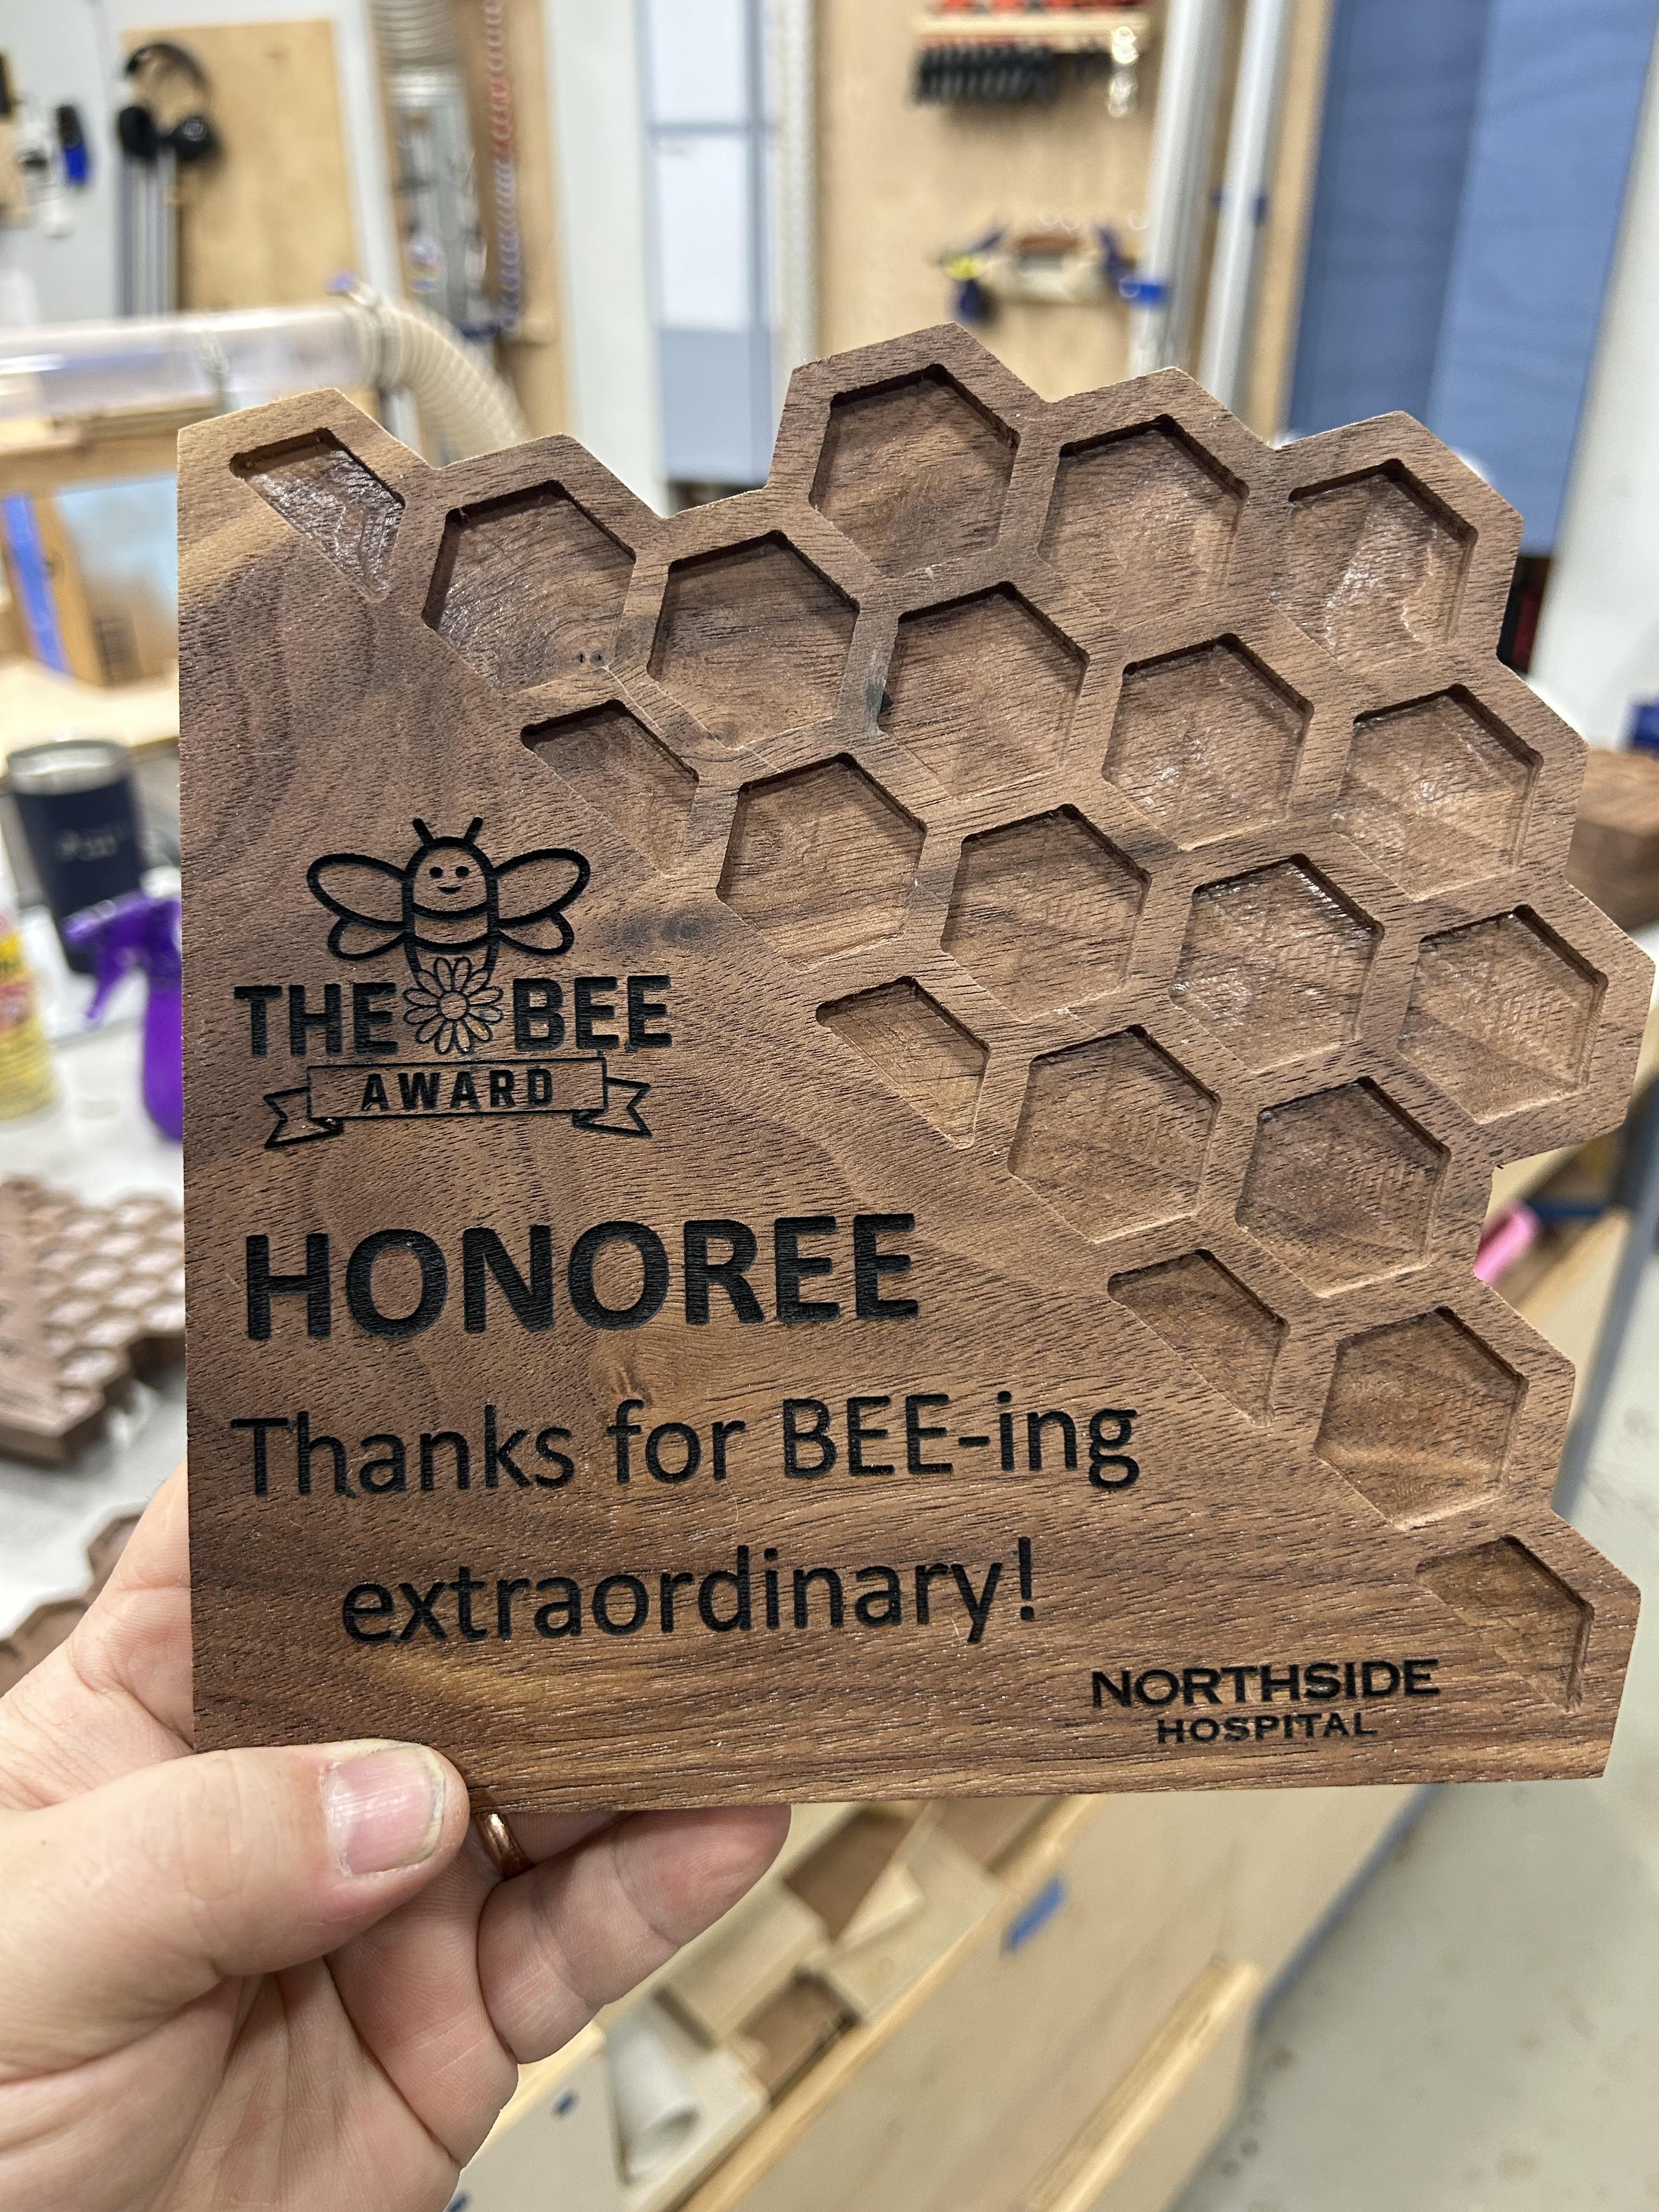
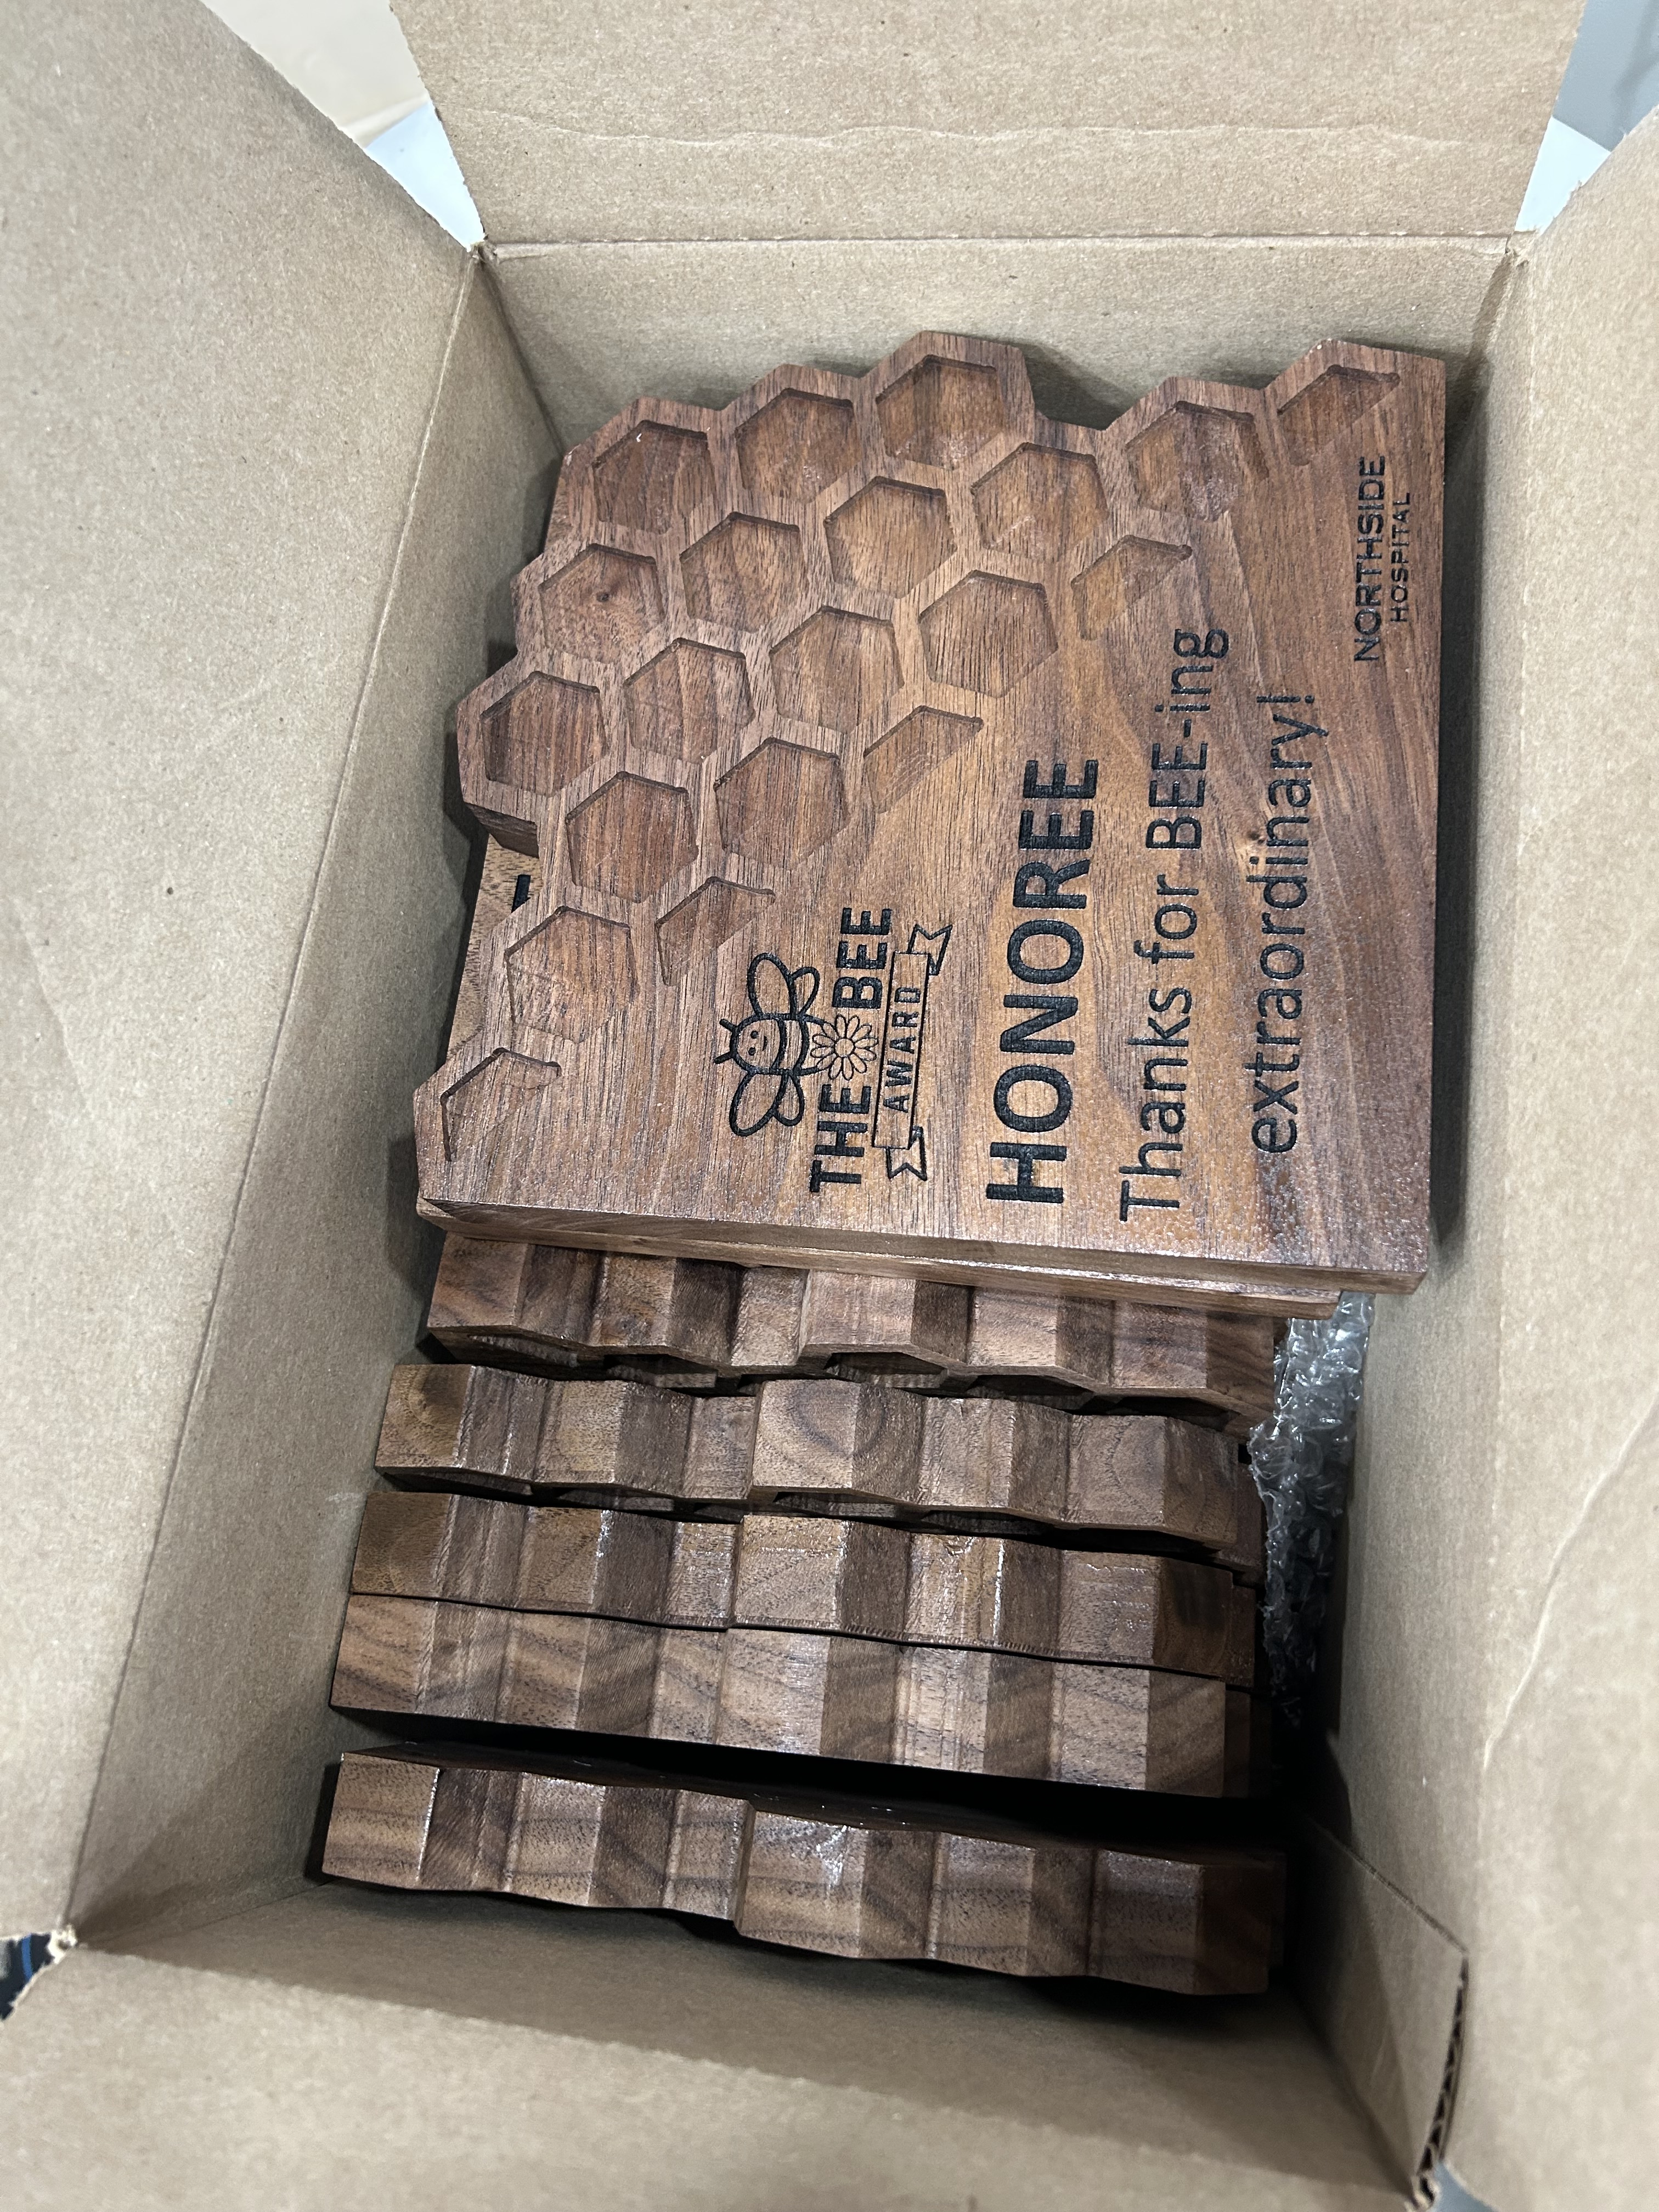
Considering I have a cracked core, came out really good. I need to streamline the painting and finishing, but I’m working the process.
I’m considering moving from paint (which requires refinish, masking, sealing, painting, drying, removing the mask, sanding, and finish) and going to thermoplastic powder coat paint. I would simply engrave, wipe off residue, fill with the thermoplastic, remove excess, and blast it with a heat gun. Might shave hours off the process.
10 Likes
You rock. These are awesome
2 Likes
You mentioned a heat gun. There’s a chemical called ammonium chloride that you can get pretty easily online. If you mix a little of it in some water and paint it onto wood, then hit it with a heat gun, it’ll burn the ammonium chloride wood faster than the wood that wasn’t treated. That being said, I don’t know if a way to easily apply it that’s different than what you’re doing with paint. It could just get you a wood burned look other than a painted one if you wanted to.
Thanks for the hint. That’s a pretty standard technique for making burns darker in laser work. Problem is that in my case, using the kiln dried walnut, the result is a deep chocolate brown colour. The client wants black so we went the paint route.
I currently use borax for other items, which does get darker, but doesn’t penetrate very well so gives variable darkening.
1 Like