The 'Black and Blue' LR3 build

Sure- I’ll find them and send them

1 Like

Dude you are rocking the projects output! Cool stuff. Somehow quite a few posts had gone unseen by me, quite a while back, and I just now somehow stumbled onto them. Impressive!

2 Likes

I appreciate you saying that- high praises coming from you.

I took a week of for the holidays, backnin the shop next week. A couple BIG projects then a few more smaller boxes planned. Should be fun

2 Likes

Does the arm with the vacuum hose actually move back and forth on the rail or is it blocked by the zip-ties? I am designing an arm for my suction and am not sure whether it needs to move back and forth or if it can be static as long as it’s got a joint at the wall.

1 Like

It moves, but it’s so high up and there’s enough ‘slack’ in the hose, that it doesn’t really need to unless I do something where the material is long. So if the end of the material goes past the mid point of the table, you can see the arm swing and retract as the gantry moves along X

If it’s high enough to provide slack in the hose, and reaches at least to the middle of the table in X, I don’t think it needs to be articulated. I only did the drawer slide instead of make a hinge because I had it laying around

V2 will be a bent piece of 1” conduit with a couple of trollies holding the hose, or maybe a total redesign with a hinge. Torsion box idea, with the hoses actually inside it like this

1 Like

Dude, I made that arm… :smiley: The plans are available in the forum as well as a 4-part documentary on Youtube. :smiley: Boom Arm Final

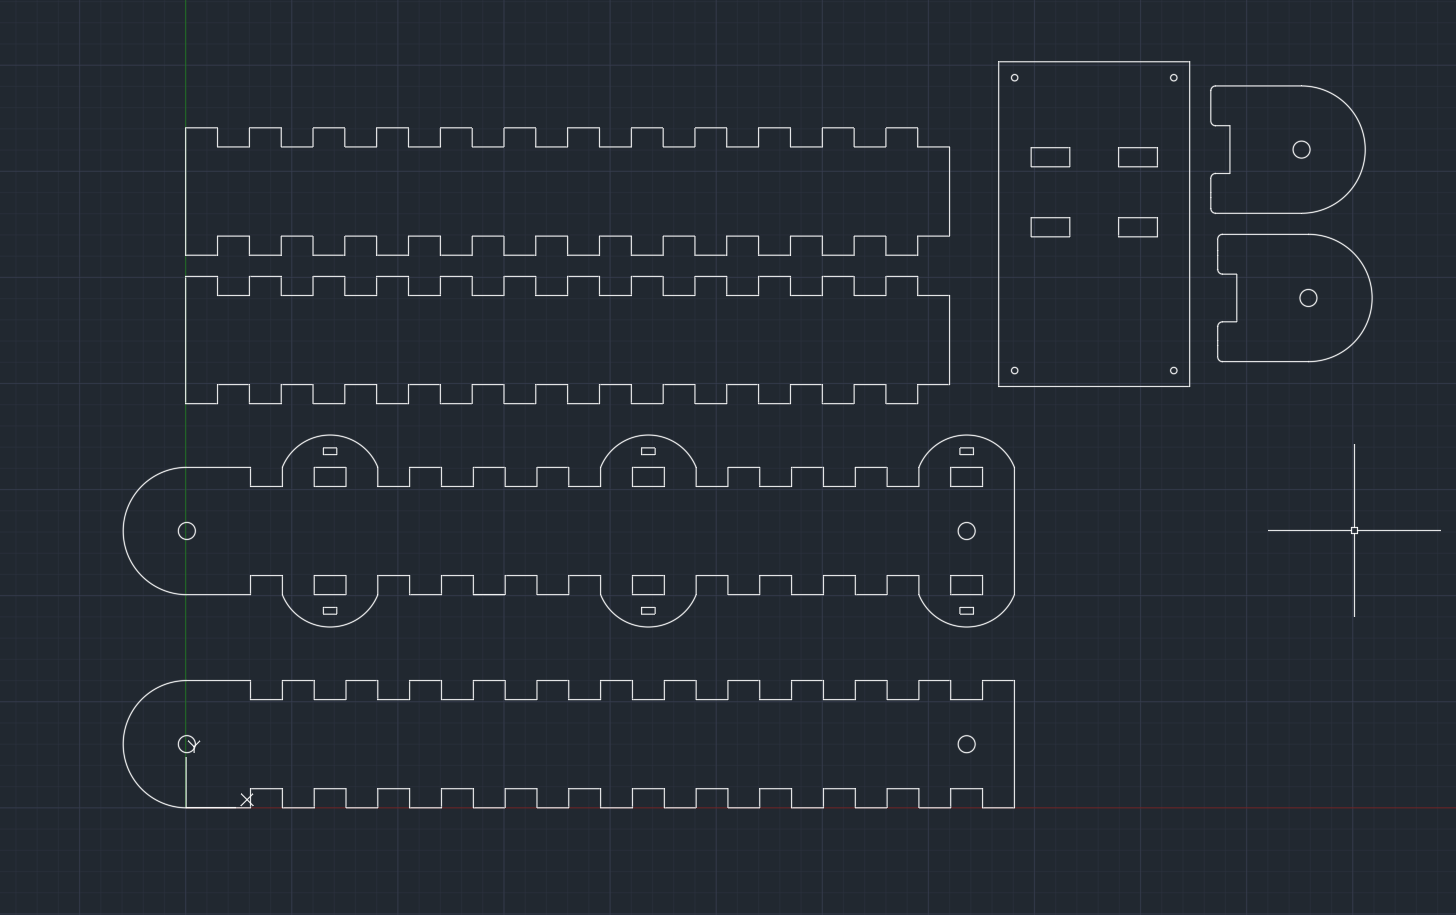
For the one over the Lowrider I wanted to go easier, also a torsion box with a removable top so I can put the cables in, a pipe on the top (or better bottom, but it comes from the top) and then I wasn’t sure about whether it should be able to slide or not. At the moment I have got nothing sliding, the hose is just there and does it’s job without blocking anything. :smiley:

This is the plan as of now. Top and bottom have rods as usual that hold the top down, the only part not glued.

2 Likes

Sweet! Glad to see someone tried it. The drama towards the end of that thread is crazy, but it looks good

Did you do the heated part, or no? I’m not clear exactly on its function or if it is totally necessary if I just use stop pins instead

2 Likes

Just checked your thread on it and don’t understand how I missed it befor now. Looks great, definitely what I had in mind

I’ll hit you up for stls, or models later if you don’t mind

2 Likes

The files are hidden here: Boom Arm Final - #18 by Tokoloshe :smiley:
I only do DXFs, sorry. :smiley: I work with AutoCAD and therefore never have stls. :sweat_smile:

What heated part?

1 Like

Yeah… :roll_eyes:

1 Like

I learned autocad in high school and I really enjoyed it. When i started cnc, I was looking for a similar experience. Librecad is very close (to what I remember) and I used it quite a bit.

I’ve since learned onshape. The sketching is a totally different mind set. But the big advantage is that you can combine the pieces together and make sure they assemble well. The parametric aspect can also save a lot of time.

I’m not trying to convince you, just share my journey. I see the value in the autocad style of cad. It is nice to just draw a line that always starts here and is 100mm long.

2 Likes

Heated was supposed to say geared. Fat fingers.

But I see from your build that you did.

1 Like

How long is each arm section? I can’t get to computer to check sizes on the dxf right now

Thanks dude, appreciate you sharing this. Nice project

1 Like

AutoCAD can also do parametric. :smiley:

2 Likes

The gears make sure both arms always move, so the arm can never go away from the wall straight and then have a 45% bend. Keeps the arm from flailing around wildly. :smiley: It took me a while to understand as well why it was there.
Each arm is 1000mm, I cut it by flipping it over, cutting one half, then the other. Going to do the same with the strut plates. :smiley:

1 Like

Why is that important? Not sure I understand why that’s an issue. In fact, for one of my use cases, I’d kinda like it to come out like an L since if it was a > it might conflict with my dangling air and electrical drop

1000mm is 39.37 is freedom units. That’ll work

I did shitty explaining. It can be an L, but it can’t flail around wildly. Watch this video from the spot I jumped to and you will see the movement: Boom Arm (Schwenkarm) Part IV - Final assembly - YouTube I am too incompetent to explain it, could not even do it in German when I was trying to explain it to my dad when I build it… :smiley:

3 Likes

Good video. Thanks so much.

The only change is need to make would be to have the hose enter on the side, instead of bottom, because I have this situation coming from my DC

1 Like

If you fasten it above the Lowrider, you can easily come from the bottom with your hose (that sounds kinda wrong… :D). If you put it from the side you can’t move the arm the full 180° any more because the hose blocks it at that side. And your hose is huge, I would maybe just hang it under a construction instead of putting it in one? Or are you going to make the diameter smaller?

1 Like

I’ll port it down to 2.5”. I kept the run from the dust collector at 5” to keep flow and match the rest of my system/

I can’t go from below because it becomes a tripping hazard. But I’ll never need it to be wider than perpendicular to this corner for any reason, so at max rotation, the hose will be 90 at the incoming fitting, if that makes sense

2 Likes