The 'Black and Blue' LR3 build

If you can get your hands on a couple 12v rgb leds the firmware will change colors from boot to job done…and not so bat signal bright.

1 Like

There are some cool videos out there of people making their stepper motors “sing” tunes. I swear my 3DP was singing something over and over while it was printing the core.

I have 32 feet of addressable RGB led tape… what pins do I need to use?

Thanks Ryan

Frivolous and chicanary, but I love it.

1 Like

I once printed a Star Wars figure that made the steppers sing the song while it printed. I should dig out the STL but it was a long time ago. One of my worst prints though, IIRC

1 Like

Open the firmware and scroll the very bottom of config.h you can set it all up there. Make sure not to use more than your board can handle. I did 12 just fine without any issues. More than that, I think you will need another bigger power supply.

2 Likes

Some time working on a couple things last night-

MicroSD to SD extension on the box for file uploads

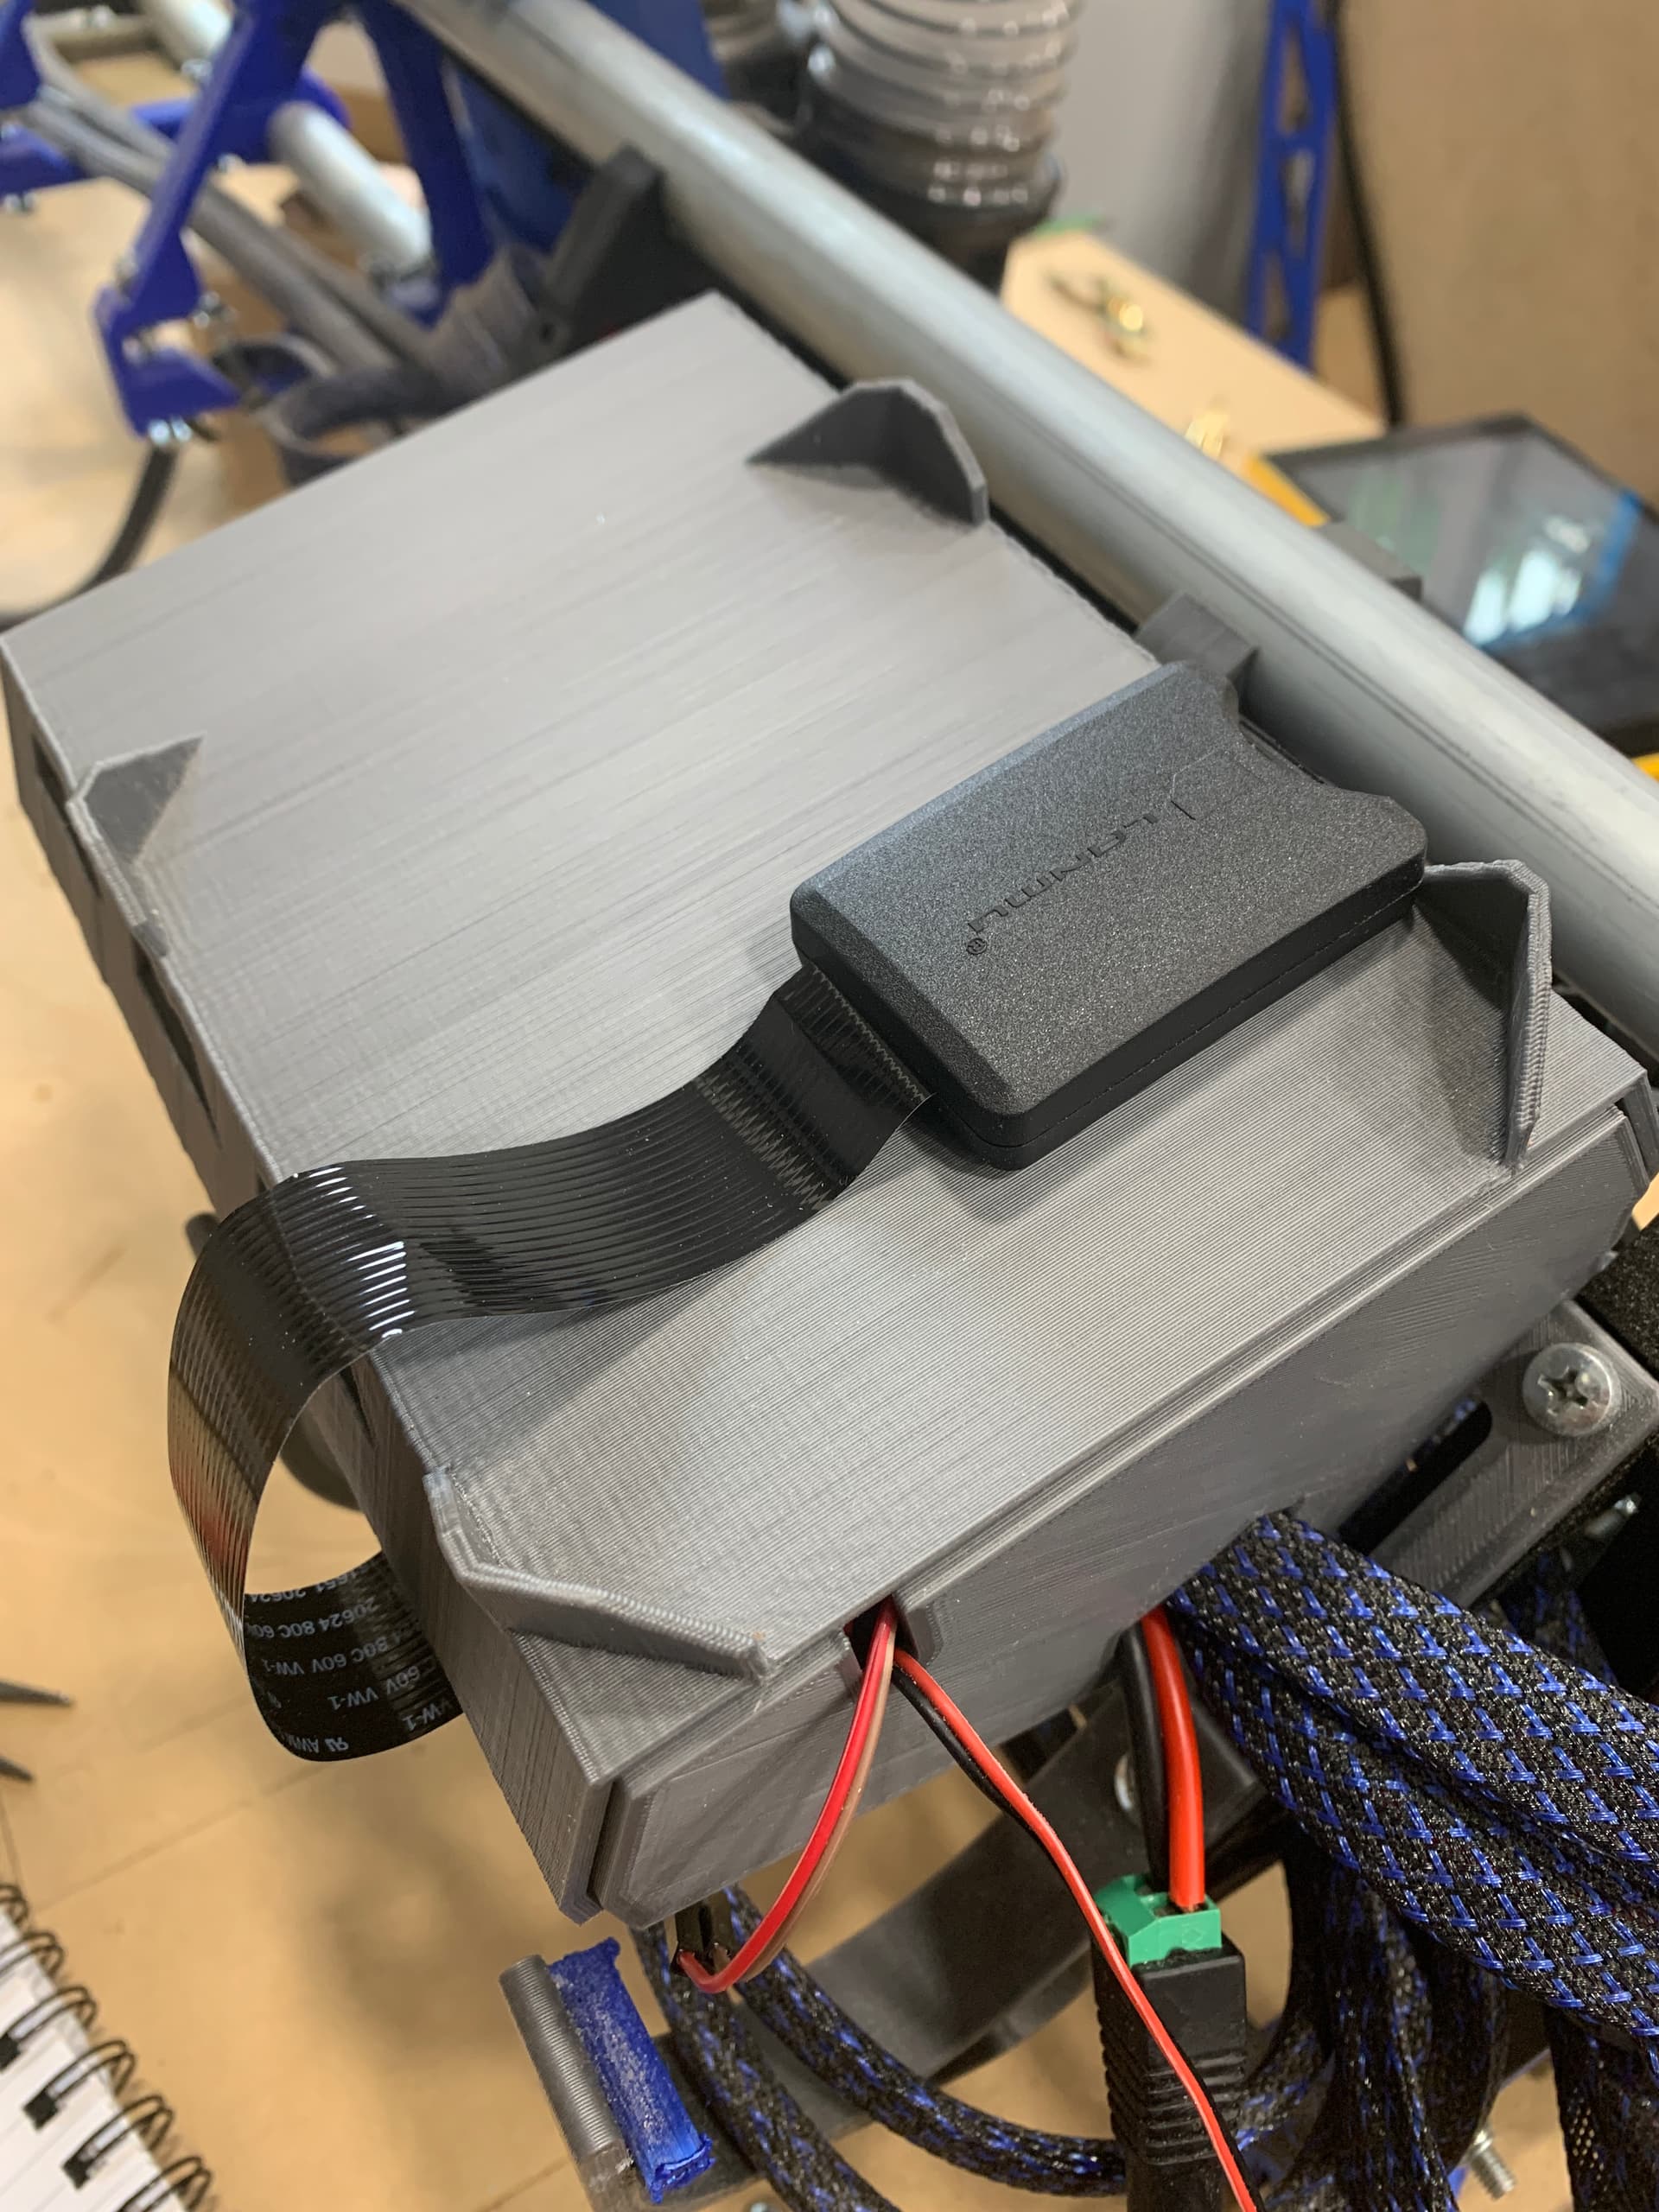
Z-probe wiring and ESP3D macro working. I wasn’t really having any troubles with but changes before- just running gcode files as separate jobs- but this takes away a little of the fiddling with the z-axis after the second or third bit is exchanged.

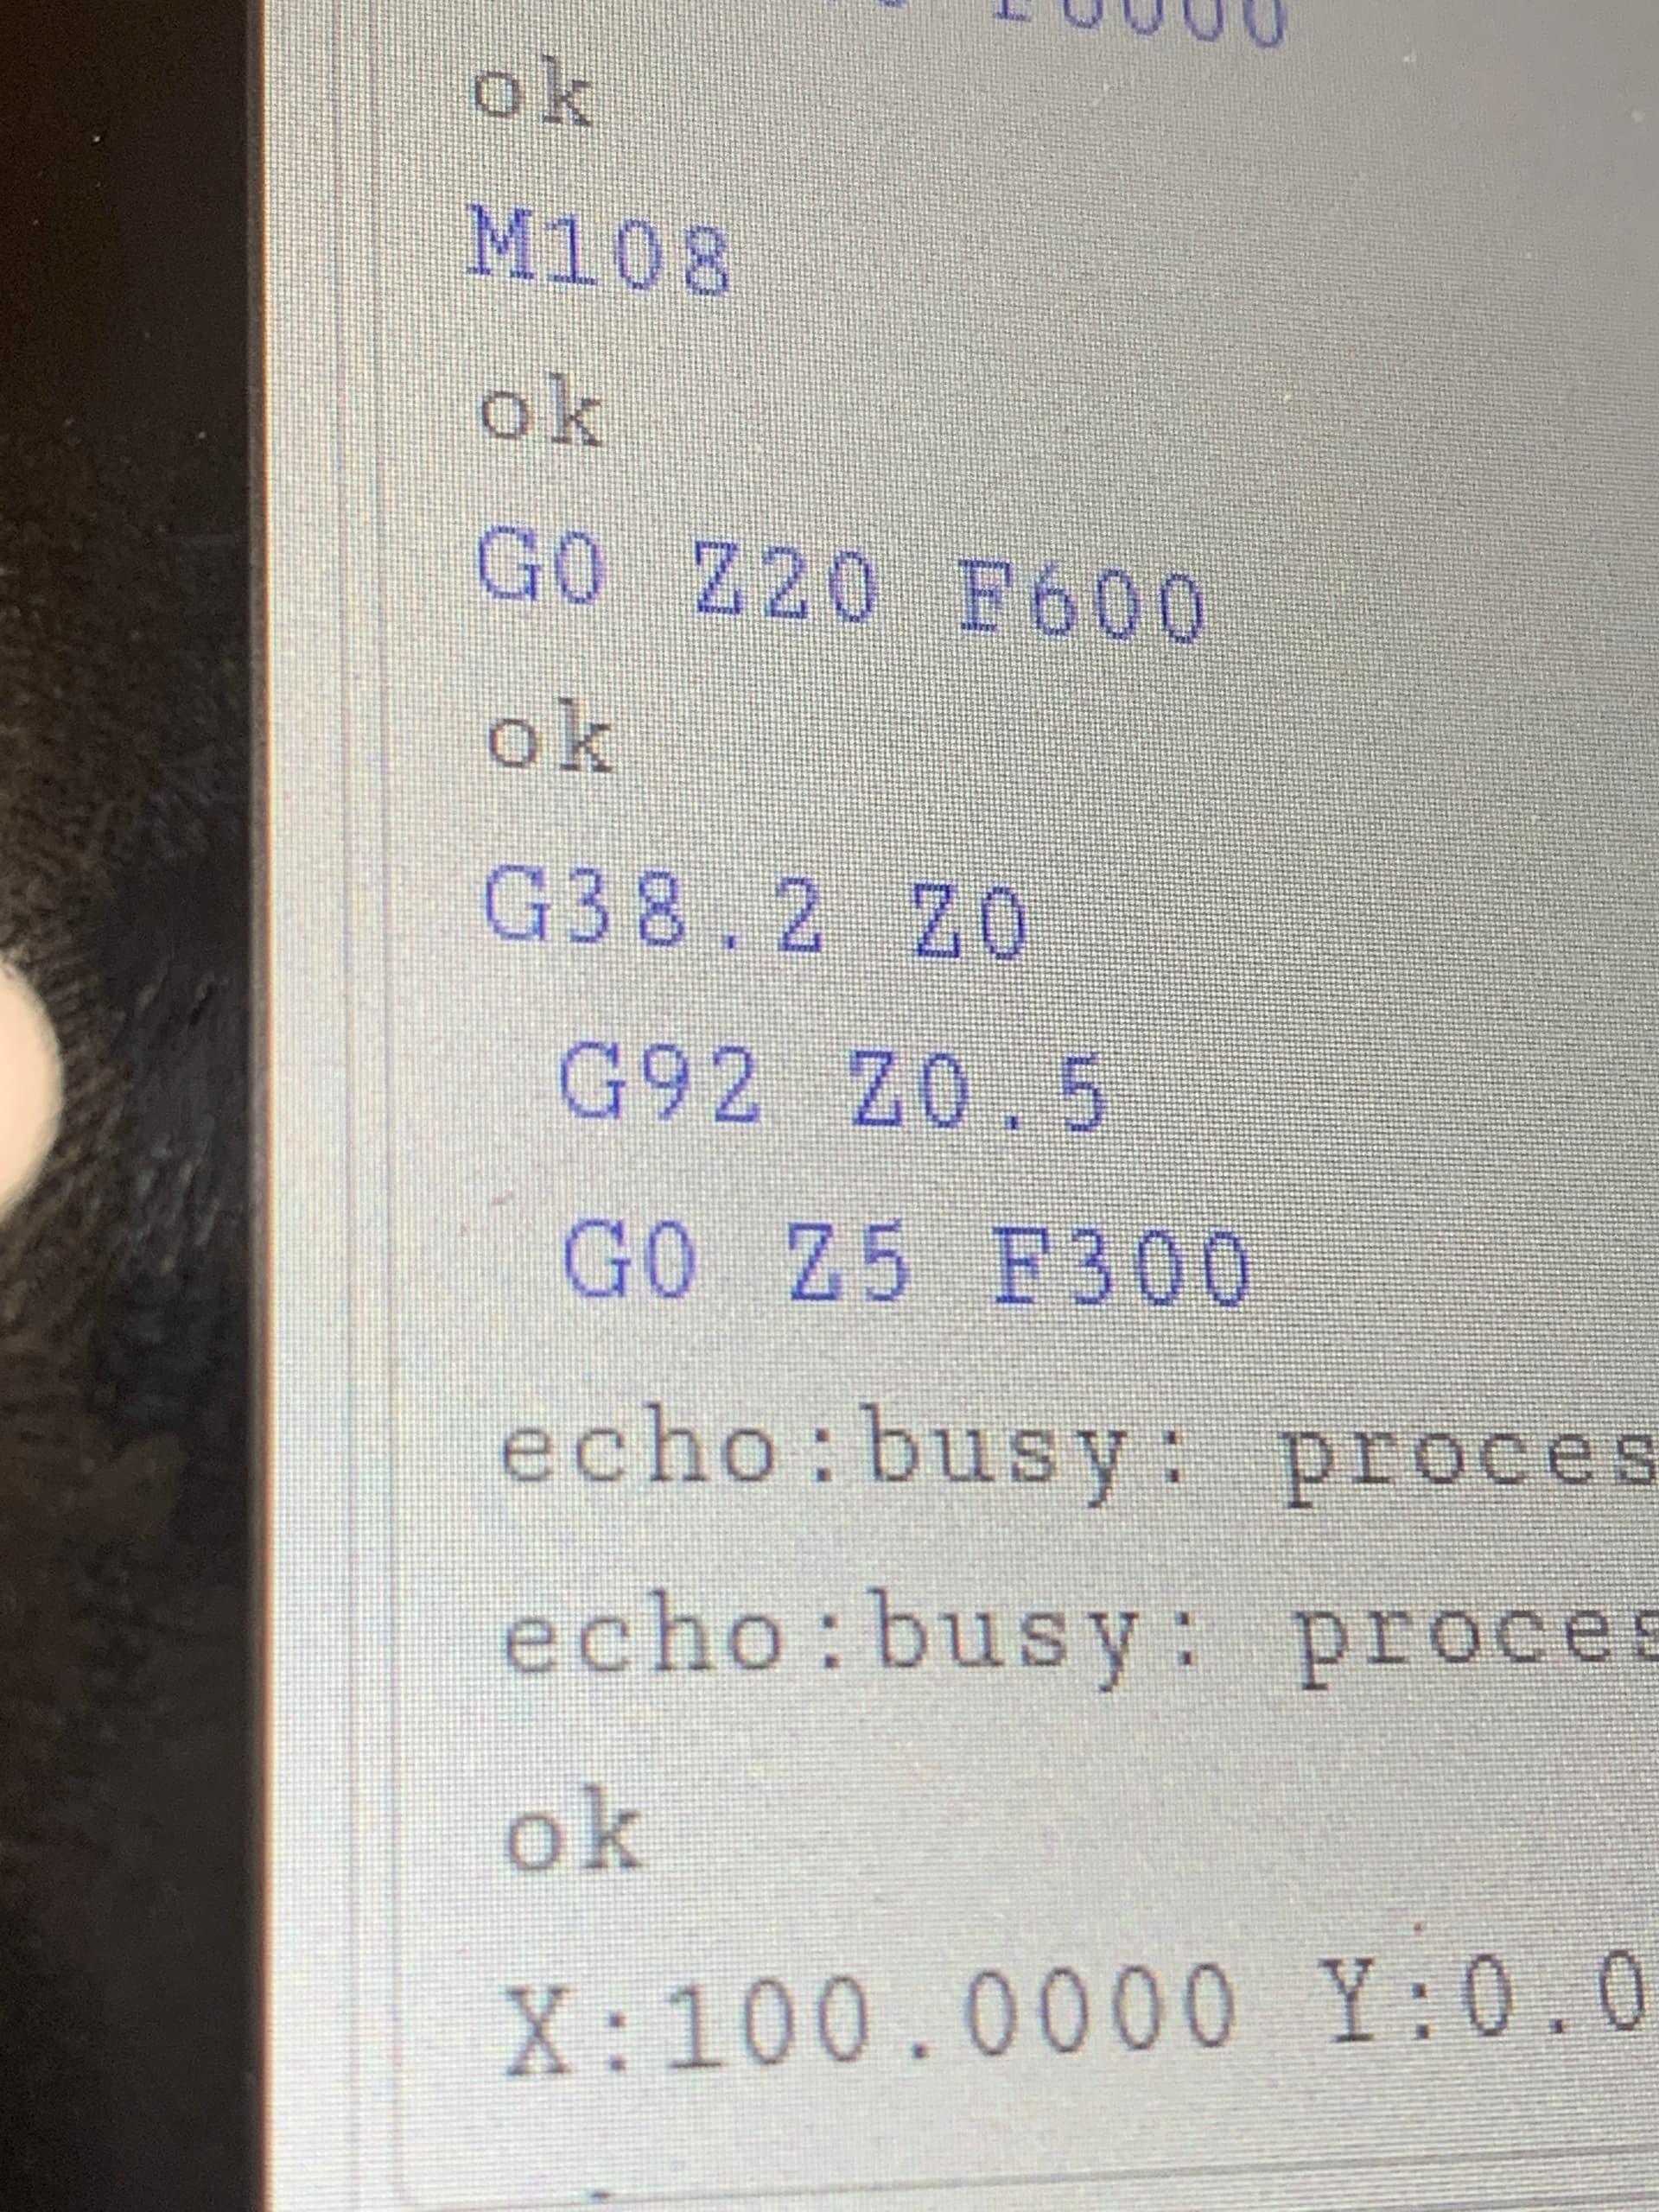
Basically- job 1 ends with a G28 z command which homes Z to the top, then a G0 X0Y0 which moves XY to the start origin. Switch out bit, place the z-probe plate, hit the macro. It’ll drop down until it makes contact, sends a G92 Z0.5, raises Z 5mm so I can remove the plate.

As long as my consecutive jobs don’t start with a G92 zeroing command, it’ll pick up from there and continue.

1 Like

Do that in a text editor, then put the new file on card as FIRMWARE.bin and flash it?

Thanks Ryan!

1 Like

Hehehehe

Fun with lasers

Hooked up independent 12v in, and PC9 plus ground PWM. Temporary harness

From the tablet- in Terminal

Ran M3 I

Orange led popped on. Good sign

Took a few minutes to get it running but that’s only because I forgot about the safeties. Marlin only sends the laser PWM on G1 moves

So- set up a little 2.8mm thick piece of balsa and types in

G1 X25 F240 S250 and hit go

Single pass at 4mm/sec, 99 % ish power .

I was getting some reverberations in the module, due to the slow speed and the cantilever. Very regular periodicity.

That went away when I pushed speed up to 5mm/s. That’s fine, since I’ll be doing cutting of 1/4” at 6mm/s with 2 passes for a nicer cut

So happy right now, lol. Such an easy addition.

1 Like

No you have to recompile.

2 Likes

Uugghh

1 Like

Ok, now that it’s looking like I’m only a few days out from getting to really play with the laser- I’m thinking about enclosures and ventilation

The new design of the LR3 whereby it is entirely on the top of the table, is a real Benefit here. Since I don’t plan to be using an enclosure with the Router- my overhead dust collection prohibits it , and sound control isn’t really an issue - it needs to be either light enough to lift into position by myself, or ‘knock-down’ capable so that it can be easily assembled in place/ disassembled

I’m thinking about making 4 side panels using 2x2 material, rabbeted to accept 1/8” inch hardboard panels. I can recess
Magnets onto the corners, that will allow me to just click things into place . A top panel will contain a hinged lid, and an orange Perspex window, and a 4” port for extraction- porting out the nearby window. Back panel will need cutouts to allow the rail and the belt to pass through, and a gap in the bottom of the left wall for power cables and air line for air assist.

Now- heading downstairs to start on some
Measurements so I can do some calculations to see how heavy this thing might end up being.

1 Like

Got a little laser cutter bed put together, figured out the offsets for the laser spot compared to home XY and made a macro to move it into a convenient start point, then burned a little L denoting the front left corner of my bed for positioning.

Also wrote a little test macro for a ‘first burn’ a 25mm square, traveling at 240mm/min, 100% laser power.

3.2mm ‘laser’ ply, cut in 2 passes (+AA)


1 Like

You need to a get an air blast. If you have a compressor, you can get one for $10 on Amazon. My 2.8W is so much more useful with it, and the cuts are as clean as yours.

1 Like

I have a 30l/min air assist running every time I’m cutting.

Not sure I can handle the noise of the router, dust collection and my crappy 1gallon compressor running every 30 seconds during a cut

Curious what made you say that though- I thought my parameters were pretty good.

Also- air blast isn’t coming up on Amazon, other than toys or purifiers. Got another term I can search?

1 Like

Bluetooth safety ear protection. FTW.

1 Like

Oh, yeah, I know. But it makes for a real noisy basement shop with wife WFH in the room right above.

I really should just ditch the crappy Ryobi pancake and get a California air tools vertical. But not in the budget right now

1 Like

No your cuts look amazing!!
I just know my etches come out way cleaner with no smoke stains, and my little laser cuts 1.5mm balsa real clean now. If you plan on using it in production, it could save you a step cleaning up the smoke residue.

I liked it so much I got a second and I use it with IPA to mist cool Aluminum while cutting, Lets me V carve when I have never been able to. leaves a super shiny surface.

4 Likes

I see what your saying. The laser has an integrated air assist and I’m pumping 30L/min through it. When I get the enclosure set up, I’ll be adding 300cfm of extraction to that too.

Also- I’ll be painting anything that comes off for production.

Am having an issue in that I can’t seem to cut 6.75mm in anything less than 7 passes at 180mm/min.

That’s way below the advertised spec of 13mm, 200mm/min 3 passes. Of course- this is ‘laser ply’ and not ‘spruce wood’ that they cut at that speed.

I’ve been messing with focus distance, varying speed (more passes at higher speed Vs slower and fewer)

Cutting 3.25mm in 2 passes at 180mm/min, 100%, which was expected.

Will have to do a proper focus ramp test - but you don’t get a lot of room to play with a recommended 5mm focal distance- and a calibration series to see what works best. Since i have control over the Z, I may also look into how lightburn handles that aspect.

1 Like

5mm or 50mm? I think both lenses I bought are something like a 50mm focal length. Light burn has a focus test pattern. Give that a shot.

Ply can be more difficult because you also need to cut through layers of glue. 13mm is pretty nuts, but Seems odd you can’t get a bot more than half that. I don’t have much experience with deep diode cutting. Not sure if you are still supposed to focus on the bottom and run several passes, or maybe now at the tops and step down with the Z axis.

1 Like

5mm focal length, but they recommend 3mm from Workpiece surface for cutting.

It’s a specialized short focal length module, designed for long time cutting. 11W dual diode. I got it because the more established A4060 module had issues with cutting for more than 30 minutes, was $46 more expensive and didn’t come with air assist. That one did have a 35mm focal length.

I put a question up on a neje Facebook page and the main comments are that the lens gets very dirty quickly since It is so close. They actually recommend 30 PSI of air assist, not the 30l/min written in the manual. It was a typo that they didn’t correct.

So now I’m looking into how to clean the lens, and getting an additional line and regulator for the compressor I have. Might get the air blaster too. Just need to figure out how to connect the 1/4” compressor hose to the 1/8” inch airline tubing

And yes to the focus ramp test in lightburn. Very useful

1 Like