I had some white filament a while ago (true white, not ‘natural’) and it was awful. Or I should say quite different in how it printed. I never got motivated to figure out if there were good printing parameters.
I have one of those ‘crack scales’ but I haven’t been tracking the weight of full spools to estimate how much is remaining. I have one reusable spool for spoolless filament and I measured the tare weight but I haven’t gotten close to the end and needed to make a large object such that I’ve needed to measure the remaining weight. I think subconsciously I only print large jobs when I can eyeball the remaining filament.
I do have a system for the very very end where it’s so low I can count the number of wraps on the hub and multiply by the circumference to get the remaining filament length. Of course this is only good for small parts but that’s most of what I print.
I have had real bad luck with white. The most noticeable thing is little burnt brown blobs on it. It really takes away from an otherwise perfect print.
Not a lot of work left the day before a 3 day weekend, so I snuck out to the shop for an extended lunch.
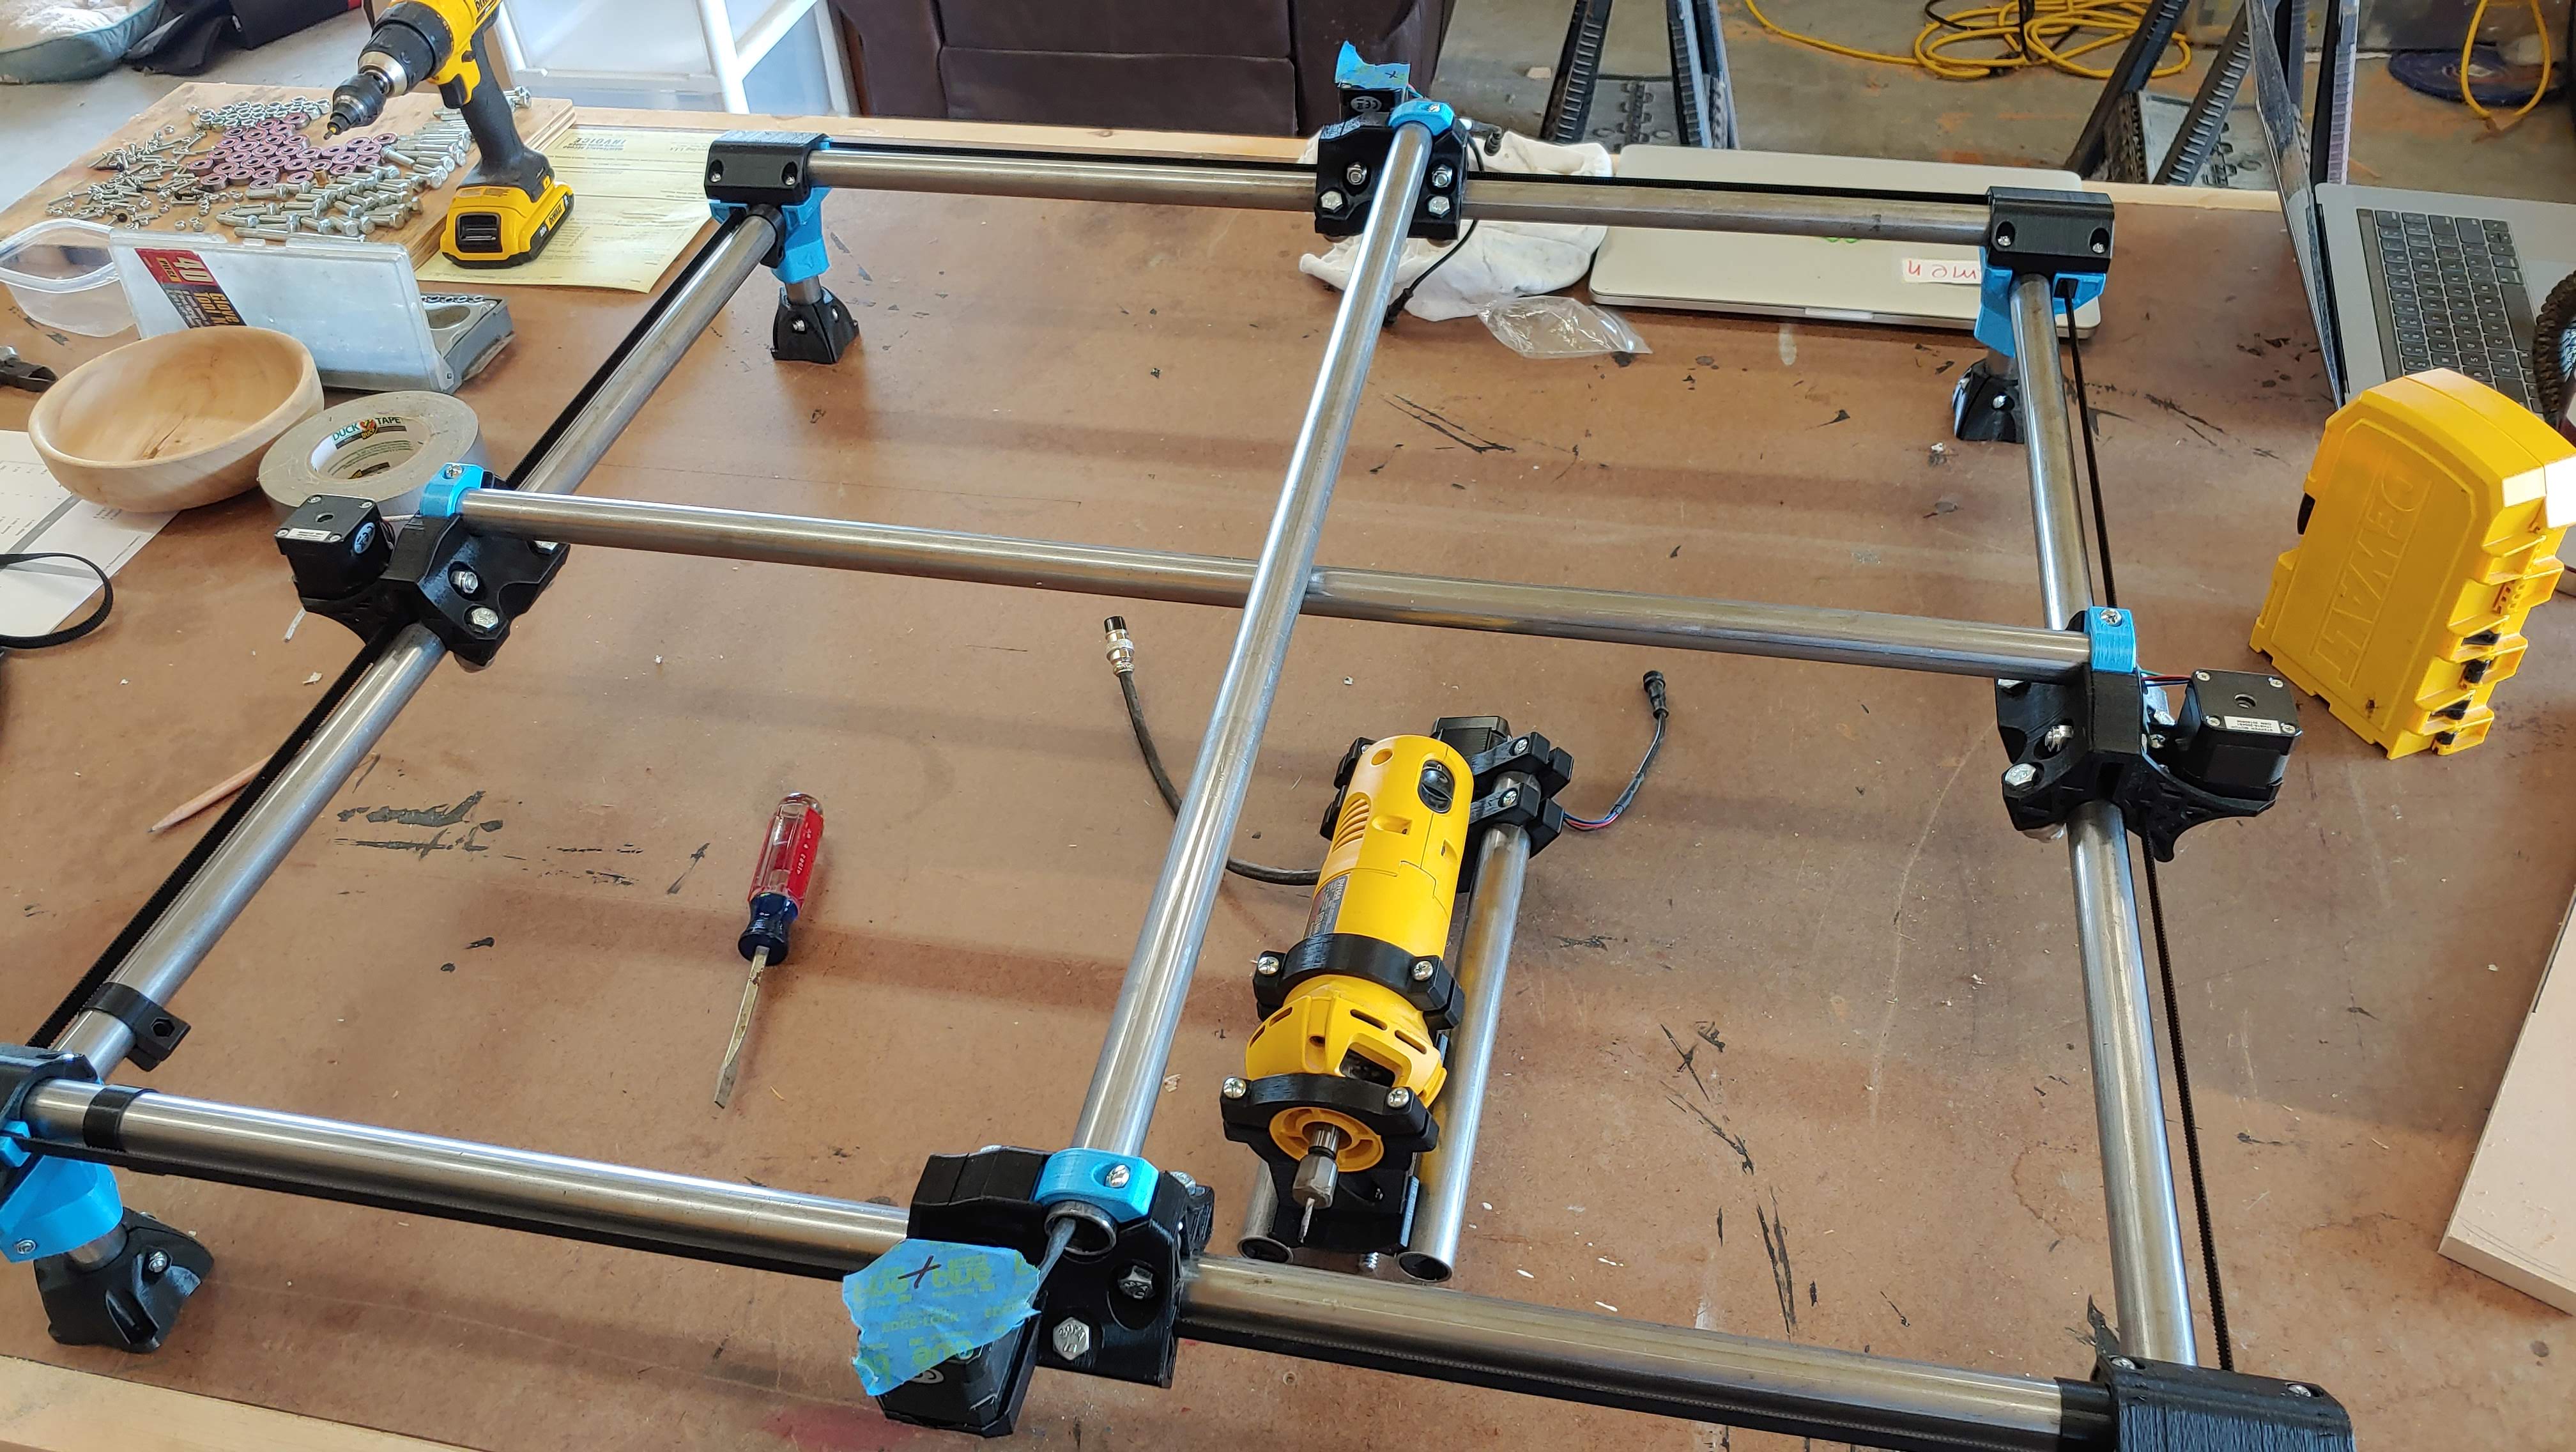
Put together everything I have parts for for a sanity check on belt/tube lengths. The calculator looks like it produced some accurate values. I was also happy to see that my X axis steppers that I just rewired a few months ago had enough extra to fit the new tubes. I think I’ll finally take this opportunity to re-wire the Y axis now too. It’ll be nice to be able to work on the machine without a soldering iron.
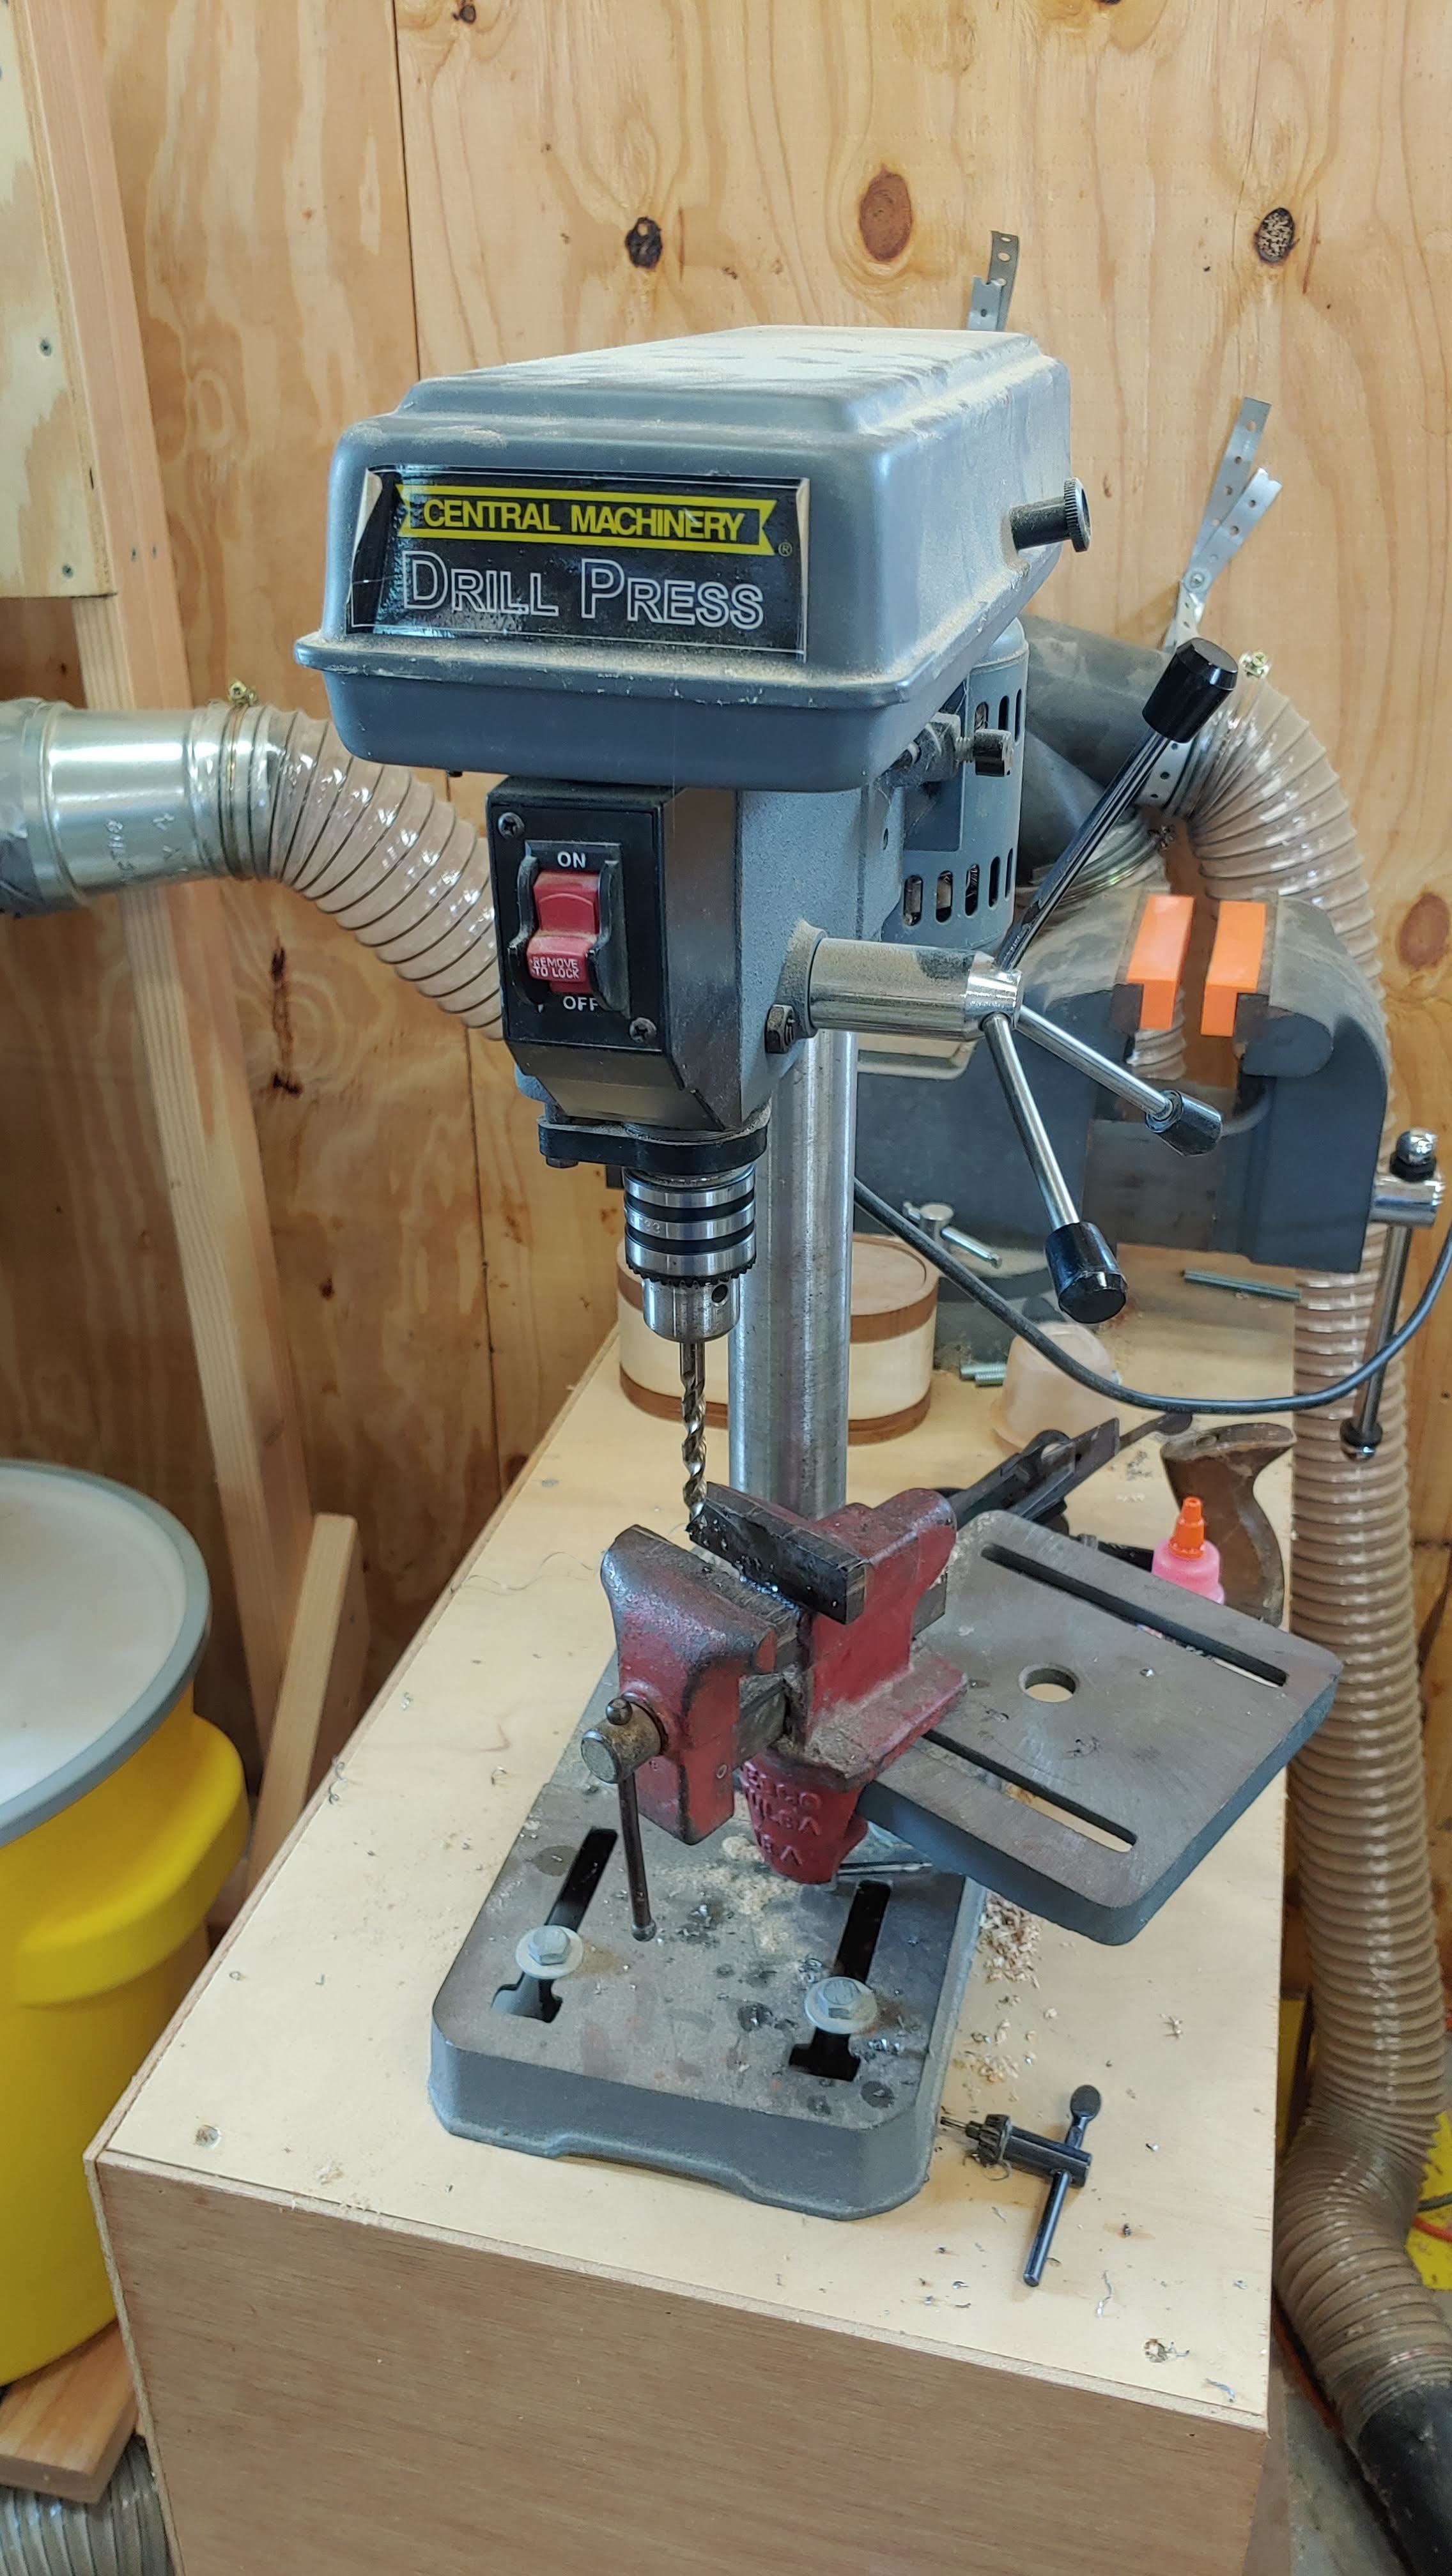
I’m really liking the new Z axis. It’s not much different than the old, but it looks cleaner for some reason. Probably the new parts. I did have to rig up a makeshift setup to drill the holes on the pipes. One day I’ll invest in a real drill press vise.
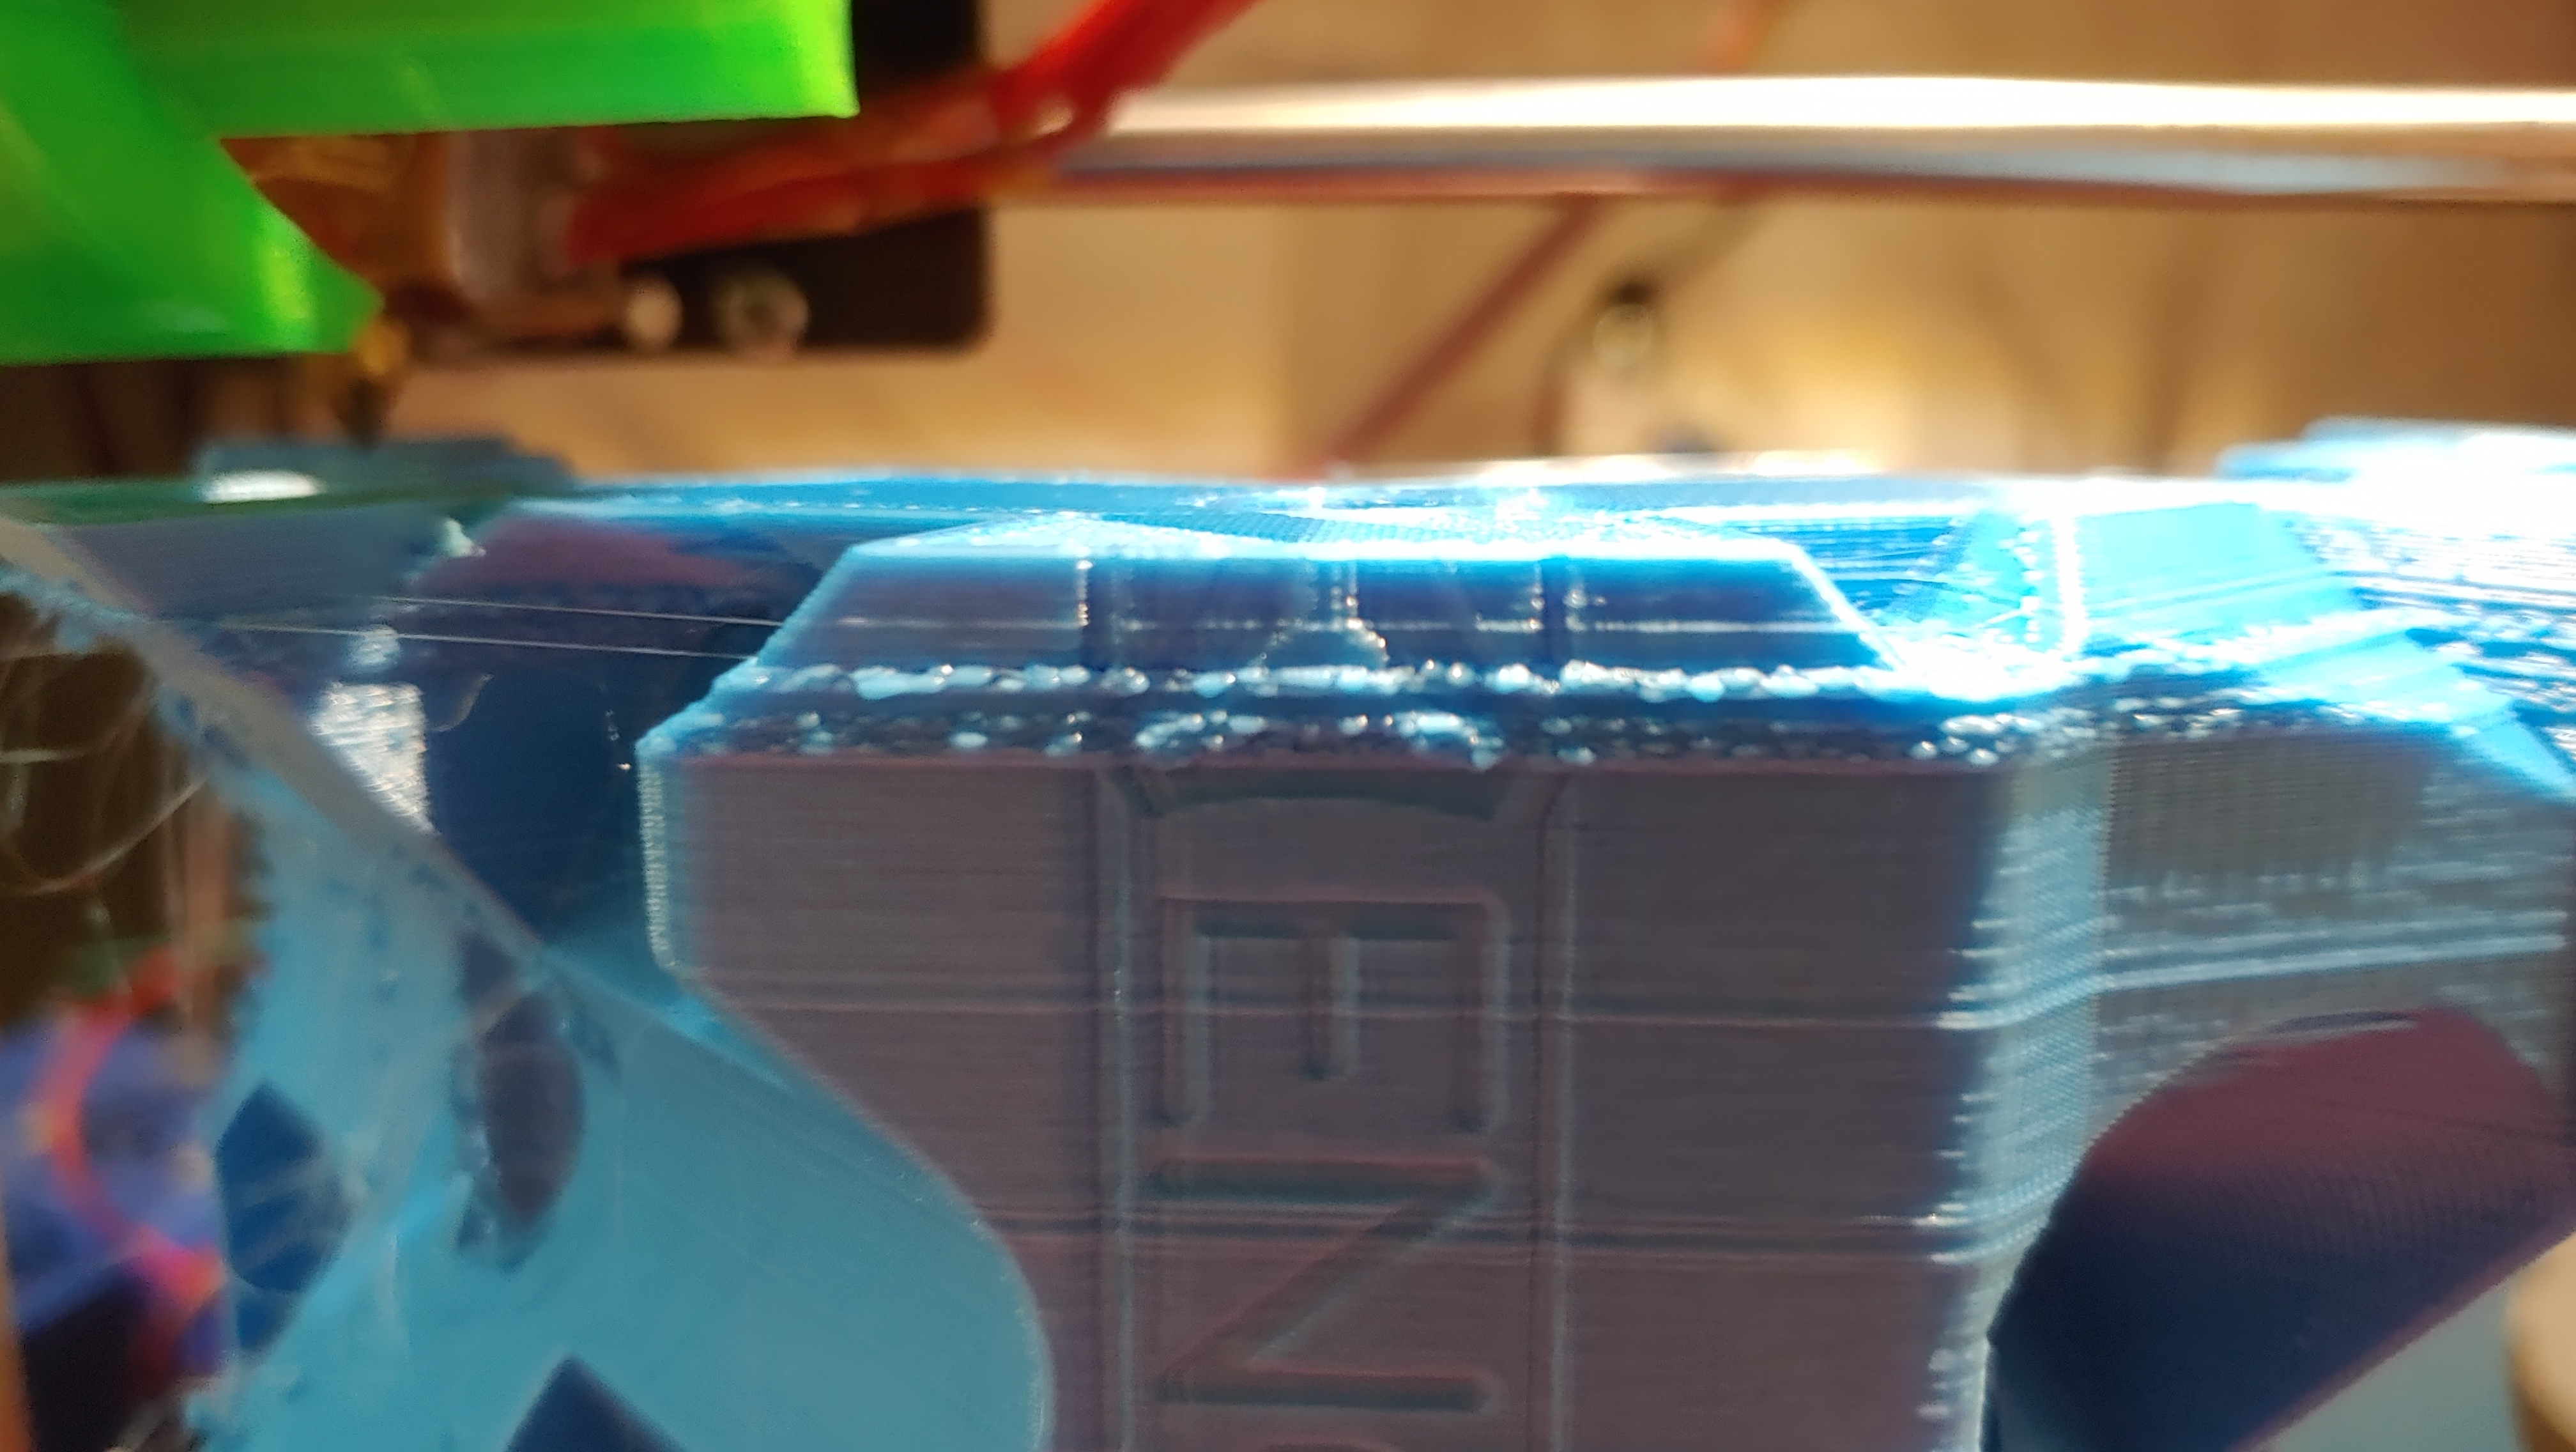
The core is still printing. 12 hours left assuming everything goes well. We leave at 7 AM tomorrow morning to head to my parents’ house near Houston, so it really is no more work for me at this point. I did consider ripping the controller out of the enclosure and making the X axis move.
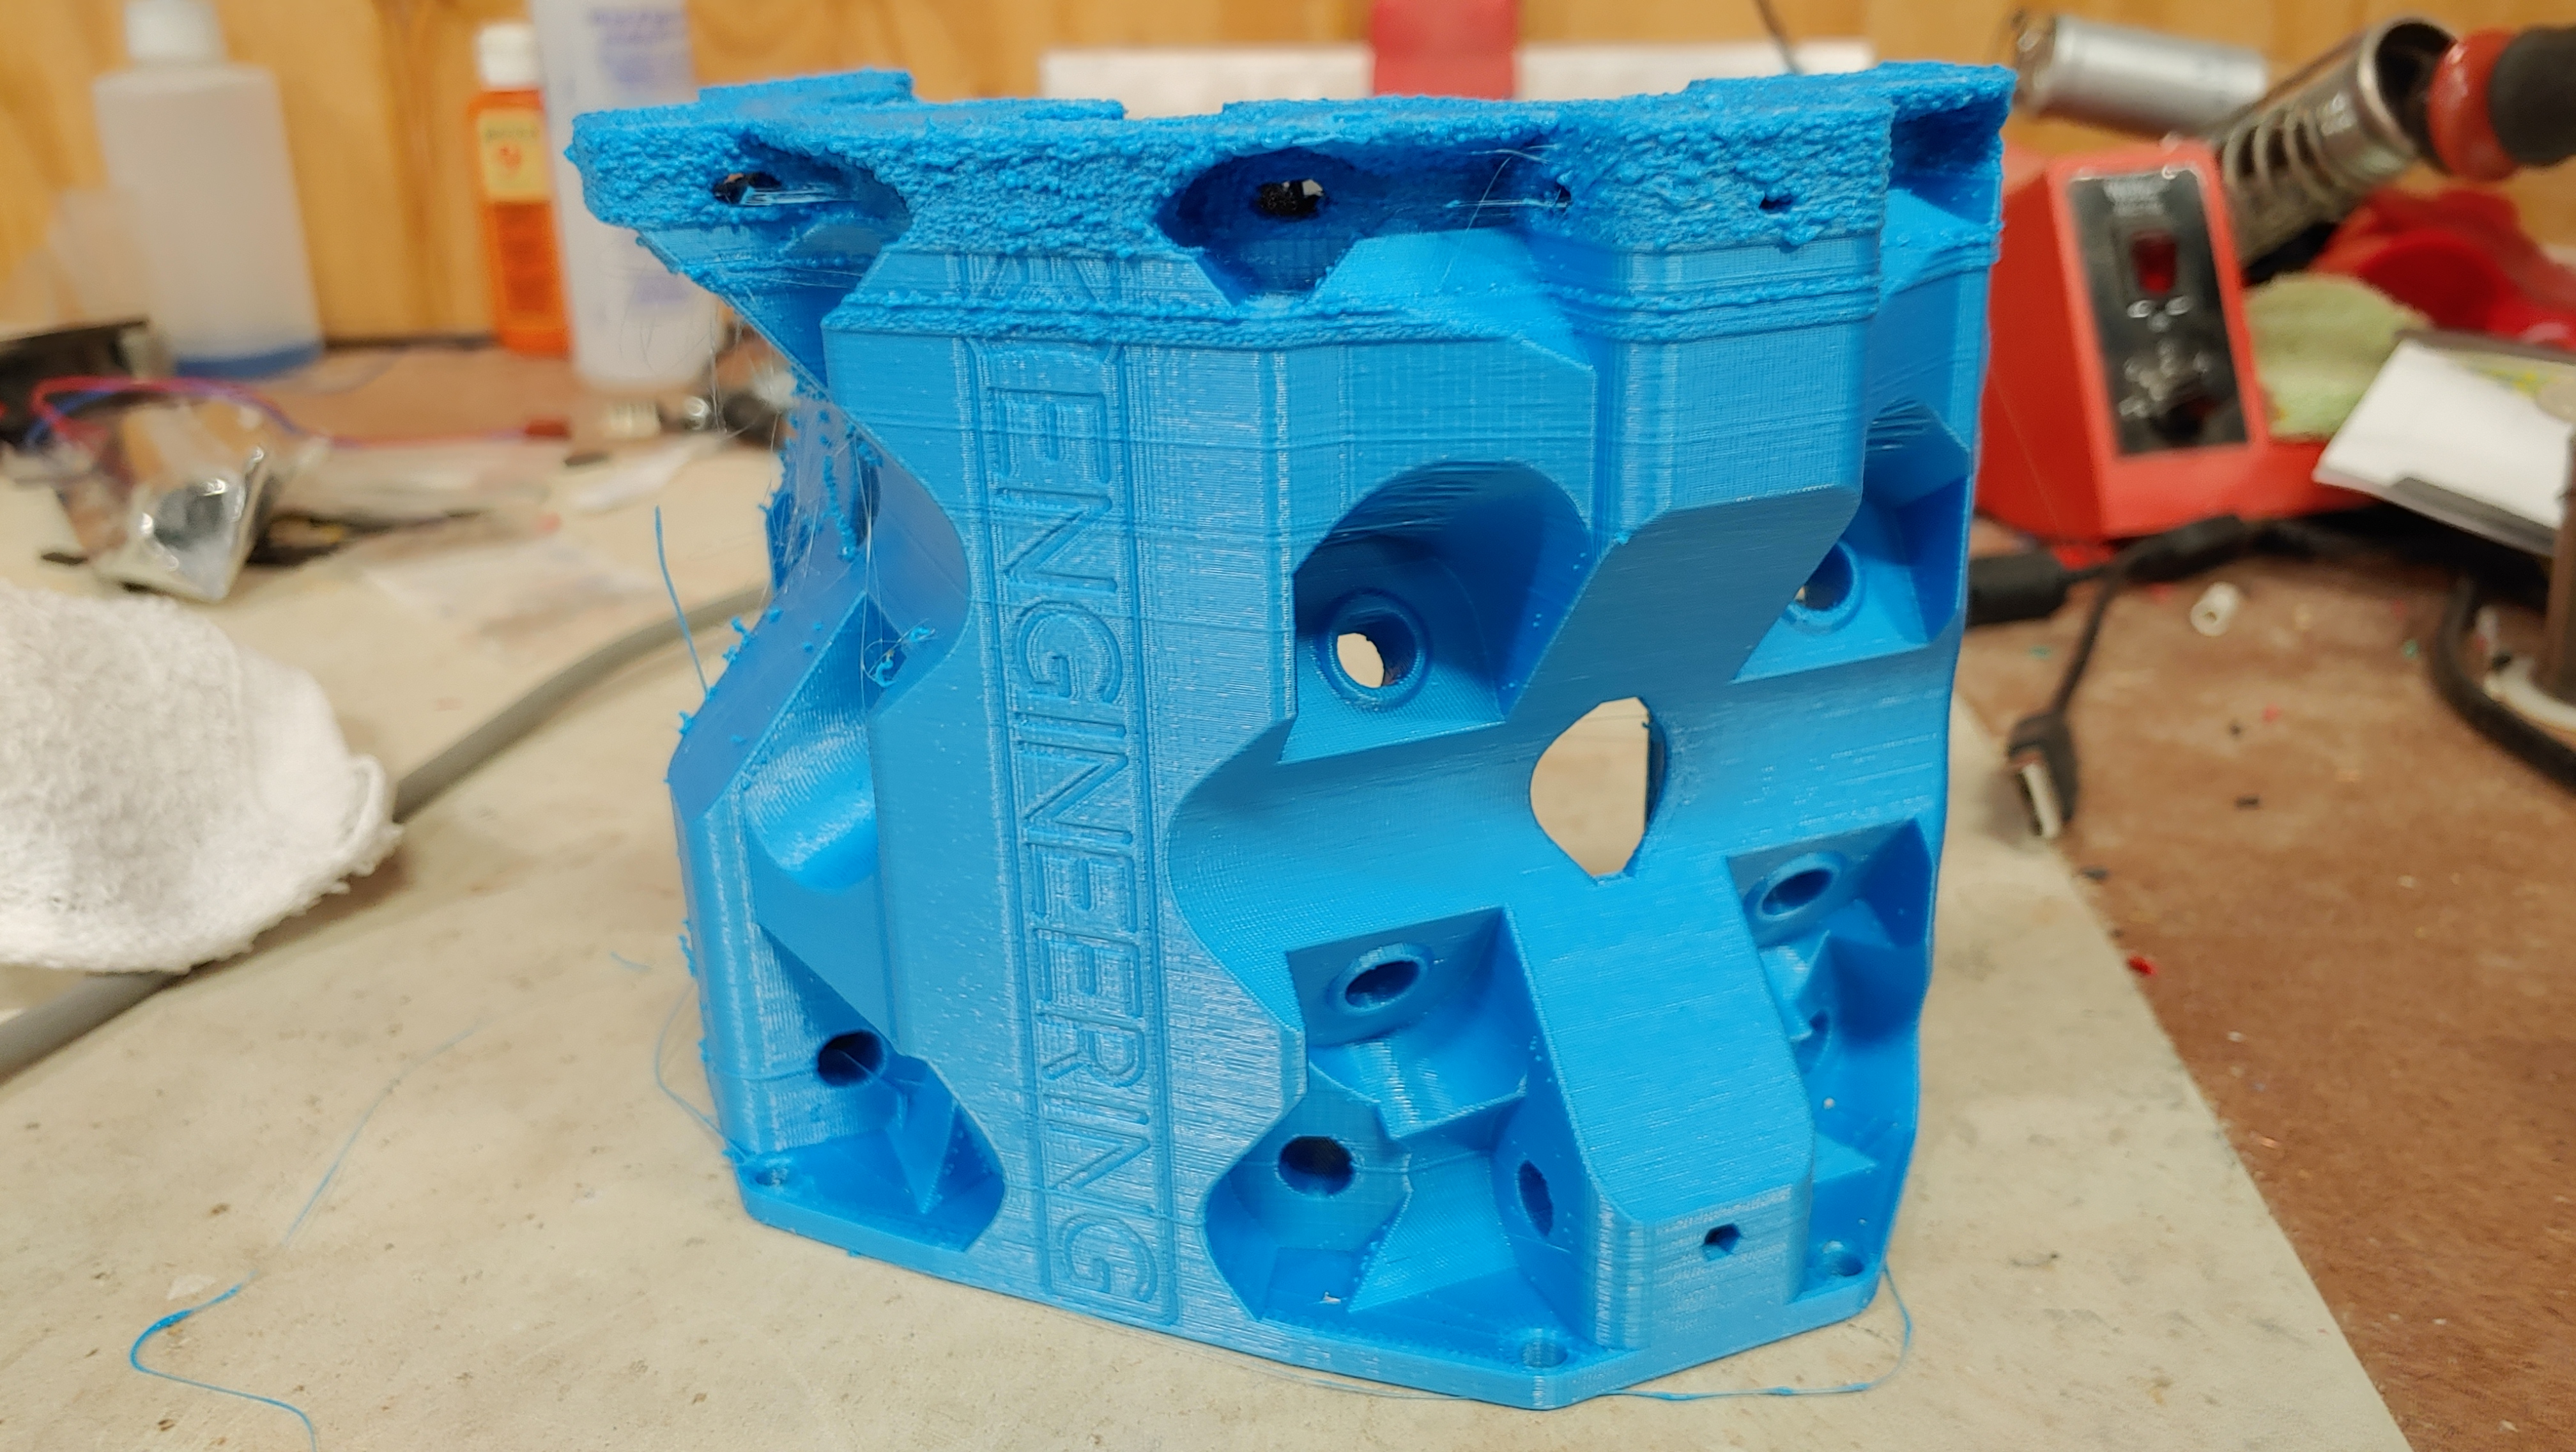
Good news… I didn’t run out of filament. Bad news. My printer decided it didn’t want to use its full z height. I guess my core will be a different color.
Yeah, that really sucks especially when it craps out on the last ~20mm of the print! I’ve been thinking about ways to reduce the print time as much as possible but I may want to rethink that based on all the issues people are experiencing (to be on the safe side). Slow is Smooth, Smooth is Fast .
To be fair, I think I’ve had this problem before, but it was so long ago…
My z screws came slightly bent when I first bought the machine. I’ve modded the printer to compensate, but I think it’s finally time I bought some good ones.
@vicious1 I’ll be honest. If my printer can print your parts, then you shouldn’t have to worry about anyone else.