I’m thinking mine is a heating issue. All my layer shifts have happened during the hottest times so far.
I did go feel the y axis stepper motor and it is getting pretty hot. I can leave my fingers on it, but it’s not comfortable.
I’ve opened up the side of the enclosure. I’ve also turned on a box fan on the other side of the shop causing the slightest of air movement around the enclosure. Not enough to cause a breeze through the printer, but enough to keep the air from being stagnant. I’ve also added a fan under the enclosure blowing up on the electronics mounted under it (raspberry Pi and power supply).
I have plans to create a better enclosure and mount the 3d printer inside a cabinet whenever I get that part of the shop built. I’ll have to make sure I plan for better air flow over the electronics when I design that. The one 120mm fan on this enclosure doesn’t seem to be enough.
Back in the olden days my wife and I ran a small hotel that used to be a gold camp bunk house. Had 20 rooms I think. Anyway, they made me the bartender since I was the only one old enough behind the bar…(which is funny, because I don’t drink alcohol) The cook from the restaurant down the road went grocery shopping every Wednesday. He’d stop by our place on the way back and drink us out of gin. He’d start top shelf, and work his way down to the shitty stuff. The old highway ran directly between our properties with nothing in the middle, so he’d just coast the truck down the hill into their parking lot. We’d call ahead and let them know he was on the way. Thursday was our day to go to town for groceries, and we’d stock the gin back up. I ran into him about 5 years after we sold the place, he was about 50 pounds lighter and sober. Doc told him his liver couldn’t handle any more drinking.
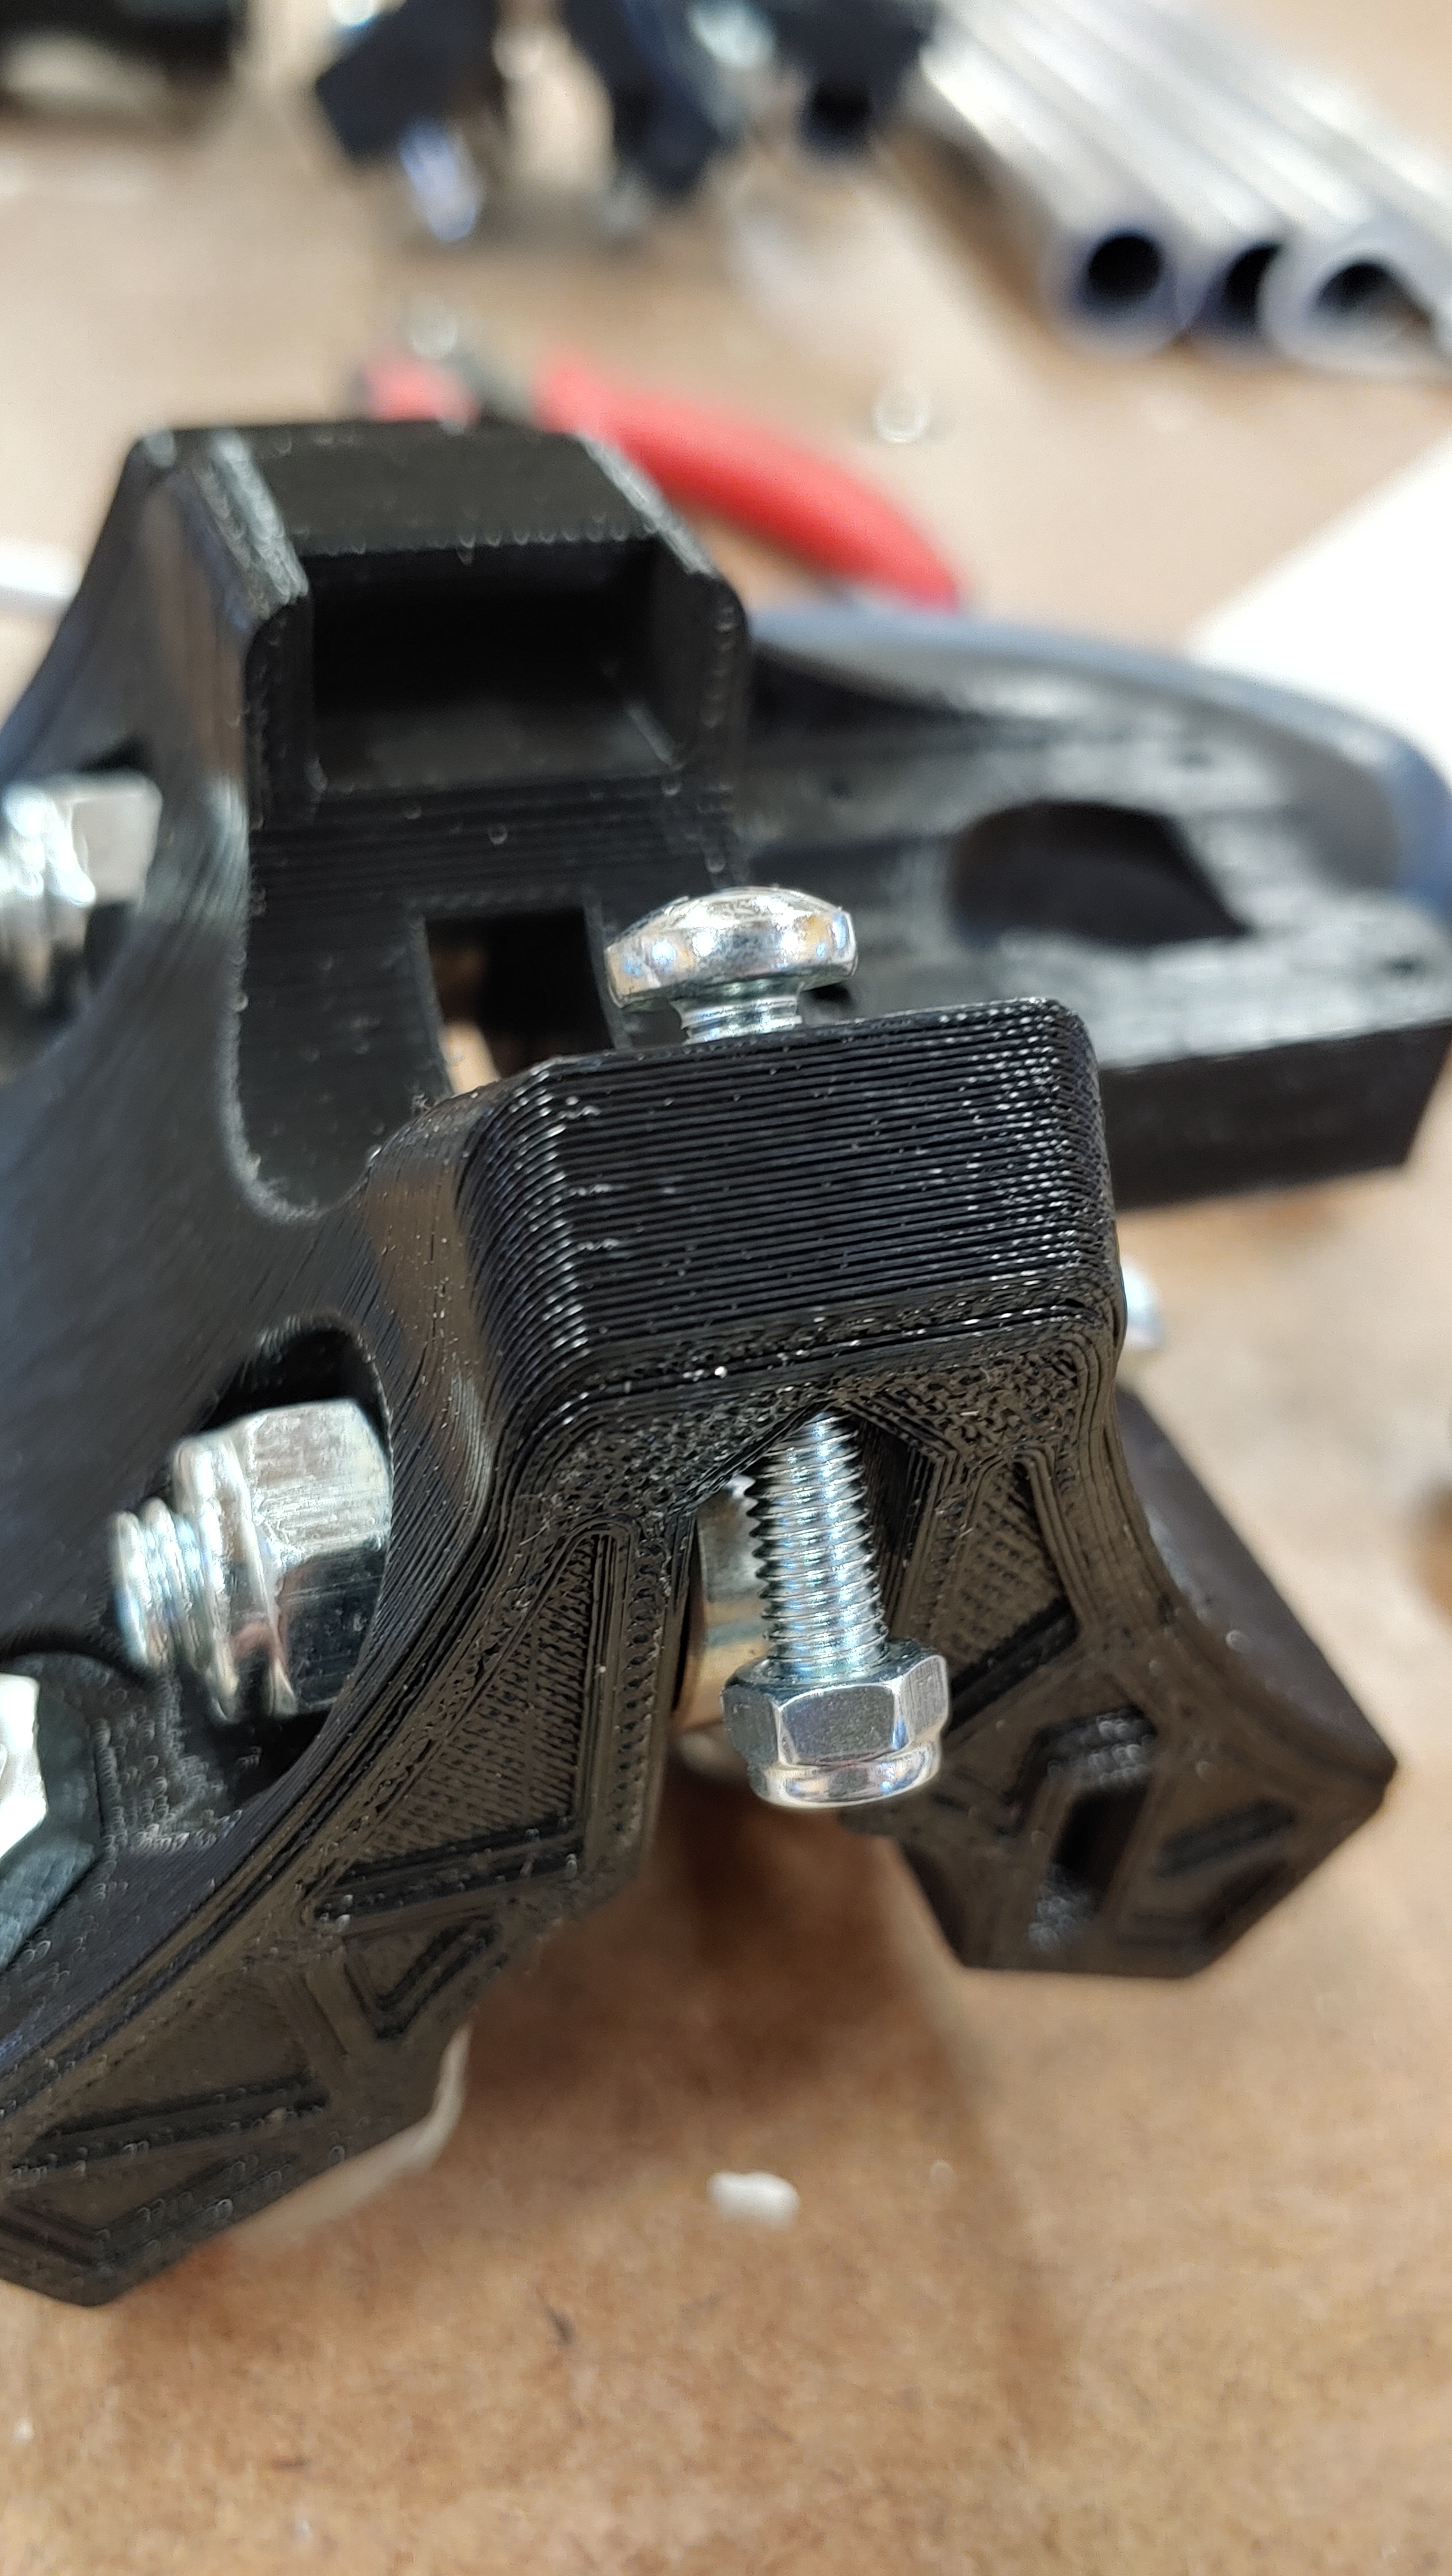
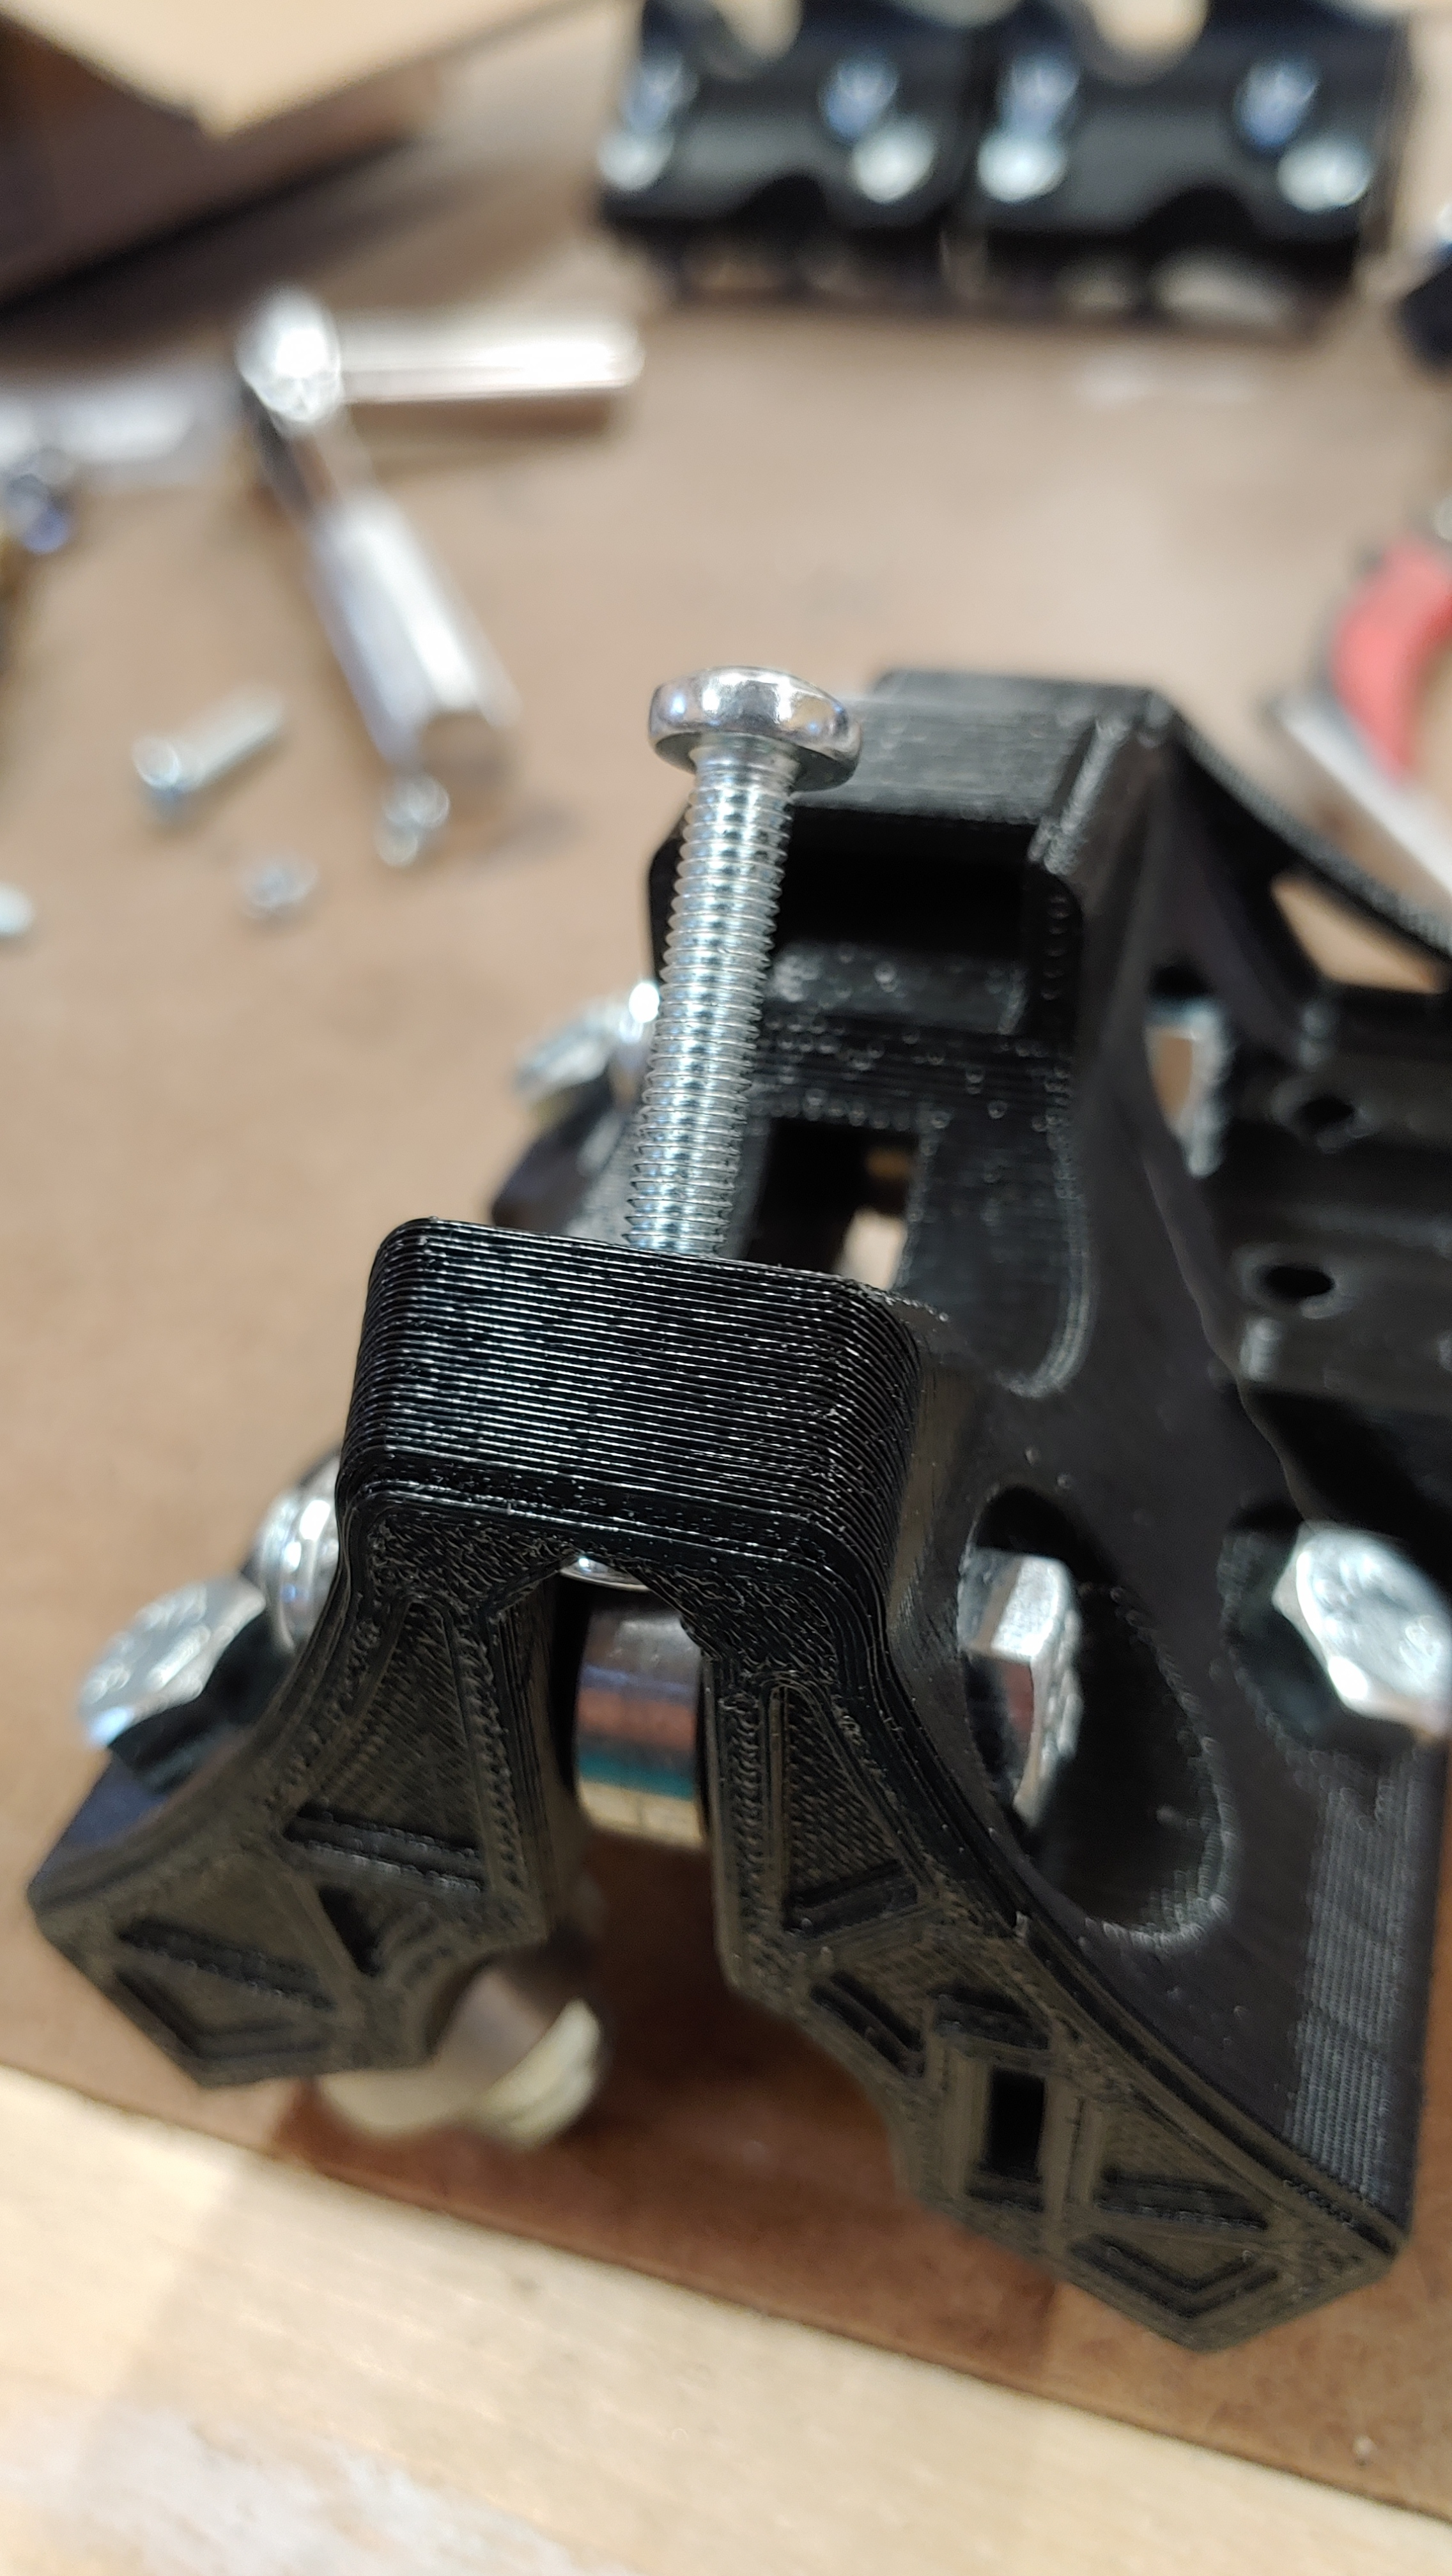
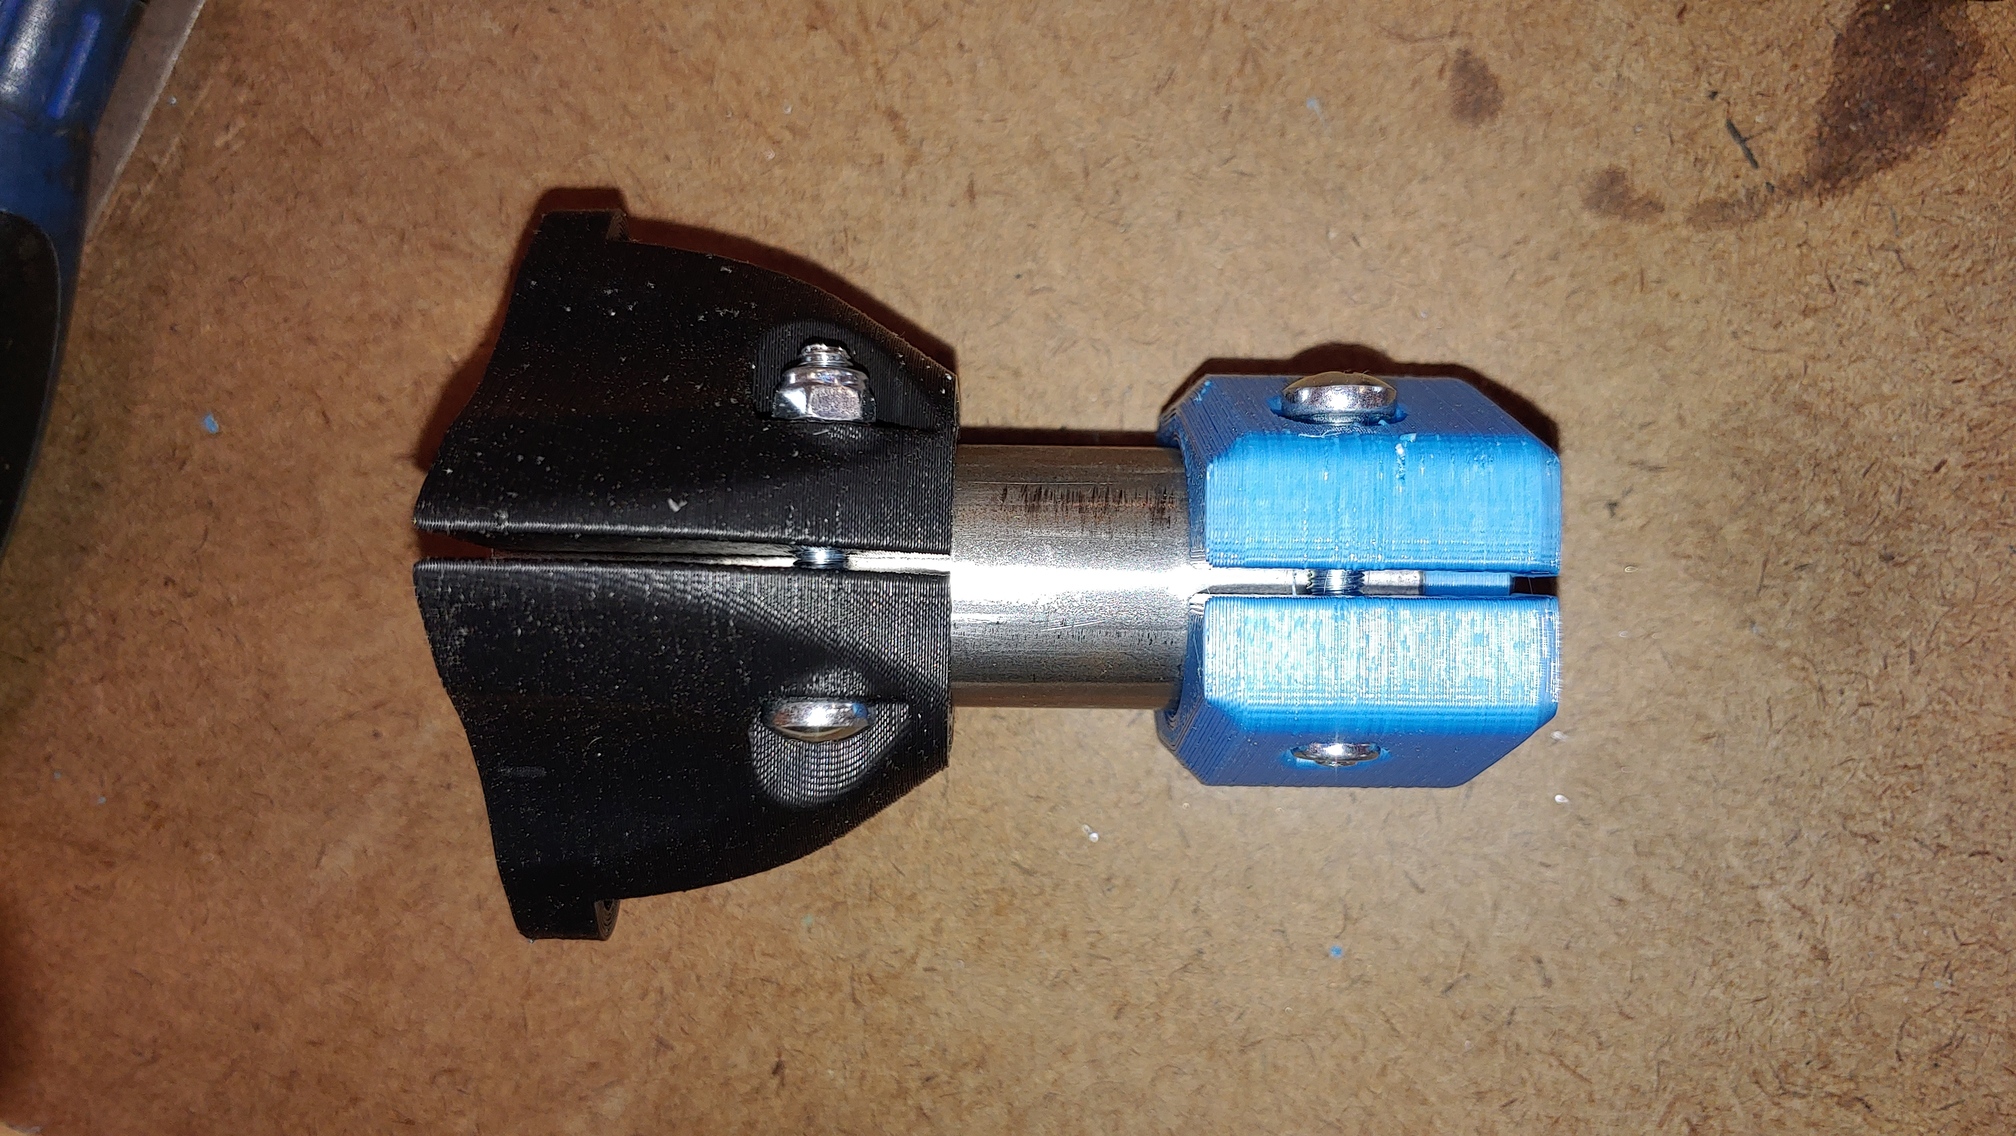
If you’re having problems getting the nuts to fit on the trucks, put a bolt through, thread the nut on, then us the bolt to pull the nut into position.
In my experience, overheated drivers will shut off until they cool way down. Like 30 seconds at least. If that was hapening. I would expect much more damage, and a big fat line for one layer when the Y didn’t move.
I also don’t think ambient air temperature has as much impact as it seems. The difference between 22C and 32C just isn’t much when trying to cool down a 70C driver.
This is all sounding very negative. But I am just hoping to get to the bottom a little faster. Maybe I’m wrong, but I like the idea of something binding or a belt slipping or something better. As Ryan said, if they are cool, maybe the current is too low, and then something gets bound and it skips a tad?
When i was printing my burley i had layer shifting on the motor mounts. I reprinted them two more times and had the same shift. I re sliced the parts and the shift went away. Might be worth at try and it doesn’t cost anything to do.
Alright. Down to one final print. I have ~30-35% of the roll left and only the core to go. Wish me luck. Simplify3D estimates 364g of material needed to print the core. If S3D over estimates and the roll under-estimates, I might just pull this off.
Worst case, my core ends up being black instead of an accent color.
Here’s the time lapse of the corner bottoms printing. The quality isn’t the best. If I ever buy this brand again, I’ll really need to tune in the retract to reduce the stringing.
Layer shift sucks and kind of irritating to diagnose!
I learned that stealth mode on a prusa is only good for a single wall spirilized vase or something not a structural piece.
Technically it finished but I didn’t draw it like it printed.
I have used Stealth mode exclusively on my Prusa and have printed hundreds of structural parts, including a full Burly and (now) most of a Primo (even the core) with amazing results.
My point is that I don’t think Stealth Mode is your problem. If you have regular issues that only happen during Stealth Mode, I would wager that the problem exists independent of Stealth Mode and its just highlighted when you print in that mode.
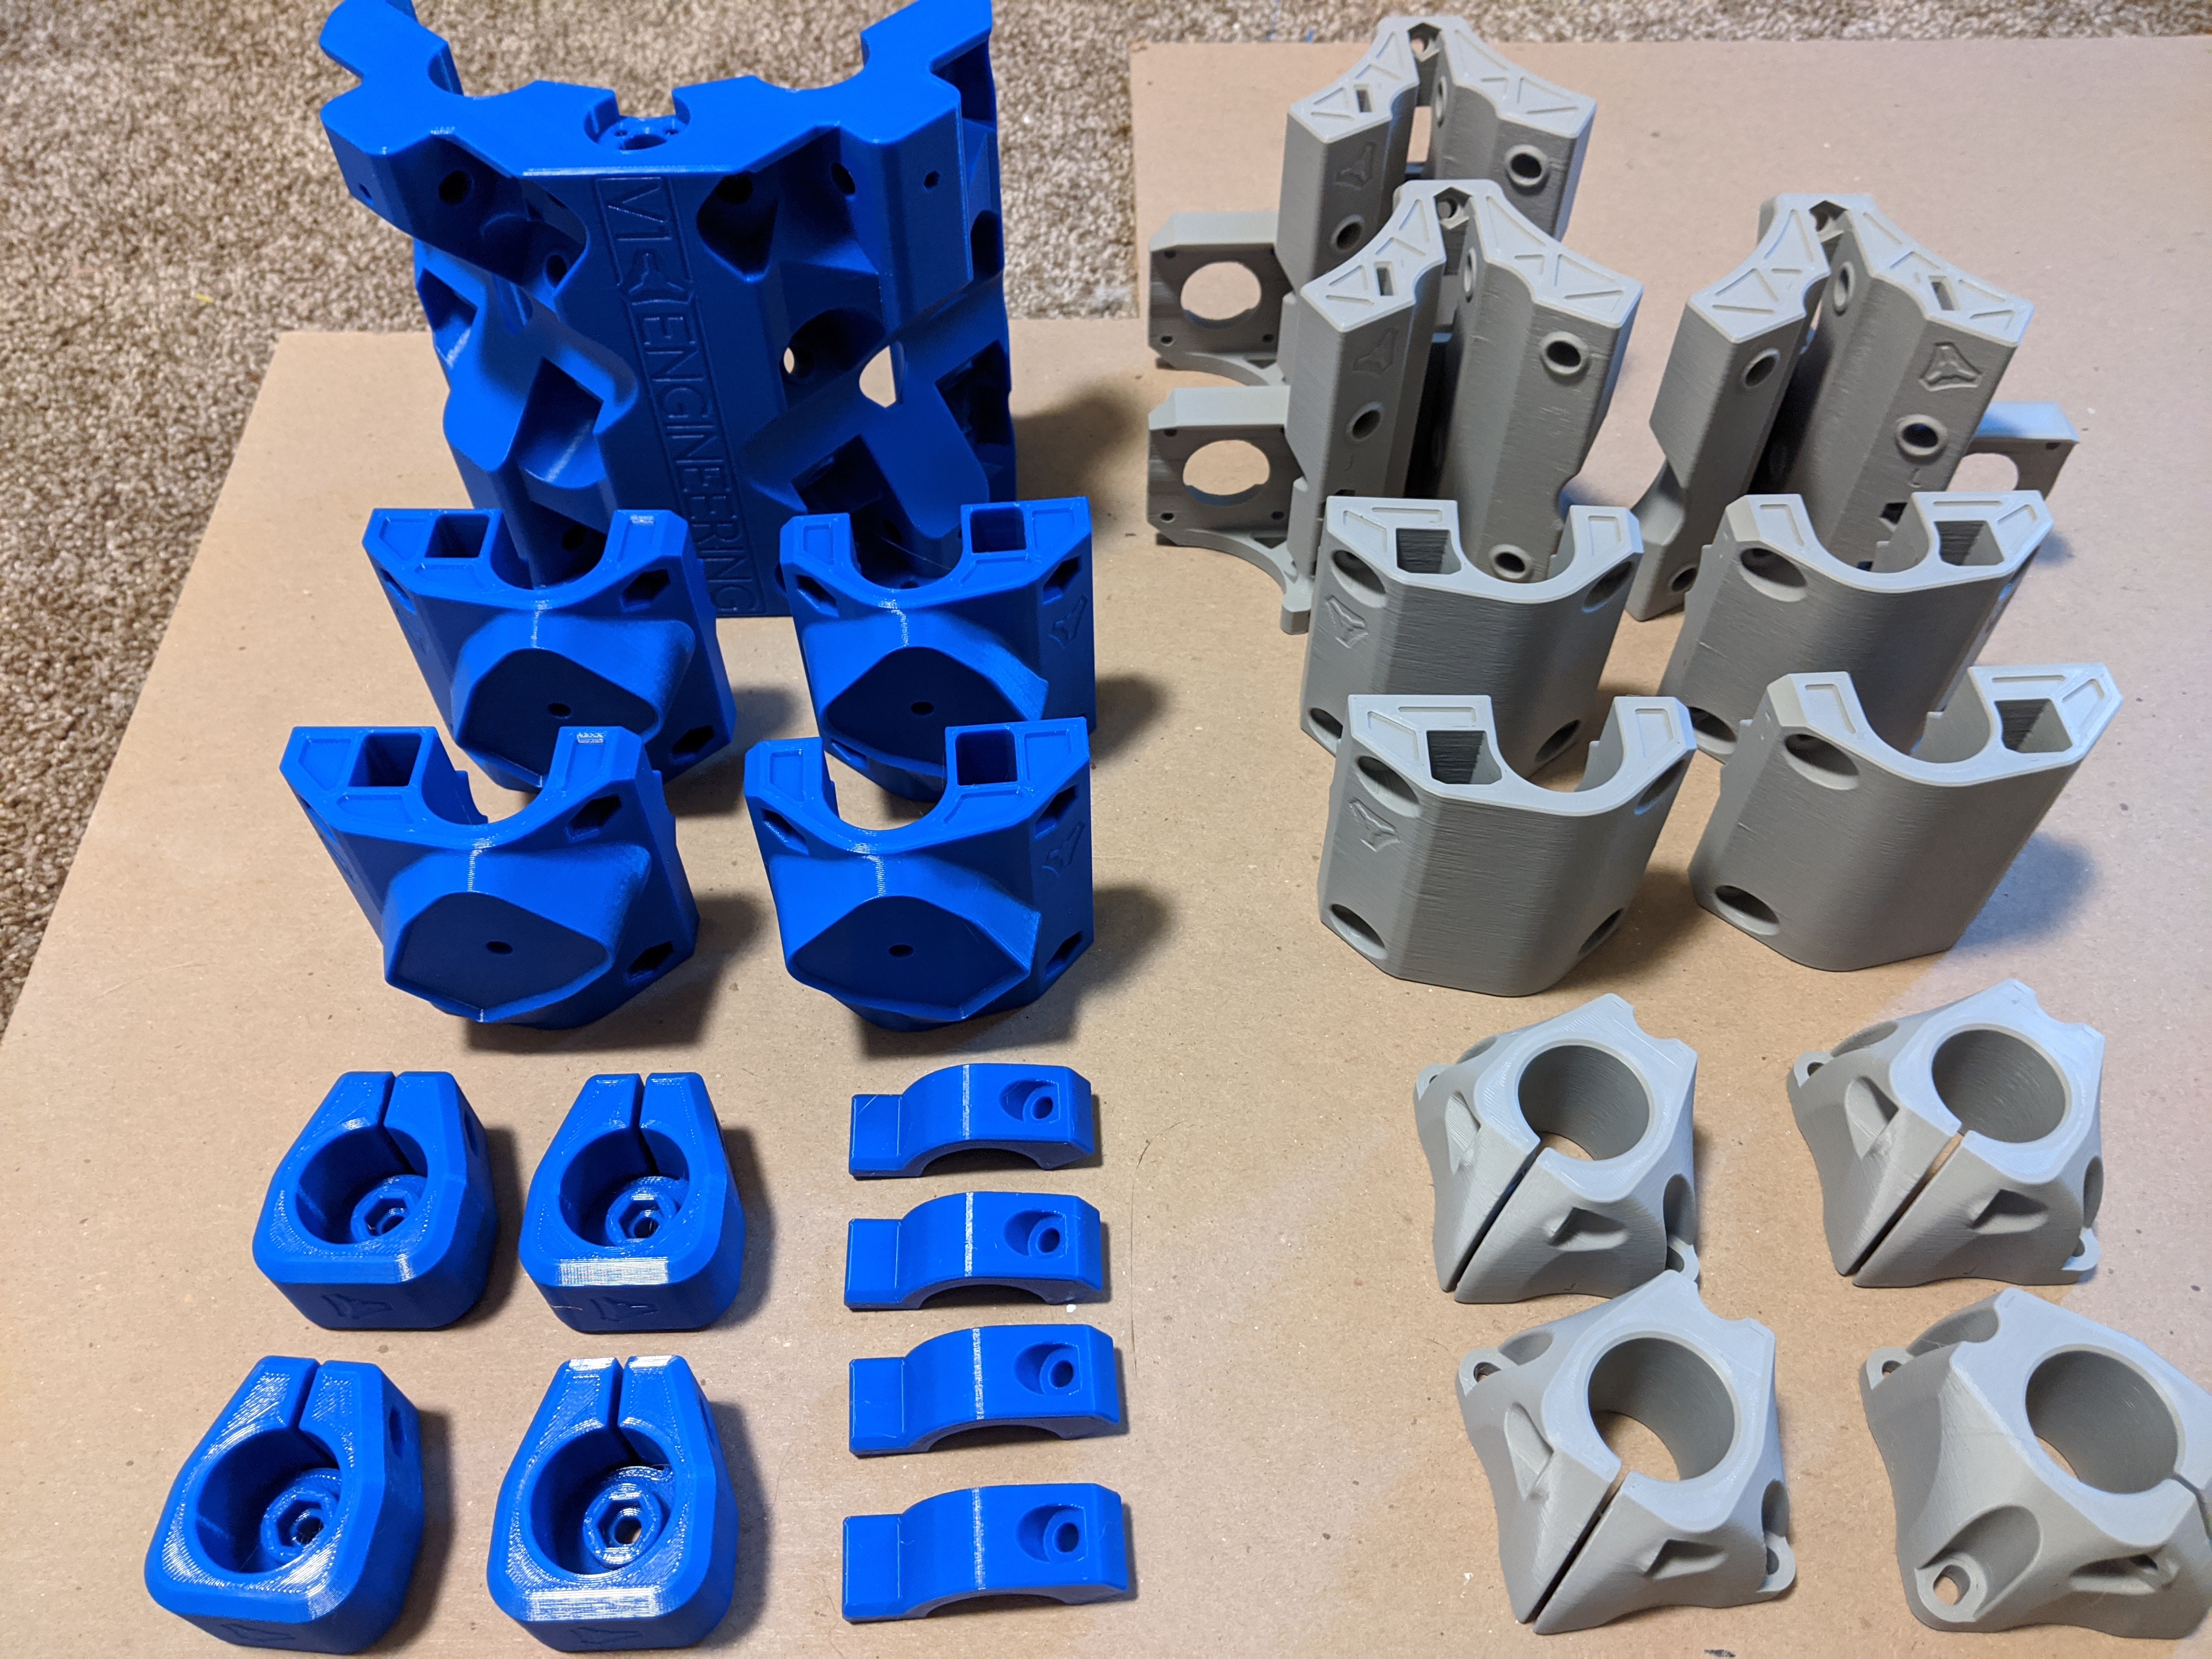
Good looking prints. I tuned my printer to probably 95% or so and just deal with slightly non-perfect prints. They’re dimensionally accurate, they just have little imperfections every so often. It’s really noticeable with the latest filament I bought for the blue color. I should have bought two rolls of that filament so I could have spent much longer tuning it in. I was anxious to jump in getting the parts printed.
I may go back and reprint some of the flawed parts, but I know I probably won’t.
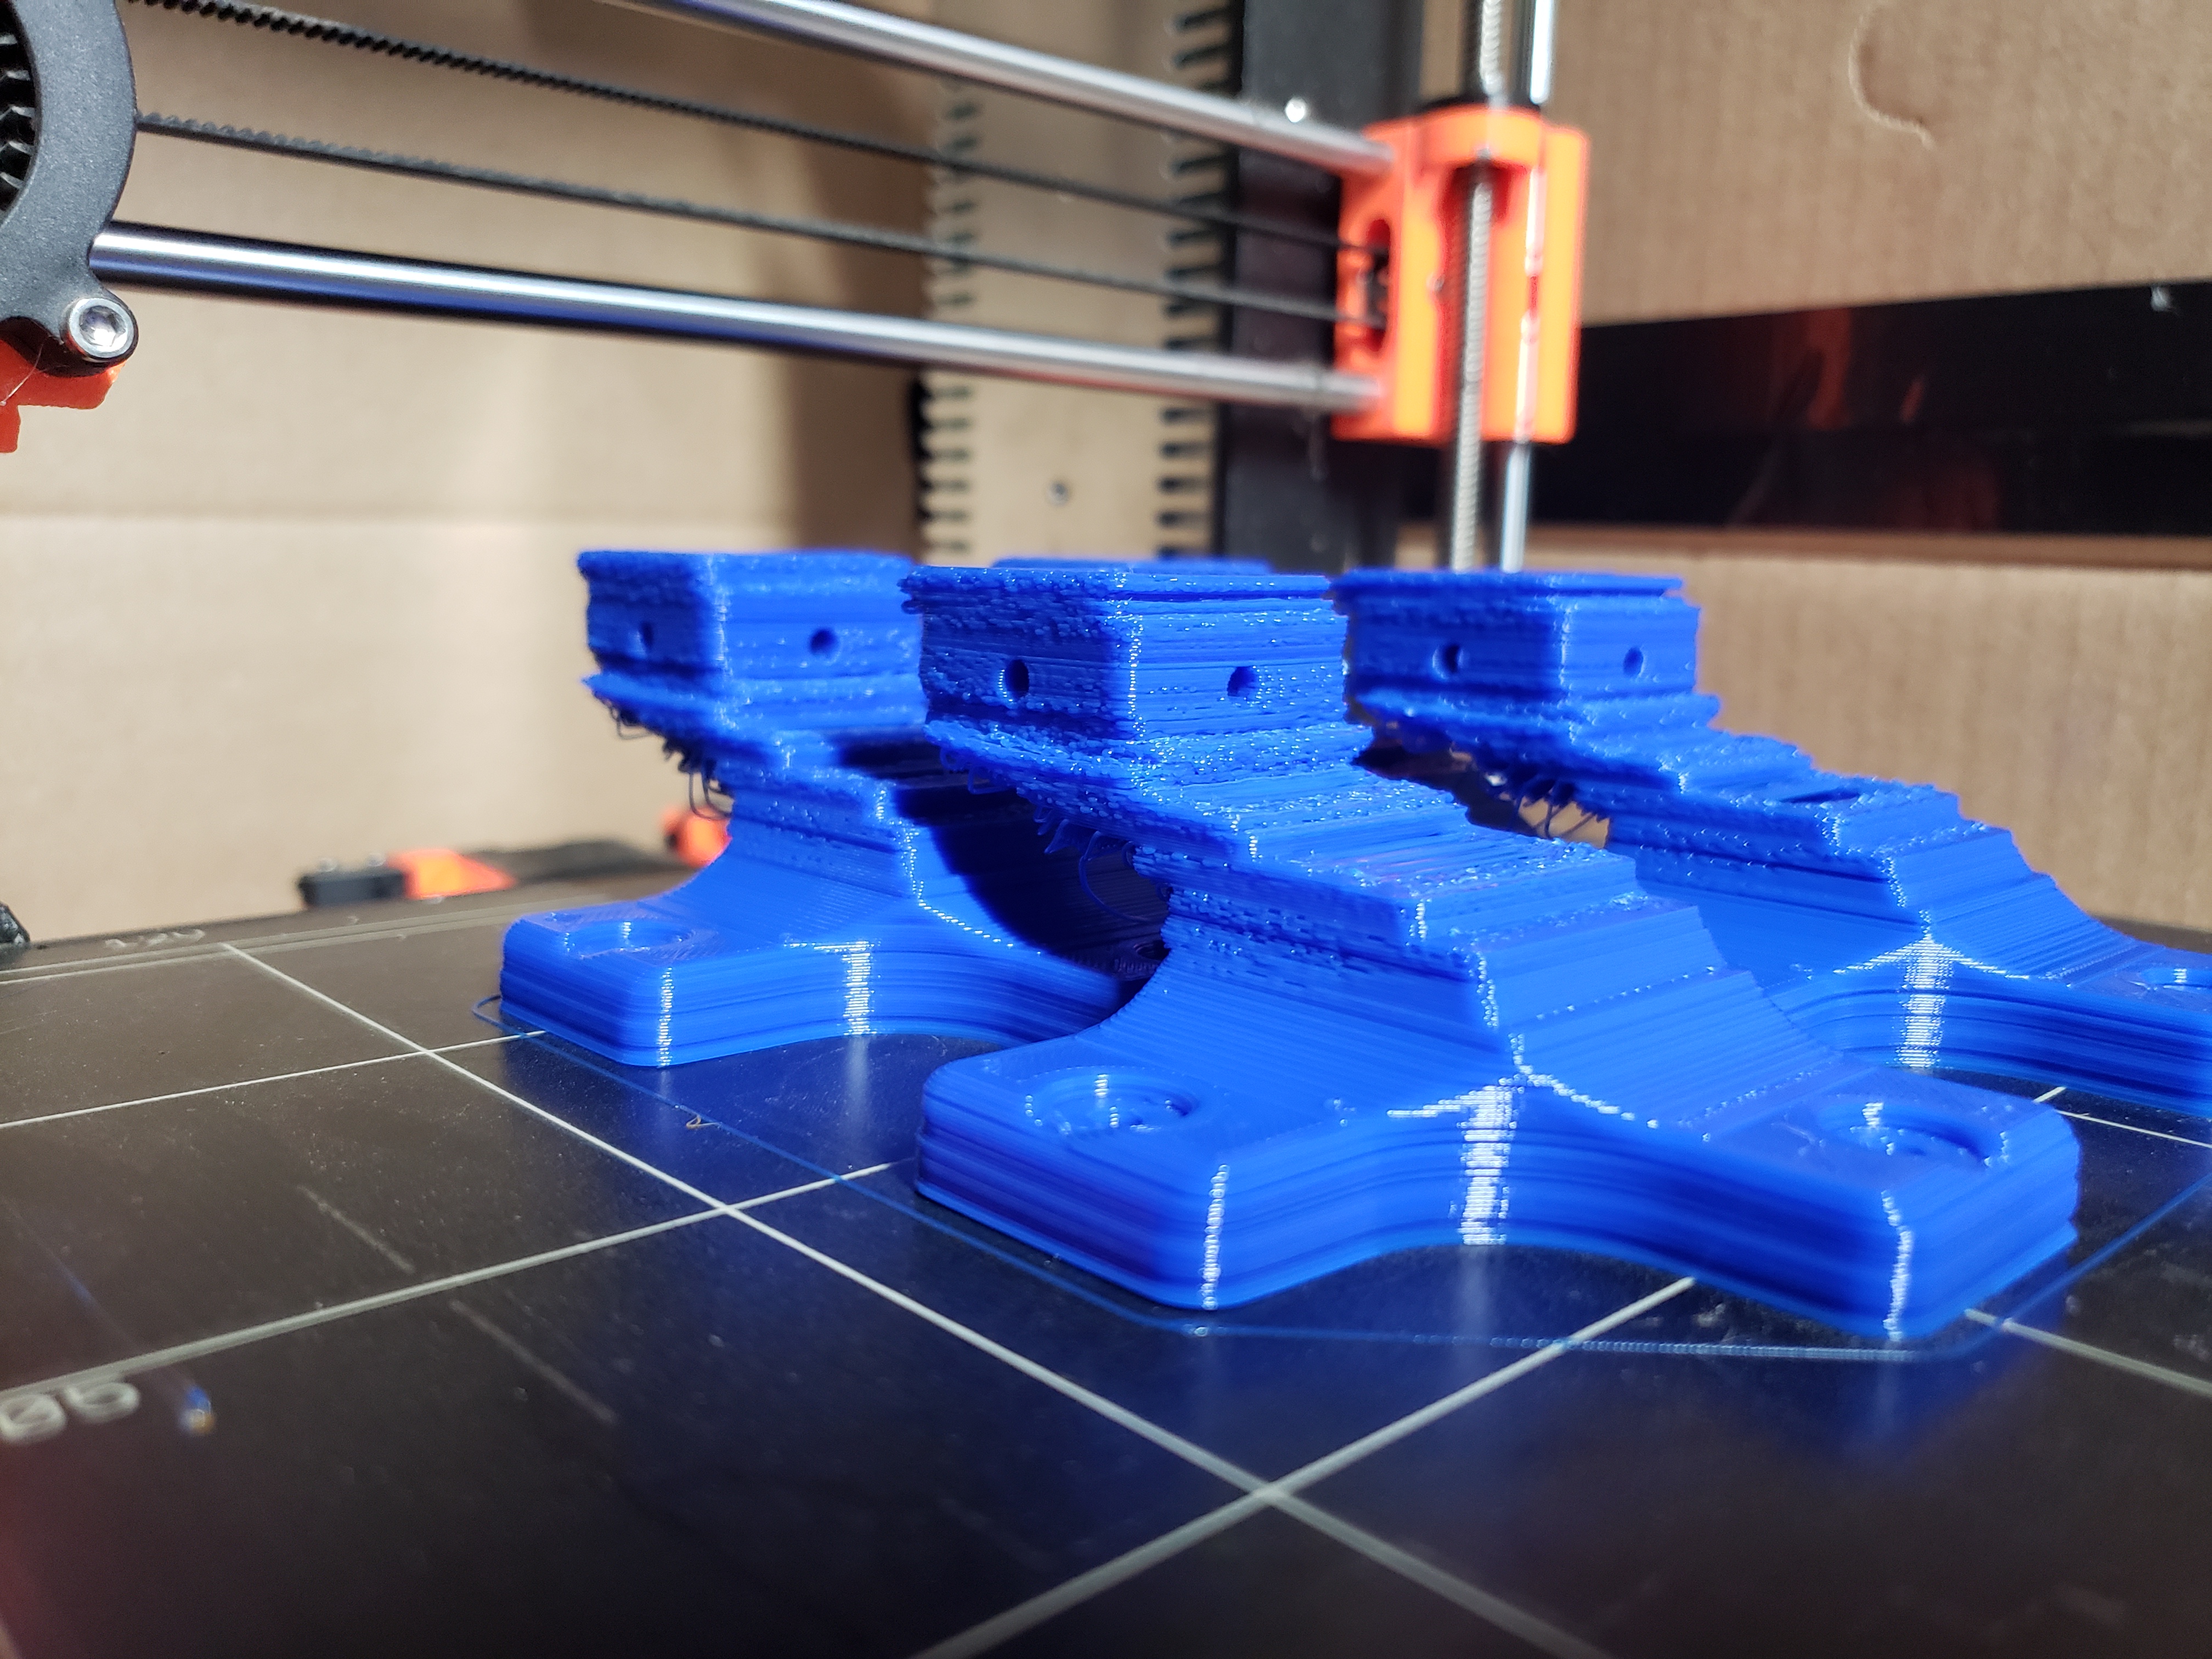
Different colors seem to work differently. Look at my picture closely. The same brand, bought at the same time, sealed until used. The same settings. The blue is perfect, the grey looks like I am printing a little too hot. Those marks only show up when zoomed in (they are mostly imperceptible looking at them for real). Maybe thats related to the color, maybe its just that filament batch; but it is a little odd.

 Sorry too much Dr. Pepper, I fell off the wagon and now I’m back on the sauce!