I also took the opportunity to run the extension cable for the printer all the way to my UPS on my server rack in the shop. The battery says I should have about 31 minutes of run time in the event of the power going out. I really need to finish re-doing that part of the shop. The plan is to eventually move the 3d printer next to the server. It would keep me from having to use a 30’ extension cable ran through the middle of the shop from one end to the other.
Not really. I was never really happy with how the Z axis on my Burly was. There was always just a tad bit of play in the X direction. I probably could have figured it out, but I like the idea of the solid core on the Primo.
The last of the black parts came off the printer this morning. I had forgotten to print the tool mount parts. That was a quick little 2 hour print.
My second set of trucks had that weird skip in the y axis again. This one is even odder because later on in the print it skipped back to where it started. Not sure what caused that, but I’ll have to monitor it. I’ll check out the Y axis after the next print.
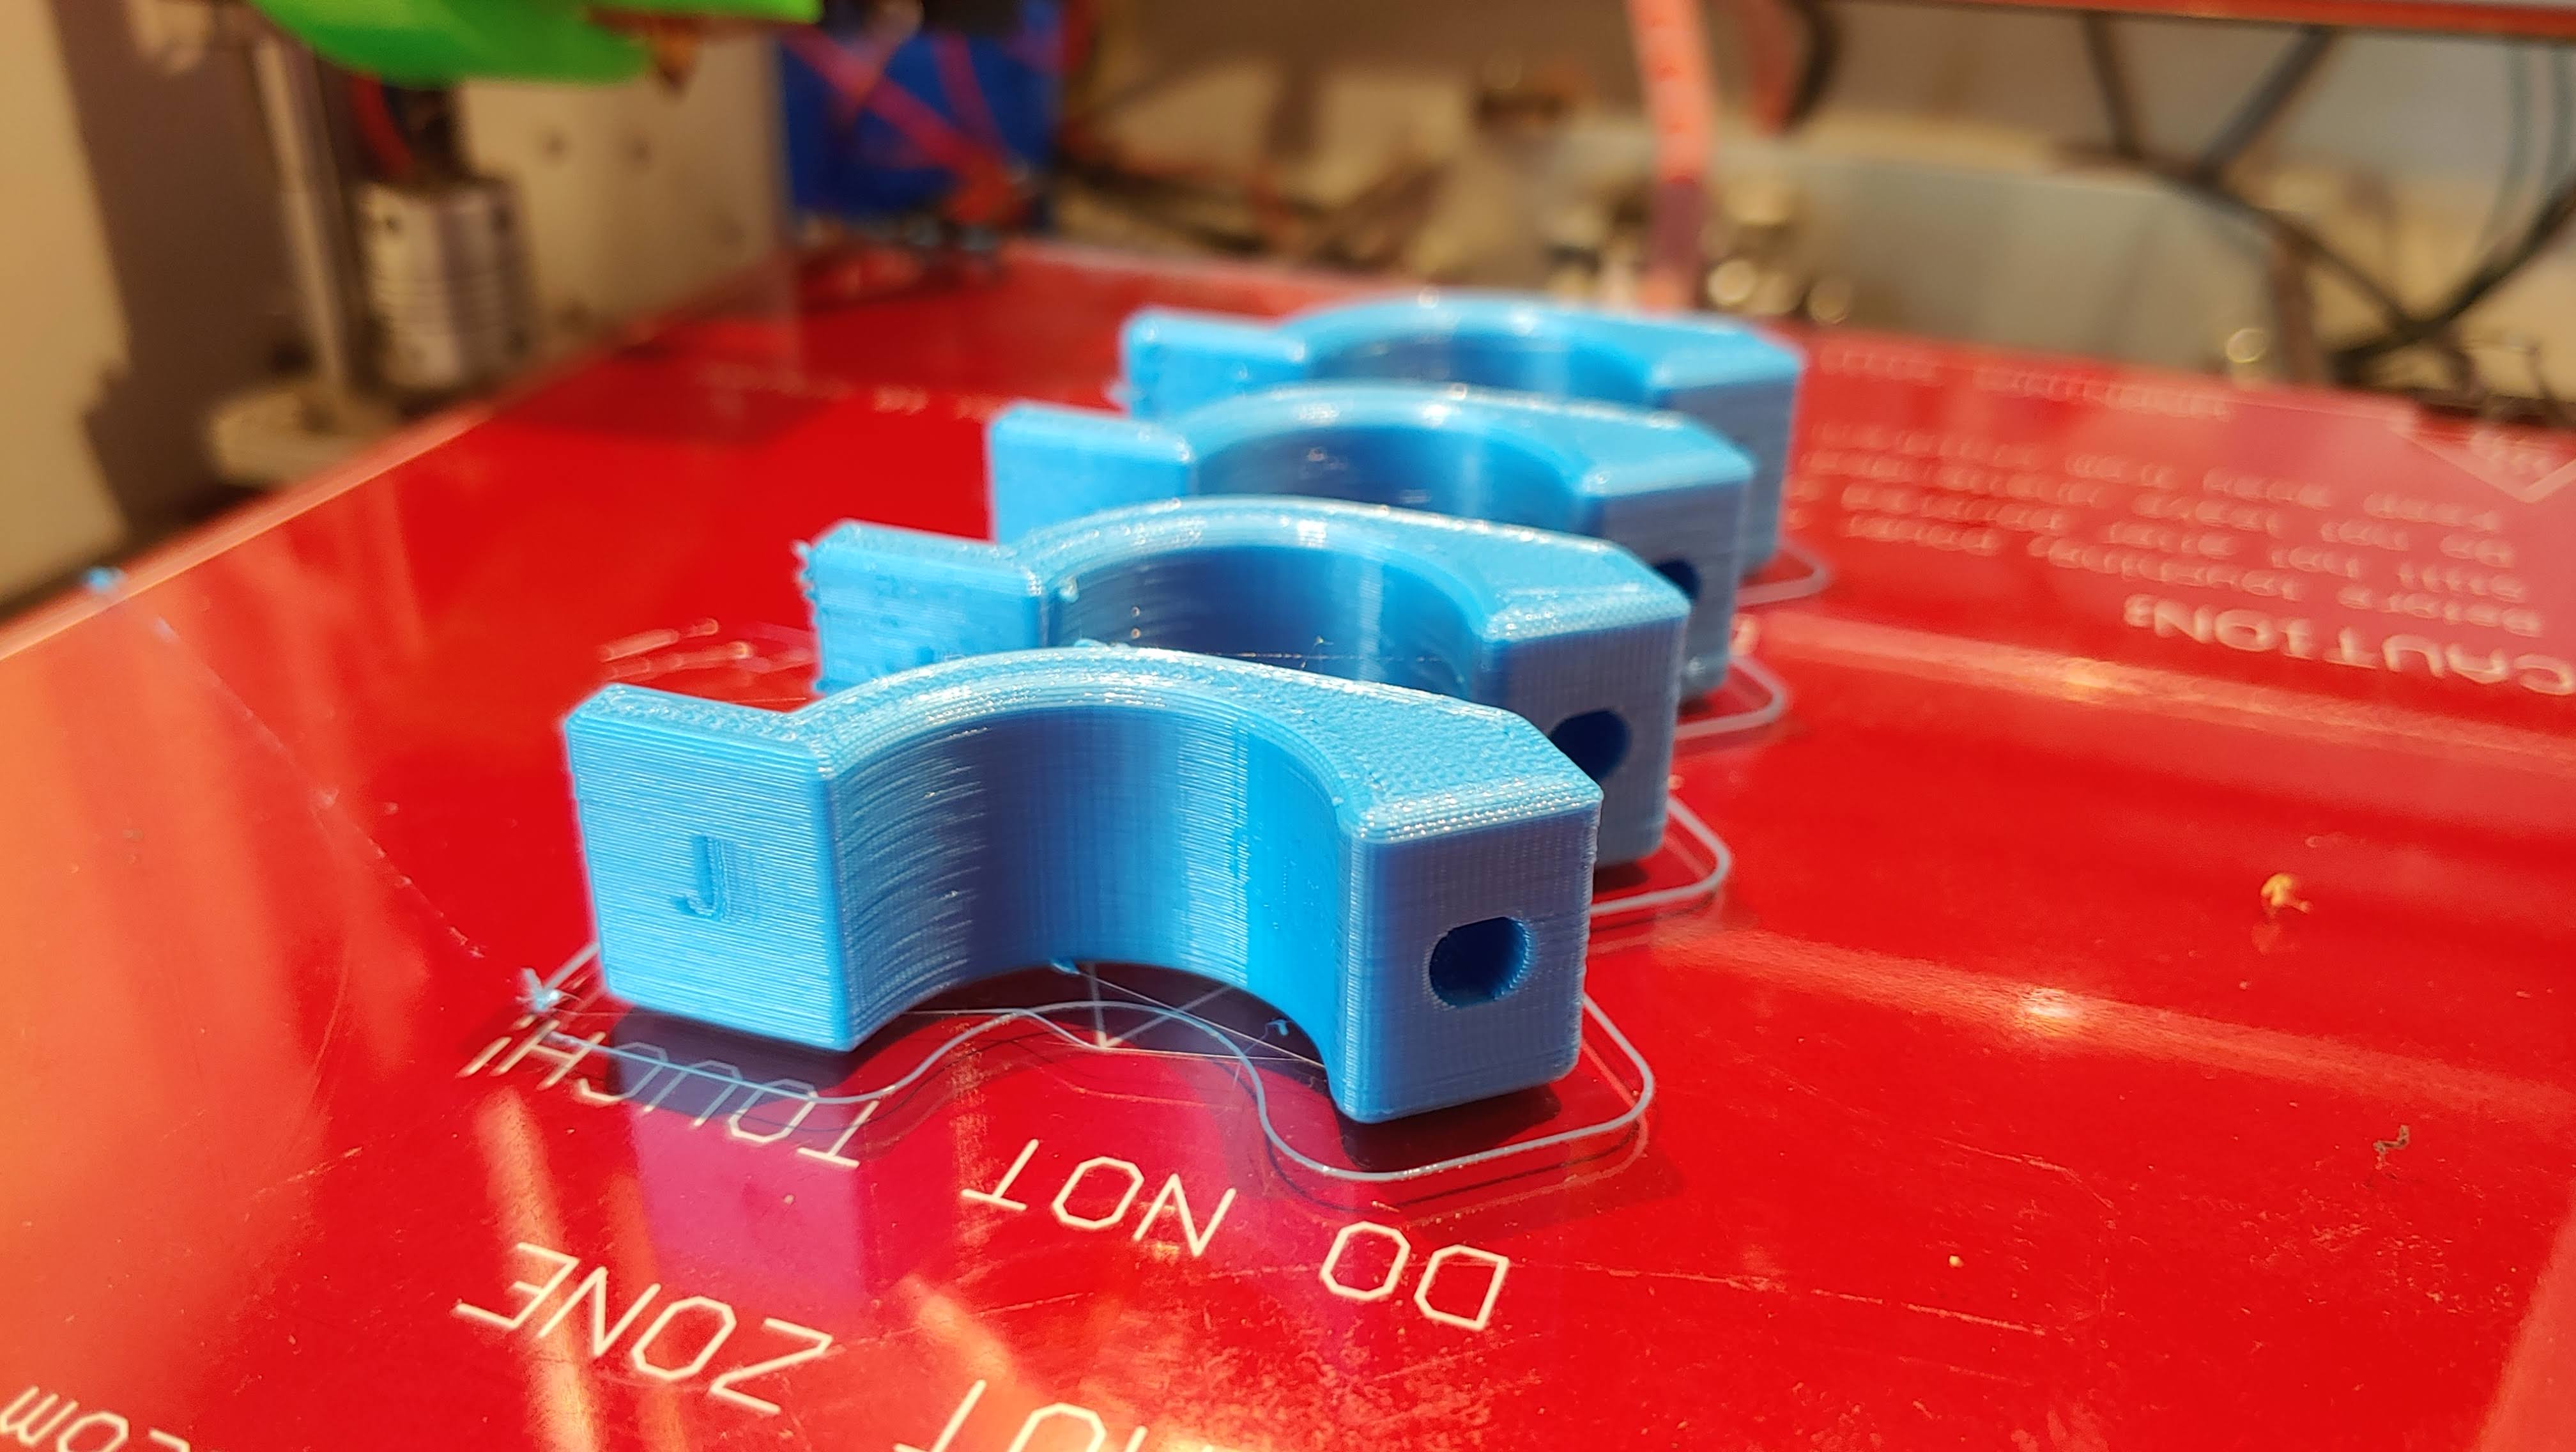
The first set of blue parts are printing now. This is a new filament brand for me, so I’m just printing the 4 truck clamps so I can verify quality of the print before starting the longer jobs.
For those that are buying your pipes online, mine came in with stickers all over them. I used brake-clean and a scraper to get the stickers off. Then I gave them a good wipe down with a rag with brake-clean. This got all of the surface stickiness off. Finally, I coated them in a coat of Johnson’s paste wax like I do my cast iron tops on my tools.
This is very depressing. 14 hours into a 15 hour print. I go out to see how things are looking and find that it layer-shifted on me. This time it’s too much to work.
I also discovered that the new filament is a bit stringy at my typical settings. I’ll try reducing the temperature some.
I’m not sure what to do about the layer shifting. I don’t know if something is overheating or what. I put a fan pointed at the raspberry pi. The controller for the printer already has fans on it, although it’s in the enclosure. Maybe I’ll remove the sidewall on the printer so that more air can get in to the controller. It did feel a bit warm inside the case.
I think this is the first time I’ve tried to print something this long when the printer was in the shop and not air conditioned.
The layer shift is in the y direction. The only thing moving in that direction is the build plate. I double-checked the grub screws on the stepper are tight.
I’ll give rectilinear infill a try. I did print one set of trucks using that infill, but I still had a layer shift on those parts. Looking at the parts, they look to still be useable, though.
After about 30 minutes of printing check the stepper temp. Too hot is not good but probably not the issue, and cold is a good indication of the possible issue more stepper current. Warm is where it should be.
The only other things I can think of with a bed skip is wires snagging, or bearings sticking.
Man this has me really bummed. I was hoping to have all the parts printed before I left on our 4th of July weekend Friday morning. That way I could start building when I got home Sunday evening.
If I can get the leg lowers printed tonight, then I can at least start on all that while the core prints. I hope having the feet screw up the first time leaves enough filament to print the core.
This happens to me. With 7 printers running everything possible has happened. Bad SD cards, bearings, loose cables, dust, everything. I think it is a sign you actually use your printer a lot!
I had a similar problem on one of my ender3s (was using this ender for other projects not the mpCNC parts) no matter what I was printing was having layer shift constantly and it just kept getting worse I inspected my belt better and sure enough it was on the verge of breaking i touched it and it fell apart. Replaced it yesterday and haven’t had a shift yet need to keep printing though but hopefully that’s all it was and the belt wasnt a result of a different problem