The LR3 has gotten a lot of table ideas.
Are there any table ideas for the MPCNC?
The LR3 has gotten a lot of table ideas.
Are there any table ideas for the MPCNC?
Also, spoilboard ideas are welcome?
I put the feet on two strips of 18mm plywood and then used 18mm MDF as a spoilboard, so I was able to swap the spoilboard without the need for disassembly.
I went with a drop table.
It’s been working well so far but I’ve really only dropped it down once to pop some holes into an electrical enclosure.
I just found your buildthread and the drop-table and your build is very impressive. I don’t think I will go for a droptable, however, I am interested in your spoilboard.
Could you write more about it?
If this is your first build, you might consider not doing anything “fancy” for your spoilboard. Due to mistakes, I tore up my first spoilboard quickly, so you might consider just using a 18mm piece of MDF without embellishments, and use double-sided tape, or screws, or the painter’s tape and CA glue trick to hold things down. After you have some hours in with your machine, you will have a much clearer idea of what hold-down system is right for you.
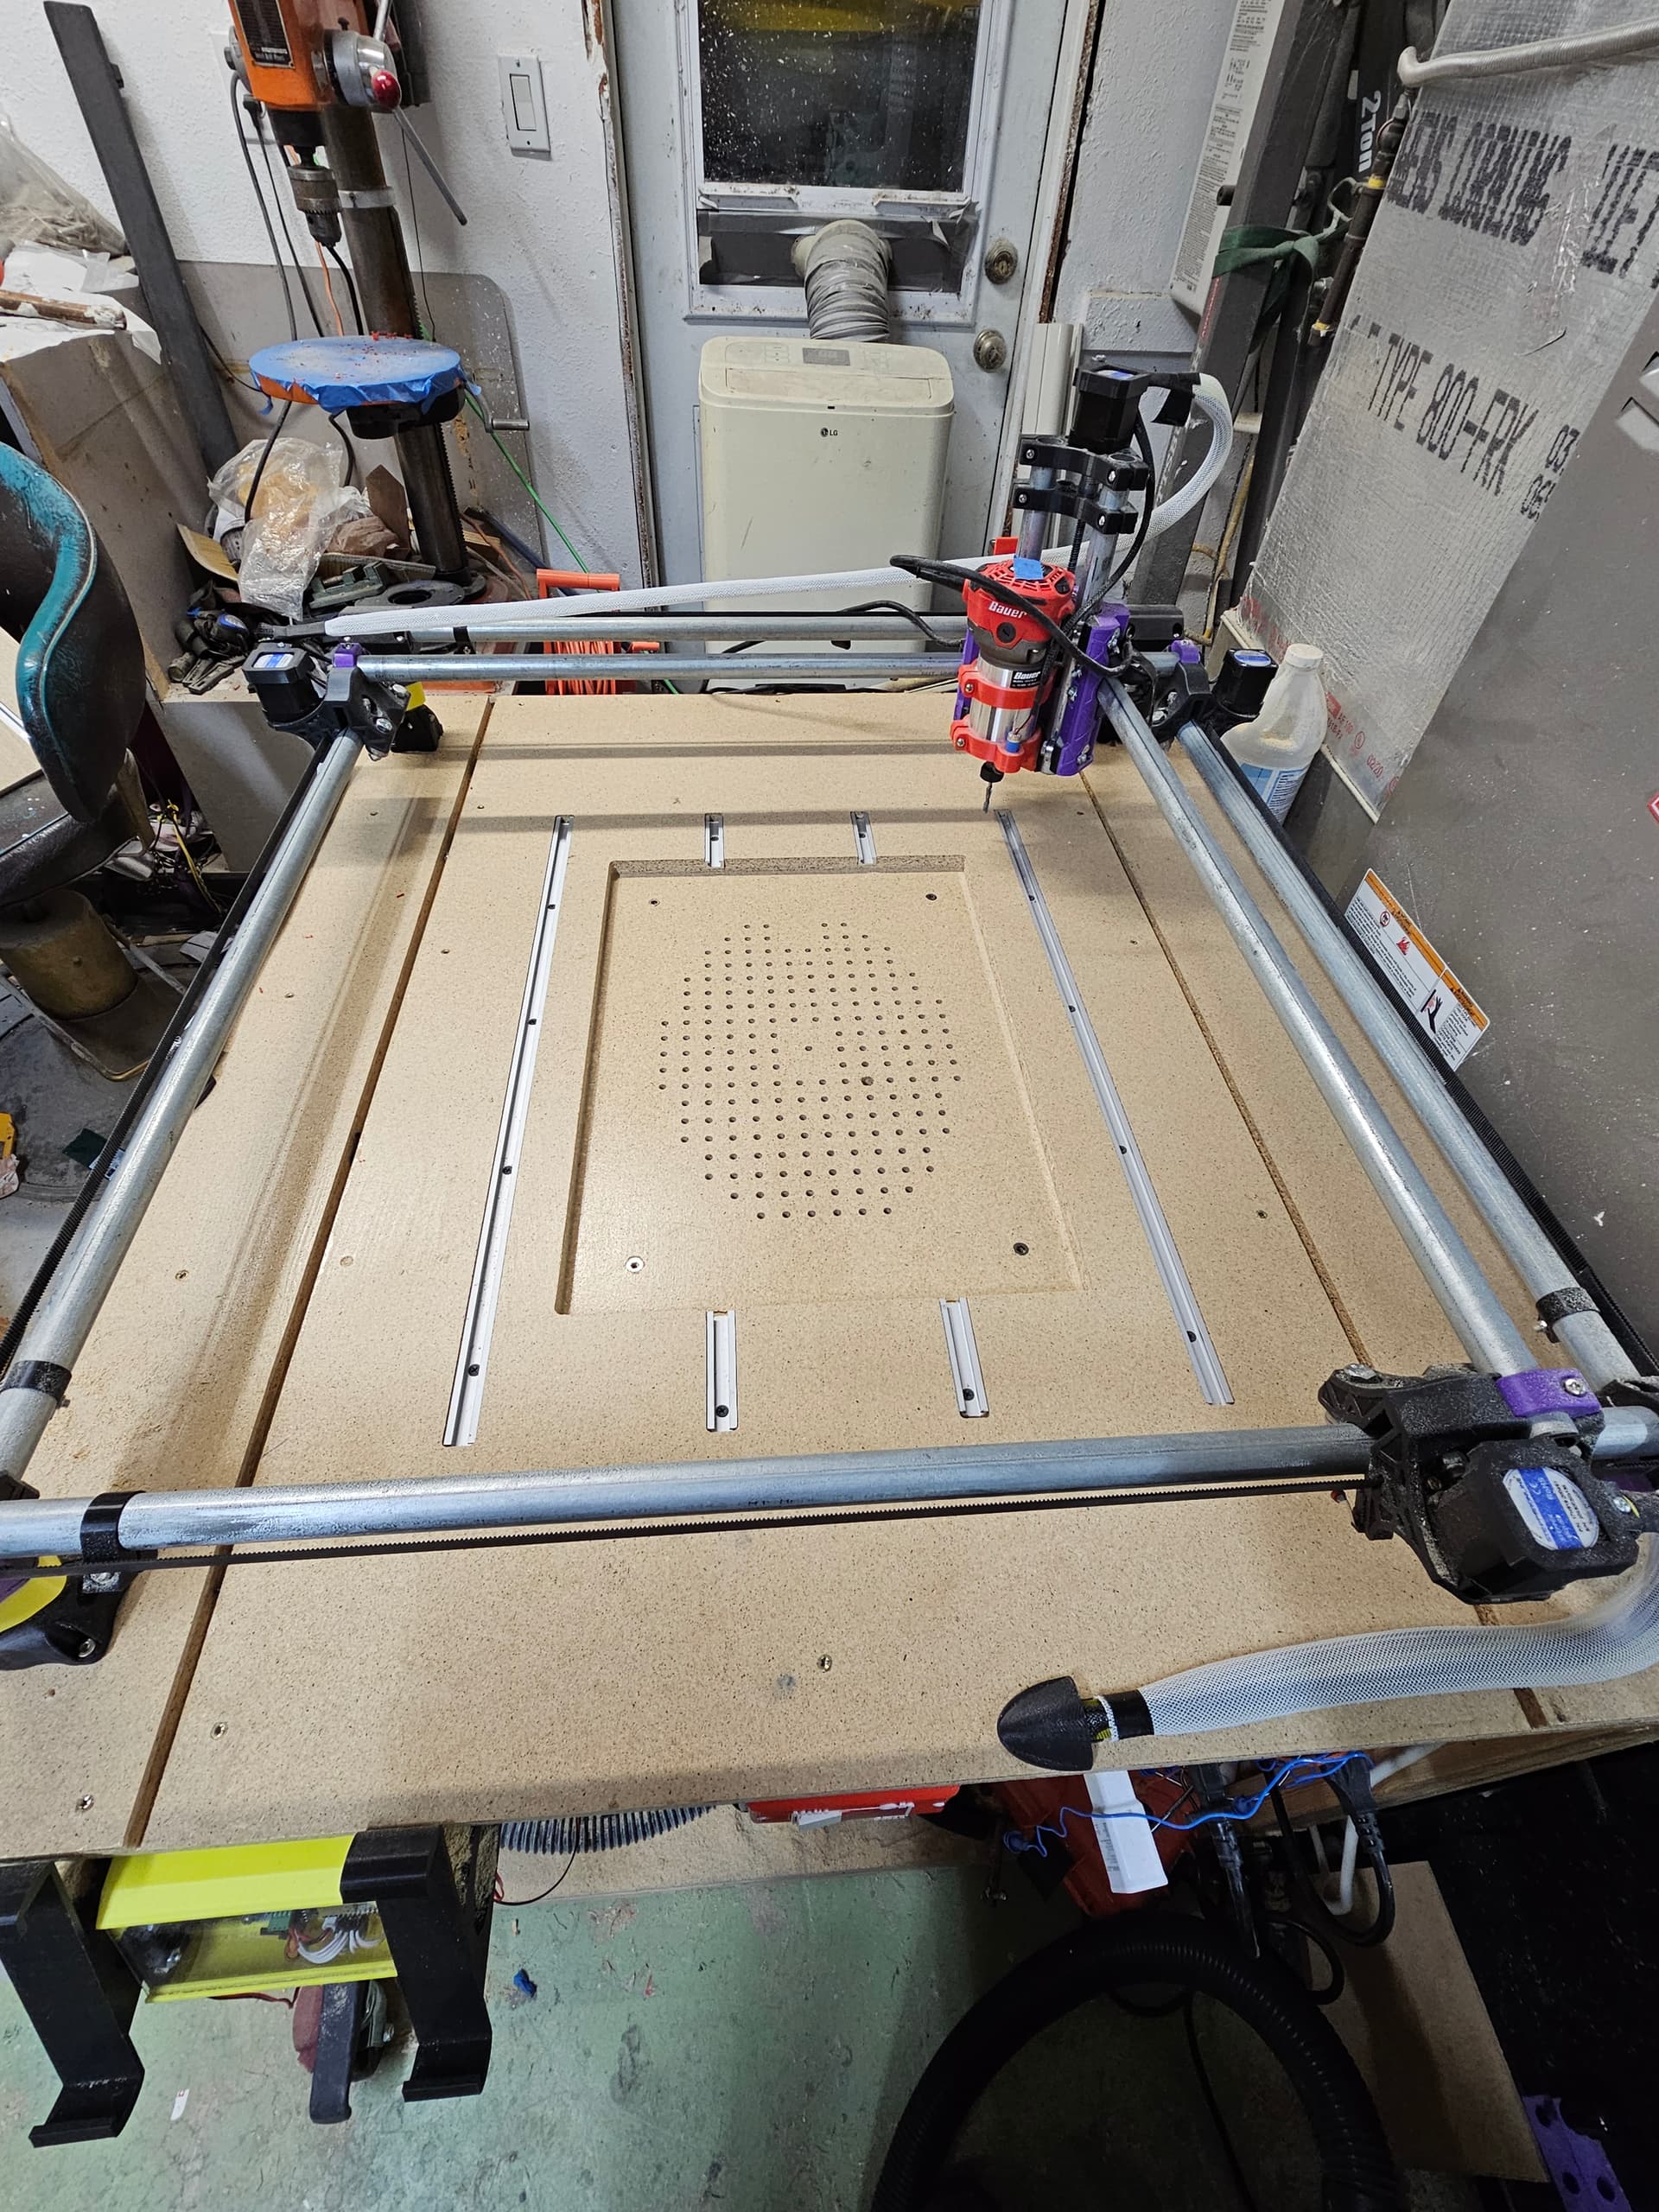
The first decision is how to mount the spoilboard with respect to the legs. On my first machine I did as Philipp described above. The problem I had with that design is that surfacing the spoilboard created a “pit” making it difficult to handle oversized stock. When I upgraded to my Primo, I went to a “floating” design where spoilboard is above the base board and sized and aligned to the working area of the machine. Here is an example. If you go with this design, you have to add the thickness of your spoilboard to the leg lengths produced in the Primo calculator, or place the feet of your machine on blocks the thickness of the spoilboard.
Next, you need to decide on the hold-down solution for your machine. It is possible to mix solutions.
Threaded inserts in some sort of array is a popular solution. You want a flange on the insert, and you want them installed from the back side of the spoilboard. Inserts installed from the front side tend to pull out. This is the solution I am currently using. I temporarily mounted my spoilboard and used my CNC to bore the holes and the recesses for the flanges, installed the inserts, and flipped the board. You need to decide your insert spacing. I went with a regular rectangular 65mm spacing, and found the spacing was too far for some of the things I was doing. I also found there are a lot of inserts that I never use. When I redo my spoilboard, I’ll go with an uneven spacing with more density in some places and less in others. Here is an example.
Another popular hold-down choice is T-tracks like this one. Mostly I see the aluminum tracks like in this picture, but I’ve also seen builds where they use a router bit to cut T-slots in the spoilboard.
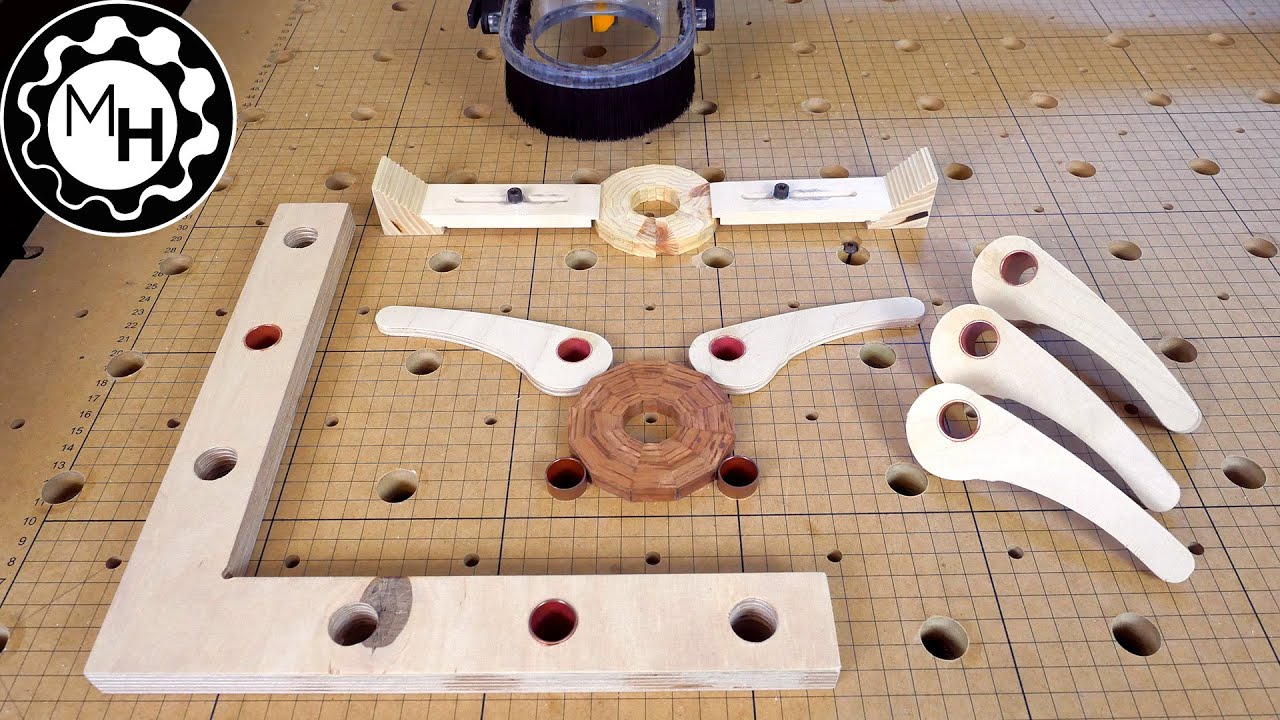
A less common (in my searching around) method is a post-and-cam solution like this one. Larger pipe of some sort is used for the pivot. The linked build uses copper pipe, but I’ve also seen PVC pipe used. Users tend to like this method for how fast stock can be mounted for a job.
And last is the vacuum table. I’ve been fascinated by the idea, and watched a number of build threads. Being able to just toss stock on the bed and start a job is seductive.
After hold-down, consider how you want to keep stock square to the machine. I’ve seen scribed lines, fences of varying sorts (one pictured in the last link), and pegs. Personally, I use pegs, but I’ll be increasing the size of my pegs and making them out of aluminum rod in the near future. Over time, my wooden pegs and developed some play.
Are you satisfied with your table?
I’ve made a few additions to it, it’s working well now.

Looks really good. What t-tracks are you using?
And what do you think about 3d printed t-tracks?
Aluminum, I picked them up on amazon so no brand that I’m aware of. You could try the 3d printed ones but I don’t think they would be very smooth when the bolts are sliding through unless you can print without any supports on the inside or spend a lot of time sanding in there. In any case I think you’ll want to go really thick/strong on the top as I can see pulling through the top as you’re clamping down.
The xcarve I was using used carved tracks through the mdf. I have to shove a flat head screw driver into the track until the tbolt starts to grip the top, otherwise most places are beaten up enough it just spins and irritates me. And the bit to do it was about the price of the aluminum tracks so it was an easy decision for me.
Just, under no circumstances, use the Queen Anne table that your wife/partner’s grandmother left them. Unless you are looking to divest yourself from said wife/partner…
If it’s Jacobian or Arts & Crafts, I’d say it depends on how fondly the grandmother is remembered. But the Queen Anne is a no-go, even if she was a bitter, iron-fisted tyrant (maybe, especially if she was).
