I built an LR2 5 ish years ago, works great but always struggled with Z axis (had to bump up the current on Mini Rambo quite a bit,) didn’t have a Z probe, various stuff i never really got around to remedying. Also it took up so much space in my garage and I wished it was easier to store. My table wasnt very flat and I never got around to surfacing it. So it kinda fell into disuse.
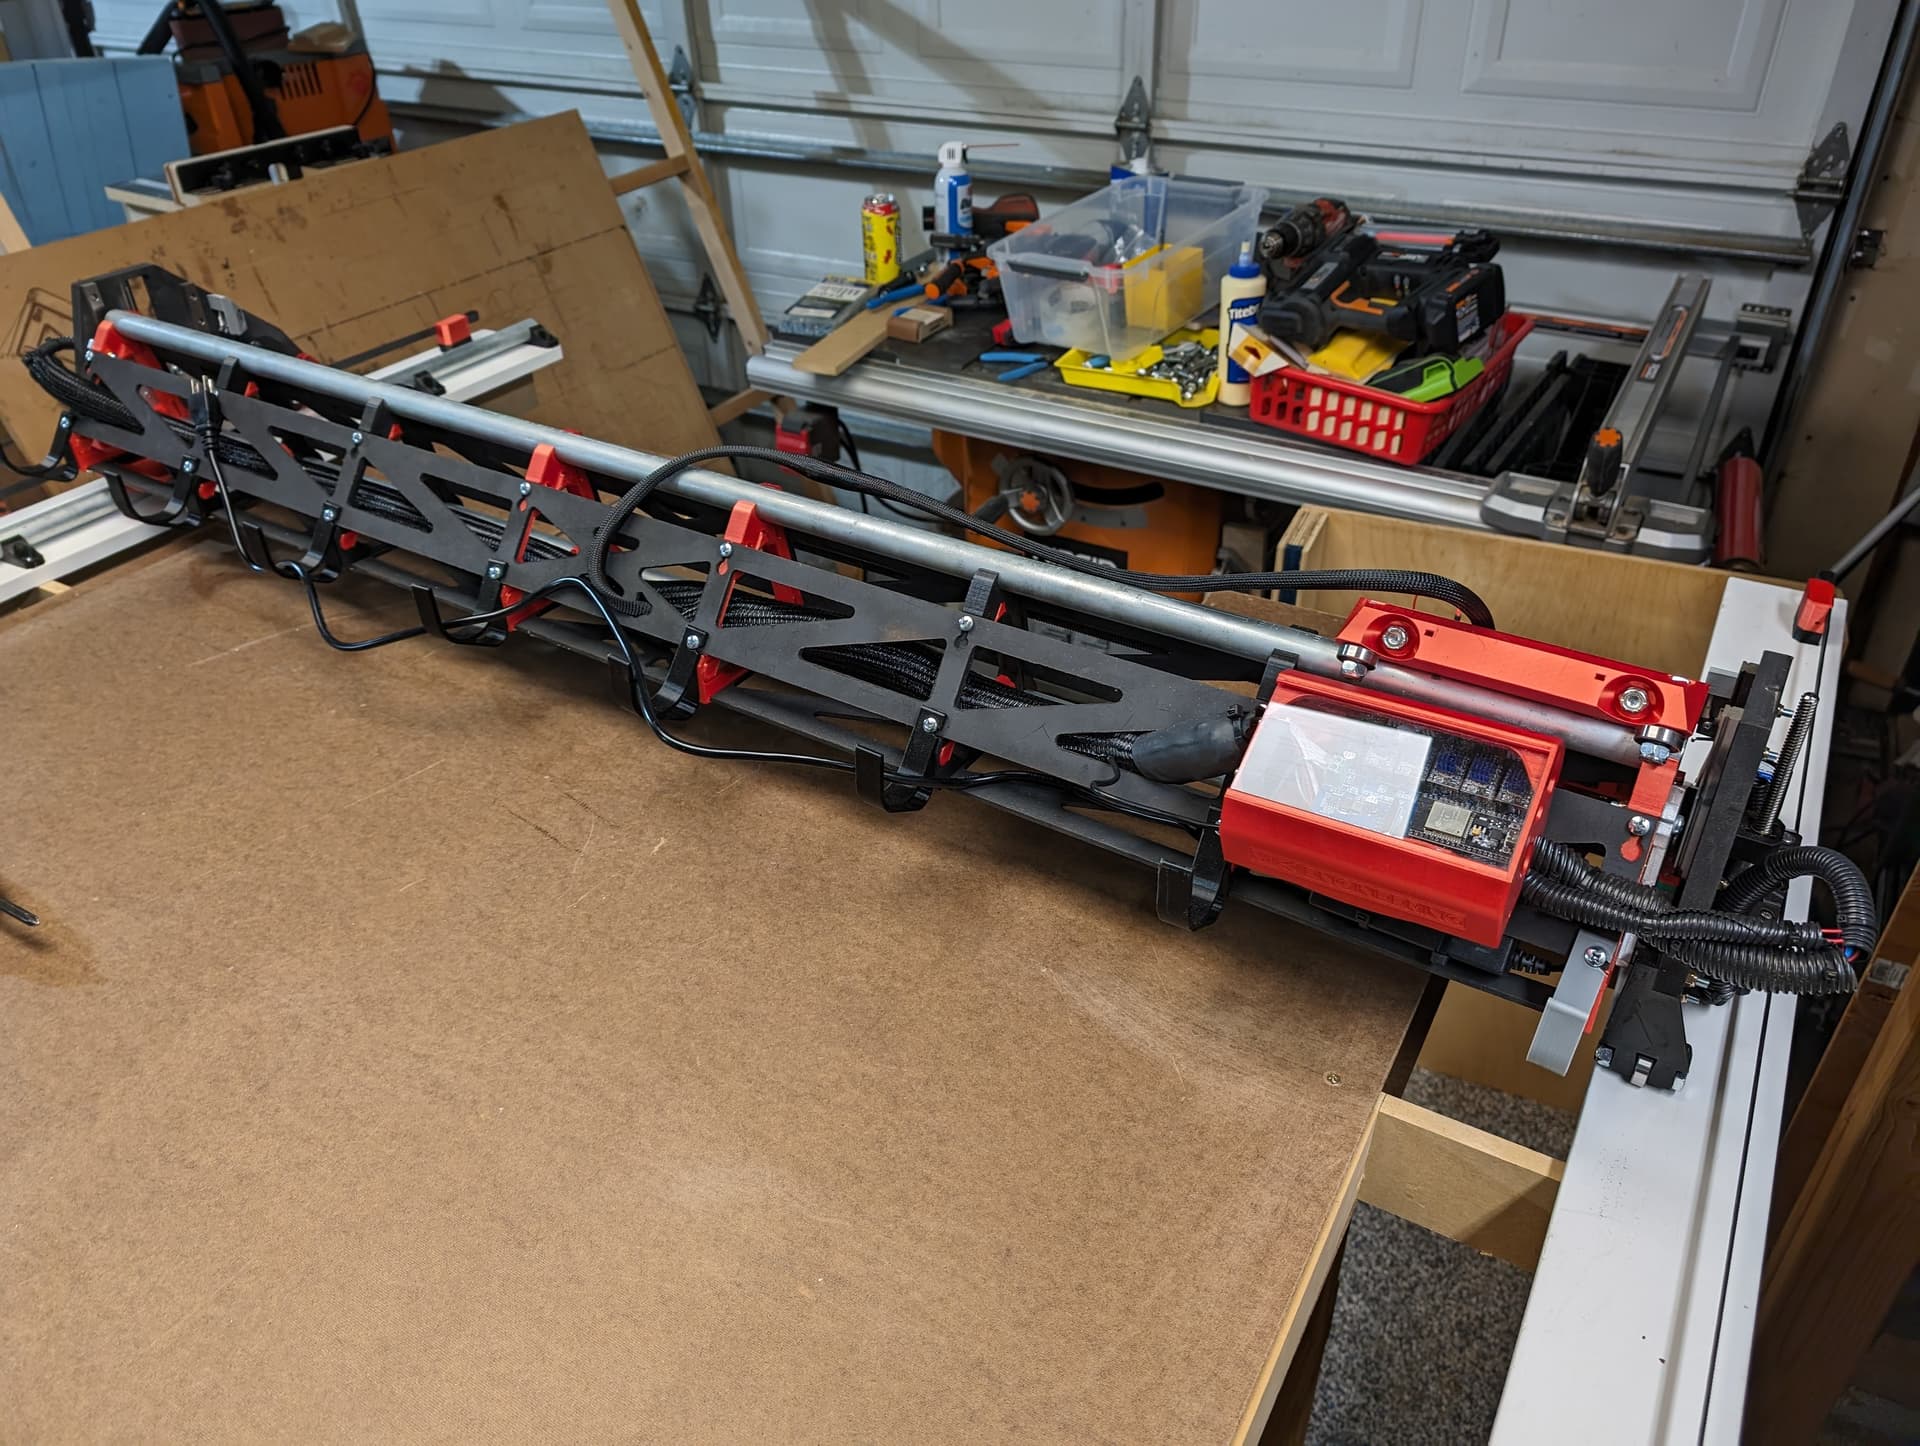
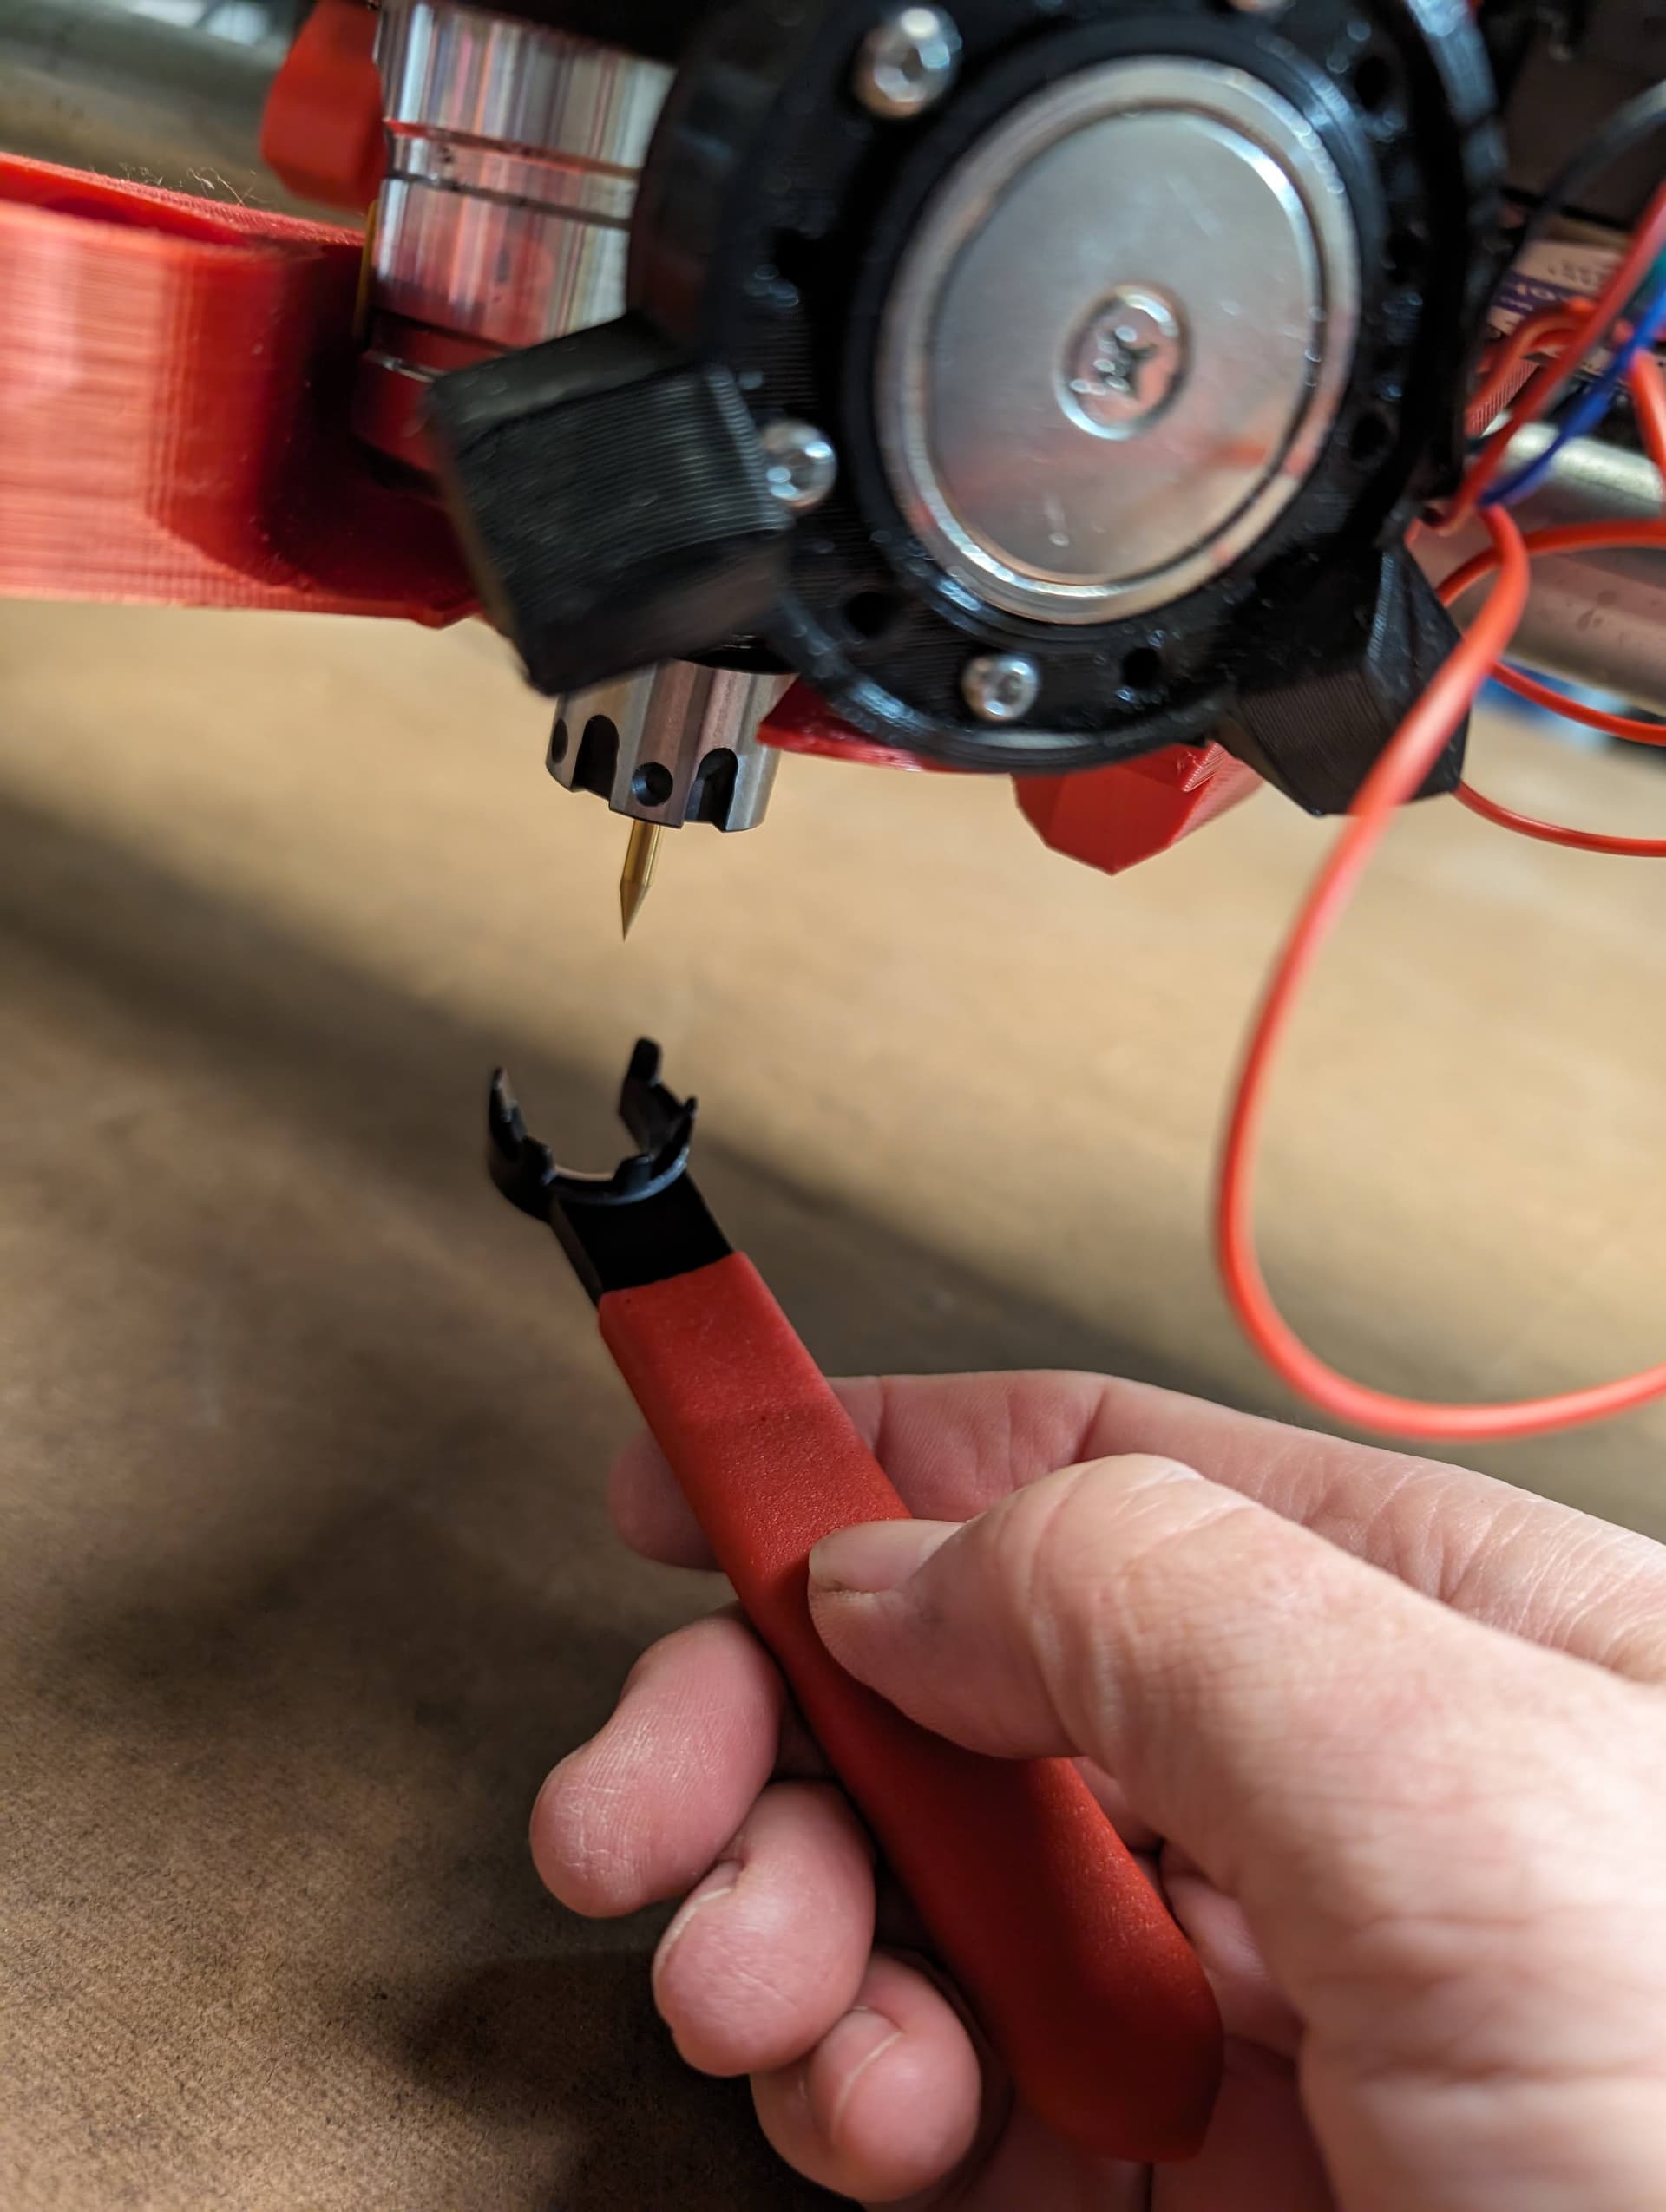
Randomly decided to see if there was a new version and saw the LR3 was available, the most appealing feature to me was that it is relatively easy to remove from the table for storage. Then i saw Doug’s video showing probing Z and was sold.
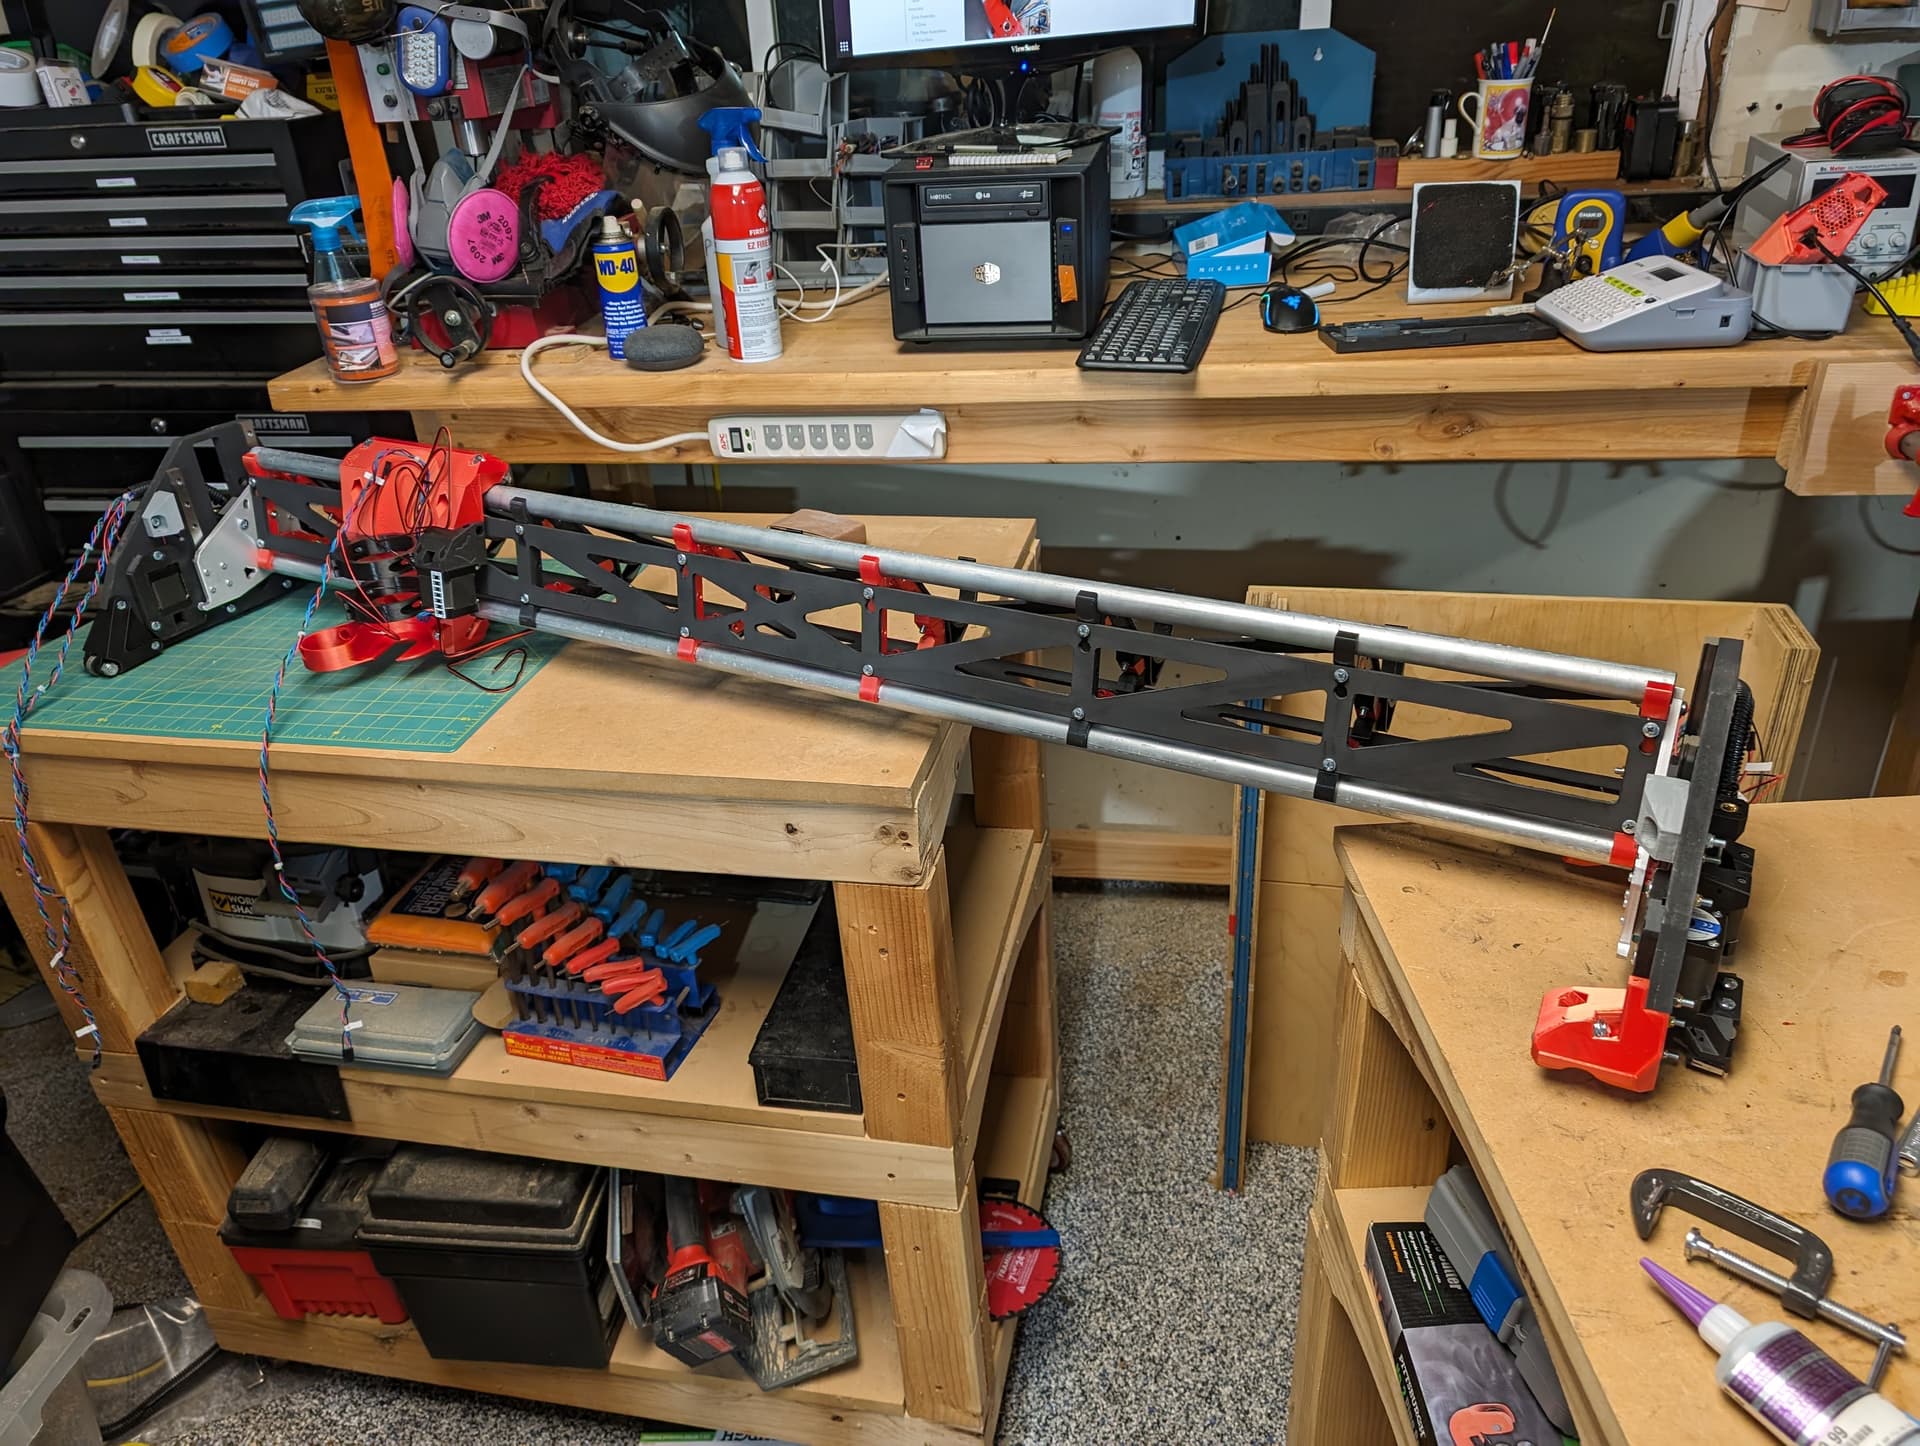
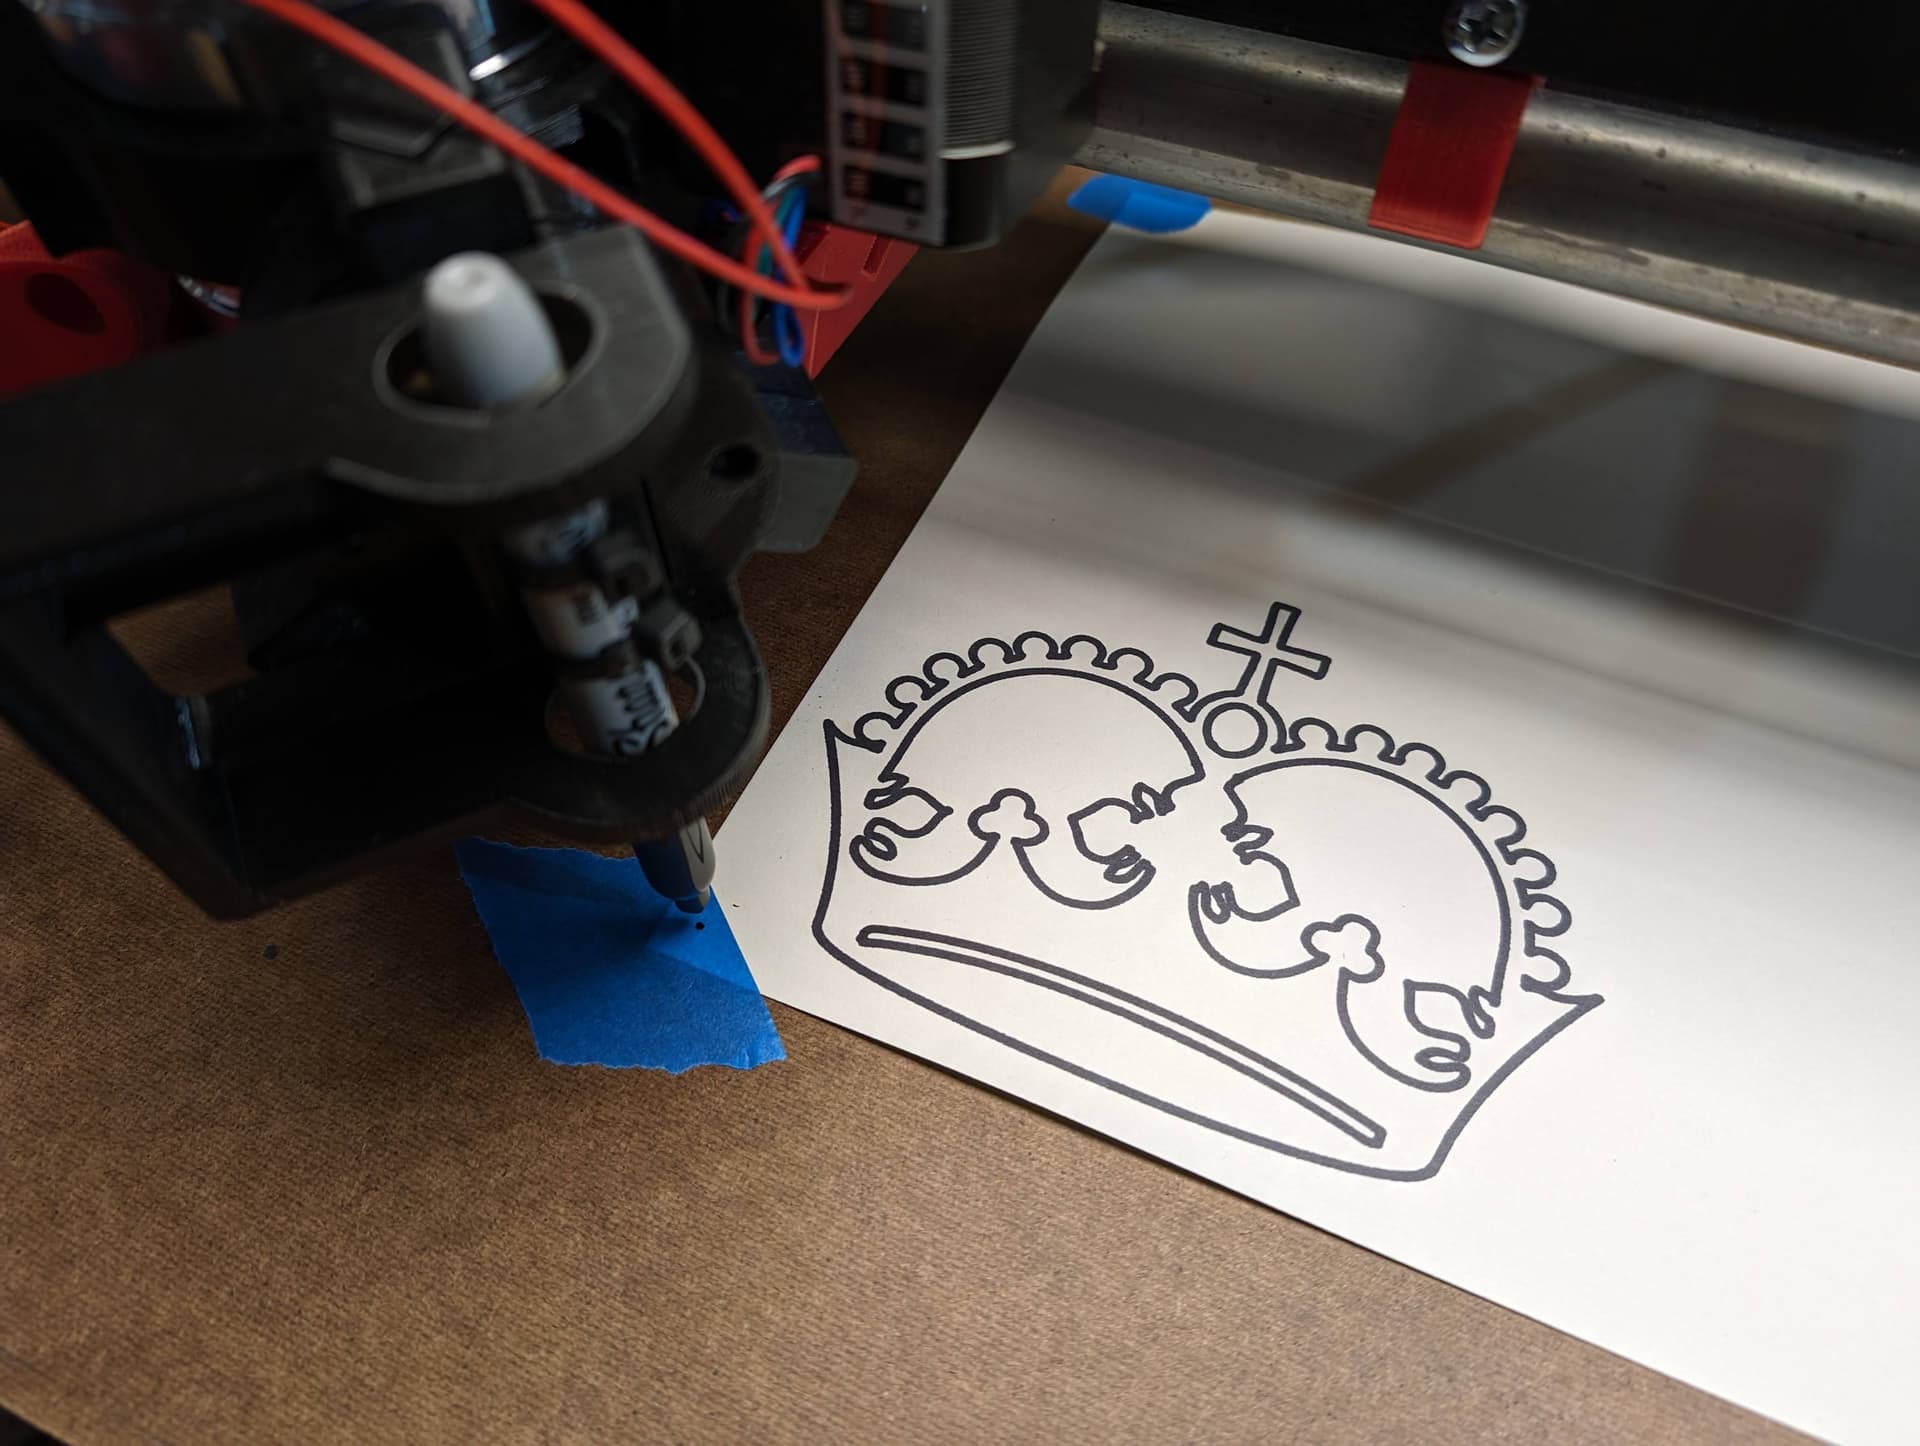
Ordered the hardware upgrade kit from Ryan and the jackpot controller. Started my build around Thanksgiving 2023, working occasionally on the weekends, and finished (crown test) last weekend.
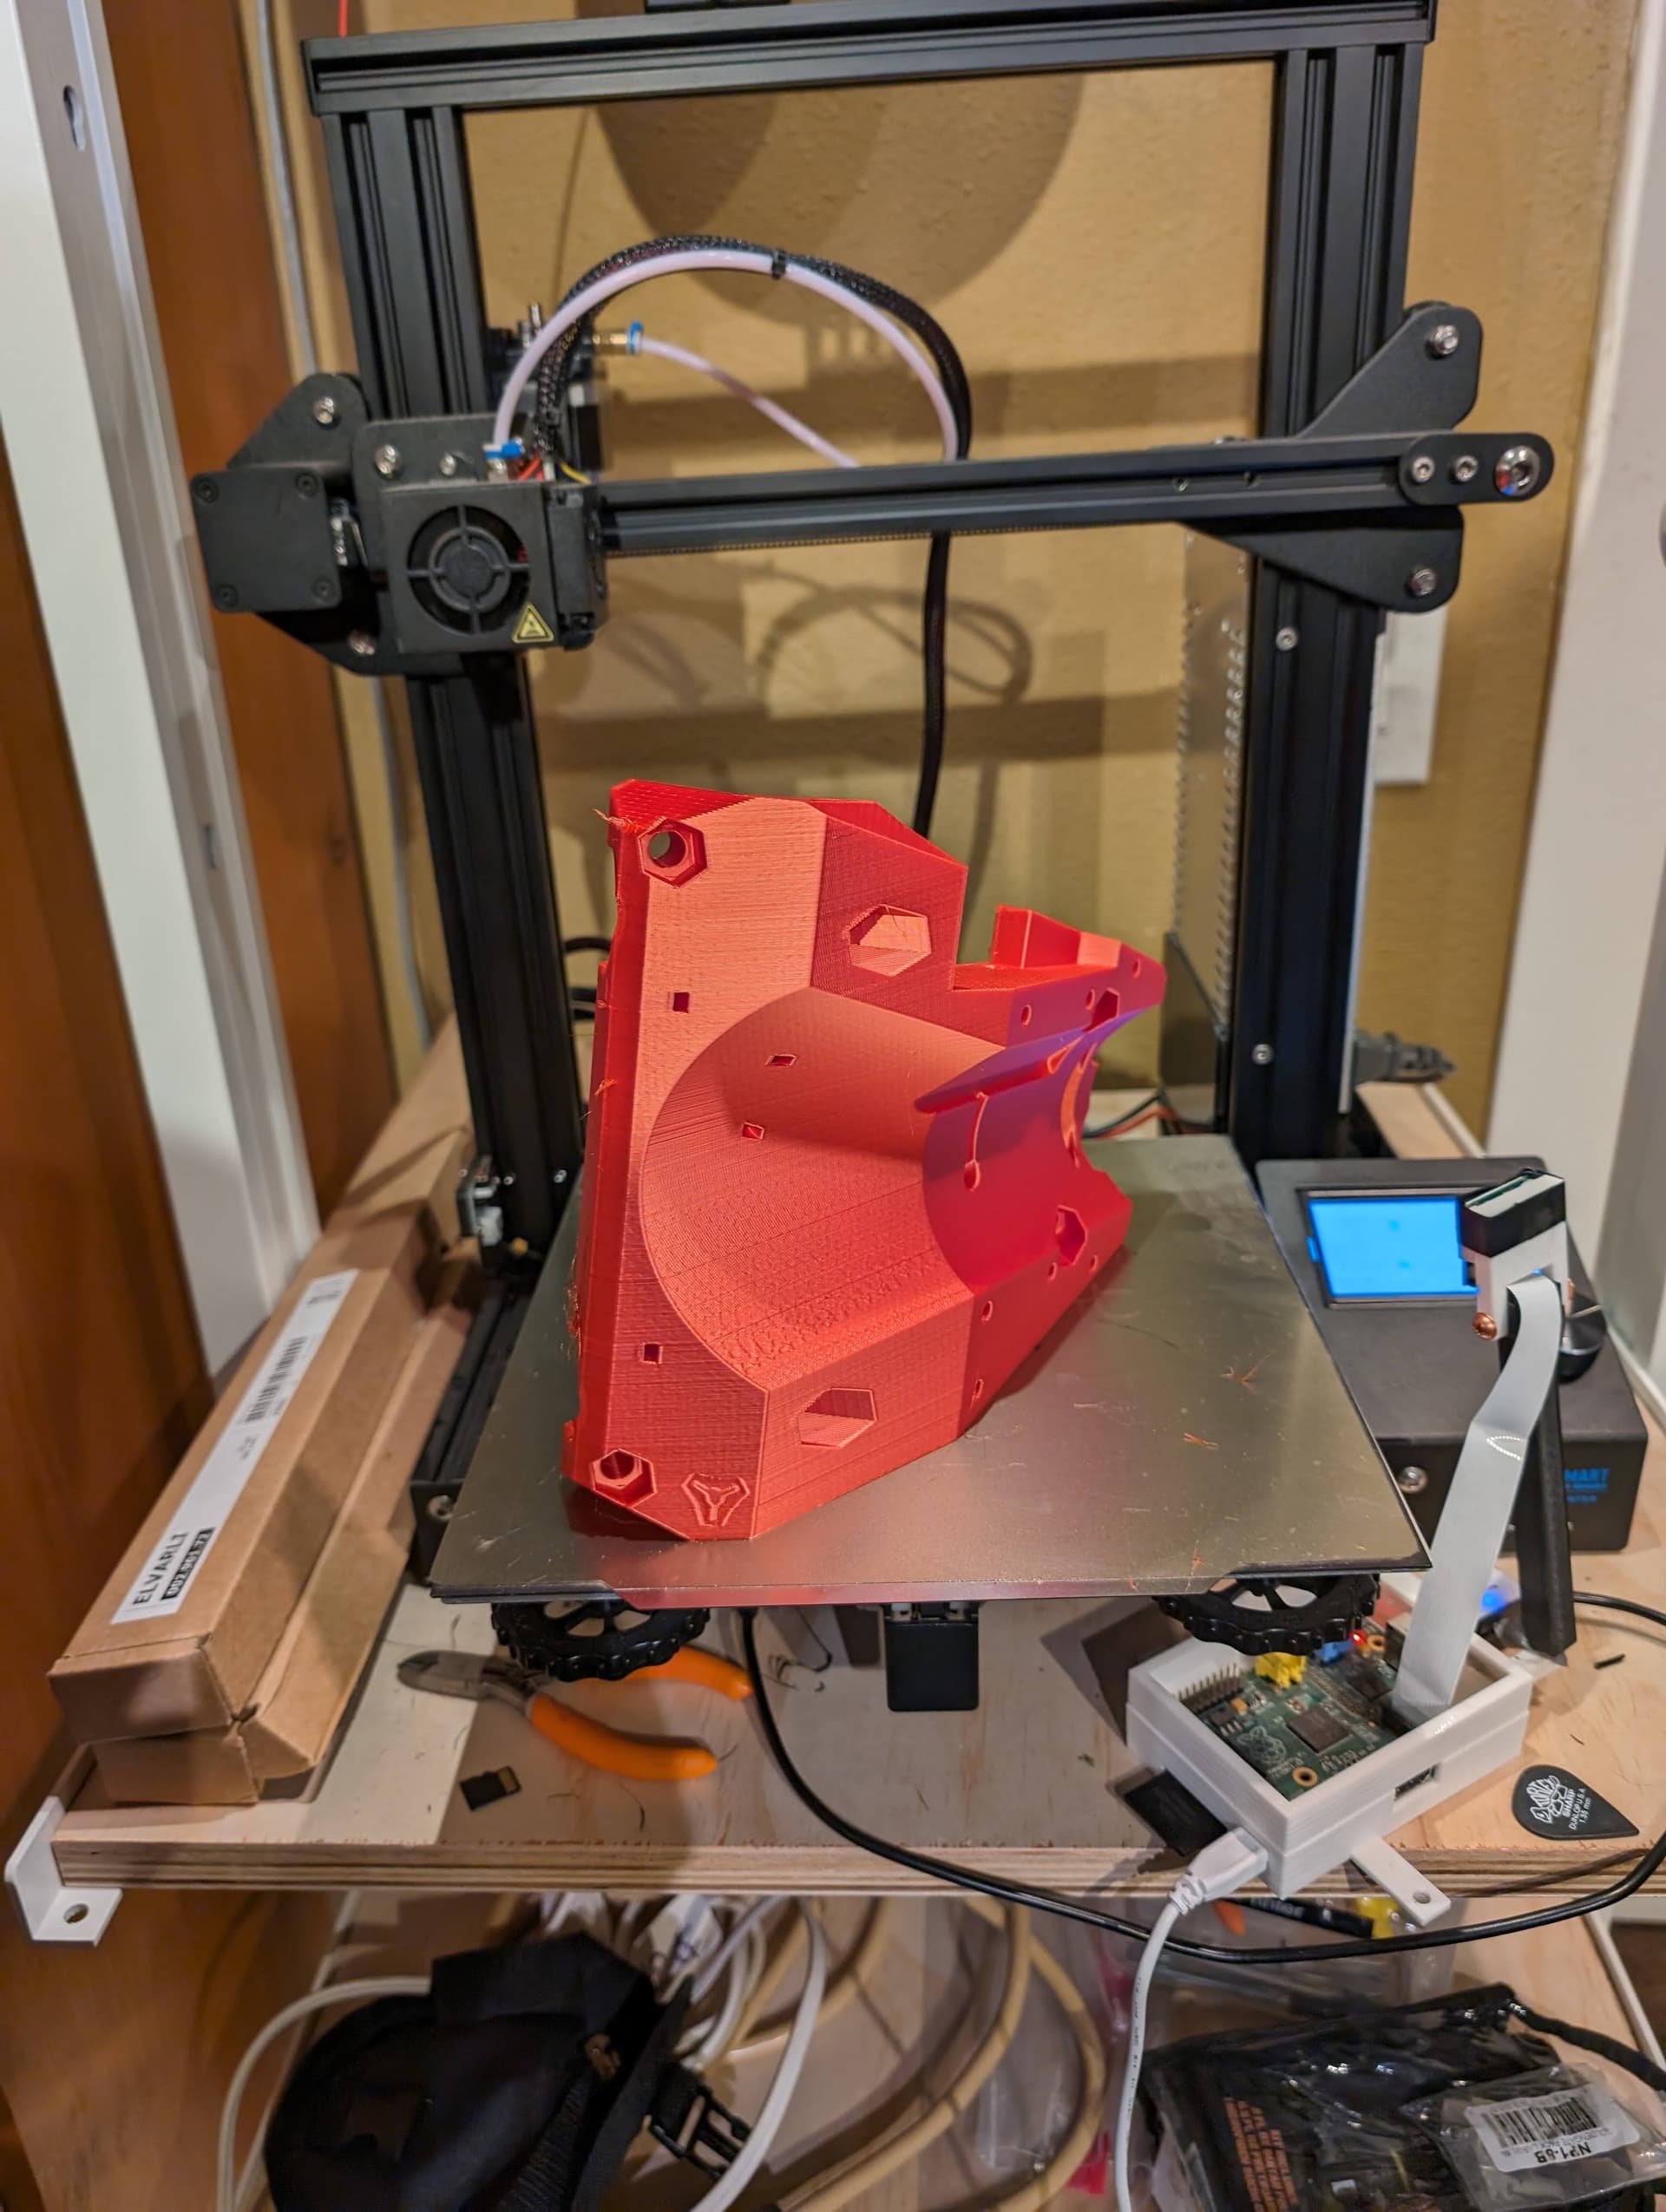
Core took 27 hours to print on my Creality Ender 3. Probably could have tweaked that, and nearly bought a bambu labs printer instead!
Hatchbox Metallic Red PLA. Shiny!
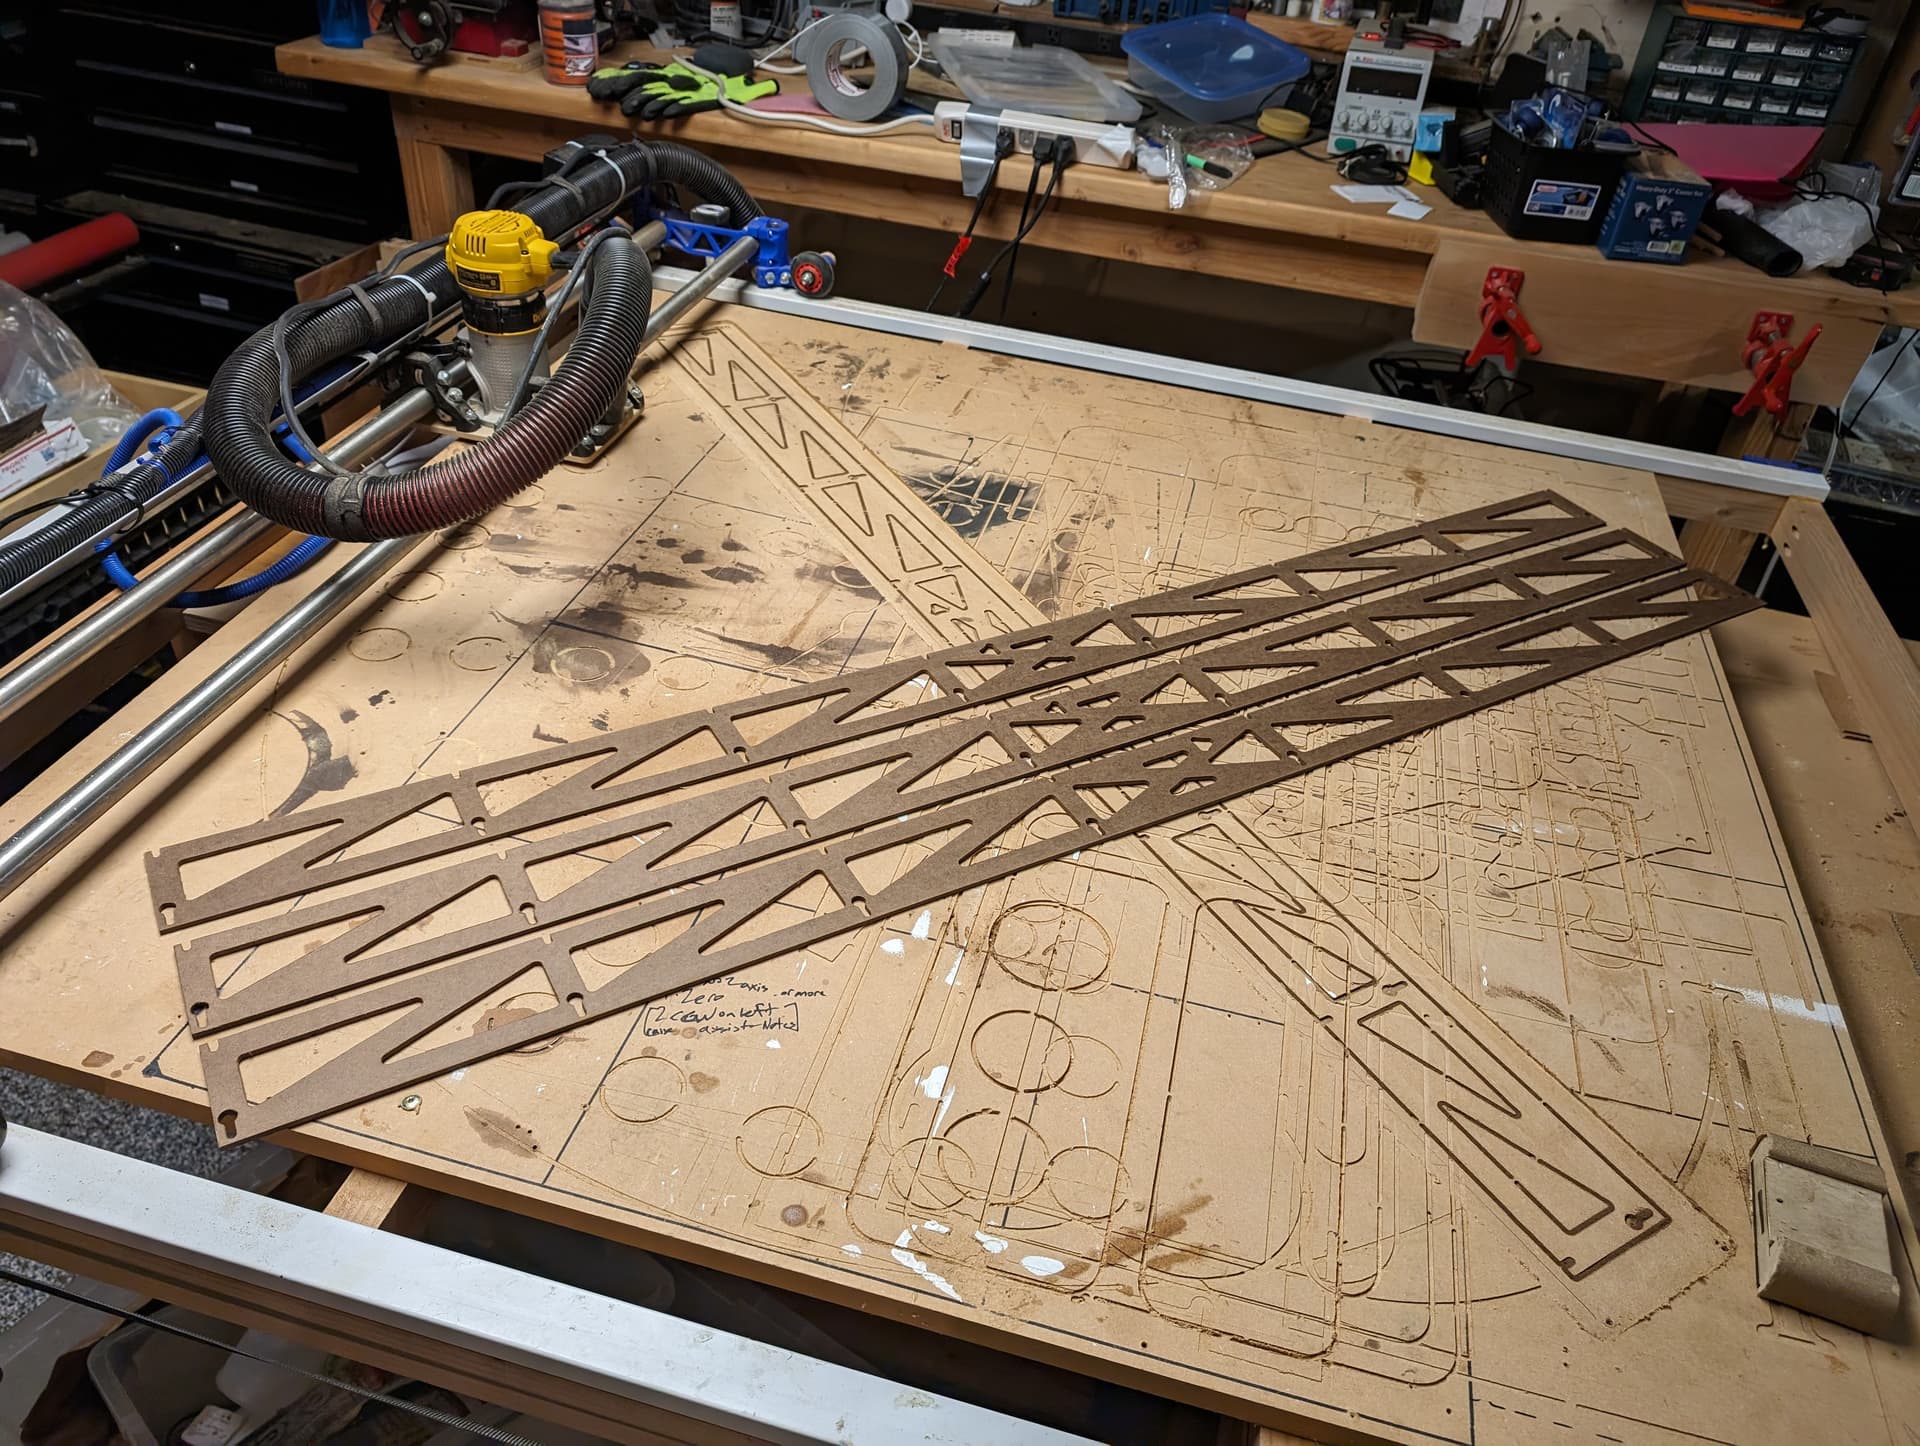
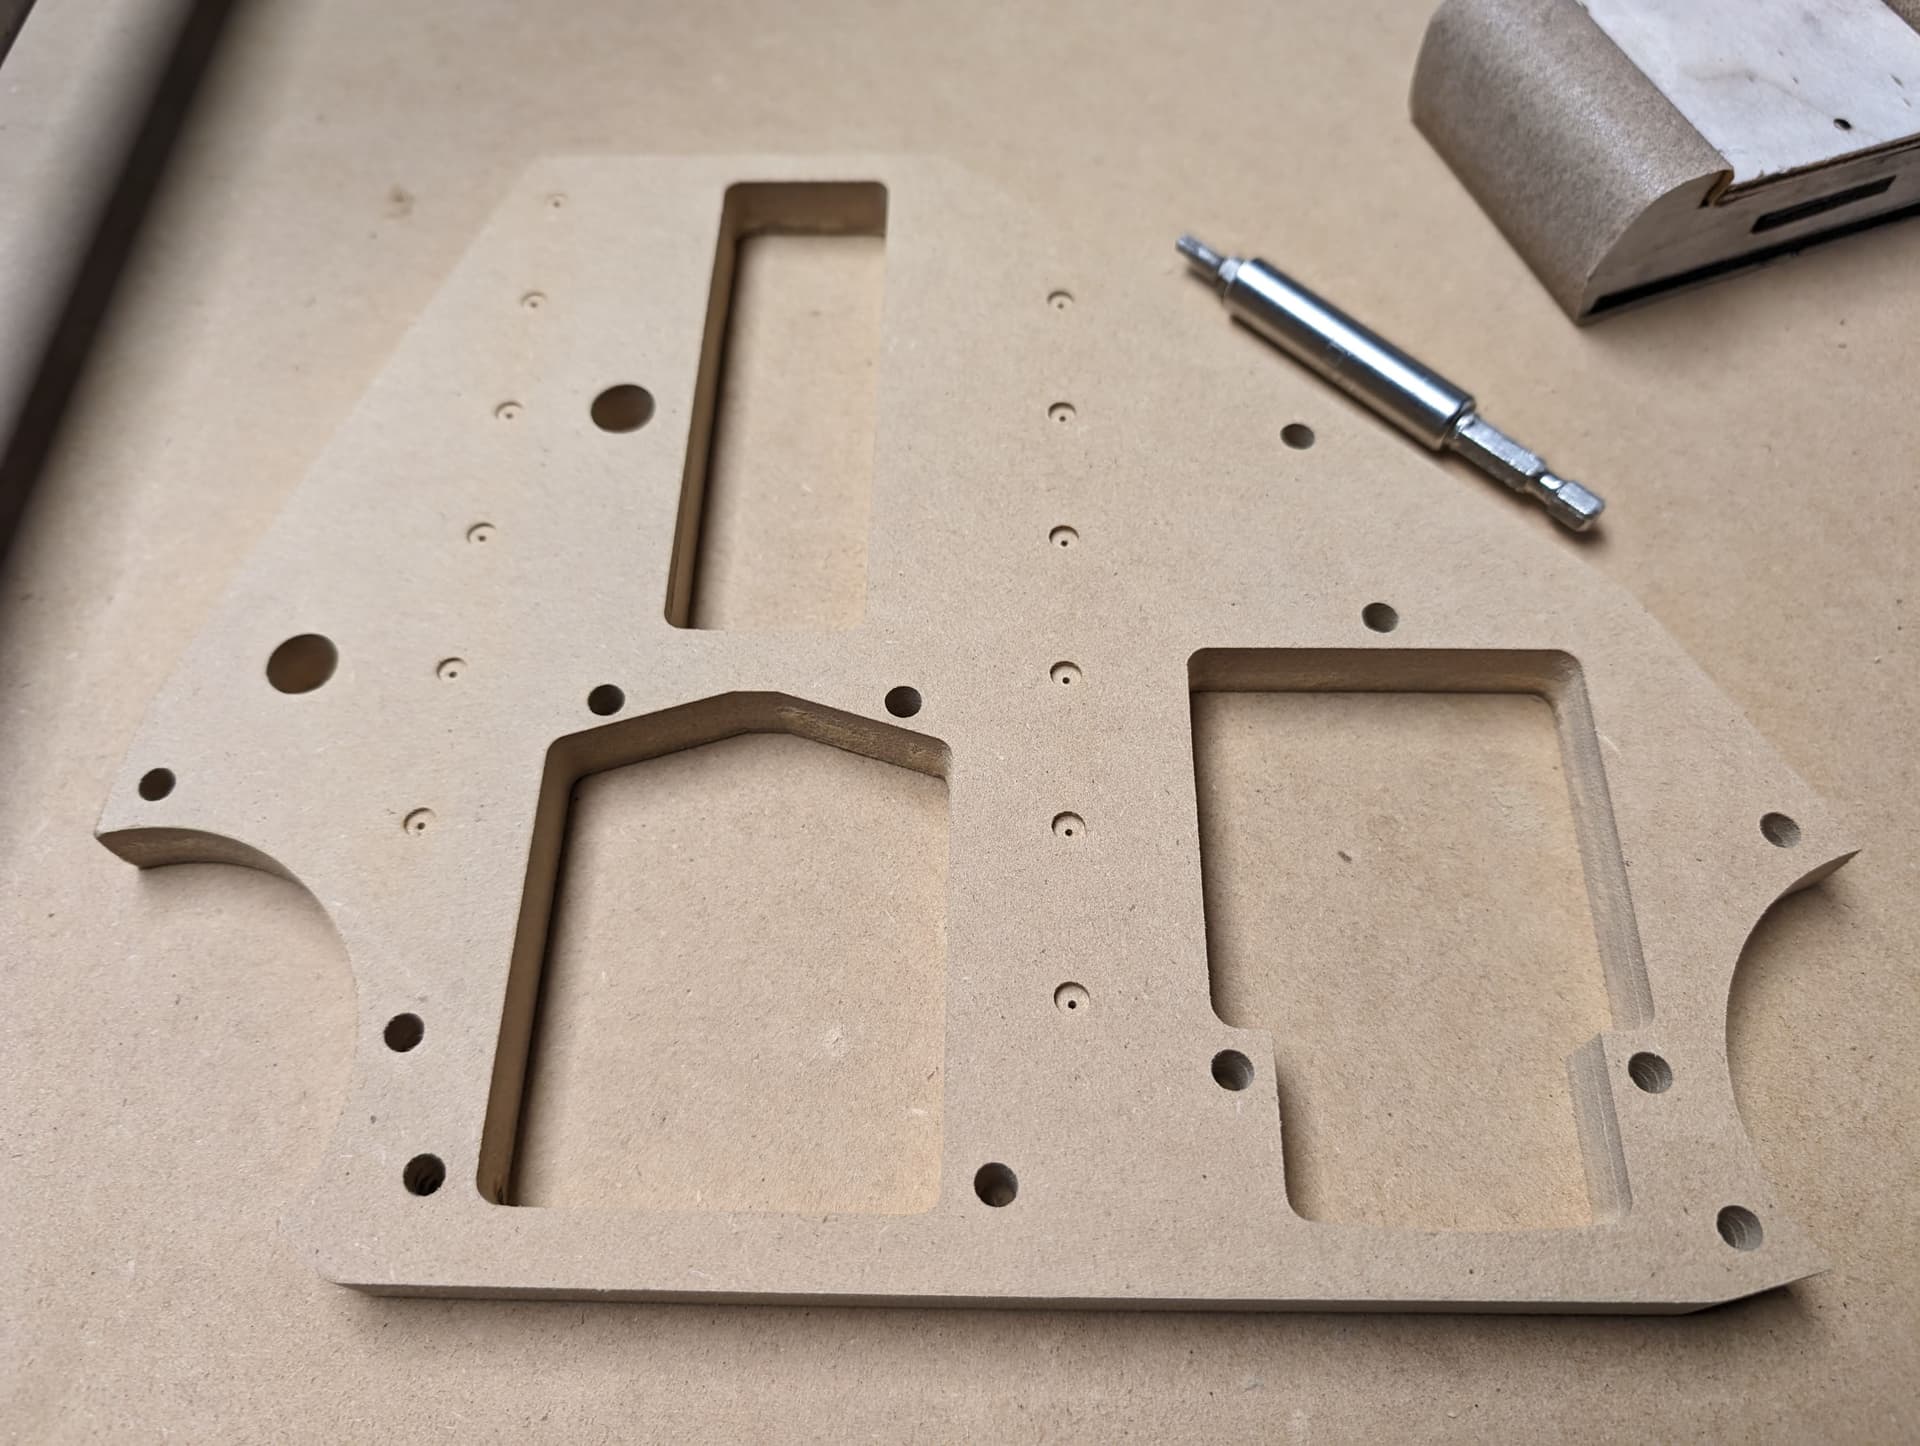
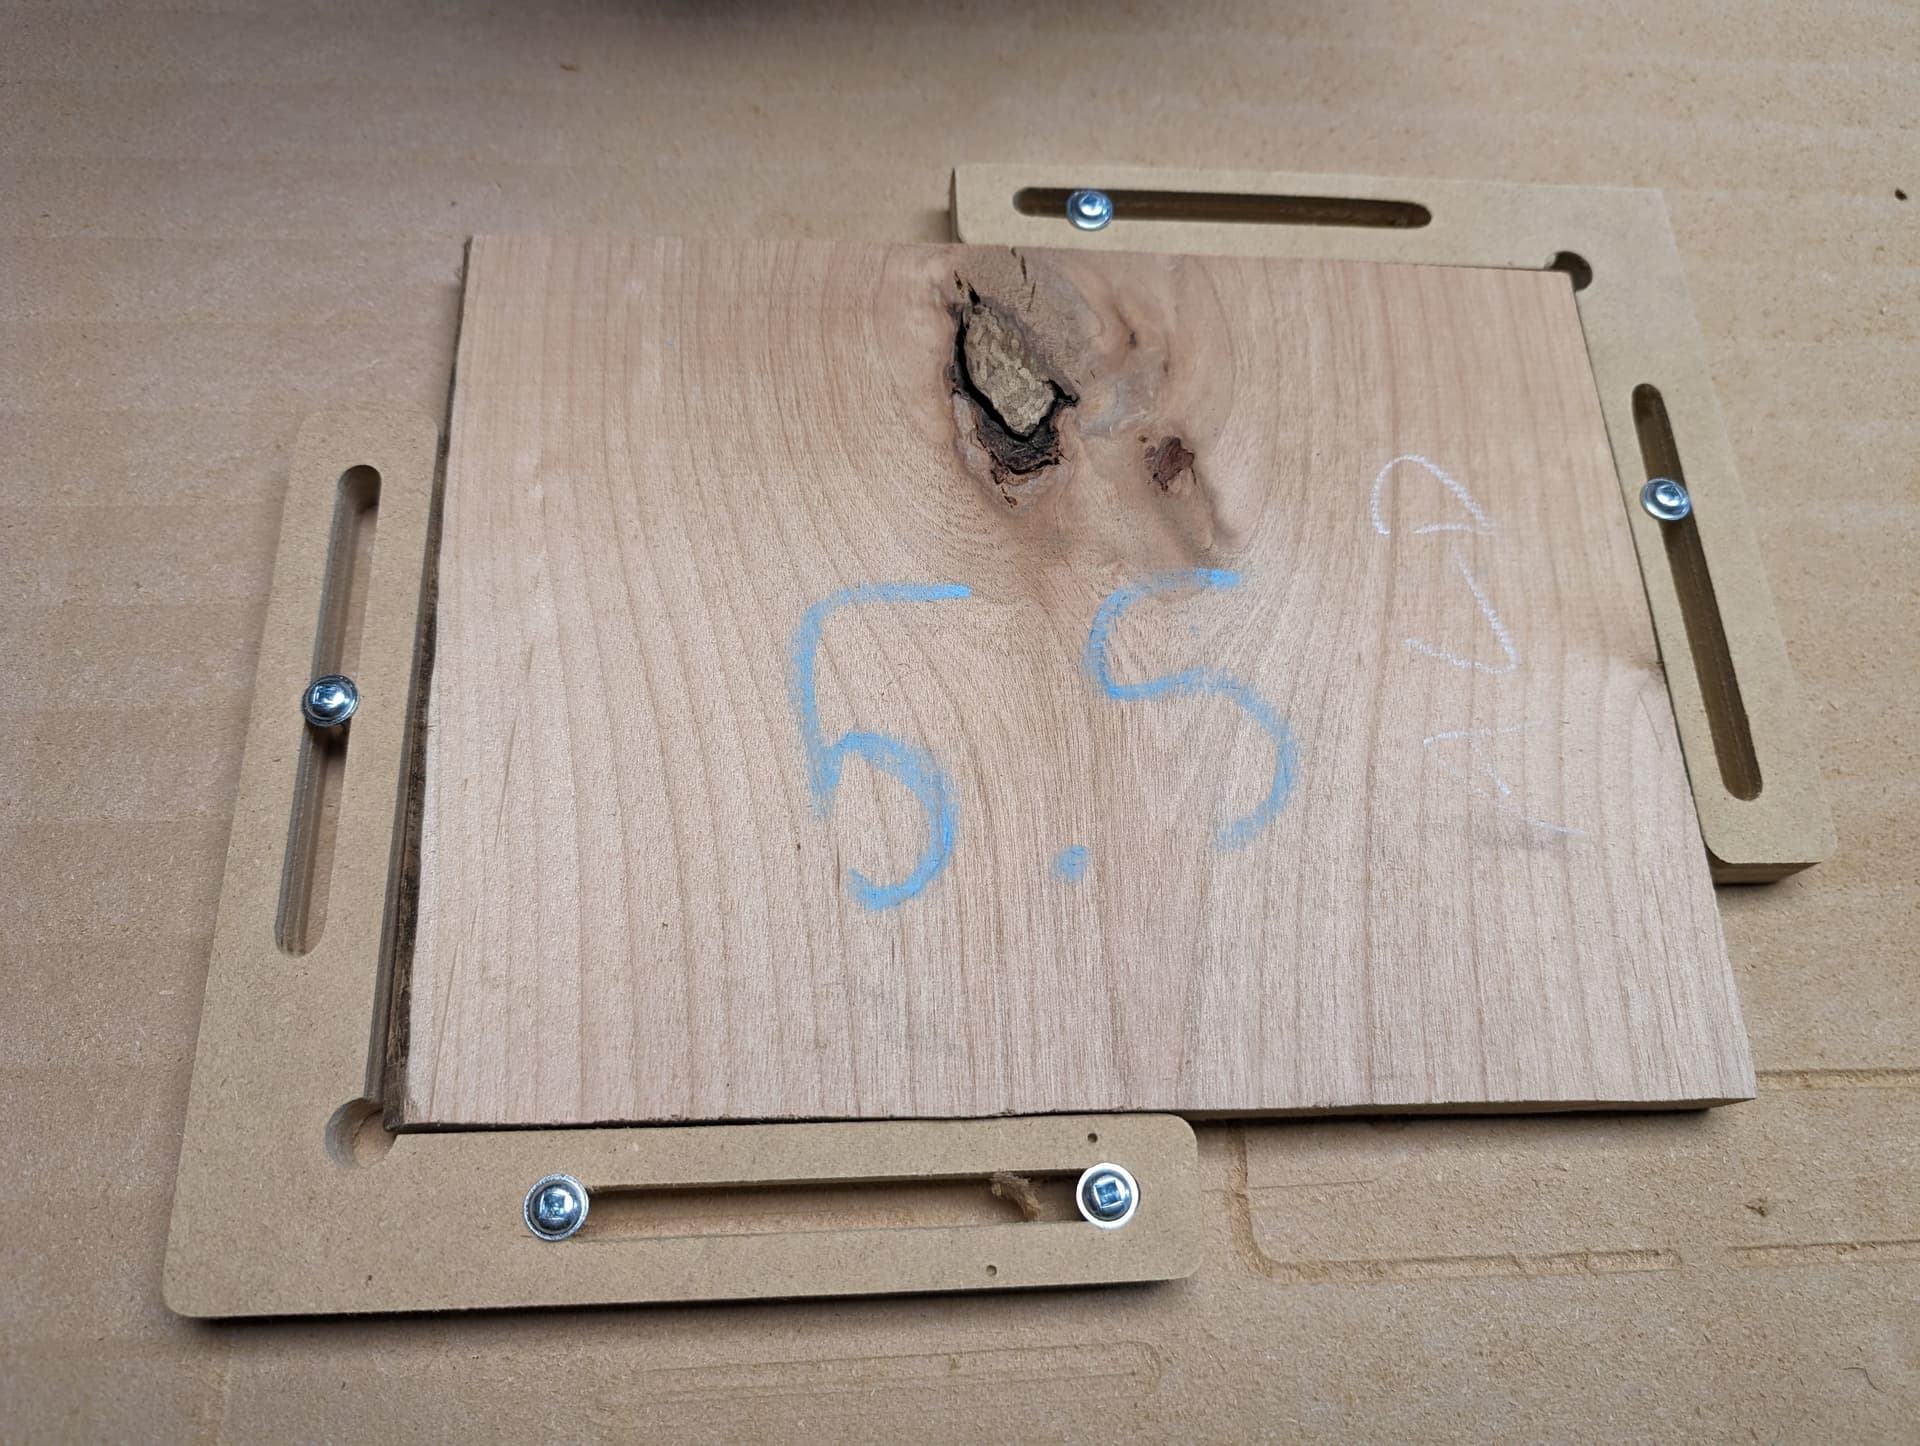
Used my LR2 to make the flat MDF and hardboard parts before I disassembled it. I surfaced a diagonal area and cut the hardboard on my table saw first.
Started assembling on Jan 1, after getting sidetracked with a laser cutter (atomstack a5 upgraded to 10w M50 laser, love it.)
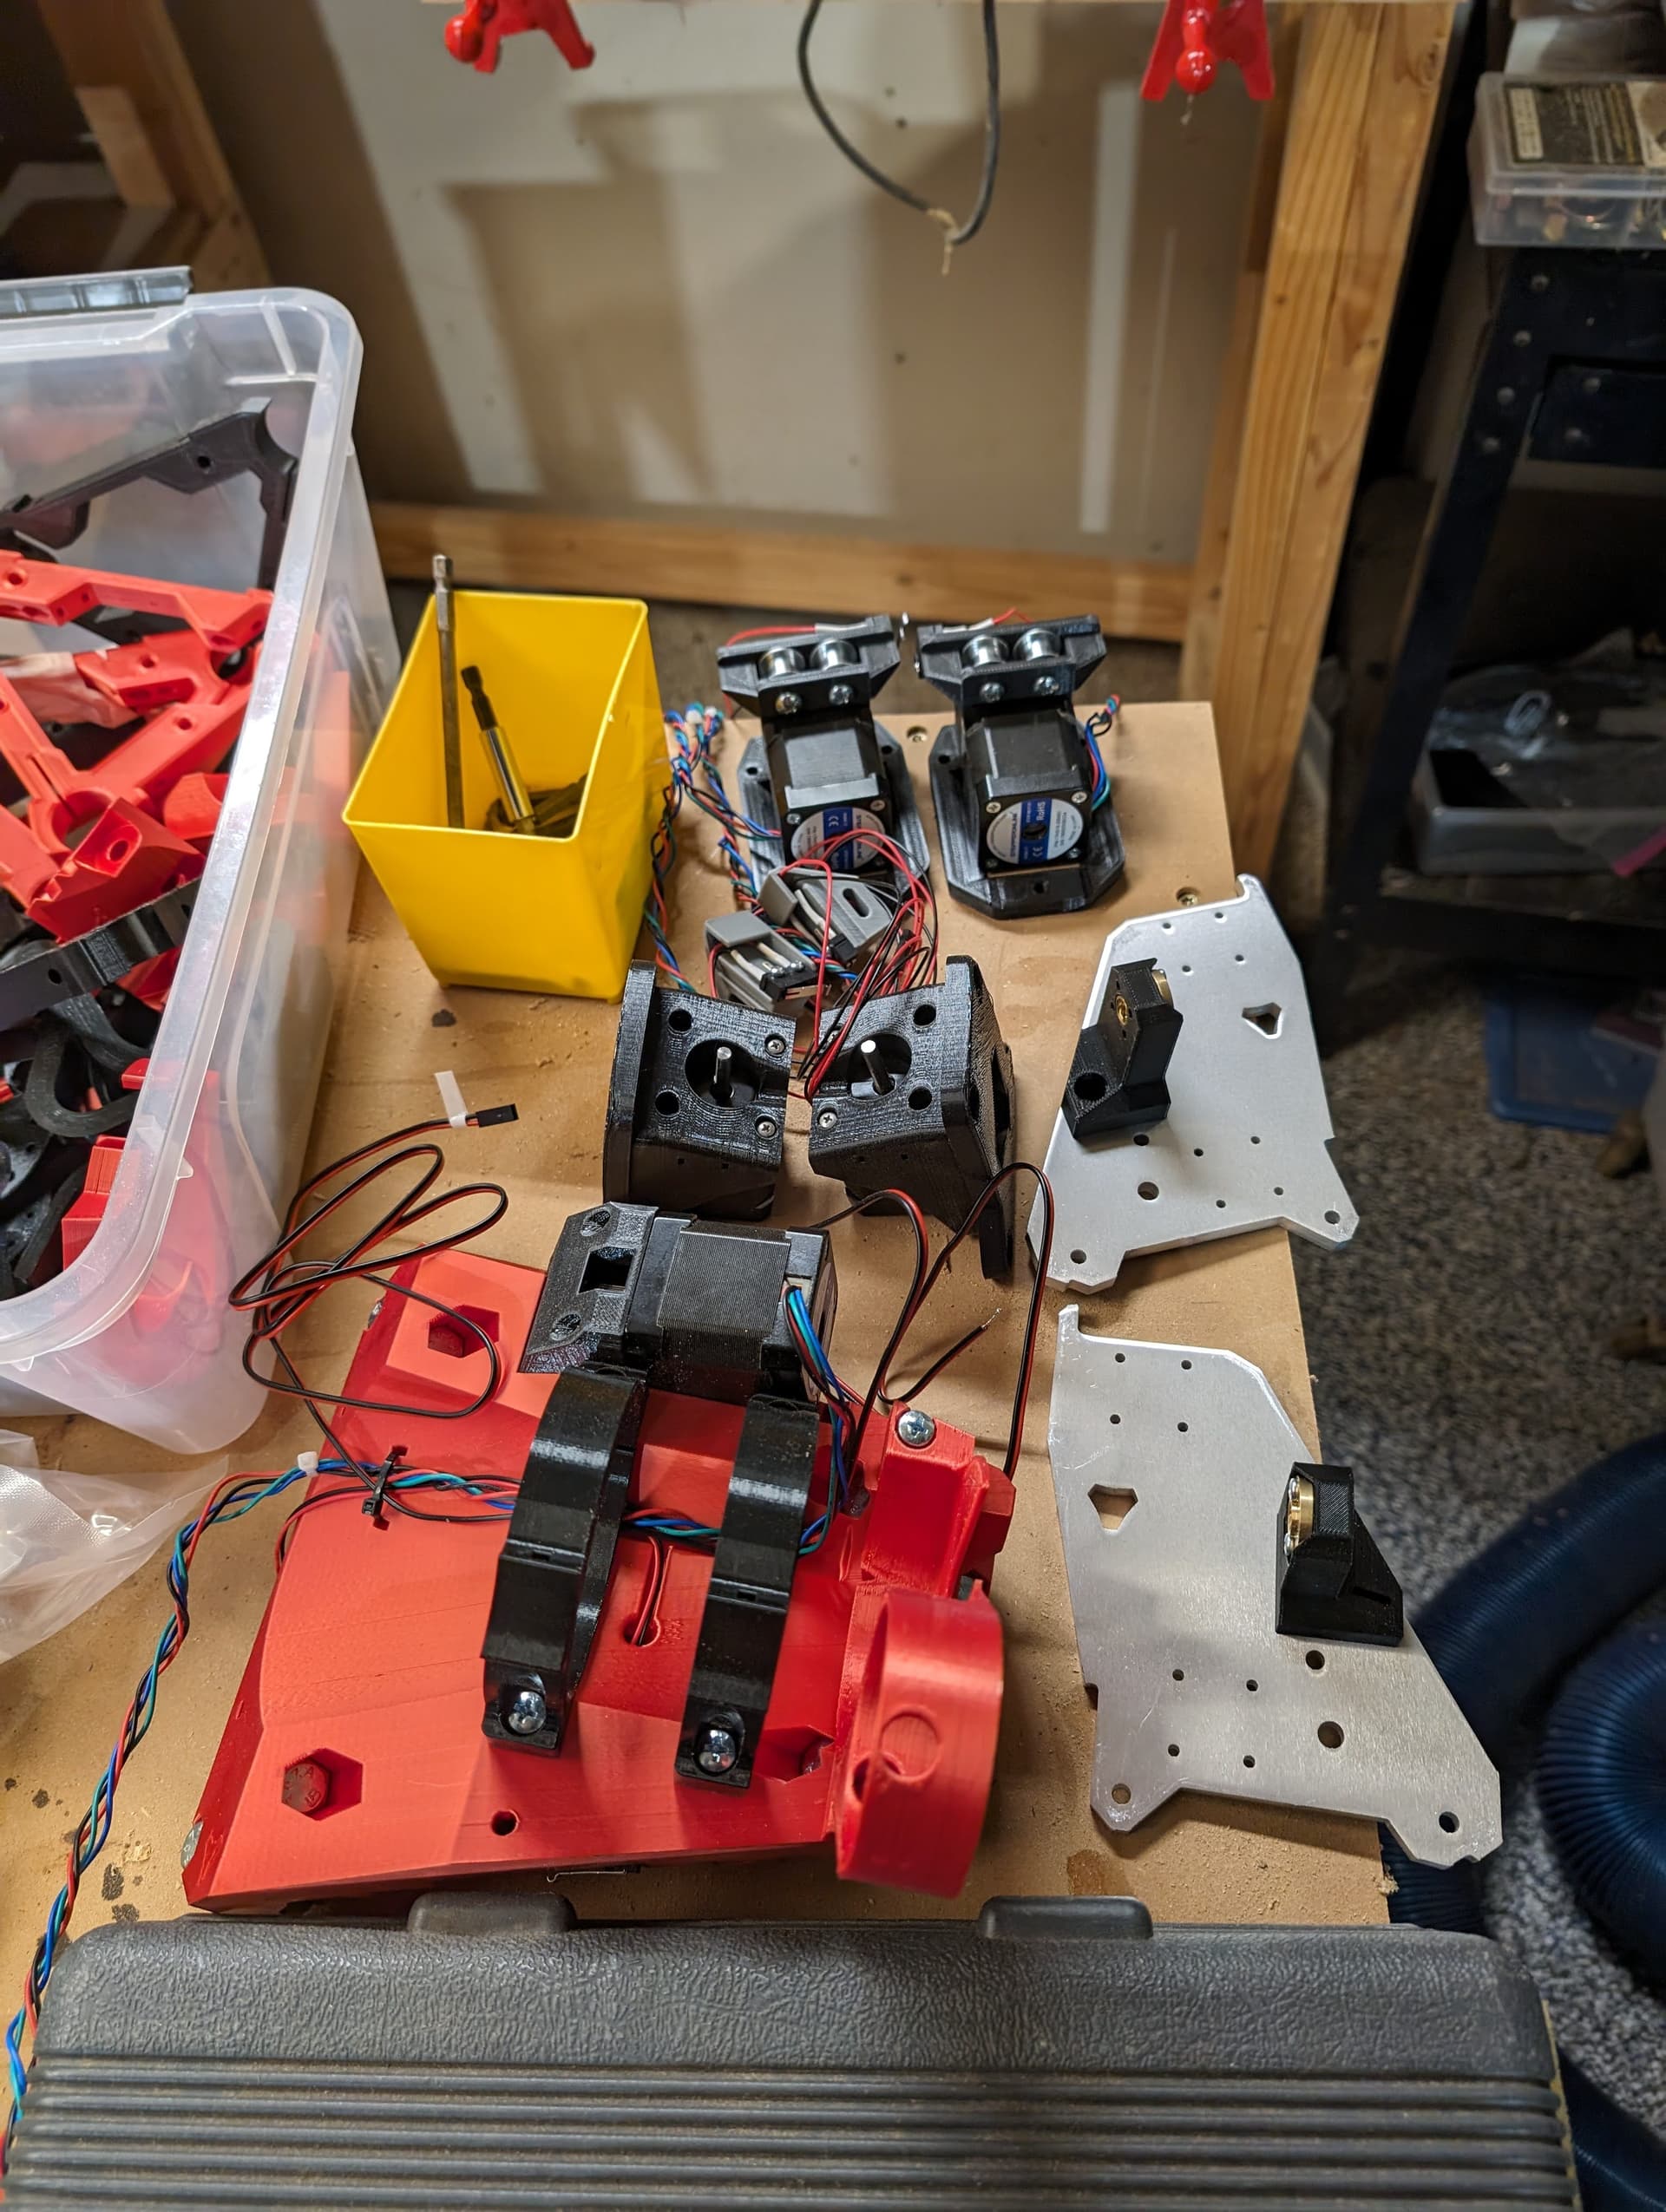
I printed parts on Ender 3 and an old Anet a8, took about 1.5 kg of pla.
I had quite a bit of hardware left over from the LR2 at the end. Quite a few ball bearings to reuse for other stuff!
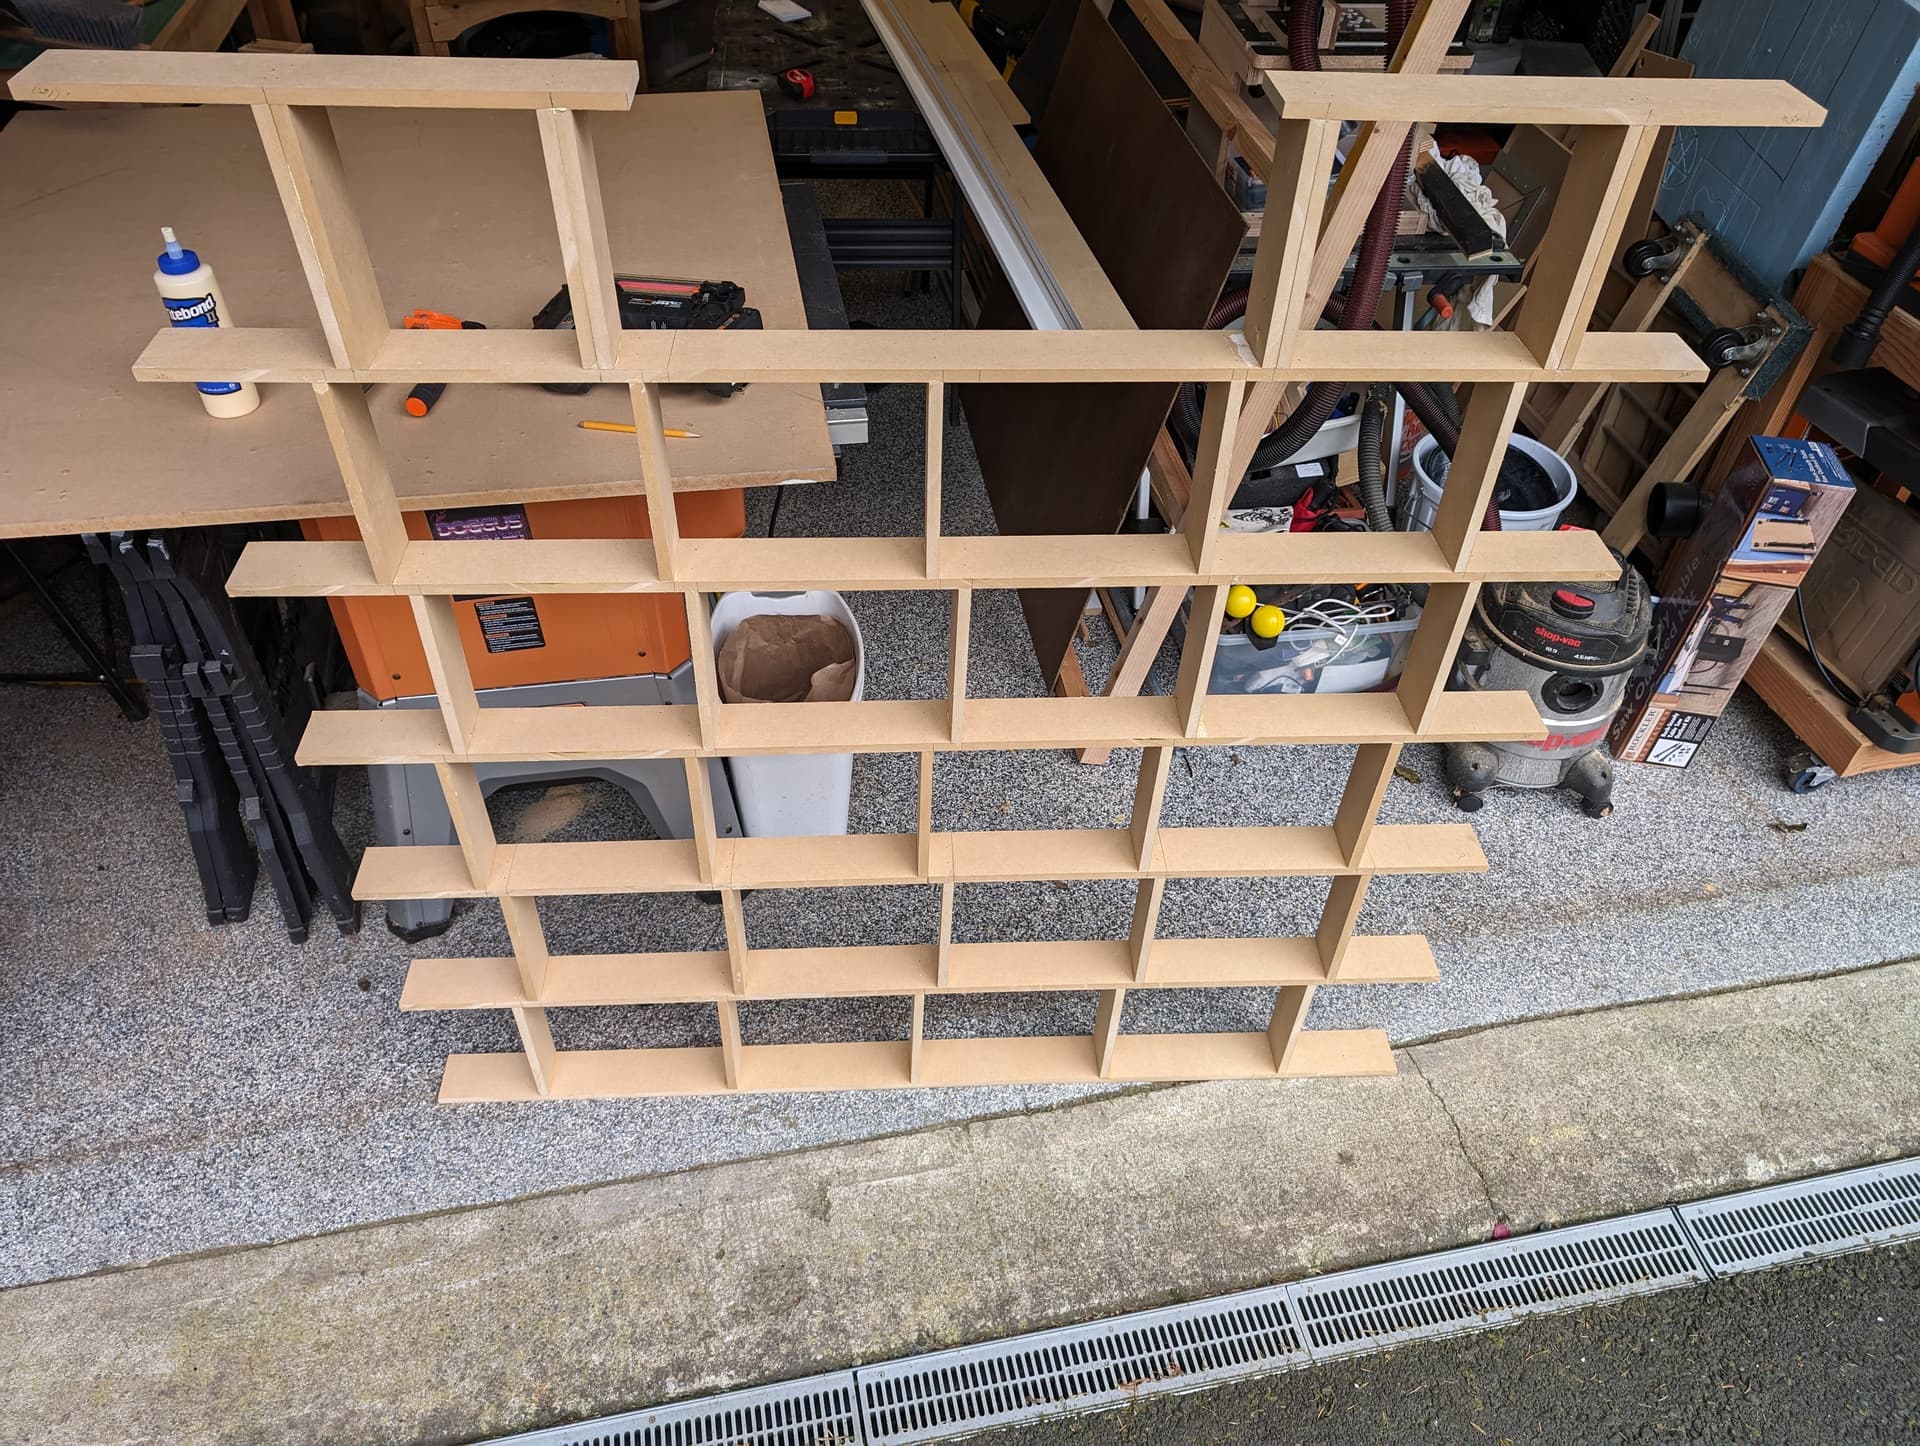
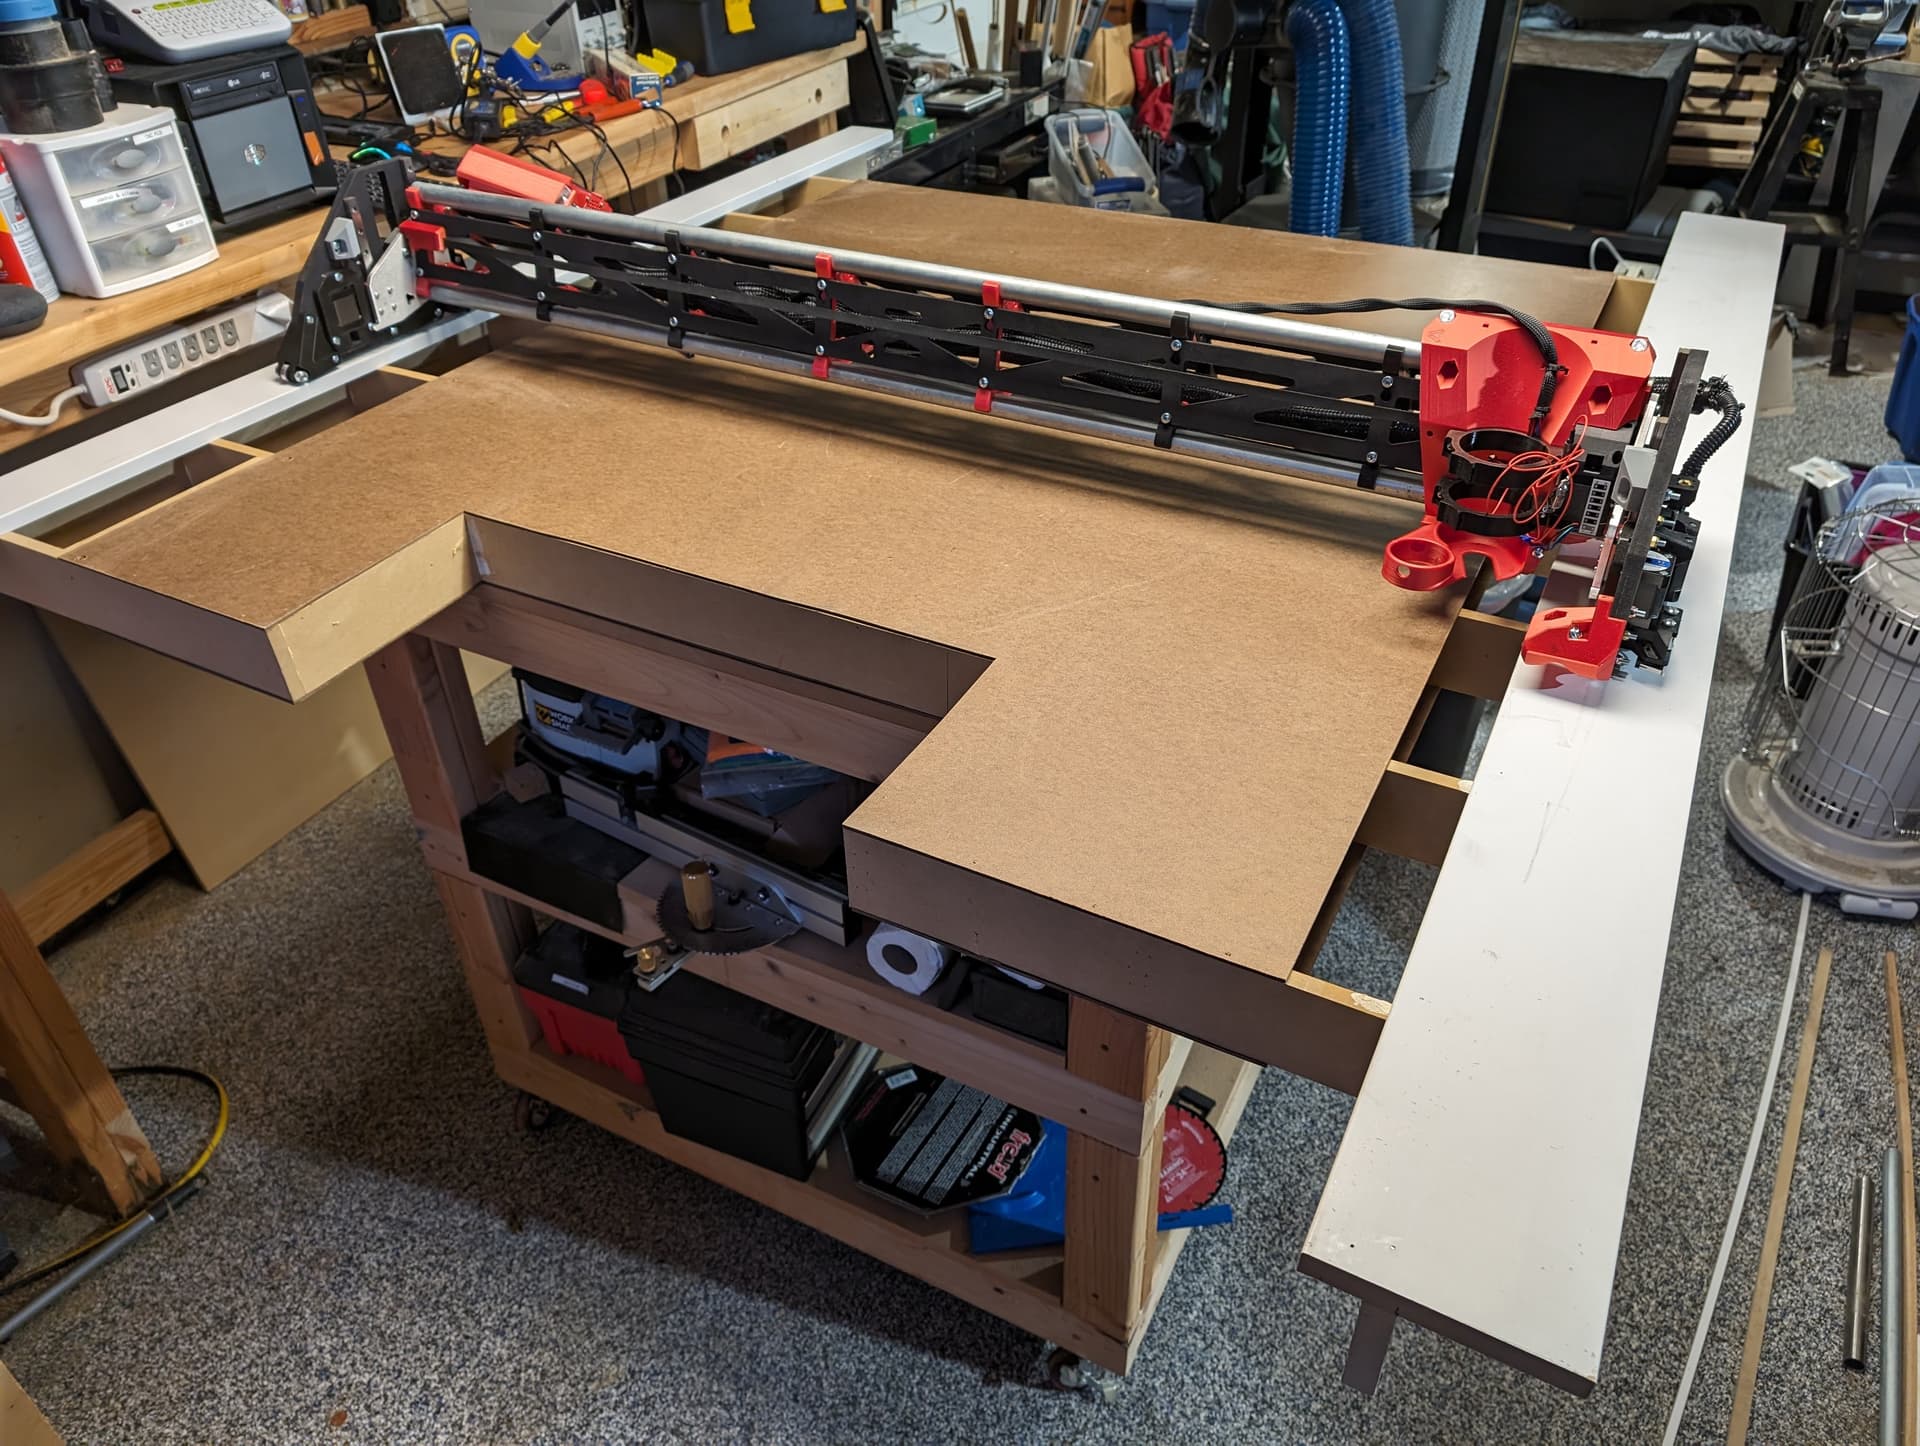
Used Ryan’s table design but extended a bit to make a cutout for vertical clamping eventually. Glue and nailgun. Cut whole thing on table saw, 1/2" MDF.
Skinned both sides with 1/8" hardboard and nailgun, no glue. Rails are mdf boards from Lowe’s hardware. Surface will be replaceable 49X49" 3/4 Mdf. I thought it was 48x48 but measured and sure enough, 49x49.
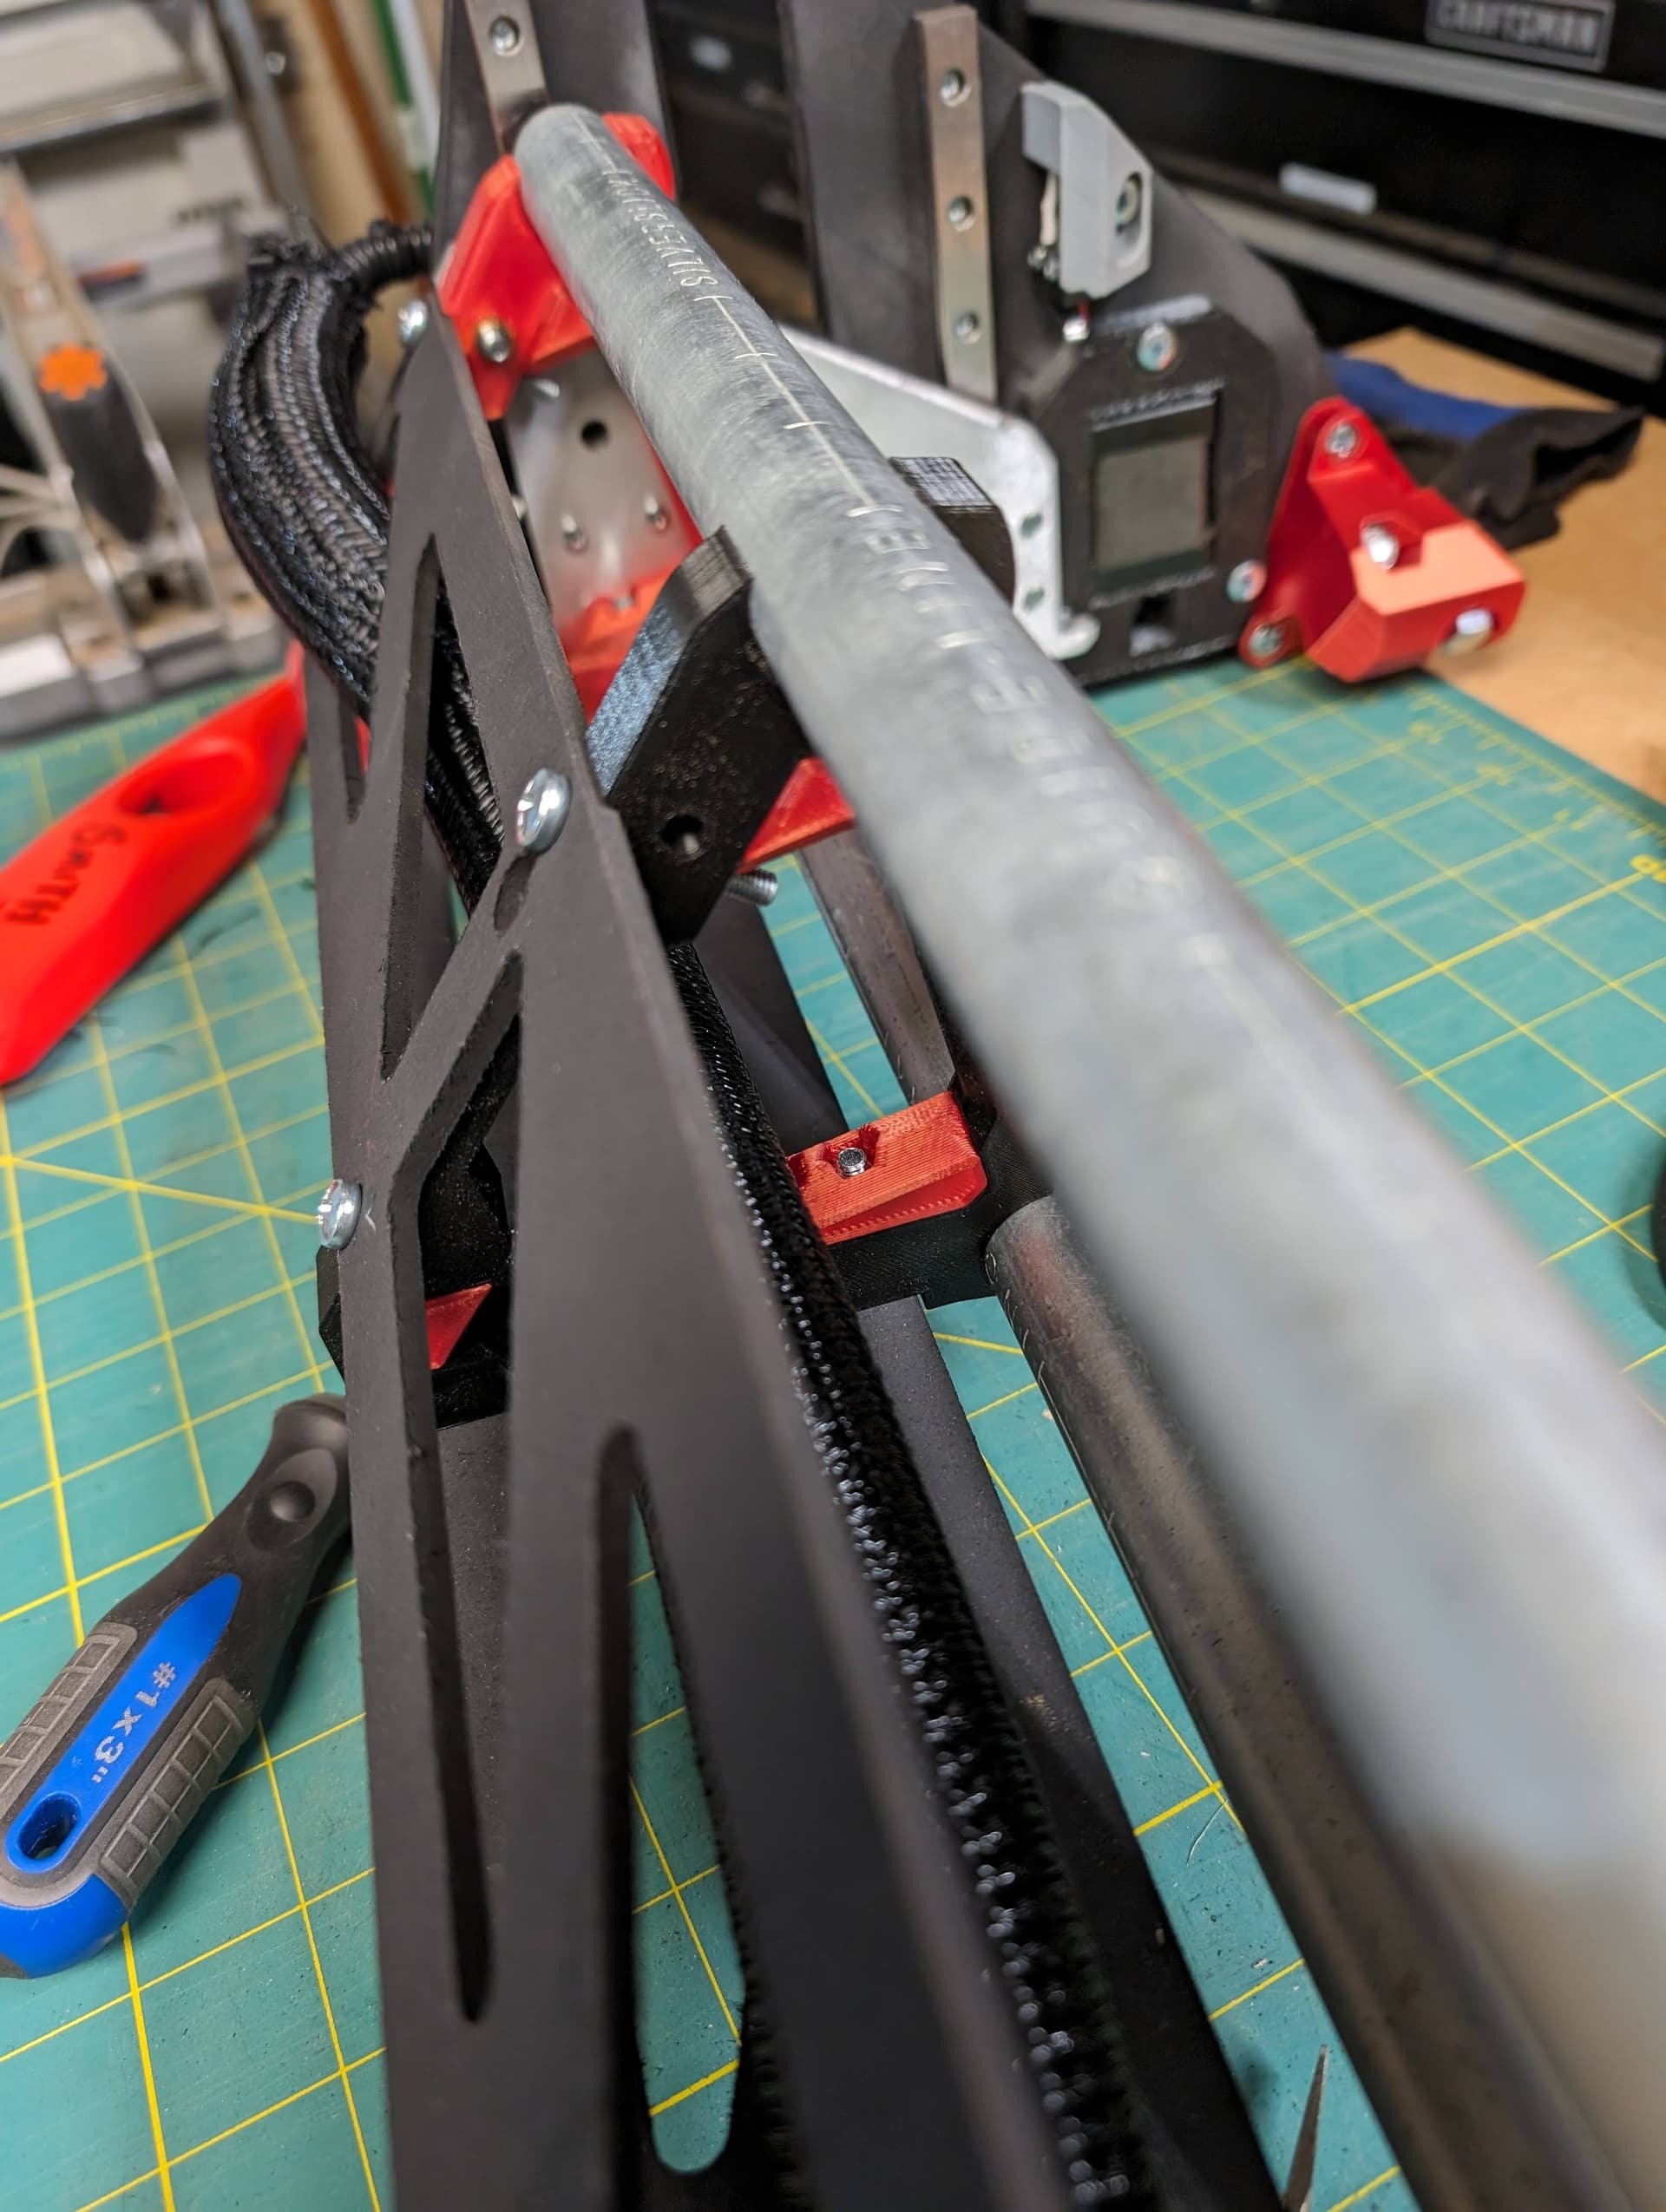
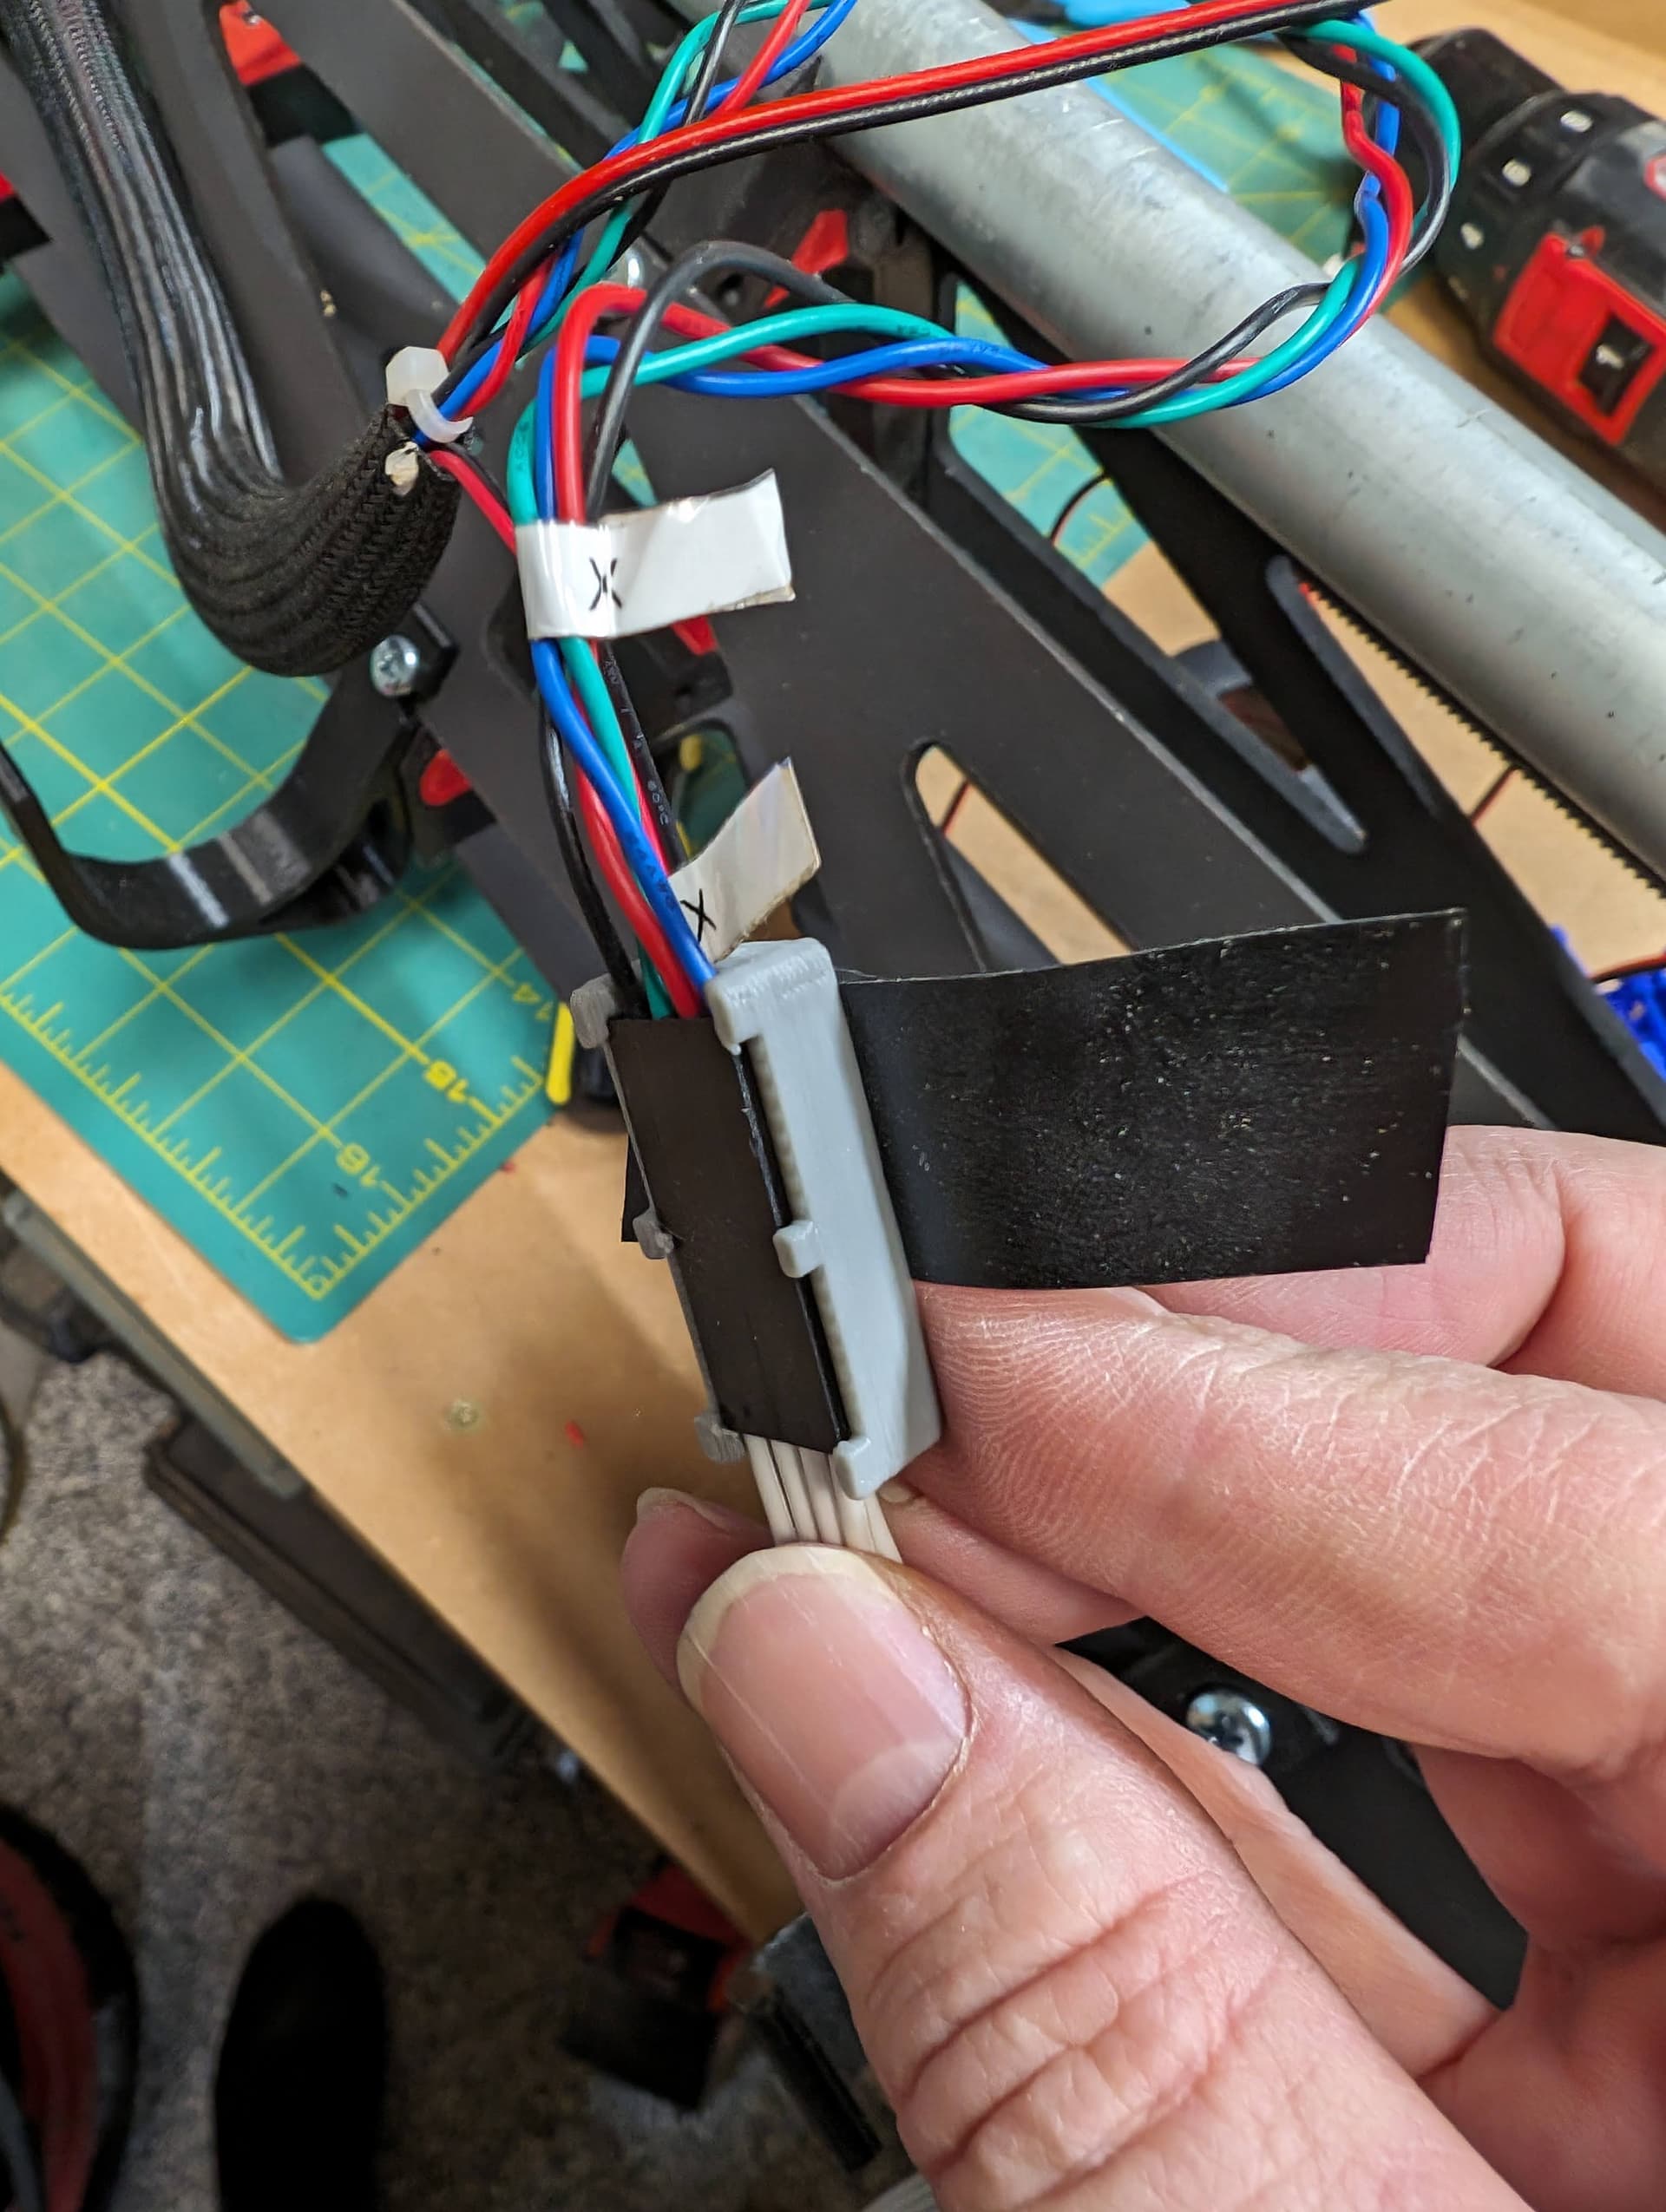
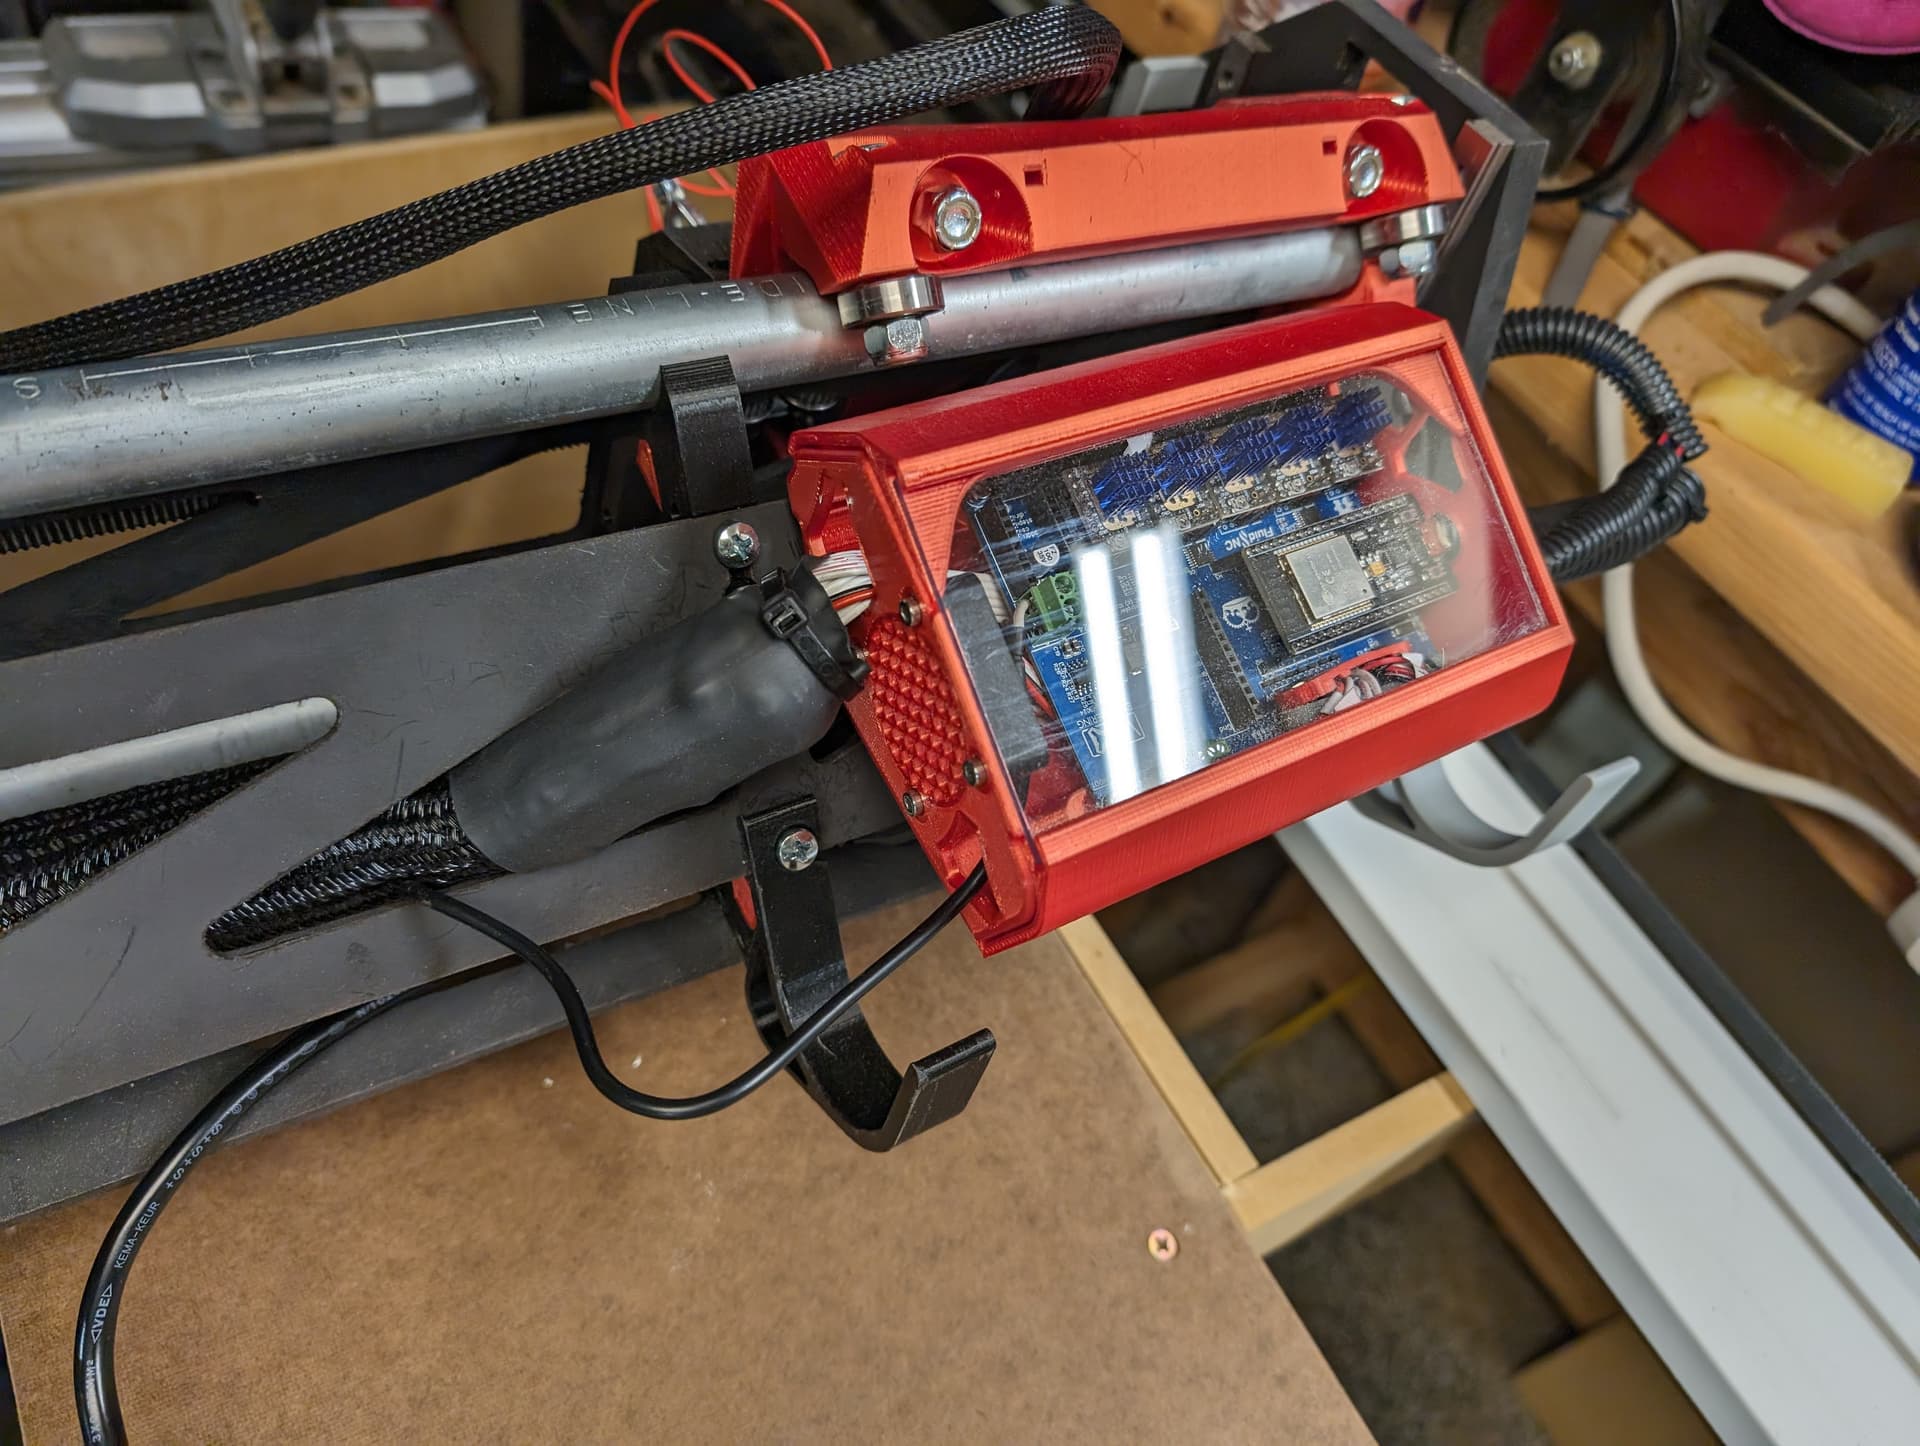
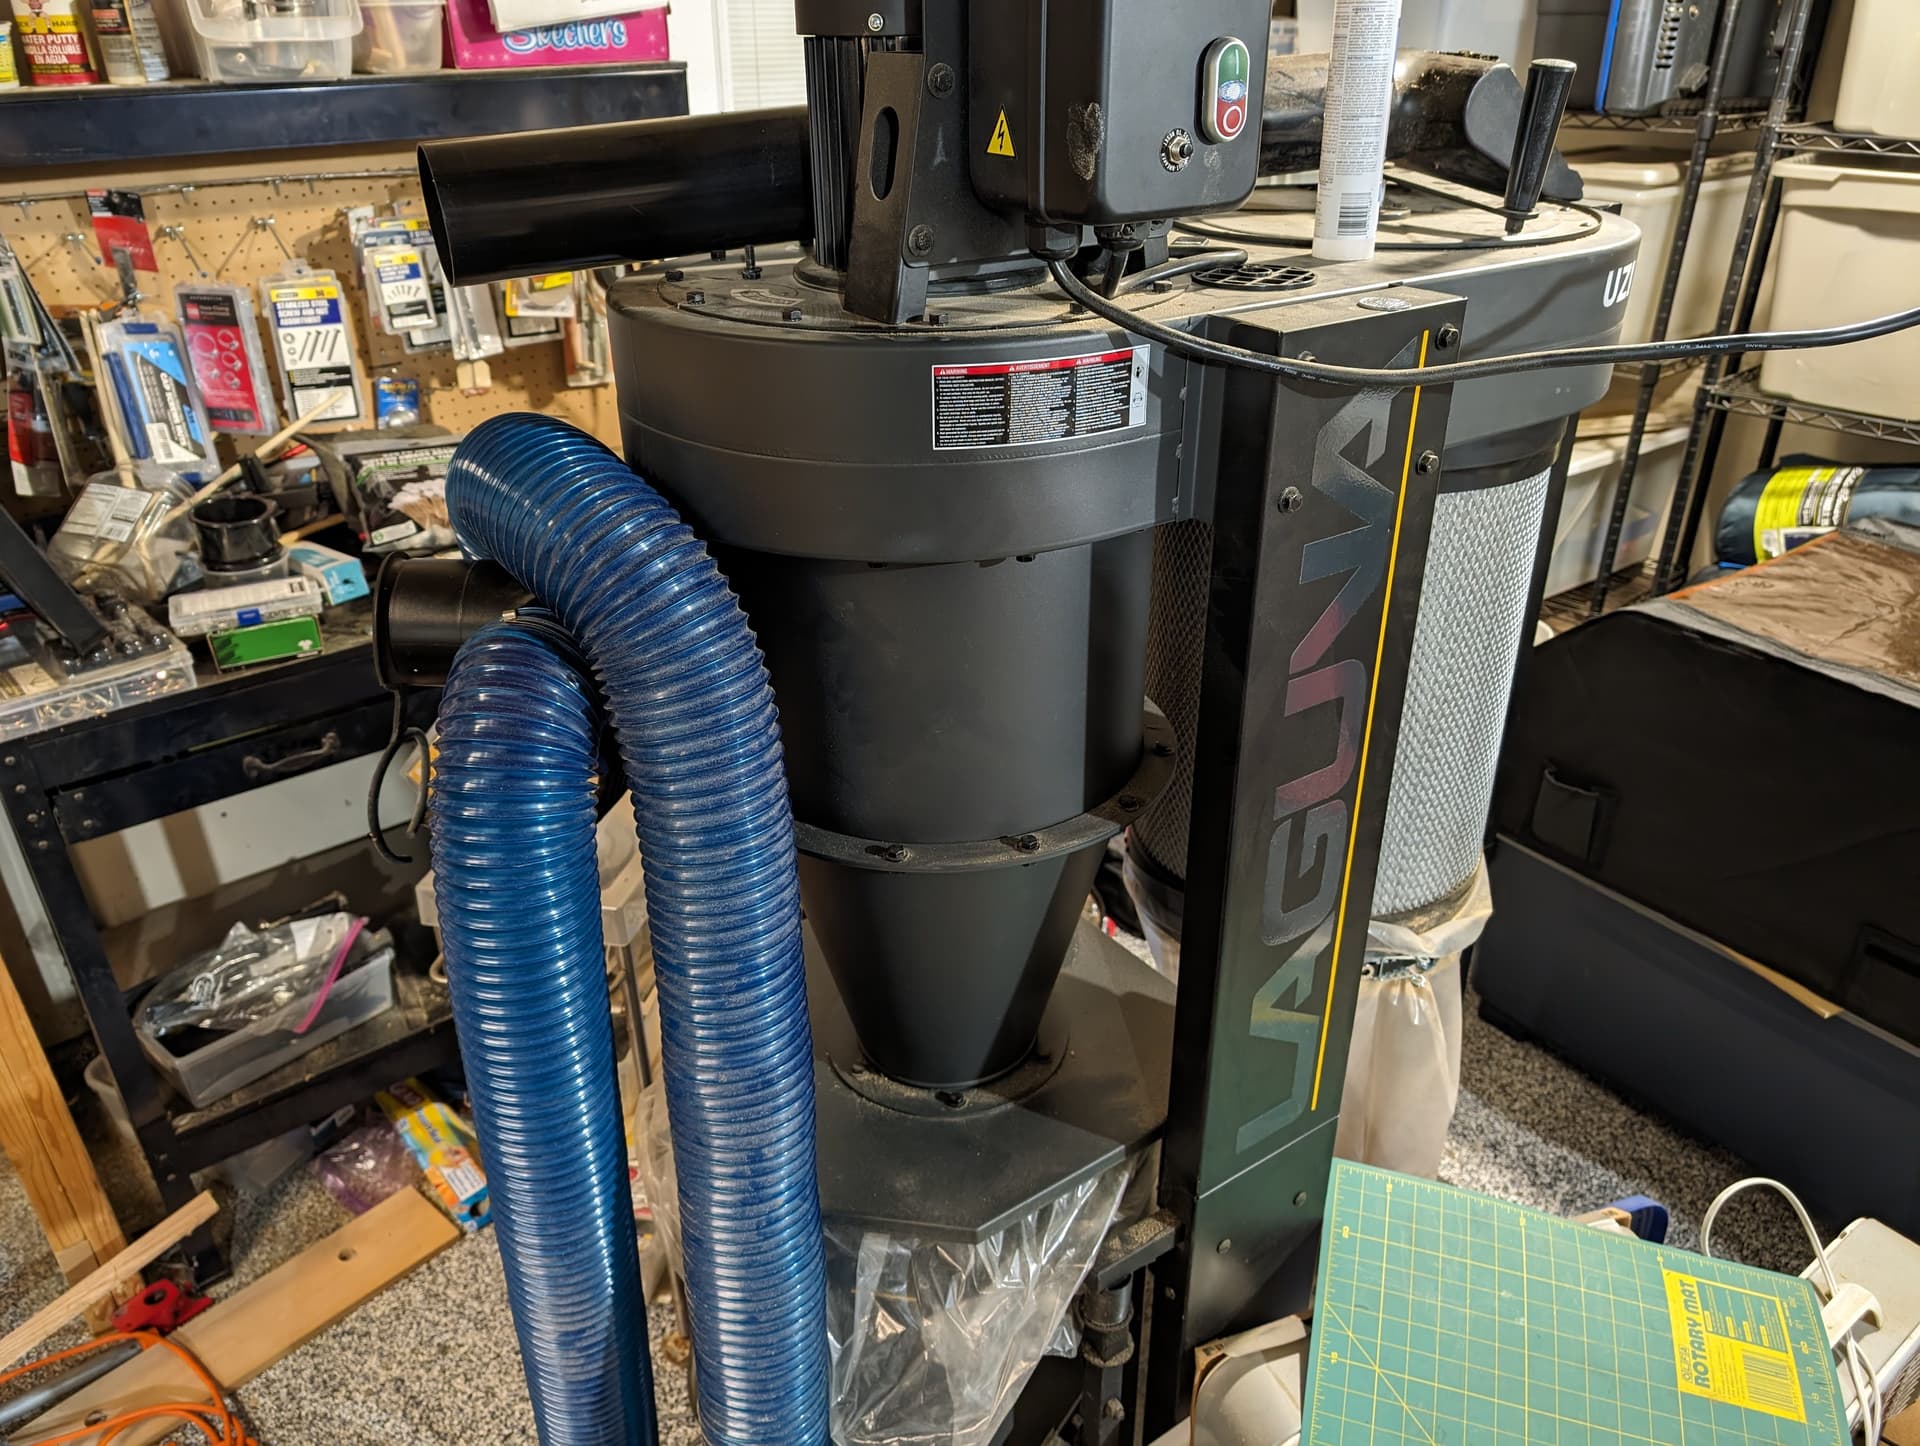
Got wiring squared away with plastic clip things from someone here, big cable loom I got from Vetco electronics. Dougs remix of the jackpot enclosure. Ended up pretty clean, which i was grateful for when the MDF dust storm began!
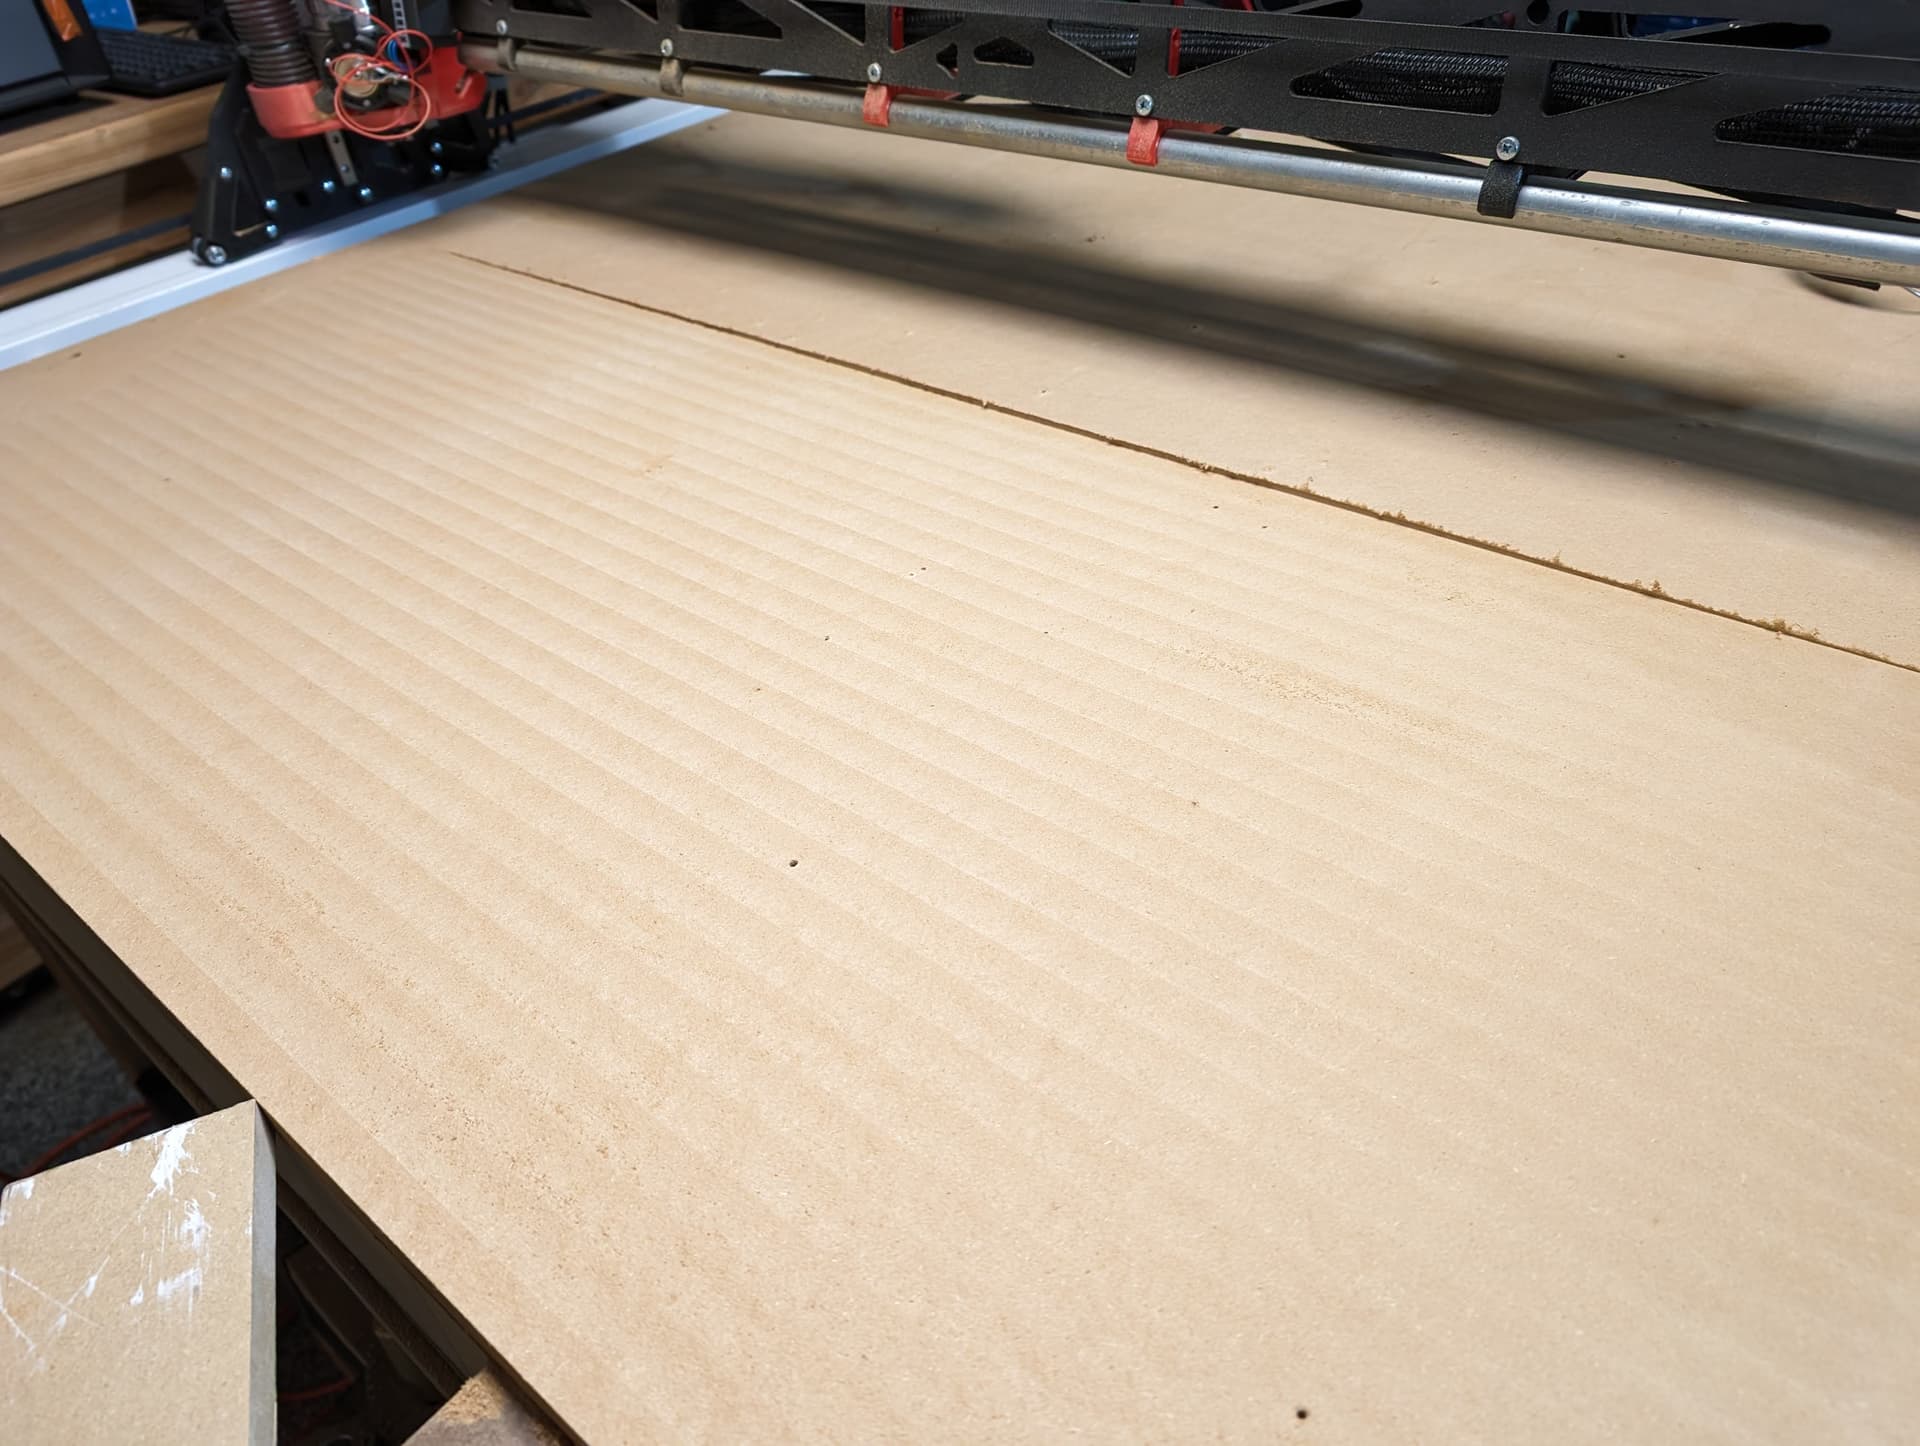
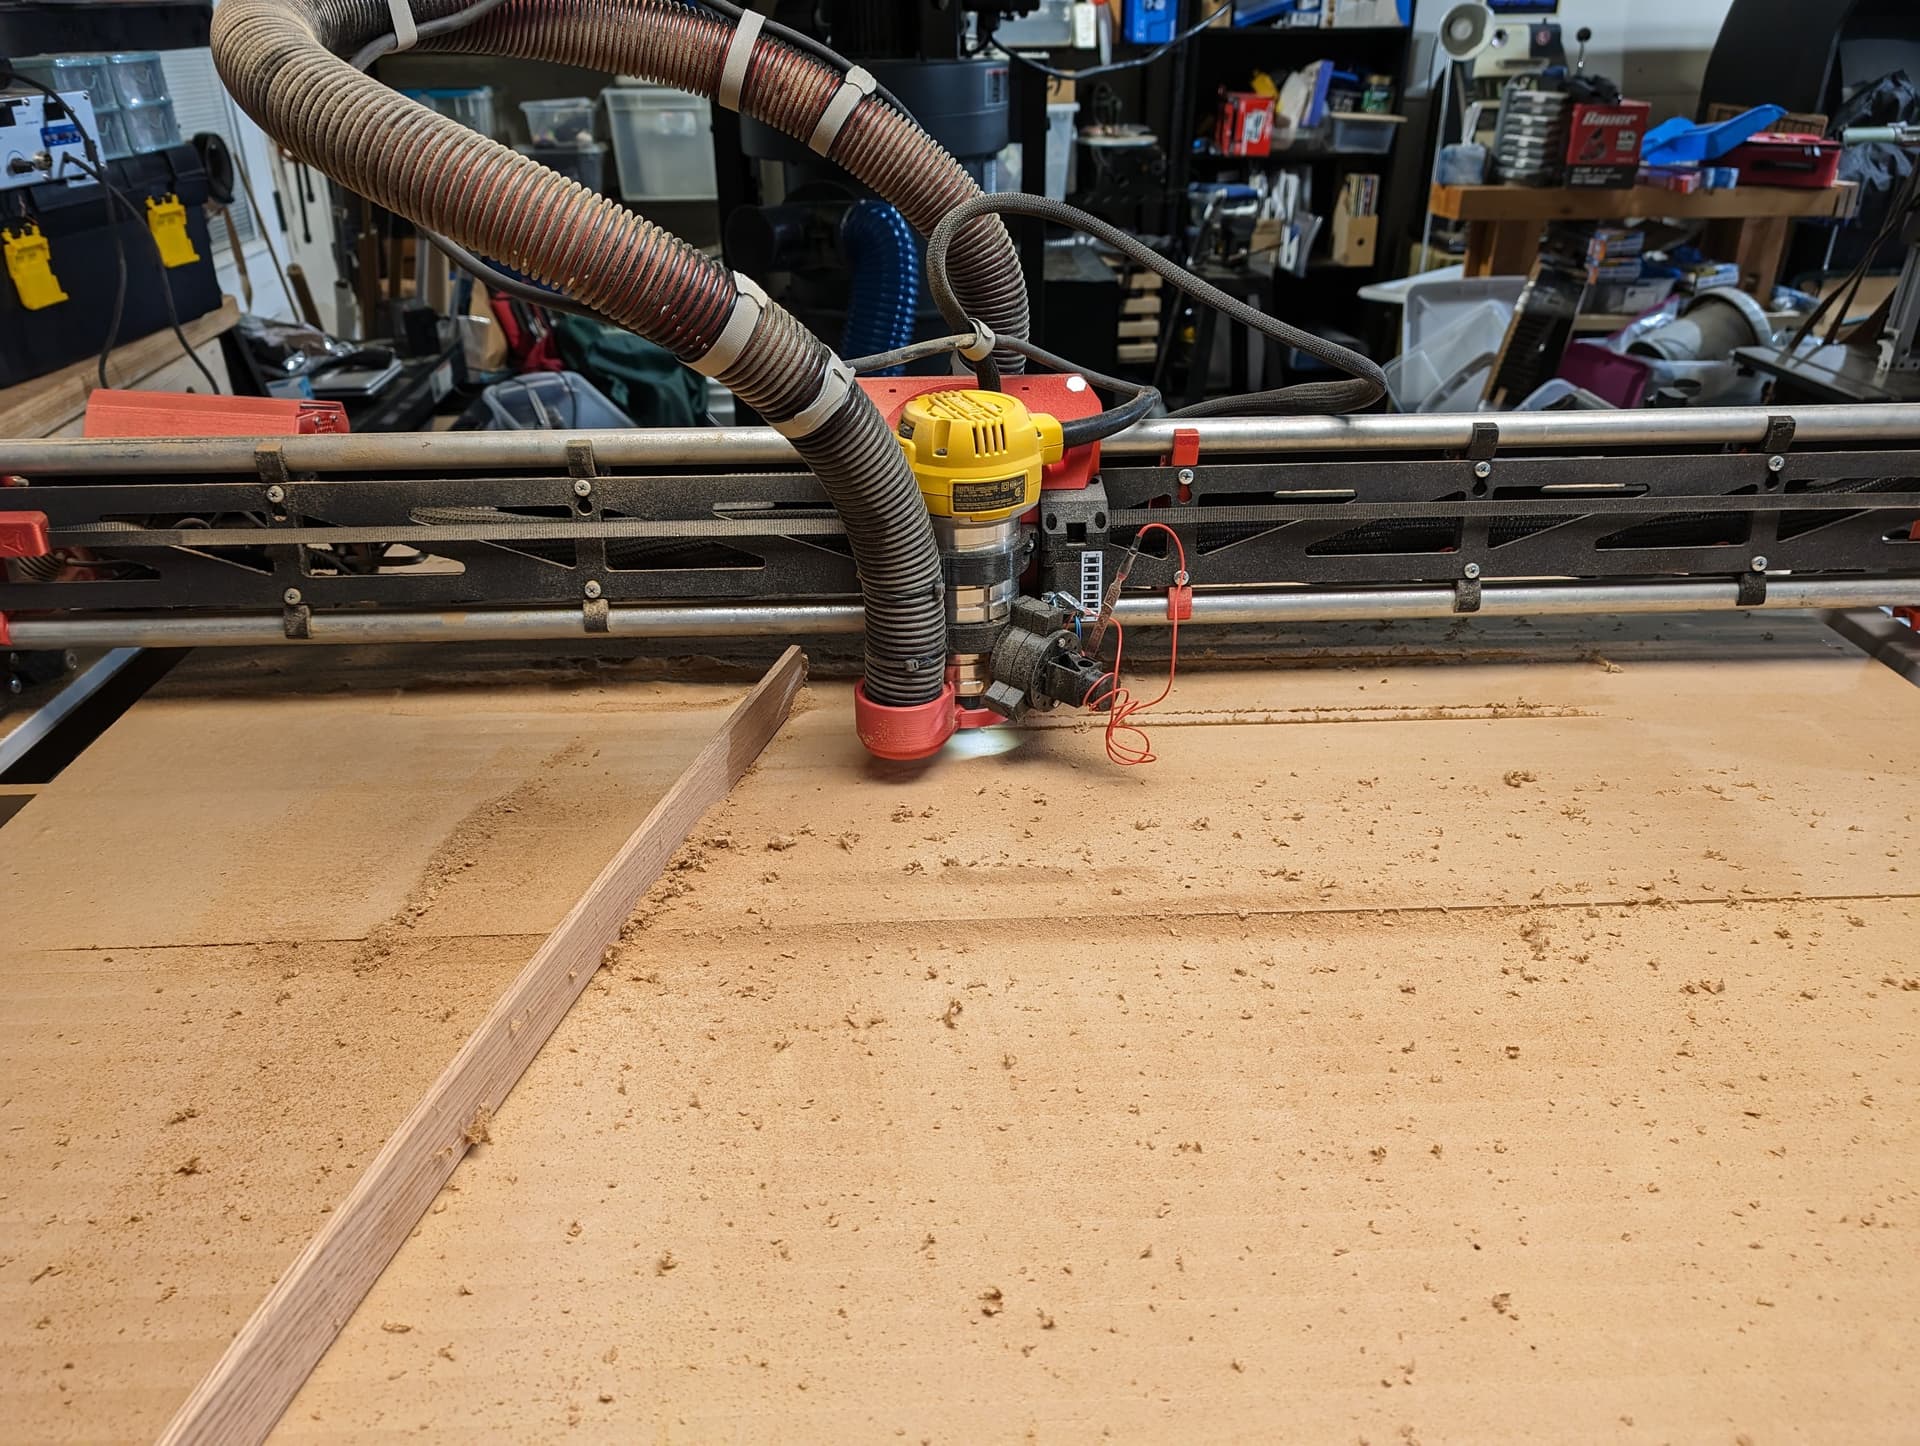
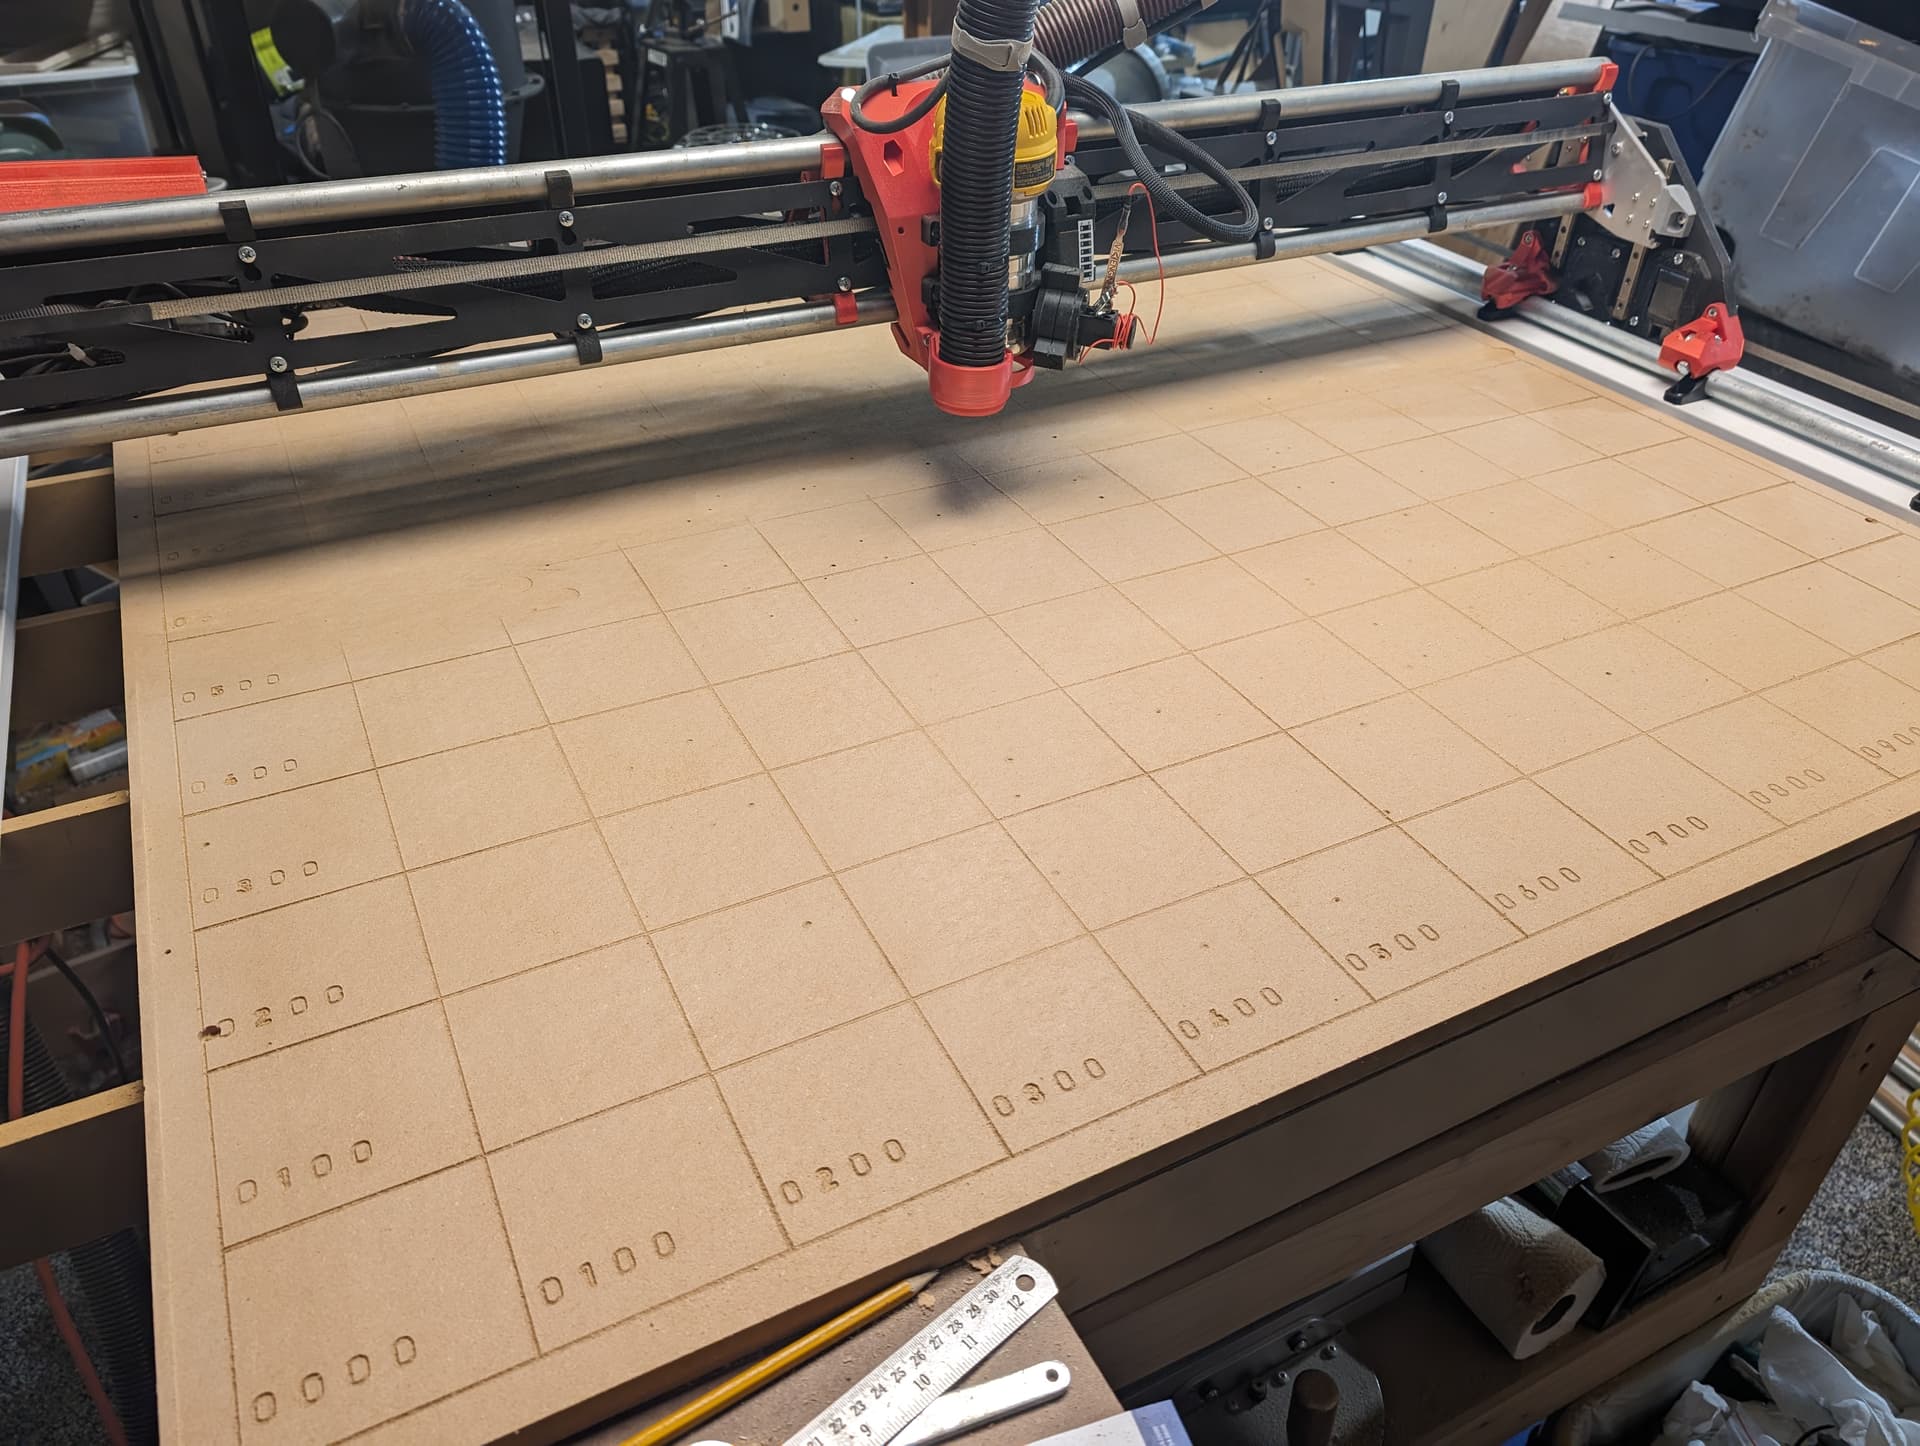
Surfacing was just a mess of dust despite my massive dust collector.
Trammed and squared beforehand. Easy with the Jackpot.
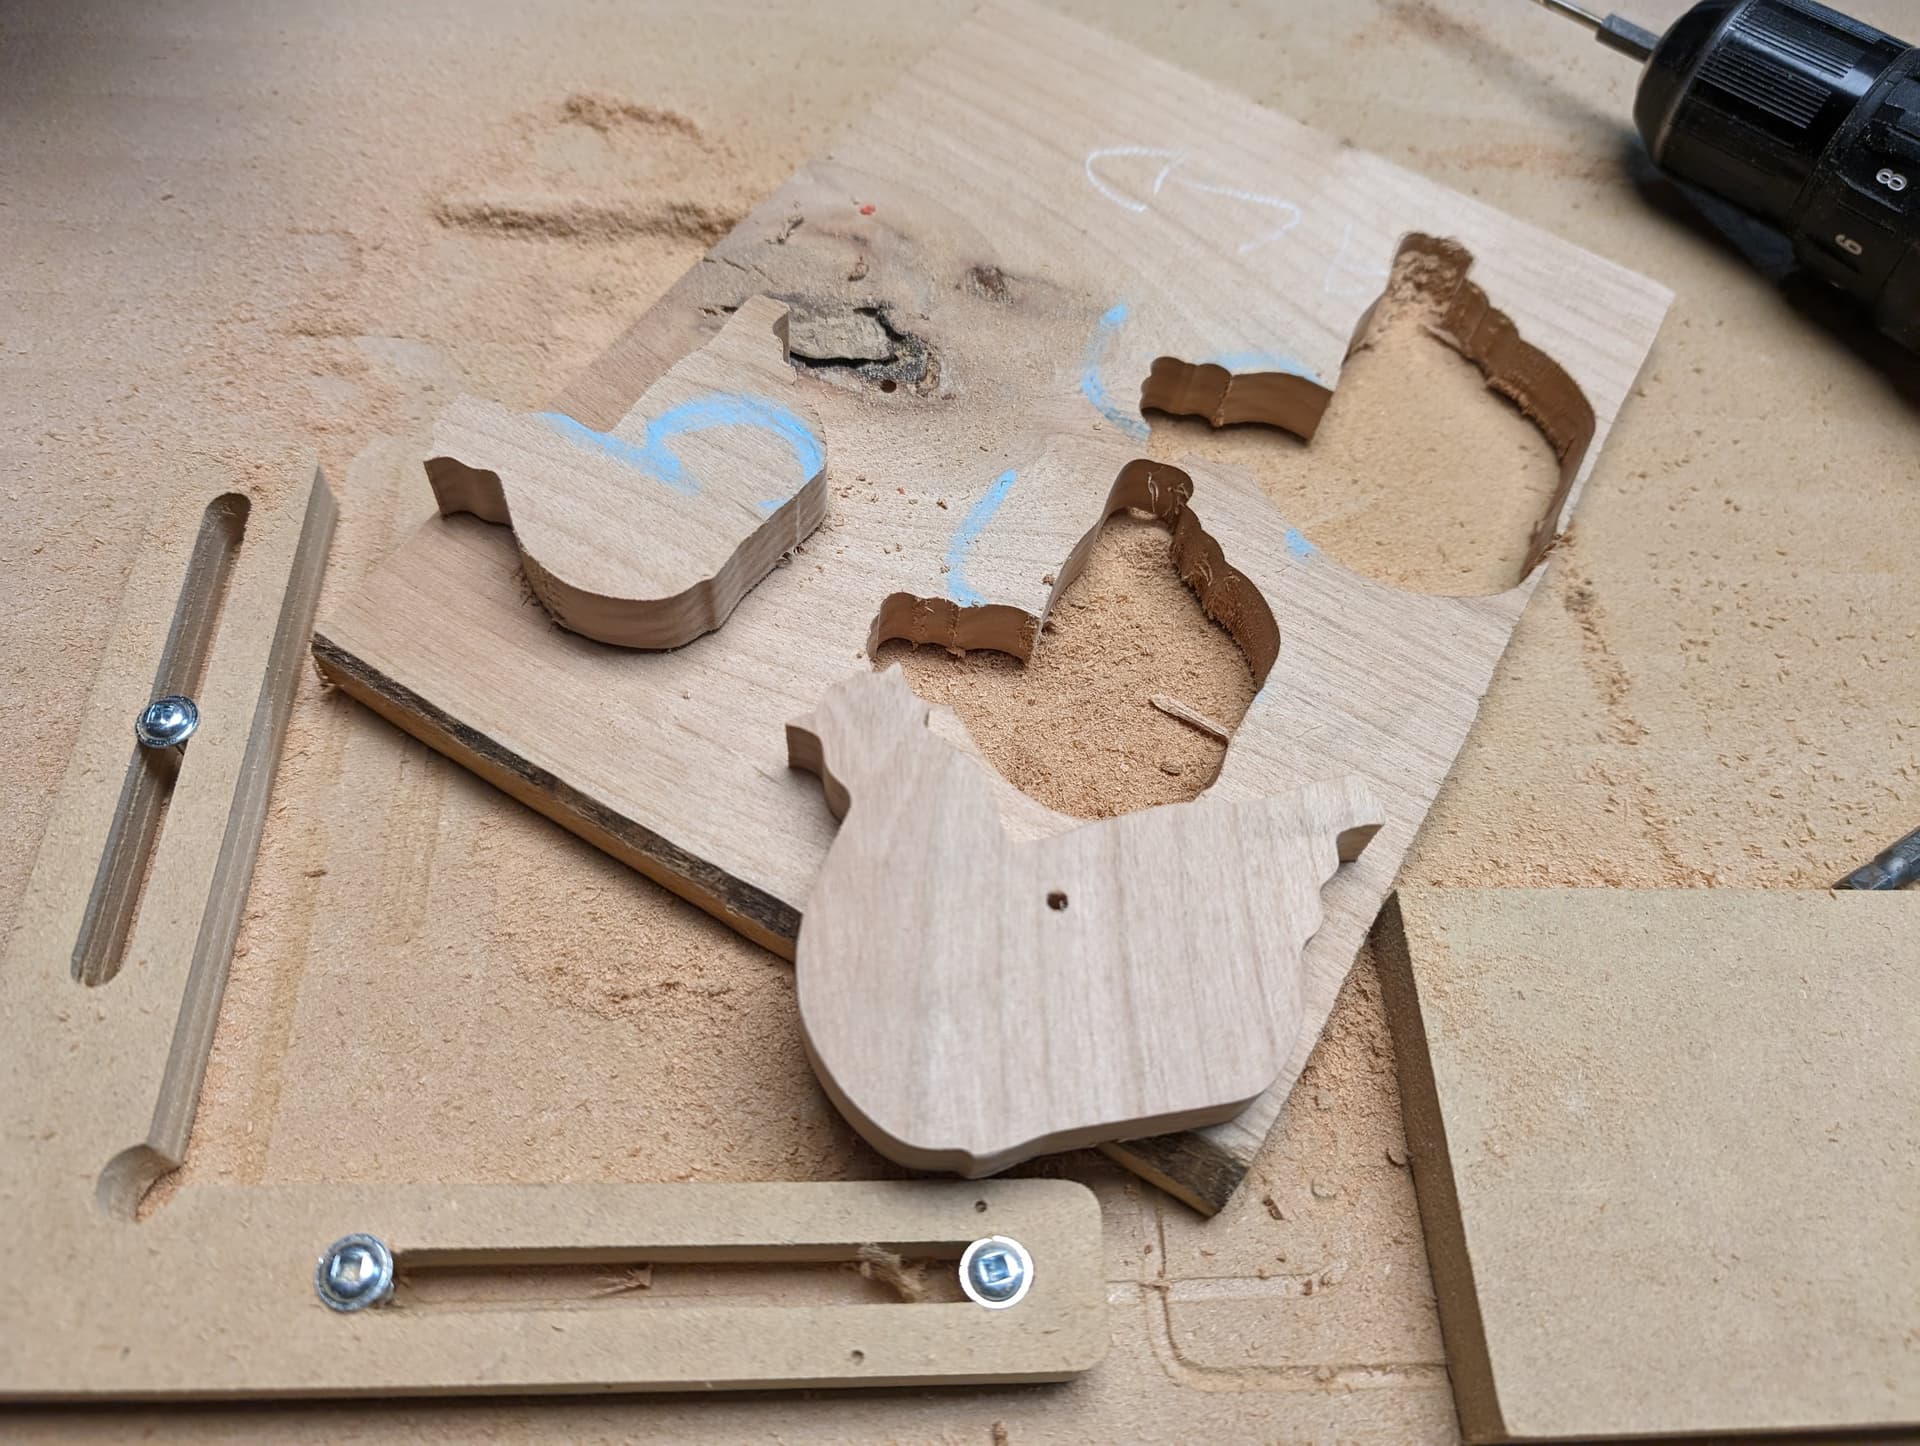
Sure, I’ll upload it when i get home! Will parameterize it while I’m at it, it was just a 5 minute Fusion 360 thing i slapped together to test the lr3.
Looking forward to it! I saw a video where someone routed dovetailed slots in the vertical part of their table, using those Microjig sliding clamps on it. Probably go that route to start.
Here it is, around 2 minutes in https://youtu.be/-AxJ6DHqa-I then actual use around 9 minutes for box joints.
Also I bought the sweet Kobalt router when it was on sale and a bunch of Er-11 collets, so will eventually switch over to that. DeWalt 611 + precision collet more than enough for now.
Not entirely sure, I think I’ll try to make the 10 drawer cabinet from Chris Fitch’s excellent “CNC Basecamp” Episode 009: 10 Drawer Cabinet | Woodsmith. Those totes look pretty handy too…