Two weeks in and it’s already paid for itself. Ty Ryan.

13 Likes
I’m impressed with your business acumen. Two weeks is pretty quick to find clients and make enough projects to pay off a cnc assuming you have a normal day job.
Nice job! All of them look great. I especially like the “adventure awaits” ![]()
4 Likes
Facebook had a lot to do with it. I’ve been posting the build along the way and friends reached out to me. I do have a day job but the wife hasn’t seen me in a couple weeks lol.
1 Like
Those look awesome. Did you use a CNC before or are those your first projects as well?
2 Likes
I second that, they look amazing. ![]()
Could you write more about how you created these?
2 Likes
I’d hate to talk smack on another company but I have a Bobs cnc V3. It’s always been junk to me and I’ve made a few signs before and messed around with other things. The whole reason I built this LR3 was because the wife wanted me to make a sign for my son’s treehouse I just finished and I was really unhappy with the way the sign turned out. I built the LR2 a few years ago and never really got it to work correctly (I was having problems with the controller I was using). I pulled the LR2 out of the box I had it in and came back to the V1 website and seen the upgraded LR3 model. Needless to say I used the parts from my unfinished LR2 to build the LR3. its night and day from the Bobs CNC. I’ve also got a MakerMade M2 that collects dust in my shop.
3 Likes
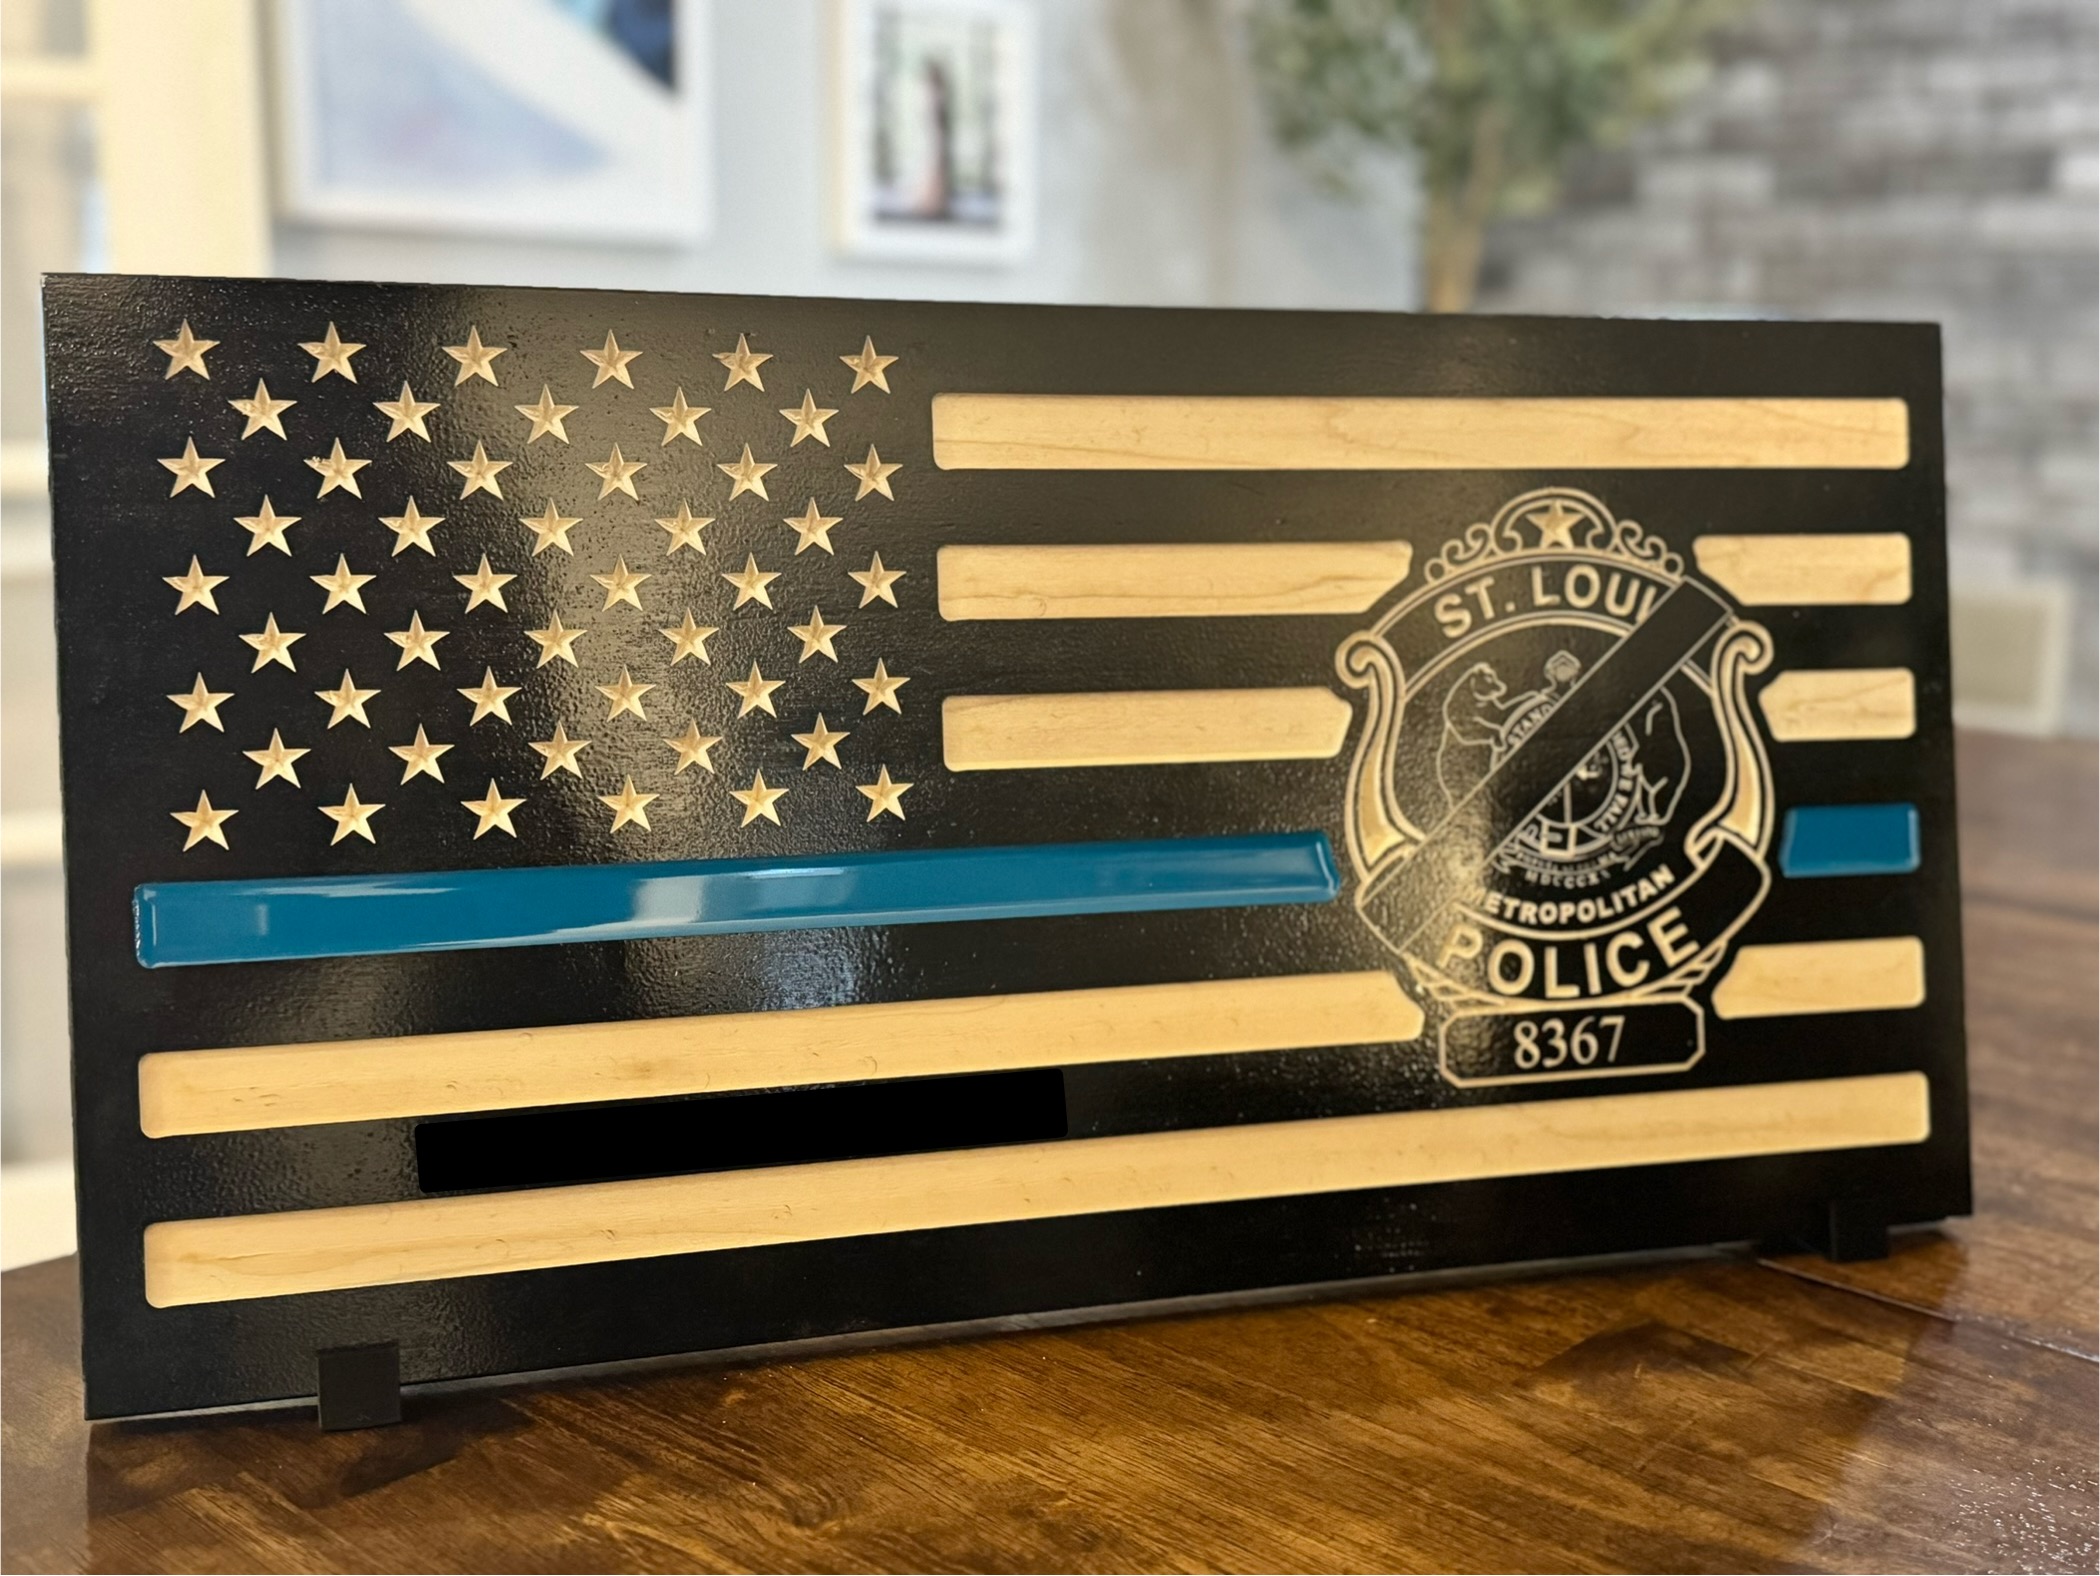
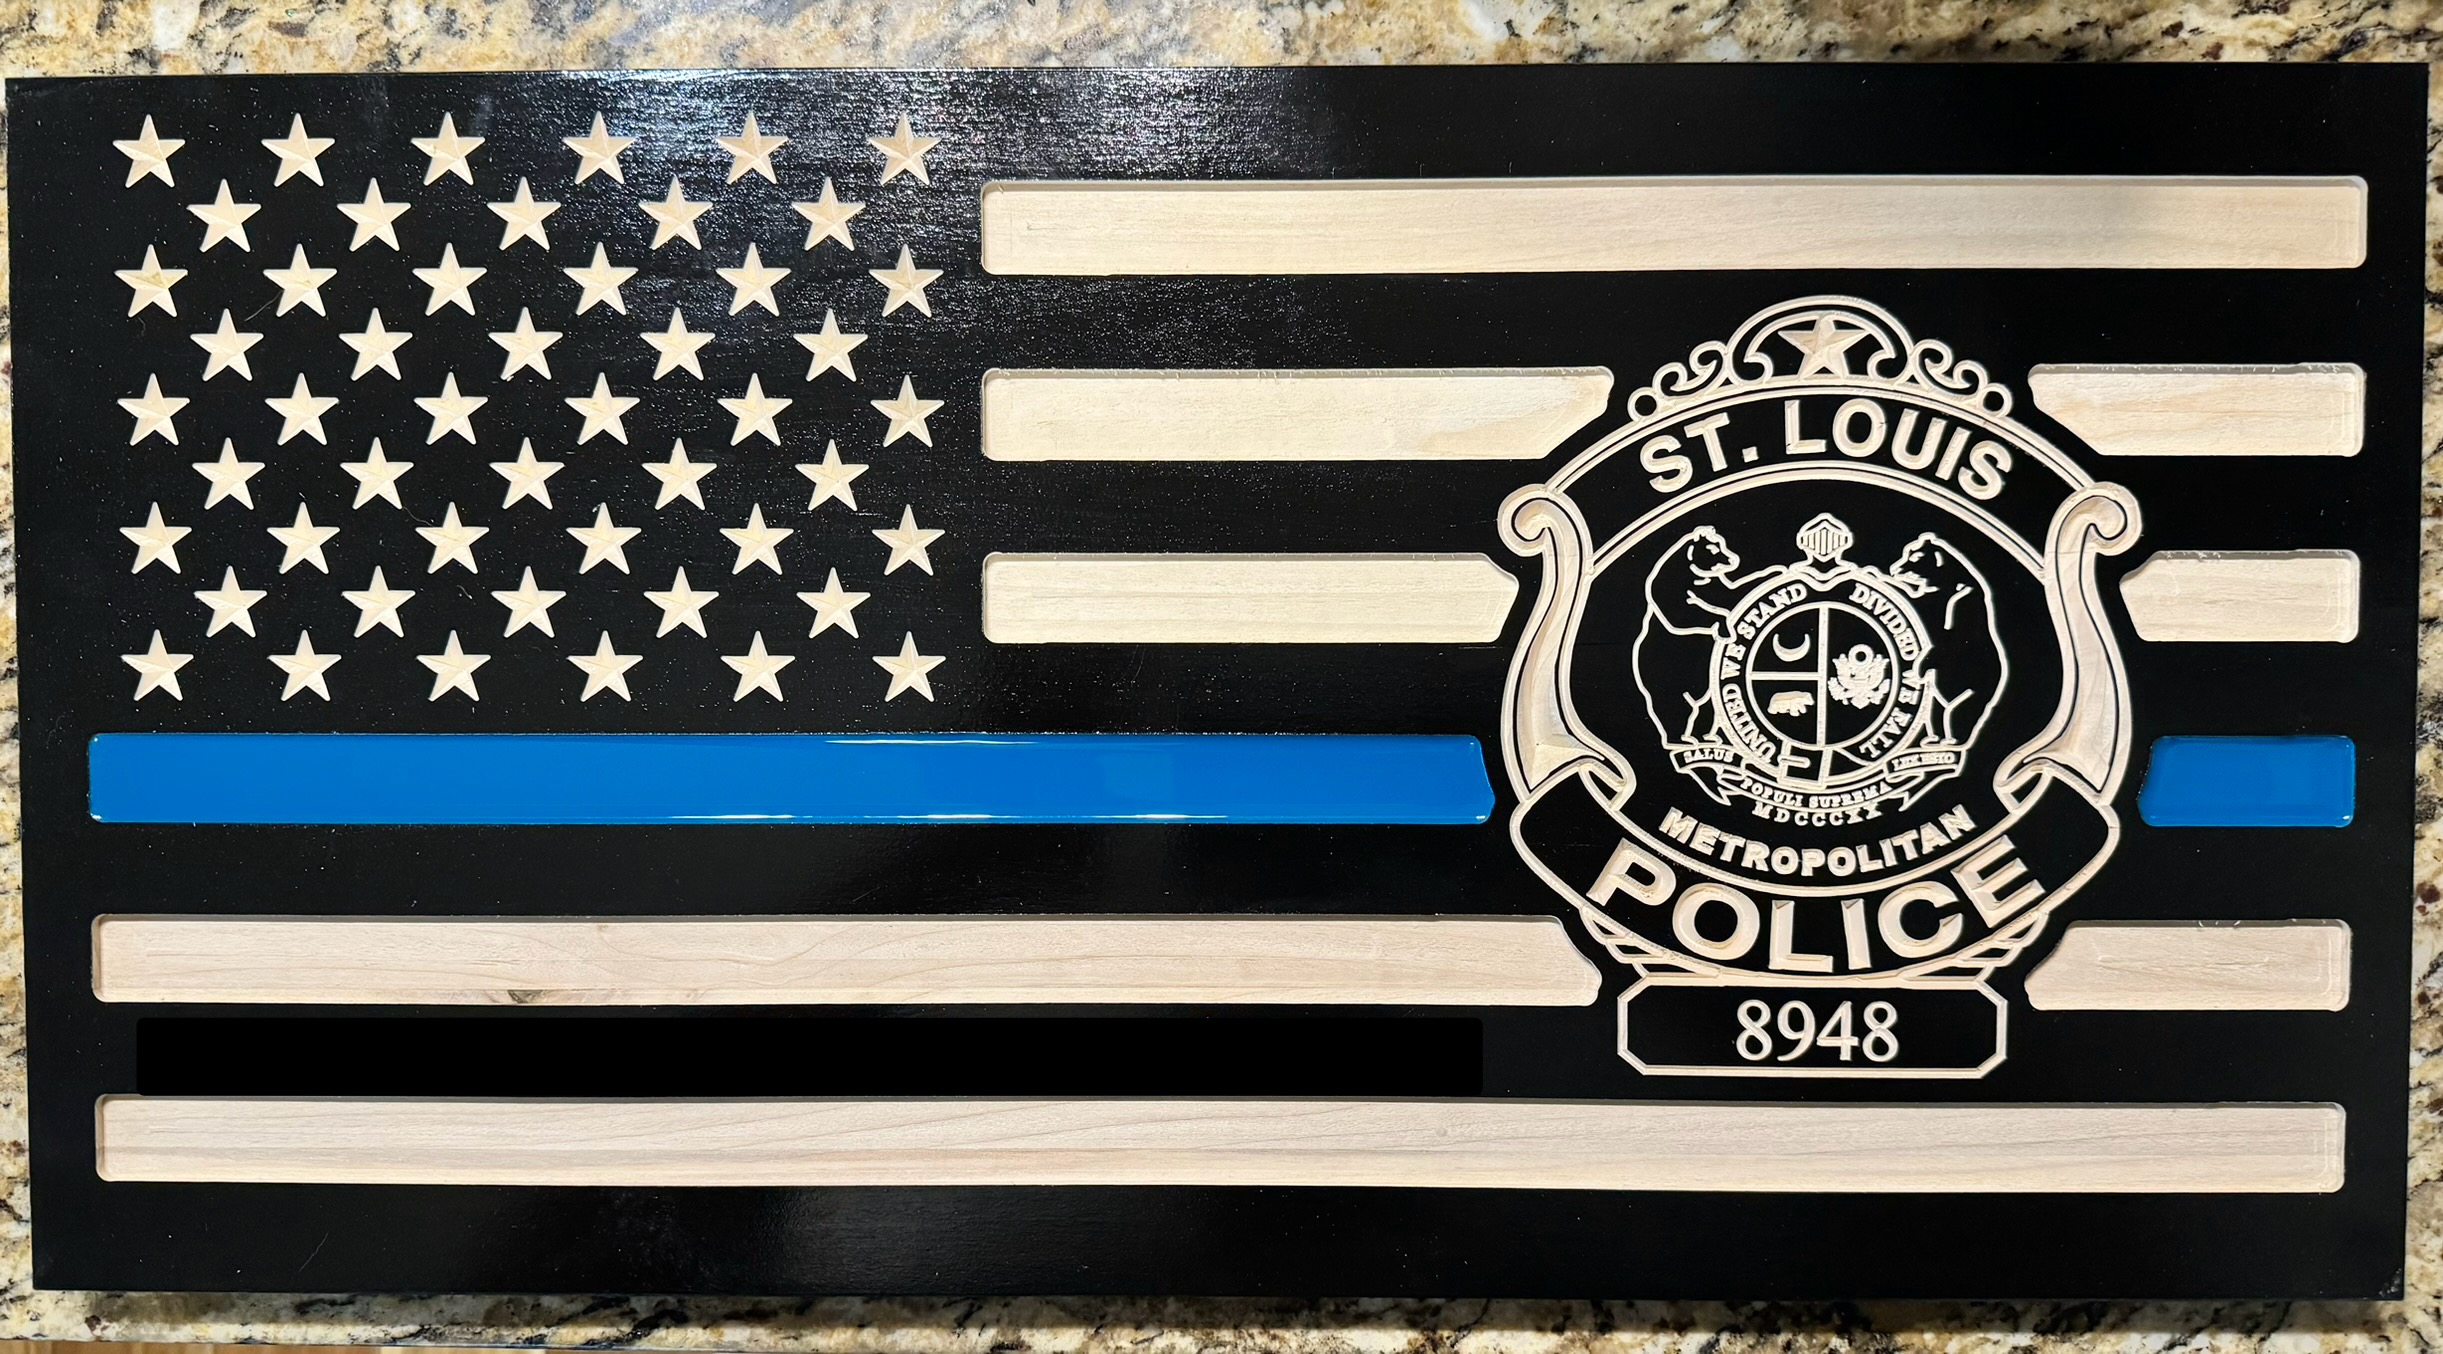
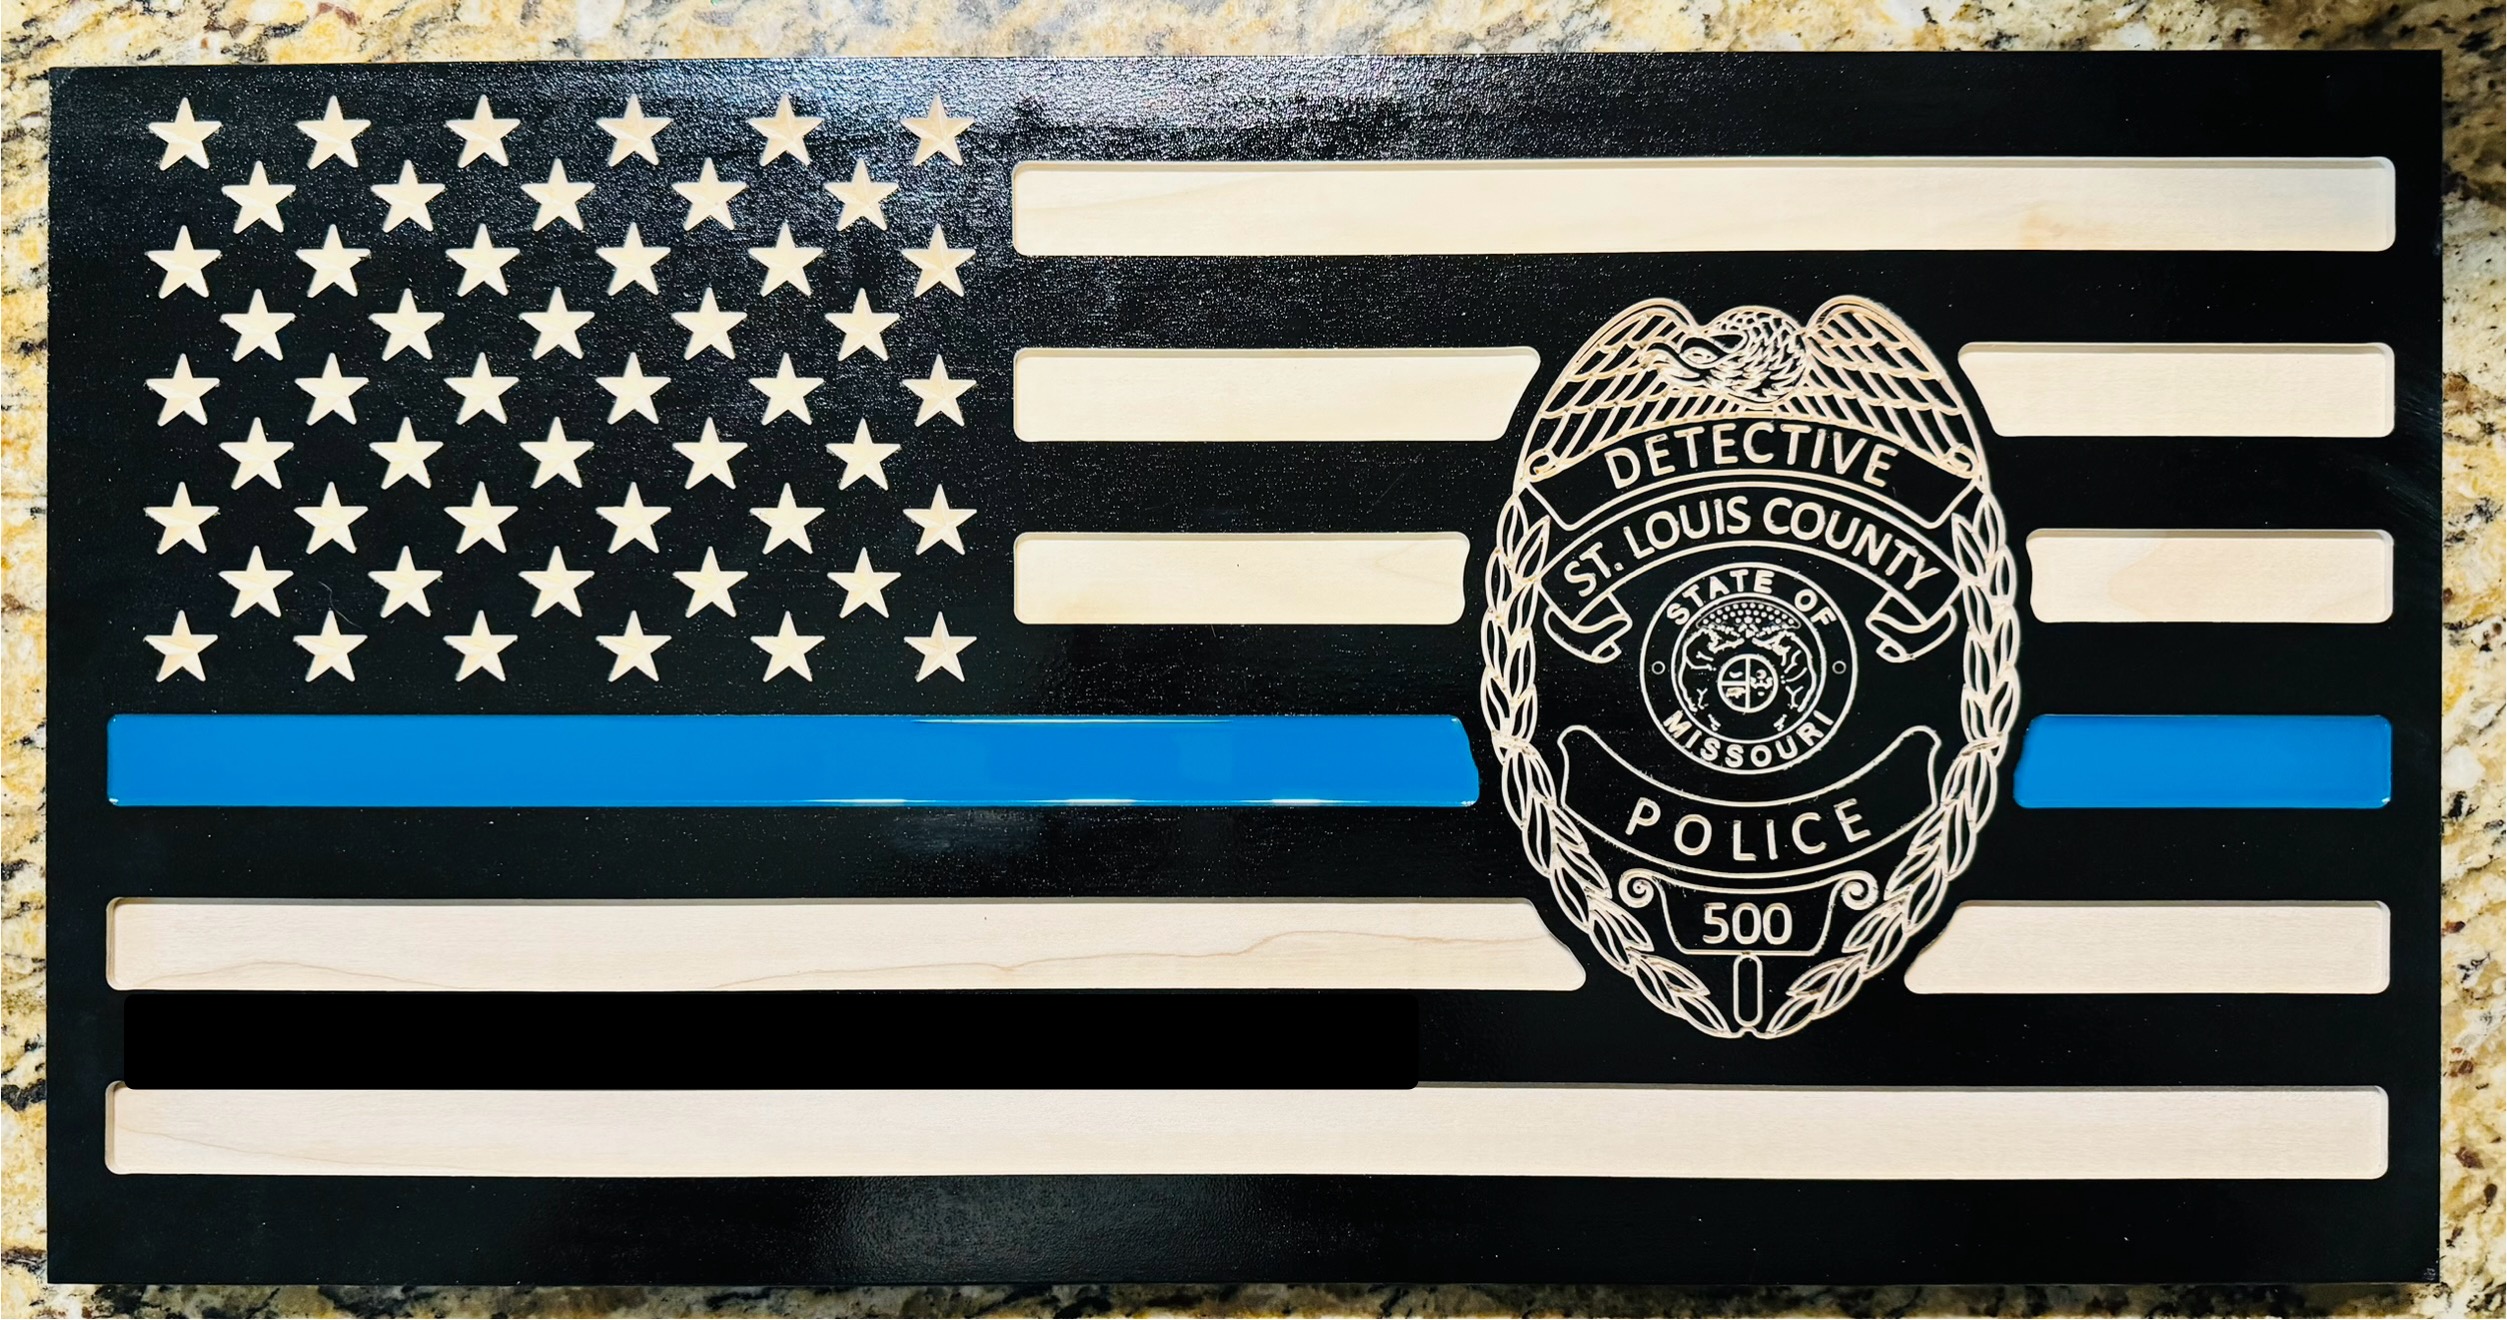
The flags aren’t to difficult. I use Vcarve Pro so I don’t know how this goes with Estlcam but just use any good flag vector file and then any image you want for the “badge” side, convert that to vectors and create a vector boundary around that image to give your flag stripes some distance away from the image. Then I snip the vectors on every other stripe to only cut out 6 of the 13. (I hope that makes sense because I’m confused now).
The wood I’m using is 1x12 edge glued poplar. That I spray with shellac then enamel spray paint. Let the paint cure for a couple days then carve into it. .05” depth of cut on the stripes with a downcut bit and a flat bottom of .2” for the vcarving.
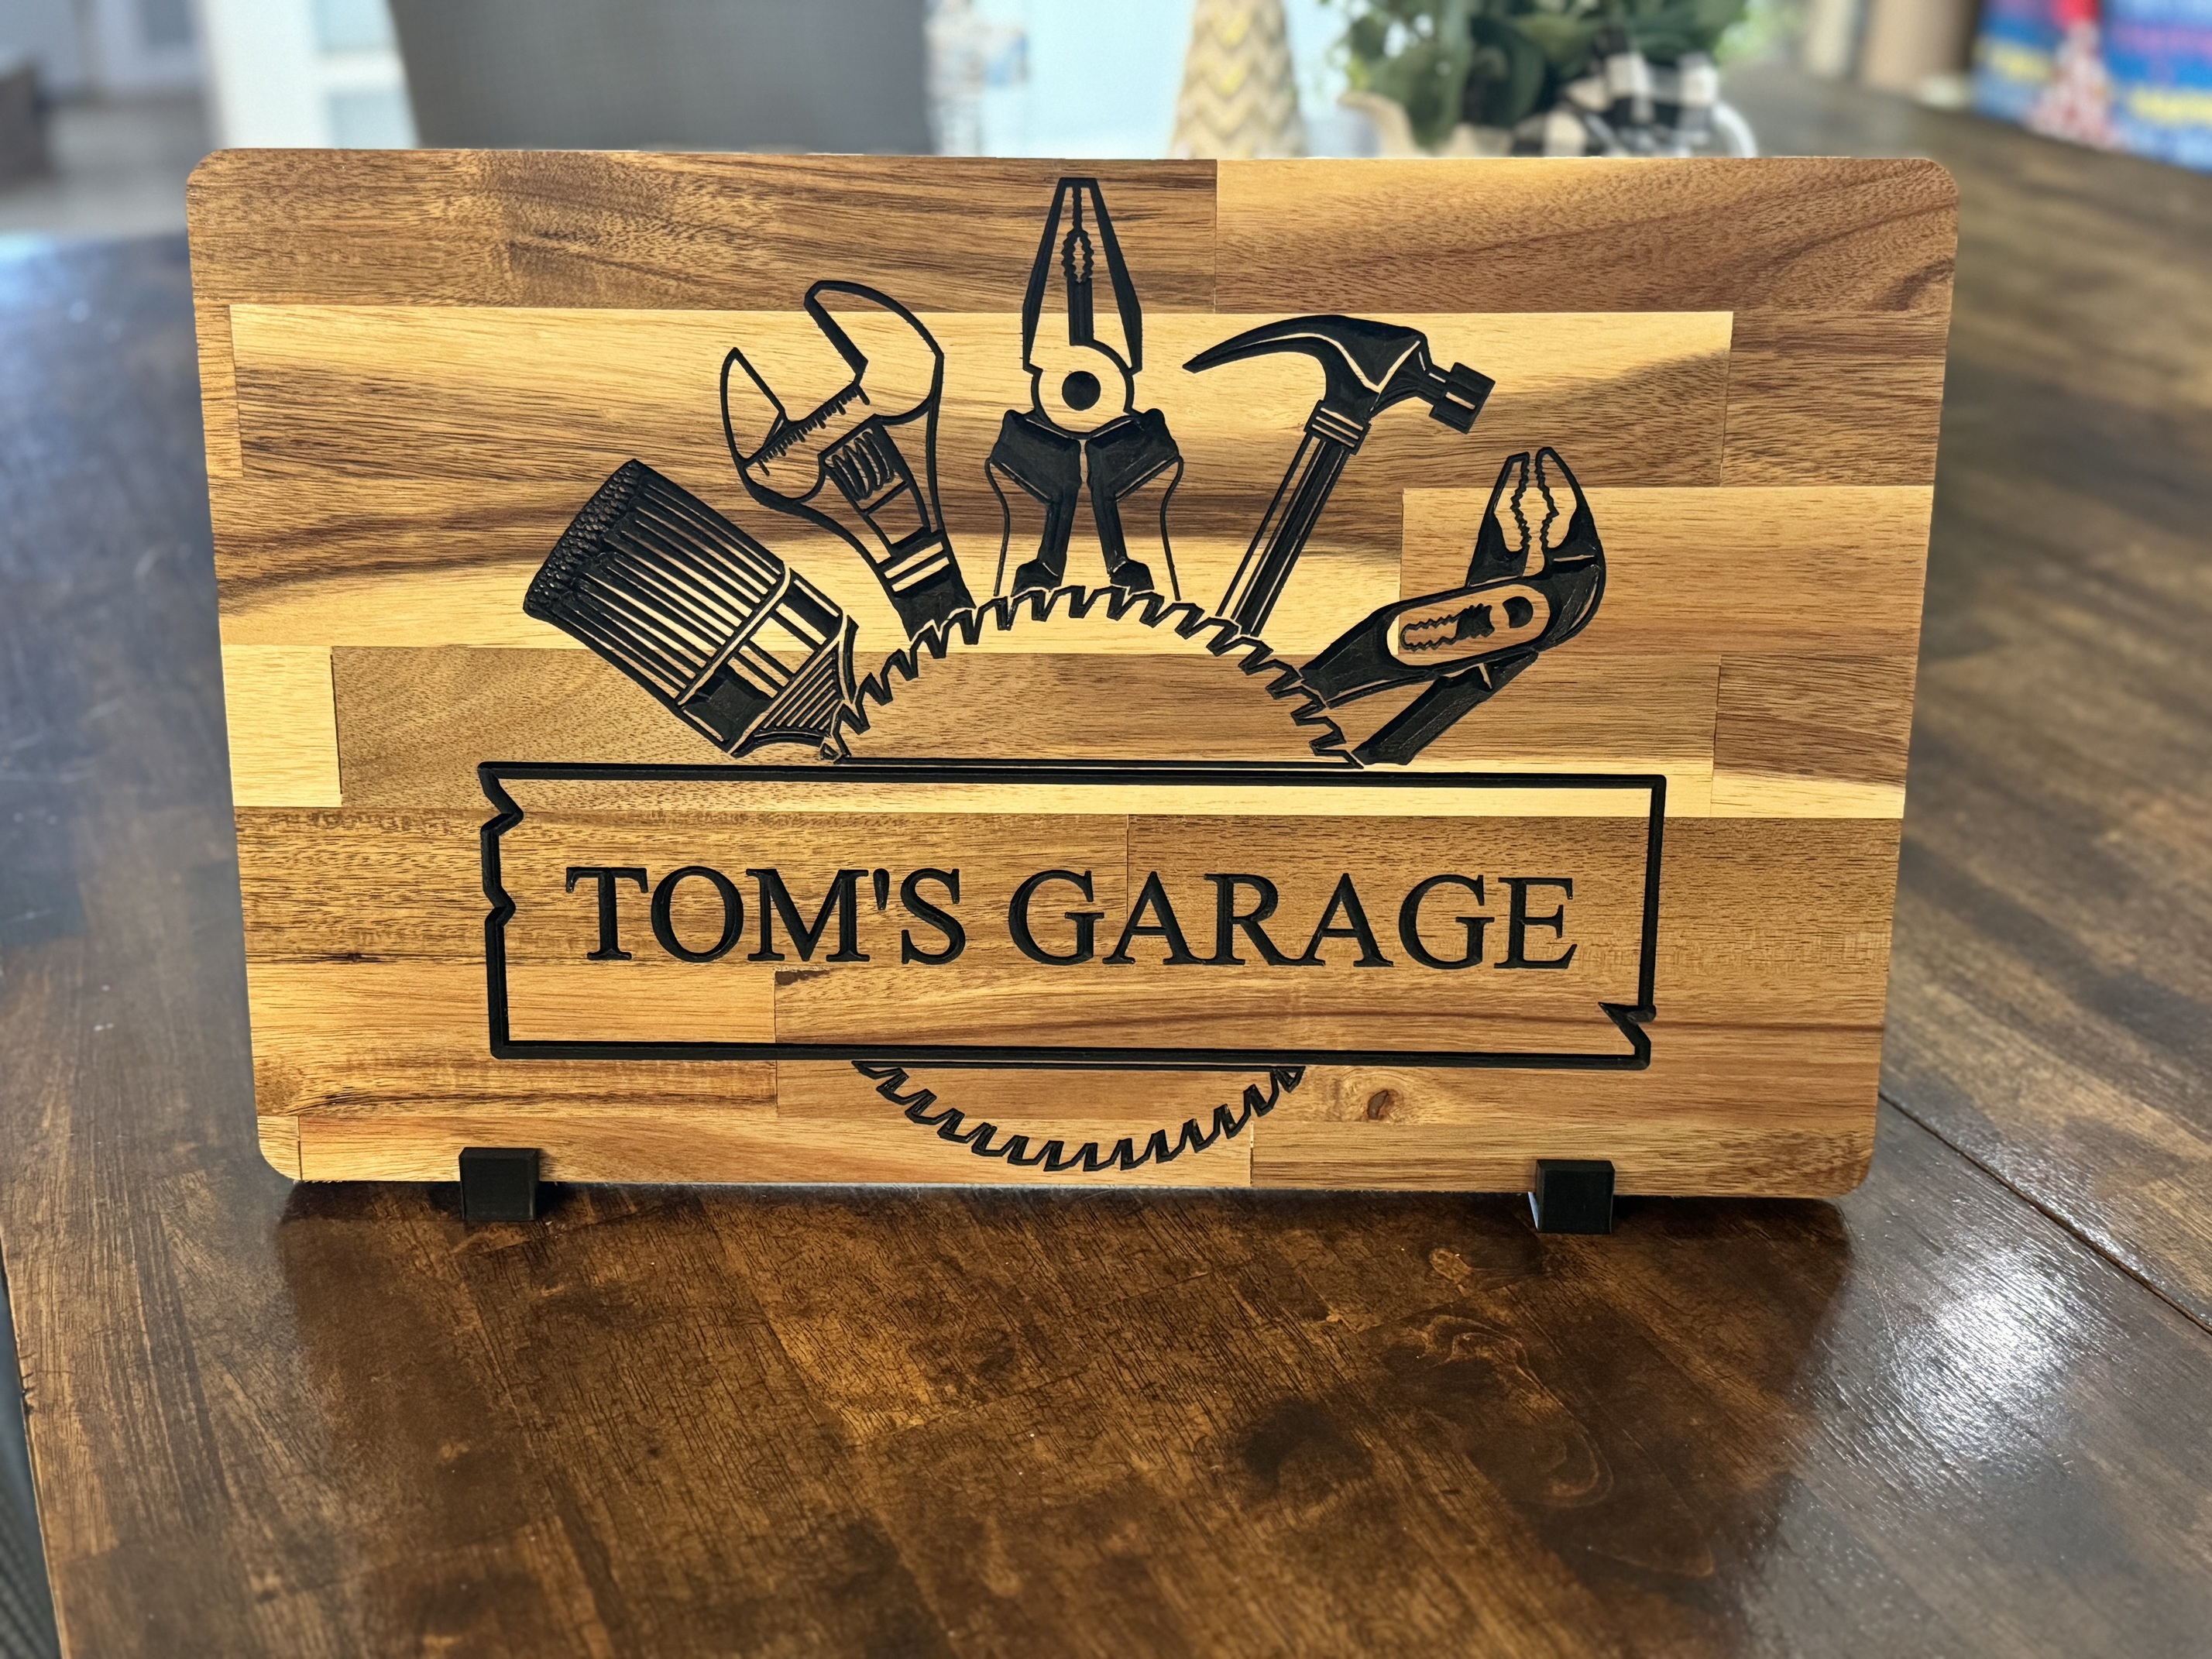
The other signs, the vectors were bought from Etsy for a few dollars each. And cut on 1x12 edge glued acacia board. If you live by a Menards those are super cheap and mill surprisingly well. After the carving they were sprayed with a couple coats of shellac then black acrylic paint and a small paint brush to fill the engraving. Once that’s dry I sand the surface to remove any unwanted paint I got on top and leave a crisp edge. Then shellac again.
Hope that helps.
4 Likes
Yeah, a lot. I am not good with paint, for me it’s mostly oil and paste wax. ![]() Have to try shellac some day, who doesn’t want crushed lice on his wood.
Have to try shellac some day, who doesn’t want crushed lice on his wood. ![]()
1 Like
Ha ha ha. I had never used it before but I needed something to dry fast for an undercoat. I might switch to a spray lacquer. But the shellac is working. My first few signs I noticed the paint soaking into the wood fibers which I didn’t want so I knew I needed a clear undercoat. The enamel spray paint has helped a bunch. I was using rustoleum 2x but noticed it was too flexible and would tear rather than cut/chip away.
3 Likes
I recently applied shellac using these applicator pads and the liquid/can version of shellac
HDX HDX 5 in. Microfiber Terry Staining Pads (4-Pack) HDMF-SPWHT - The Home Depot
I cut the shellac with some denatured alcohol to thin out the coats a bit since I was using it as a finish, but you could probably just use it straight. It resulted in smoother finish for me and still dried fast. I imagine it’d be cheaper than spray paint shellac over the long haul as well. Store the pad in a jar of shellac or denatured alcohol and it can apparently be re-used many times.
Cheaper, faster application, and I think similar drying times.
3 Likes
Ty for this. I was just looking at flakes and a reusable spray can on Amazon. Will try your method. It’s like $10 a spray can. Quite expensive
2 Likes
Flakes and applicator pad would probably be the cheapest ![]() I’ll be interested to hear how it works for you.
I’ll be interested to hear how it works for you.
2 Likes
Okay, you built a tree house, your wife is super cool, and you now prefer your LR3…I do not think a cooler sentence could be written.
3 Likes
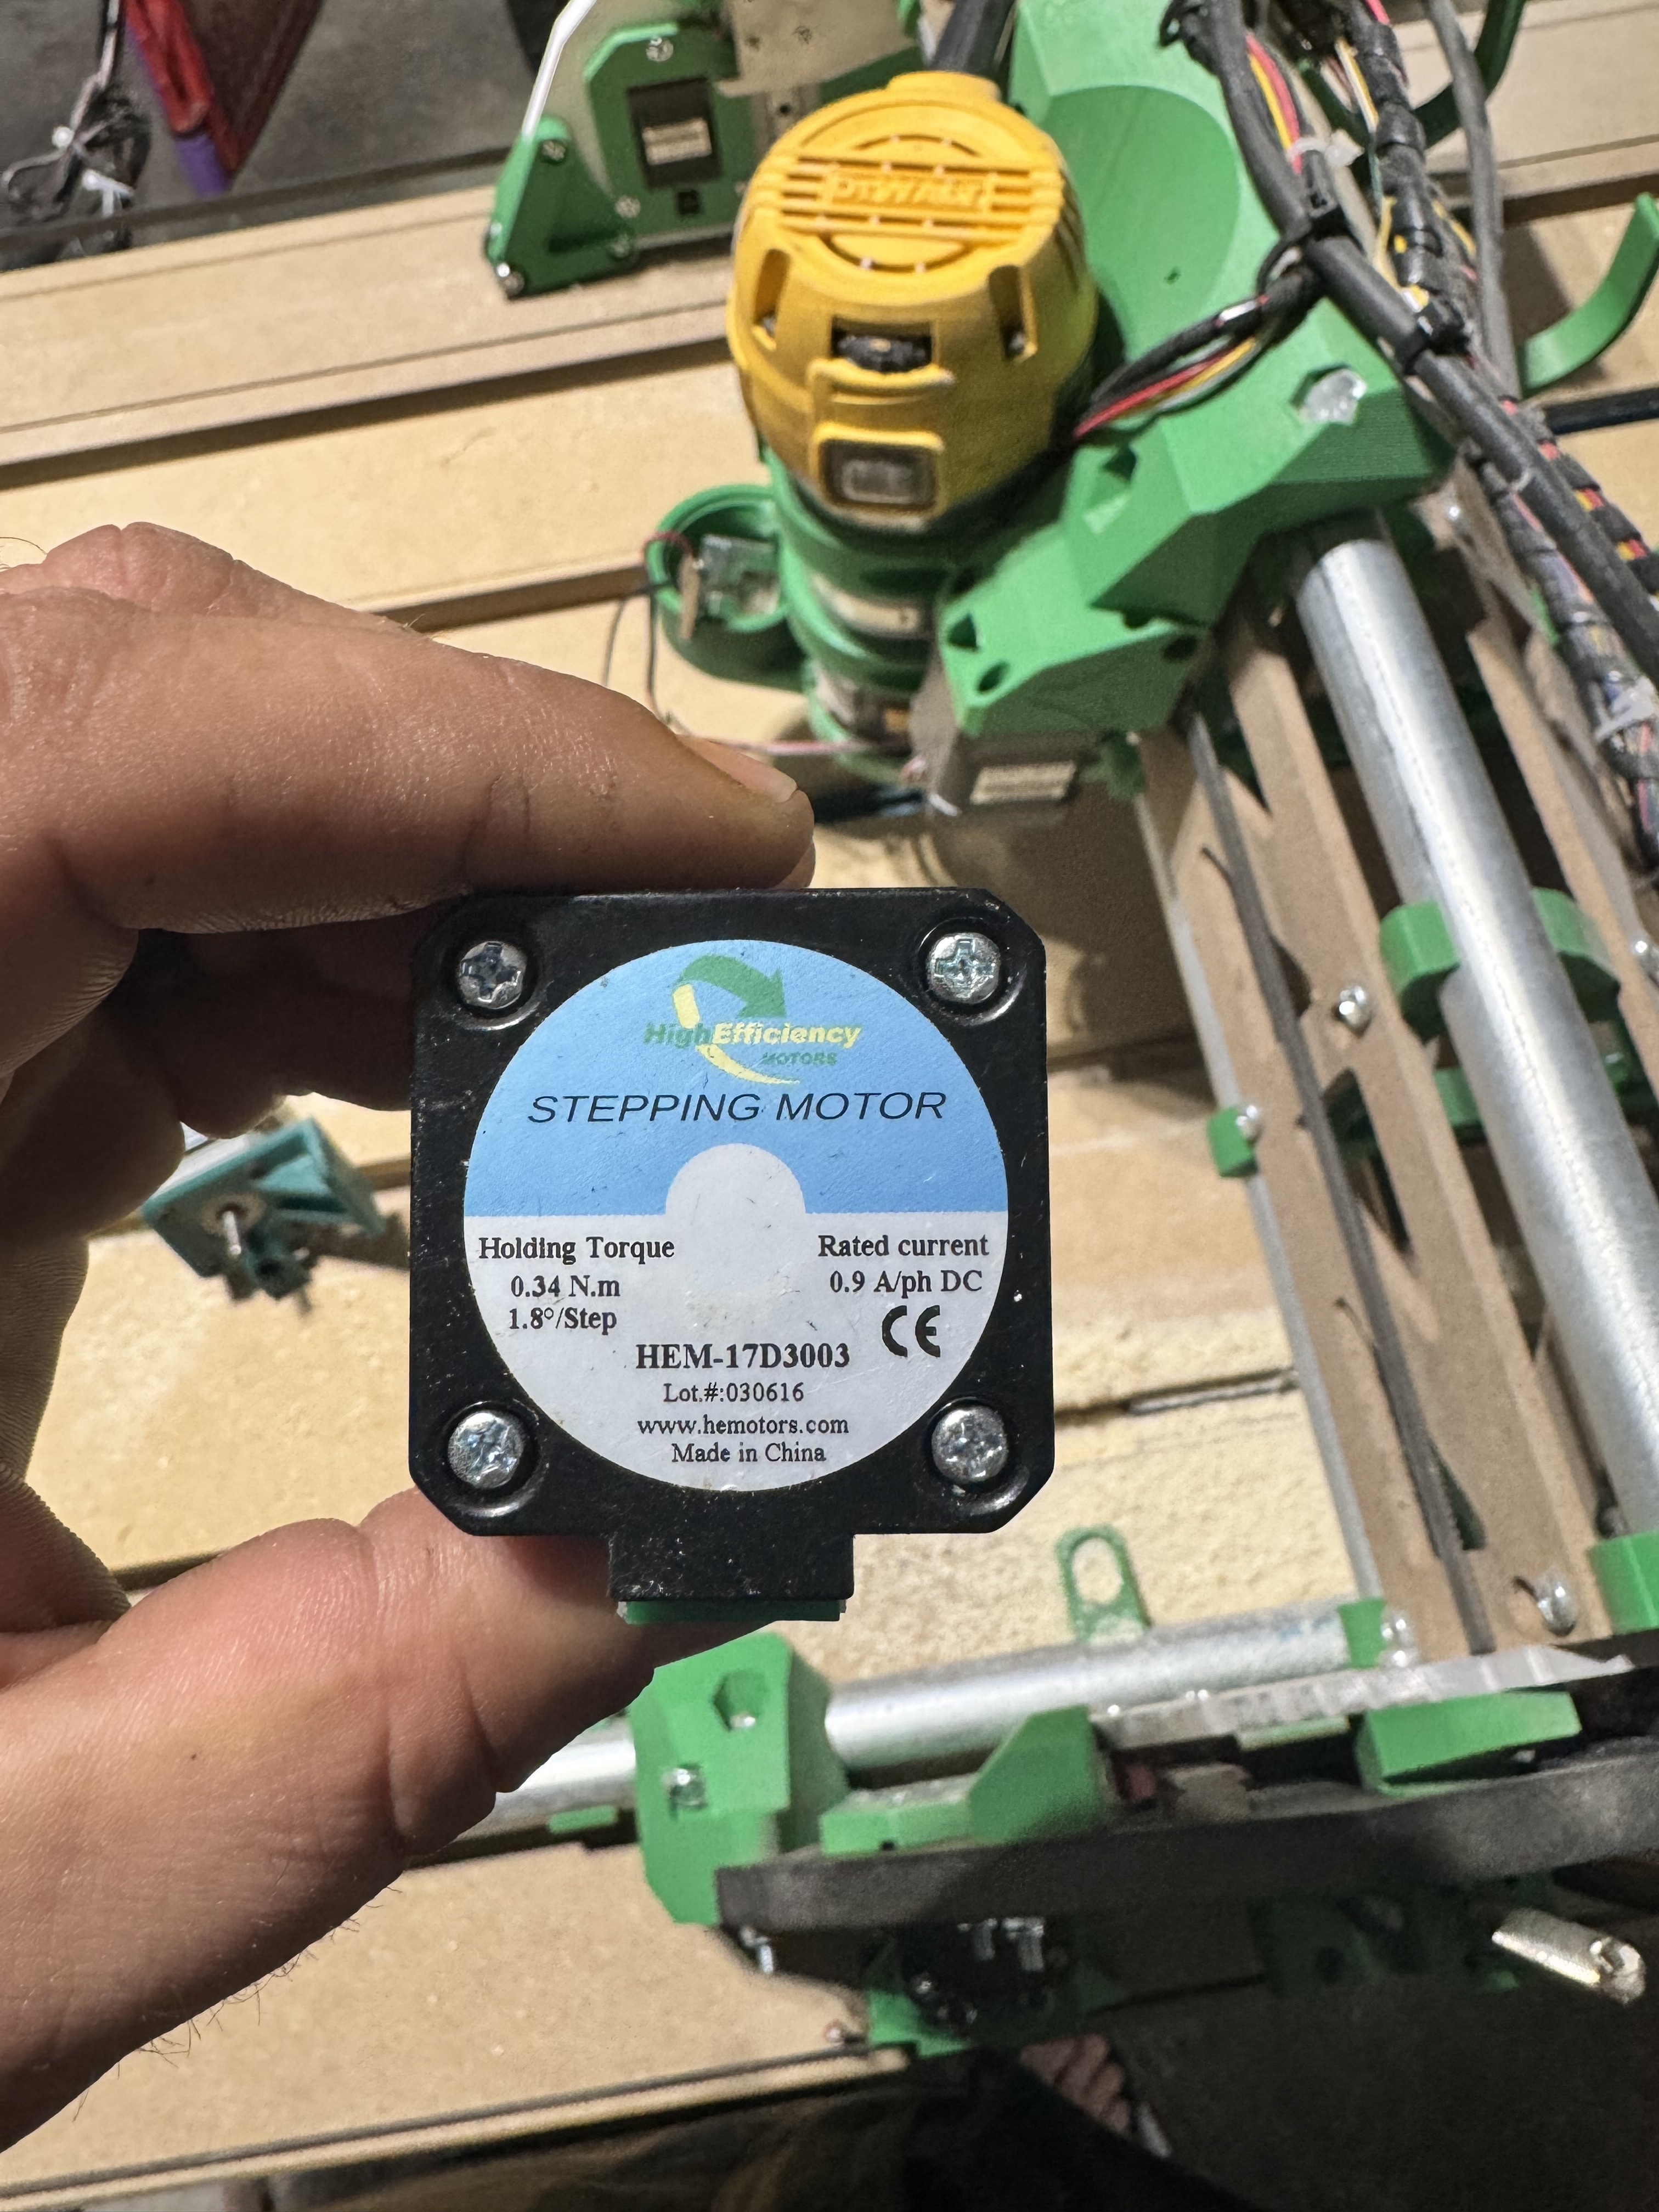
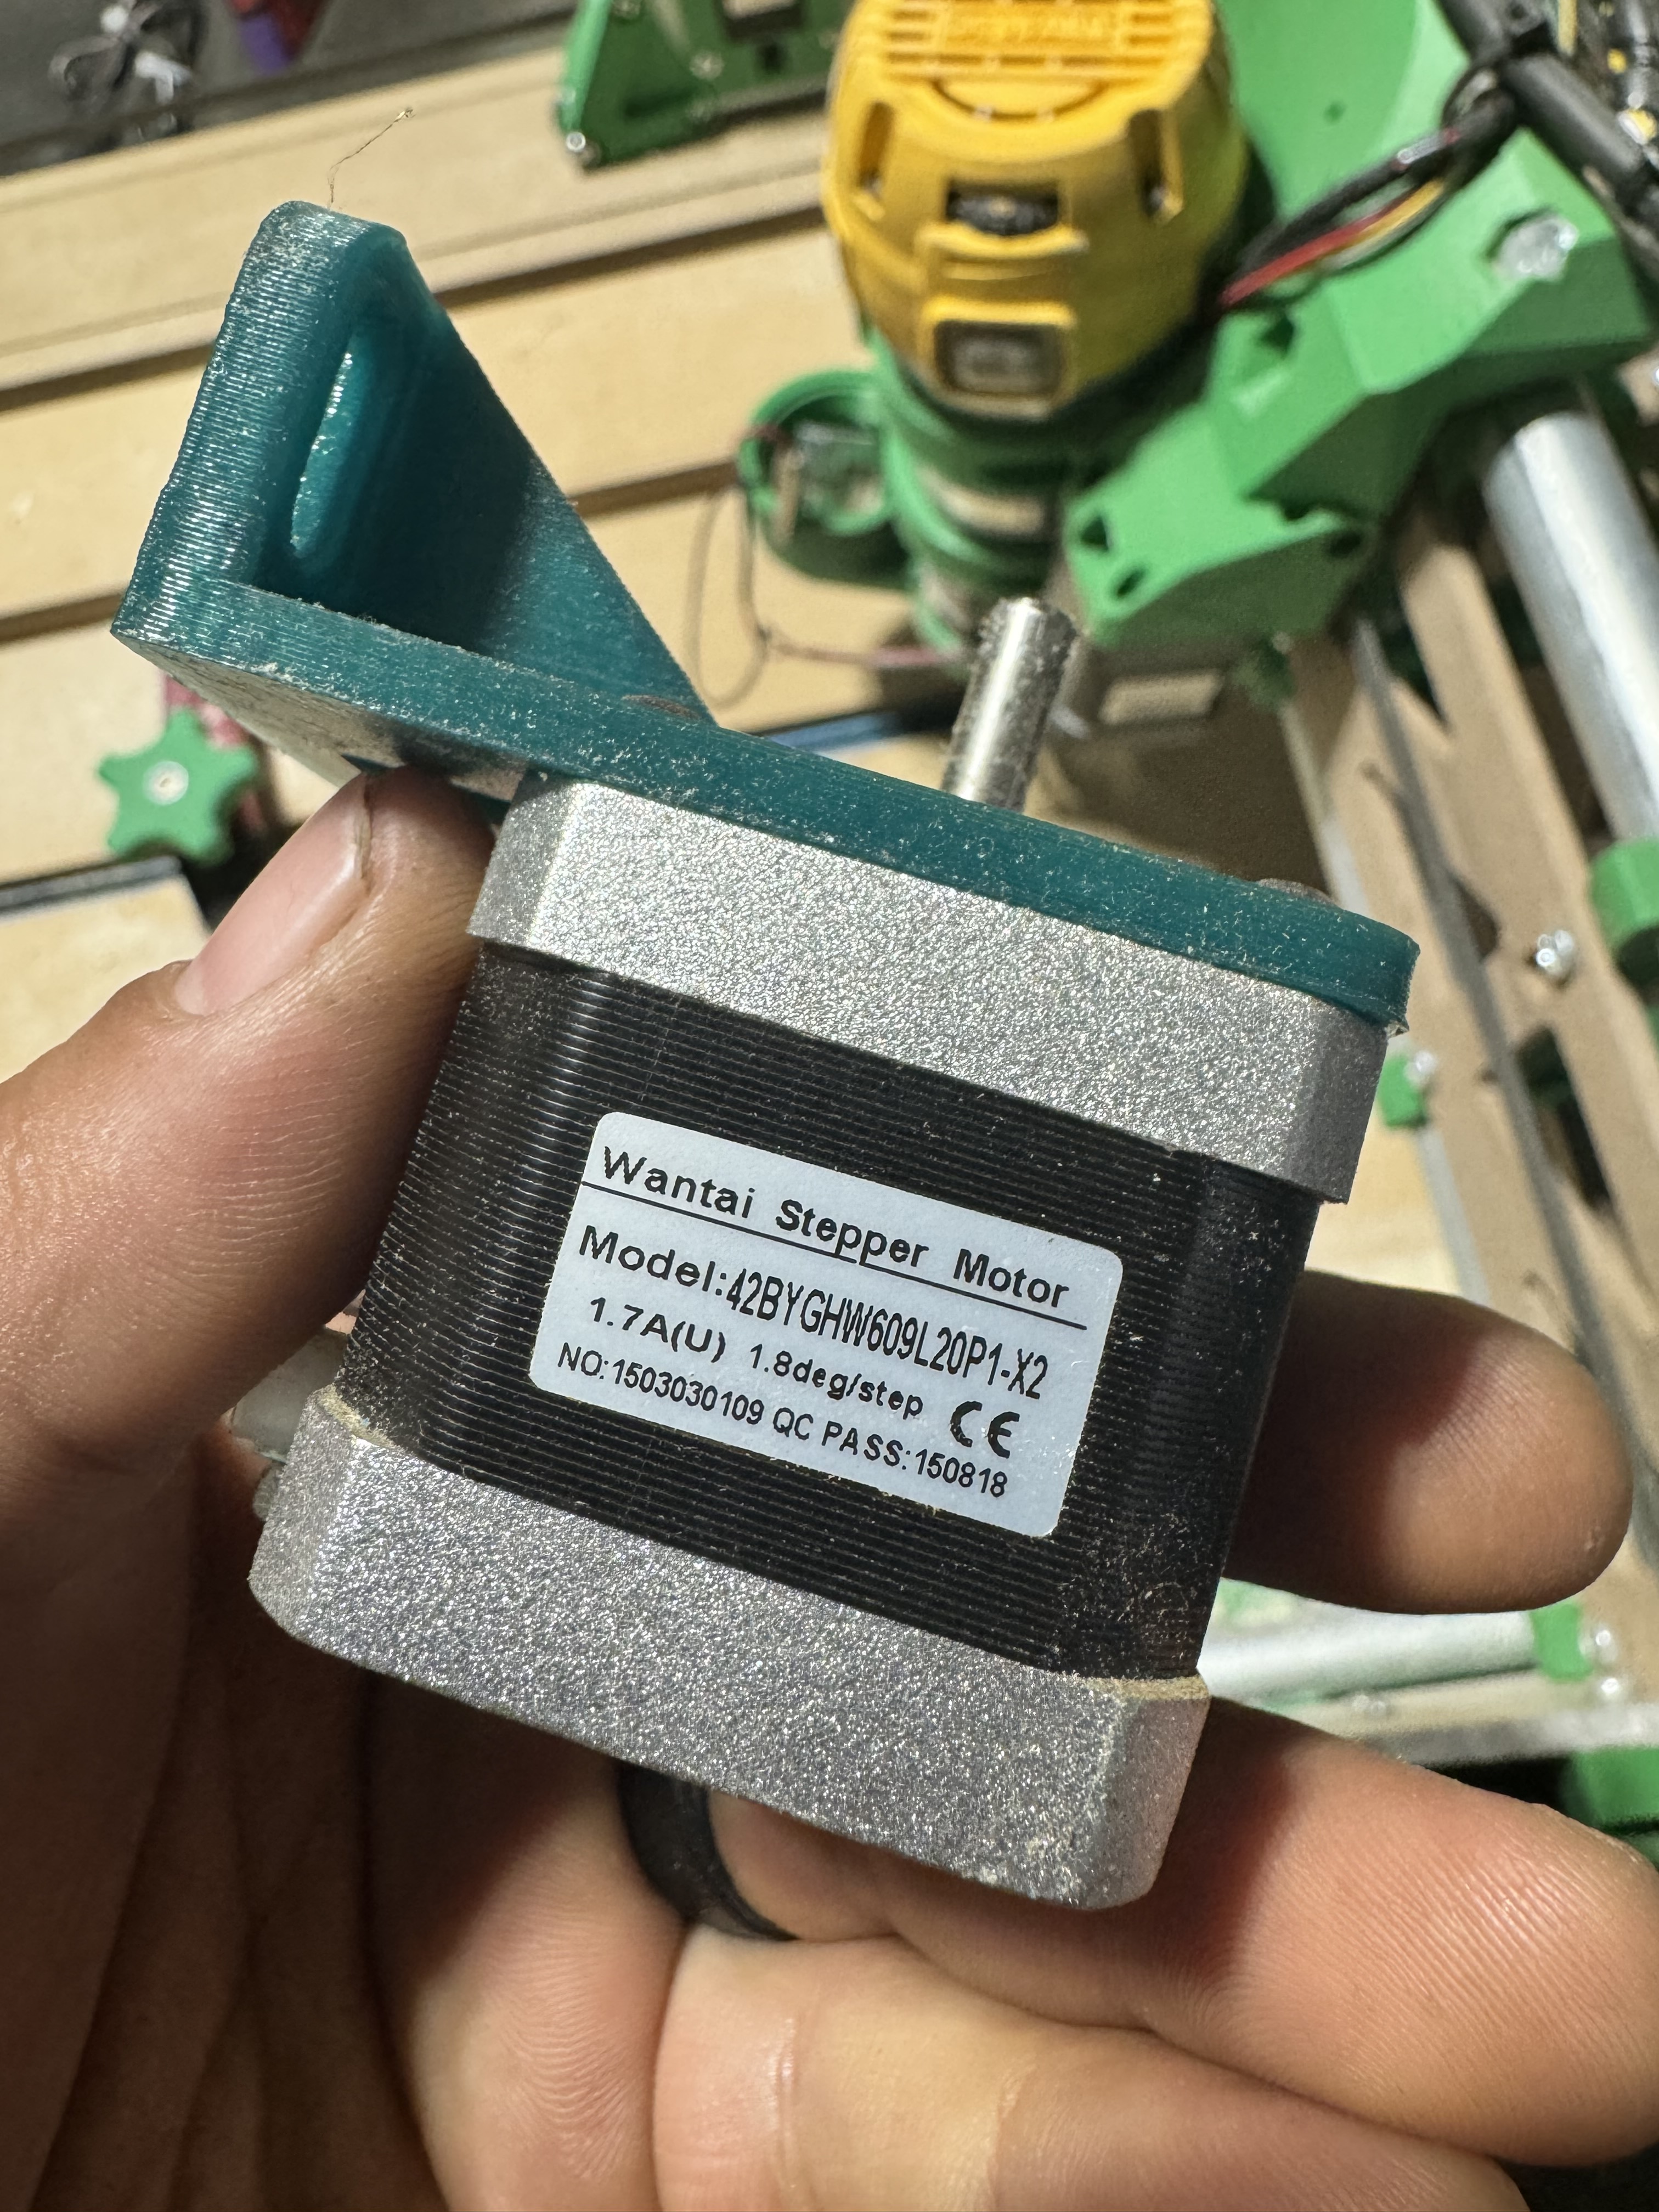
lol. Thanks Ryan. She’s been dealing with a lot with this whole project and has been amazing. Speaking of my projects, and since I have you. I’m thinking of building a MPCNC strictly for laser purposes. I have these spare stepper motors from other printers and projects. Will they work do you think? Or should I just drop $50 on the bigger steppers?
1 Like
A laser does not have any resistance in wood, so I guess it should easily work. Switching them later also only takes a couple of minutes, so it doesn’t hurt to try.
2 Likes
That’s what I was thinking.
3 Likes
Those are 48oz/in. They will work. If you have any issues, lower your accels and increase the overcut/burn.
1 Like
I could use some advice. I’m currently printing the parts for a MPCNC to put a laser on. Then I thought maybe I could just slap a laser on my LR3 that’s set up for CNC routing. I couldn’t find anything on the forum that could answer this. Is it easier to put a laser on my current LR3 with a jackpot and I could seamlessly just use both or would I have a hard time? I was reading and seen you need to change the .yaml file for laser use and I think this would be a pain to change back and forth. Would it just be best to build the MPCNC and use it for a dedicated laser machine? Also do you have an Amazon affiliate link to any lasers you recommend?
Same board either can use a laser just the same.
Super easy, just keep both yamls on teh board and make one change and you are loaded.
I don’t, I have had mine for 5+ years, sure they do not sell them anymore.
1 Like
This seems nice if you already have a way to add air assist (low pressure air, i use a compressor set to super low psi).
I have never used this laser so the Amazon return policy is a good safety net here.
Amazon.com You will still need a power supply.
5.5W is good for etching, minimal slow shallow cutting.
1 Like