I plan on cutting 24" x 24" x 3/8" steel, around 60.5lbs. My CNC has a bed of ~35" x 35" x 6", but the steel has been raised to make the Z axis shorter.
Here’s my current settings, but I haven’t run it yet; Just wanted to check up on the forums to see if there are suggestions.
The endmill I’m using is;
“Square End Mill: 1/4″ Dia, 4 Flutes, 3/4″ LOC, Solid Carbide, 40 ° Helix”
and my Router is a Dewalt DW618, RPM settings ranging from 8,000 to 30,000 I believe.
your plunge speed z axis looks to fast would take something like 0.8 or lower …, 40% could be smaller loos the up down z axis… the 1.400% could be something like 10% maby whit over cut en the second time (passe) the normal precision cut
I use 7% for aluminium 10mm deep. I would not go higher, that’s the value, together with DOC, that is going to strain the endmill the most. Rather start slow and nibble away at it. Heat should not be a problem with trochoidal.
Hello and thank you for the replies.
I did attempt with the settings, but need to go back to the drawing board as the Z axis is not perfectly ridged (the core slightly shifted while printing)
Are there recommended RPMs and endmills? Also, is there anything that should be added to the MPCNC in order to better sustain cutting steel? I’'d like this to be as beefy as possible, as I need it to fabricate many pieces for project cars of mine.
Thank you very much.
You are using a large diameter endmill with a lot of flutes. It is going to be hard to get your router to run slow enough.
It would be better if you got a 1-2 flute. I think that would be an easier starting point…but it is steel your settings need to be perfect. Have you milled plastic or aluminum yet? Those skills will transfer to your steel attempts.
Turns out, my “Core J Primo V1” had a slight layer shift at the end (originally printed on a IdeaFormer IR3, so it was prone to layer shift the taller the print was), causing the top half of the “Core Z Clamp” to be pushed forward; imperfectly holding the Z axis allowing for wiggle room.
For the Core, its better to use a traditional 90° printer !!
Regardless, I figured that the Core needs to be perfect, and now there’s little to no play room.
Will update on the steel cutting progress when I get it running.
Ordered 2 flute 1/8 in endmills, waiting for the 1/8 in Collet because it’s not standard for the Dewalt DW618 to run such small endmills.
What RPM is suggested for this?
Do I change my Estlcam settings (obviously including the new endmill), what would be suggested?
The number of flutes has nothing to do with cutting speed. It is only important for feedrate. To calculate rpm: cuttingspeed in mm divided by diameter mill times 3,14
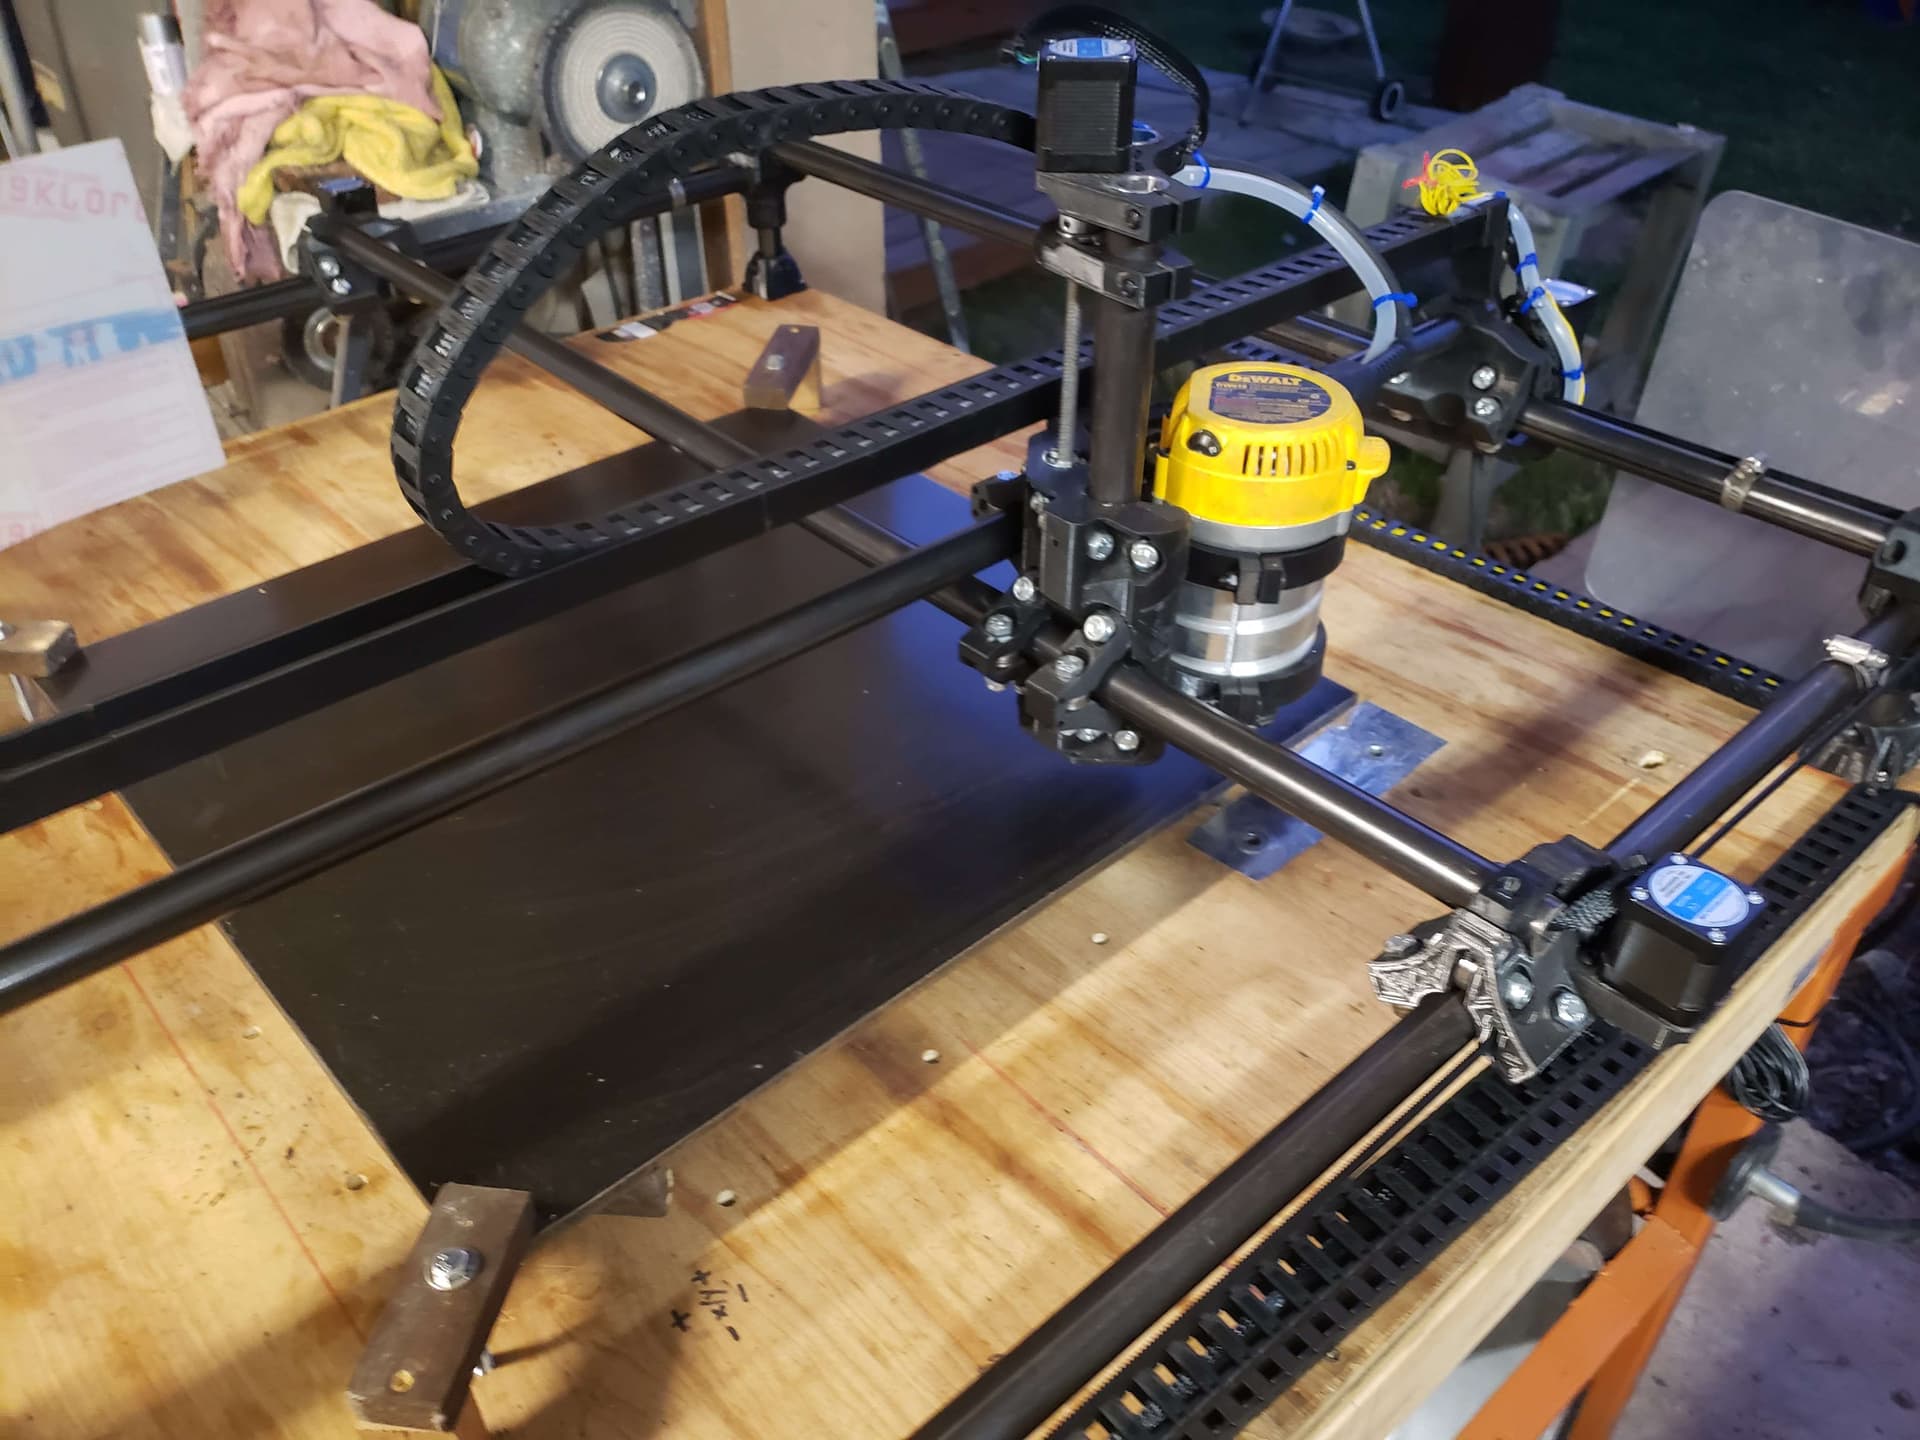
There are very large forces with cutting steel and looking at the foto in your post, I think your base is not stable enough. The Dewalt is not the problem your axis are…
It matters with cutting load. The larger the diameter, the faster the cutting edge is moving at a given RPM. The more teeth you have, the faster you need to move to keep the minimum chip load per tooth satisfied (another way to say that is the higher the load the machine will see).
Thank you for the replies everyone.
This is so much more of a challenge than I anticipated, should’ve just invested the large sums of cash for the specialized CNC machines lol.
I swapped to a 1/8 in endmill, my options regarding those are-
88247549 - Square End Mill: 1/8″ Dia, 2 Flutes, 1/4″ LOC, Solid Carbide, 30 ° Helix
07764533 - Square End Mill: 1/8″ Dia, 2 Flutes, 1/2″ LOC, Solid Carbide, 40 ° Helix
I tried the Estlcam settings from the youtube video “Steel, yes, Steel! Mostly Printed CNC -MPCNC -”, but it seemed to be too fast? I’m not too sure.
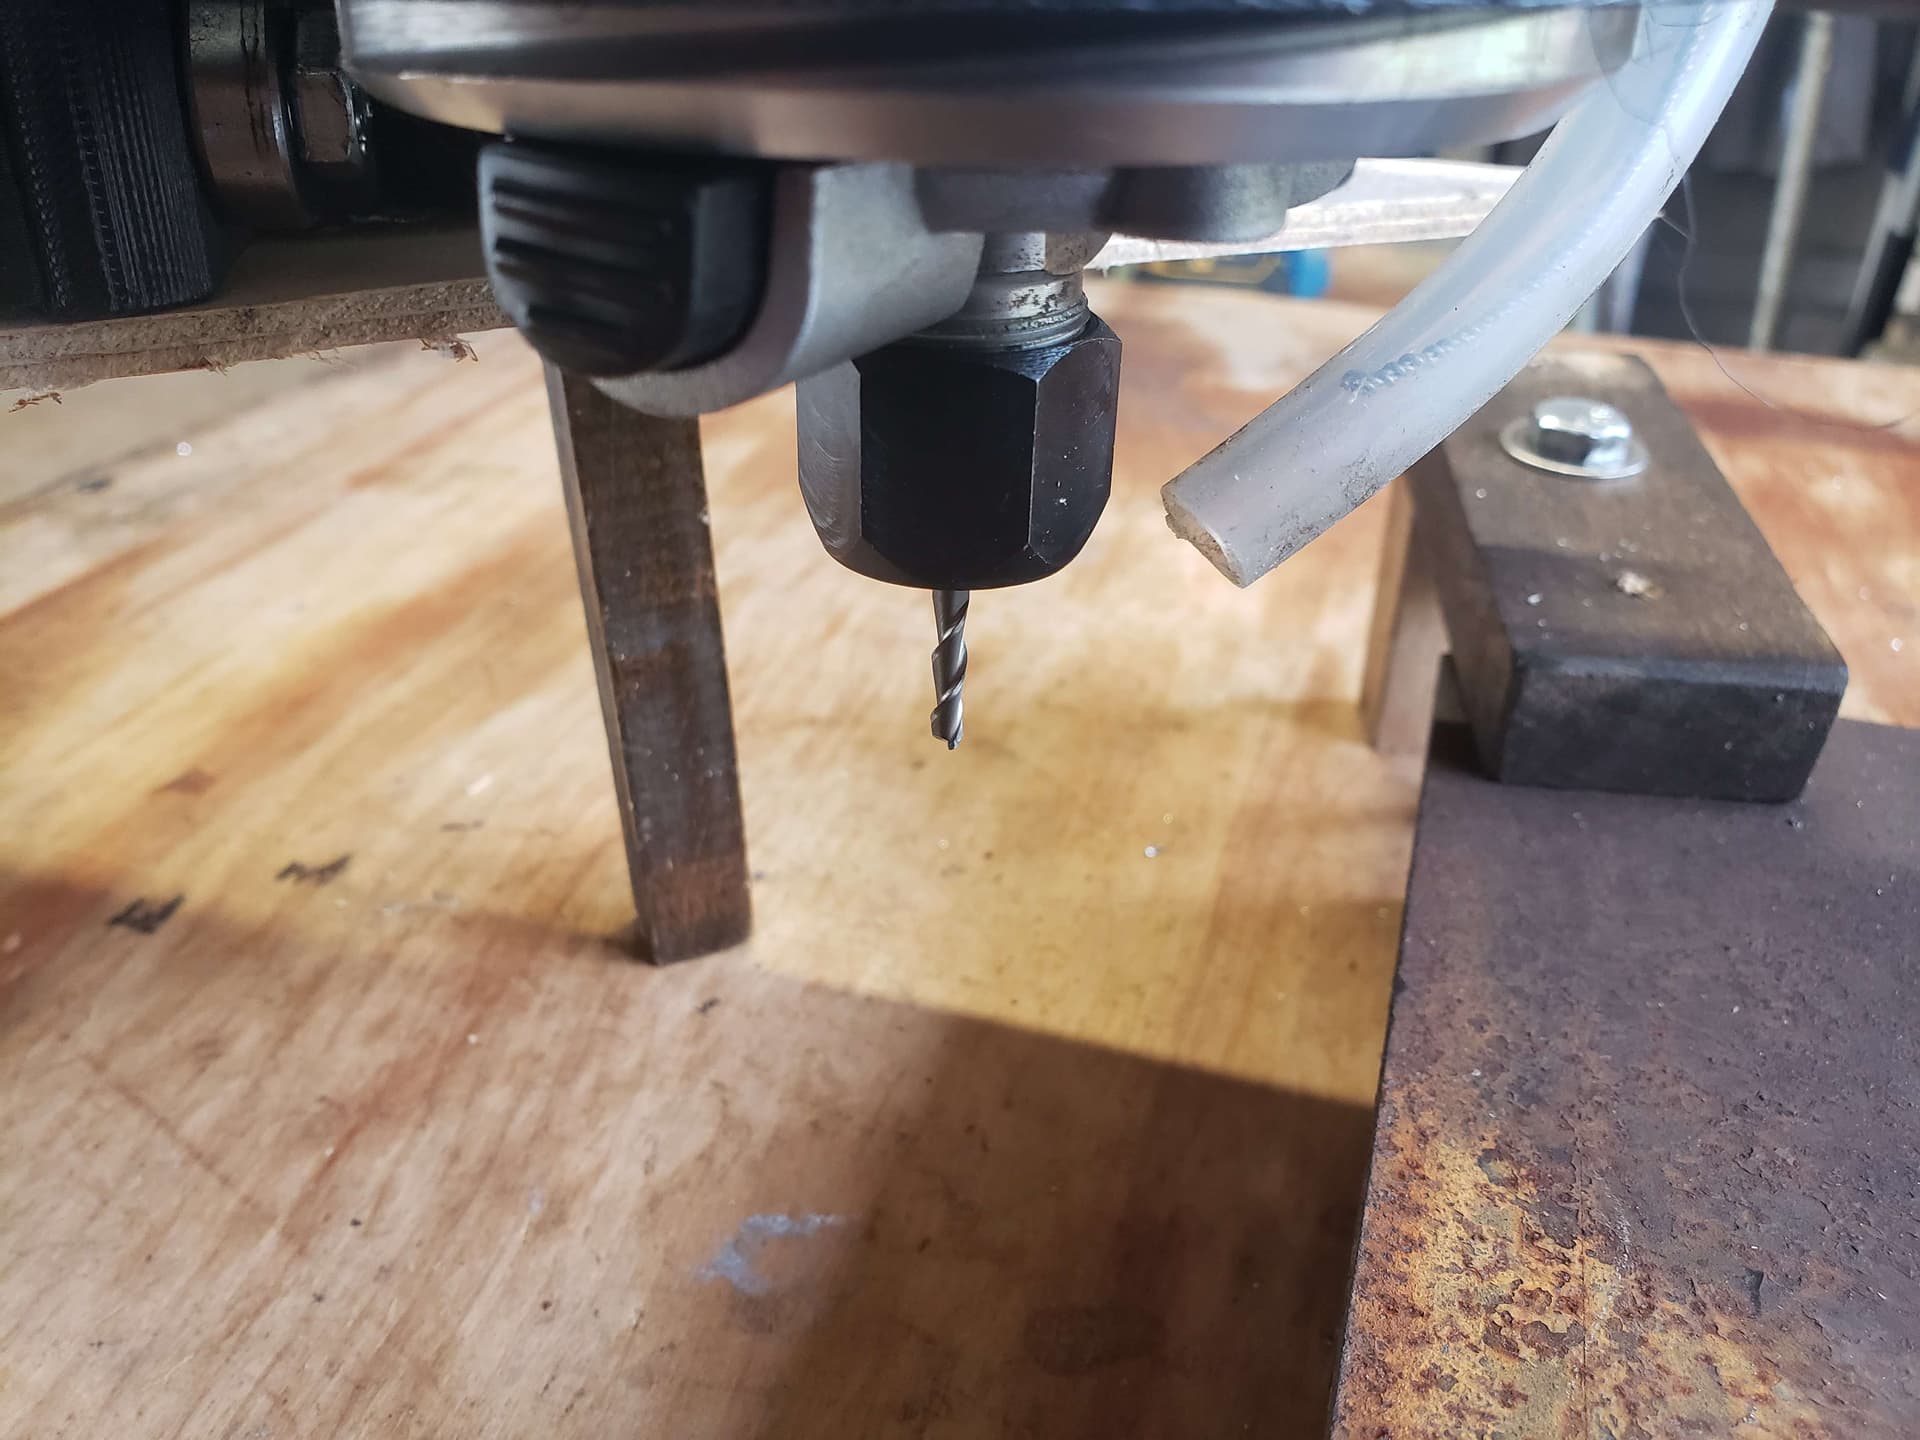
The Z axis is pretty damn stable, the entire table moves relative to me moving the bit.
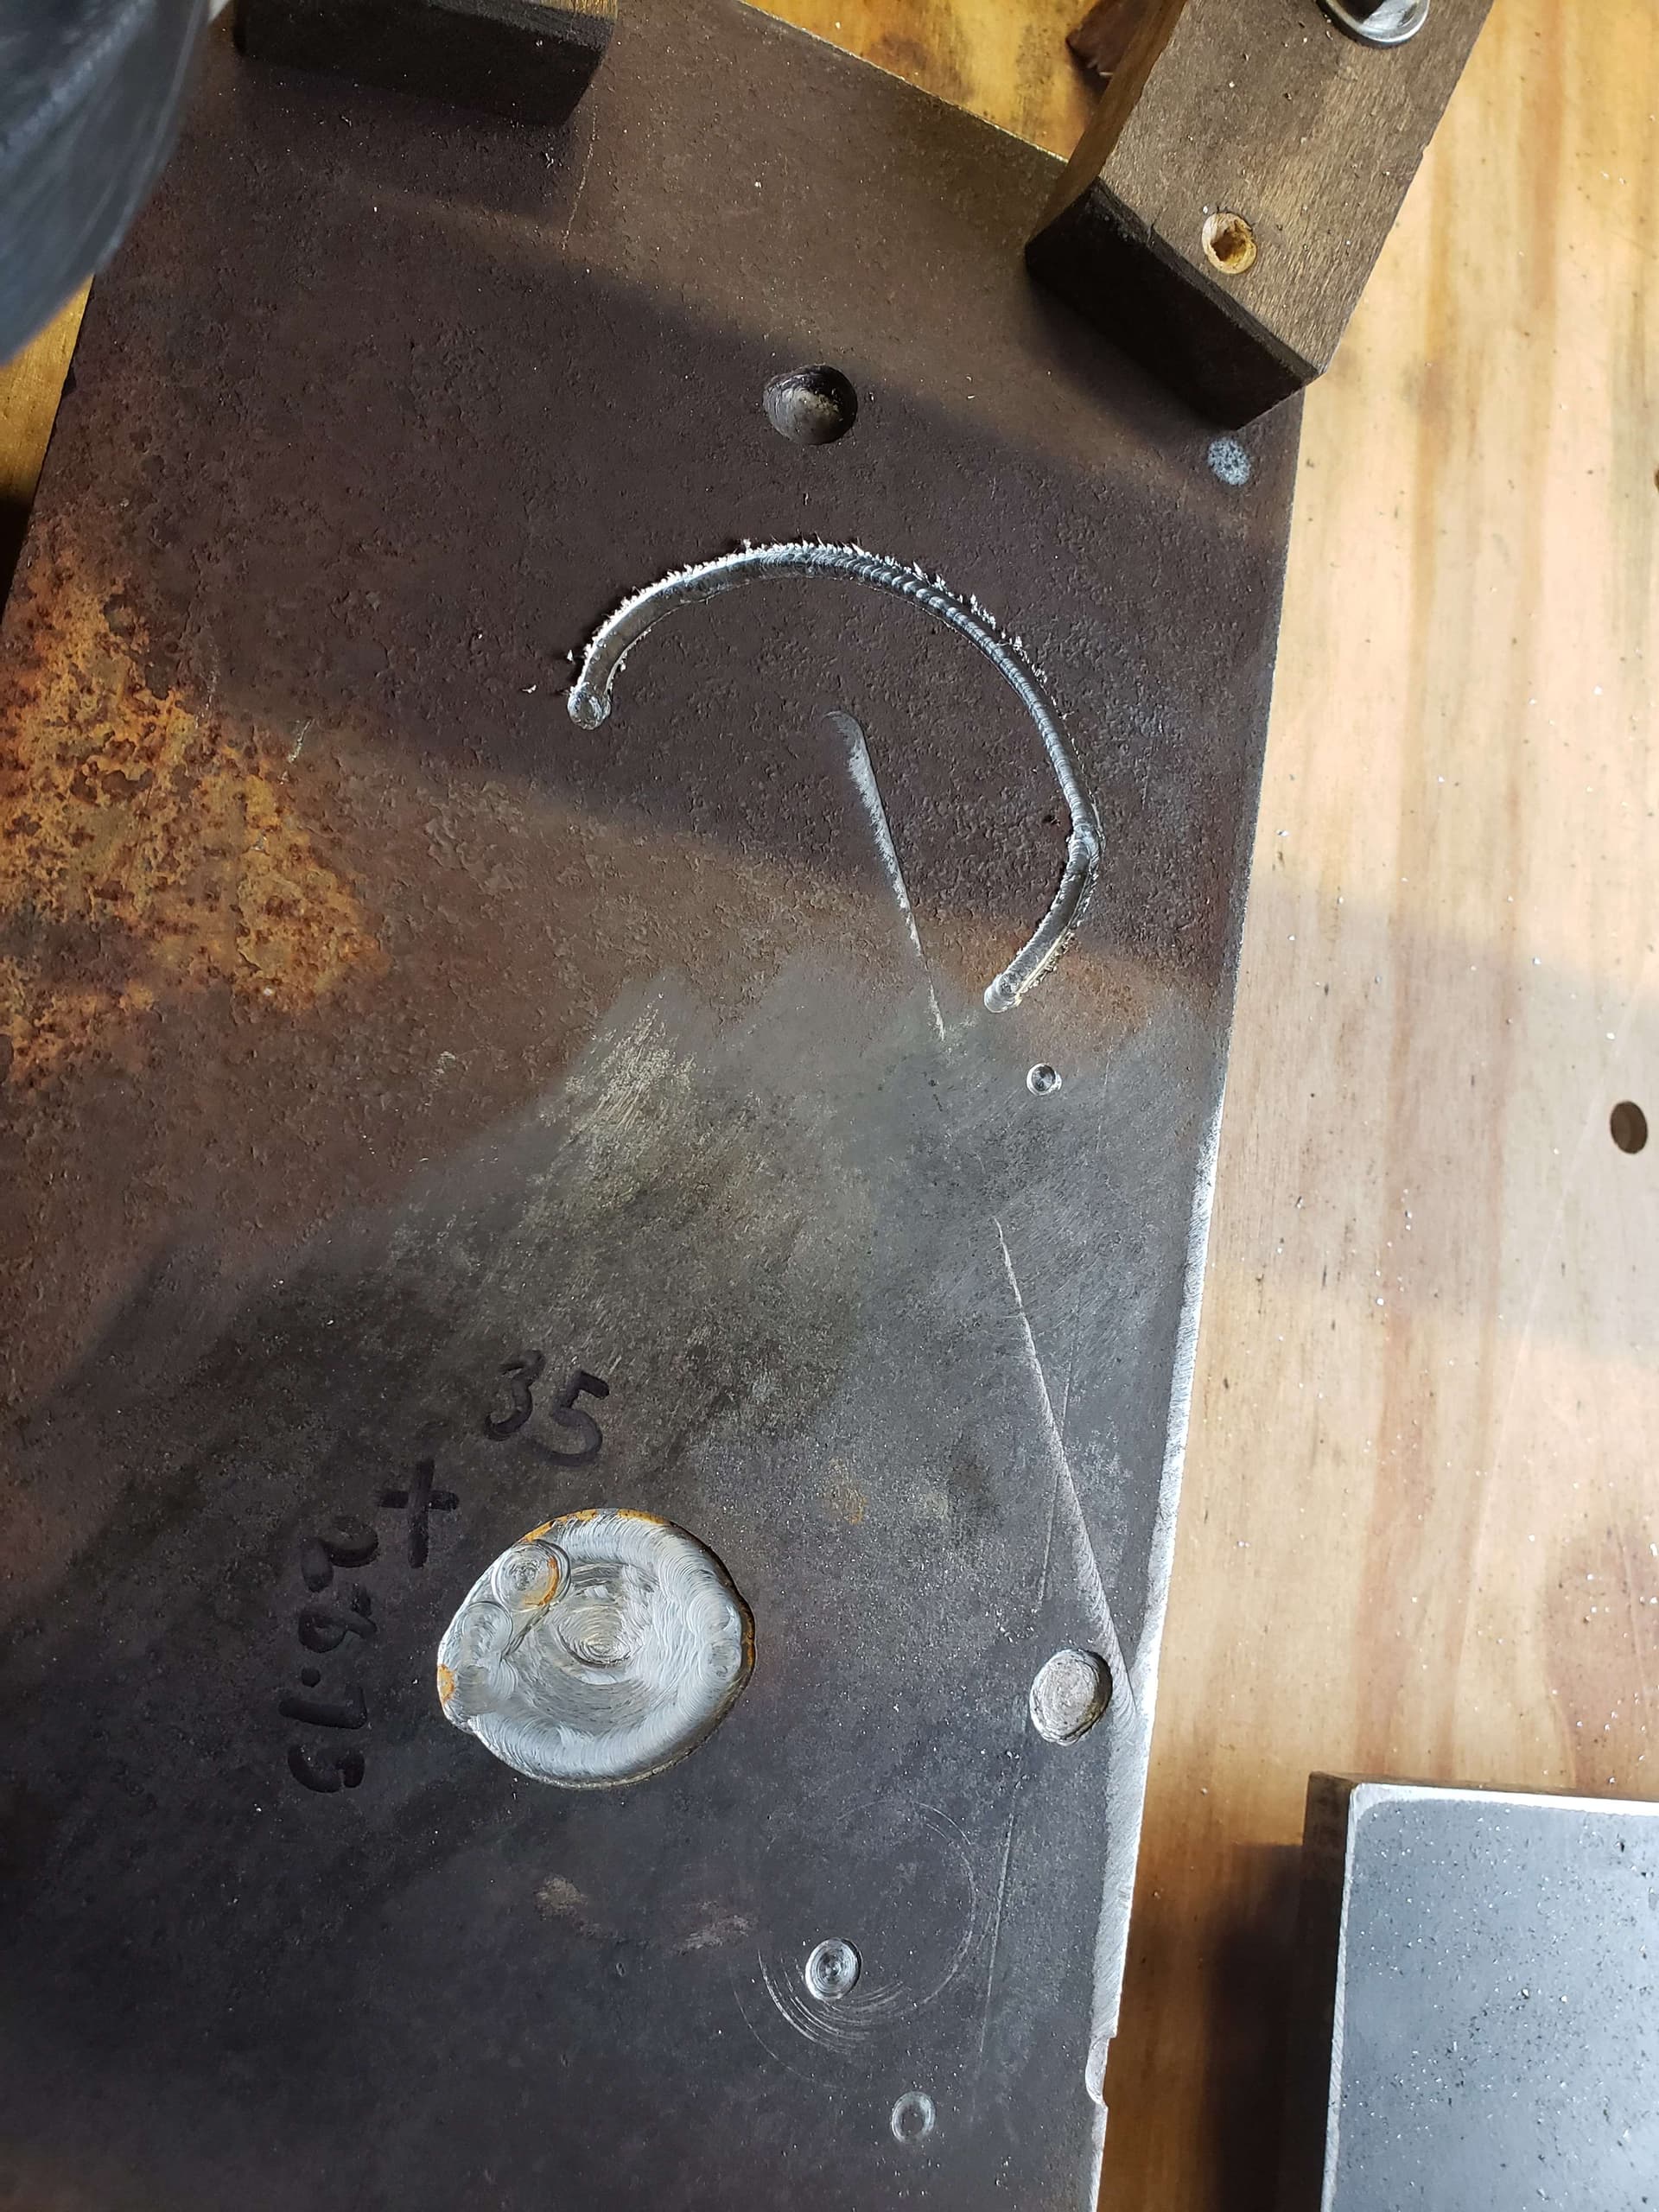
Despite this, These were both supposed to be circles.
are you using Trochoidal Milling? (literally had to open Estlcam to spell that right LOL) it doesn’t look like you are. @Tokoloshe is the man when it comes to those settings! He led me on the right path for aluminum for sure. That will take a lot of stress off the machine. Looks like you were skipping steps badly
Steel is extremely unforgiving. I highly suggest getting to know what your machine sounds and looks like cutting slightly easier materials first. I have not cut steel since that video.
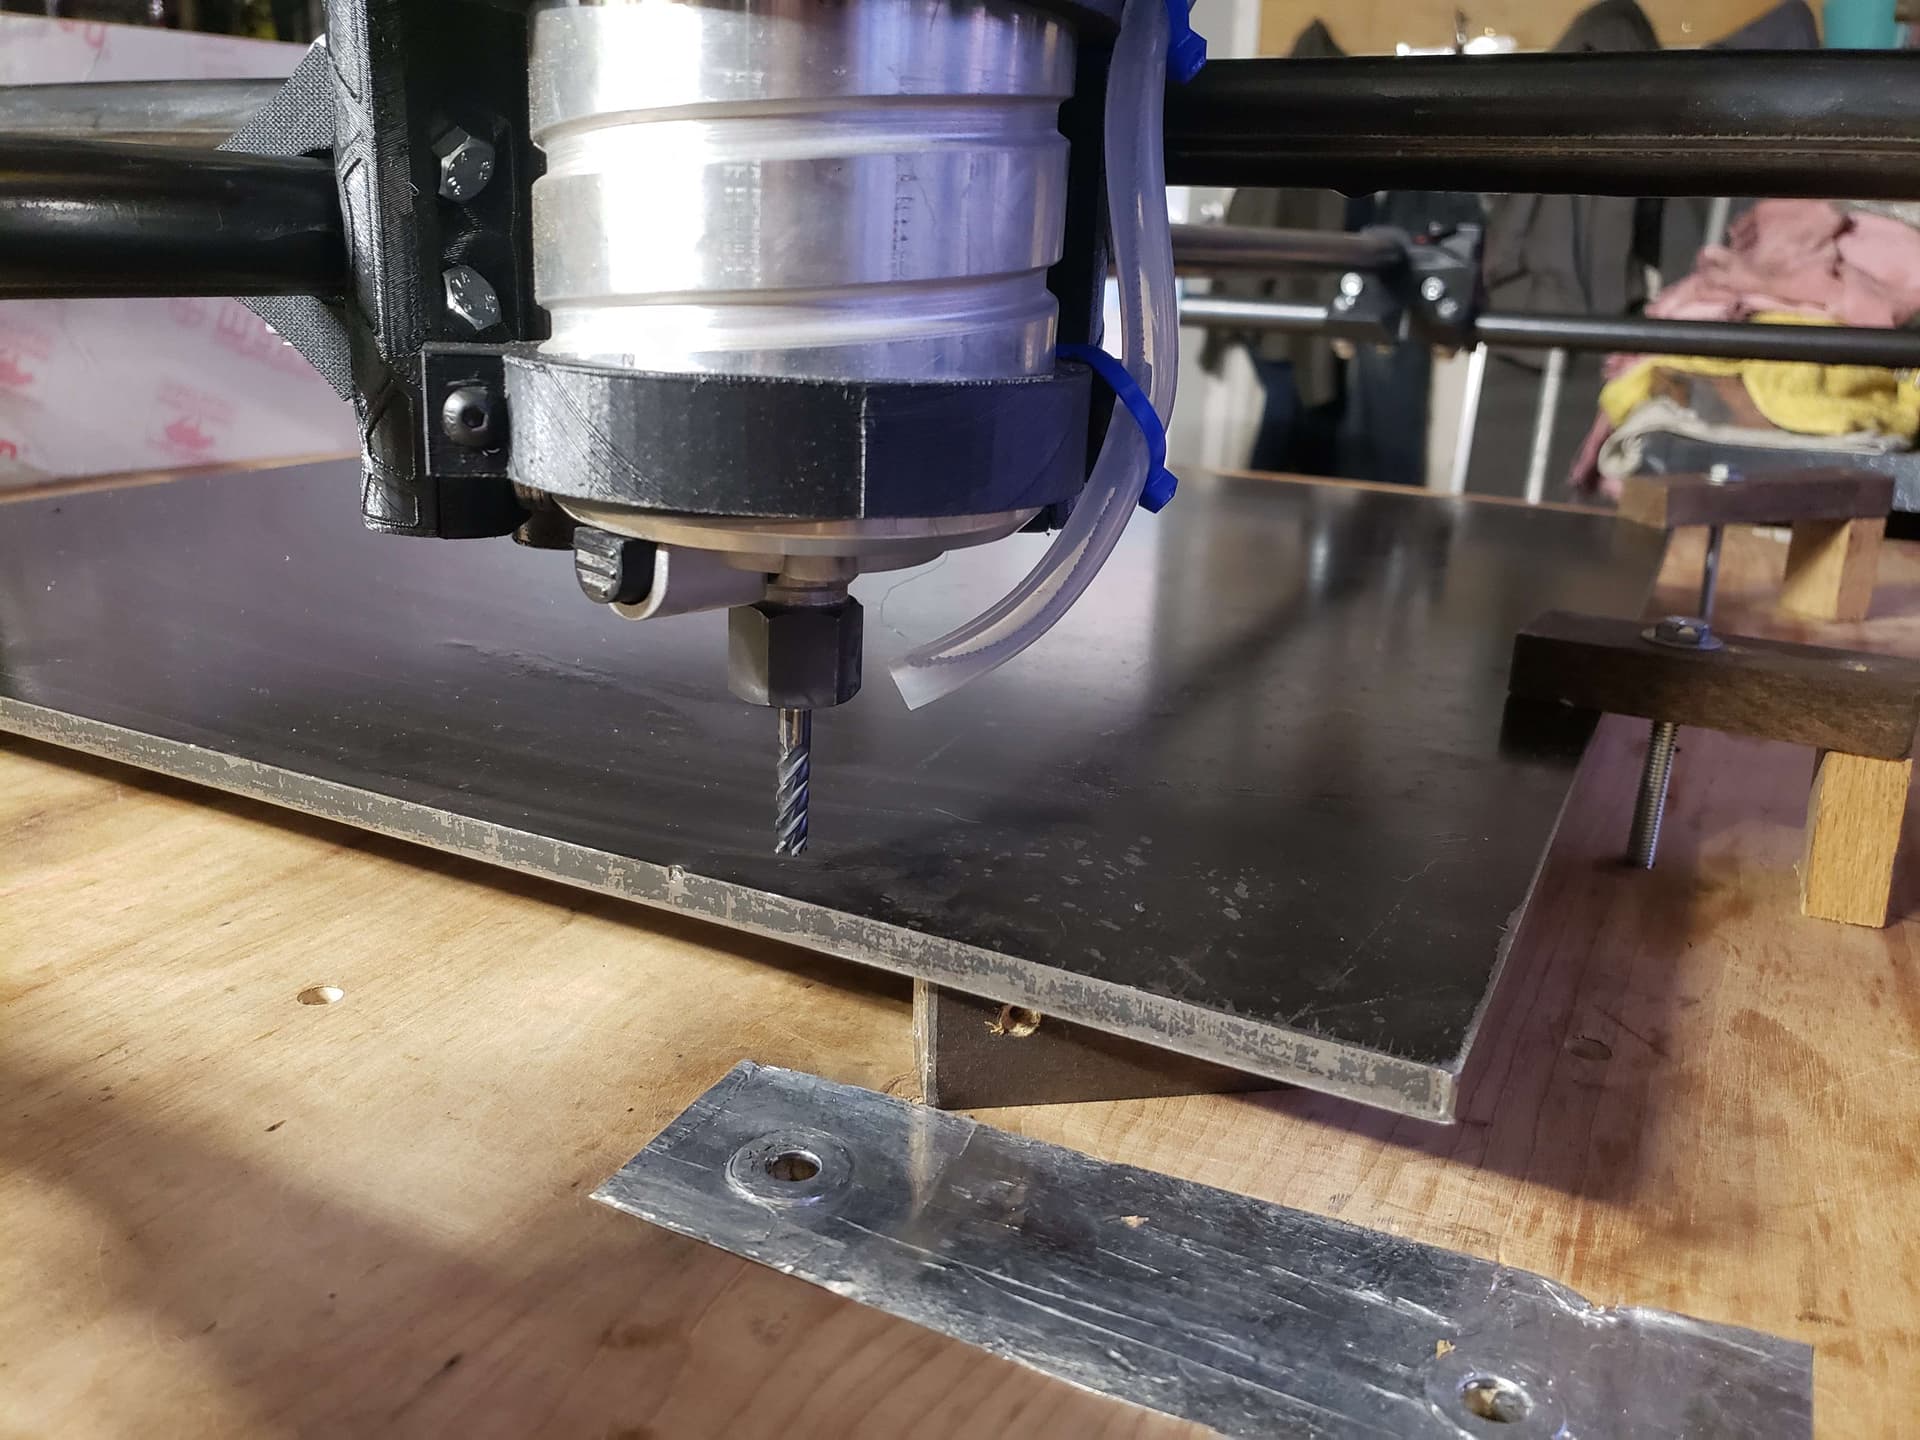
If you insist on learning on the steel I suggest at least starting from off the edge and coming into it. Plunging is the hardest part.
What you are doing in the last picture there is called slotting (the absolute largest load you can put on a cutter), and also the hardest way to cut. Trichodial is your best option (you can precisely control the cutter load), if you get that dialed in you can try to figure out slotting.With trichodial you decrease the load to as low as you need.
as I expected:. not the router but the axis stability is the problem.
It helps a bit to place your object as close as possible at a corner of your machine en make the bracket that holds your router stronger. I mean thicker and higher with 4 or 6 screws instead of 2
The router is held with 4 screws, you just can not see the top ones, the router is also held as high as possible and the endmill is choked up as far as it can go. All of this is as good as it gets. The material can be moved up a bit to help but the parts you are worried about are dialed in.
It is a very large build (bigger is less rigid), with a big router (larger lever arm for less rgidity), and a little taller than it has to be (the most compounded axis length) . Those are all working against you a bit here but not complete show stoppers.
If you are still using those trichodial settings (doesn’t look like it from the picture I see a plunge and a slot), you should be, I would get rid of the z movement, and bump the width to 50% to give a bit more time and space between cuts.
I don’t blame you for the spelling, it is a funky word, lol.
I thought I was ! but sure enough, I’m not. I think the main concern is the plunging rate, but that’s definitely the next biggest step.
I would love to work with other materials first, but I’m currently strapped in that when I run this thing, it has to be cutting steel. I’ll play with the plunging, would doing something wildly small work best for the plunge rate?
Basically, it’s best to dial basically everything back in Estlcam?
Will definitely try to get the piece as close as possible, but the final metal is 24"x24"x3/8", around 60 lbs so it is scary to do so.
Yes i think so. Your Z Plunge Rate should probably be .5 or less. Maybe even .2 until you get it going and cutting correctly to see what can and cant be changed. Slow is going to be your friend here. and like Ryan said put the Trochoidal settings on. I would probably start with: