It must be a brace spacing thing. In the instructions, I will have people remove the YZ Min assembly like Jeff then.
It’s actually pretty quick to loosen belt, raise gantry, slide upper tube to the side, and remove core.
I gave up trying to slide the strut plates in place behind the core. Some amount of partial disassembly is necessary and taking off the core is pretty easy.
I somehow missed when that truck was posted about the first time. If I have to do it again this will for sure be my method I think. Sliding behind just doesn’t work with the wings
I have posted it twice now, with pictures in the beta thread. ![]()
I know. But the first time I saw it was after I was already here at work ![]()
Hello All, Happy Sunday!!
I Know, I Know, I’m definitely picking pepper out of fly shit with this one, BUT I HATE excess wire…it plays with my OCD!
I can’t readily source Harwin crimps, can anyone tell me why Dupont crimps wouldn’t be more than adequate for the nema 17 steppers?
I’m ready to just pull the trigger and order a bunch of 2.54 and JST’s (which I use all the time for theatre lighting installs)
Thanks for indulging my OCD. ![]()
Which control board are you using?
Jackpot
With a jackpot regular Dupont connectors will work just fine. Same ones that are on the end of the extension cables. Those are not the same as JST
I think 80% of us use Duponts. ![]()
Thanks! yes I know, The kit comes with both and I have another use for the JST’s so the combination of ends would not be a waste for me. (The Harwin’s just have a better rating, it’s like Neutrik’s in the AV world)
Good Evening!
Time for another silly Q.,
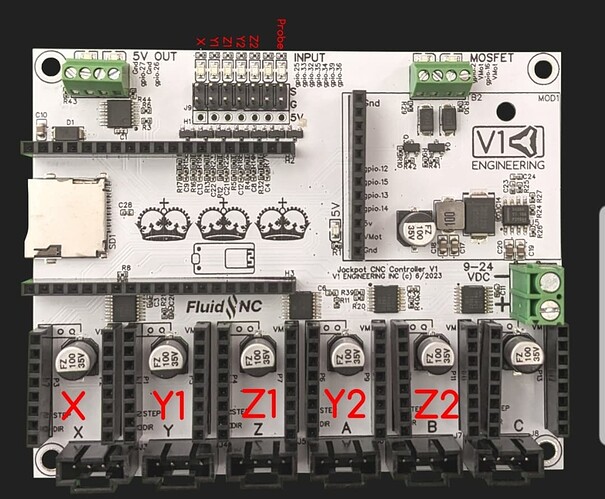
Is the Max (right) Side Y1 & Z1? or Y0 &Z0
Thanks!
Looking at the front (router side) of the beam, normally Y0/Z0 are on the left and Y1/Z1 on the right. I recently learned you can do it the other way as well. What matters is that the endstops are associated with the correct motors.
Exactly what @jeyeager said. It can be either side, usually Y0/Z0 is the side you have the control board on, and Y1/Z1 are the side you have the extensions on. But what really matters is that whichever side you put on 0, the endstop for that same side also goes on 0! If you get those backwards you will know real quick the first time you go to home the machine ![]()
Image/doc update needed to make naming consistent with FluidNC config being 0 based, instead of 1 based that’d be more intuitive for non coders?
Jackpot CNC Controller - V1 Engineering Documentation
That seems like a good idea.
I have no idea what that means, so “ more intuitive” is good! ![]()
What is the length for the limit switch cables ? Is there any recommended formulas based on the calculator values ?
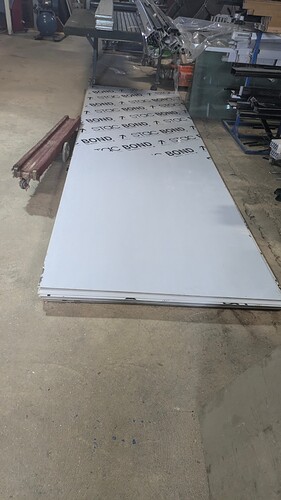
@vicious1 do you think the Lr4 could be made to accommodate 1.5m x 5mts sheets reliable, because these are pricey acm sheets (750usd)
For reference, we could properly restrain/support a (mostly) grown fraternity brother (admittedly on the smallish size) to a wall using less than a full roll of duct tape. This was fully suspended, feet off the floor. He was only on greeting duty for about 30 minutes before he got taken down and allowed to rejoin the party… He took it with considerable good humor and grace.
For context, this was in the Ark-La-Tex area of the southern US, and he was of the wispy, effeminate southern man stereotype. We probably couldn’t have done it with some of the backwoods/farmboy brothers (who could mass two to three times as much as he did, and tended to be a bit more… grumpy when in their cups).

