I have a several year old and worn out 3018 that I have used to make quite a few bits and bobs which I’ve decided to graduate from. I want to build something bigger for making cabinetry but have decided to hold off on that while everything is so damn expensive. I have all the parts of a Tevo Tarantula 3d printer and there’s quite a lot of crossover between it and what I need for a Primo so I ordered the parts I don’t have from the shop and am going to go grab some steel this week and start printing. I’m planning a 500x500mm work area so that it still fits nicely on my workbench but gives me a more reasonable work area. Spindle will be a Makita trim router which I already have. I’m hoping this will be a relatively cheap build.
Can’t wait to see how this comes out. I’ll post follow ups here as I have something to share.
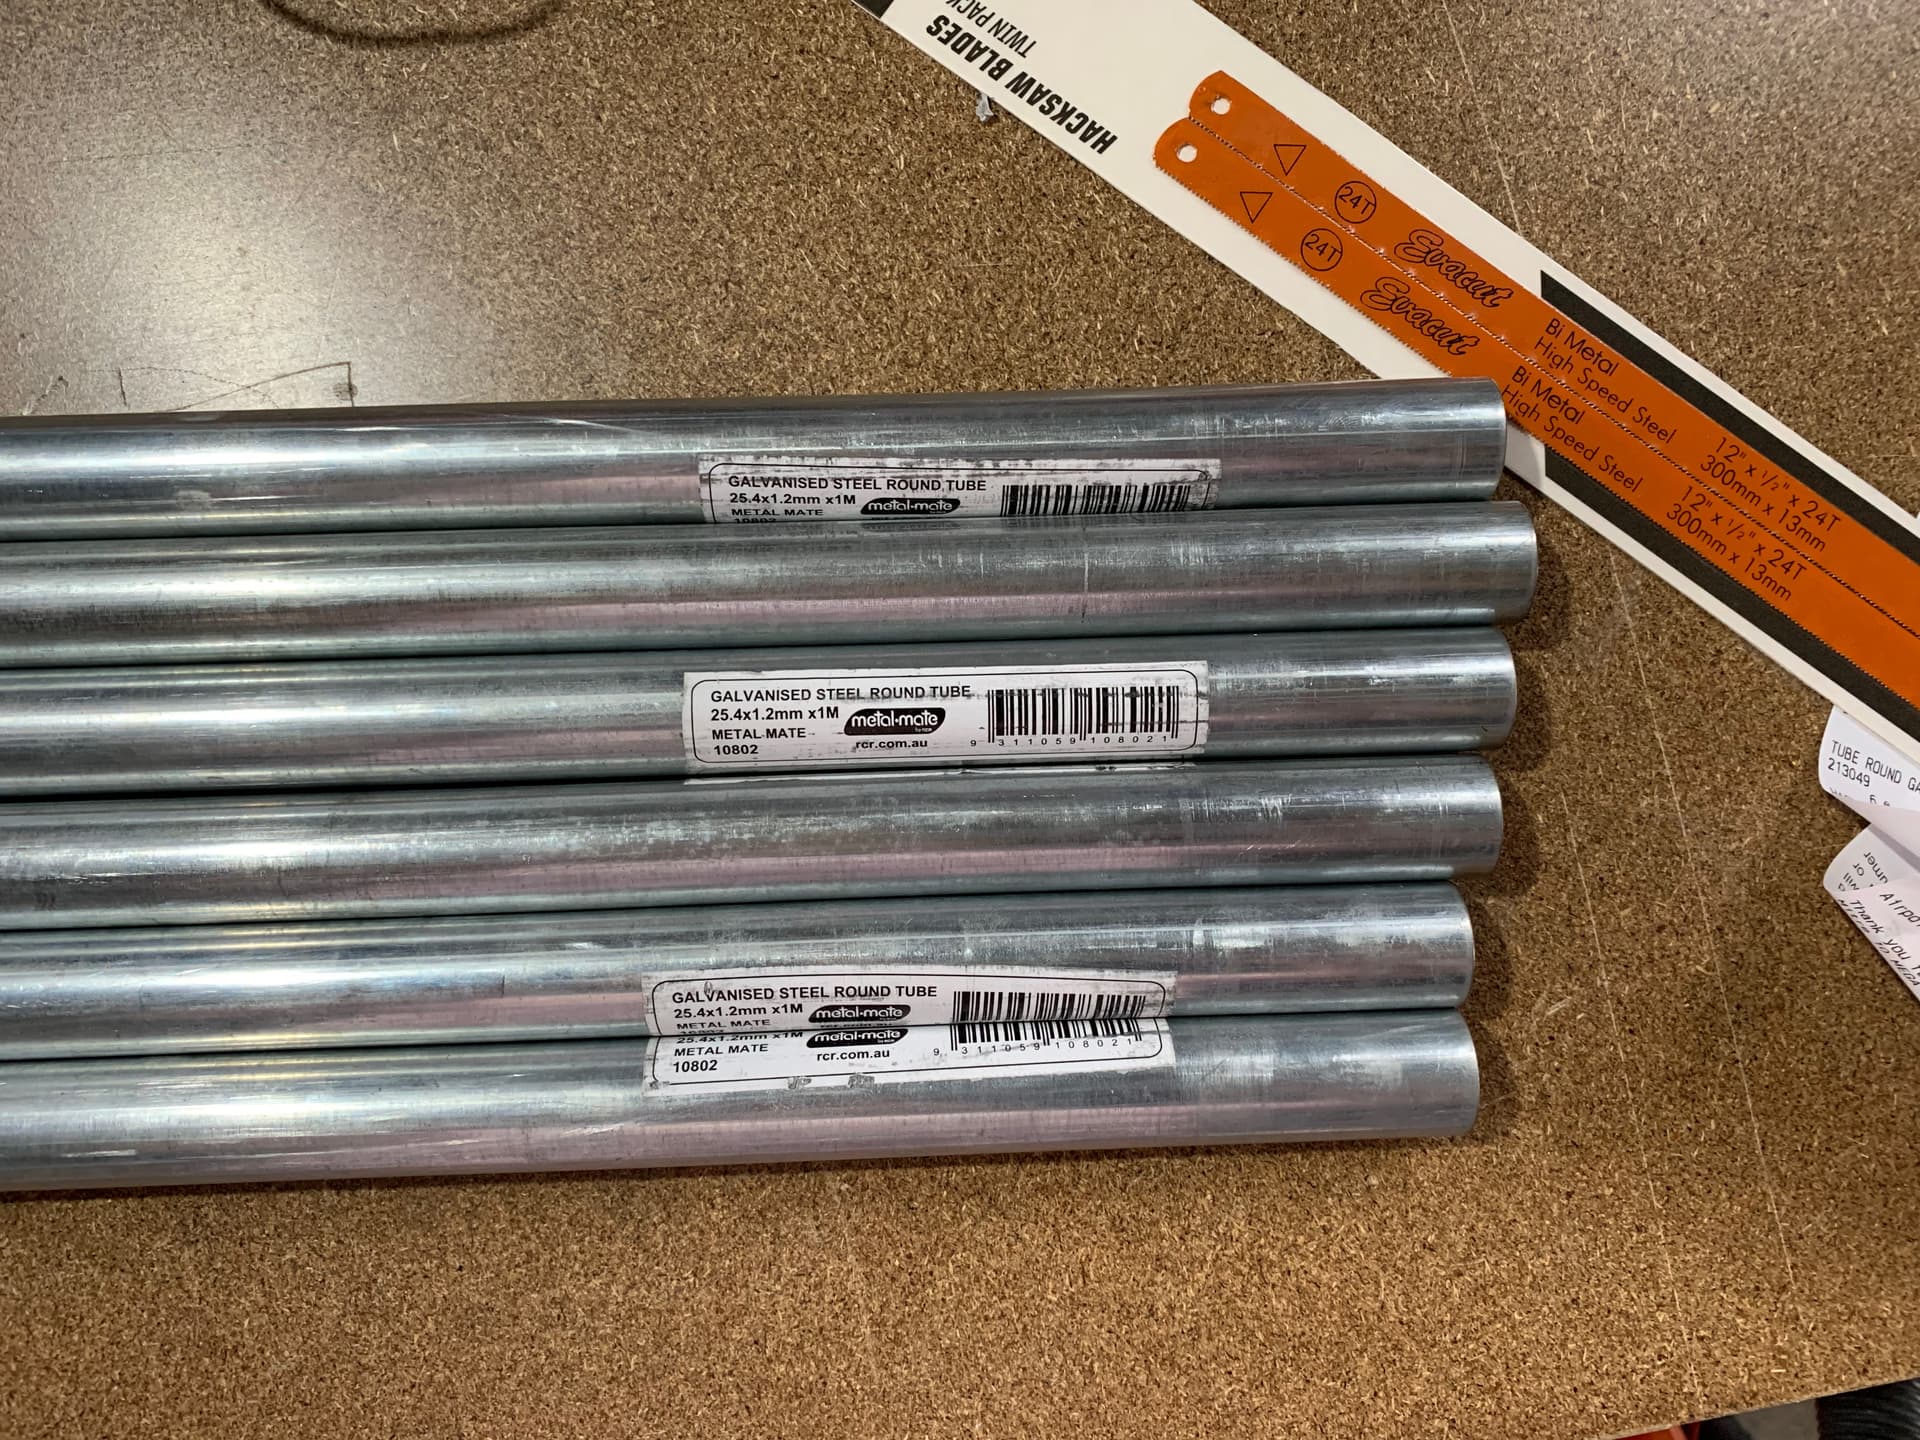
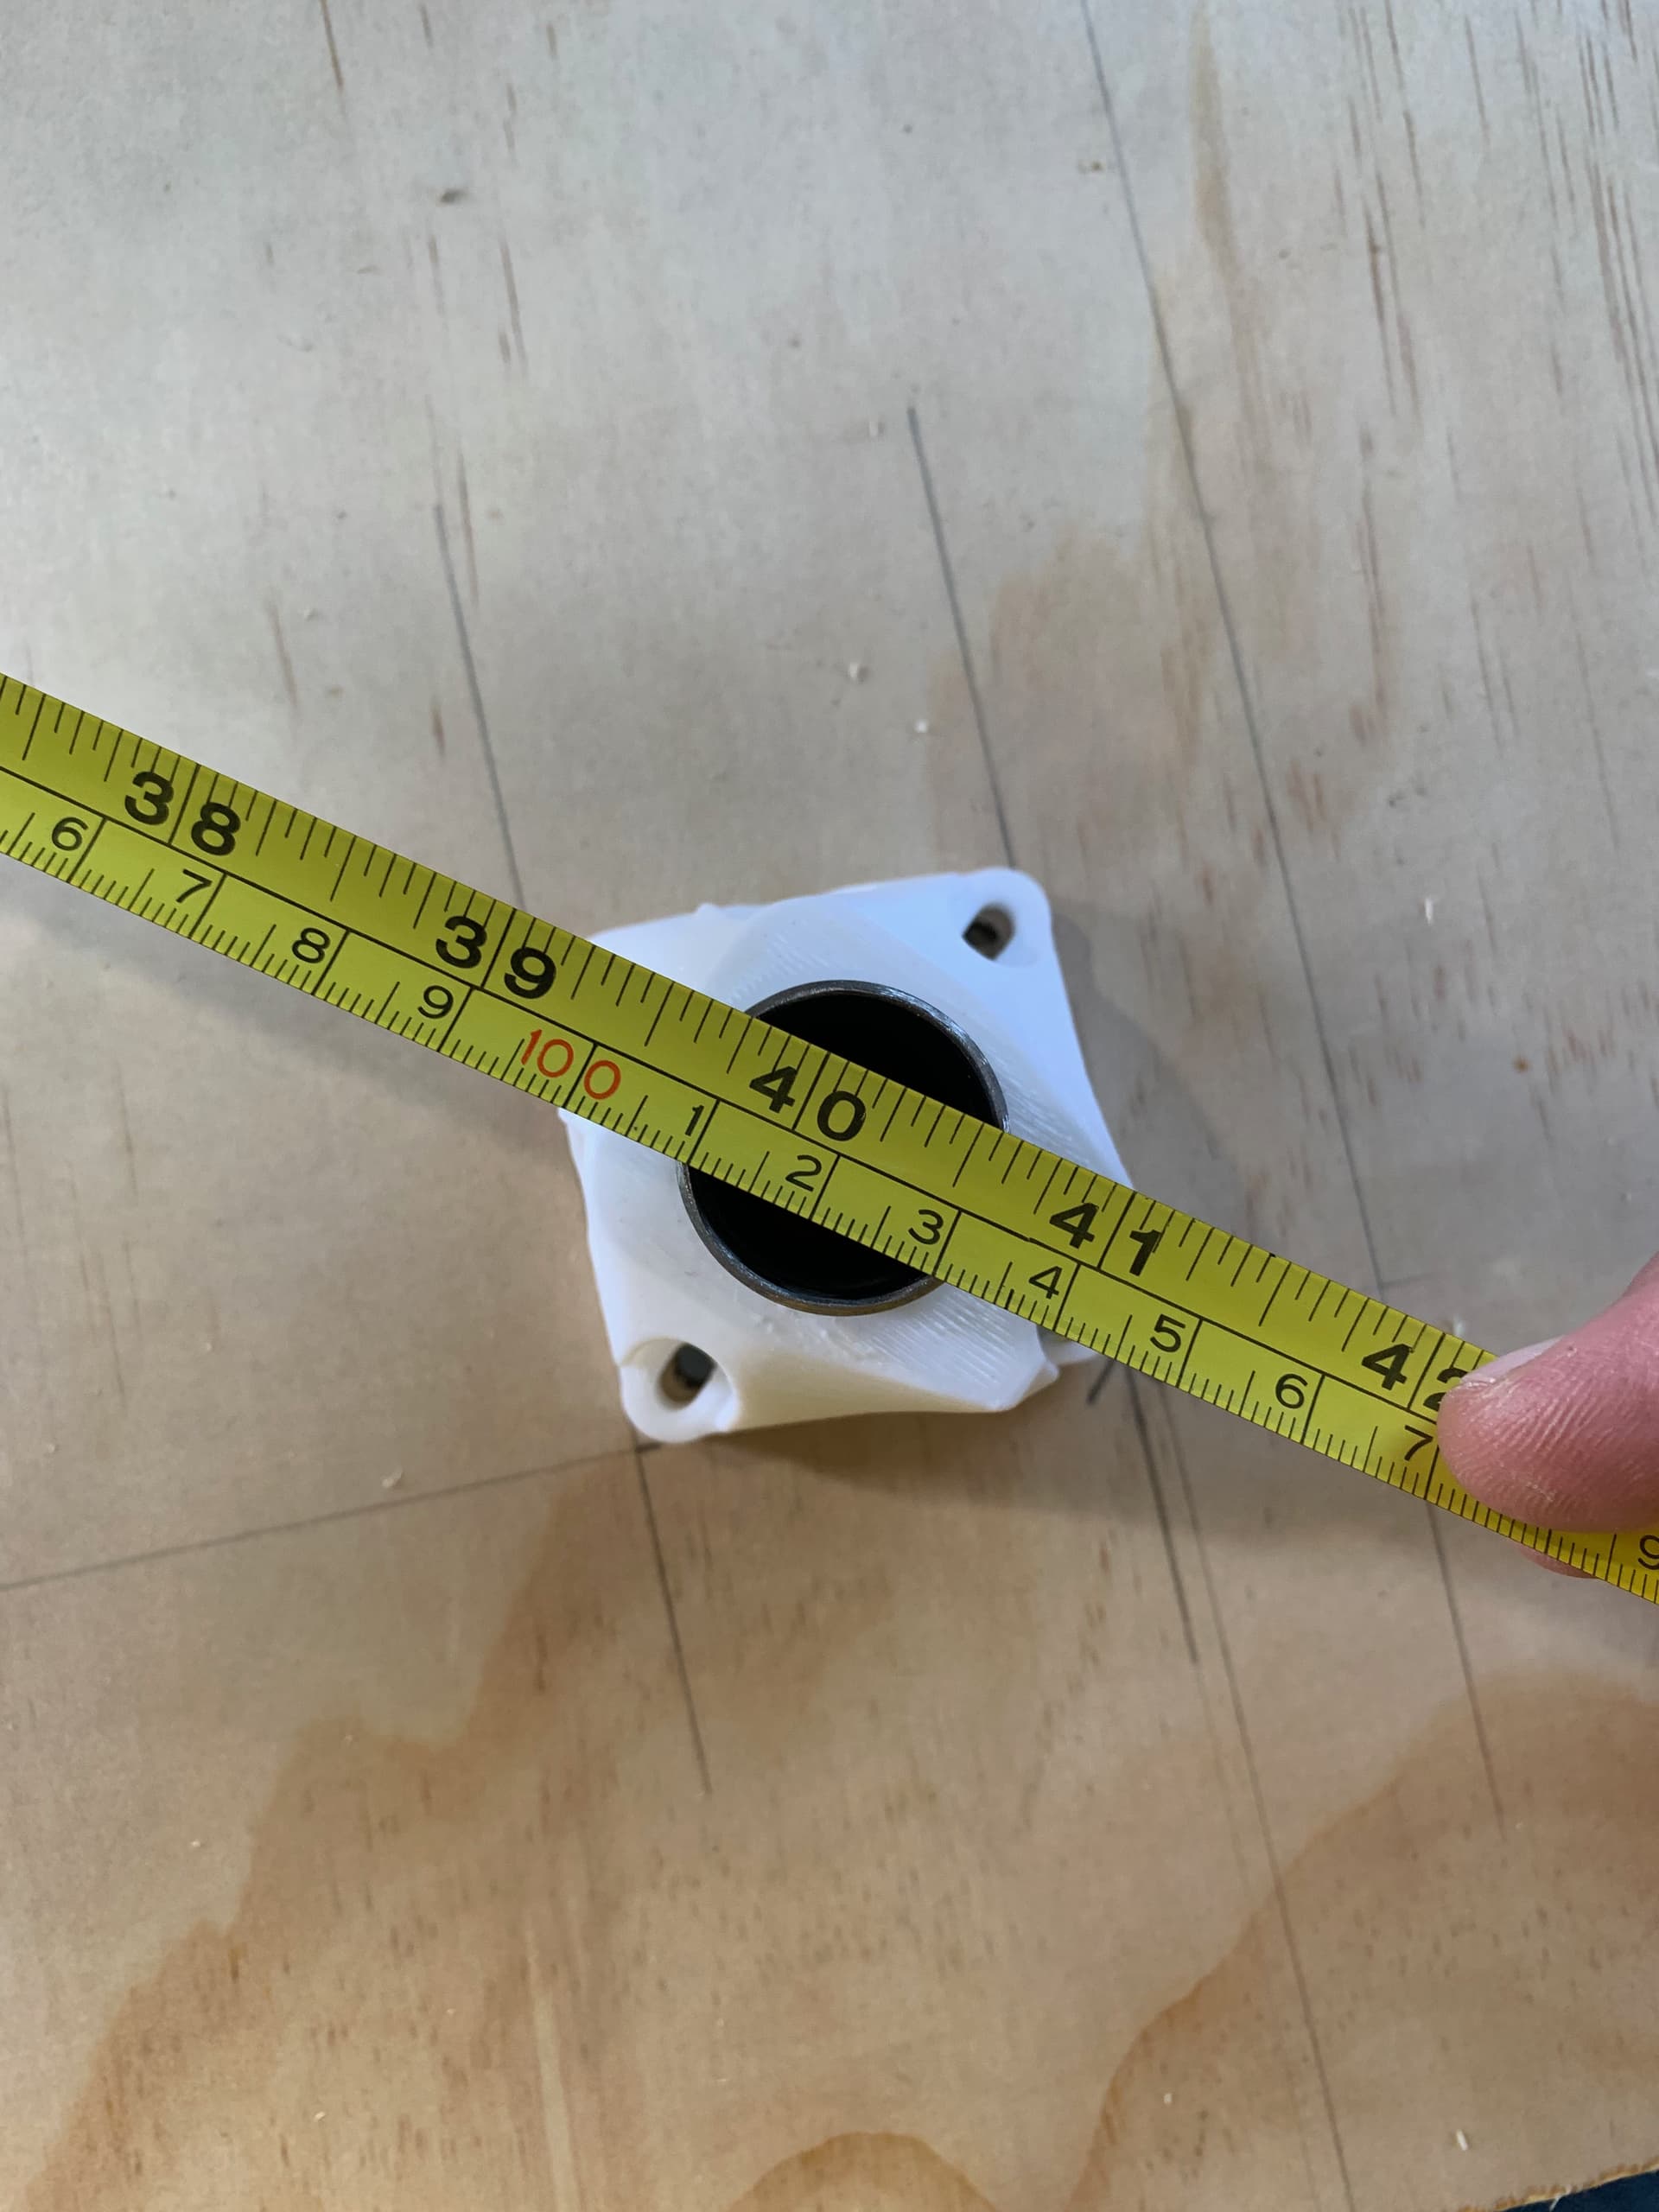
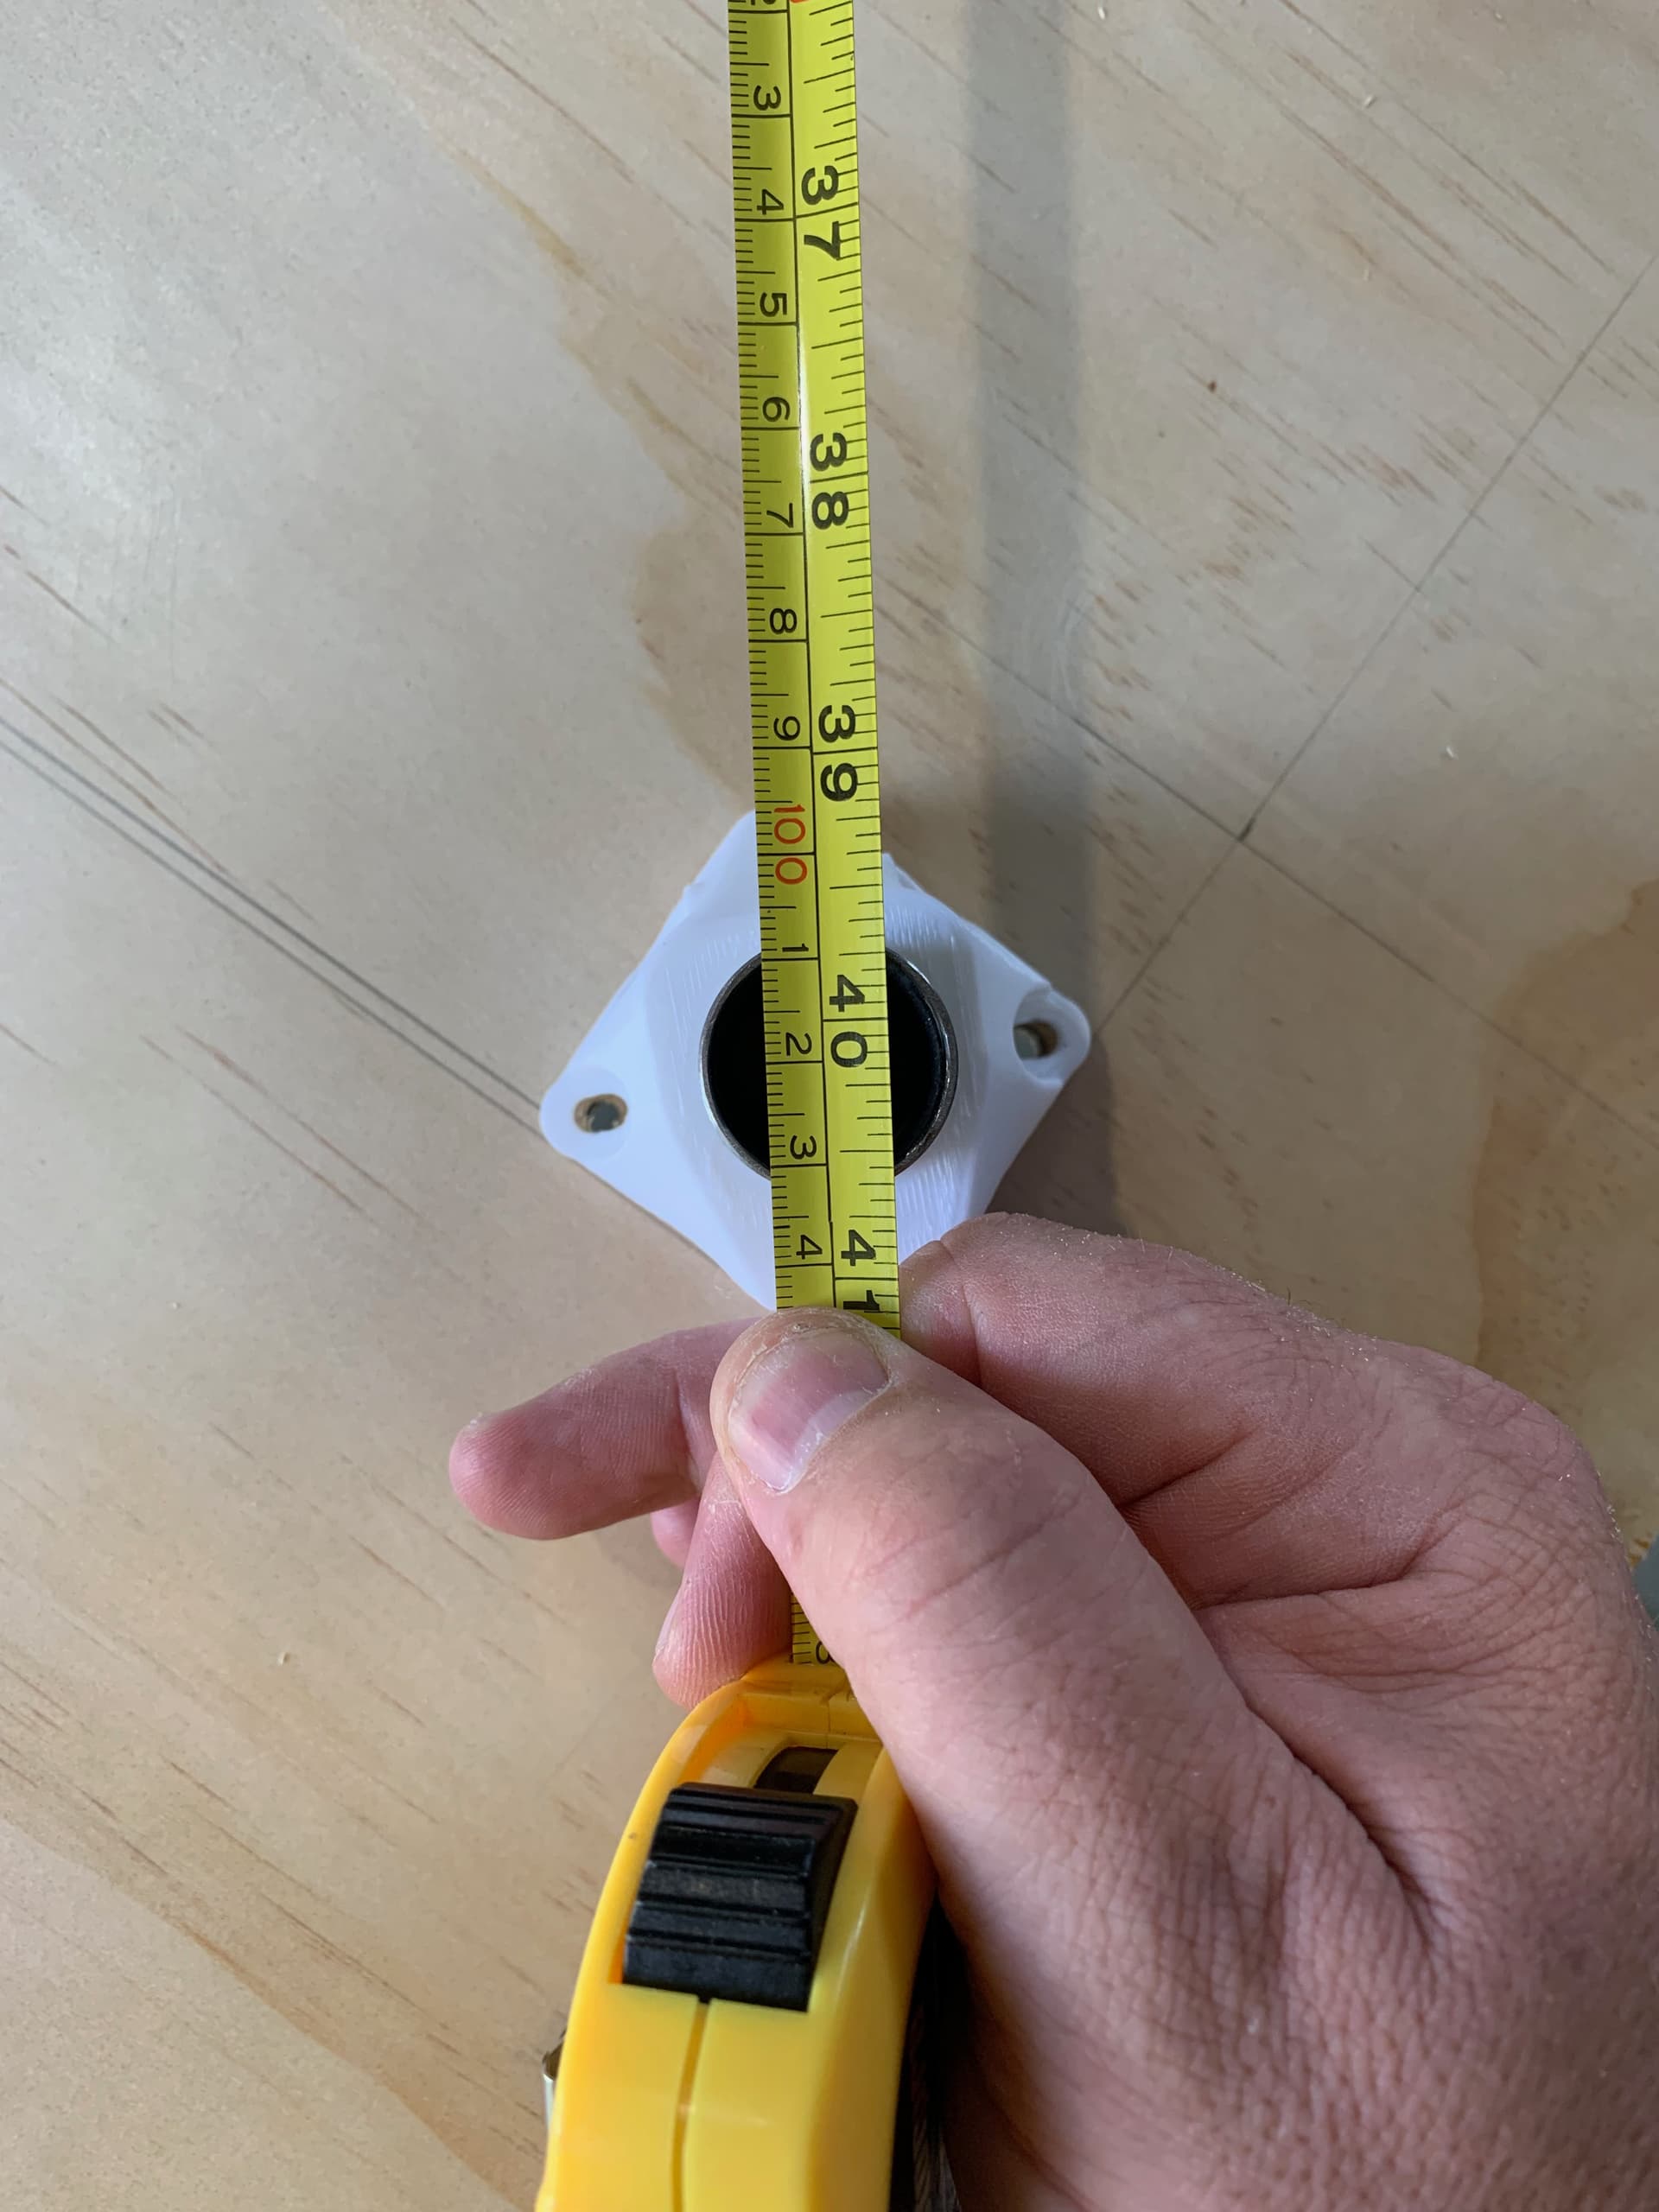
Last weekend I went to my local hardware store and they had no steel tube of any size, so today I had to go further afield and managed to get the last 6 meters of galvanised tube apparently in the region. So yeah, now I have 6 1 meter long 25.4mm diameter tubes at a cost of NZ$12.41 each. I also bought new hacksaw blades, because I expect I’m going to need them.
Right now I’m printing out the 25.4mm customised version of some tube cutting jigs from thingiverse (thing # 3354903) which should hopefully make things easier.
Have you considered using a tube cutting tool instead of the hack saw? I only had to make a couple cuts for my build, its not the fastest way to make a cut, but its really easy to get a clean square cut. You just need to make sure that for the legs you dress the cuts on a sander because the V shape of the cutting wheel will leave the inside diameter of the tube slightly proud of the outside diameter.
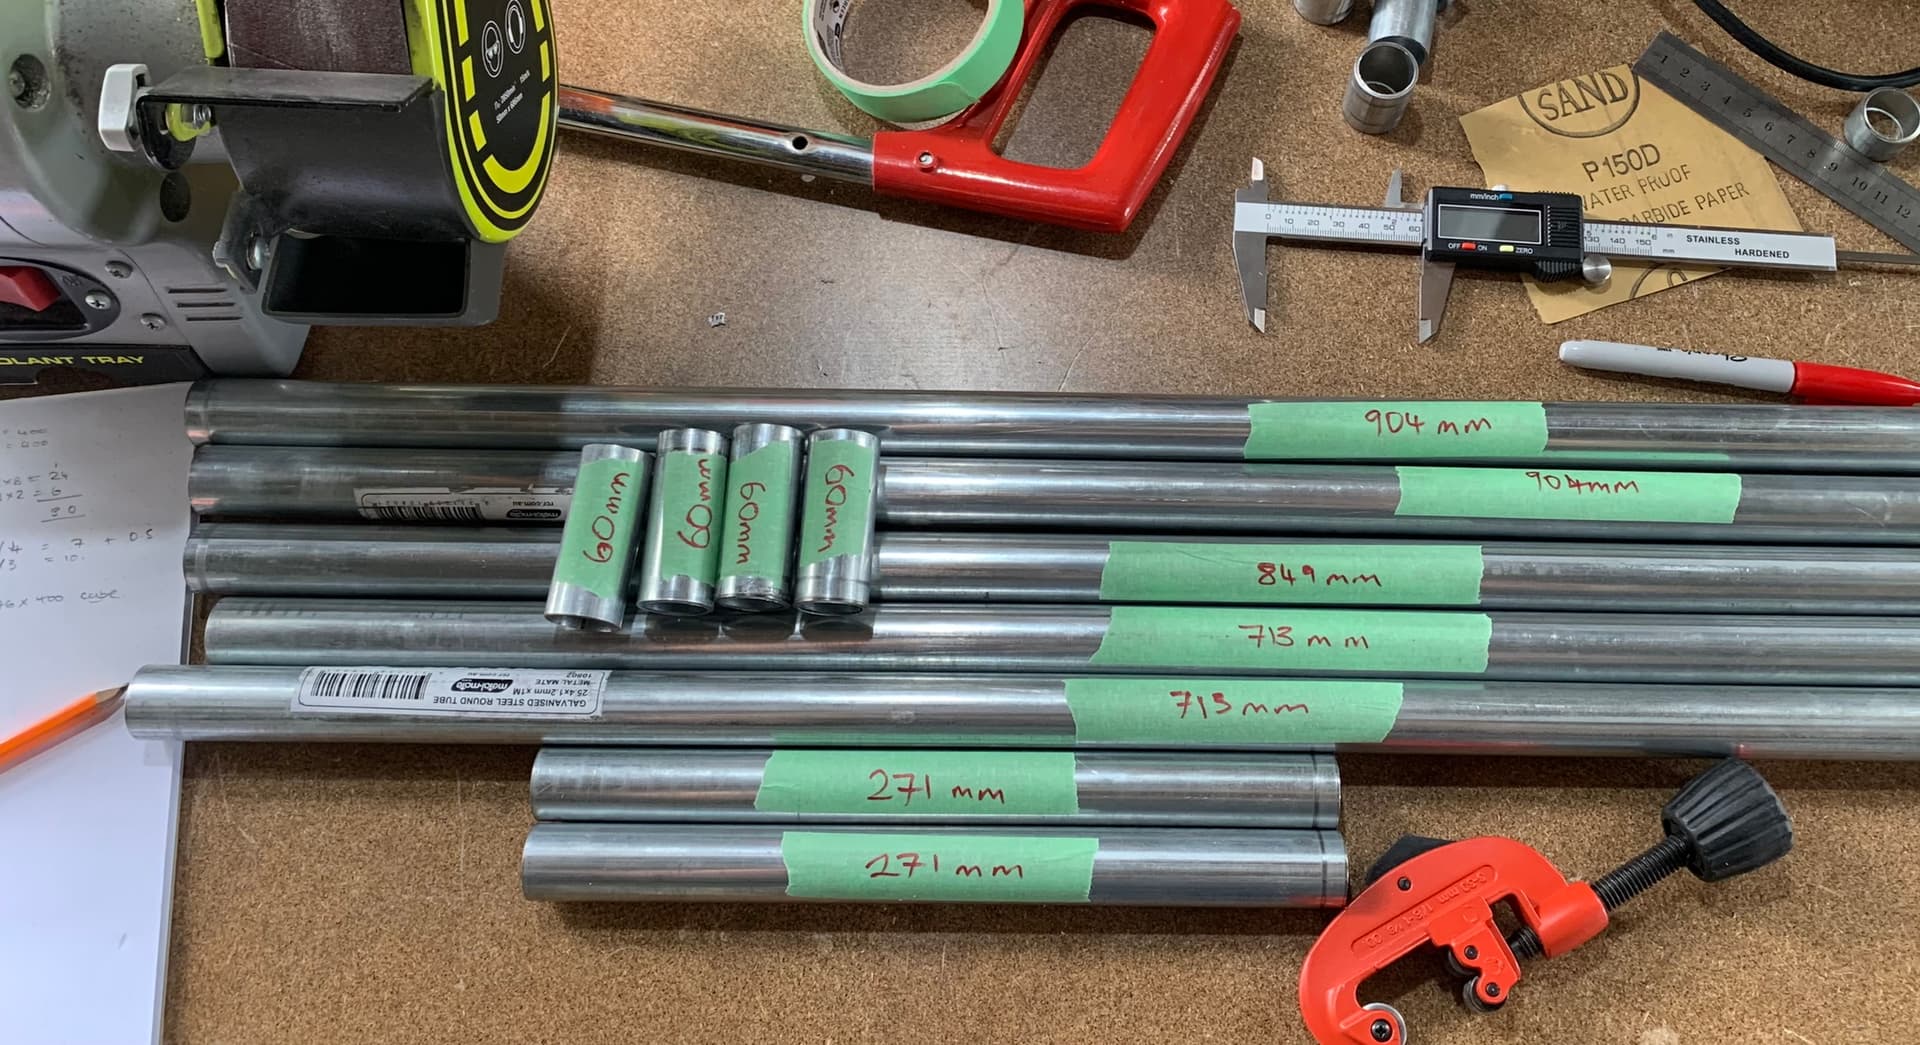
Thanks for that. Yeah. I totally just ordered one this evening. I made the first 60mm cut with the hacksaw and despite doing my best it was ragged and far from square. I was able to square it up and get it to the correct length with my bench grinder and linisher, but it certainly seems like a lot of work to make a square cut.
Thanks to everyone who told me to buy a pipe cutter. You’re right that it made my life much simpler and it’s a pretty cool tool to have in the toolbox if I ever need it again. Also, I decided to change from 500x500mm workarea to 600x400mm.
Hey folks. Quick question - I was wondering if I should sand the rails smoother but I’m worried that I will remove the zinc layer and cause the steel to rust. Should I bother sanding it and if so what can I use to replace the protection?
I wouldn’t (and didn’t) bother trying to smooth the galvanized coating on the conduit. The bearings will iron out a smooth path themselves after a little use.
I would remove the bar code labels if they end up somewhere the bearings would roll over them. I’m assuming you’ll pull the dimension tape once you’ve got things put together.
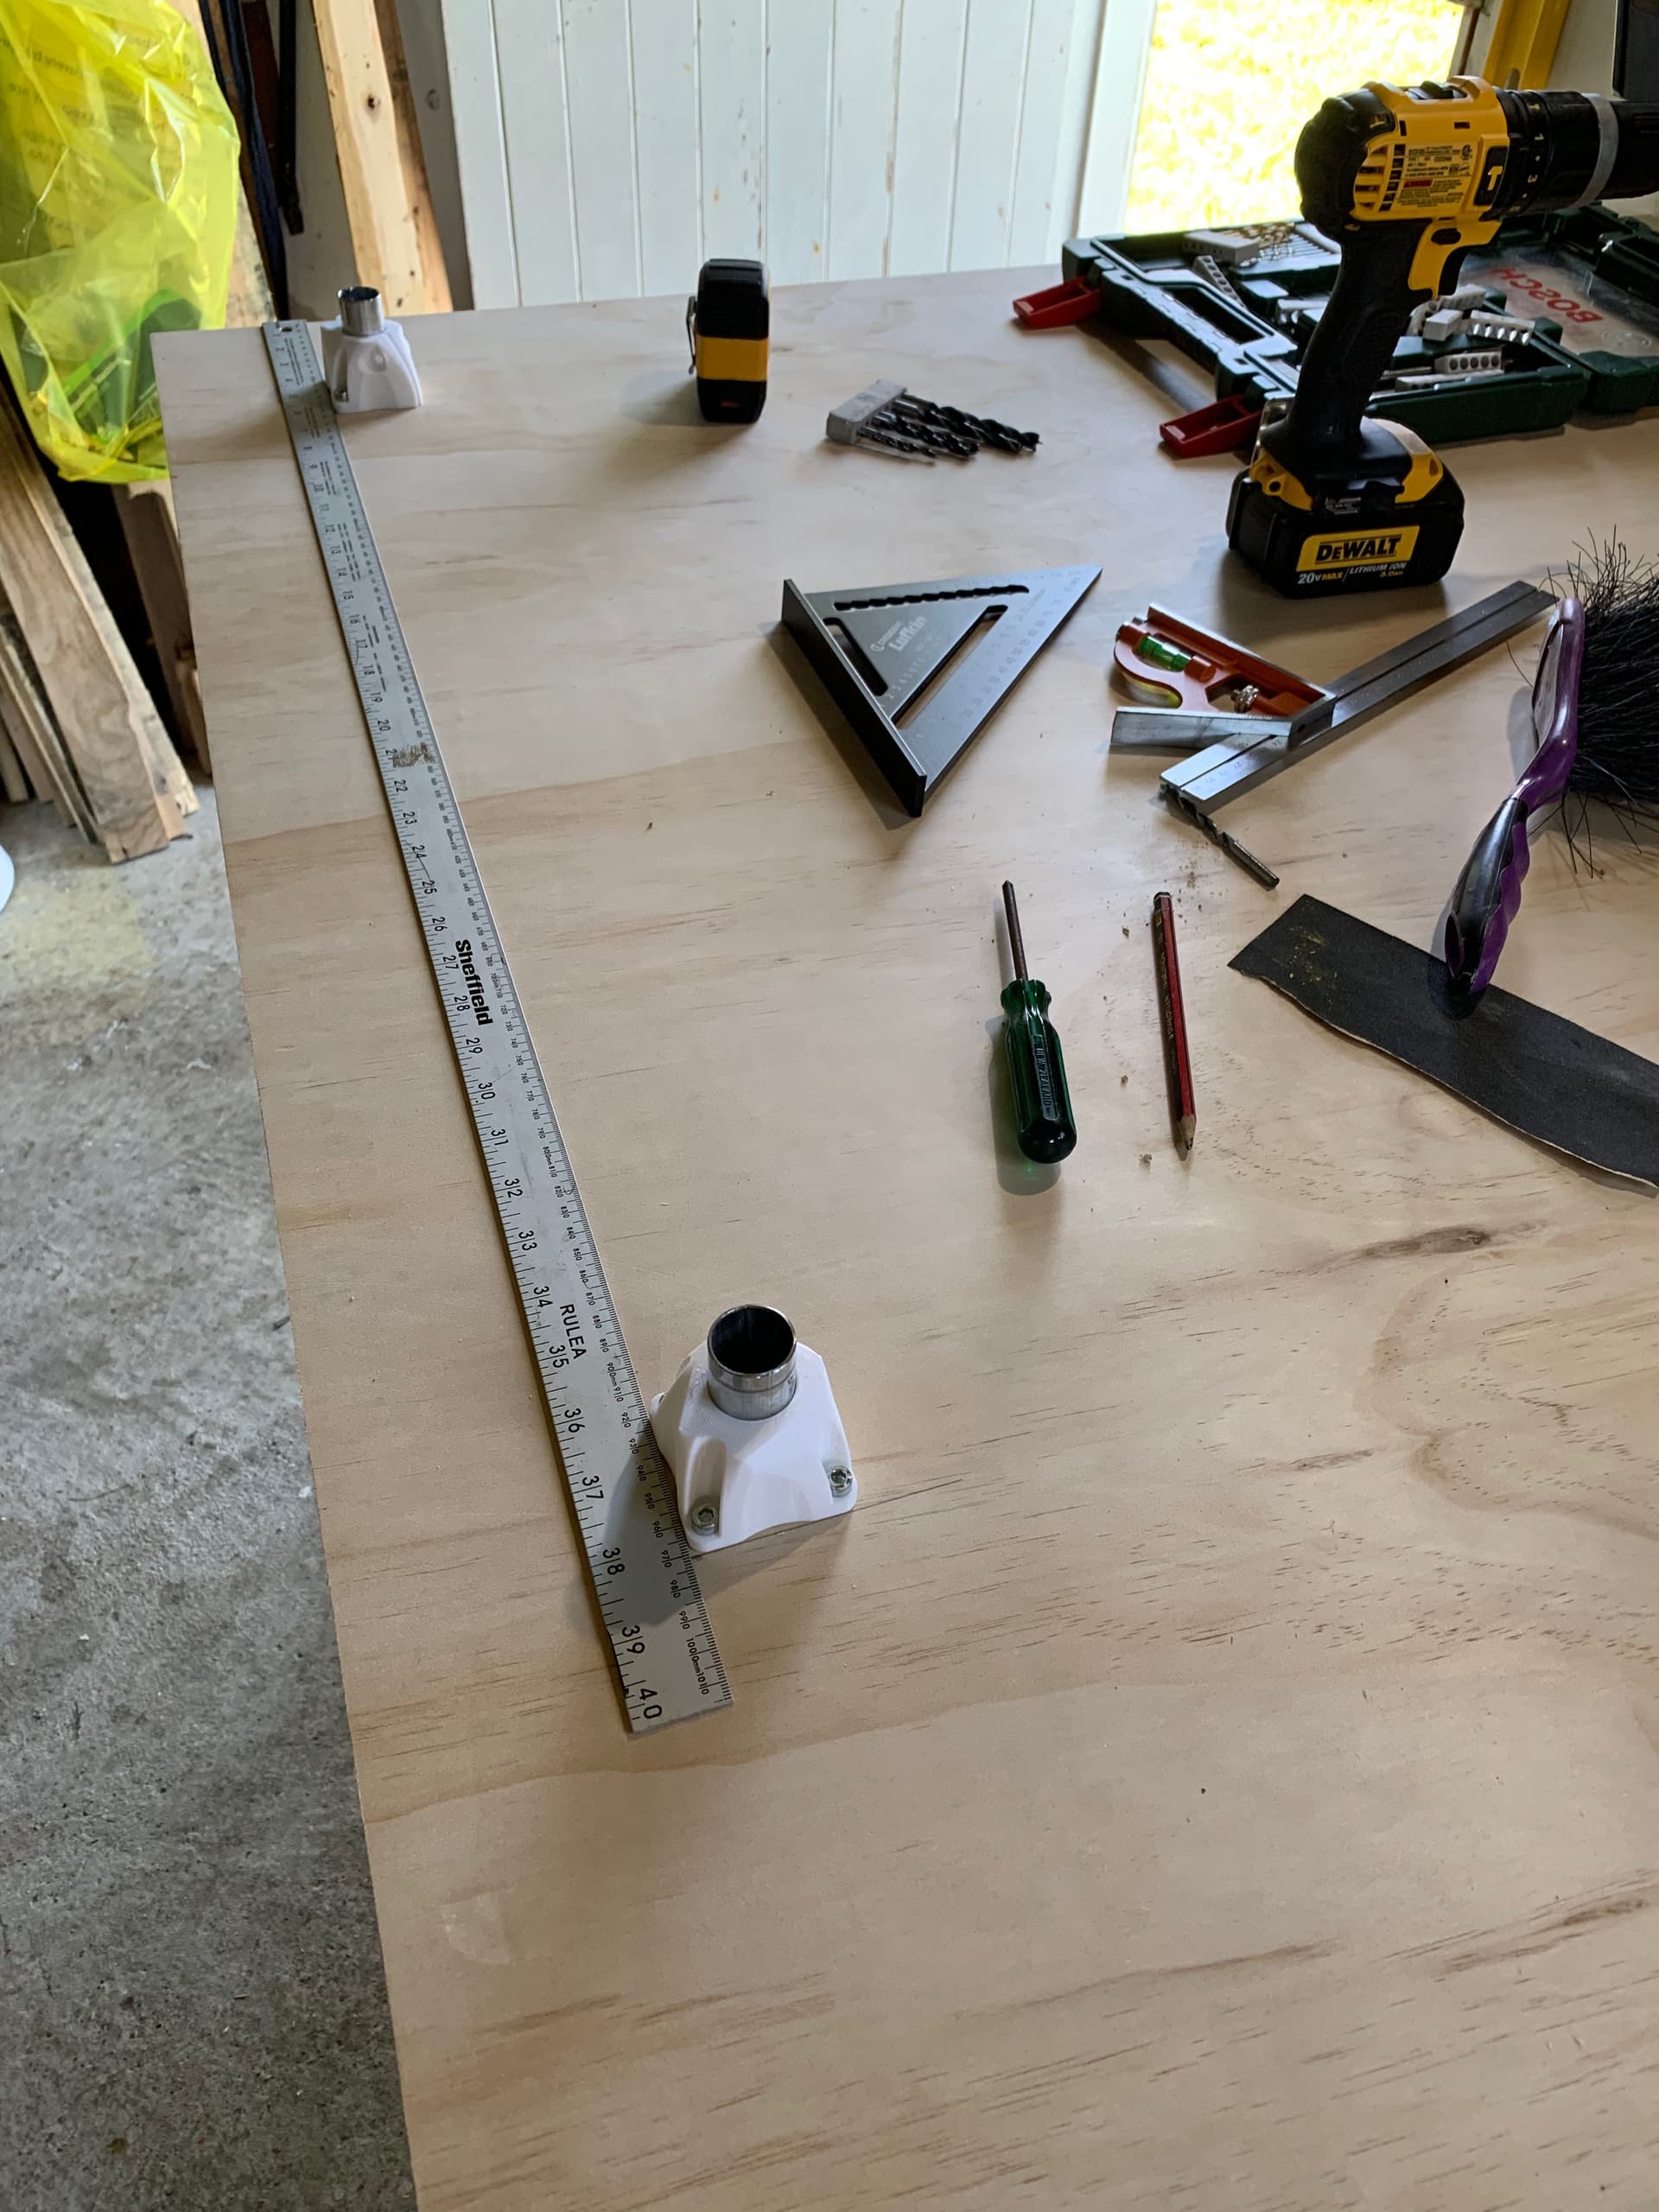
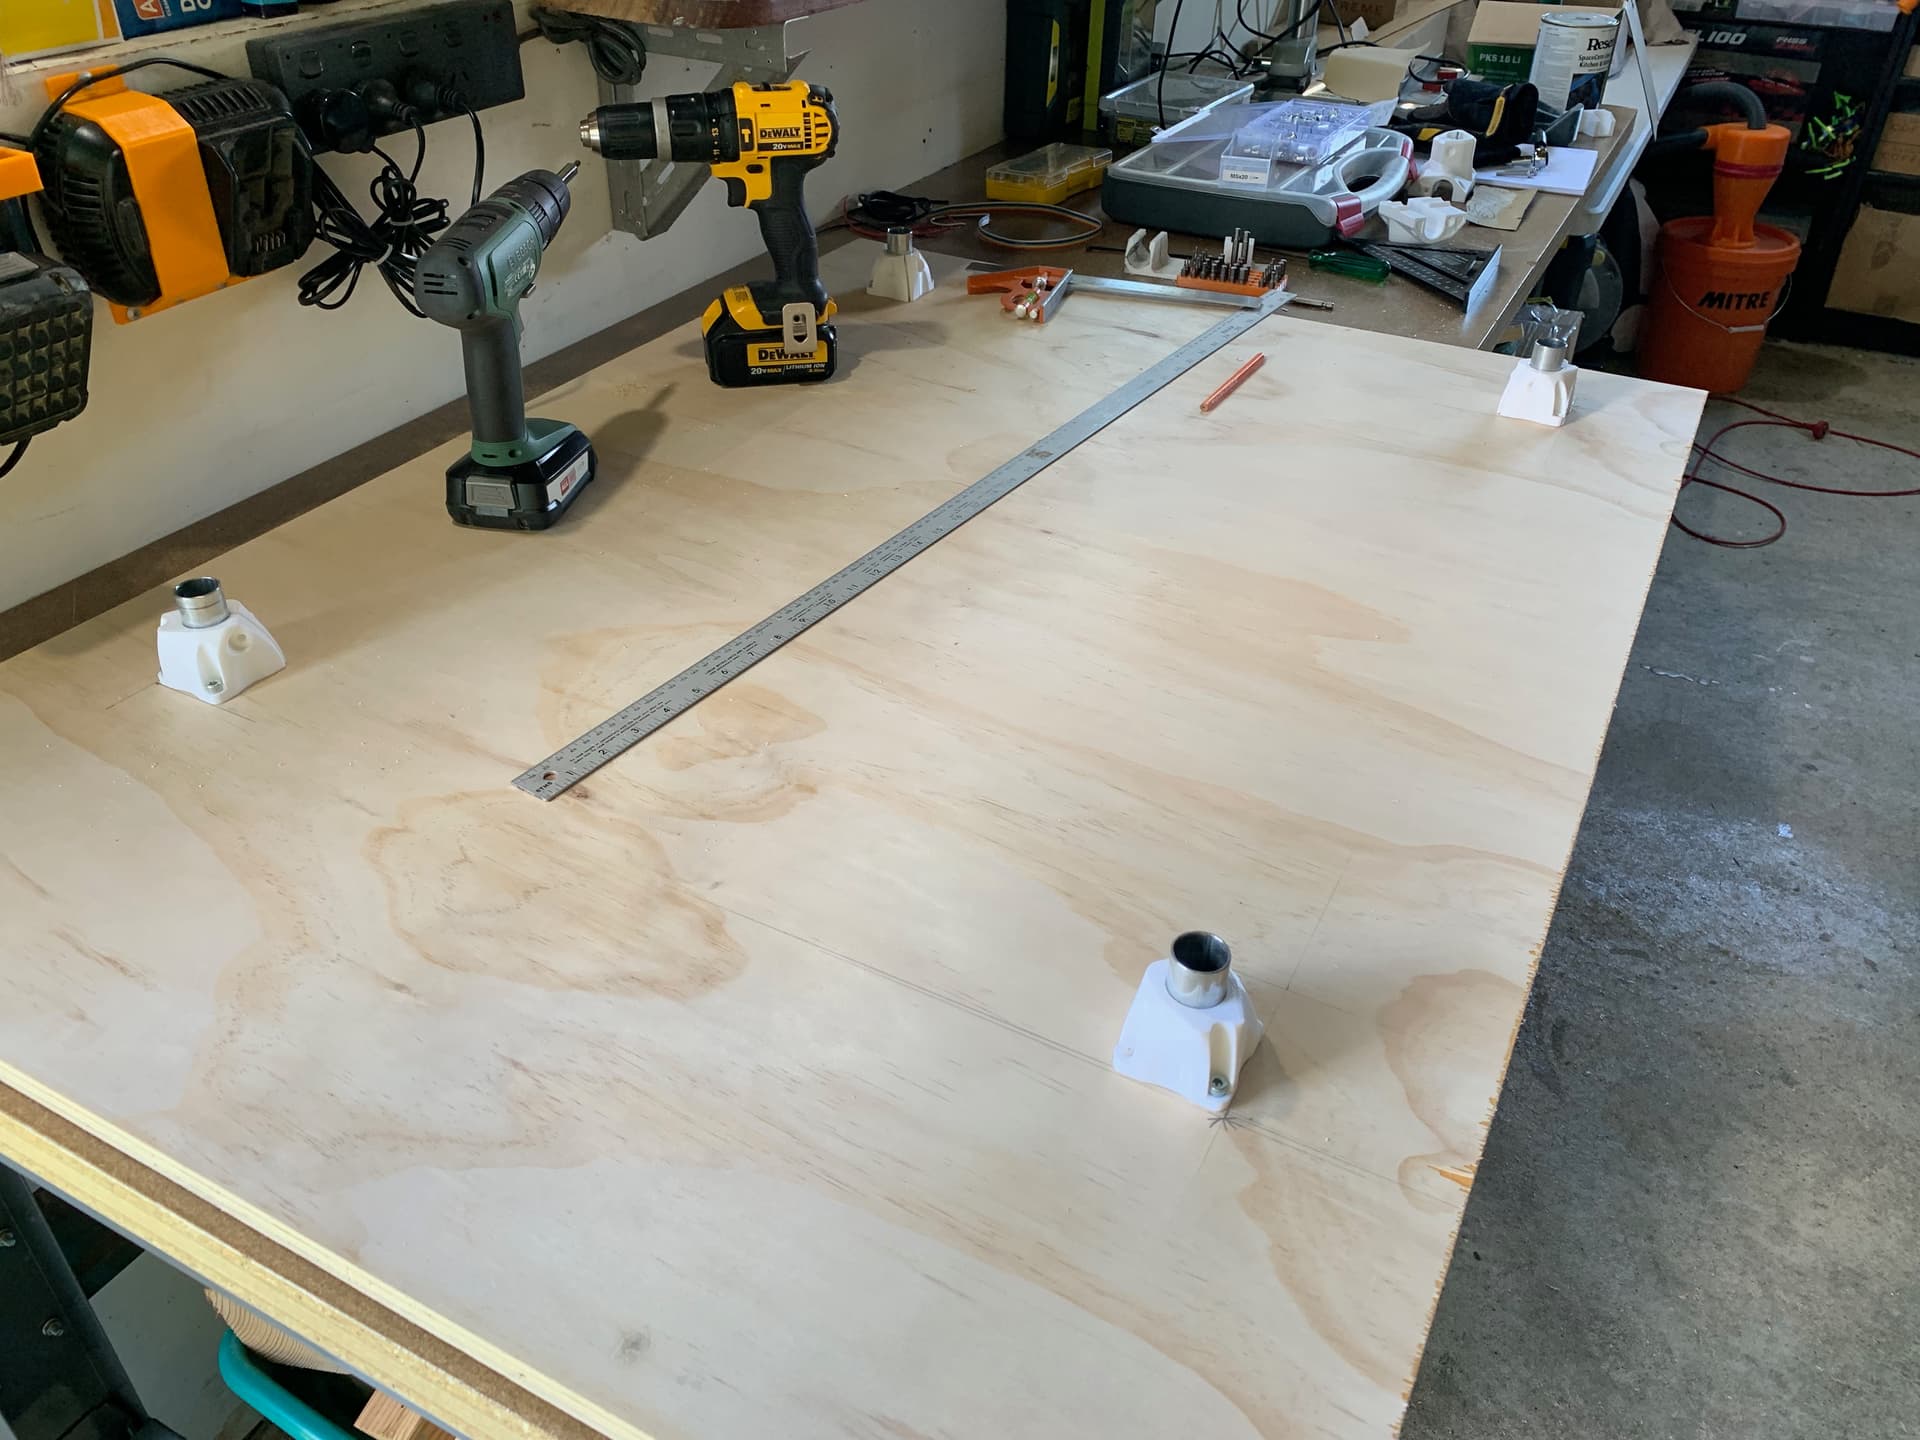
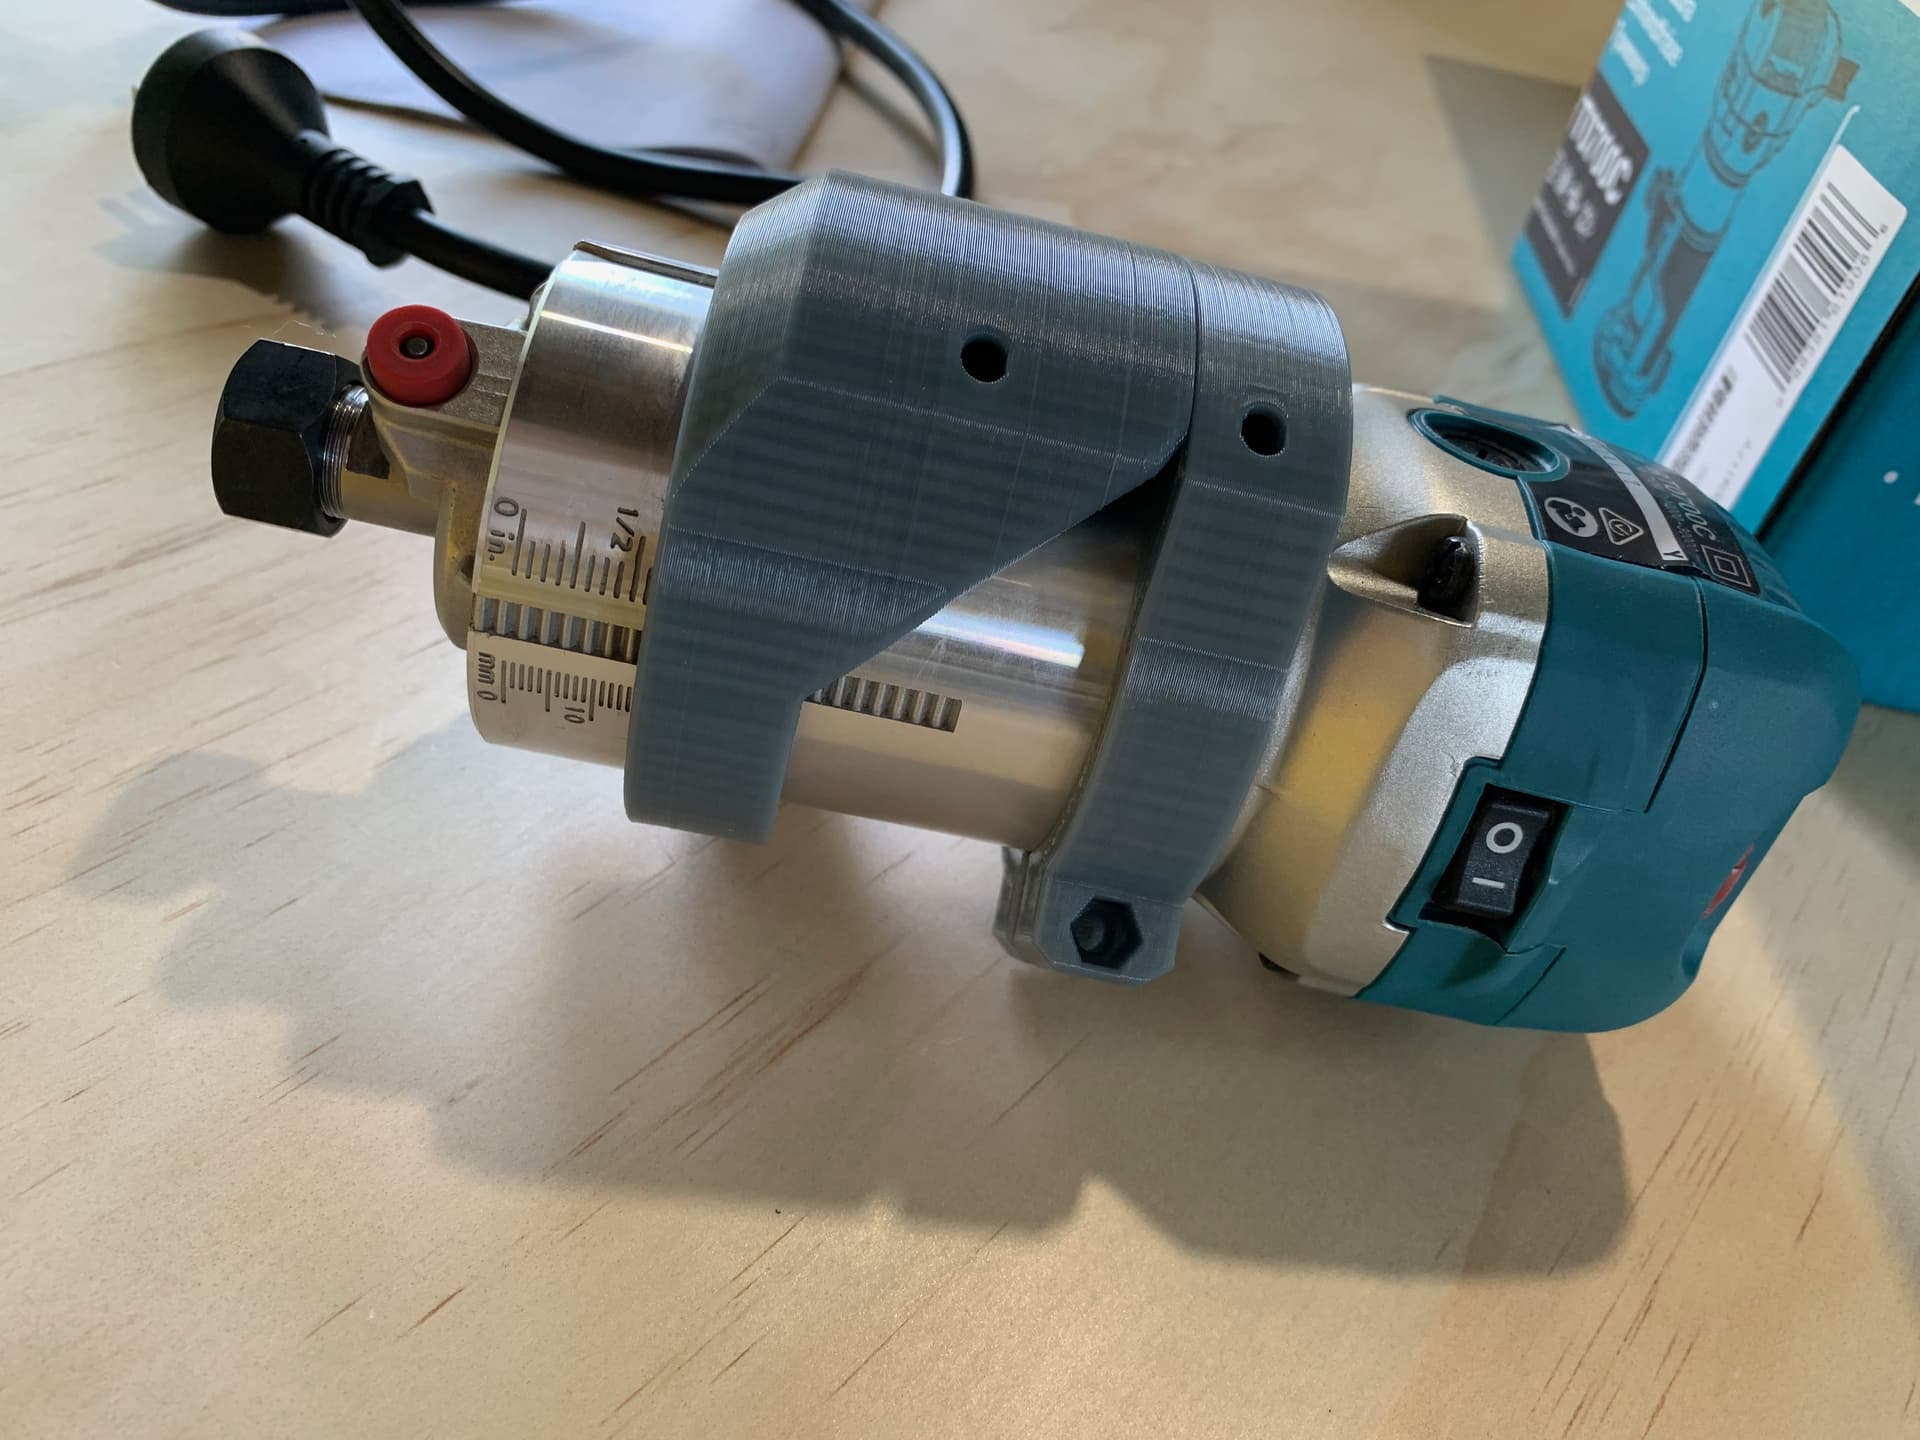
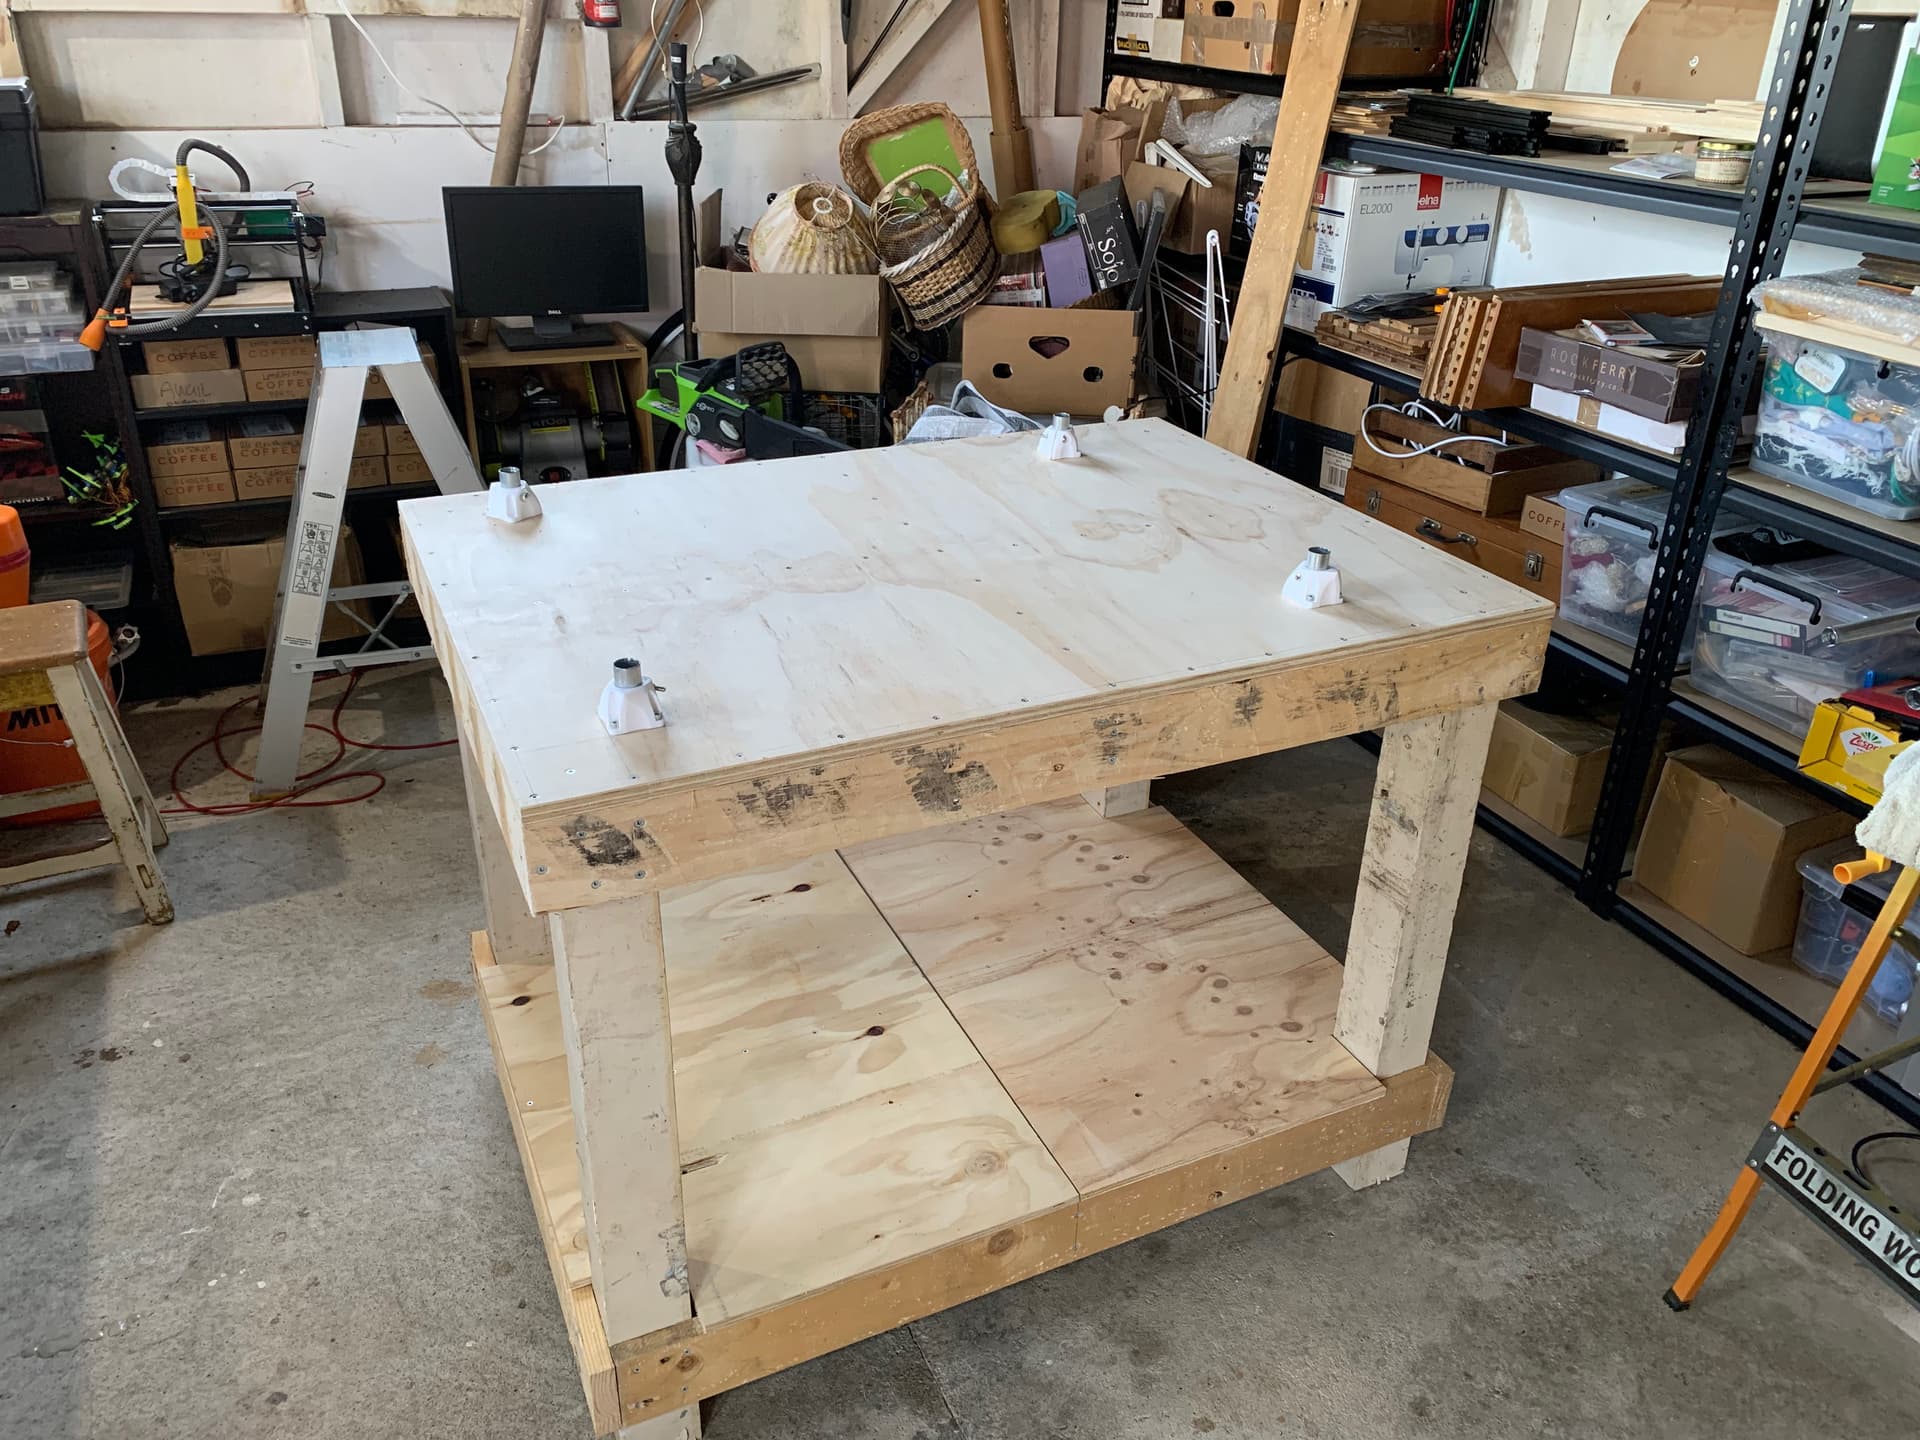
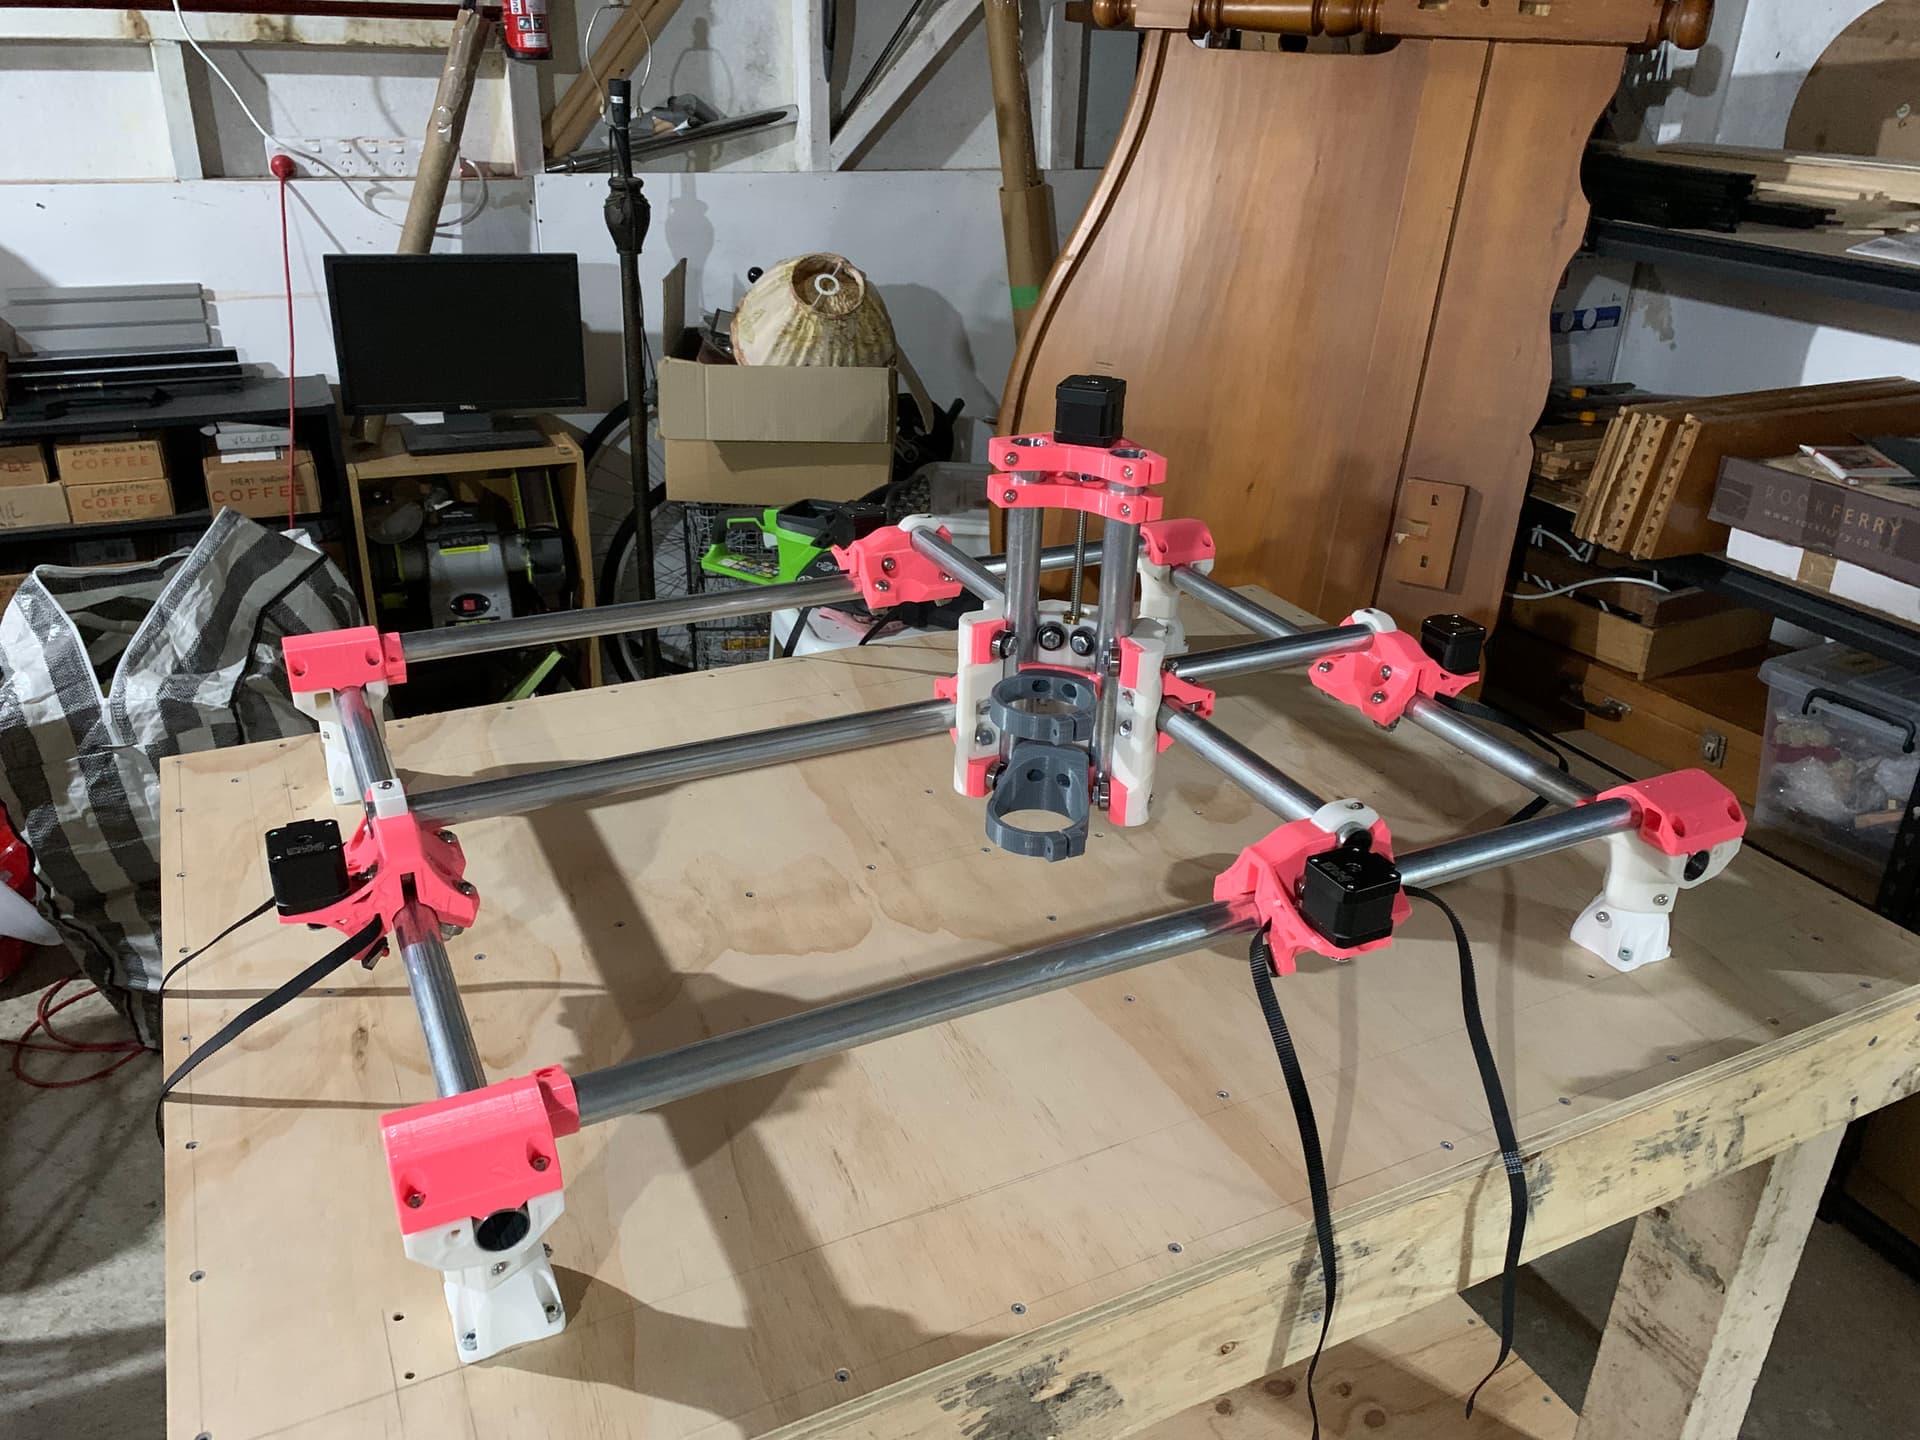
Some more progress today. I went to the hardware store and bought a 1200x1200mm precut piece of 18mm plywood. Feet are now installed and square on the base. I left 100mm on thee sides and about 230mm on the right hand side. This should hopefully give me enough room to put the electronics, etc. I’m very pleased with how square they are. I also printed the Makita tool mount and it fits perfectly so that’s another win.
Yesterday I built the bench for the MPCNC. The only new piece of wood is the above mentioned 18mm ply. Everything else is repurposed; the legs are from a friend’s old carport, the shelf is from an old desk and everything else is from a heavy duty pallet. Given all that, I am super pleased with how straight and level it is - some of the source material was pretty warped.
So the machine is moving. I did a custom build of Marlin for the MKS Gen L board which I had lying around from an old 3D printer. I’ve got it homing and calibrated the steps/mm. Printing a case for it off thingiverse tonight. Looking forward to my first cut soon!
So I’ve spent the week working with @Paciente8159 on getting µCNC working on my machine. It’s almost working, but still has some tweaking to go.
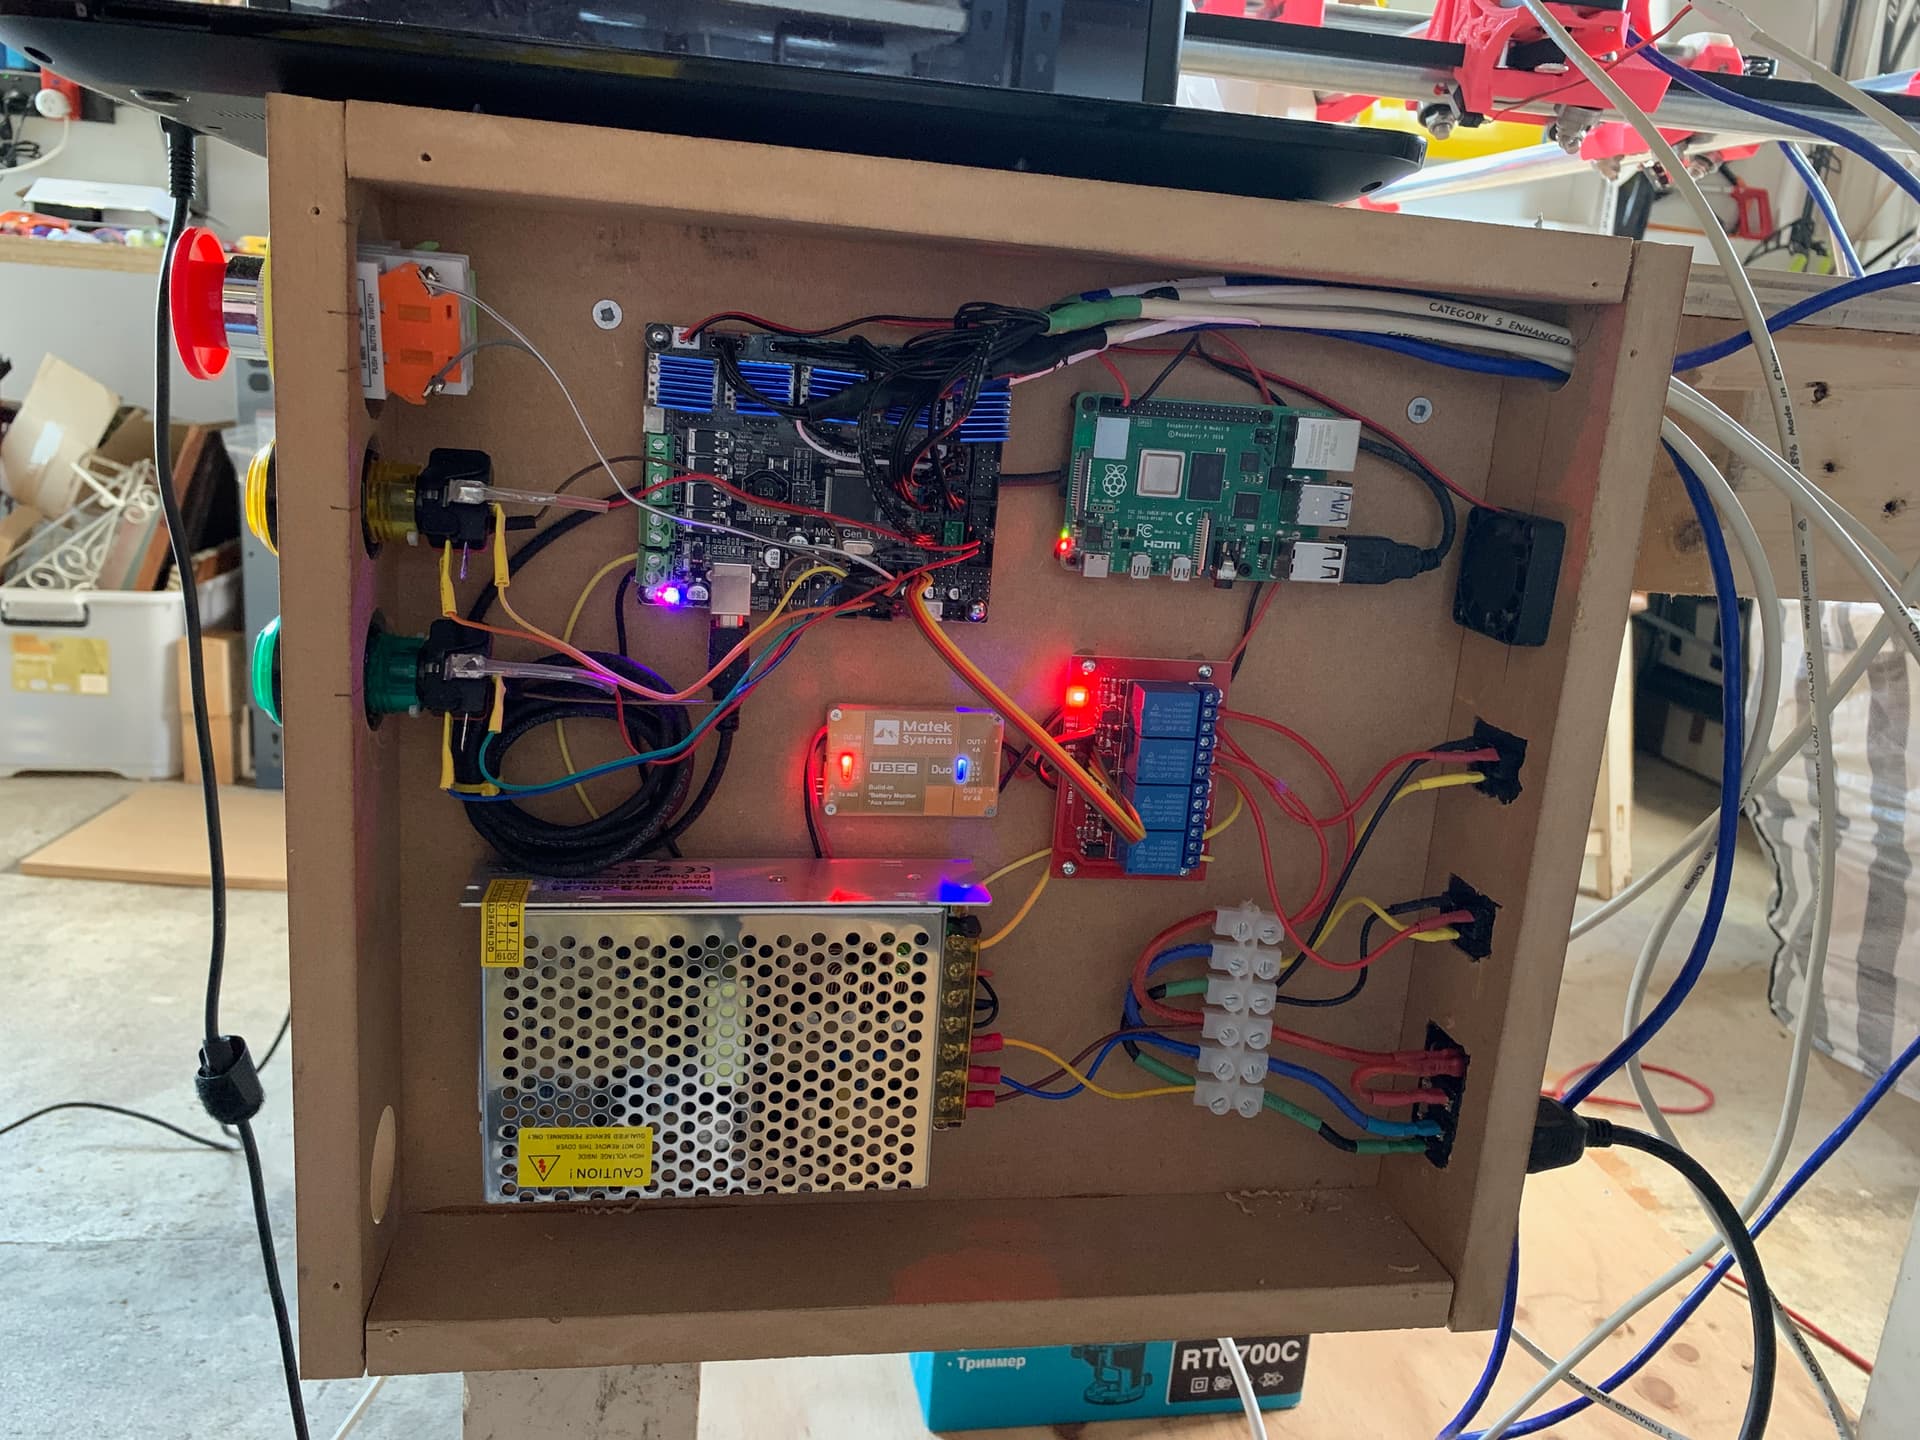
This weekend I spent my time building and wiring up the electronics box. I’m using a 24V power supply connected to the controller, and via an RC BEC (left over from an old robotics project) to a 4 channel 12V relay and a Raspberry Pi 4.
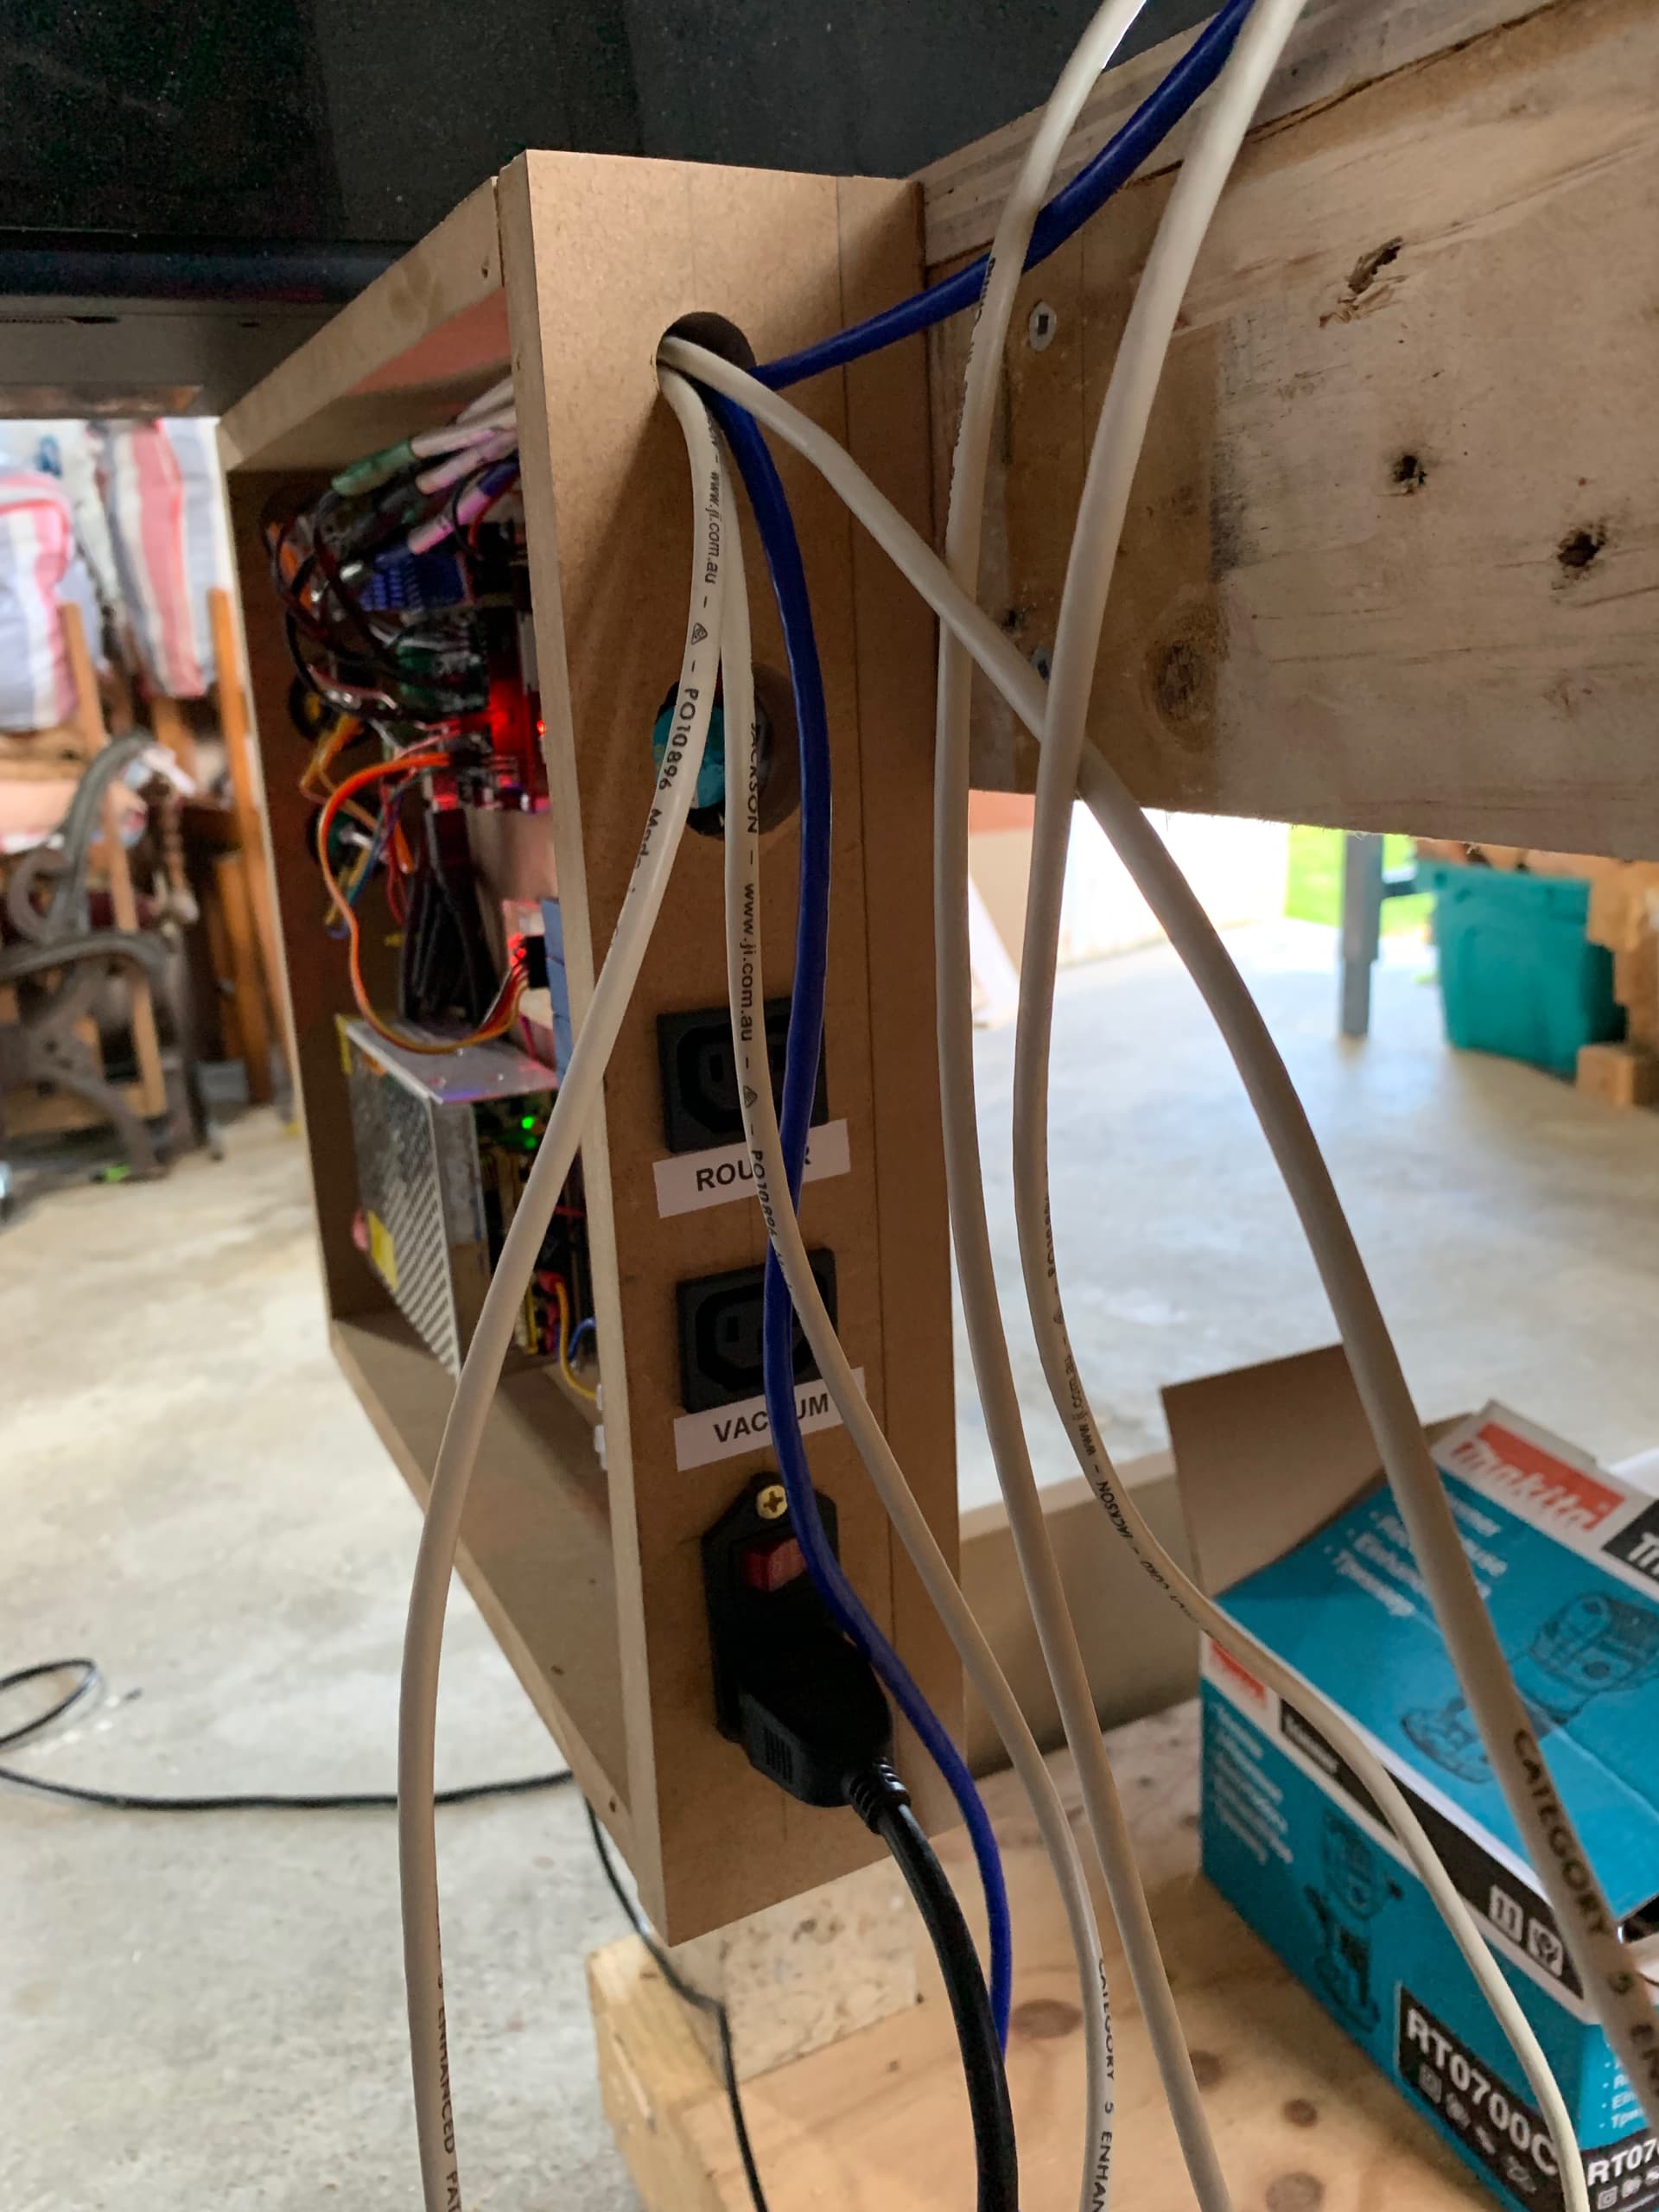
With the relay I can turn the 24V input on and off to the controller, as well as the two external mains power connections which I have set up in the controller to turn on and off the first with M3…5 and the second with M7…9.
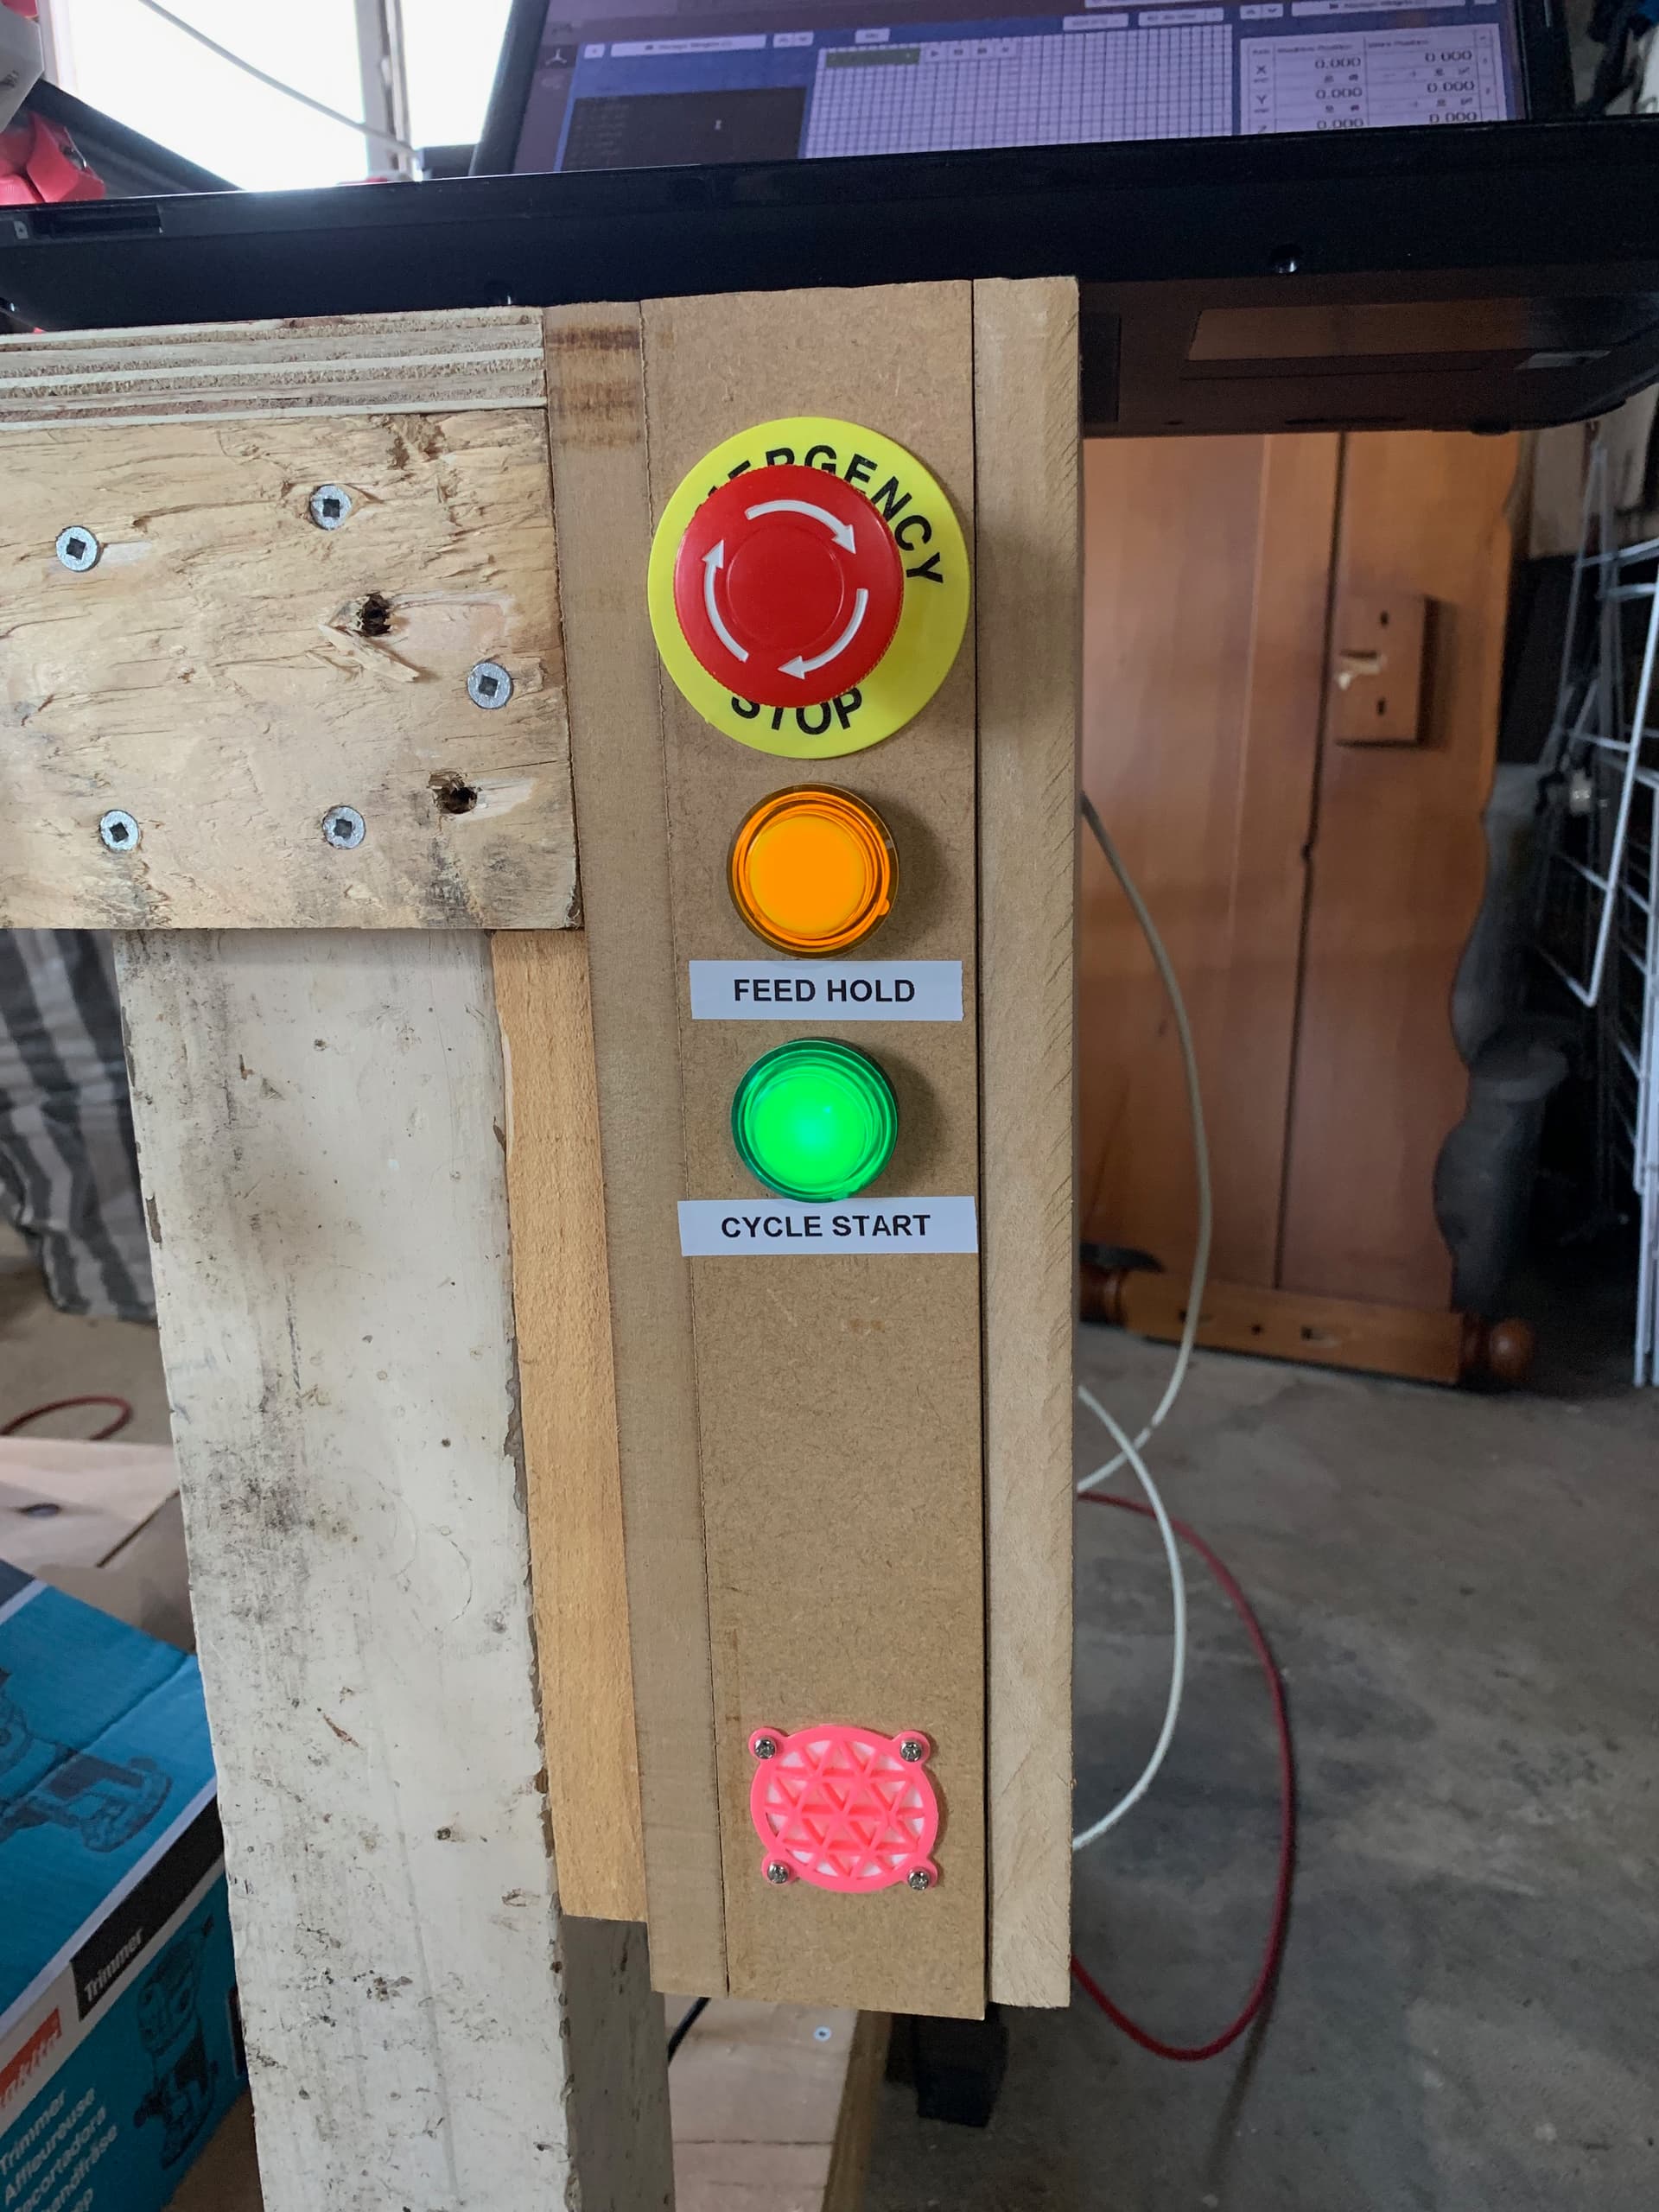
I also have the emergency stop, feed hold and cycle start wired up, the two arcade buttons have illumination which can be controlled with M42 commands, although I plan on figuring out how to make them work with the hold and rescume cycles.
Also, the fan blows out of the back and I cut out a bit of N95 on the air vent at the front.
Awesome .
If you want to add additional relay outputs you can do it by creating a custom G/MCode module on µCNC instead of the M42 module extension to control IO on your board.
The hold and cycle enable signal Light can be also controlled by hooking one of main loop cycles callback and turning them on and off depending on the cnc internal state.
and enabled ENABLE_MAIN_LOOP_MODULES on cnc_config.h
Of course you will be having to assign DOUT5 and DOUT6 on your boardmap file to any free pins on your board.
EDIT: Forgot one last step that is add the listener to modules_init. I’ll fix the code as soon as I’m near the PC.
EDIT2: Just updated the example. Added some comments explaining how to add modules in two different ways. Lol I really have to start working on my documentation


 .
.