Was having issues that i though that was just a low spot in the table… turns out it isnt just a low spot but ever so slightly beyond the z-travel. Shoved a piece of drywall under the spoilboard since thats what i had laying around and now it isnt having any issues. Glad i figured that out before surfacing it as that would have just compounded the problem.

2 Likes
Nice. Personally feel like drywall, and drywall mud, are an underutilized cheap available filler/panel material for Maker projects.
3 Likes
I have some sheets of foam insulation laying around as well, but I recalled reading on here about people having mixed results using it as a spoil board and compression issues. Since I’m securing material with screws right now it would be easy to over torque it and potentially offset the piece, but I wouldn’t have thought of that in the moment. even if it wouldn’t have been as obvious with MDF sitting on top.
In comparison the drywall is cheap and very rigid and after making a few cuts on it I might keep it there long term. in the future to swap out the MDF without the drywall I’d have to buy thicker and more expensive sheets of MDF, with the drywall acting as a spacer I can keep to slightly thinner/cheaper sheets to destroy.
1 Like
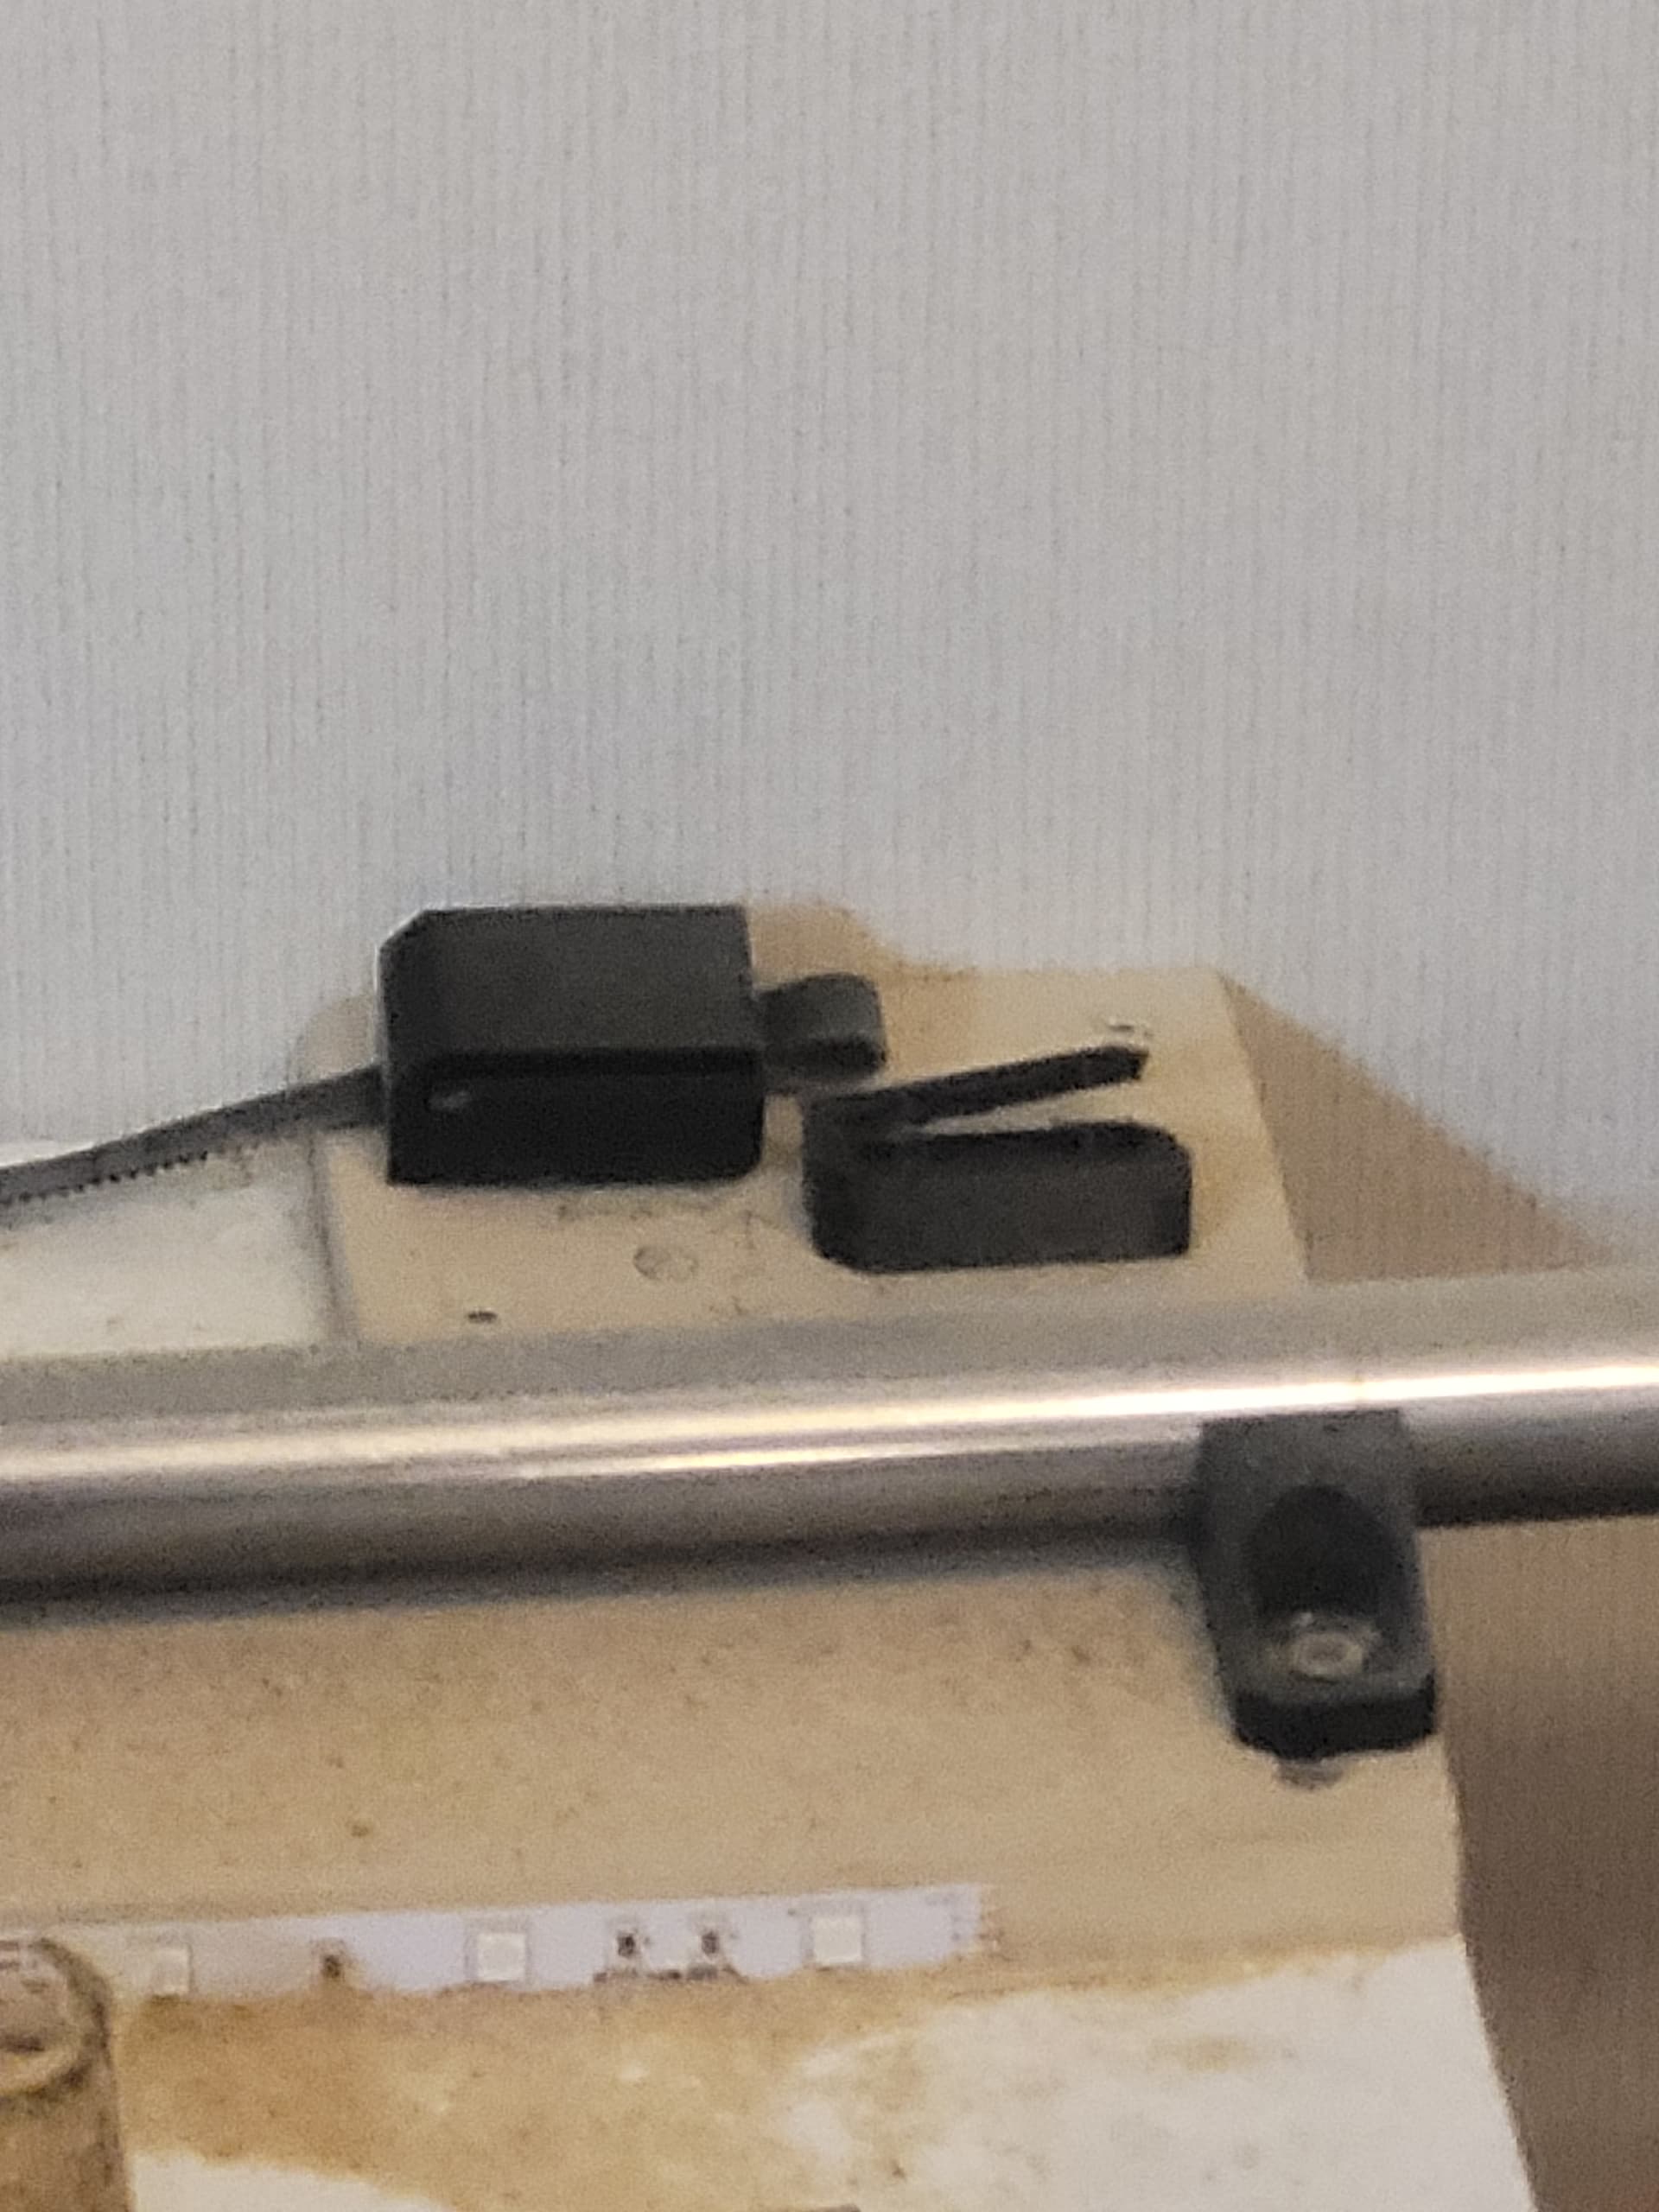
Traming and surfacing was kind of a pain. First surface pass was really bad and exposed the tramm being out a bit. Was bad enough my fingernail could grab the sawtooth effect left by surfacing. Honestly ended up shimming it with a little bit of eletrical tape on the upper ring and now it is smooth to the touch but need to make 1 more pass due to a low spot in the opposite corner from 0,0.
Creality Canada has a deal 1 free gift with purchase over 500CAD. Ordering so ordering a K1C allowed me to get a 10W creality laser as a free add-on and the plan will be to attach that to the lowrider in the not too distant future but that will be it’s own project after I get some more detailed work out of the low rider.
Also the hose entender broke near the mounting hole, so printed a second with 100% infill around the mounting hole and it then broke where it transitions from 100% infill to lesser infill. So going to reprint it at 100% for the whole model. I think i’ll also avoid zip tying the hose in place next attempt
1 Like
K1C and the Creality 10W laser arrived last night. Still surprised they let me select it as a free add-on will need to figure out how to attach and hook up the laser to the low rider but it is lower on the priority list.
Re–printed the hose extender for a 3rd time filling in the opening for the bolt mount and at 100% infill on the K1C after a little bit of initial setup. Took ~90 minutes, on the modified ender 5 that is a 6 hour+ print job. The difference in overall speed is impressive when I’m used having something that doesn’t move this fast.