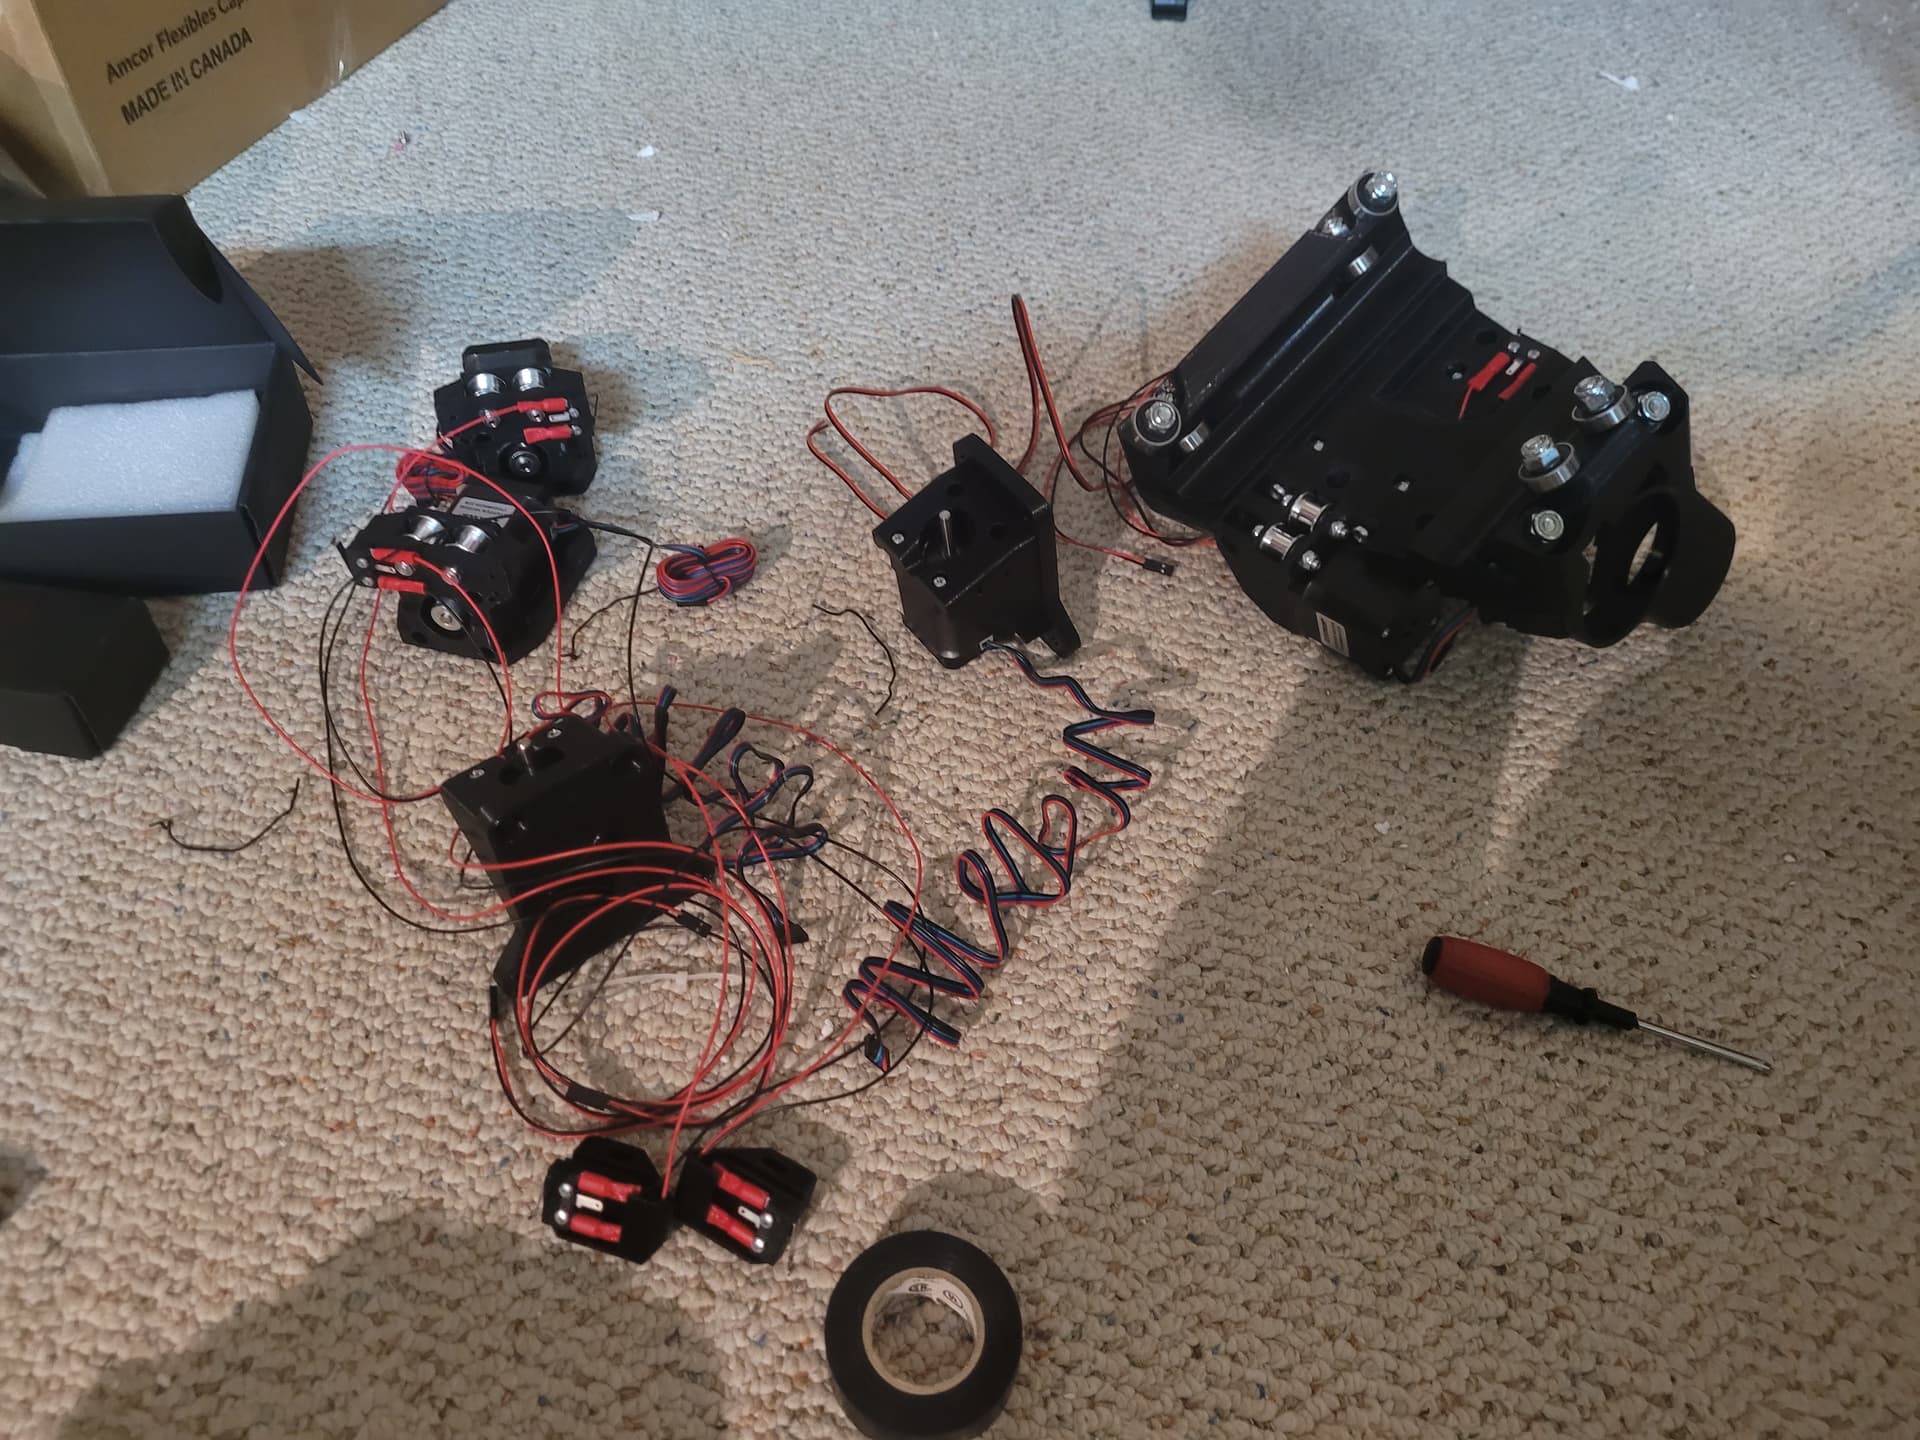
Started working through the steps on the website. Paused on the XZ plates for right now as they appear to be missing (just fired off an email). Ill go cut some conduit before the sun sets so i can get a little more done tonight and just skip that for now.
I did run into 1 thing one other thing on the tool head and I ignored it last night but im wondering if it might be important.
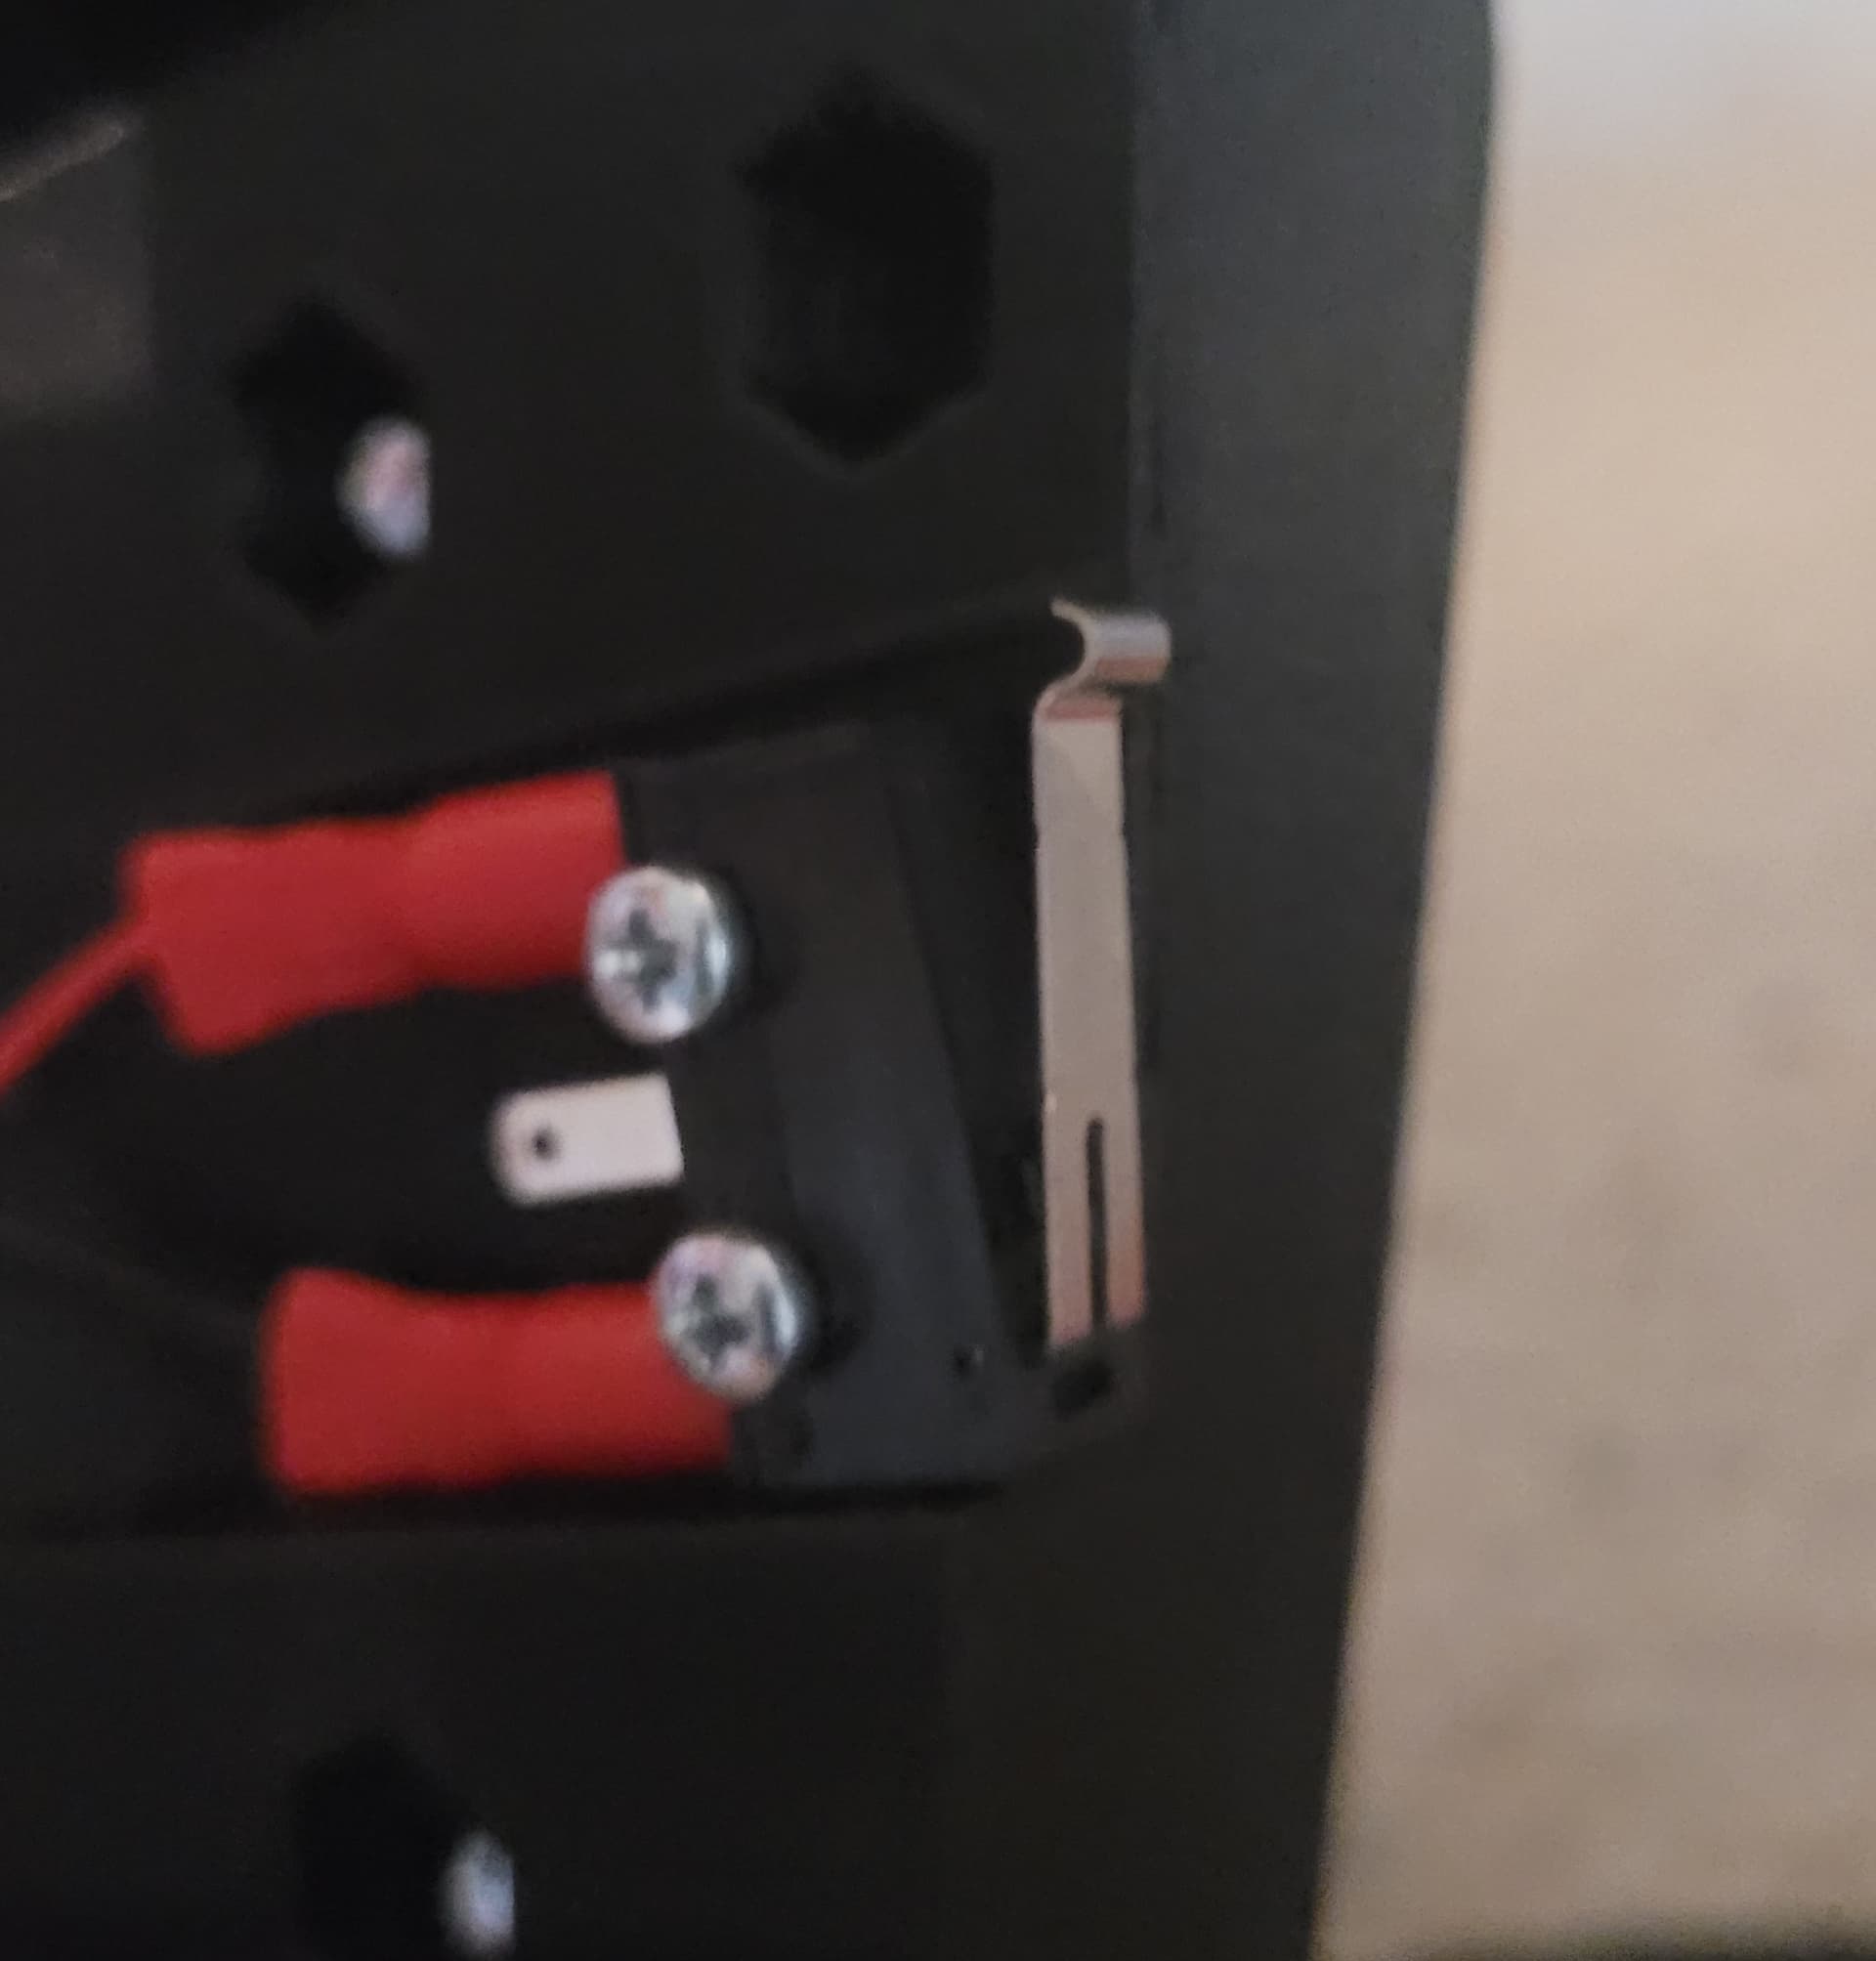
The seembly instructions show 2 different limit switches. I was looking for posts touching on it but if someone brought it up I must have missed it. The one on the tool head shows a little roller ball making it quite a bit larger but all of mine are the same smaller style with the little bend in them.
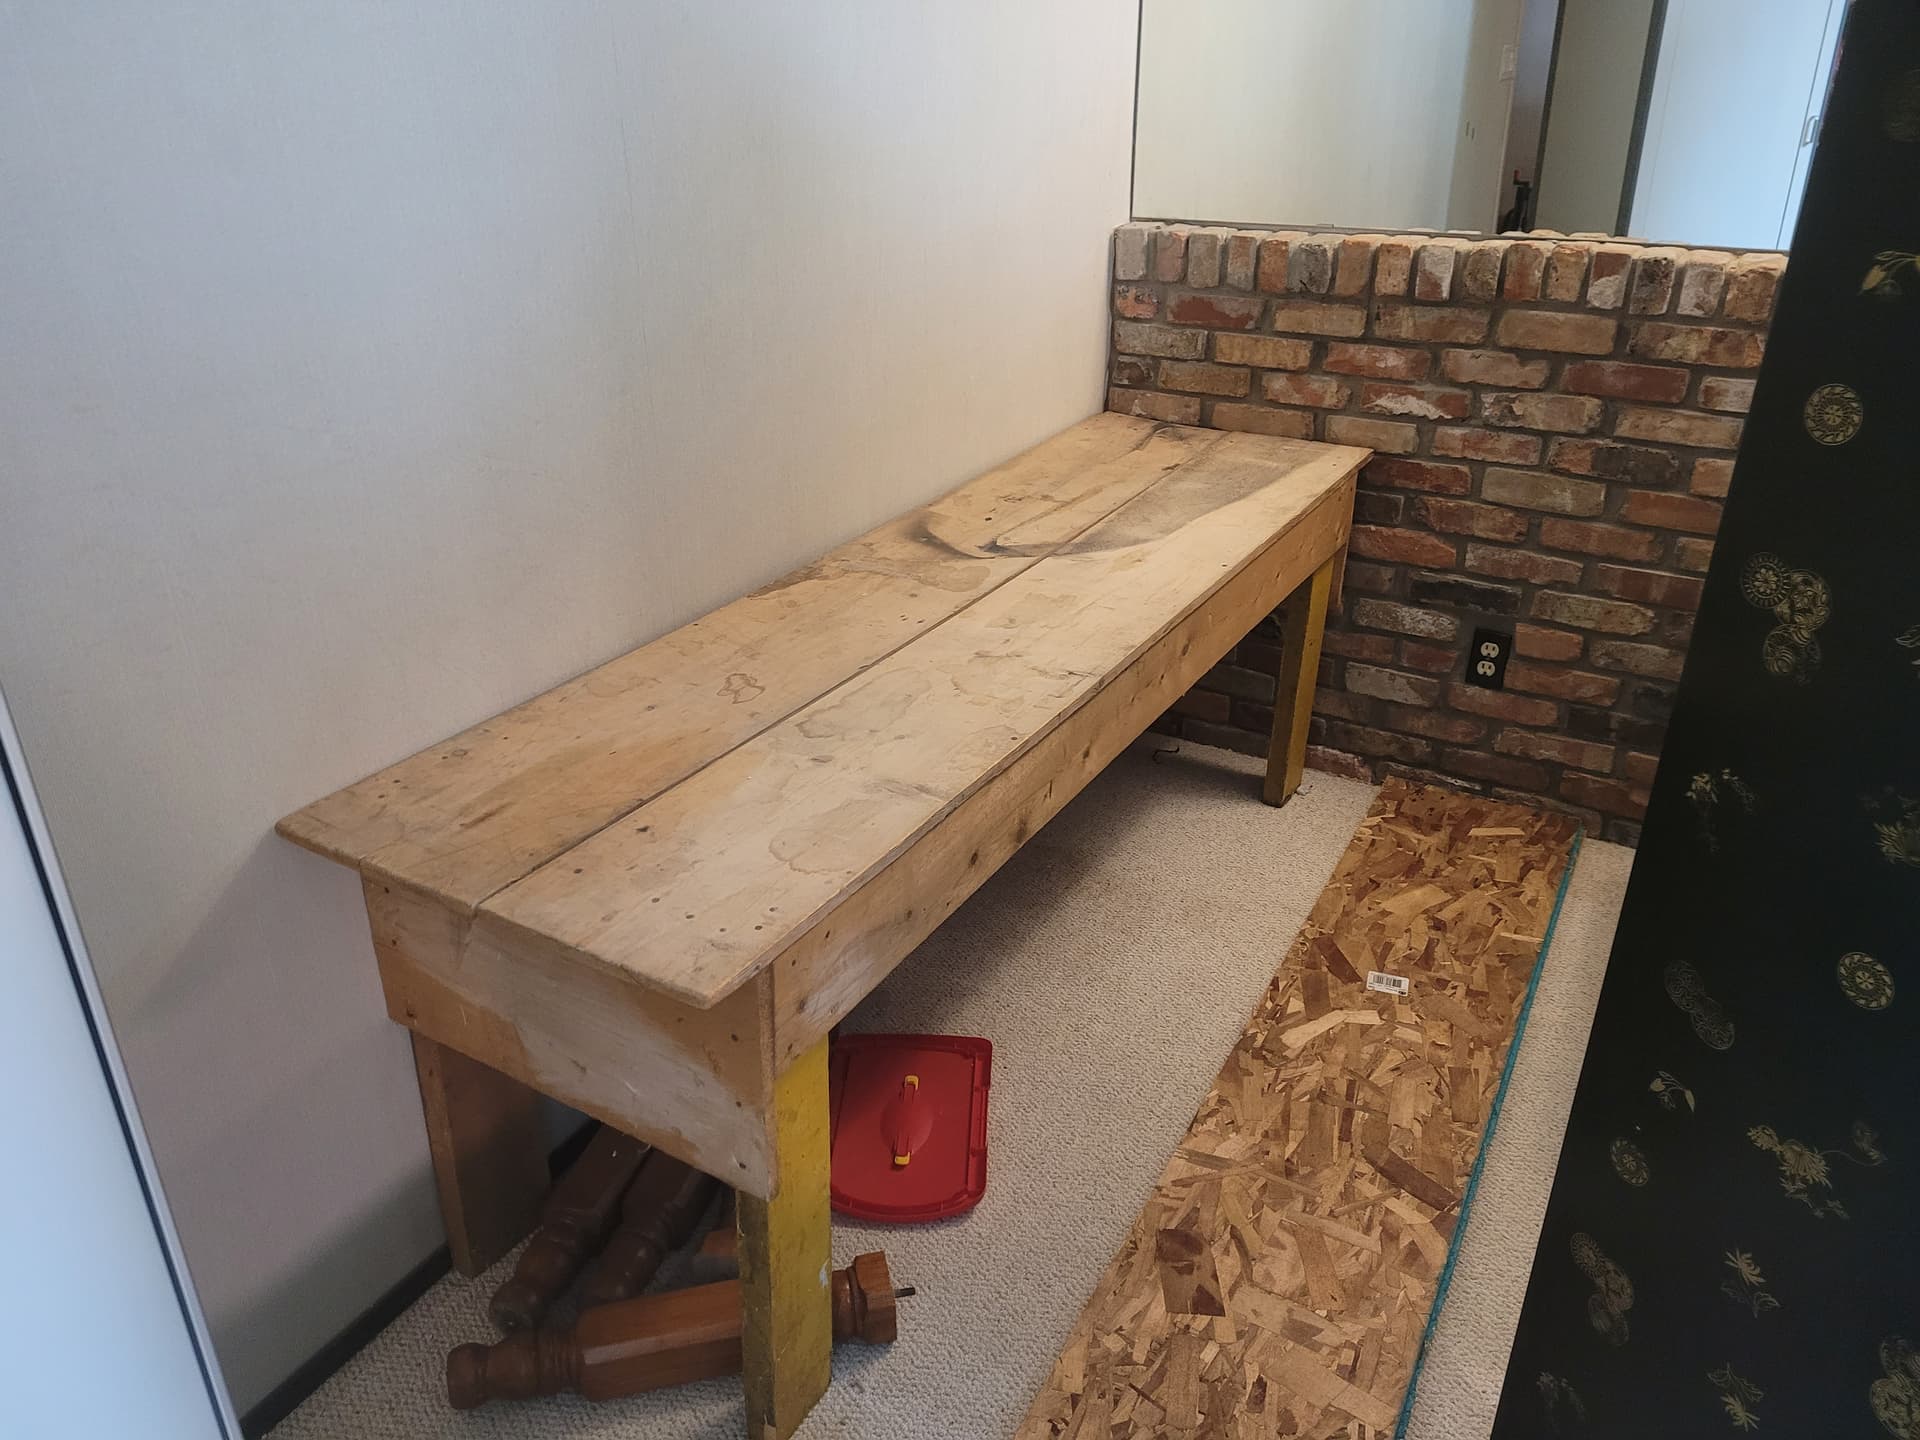
Made some more progress. Today im focusing on getting the table built. Have a smaller workbench that was left here. Not much of a starting point but between it, some scrap wood from past projects and a little bit of wood from the hardware store i do have a plan.
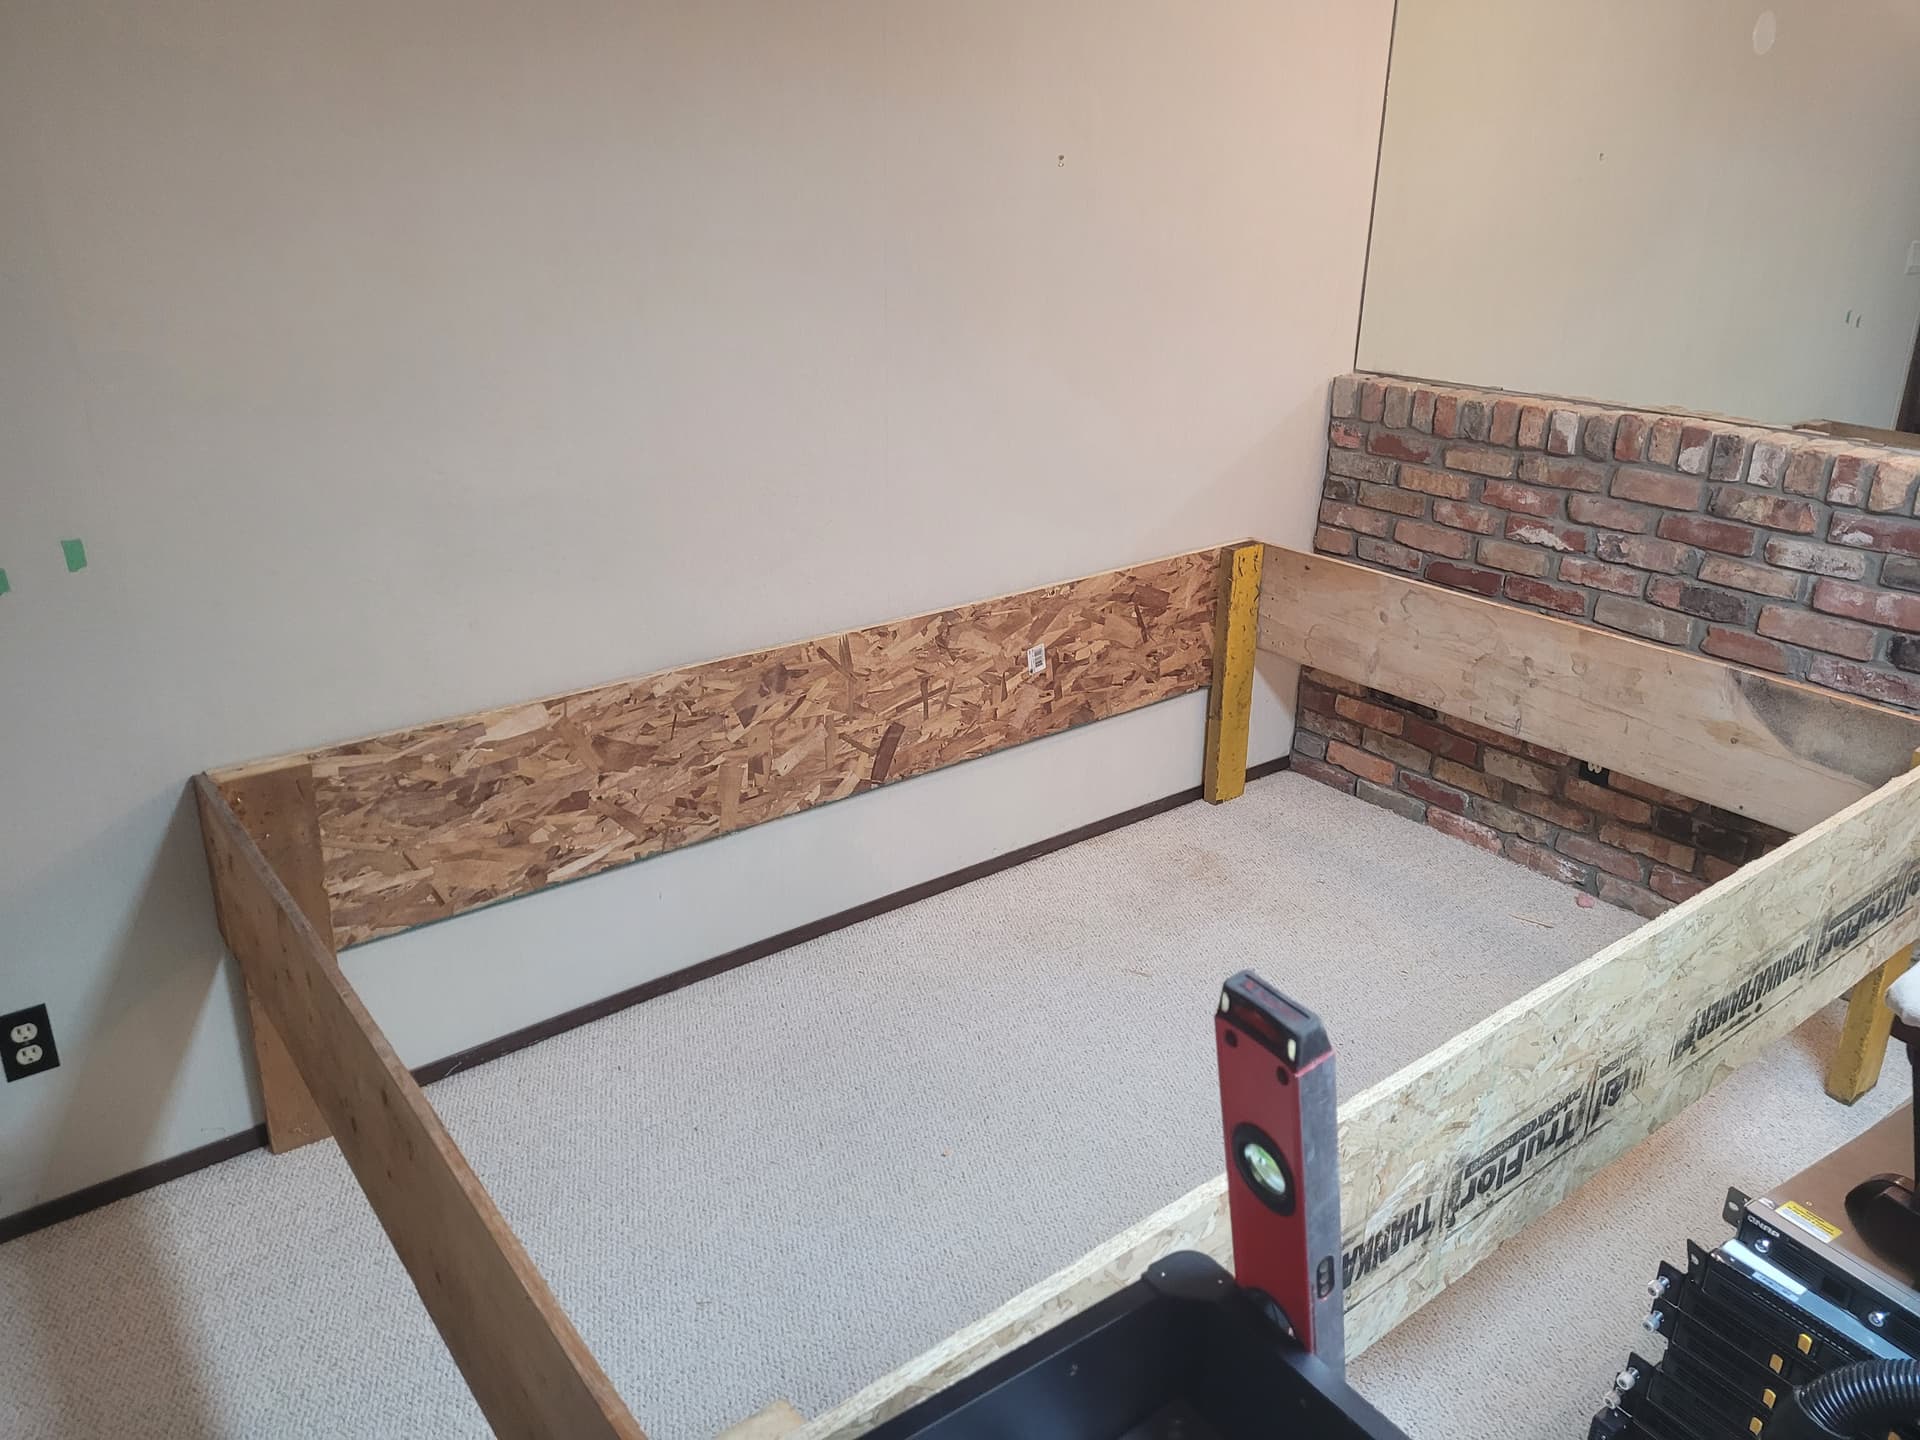
Workbench left behind that was in the garage by the previous owner of the house. Top turned i to the end supports, legs reused, OSB on the sodes leftovers from building a shed this summer. 2x4 braces not visible in the pictures all left over scrap.
Only the 2 thin sheets of OSB for the top and 2 sheets of MDF have even been purchased at this point.
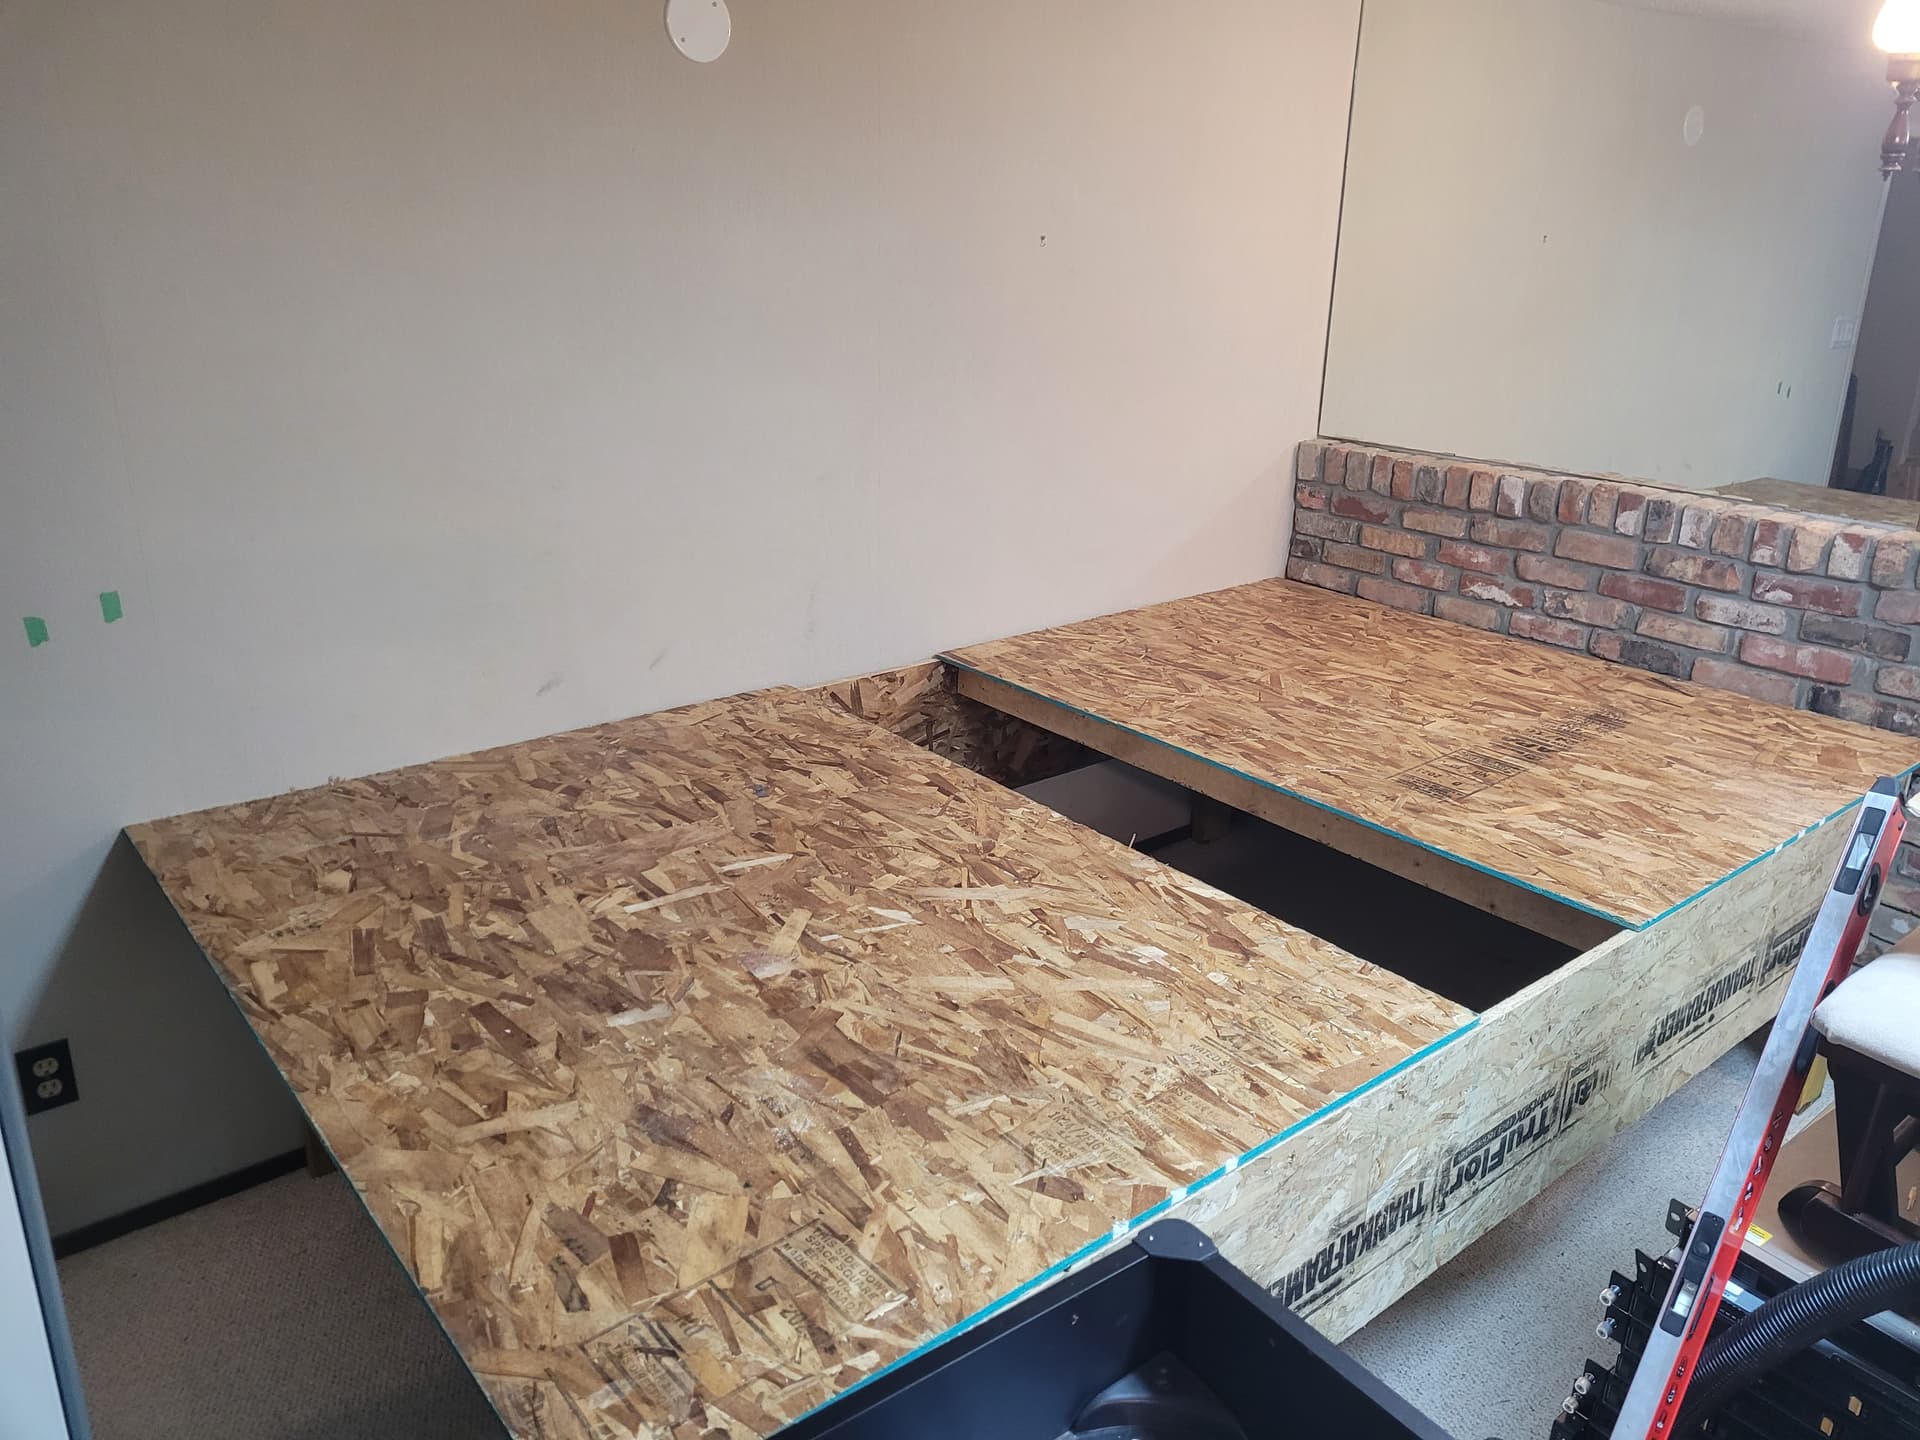
The table is 65"x115". There is a 7" overhang on each end right now that ill add some extra bracing on. Plan to used full sheet of MDF as a spoilboard and a few strips of MDF for the rail/rider ends of tbe gantry. I might not bother to even fill in the gap in the middle since the gaps will be covered by the MDF strips.
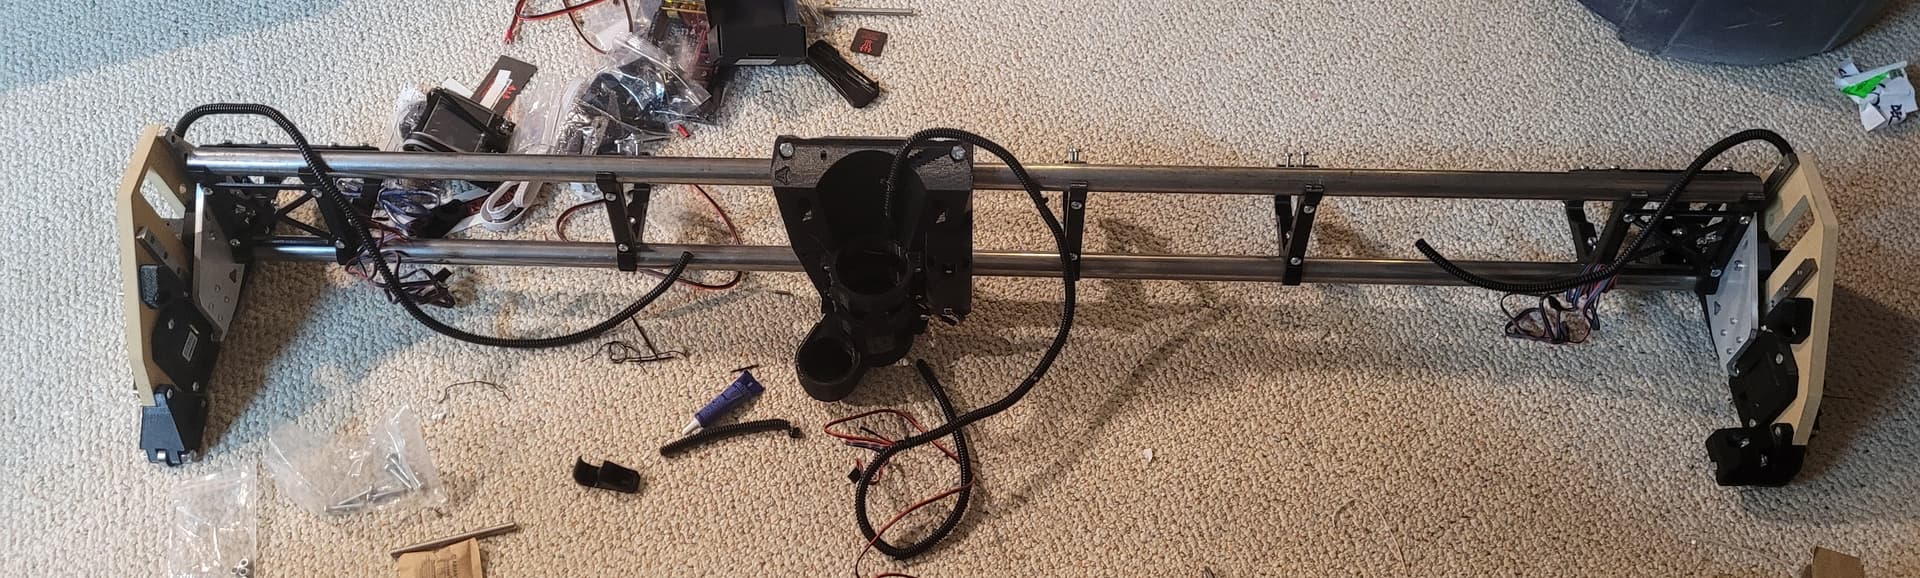
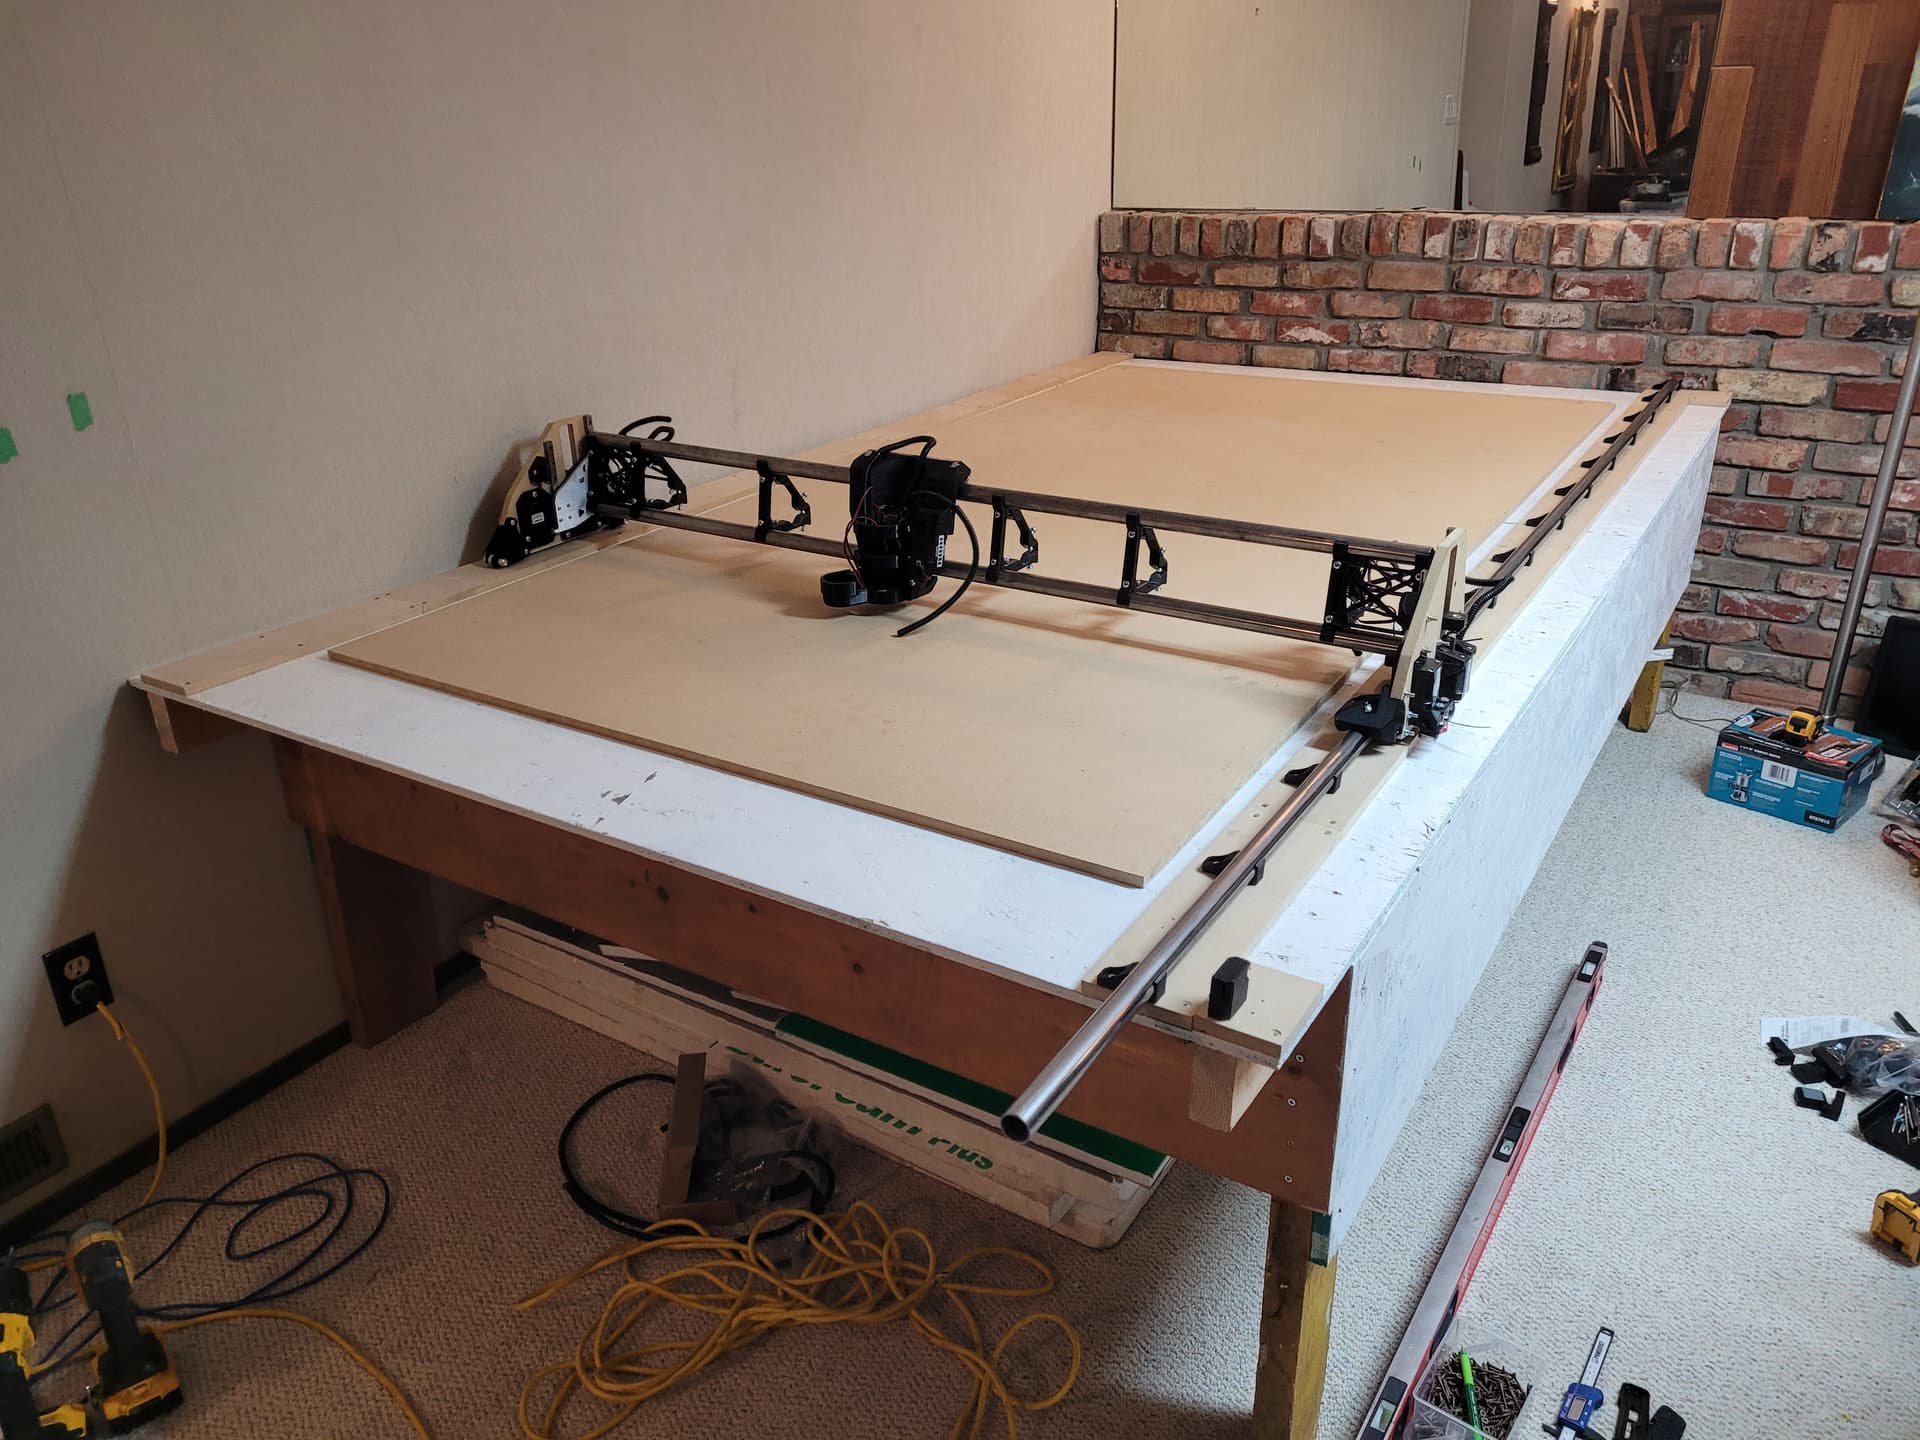
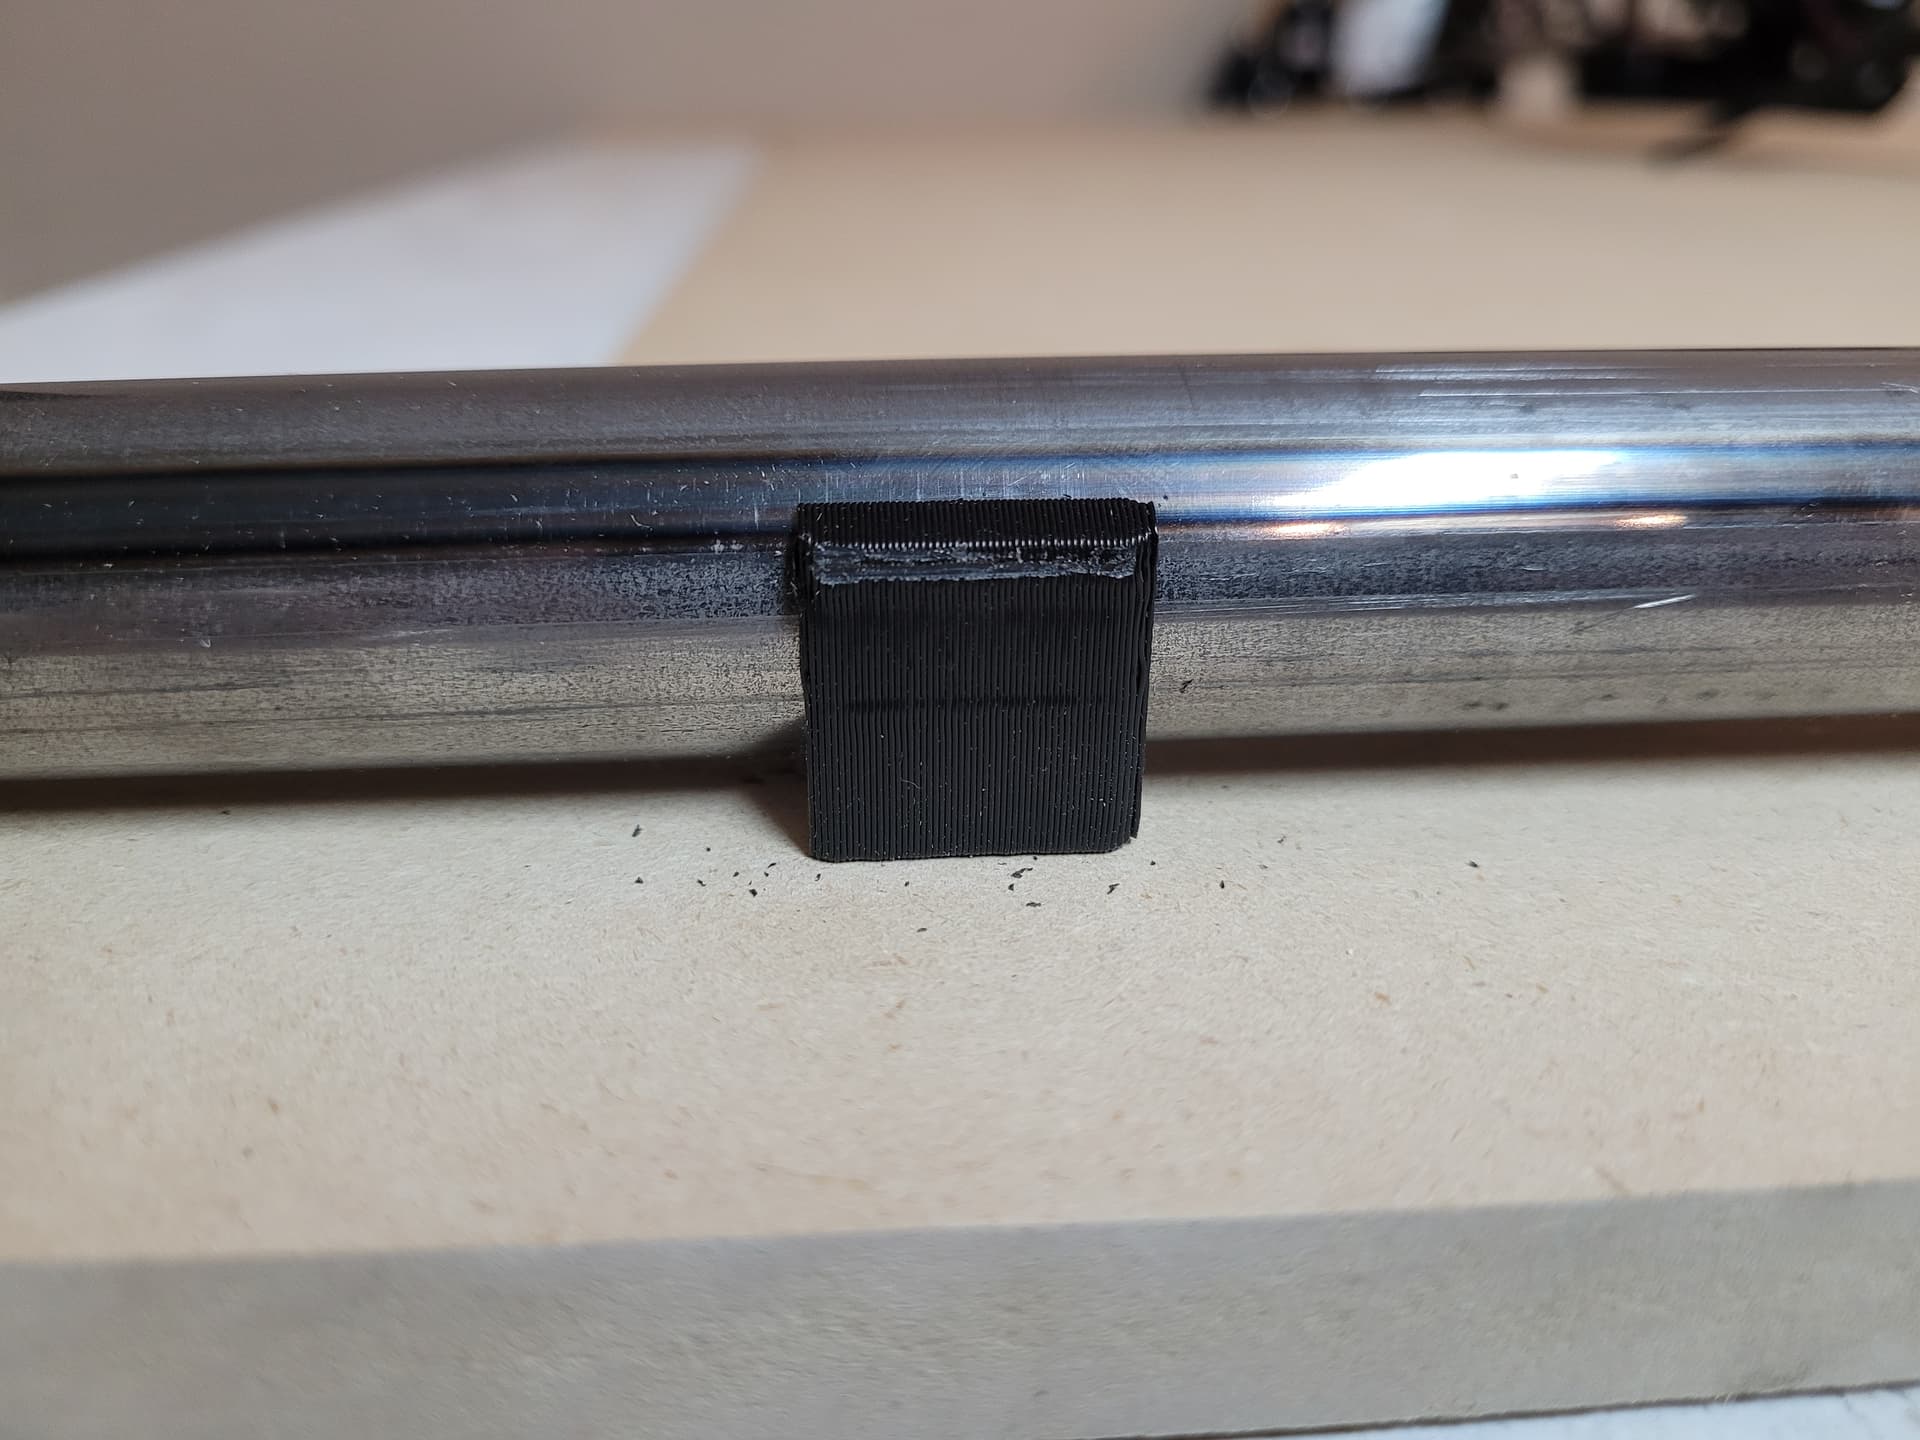
Pipe and first belt mounting in place (need to trim the pipe)
Need to reread all the alignment stuff again though and double check screws as sometimes the heads are making contact with the pipe brackets when i roll it back and forth.
I just noticed this and I don’t an LR3 so not sure if it matters, but most people install the fixed rail up against the wall so that the machine is facing to the right. I think this is because the control box is designed to be mounted on the side of the machine that does NOT have the rail on it.
Hopefully someone else will chime in with their thoughts on this.
There are some things like a full sized server rack that have been temporaily moved out of the way while i asseble this. So end loading is what i intended to do as those items will be in the way again.
I was origionally going to put the bar against the wall but that also meant i was going to have the router facing away from me making bit changes and such more complicated. I had not considered the control board being side specific, i had assumed it could go on either side… ill have to look into that. The table is light enough i can still flip the whole thing around if it comes down to that.
…
I did seem to figure out why the screws were making contact with the bar mounts. There is a couple low points in the MDF runners. I went back and started shimming it out a little bit and it seems to have made a difference. I need to finish checking the other side.
Miscut belt so waiting on more to show up as it leaves me a touch short.
Did the wiring today… wire that was with the touch plate isnt the same kind as the images and wont actually reach the control board with the x-axis on the far side so need to figure that out as well.
Screen & power ill finish tomorrow. Belt and touch plate will delay me some more.
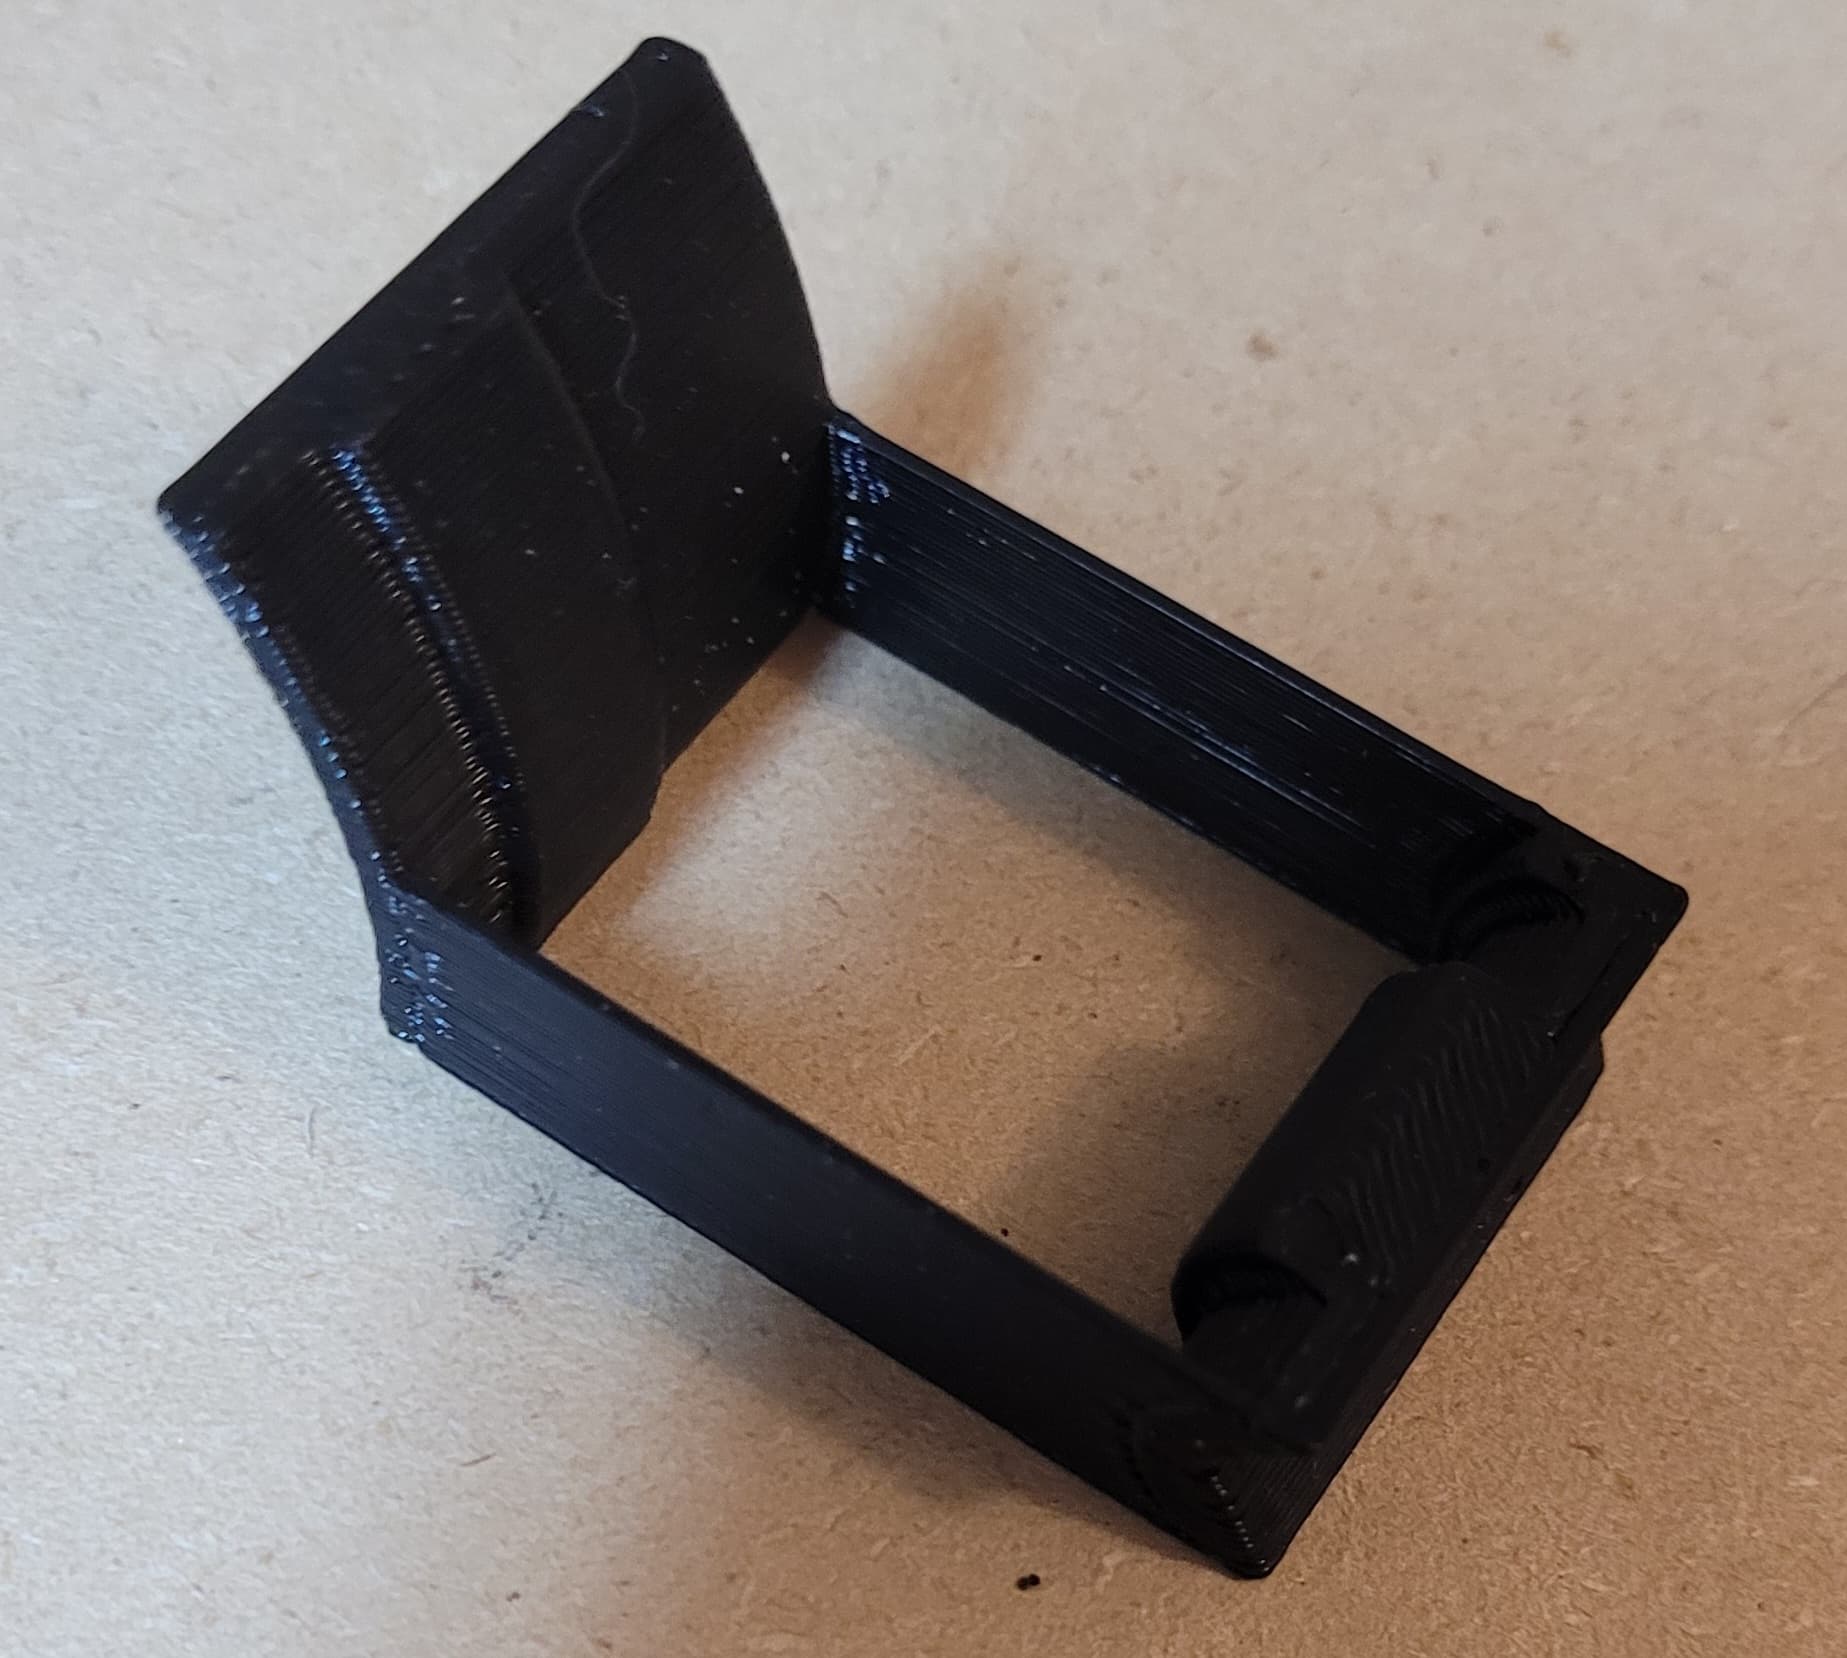
Thank you looking up pen holders i found similar attachments.
It has power now, y homing is working (had to flip the motors. Z homing is working, only had to flip 1 as they went in opposite directions.
X homing/movement is conpletely wrong though. Just vibrates back and forth with out actually moving. Cut power moved it manually a bit and power back up and does the same thing in a different spot. Not quite sure what is wrong or how to fix this yet.
you have wiring issues. Either a connection is loose or the motor cable was pinned wrong. If you got your motors from Ryan that usually isn’t the case. I would check all your connections from the core back to the control board.
And thank you, your response was very helpful. I took the cover off the controlboard double checked connections and tried moving it without the cover in place and it moved properly. I must have nudged it a little when i slid the cover in place after trying to get the y/z to move correctly.
Now to attempt squareing this thing as per the directions.
Last night re-leveled it. Rotating the whole table around for the screen to be on the outside and pipe rail against the wall shifted a few things since I built the table in place. Started squaring, figured out how to restrict z movement to 80 instead of 200 etc.
Was out by about 12mm running the squareness test. I think my 1 stop block is forward more than the other. Didn’t get to do a followup test after adjusting the offset, hopfully I can get that far tonight.
One thing i’m finding is that the z-stop during homing right by the screen hasn’t be 100%. Double, tripple check that the cable was seated properly etc and out of like 6 attempts had it fail twice.