I got some time to play. I did this carve/resin/plane off the back thing, unfortunately I did it in Sapele, so the resin, rather than being beautifully transparent, is full of fine threads I didn’t notice. Still, quite a nice overall effect. Big news was I dipped my toe into the field of aluminium, and it went rather well. I bought some (cheap) 2 flute endmills off ebay (£7 for 5!), and they seemed to do the job. I’m sure my settings are way wide of optimal, but they’re a starting point. I kept loads super low, but I easily cut out a 30 x 30 x 2 mm hole in about 15 minutes. I could’ve gone faster, but I was enjoying watching it
From what I’ve seen in the forums and read on other sites the working envelope for aluminum is pretty narrow. If its working well at all you’re probanly much closer to optimal than you think.
After all, working is better than not working, and that’s the biggest chasm to get across.
A couple of things…
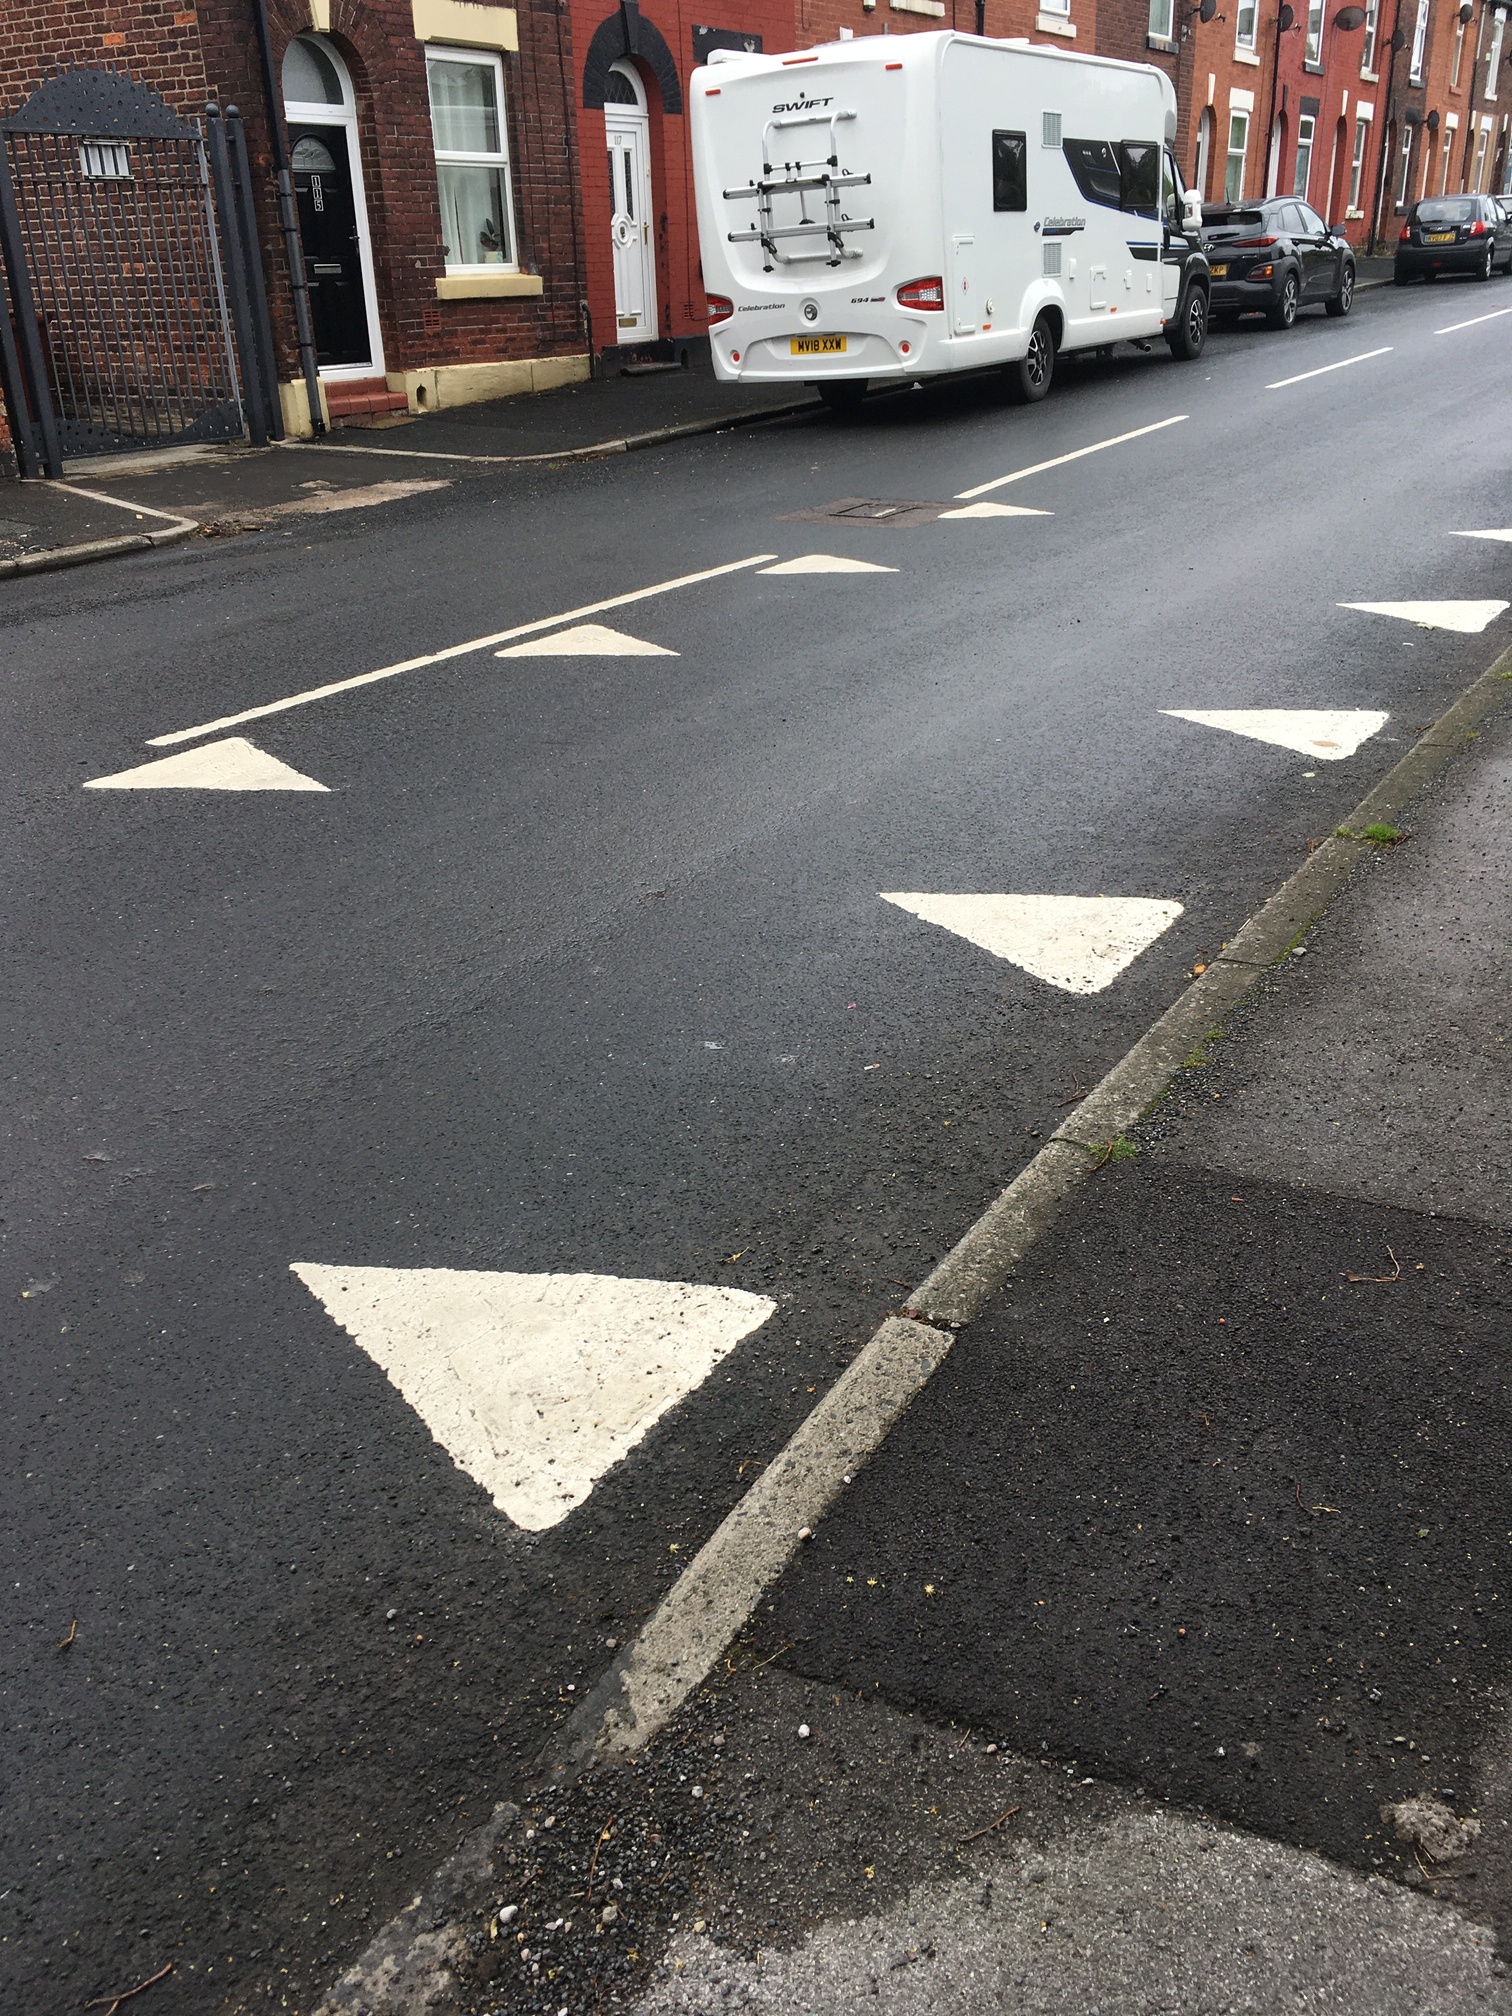
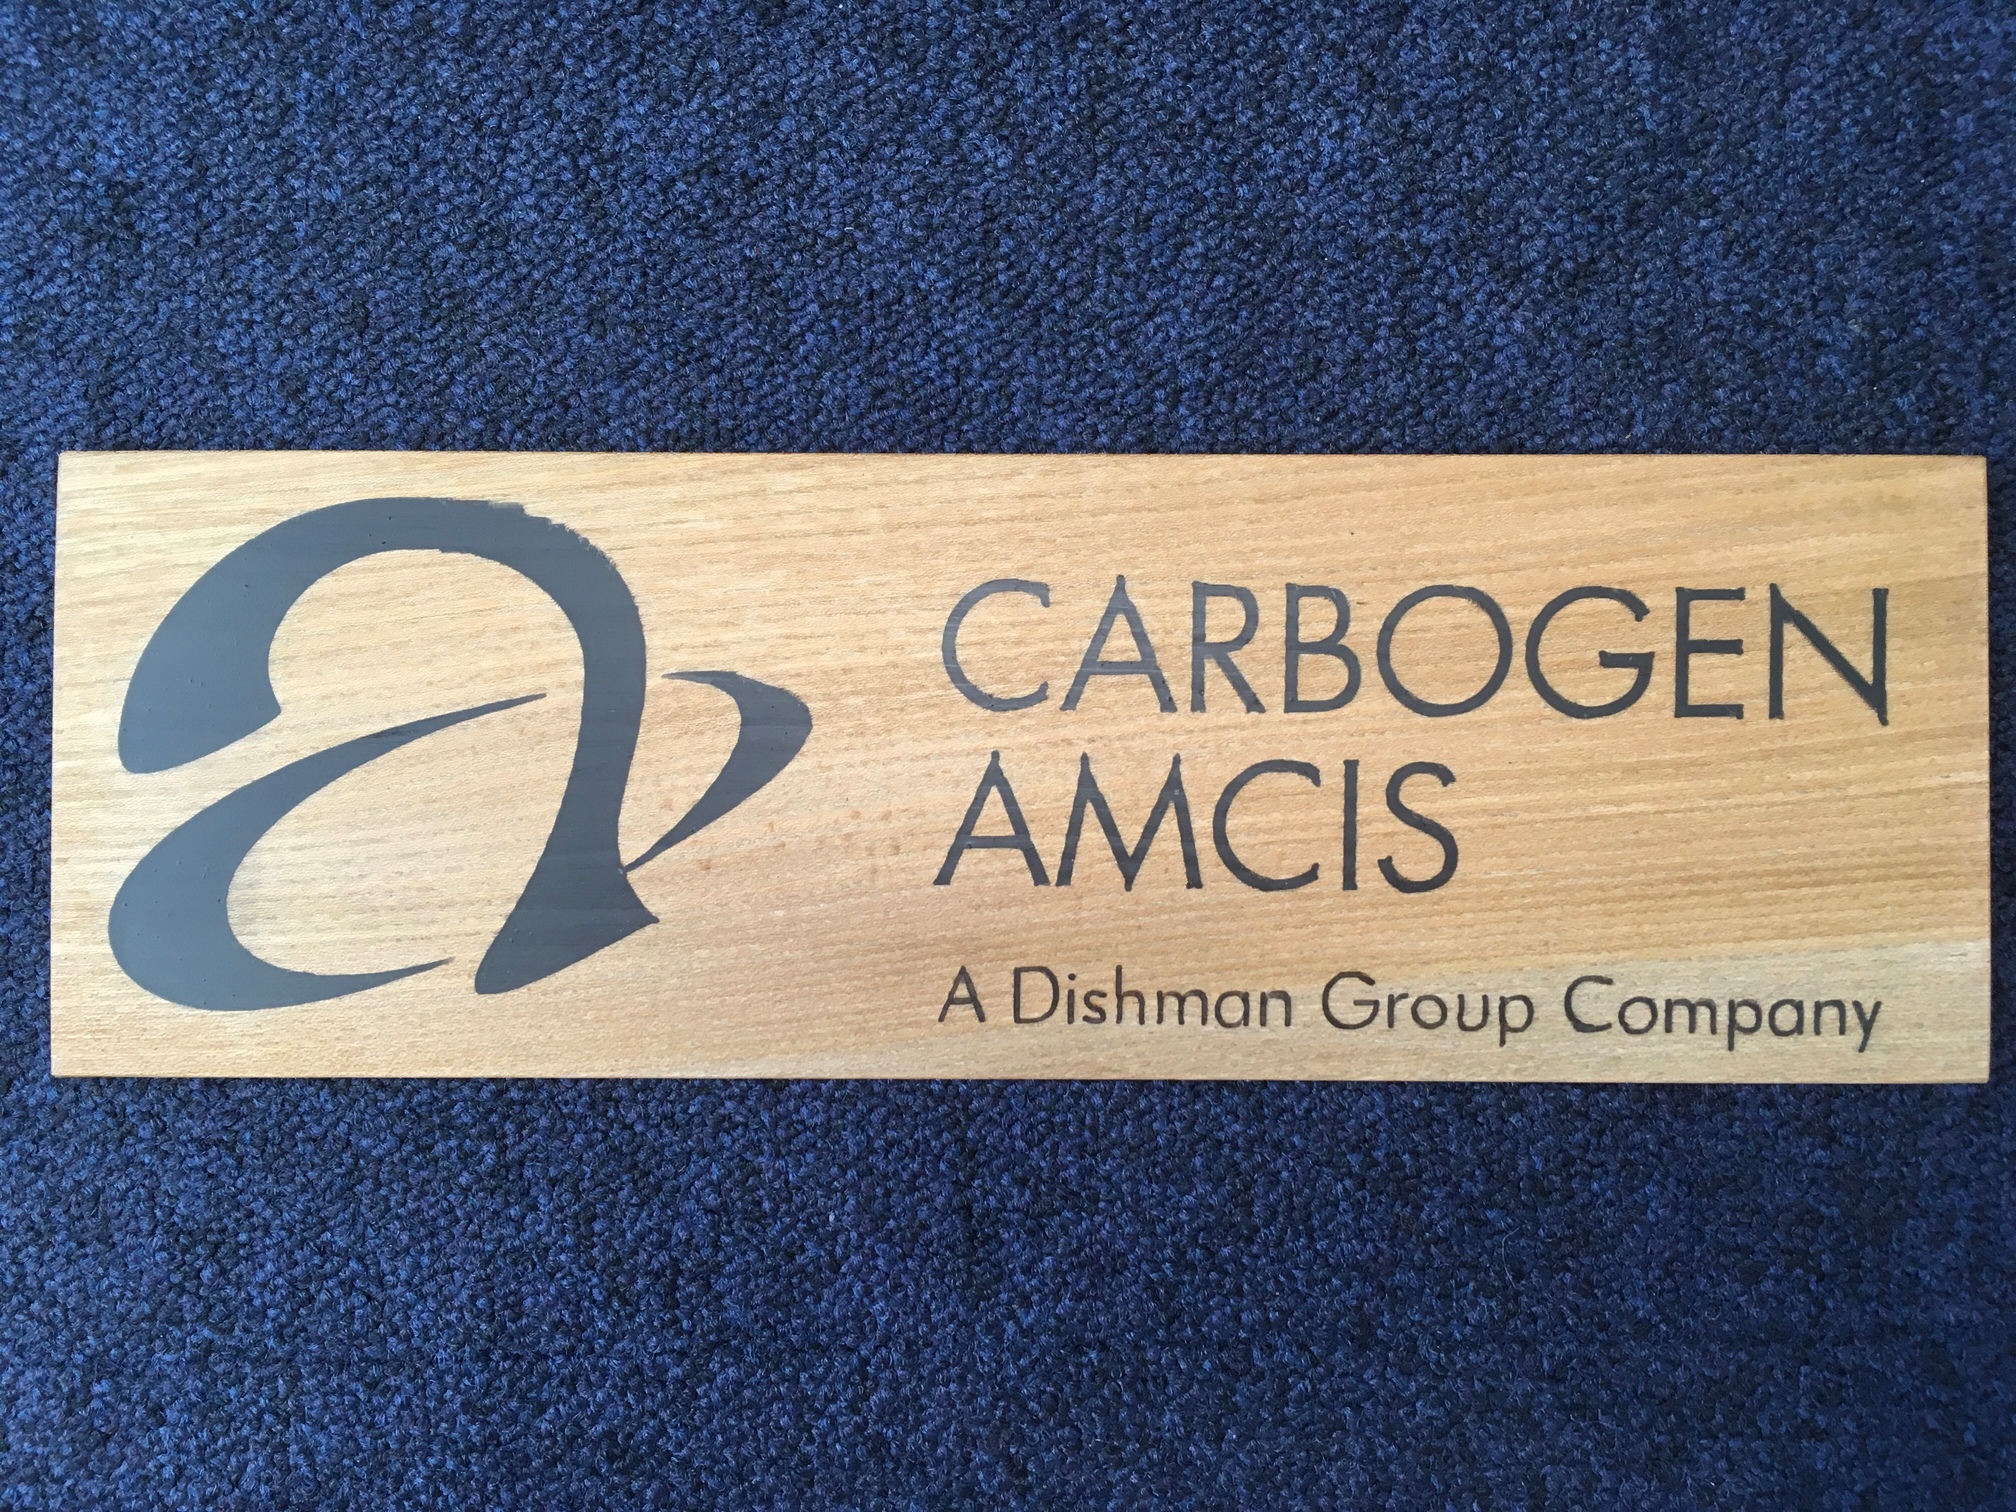
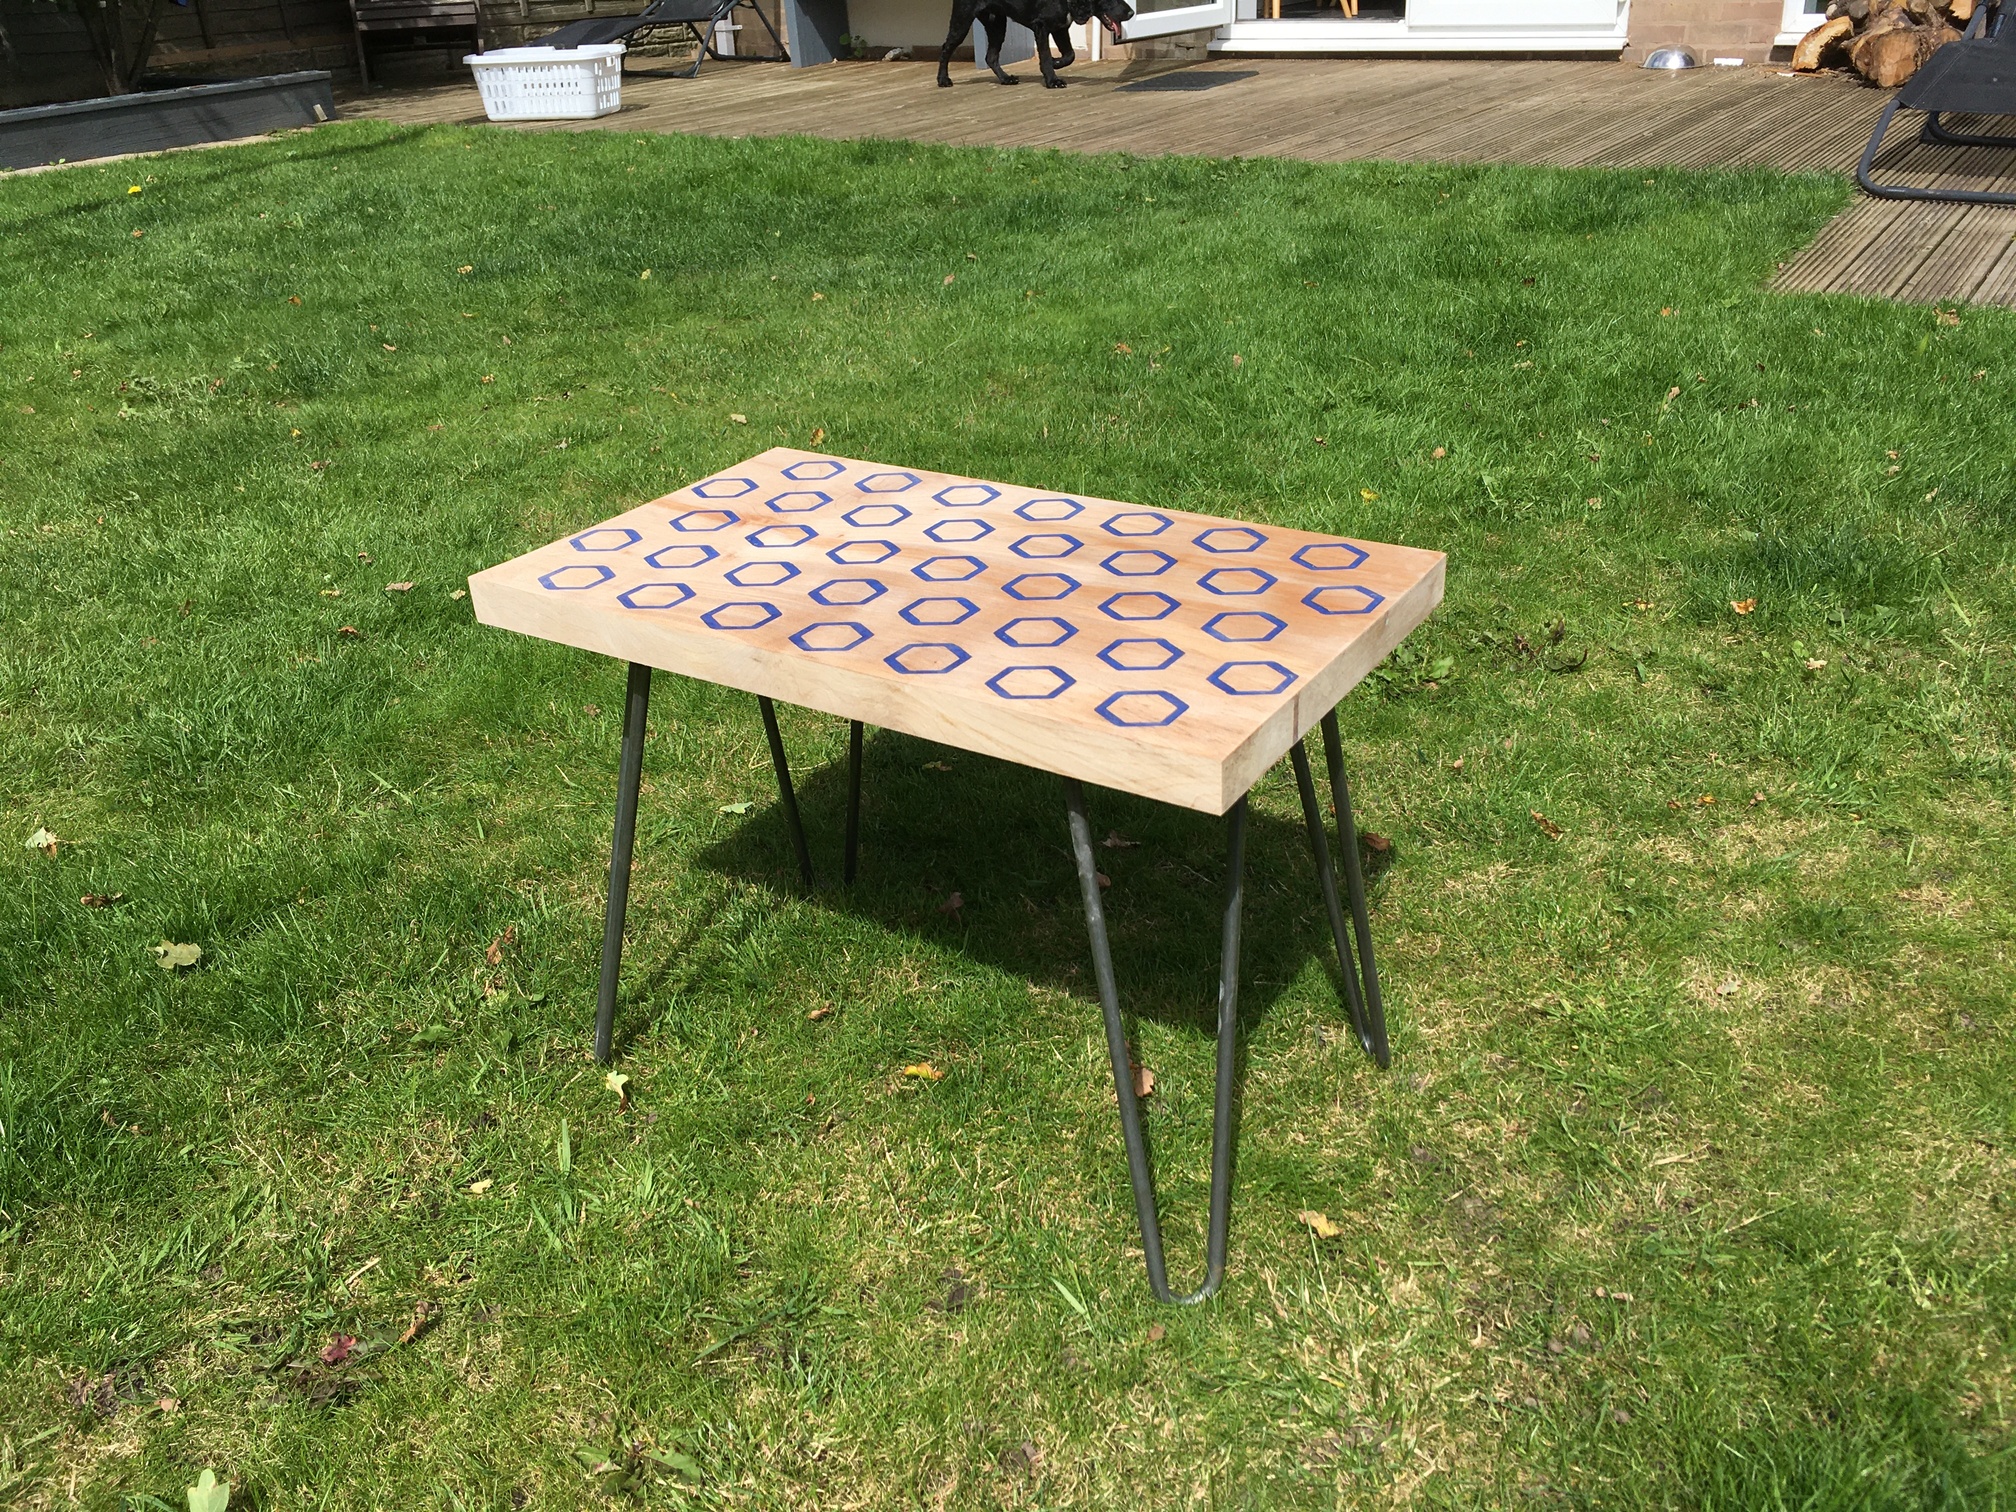
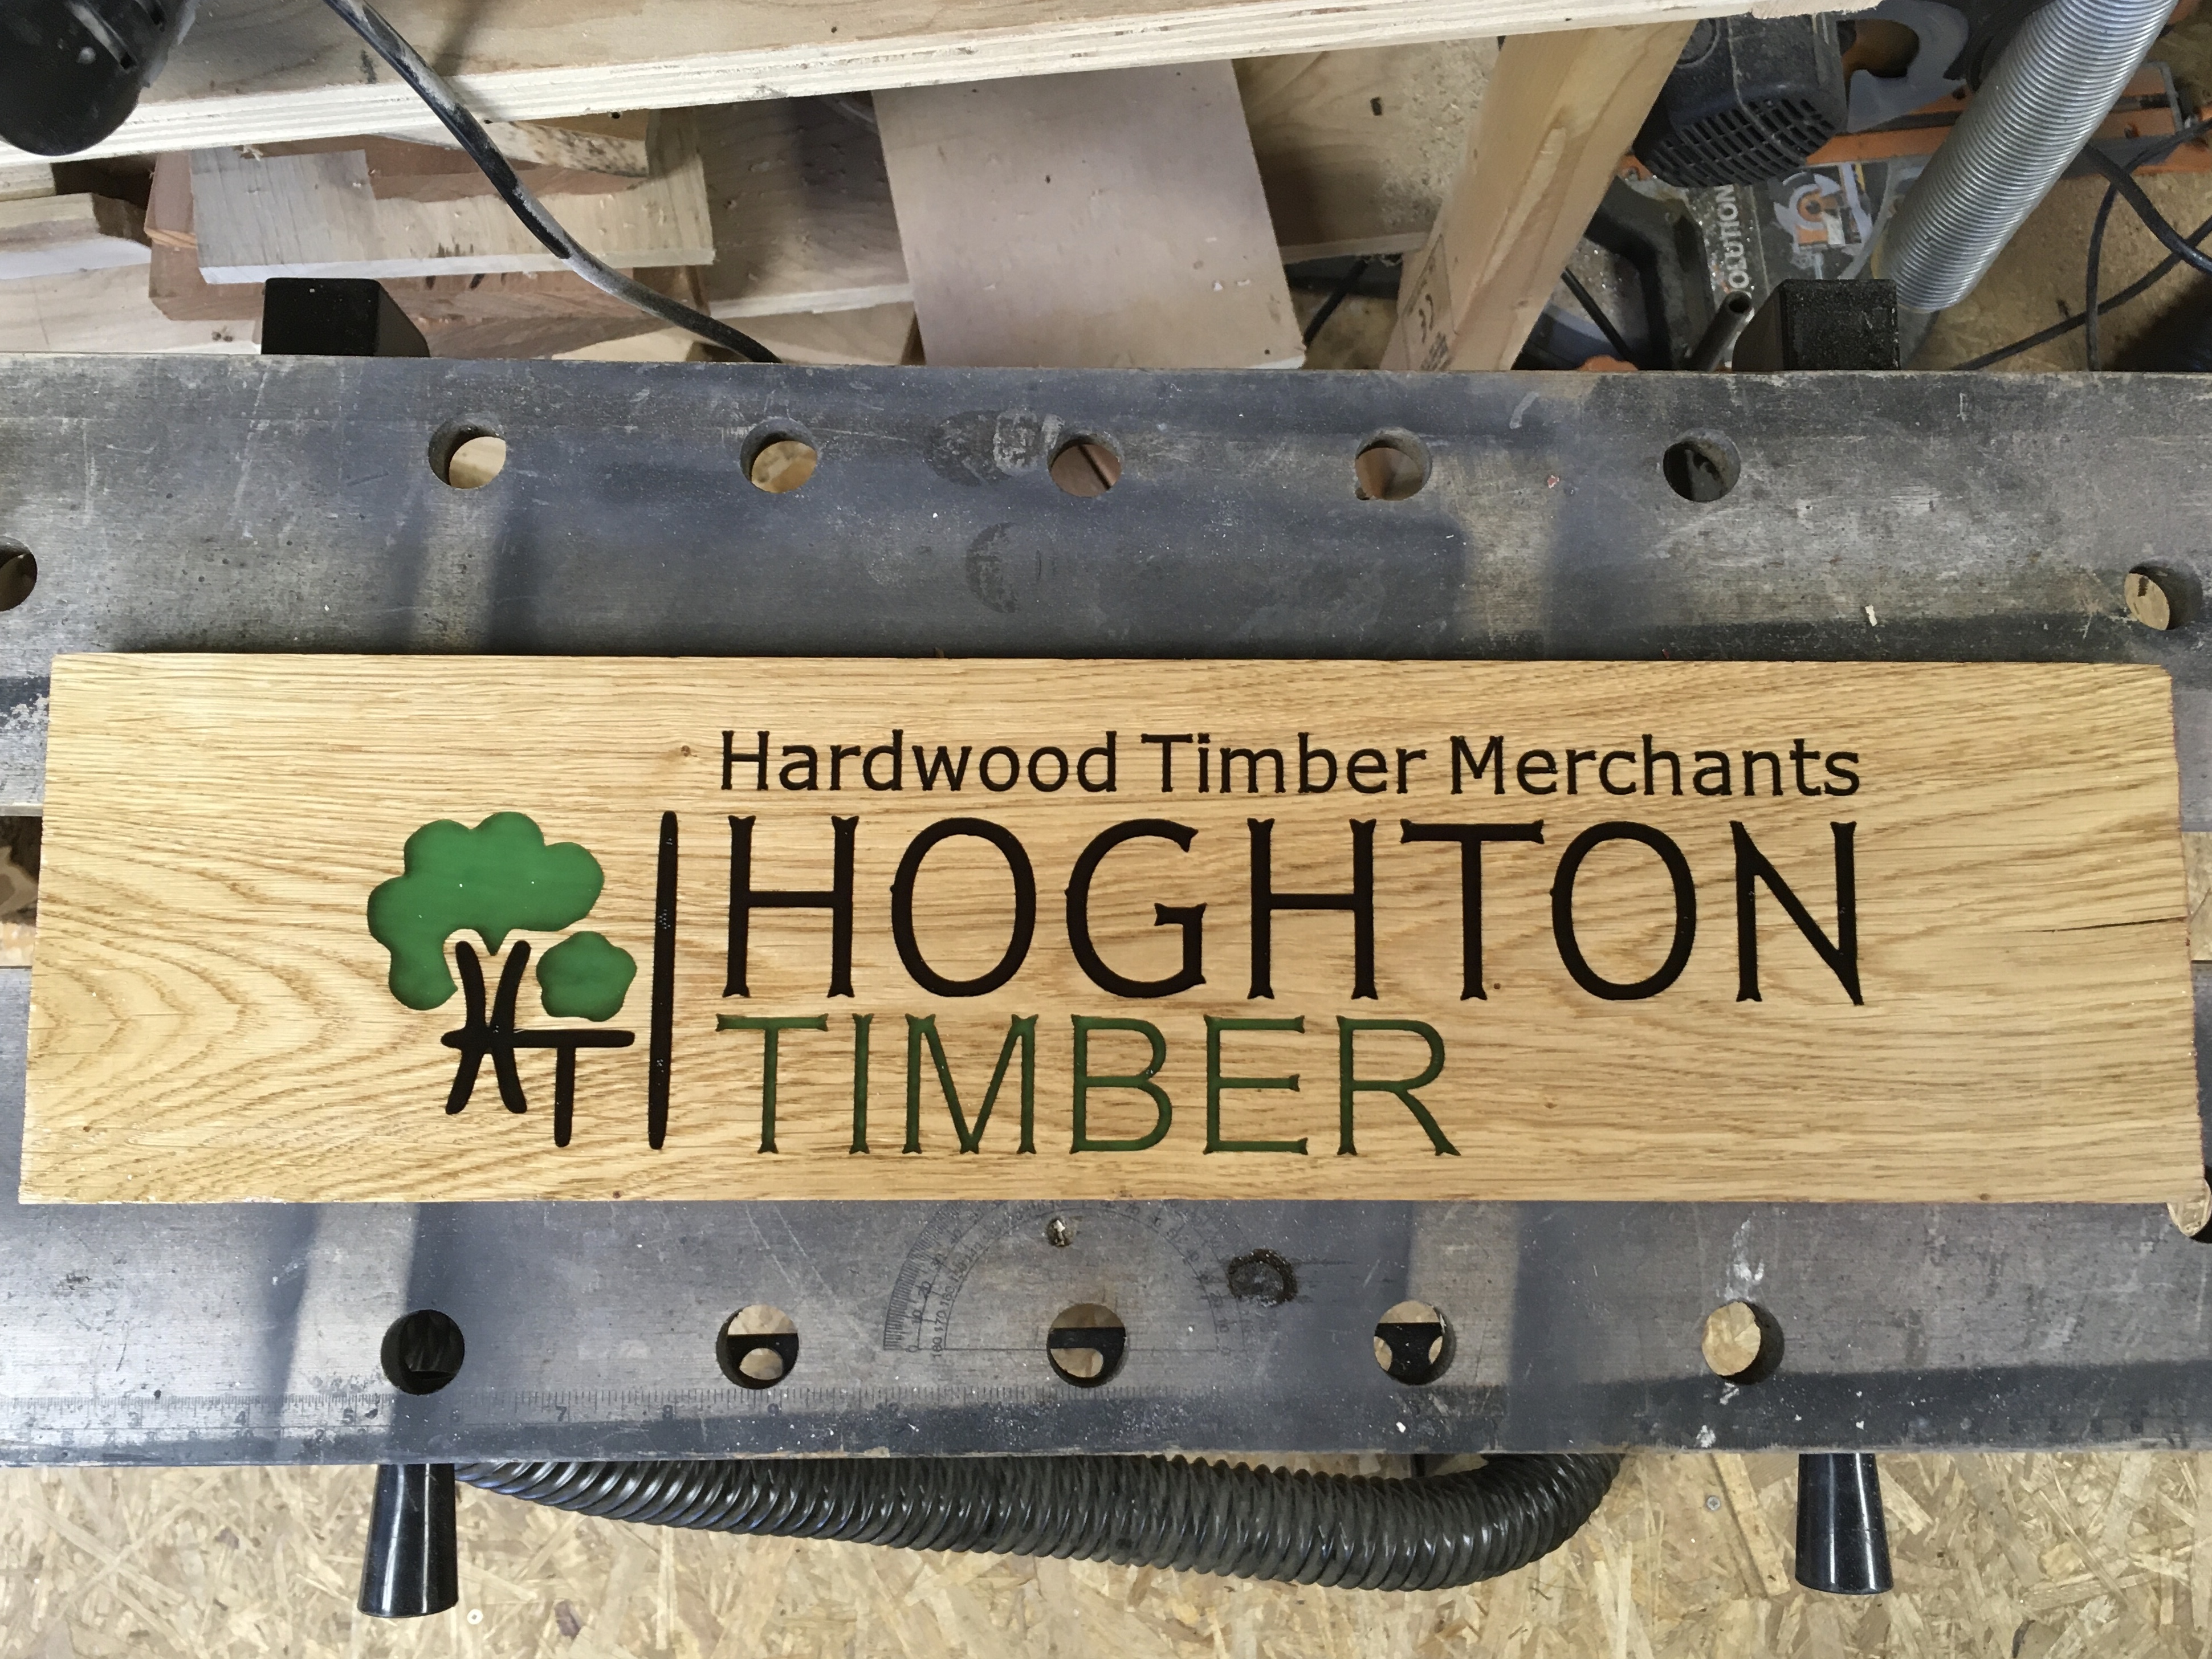
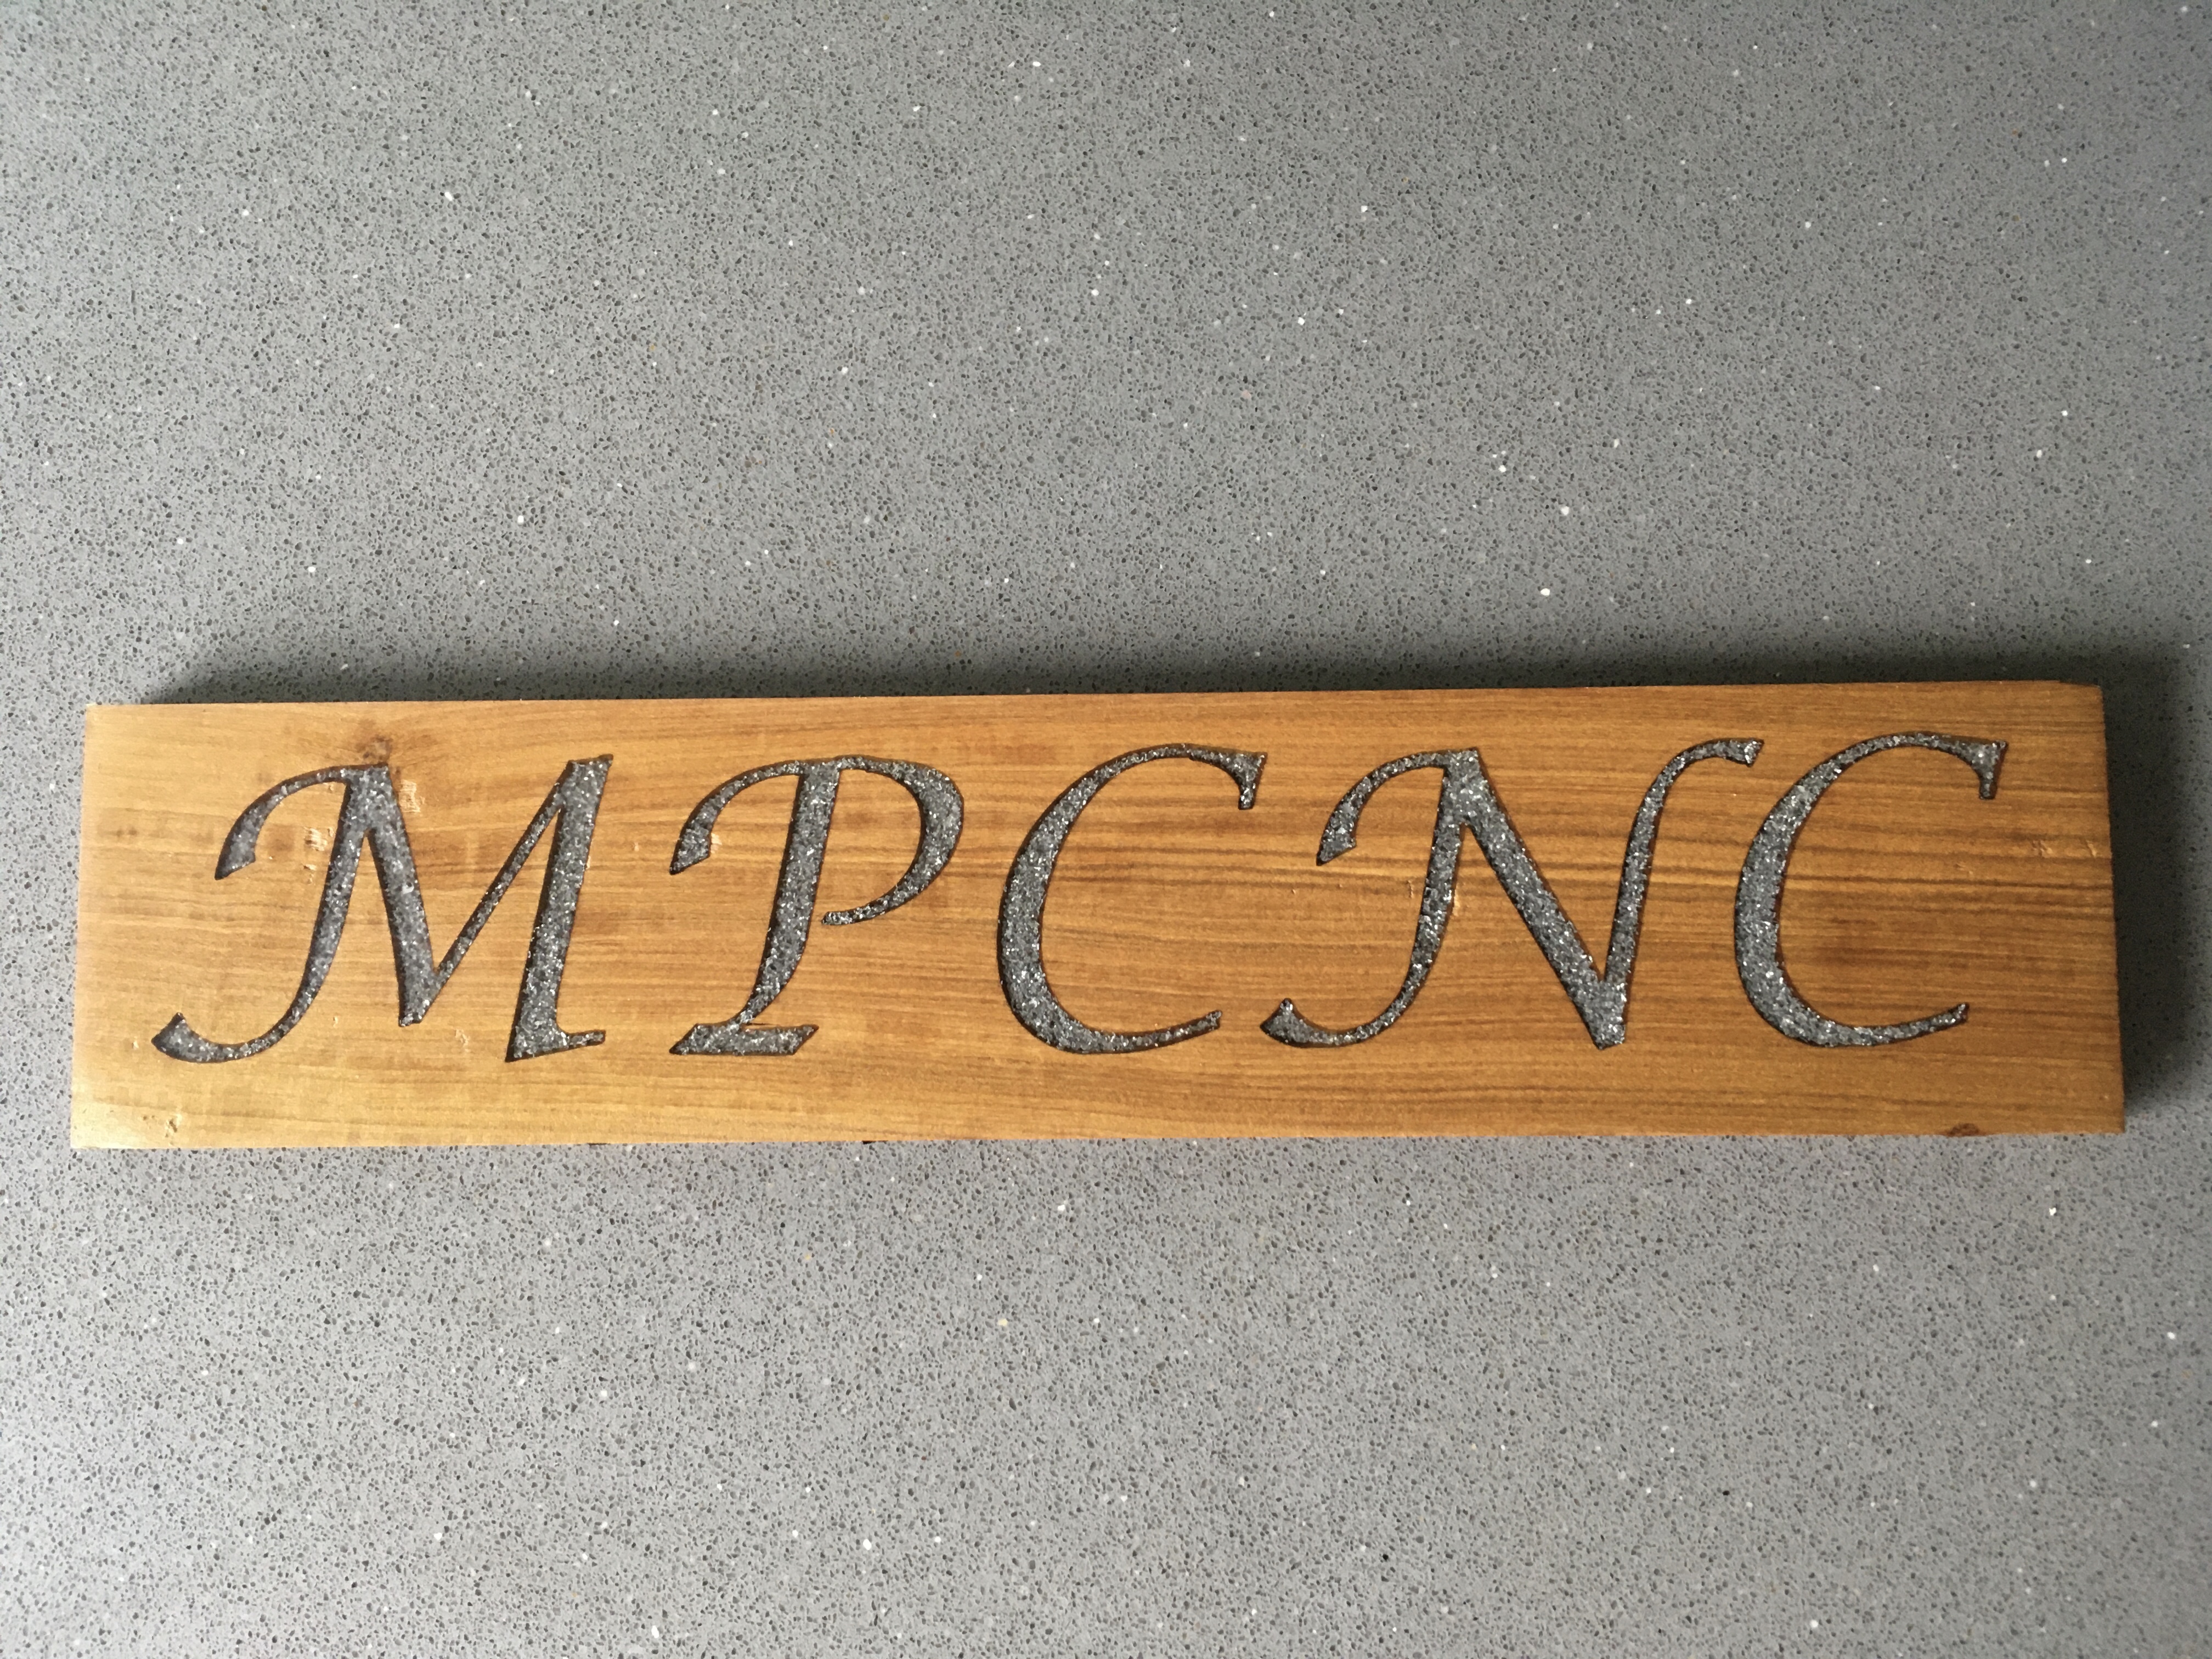
Some road marking that always make me think of ‘carve inside’, a company sign with a couple of errors (in the large ‘a’ and the last small ‘s’ which I traced to a slightly slack belt), a crazy table made for no reason other than I could, and lastly a mixed resins sign for a local timber yard. Fiddly, but very effective!
I also struggle a little with small text, and I have a theory (which is supported a bit by your comment about hitting the wide areas with an end mill first)
Even at high RPM, the surface speed of any bit (or spinning work in a lathe) decreases exponentially with diameter, and is essentially zero at the center (the tip, in the case of an engraving bit). In other words, the point is not really spinning, has no real cutting edge to speak of, and is therefore being “dragged” through the material. I believe that this causes the material to tear at the bottom of my v-bit cuts, which is especially evident in small text on soft wood.
A v-bit with a small flat would probably help, but that restricts just how small you can engrave (and is essentially the same as hitting it with an end mill first).
I’ve got much better results with multiple passes, even when they’re not really required. So 10mm/sec, 1mm doc x 3. You’re right about the point being relatively stationary. I use a very low step over, 5% now.
In other news, I put my aluminium chips to good use, although picked a stupidly similar background to confuse the viewer.
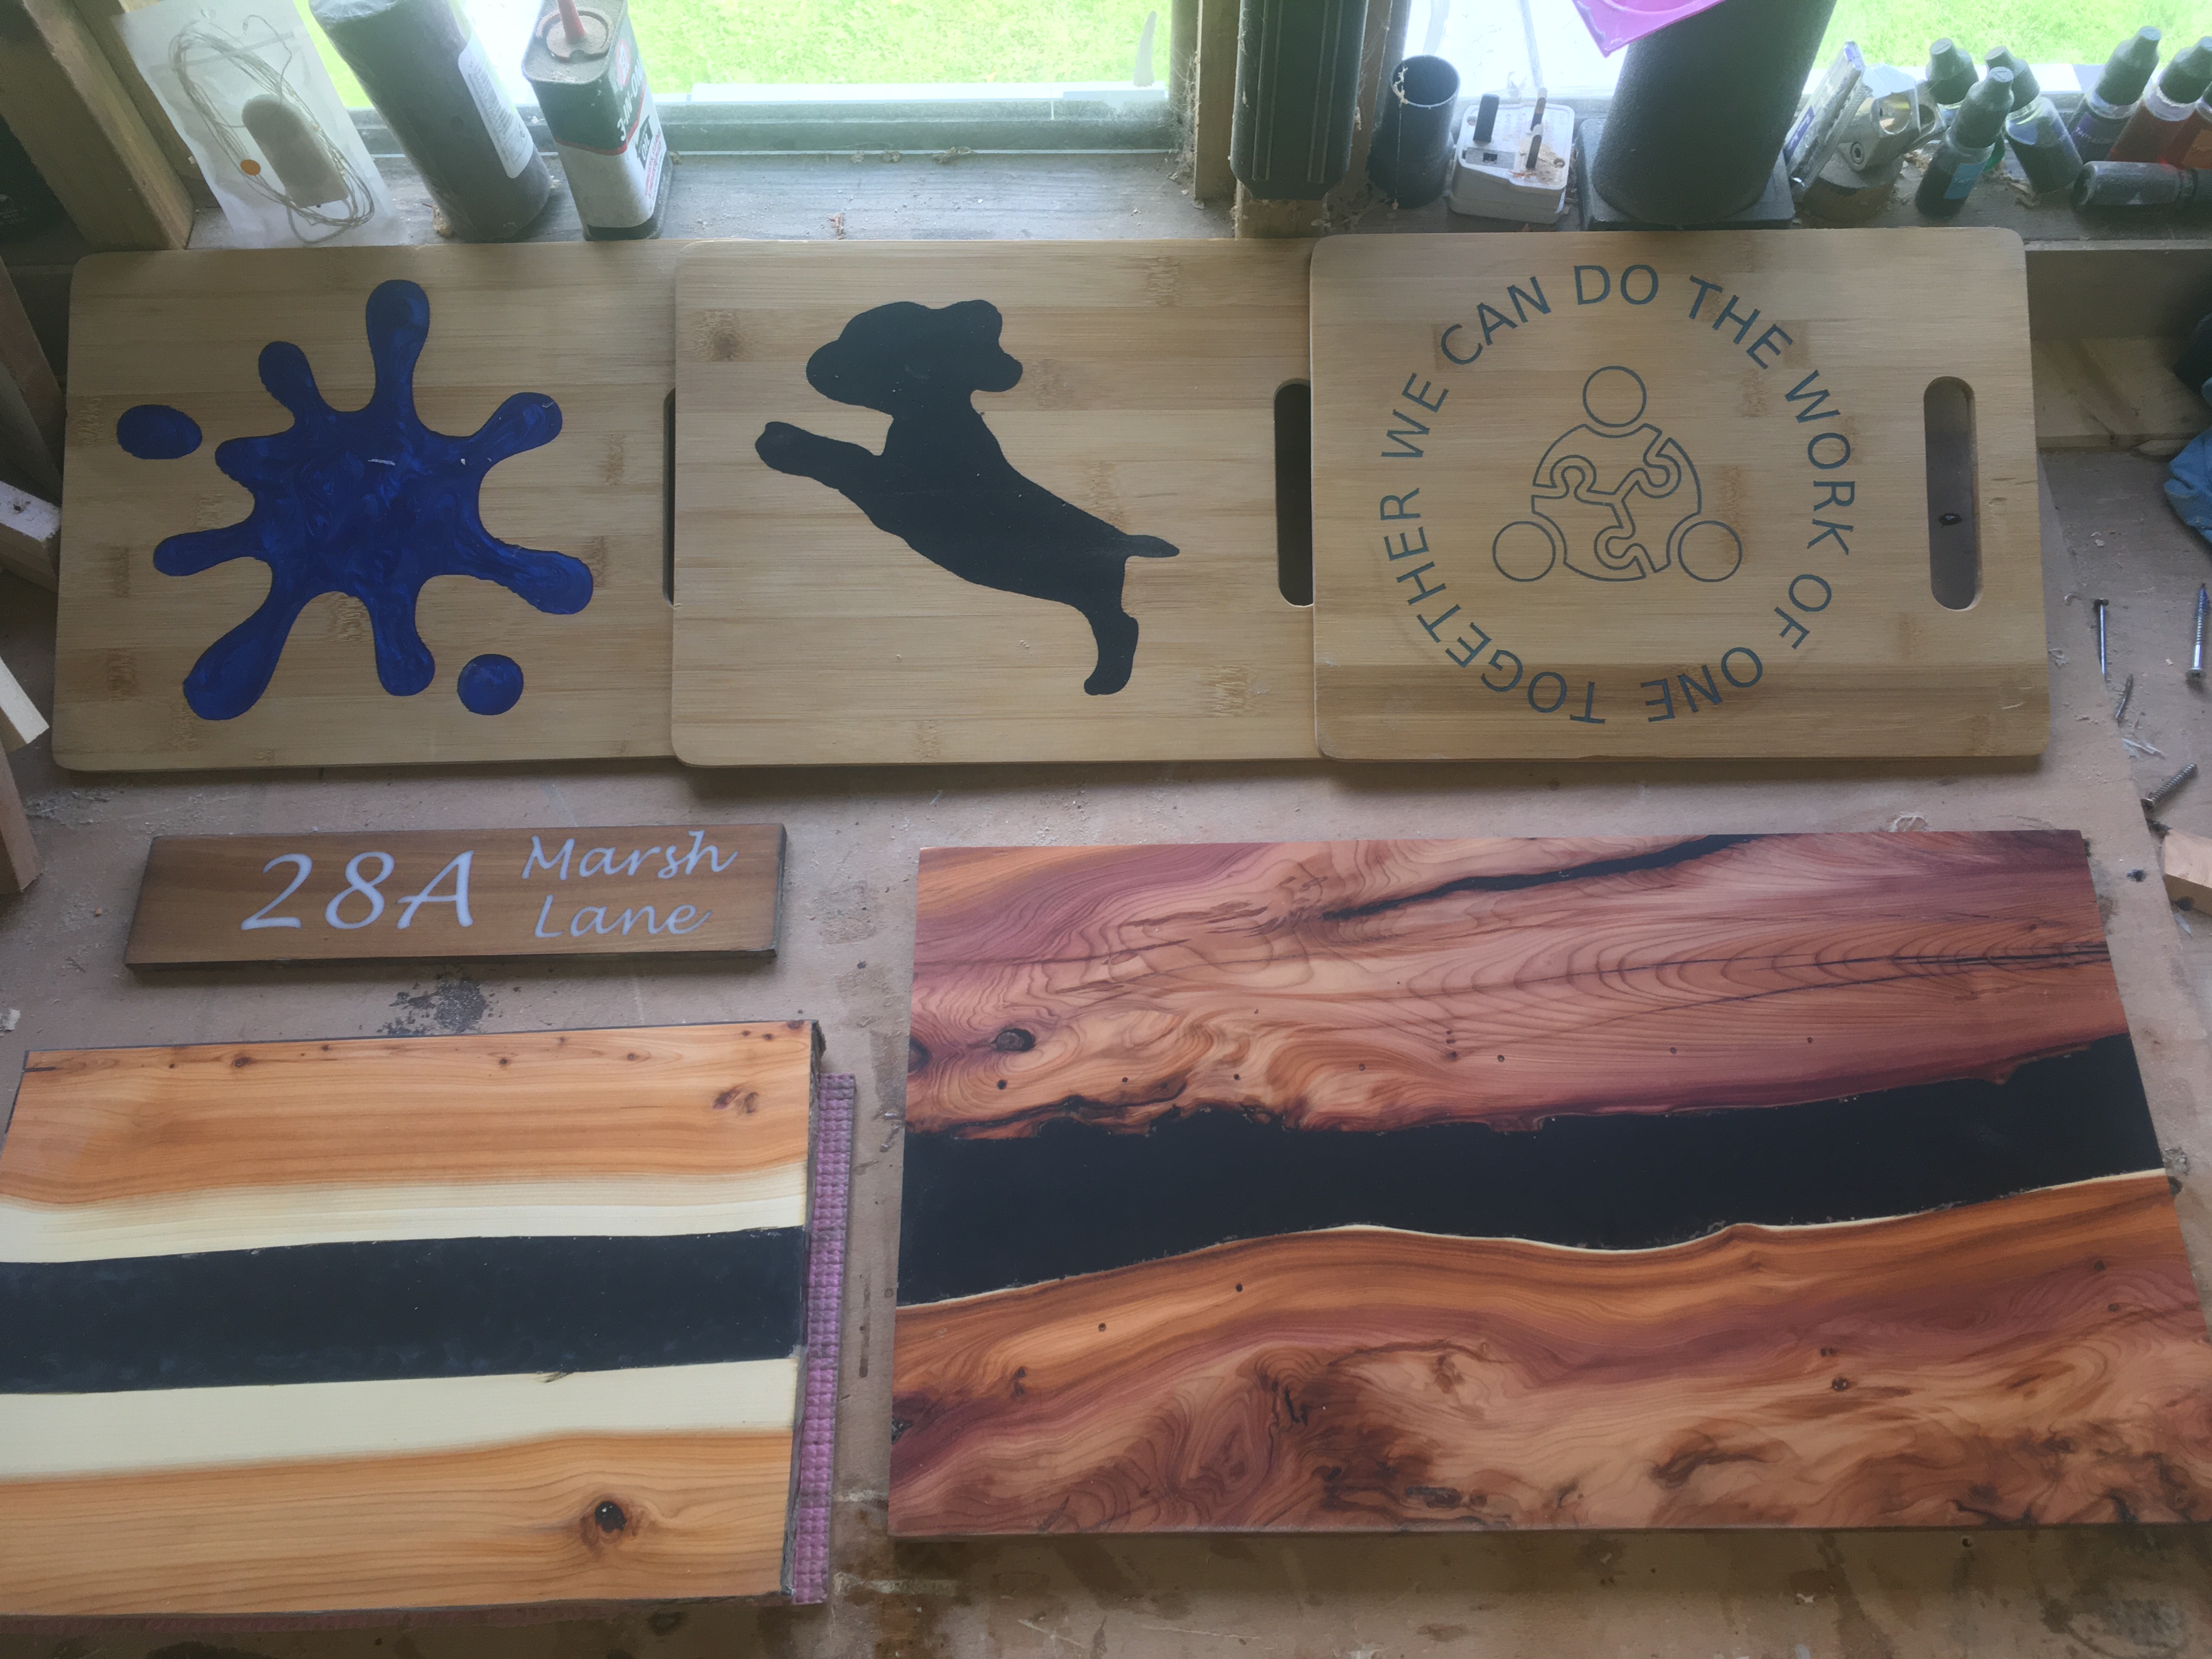
So this weekend I got time to do a few little jobs. I found some bamboo chopping boards at the supermarket for £2, so bought a few. Just some doodles really, as I have been thinking about selling stuff, maybe at a craft fair, and want to have some middle and cheap stuff to sell, as well as decent things. Although strictly speaking, the lower two chopping boards weren’t MPCNC related, I was led to them by the use of resin in some other signs.
The splash was just an idea which worked well (although the cutting is really poor, bamboo is harder than you think!), I got a photo of my dog when he was young and devised this from it, and the saying is a little joke between my son and I I did a sign a while back for someone’s house. He told me, somewhat shyly, that he loved it, but because it was walnut with black paint inlay, you couldn’t make it out from more than five feet away! Anyway, I had a go at white resin inlay in an old mahogany floor tile someone gave me (50+). Looks OK. Left board is Yew and black resin, right is the same but a beautifully coloured bit of yew I’ve had for a couple of years and didn’t know what to do with it.
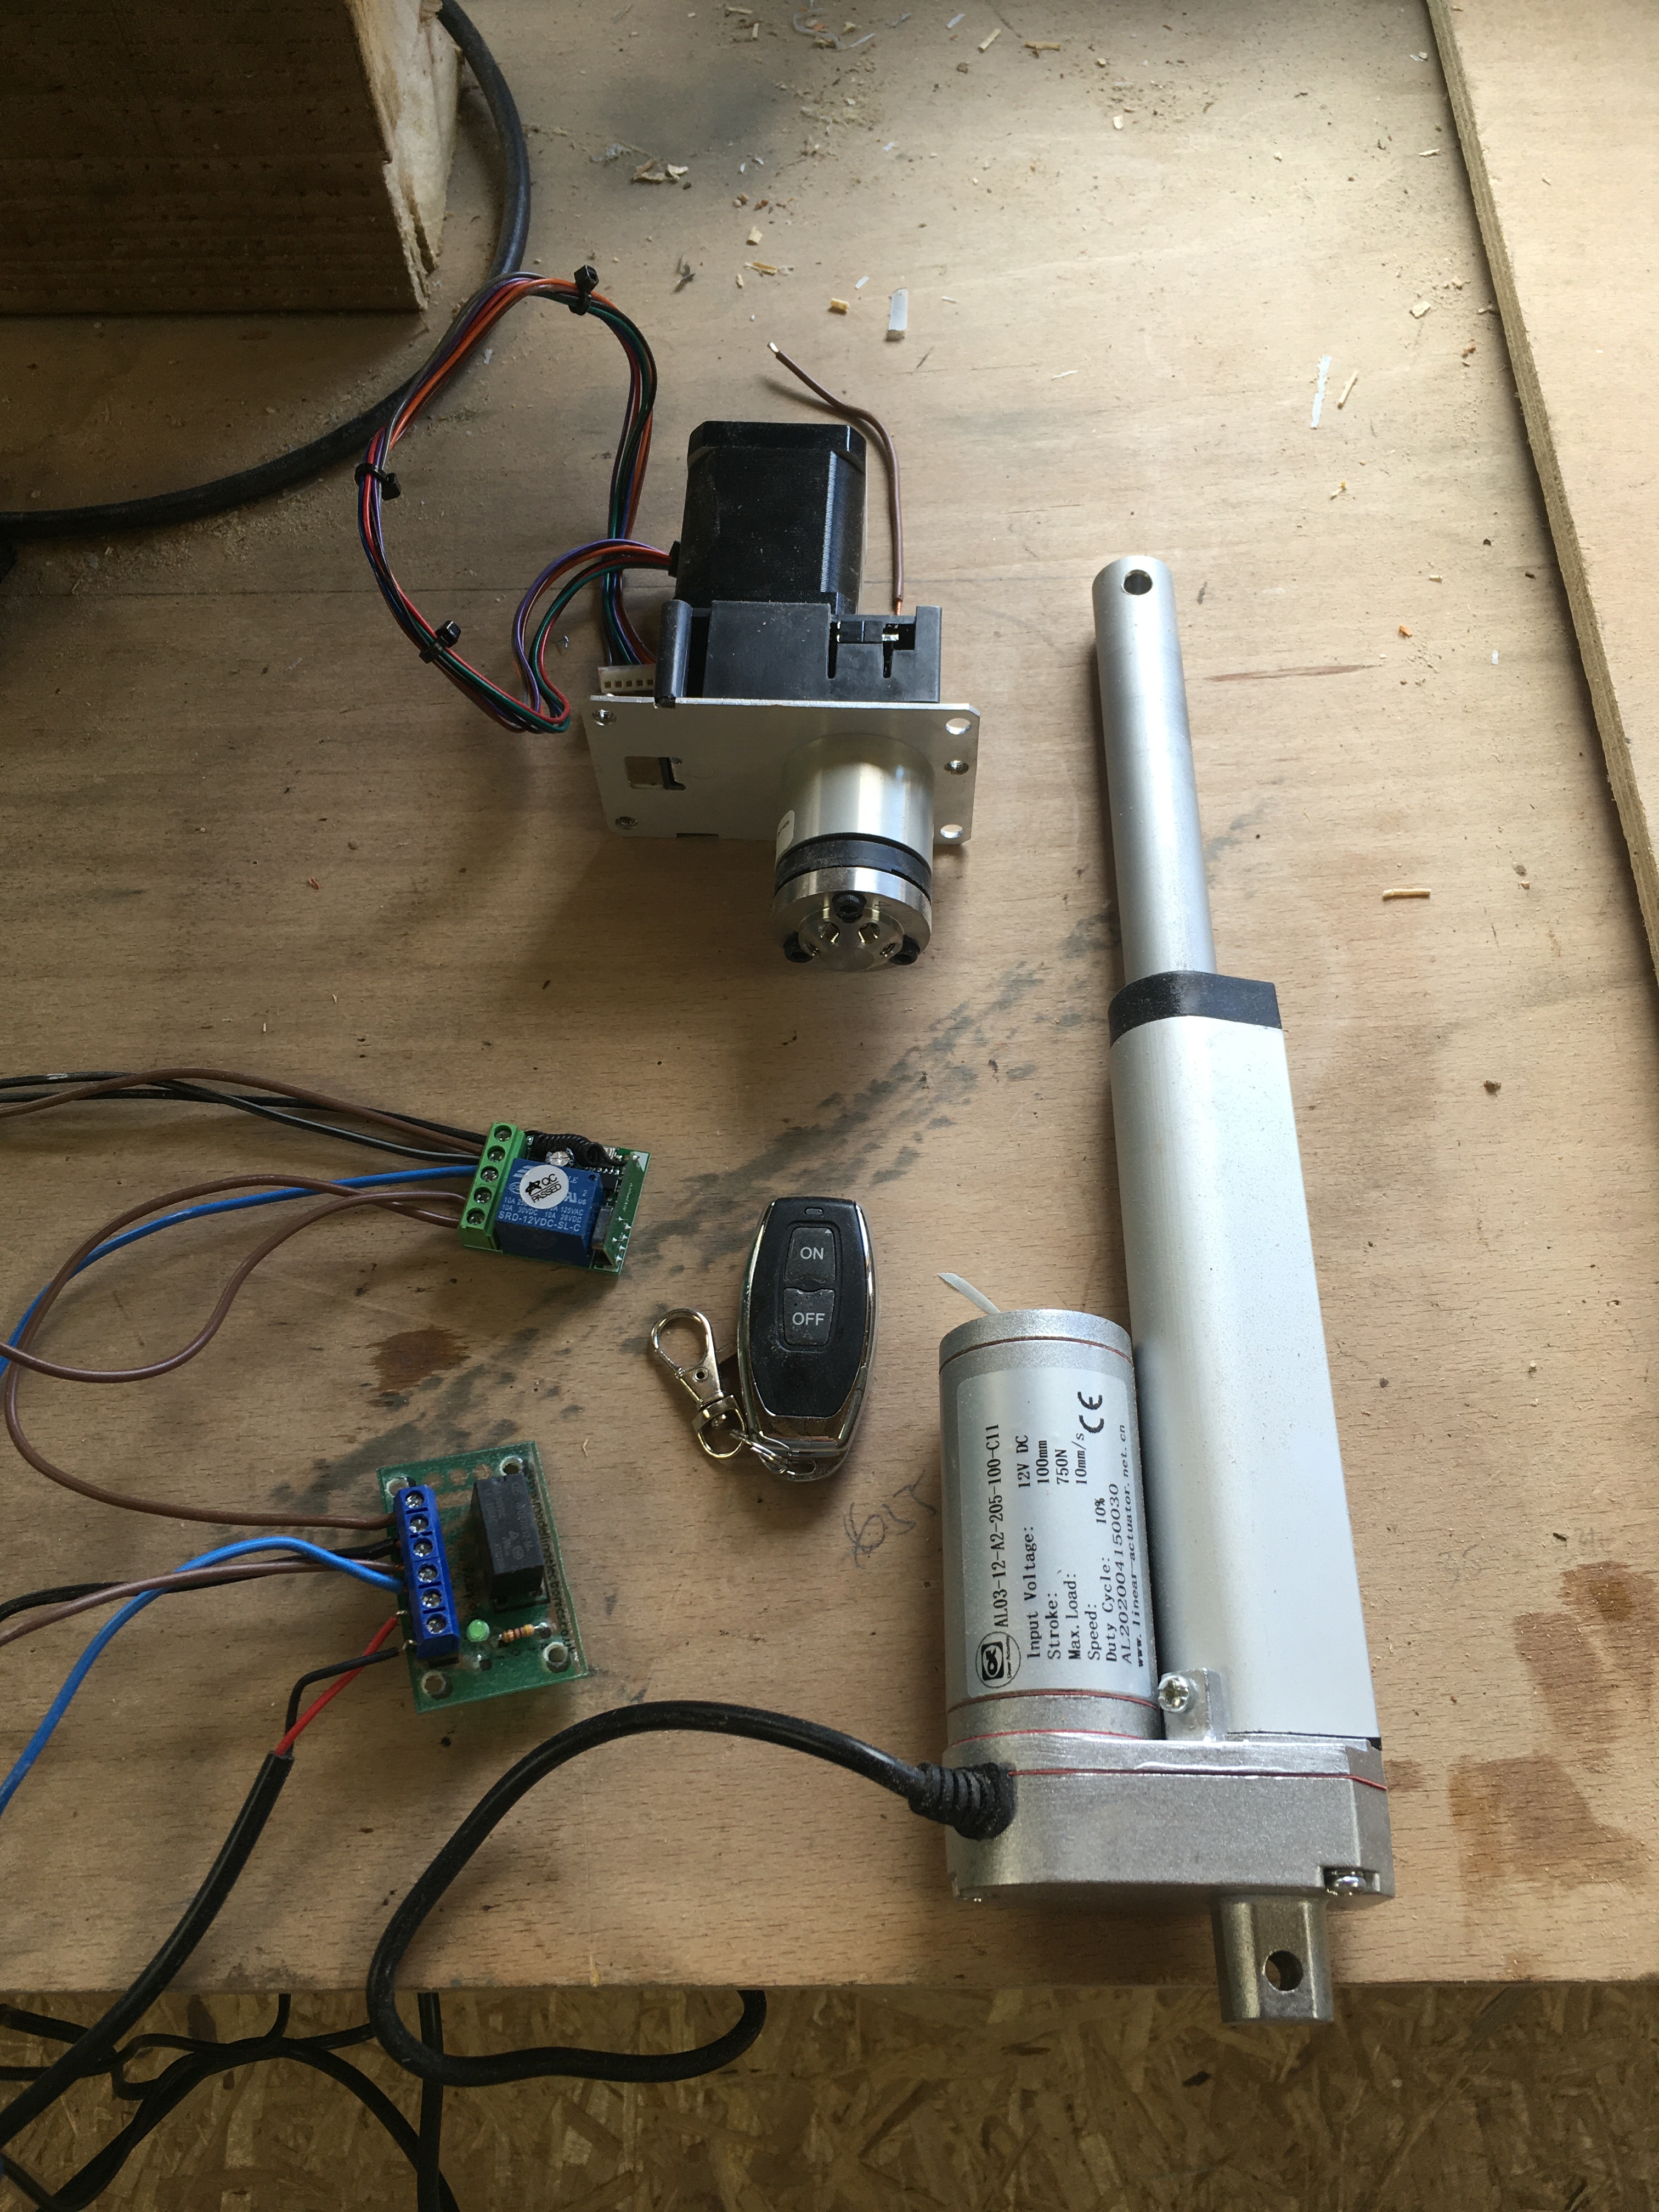
Anyway, this is a long rambling way of saying thank you @vicious1 et al, becaus building the CNC got me into thinking about other stuff which is a little out of my comfort zone… I’d been thinking about a remote controlled gate lock. Sure you can buy them, but why not build from scratch for half the price. It wasn’t trivial, but I managed it after a bit of yelling (remote relay, DPDT relay, linear actuator). I cannot tell you how excited I was when I got it functioning properly. Also, I recognised a NEMA 17 within our scrap pile at work from an HPLC, grabbed it, and then started to realise how liquid handling and stepper motors collide in this type of machine. Now I’m on a project at work looking into this, and it’s fab. All thanks to MPCNC.
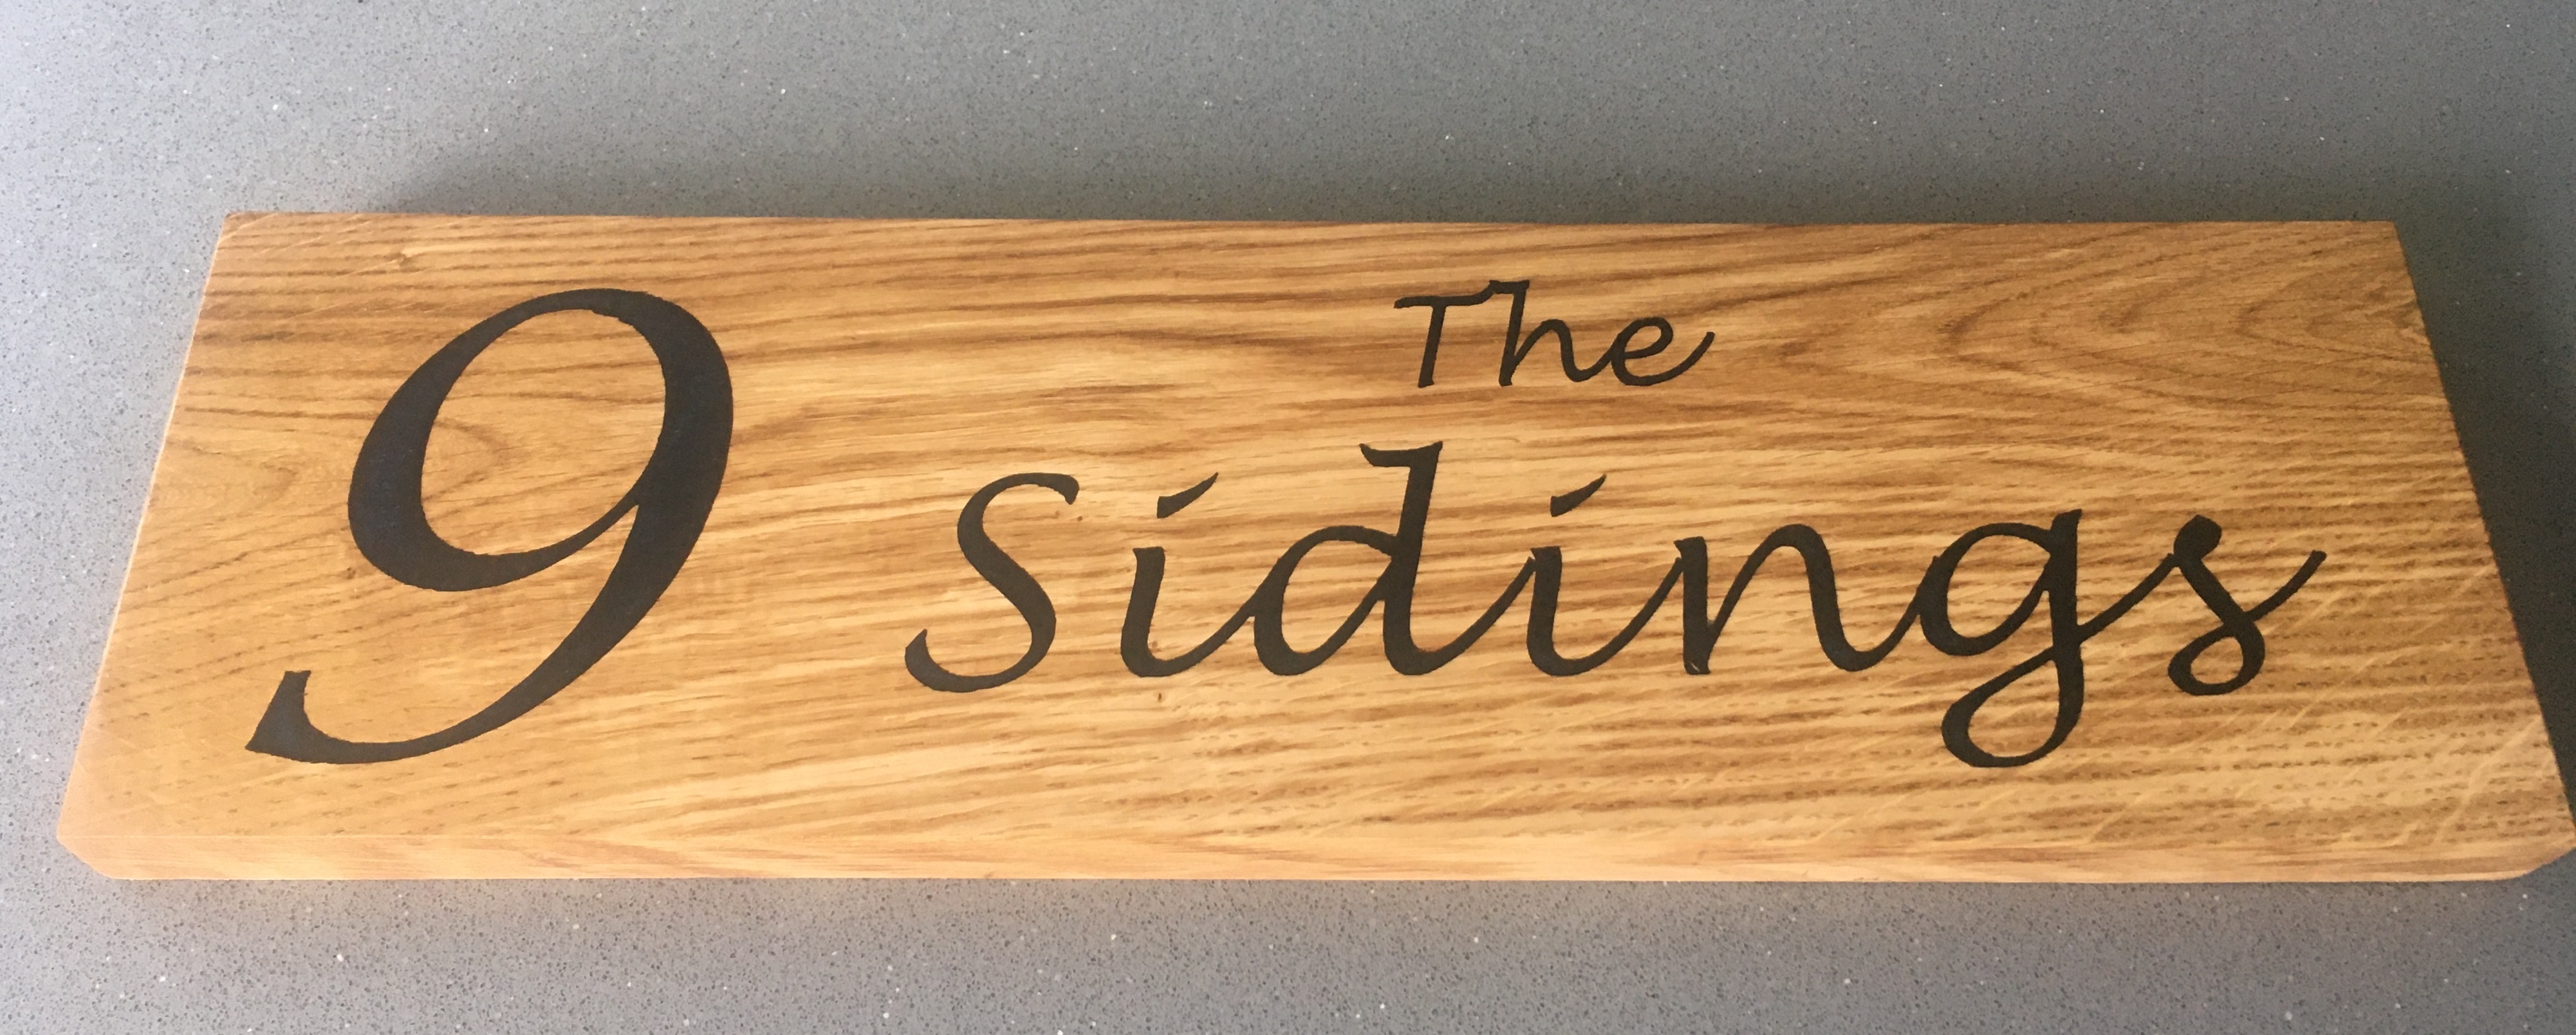
Not bad, although a couple of areas aren’t great, principally the top and bottom of the loop of the ‘9’.
There are other curvesd in there that came out fine; I think the issue is when cutting a relatively flat curve, the tool briefly follows the line of the grain more so that when you’re cutting a sharpe curve or softer material (this is Oak). 30° V Bit, 10mm/s, 1mm doc (the passes plus finishing).
The wood is approximately 120 mm x 400 mm, the ‘9’ is 100mm tall. You can work out the rest.
My machine has a working area of 700 x 300 which is plenty big enough for most things I am considering. My original build was approximately 200 x 300 and was a bit limited.
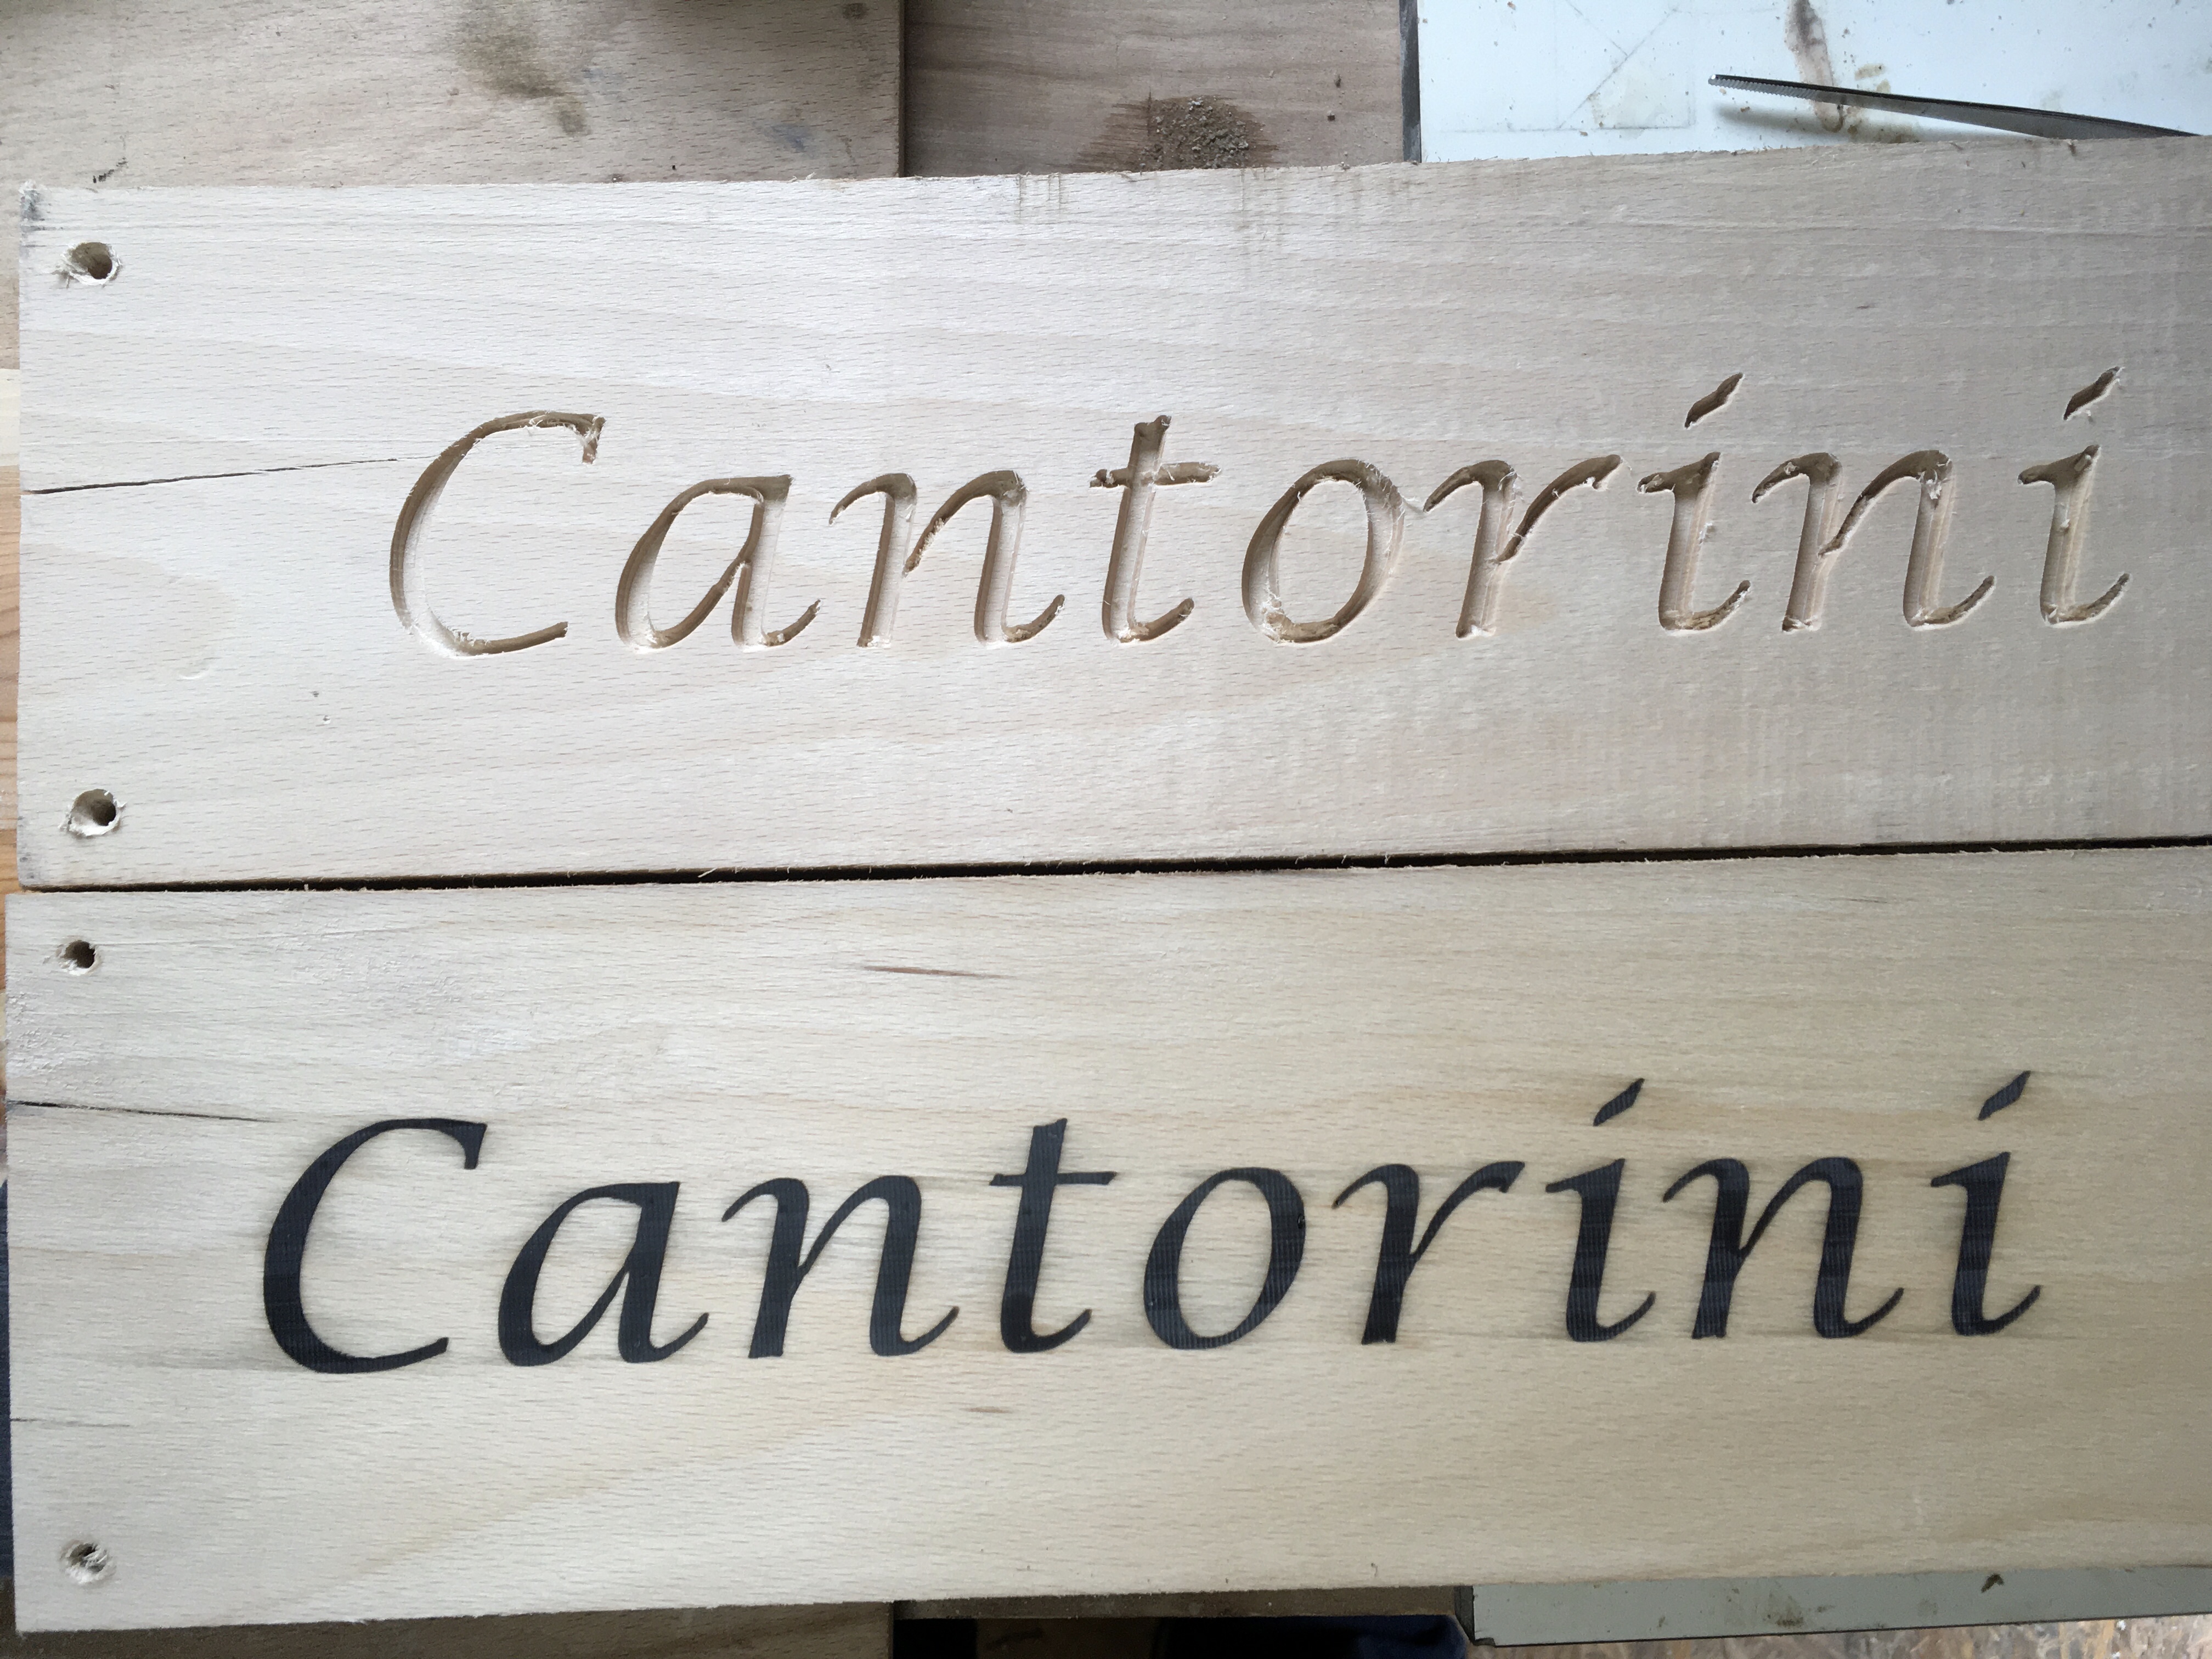
I learnt something important today. The appearance of driving this machine too fast for the material and cutting with a tool which has lost its edge are identical. Of course, these are ultimately water from the same source, but it never occurred to me before. So I first ran a cut with an older tool (honestly, cheap stuff off eBay), and thought I had too much movement. Explored rigidity, and although a few tweaks were appropriate, I couldn’t find any problems. Fitted a brand new tool, and a total transformation. Clean cuts. I know the resin somewhat obscures the cleanness of the cut, but it is 10 times better.
So a good lesson, before questioning the system rigidity, ensure your tool is super sharp. Top: blunt tool, bottom, sharp tool, all other setting the same (MPCNC).


 I did a sign a while back for someone’s house. He told me, somewhat shyly, that he loved it, but because it was walnut with black paint inlay, you couldn’t make it out from more than five feet away! Anyway, I had a go at white resin inlay in an old mahogany floor tile someone gave me (50+). Looks OK. Left board is Yew and black resin, right is the same but a beautifully coloured bit of yew I’ve had for a couple of years and didn’t know what to do with it.