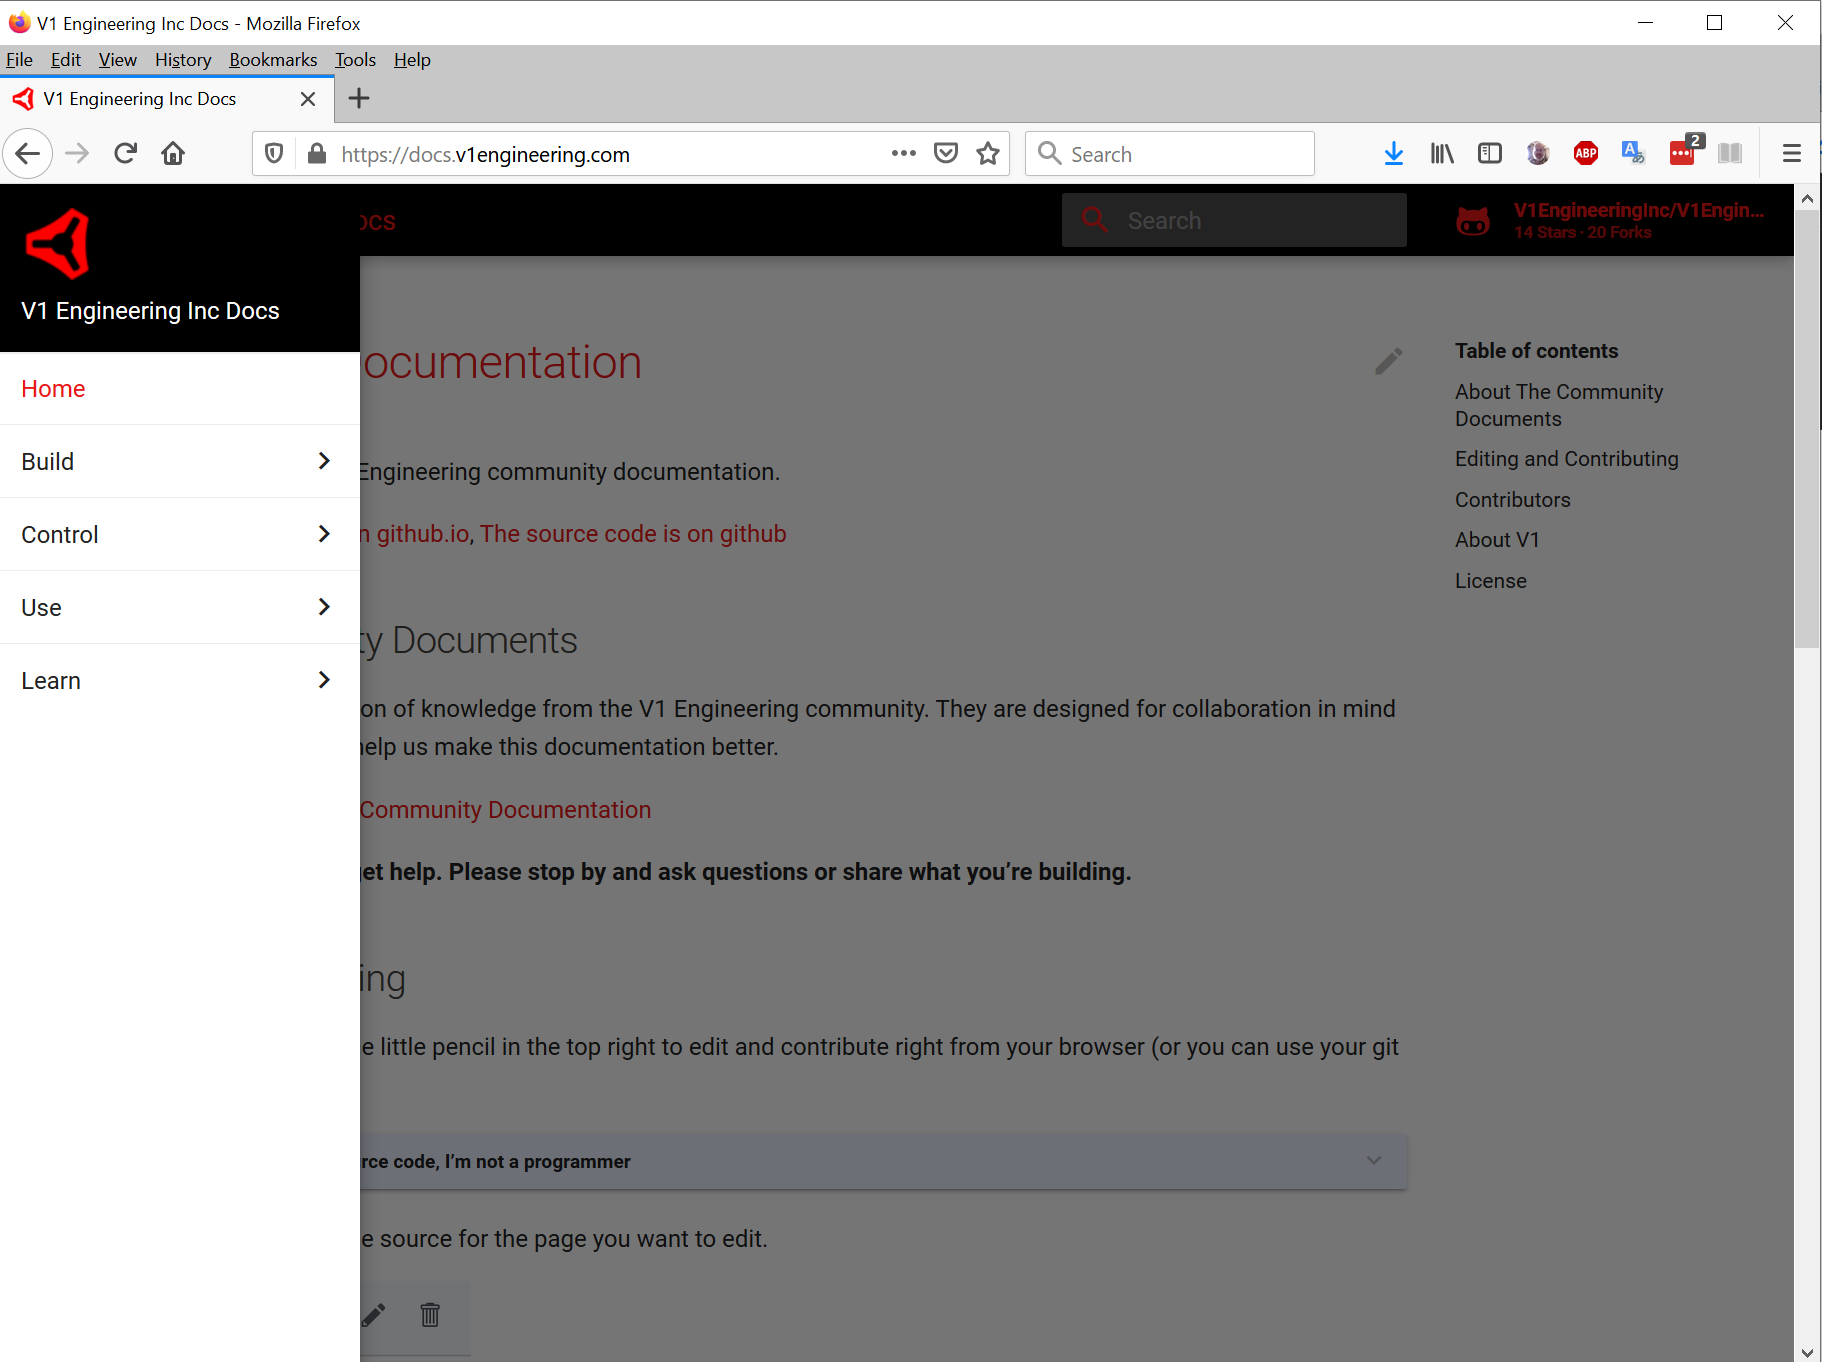
This is presenting the smaller version, with the menu compressed. You can click the menu icon in the upper left of the screen. It looks like this:

Obligatory wikipedia page: https://en.wikipedia.org/wiki/Hamburger_button
This is presenting the smaller version, with the menu compressed. You can click the menu icon in the upper left of the screen. It looks like this:
Obligatory wikipedia page: https://en.wikipedia.org/wiki/Hamburger_button
Well, now I’m getting thoroughly confused. I see that symbol in the first screen shot I posted above. In trying to return to it and try that symbol, and I’m 99 44/100% sure I took the same steps, I arrive at the page seen in the second screen shot I posted above. Thinking it was possibly one of MicroSoft’s charming little quirks I tried it with GoogleChrome with the same result. Now I can’t seem to find the way back to the screen in that first screen shot and it’s not like I took a number of steps to get there first time around.
EDIT: OK, I see the URLs for the two screen shots above are different but I’d swear I reached them thru the same link. I got back to the first page with the three line icon and it gives me a menu for the MPCNC instruction pages. I was looking for a list of all available DOCS, surely there are some not associated with the MPCNC?
The display is based on the size of your browser window. If it’s big enough you get the second of your images, if it’s too small you get the first. When you are in the first and click on the ‘hamburger’ you should see this menu:
Yeah, I don’t know, maybe I was chasing my tail for a bit. The link to ‘New Community Docs’ on the home page doesn’t get me to the docs. I don’t know if it’s new or I missed it but the DOCS link on the forum page gets me where I want to go. Thanks
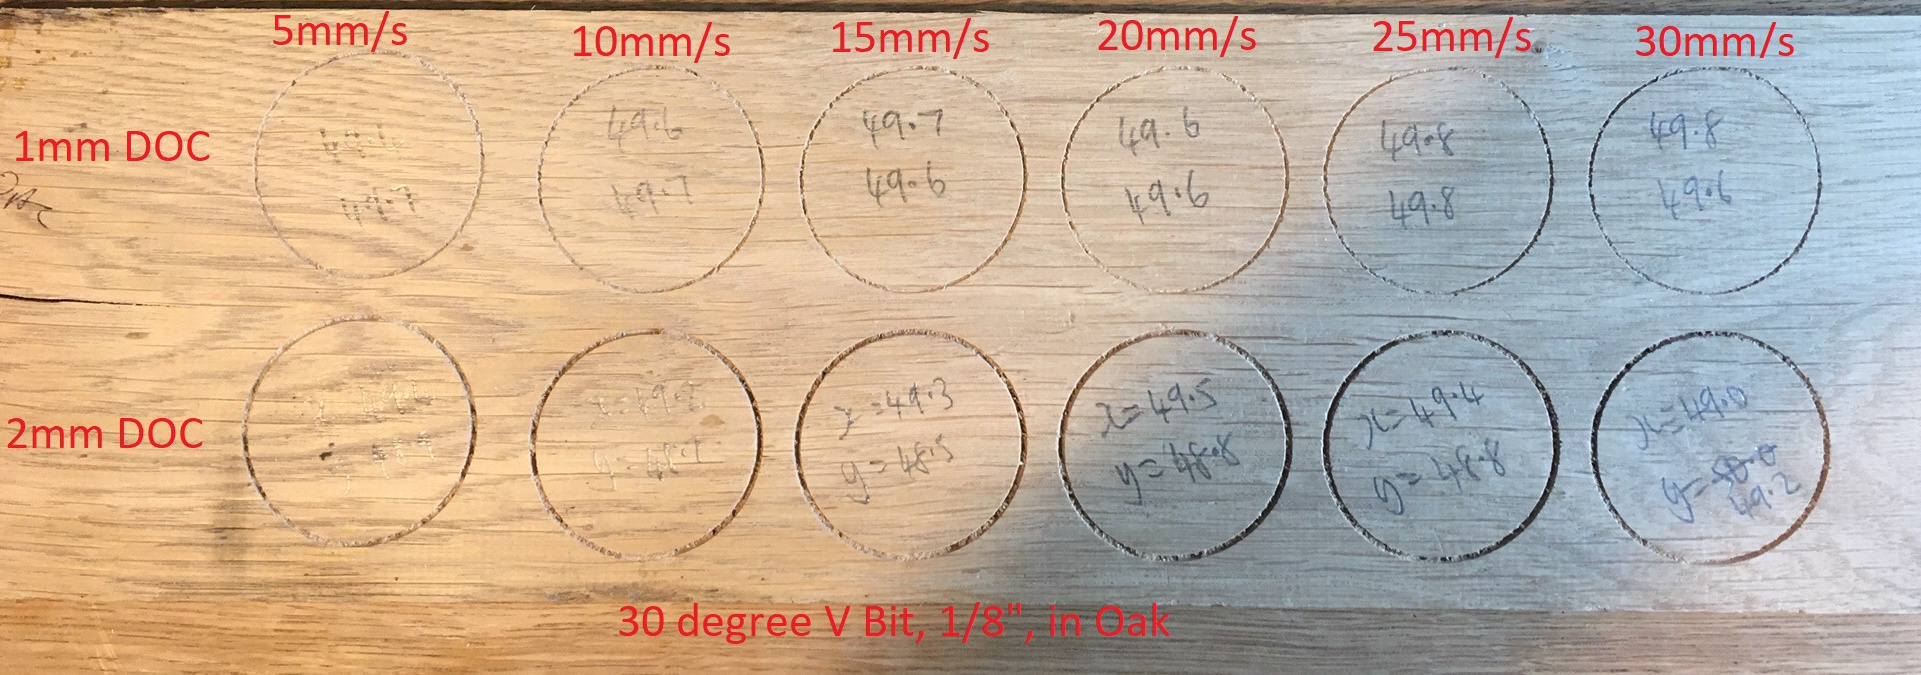
More signs, the smallest text is beautifully crisp in MDF, but not so good in wood. I think maybe this is because a rate which cuts well with the grain is not the same rate that cuts well across the grain. That said, Elm works really nicely. Sapele is rubbish for fine carving (in my hands).
I don’t know if this is ever a problem for anyone, but I needed to do some tightening of the gantry (I’ve not even tightened it since construction), but this very simple discovery made it a lot easier: a socket fits in there. Throw in some kind of restrictor (I flattened a bit of copper pipe), and things are much easier.
I decided to test out my theory that with the grain and across the grain were producing different results. I was pretty sure I’d see ovals as I cranked up the speed and DOC. Wrong. I was also bothered that there was too much play in my spindle mount/gantry/system. Wrong again.
This means I need to look at estlcam and my work to try and find the reason behind the occasional weird shapes of small text.
This did get me thinking about stress tests. I know this is a tricky subject, because the idea that we could put together a test that everyone can implement and compare the results and find meaningful data in them is, er, remote and a serious challenge. The Crown test is great for testing the machine is working and is square, but it would be nice if I could run a test which would confirm whether I’d achieved the expected rigidity. A deflection stress test? That said, however useful it might be, I can imagine the more vociferous builders with incomplete constructions might drown out any useful purpose. OK, I’ve argued myself out of it. I may run my stress test at 3 and 4 mm DOC.
The other reason that is tough is any slight deviation in build size will change the expected numbers. Best case would be a range of verified numbers and you could compare to see if you fall within that range.
So we fall back on milling speeds and build size.
Good points, everyone’s build is different. I guess it’s obvious I’m thinking about these things for the first time, but you’ve put much more thought into it. I’ll get there. Eventually. I’m still like a kid in a sweet shop.
No, not like that at all. This actually never came up much before. Recently though more thought has been put into it. I really do appreciate the brainstorming.
Last night I set up my relay to control my spindle through the fan output of my minirambo. Then I realised that carving in estlcam suggests an endmill to cut wider flat areas in addition to the required V bit tool. I took the code and divided the two scripts, ran them separately and added M106 P1 S0 to the end of the second. Then watched as it turned off after completion. I felt like a god.
That mere mortals can achieve this stuff is amazing.
One question though: how do I get the code to pause briefly to allow the spindle to get up to speed. I suppose I can just have it move to the starting position slowly, but is there a pause…?
I do it by manually turning the router on and off expecialy a spindle if I get a power spike and it reboots my board the spindle could be on till it finishes booting and in my house that happens once a month with the reboot. So I don’t want my fingers any where near that end without a manual switch 30000 rpm wrenches would not be fun
With GRBLthe pause is set in the firmware so probably in Marlin also
I never go more than a few feet away when it’s running and pretty much have everything turned off when it’s not in use.
The G-code to delay is
G4.
G4 P60000will wait for one minute. ThePis in milliseconds. Some firmware also accept aSParameter that has the seconds. So, if supported,G4 S60would do the same thing.The details for this and all other G-codes are documented here.
Although, since Marlin is the defacto firmware of choice, Gcode | Marlin Firmware would probably be more apropos…
When changing bits I’m afraid of something automaticly turning on when I’m to slow or not expecting it I’m sure you are safe I just have bad luck with automated things
My “Bit change checklist” is going to include entries for “Spindle relay off” and “DW 660 power switch off”. It should probably also include “DW 660 unplugged.”
I leave the shed and switch off all power to it. The only way to be sure.
I’m not even that OCD as to unplug but I did think about it😁
I just hit the power switch on the router. Swap the bit, the flip it back on. Relay turns it back on when I hit go.
This is my “Tool Change” script in Estlcam. I use a lot of unnecessary pauses and messages on the LCD to methodically step through the process. It is overkill, but helps keep me from making a mistake by getting careless and complacent and also reminding me what the process is if it’s been a while since I’ve done it.
;Tool Change
;<n>, <d>, <f>,
M400 ;Wait for current moves to finish
G0 Z10 ;Raize Z to 10mm
M400; Wait for move to finish
M104 S0 ;Turn IoT Relay OFF
G0 X0 Y0 ;Move to home position
M84 Z ;Disable Z stepper
M00 Tool Change
M00 Manual Z Home
M17 ;Enable Stepper
G92 Z0 ;Set Z to 0
G0 Z10
M00 Turn On Spindle
M104 S200 ;Turn IoT Relay ON
M00 Go!
Now that I’m using a 1mm thick touch plate for homing Z, I need to change it to this:
;Tool Change
;<n>, <d>, <f>,
M400 ;Wait for current moves to finish
G0 Z10 ;Raize Z to 10mm
M400; Wait for move to finish
M104 S0 ;Turn IoT Relay OFF
G0 X0 Y0
M84 Z ;Disable Z stepper
M00 Tool Change
M00 Homing Z
G28 Z0 ;Home Z to touch plate
G92 Z1 ;Set current Z height to 1mm to accomodate for touch plate
G0 Z10 ;Raise Z to 10mm
M00 Turn On Spindle
M104 S200 ;Turn IoT Relay ON
M00 Go!