"SO this CNC Machine walks into a bar"

Or so It always begins…

Hello to ALL! Today begins my next nerd adventure. Building and learning to professionally design for and operate, a Full Sheet CNC Machine. Huzzah!

Machine Designation = “Cut and Burn

  • Intended Machine Usage - Cutting panels for Arcade Bartops, uprights, custom simulators and cocktail cabinets, may build a pinball table or three while I’m at it, as well as kitchen, garage and bath cabinetry, and even engravings and some laser etching.
  • My Skill level - Designer - Engineer - 20+ years
  • My Softwares - Sketchup, Blender, Solidworks, Meshmixer, Klipper, Marlin, Many Others.
  • Shop / Workspace Level - 3D Design and Print workshop, x8 higher end/customized 3D printers, several multi-material/multi-color, Full electronics service and fabrication shop, PCB fabrication equipment, with a Full woodshop downstairs. Fire suppression and premium Fire alarm system in a Commercial building.
  • Intended build Level - “Cadillac” level all-around’r - Bells and whistles level - Excessive :wink:

Buckle up! :wink:

Welcome to the club. :slightly_smiling_face:

In this case I am offering an incredible snake oil for 2000€ that, when sprinkled over any machine, makes the cuts a lot better. Payable via direct transfer or kidney. :joy:

I mean, if the bottle says Gucci on it, I’m in! ;-D

Can do, let me fire up my label printer. :stuck_out_tongue:

AWESOME!!! Welcome to the crew.

Figured she will need an insignia / emblem…

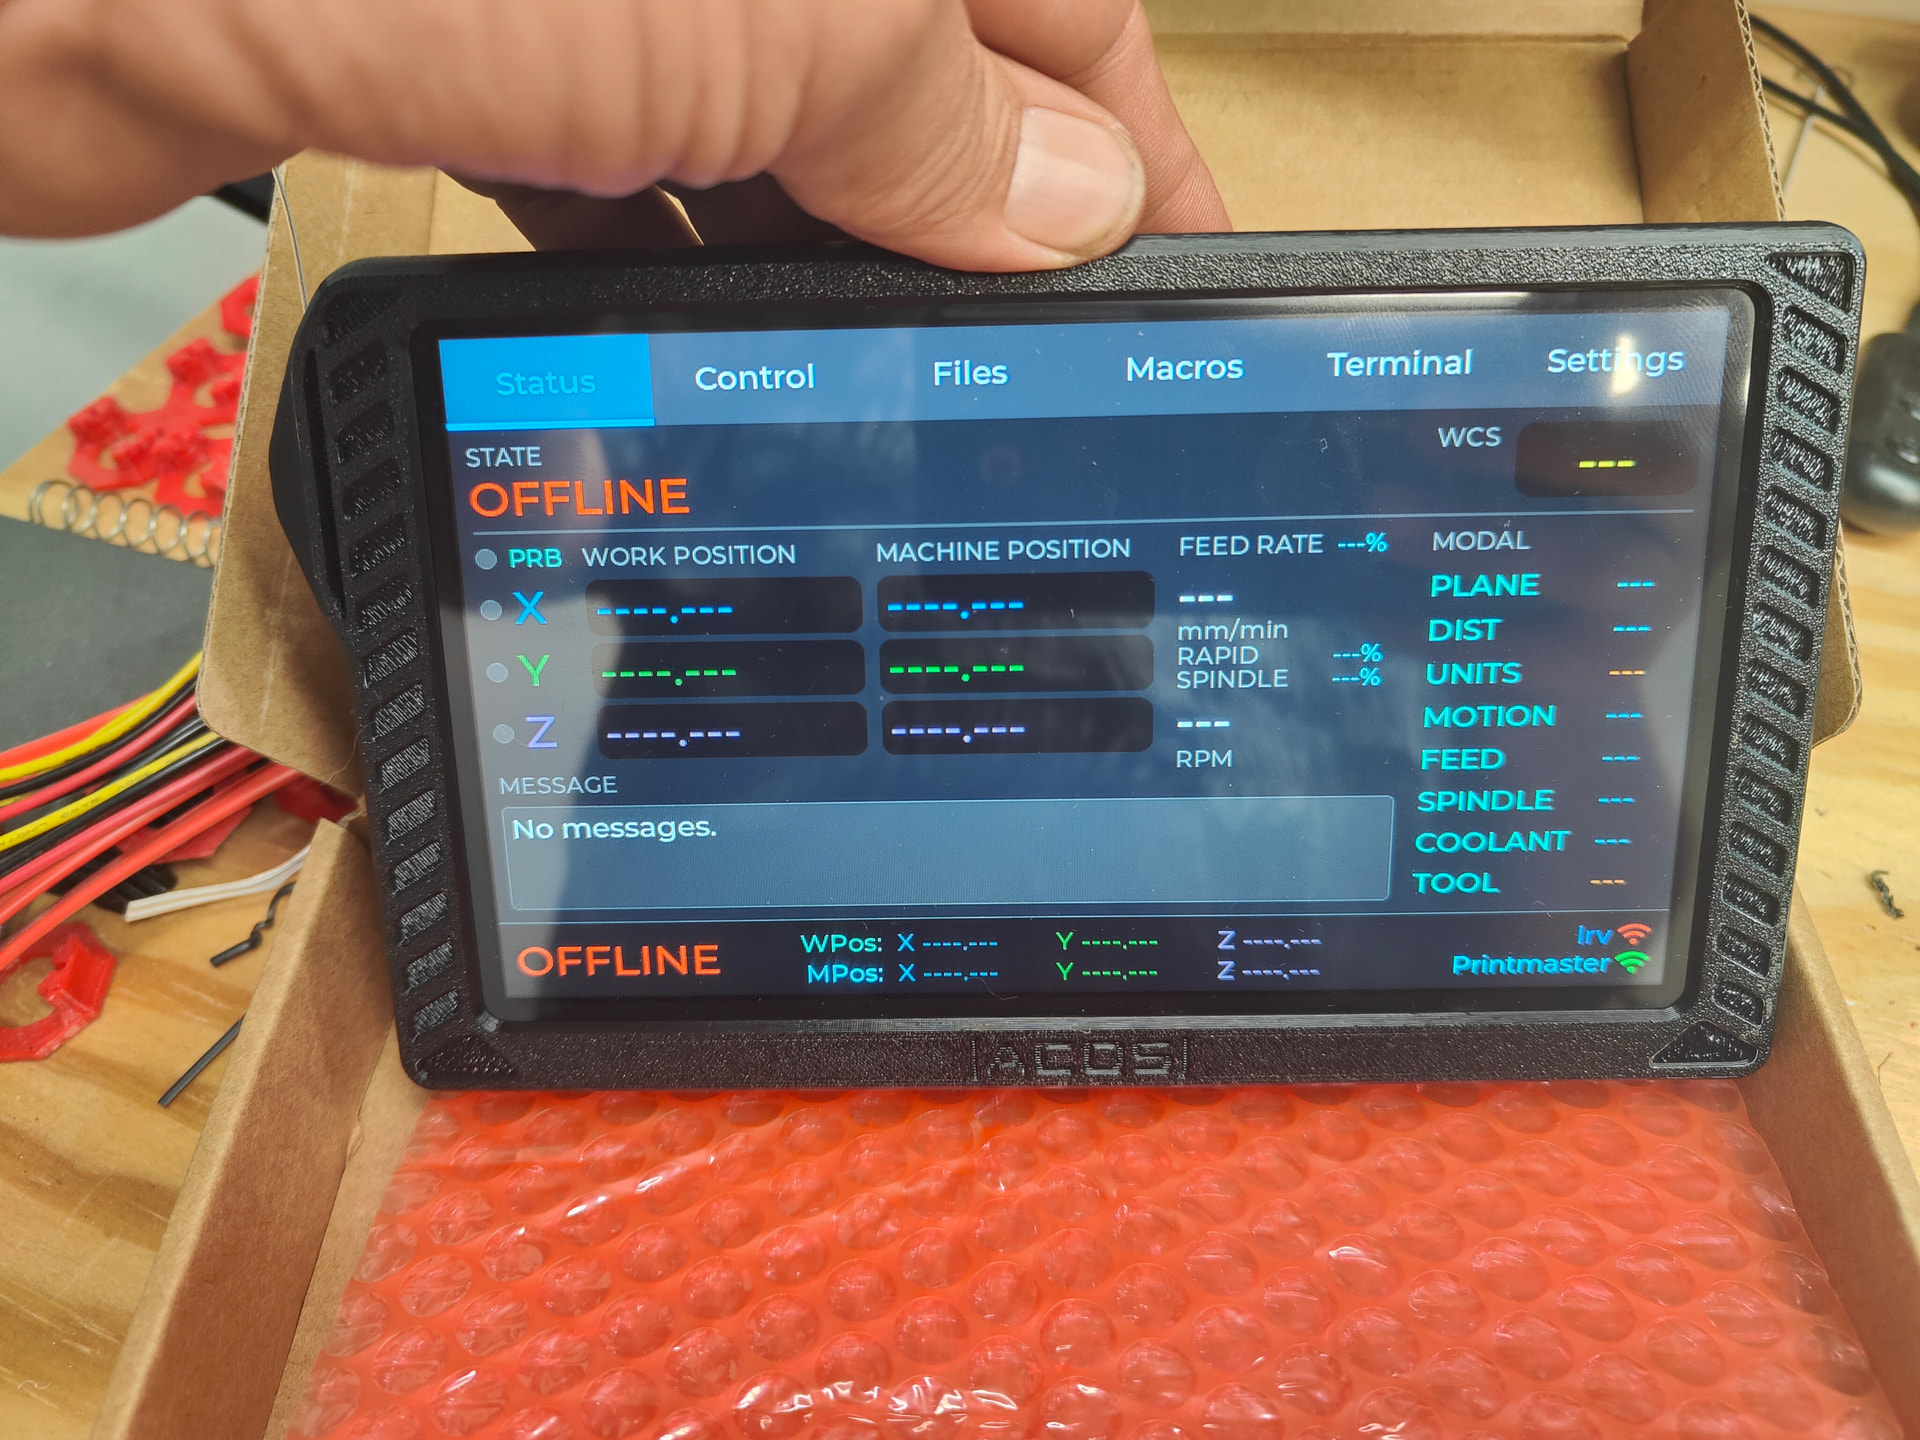
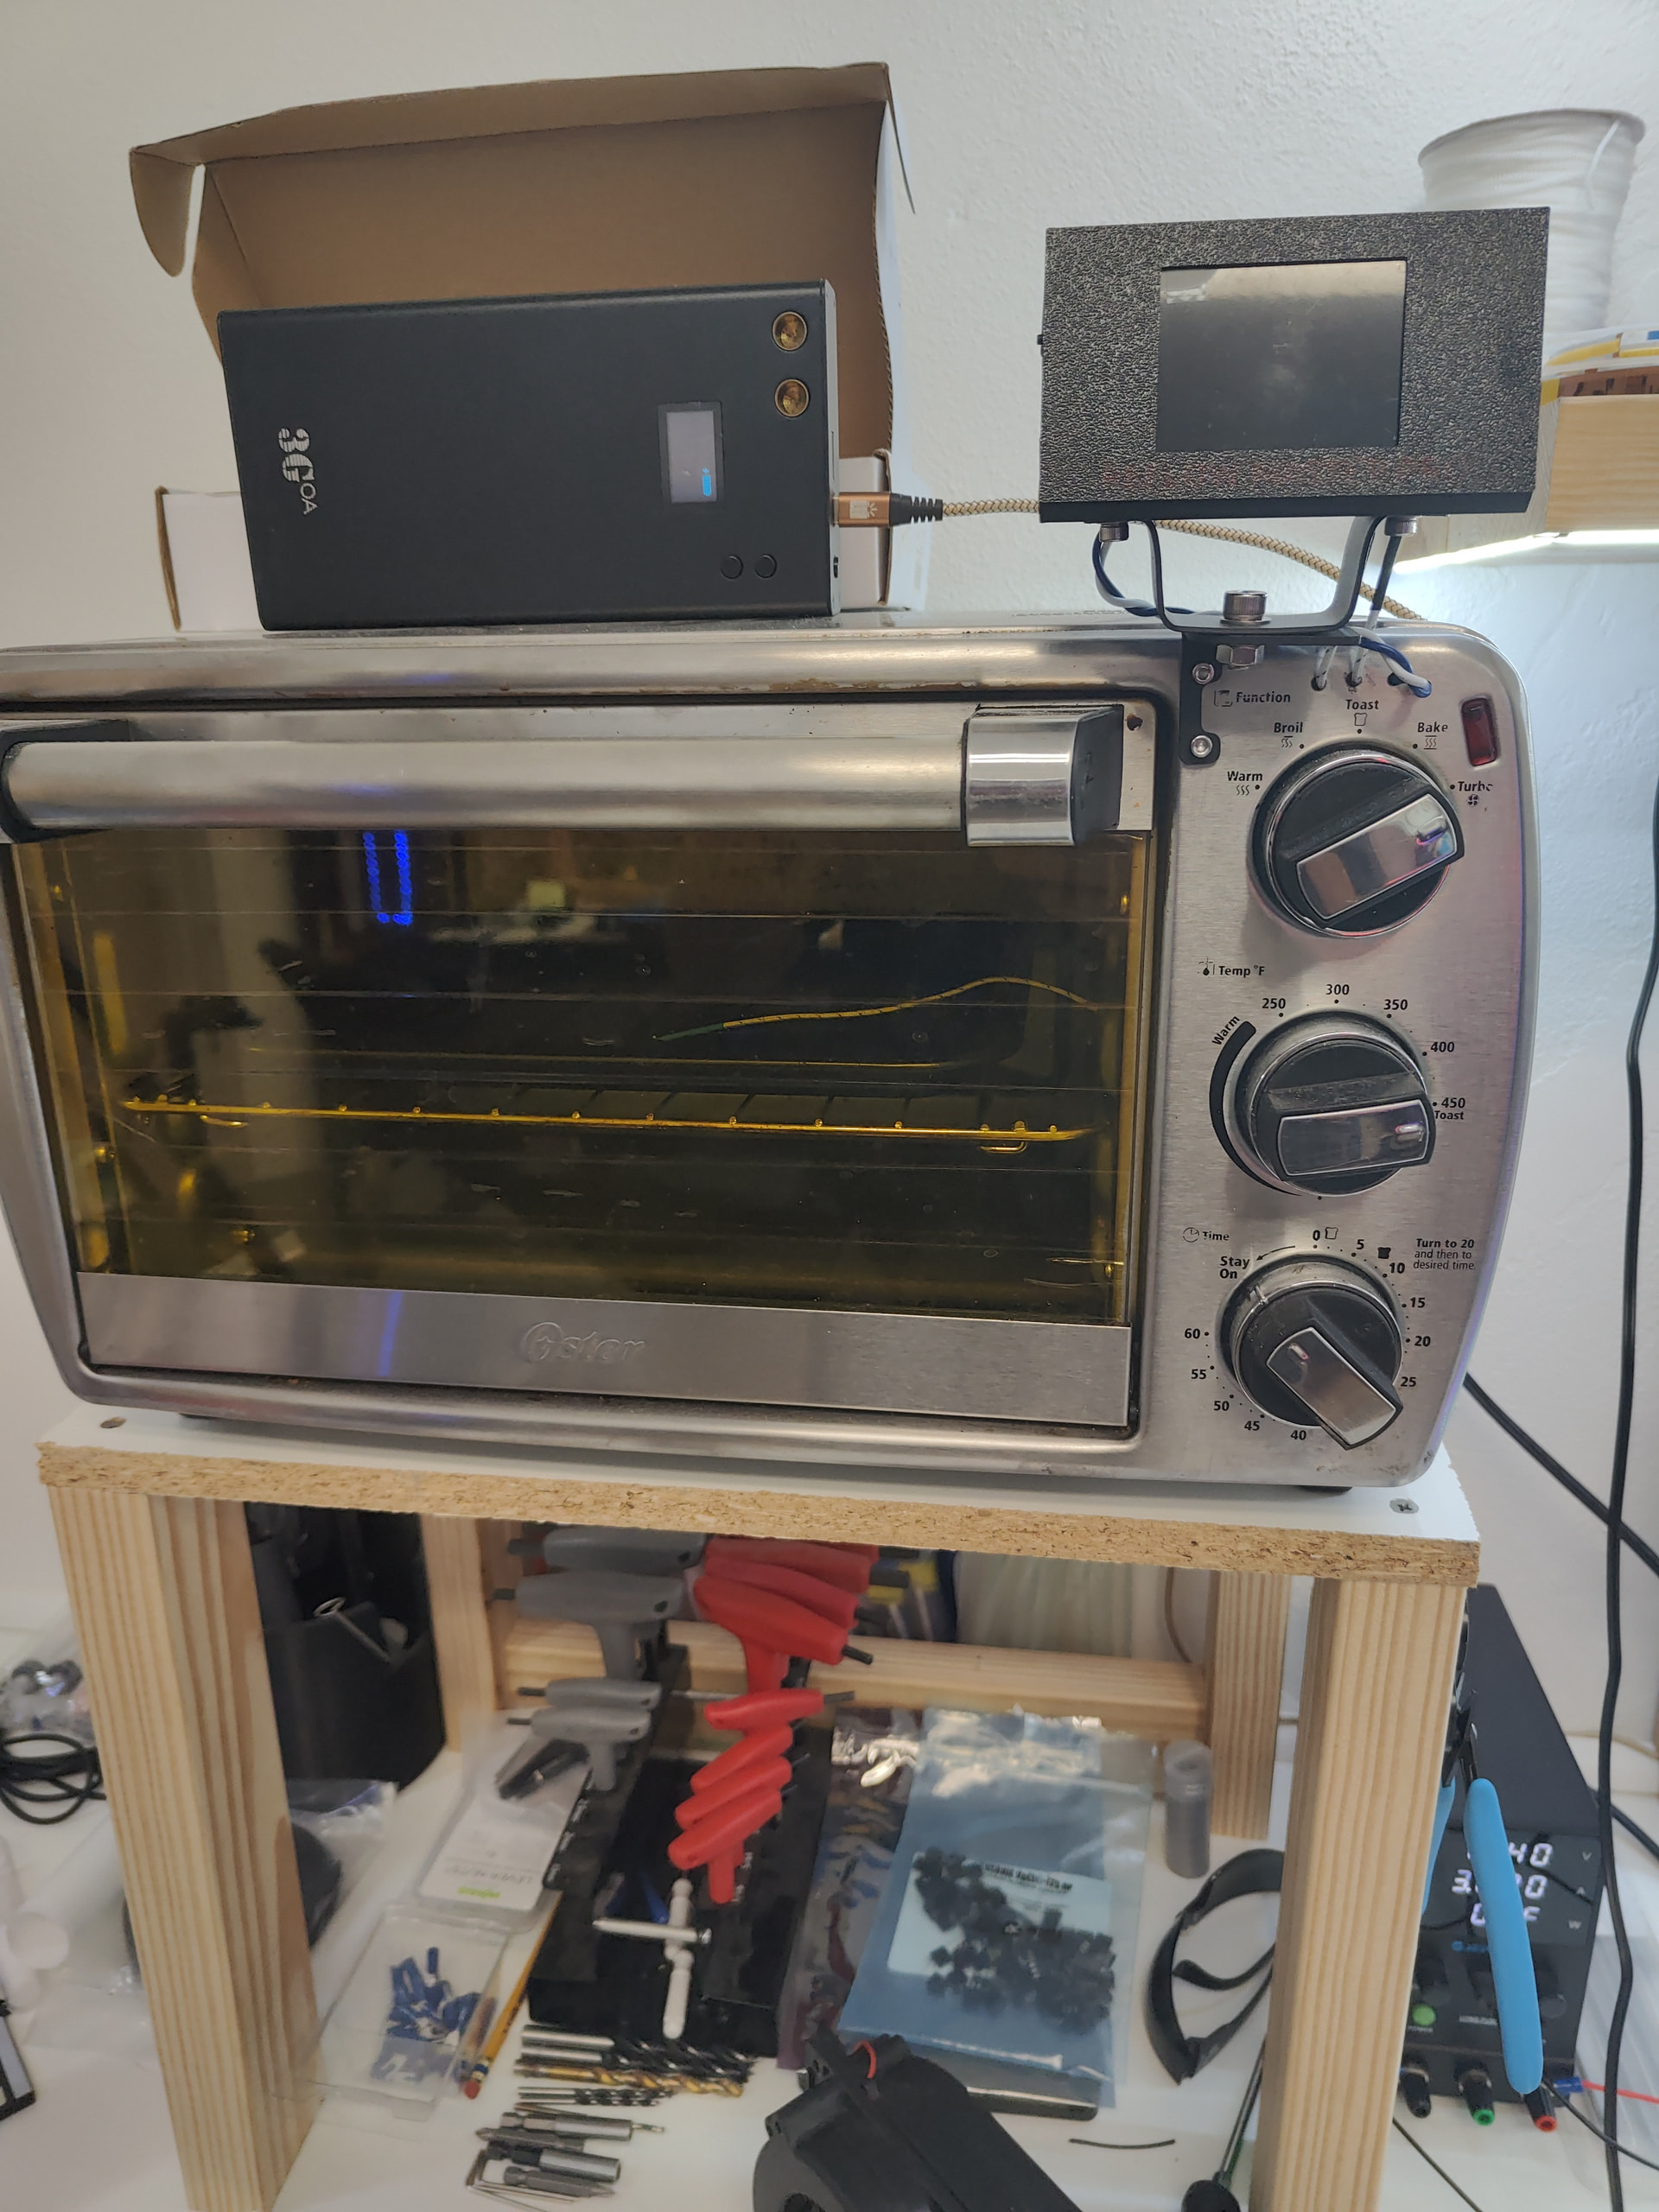
Crowpanel 7" Advanced, Wifi6, Case, Battery, FluidTouch installed and Ready. (Had to do something while waiting on printed parts.)

Now we’re talking…


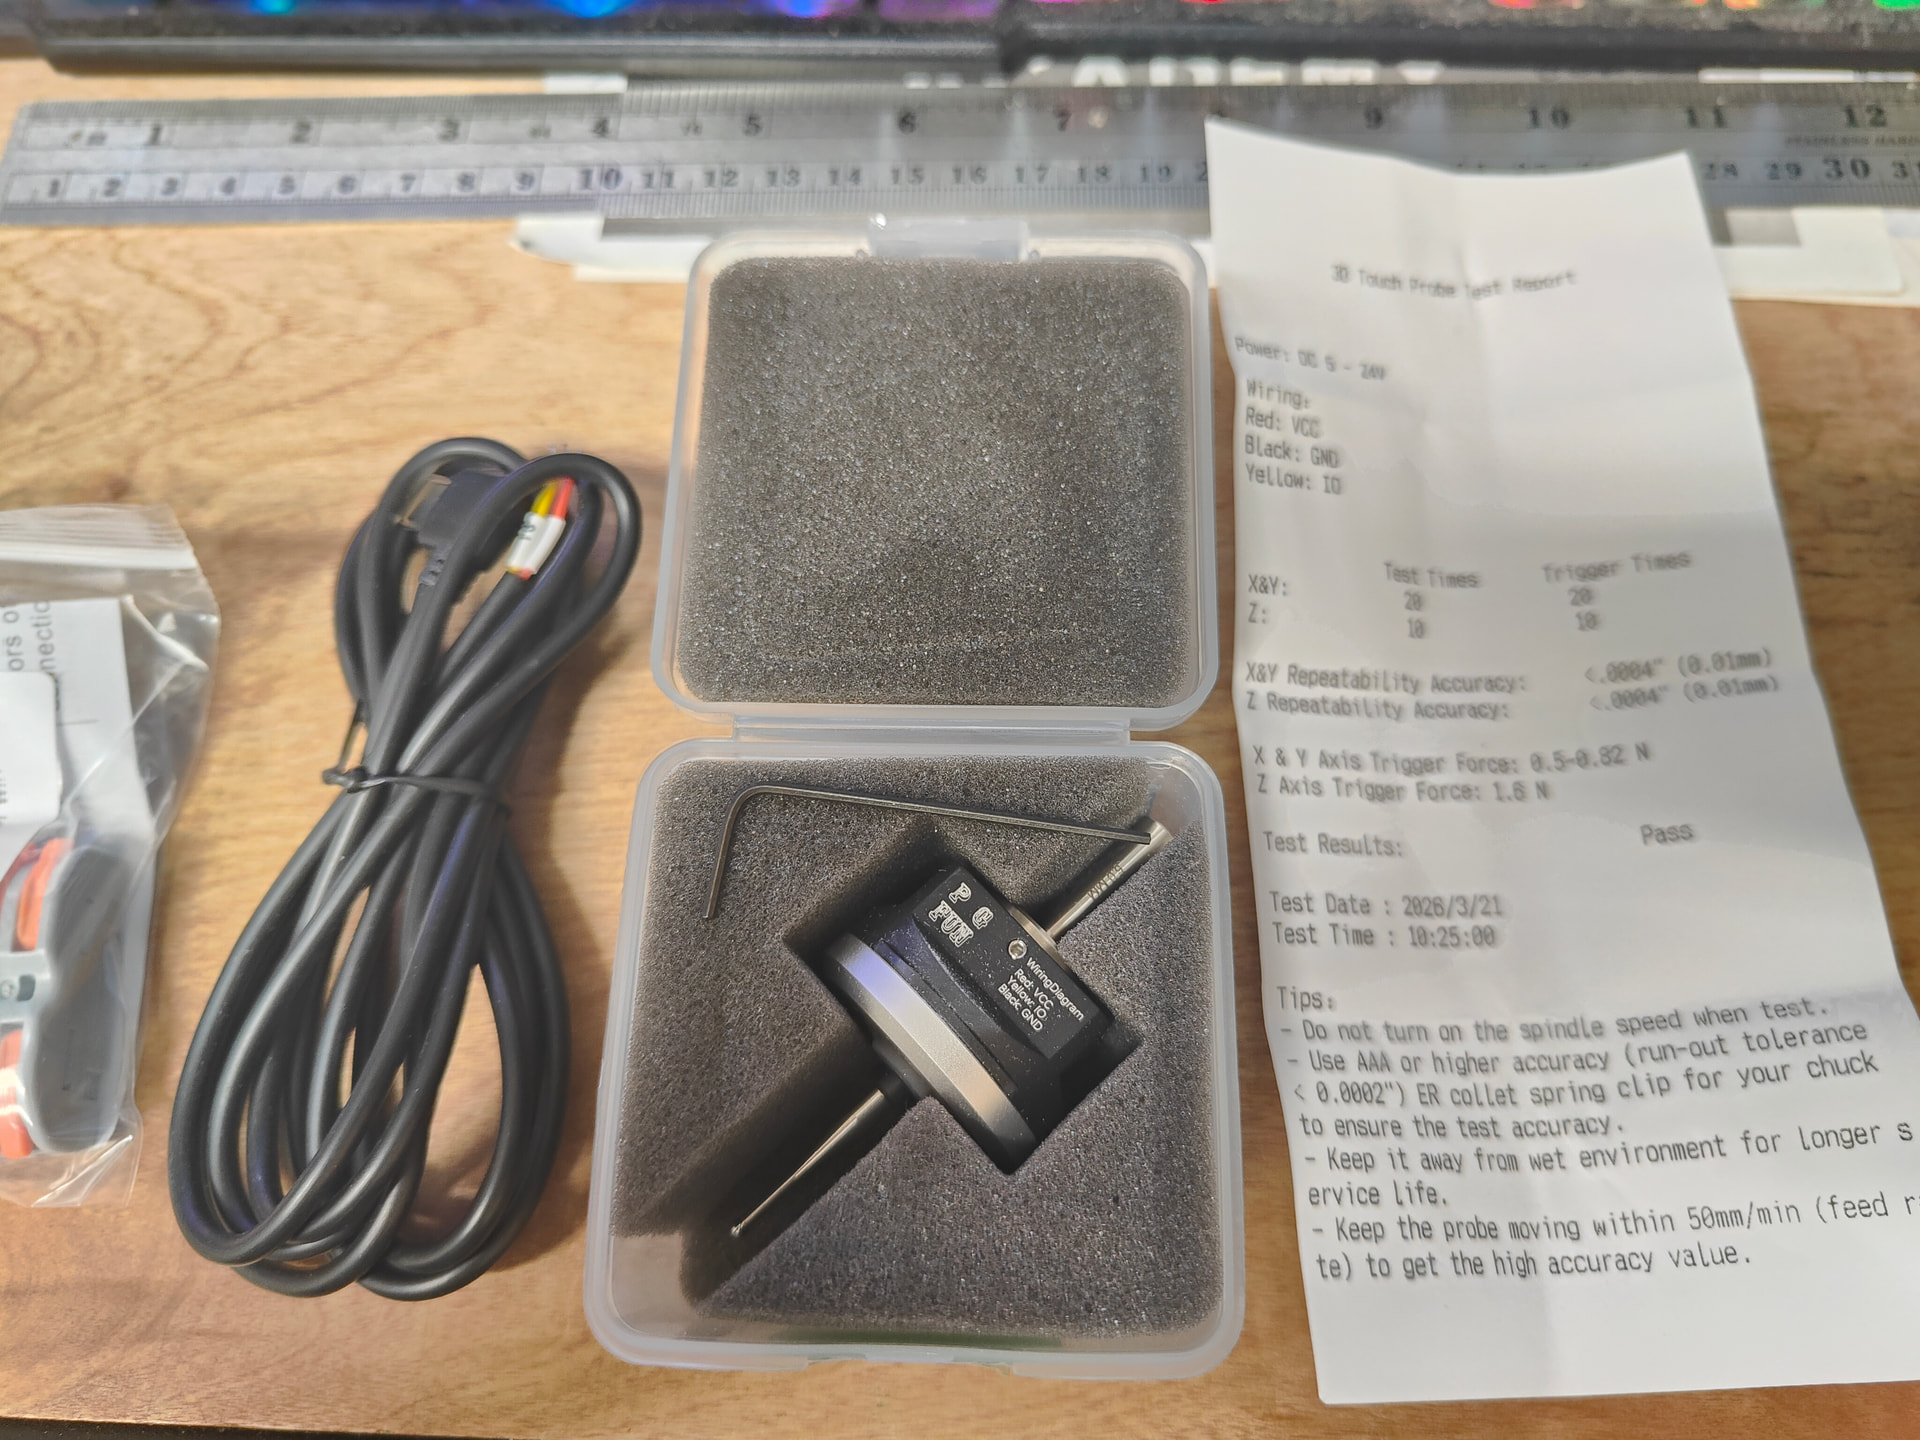
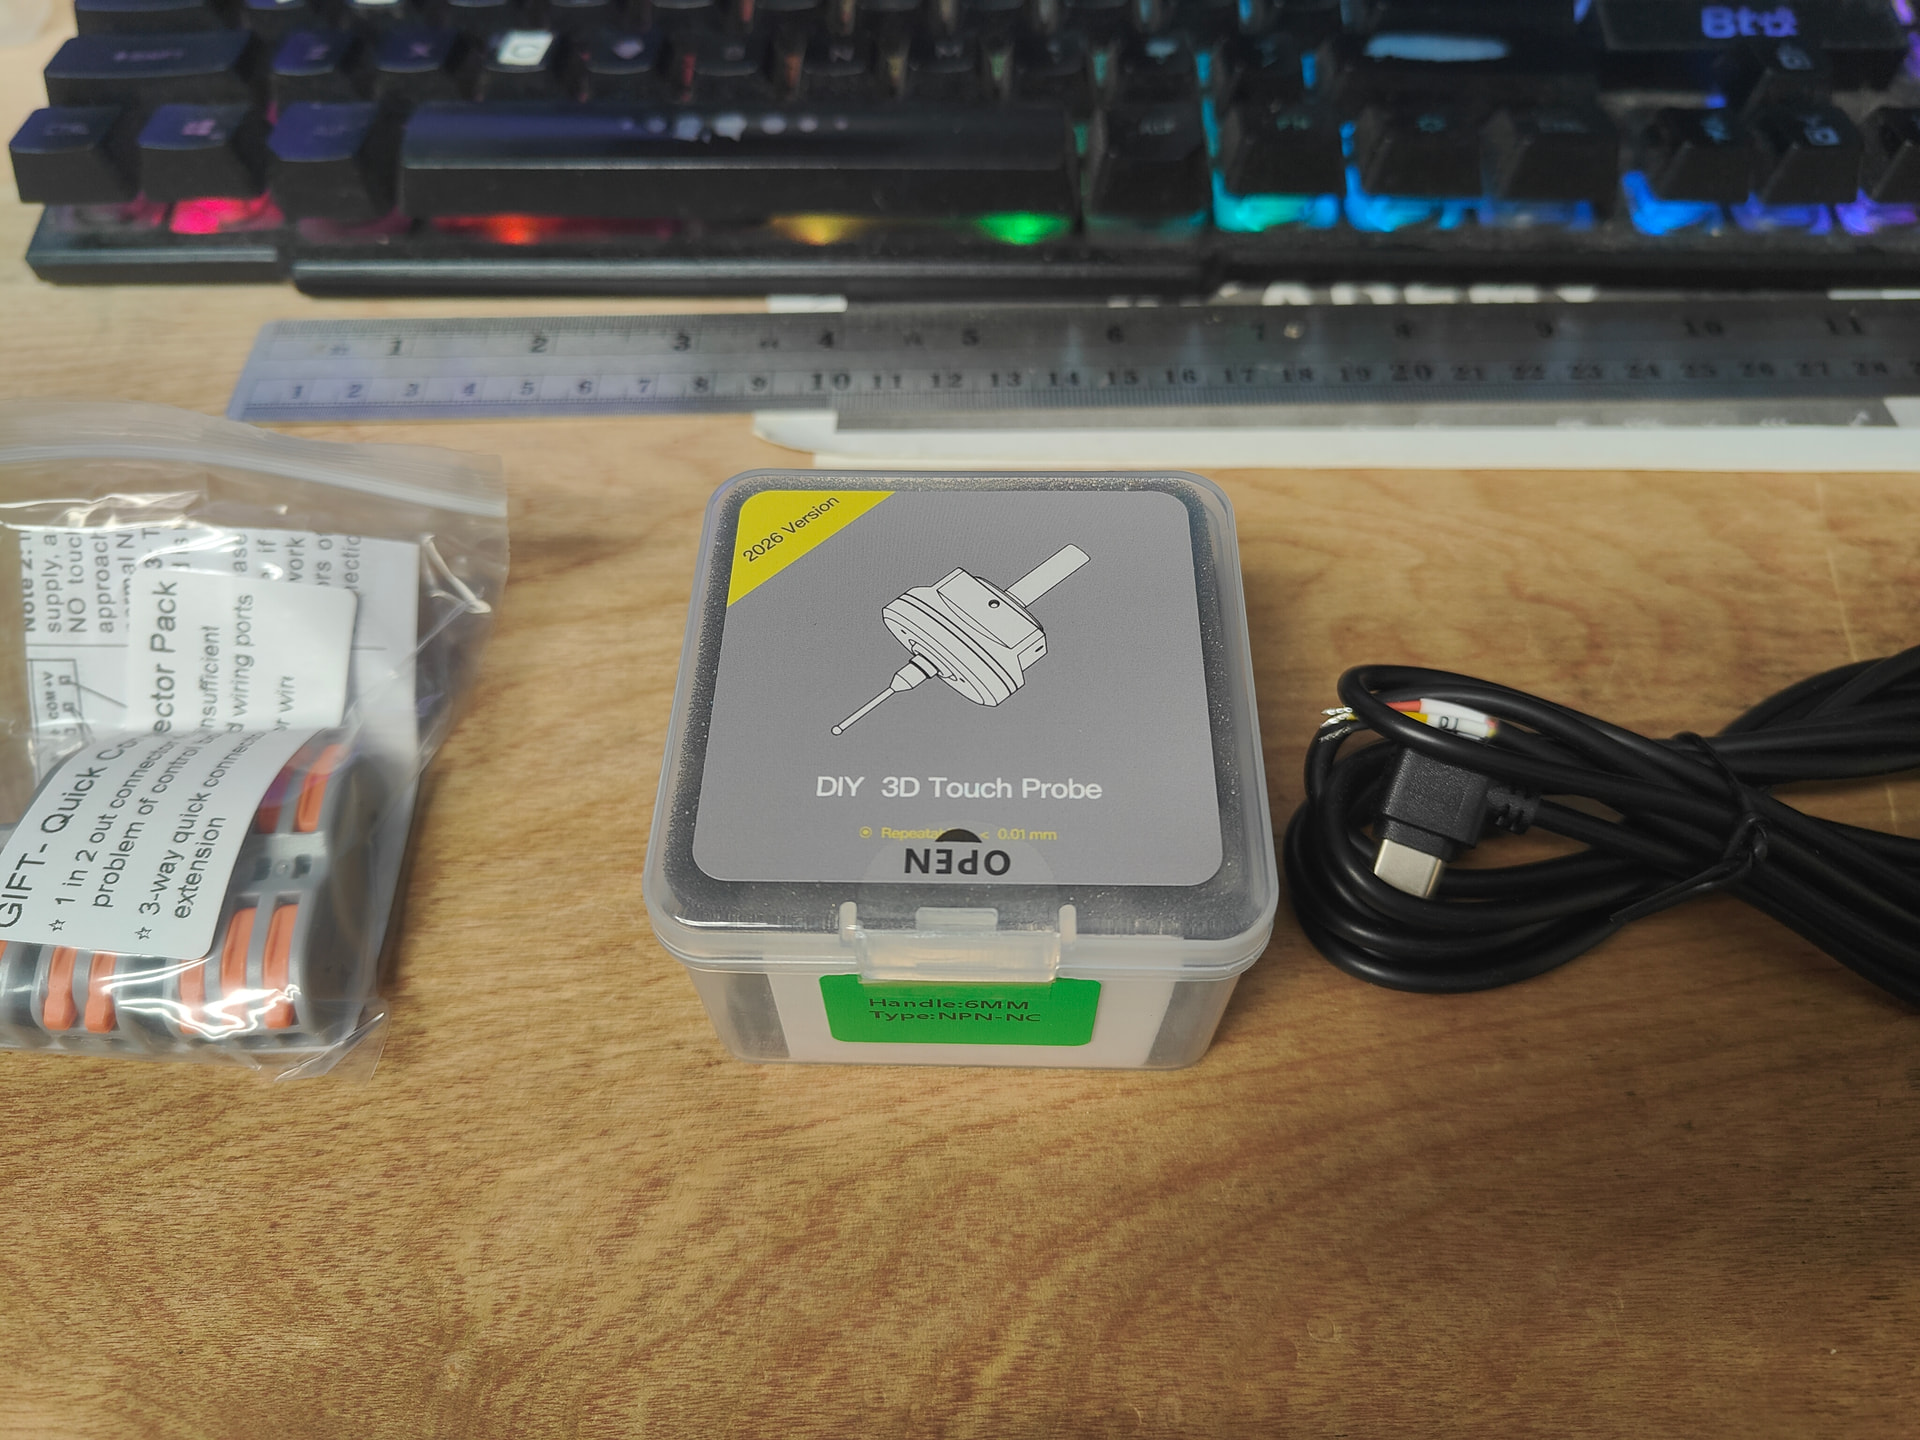
Oh cool what are your plans for that?

I am hoping to replicate Diaz Creative Studio’s use of it here. https://www.youtube.com/watch?v=lx6ZmjcQa_Q&t=138s (Incorporating it into my Machine similarly, but maintaining touch plate option of course)

Please share your config.yaml when you get that probe working with FluidNC.

Note that FluidTouch does not use the wireless modules, only the built in Wifi. This is because the wireless module shares pins with the SD card and it would require different code.

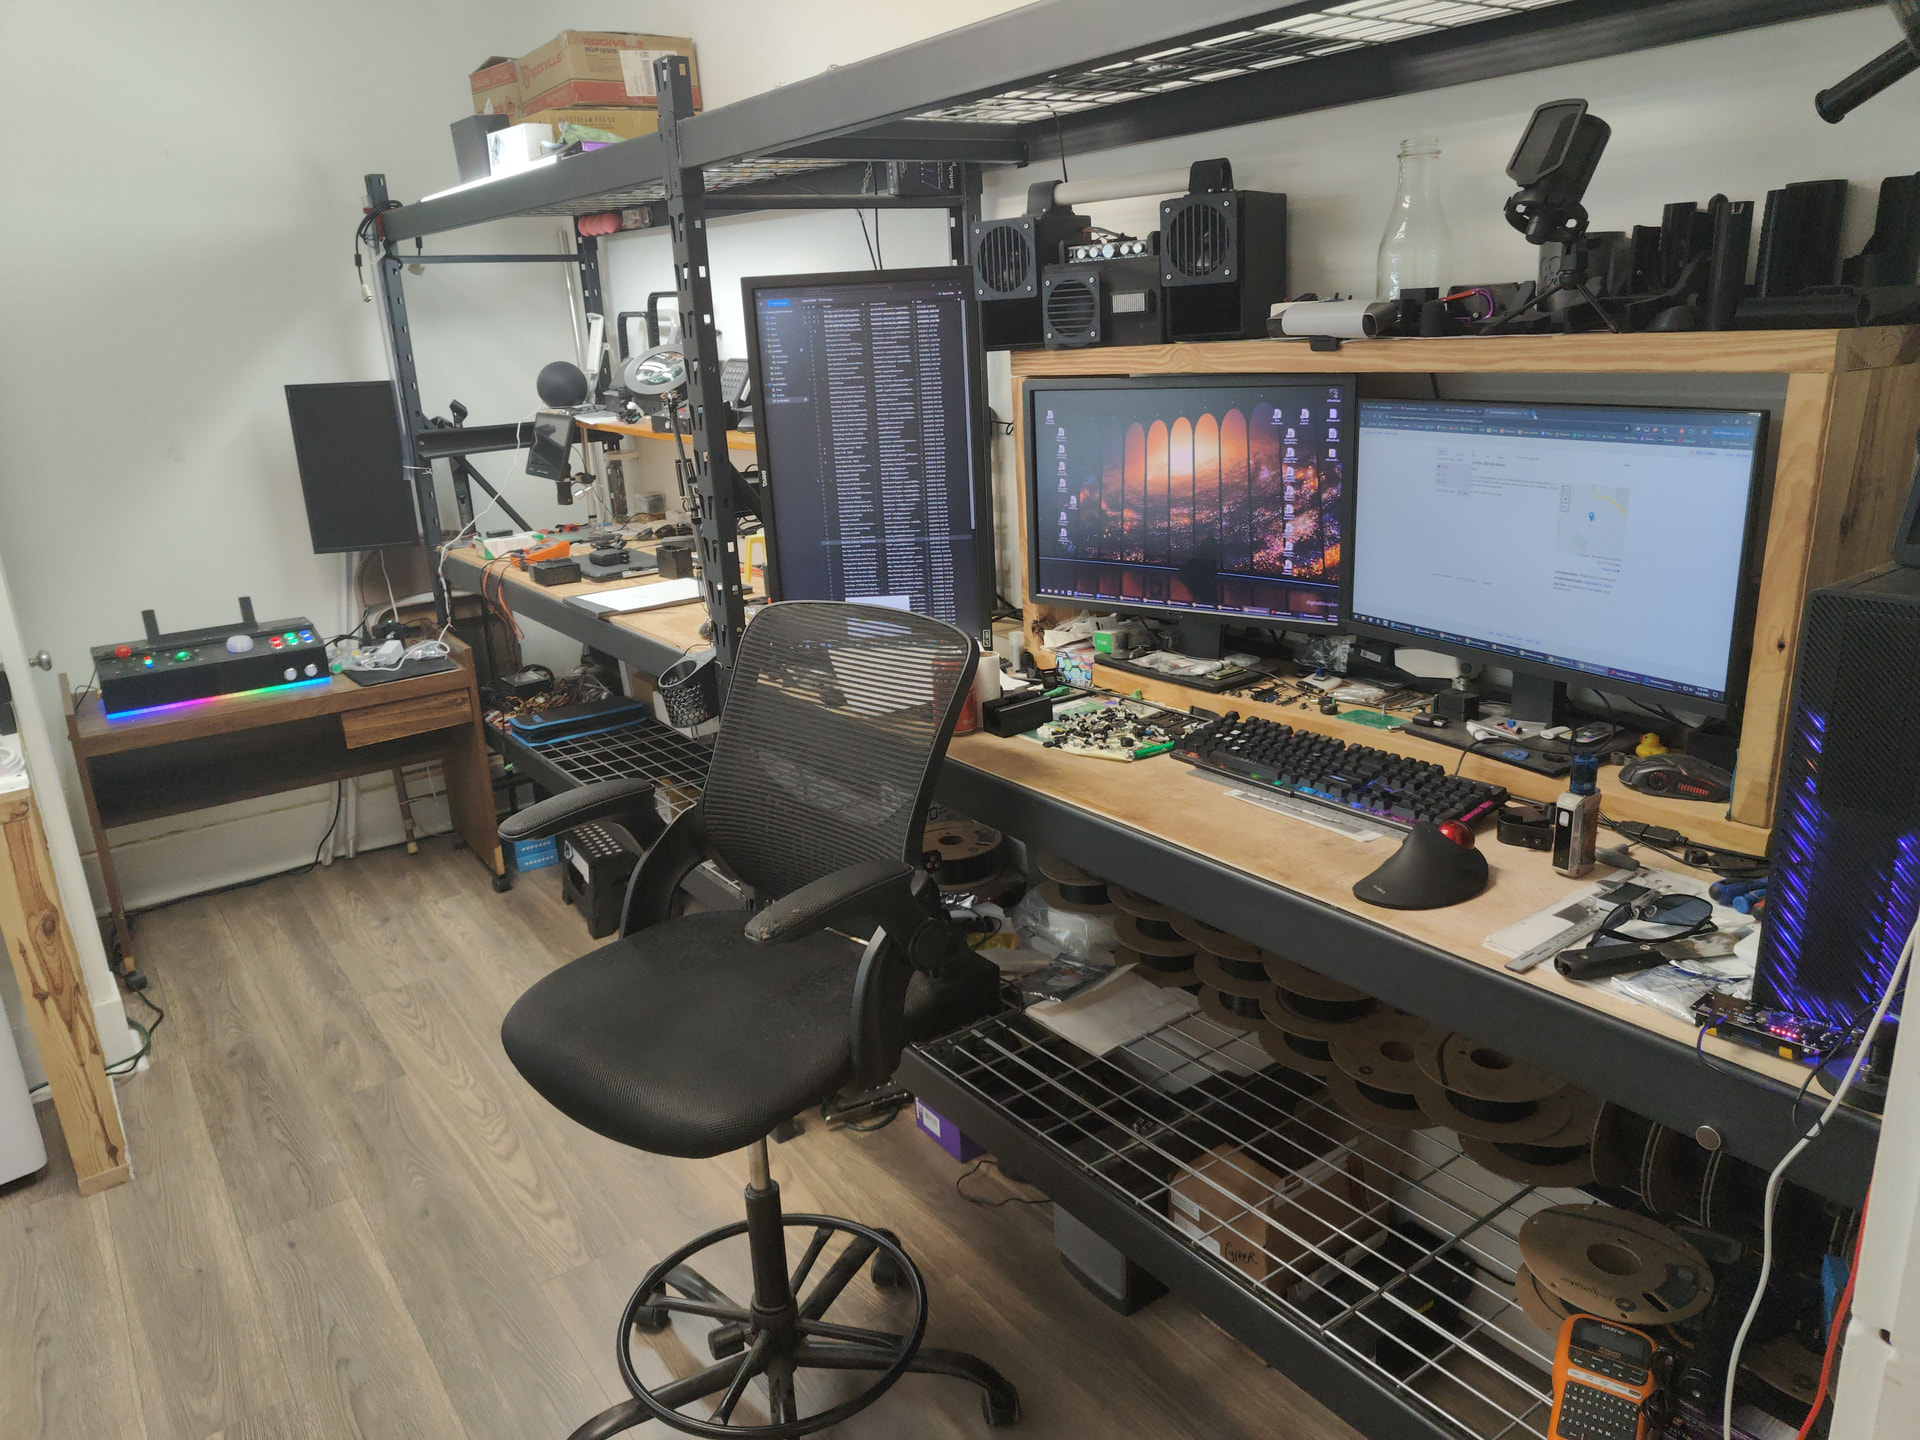
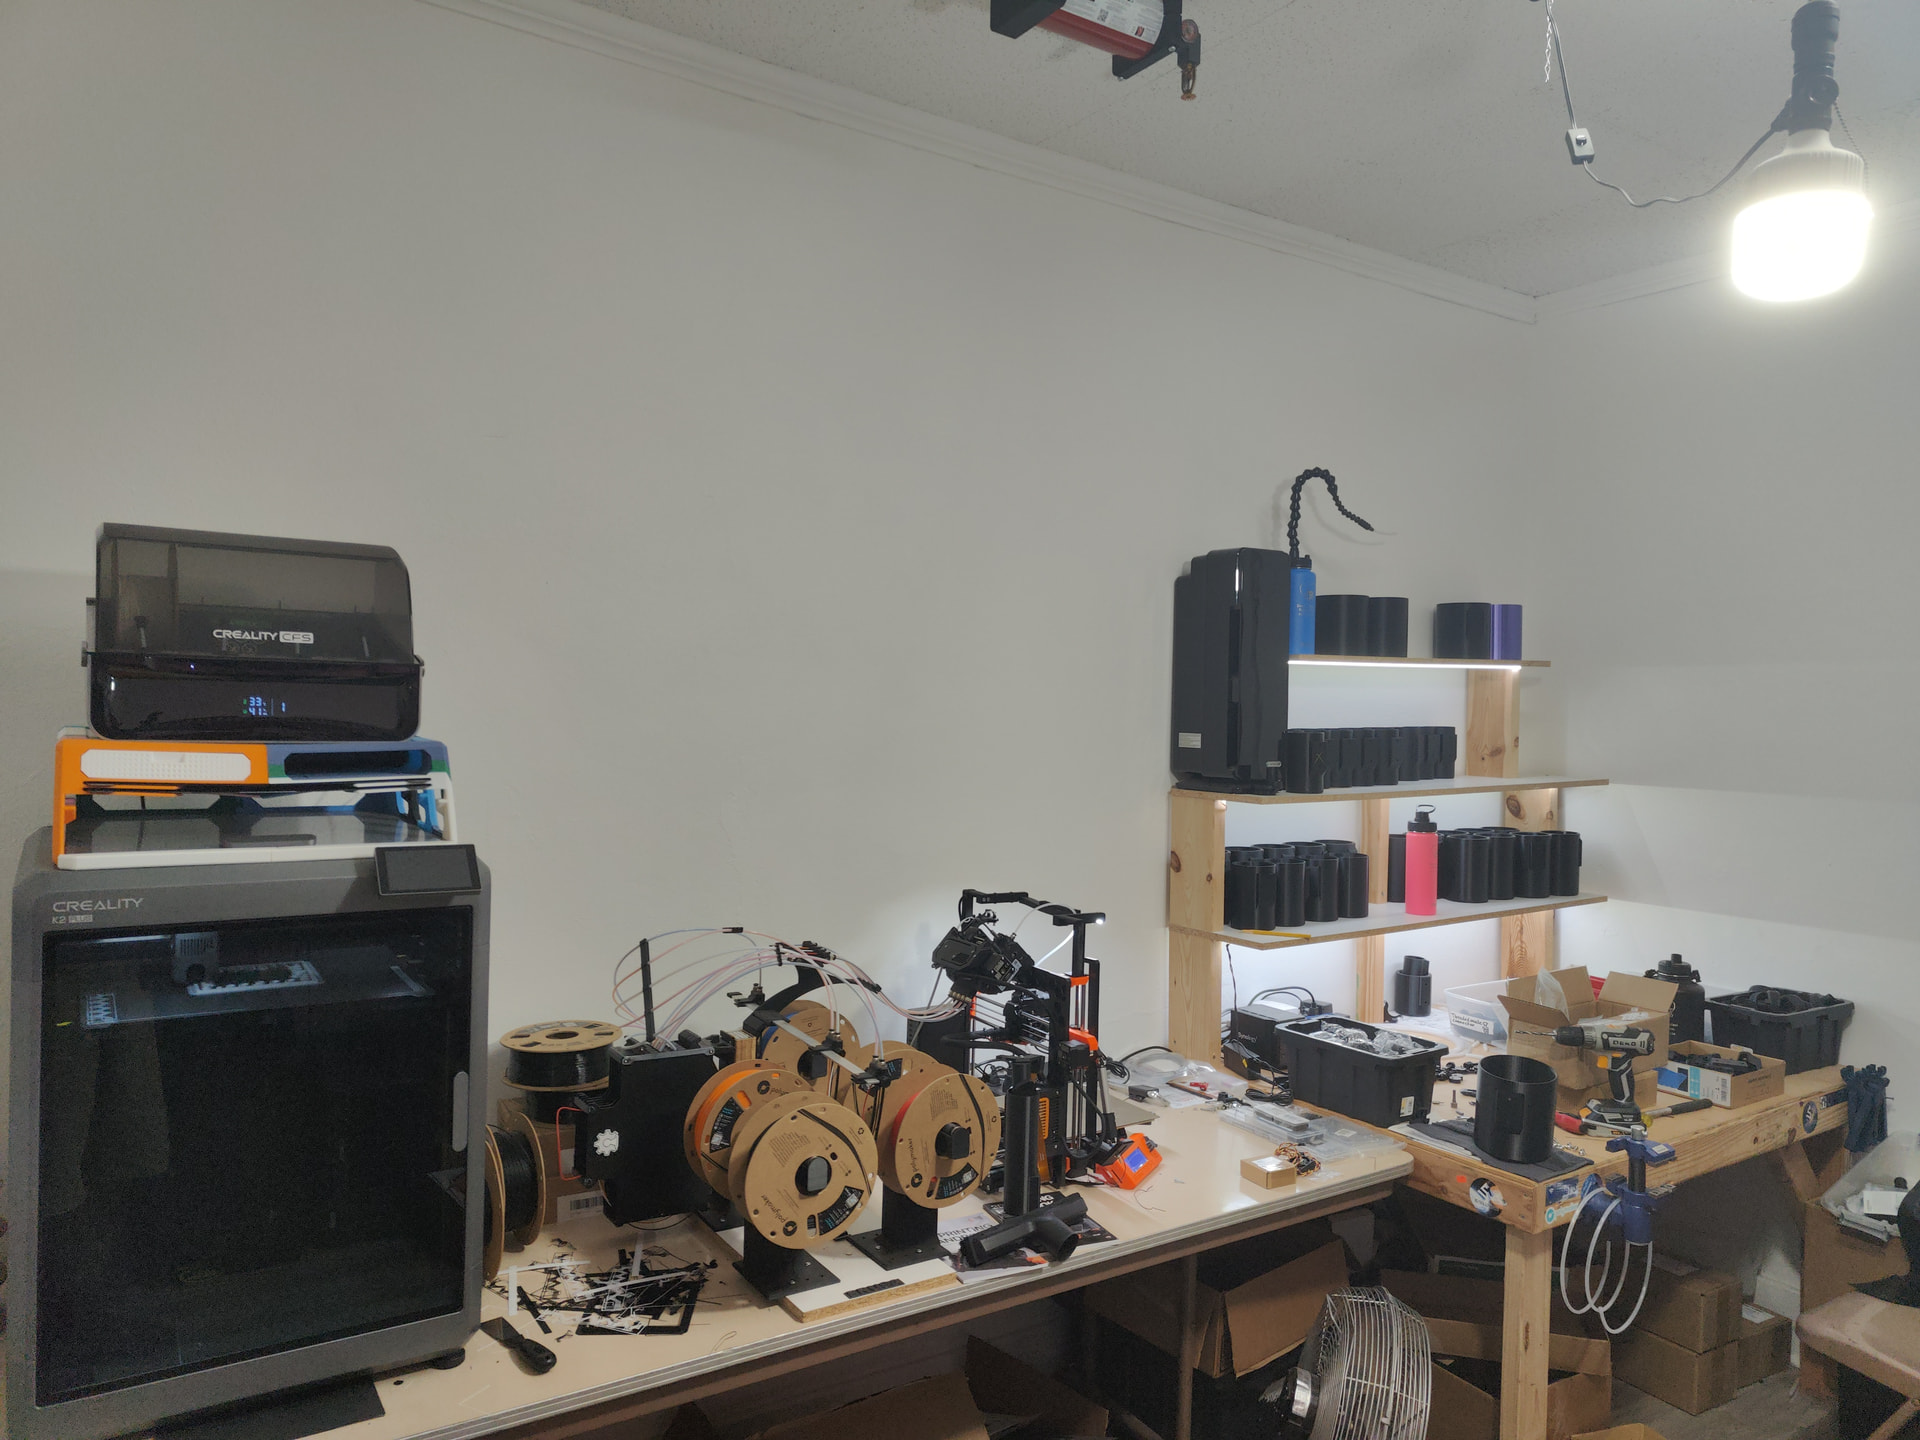
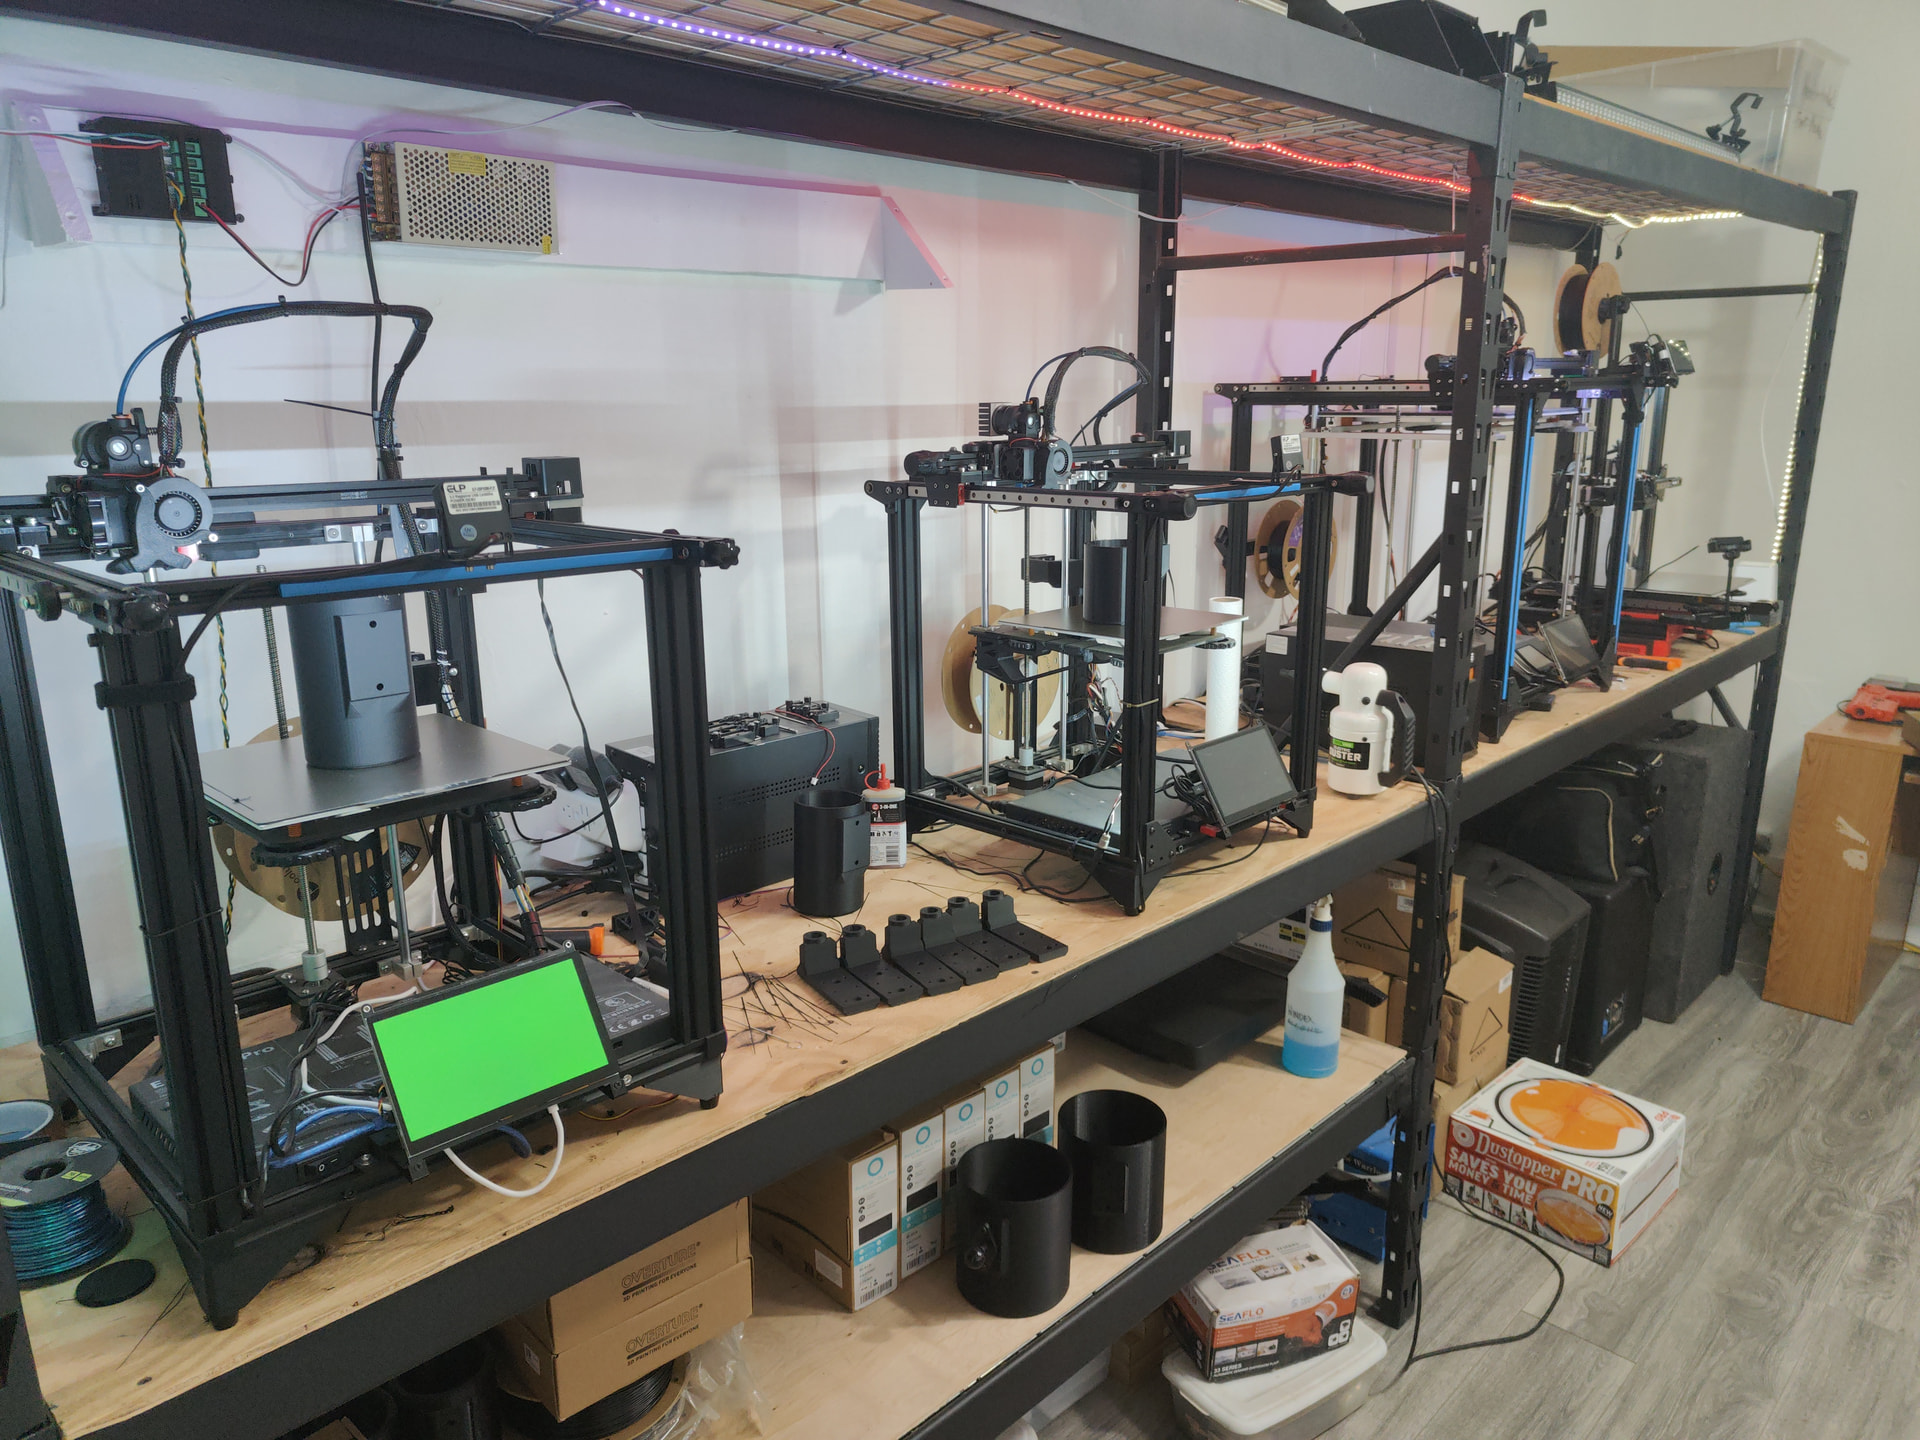
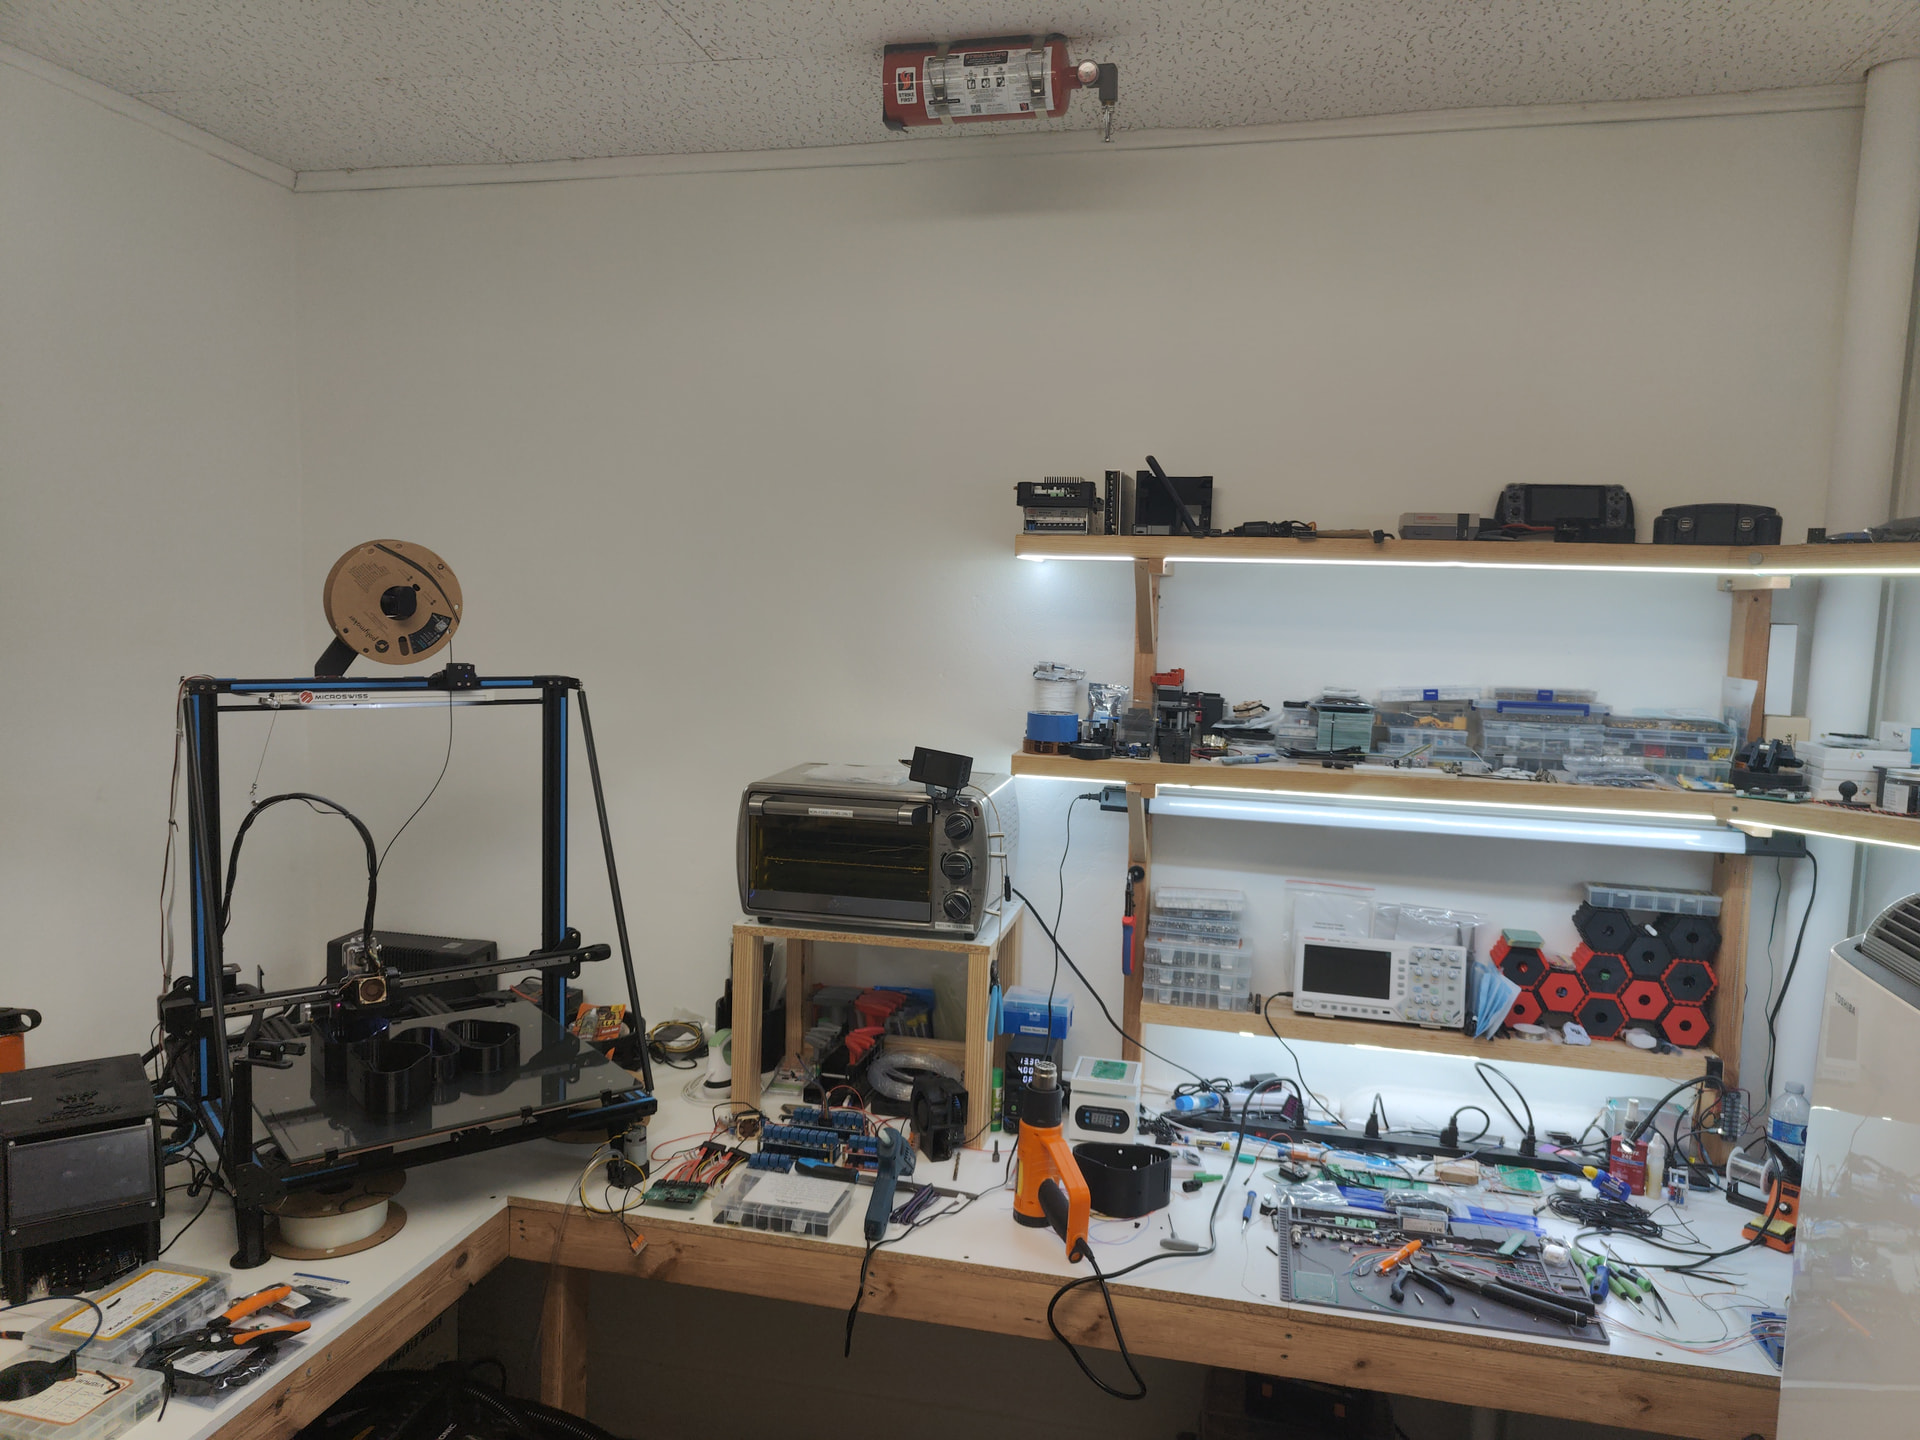
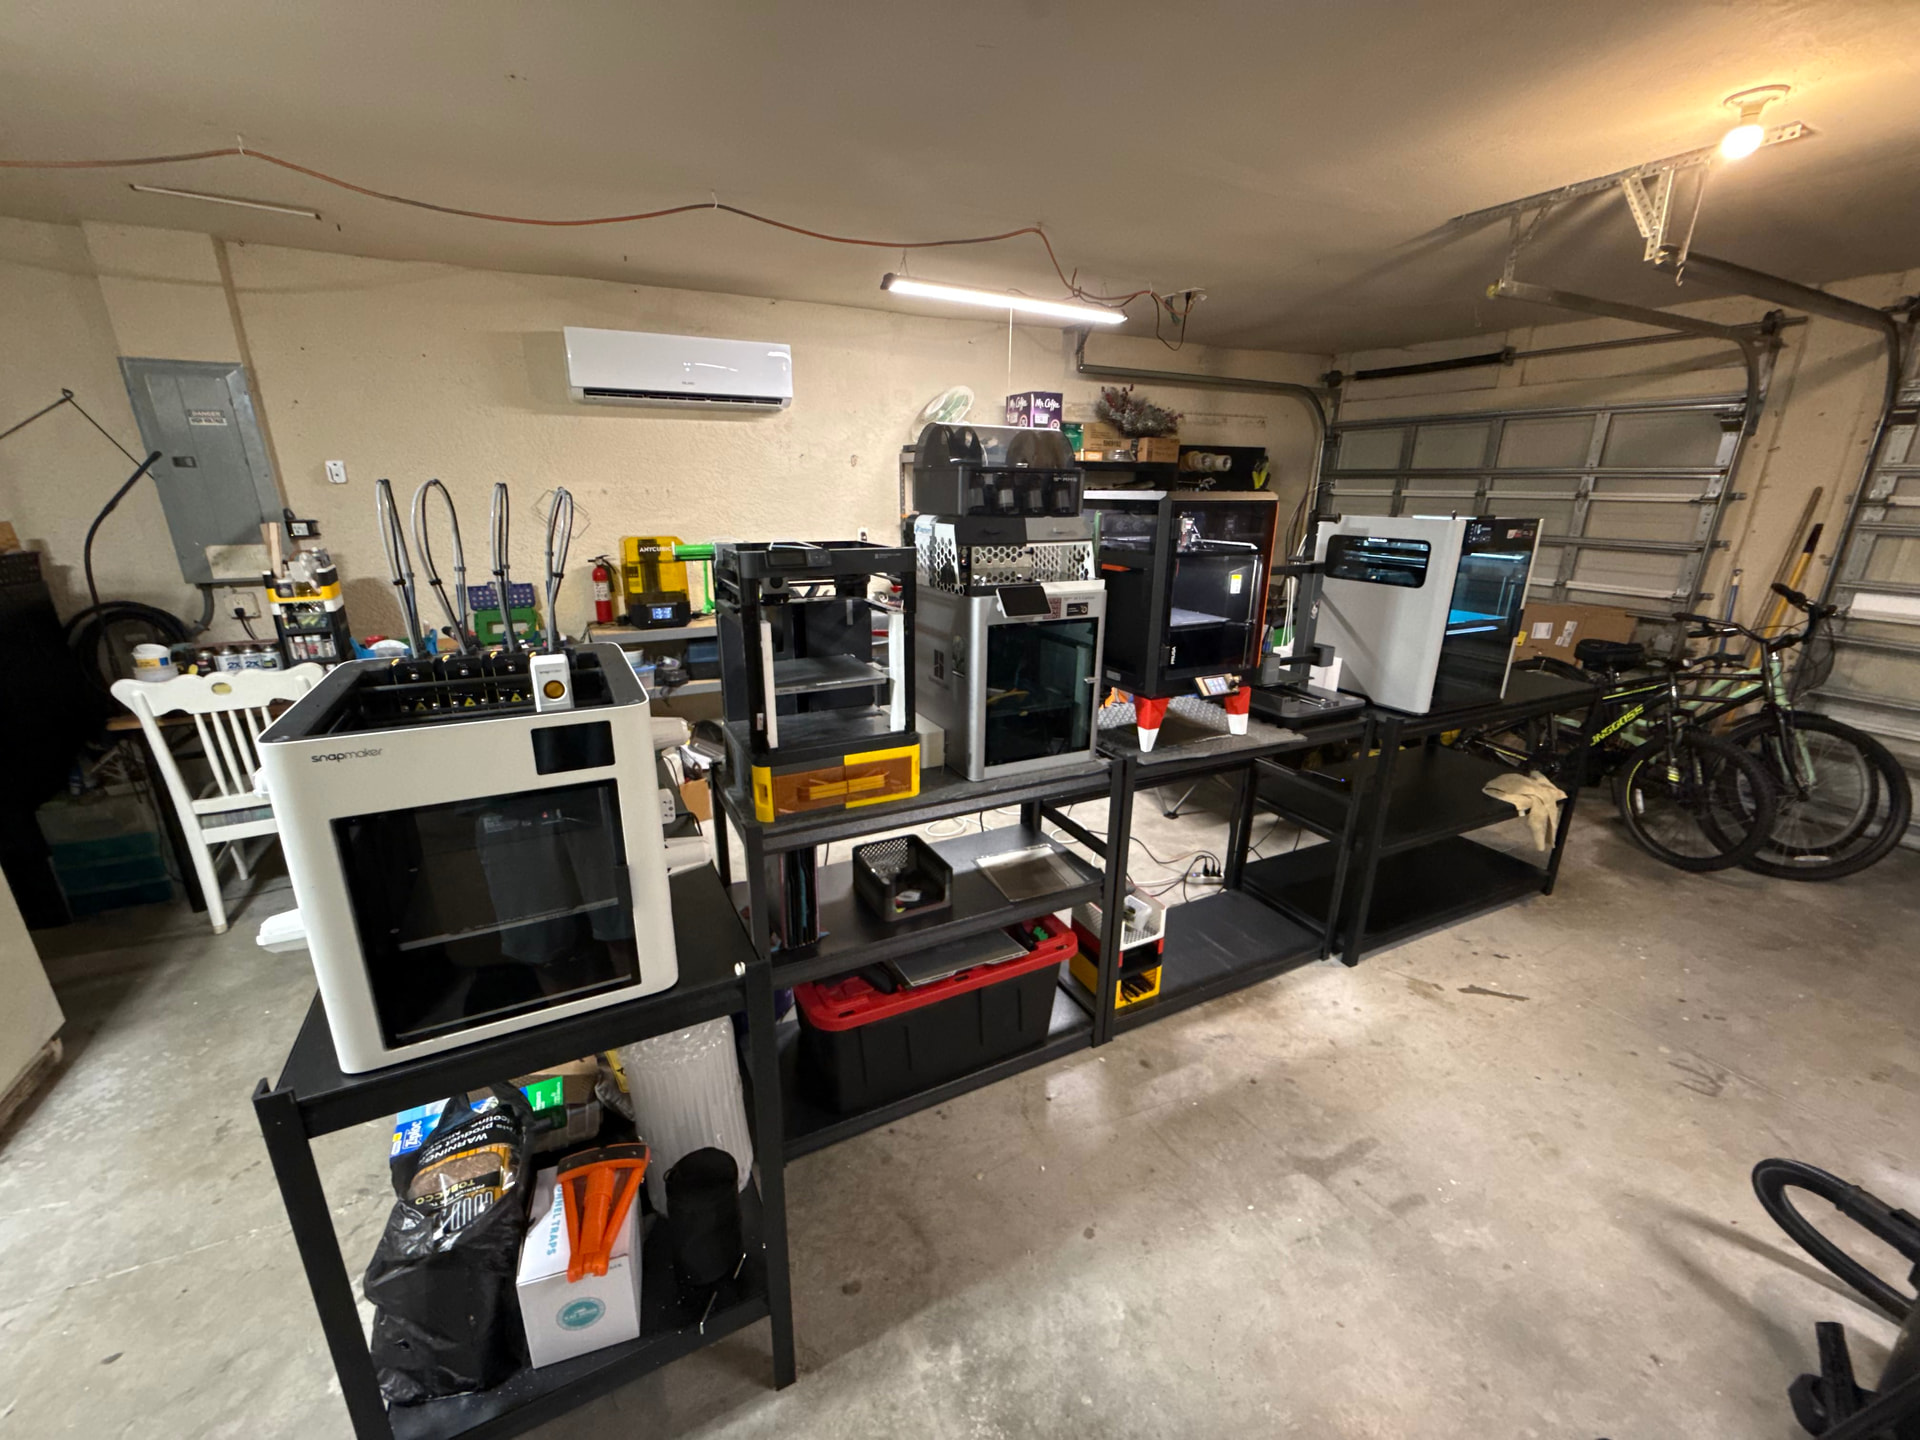
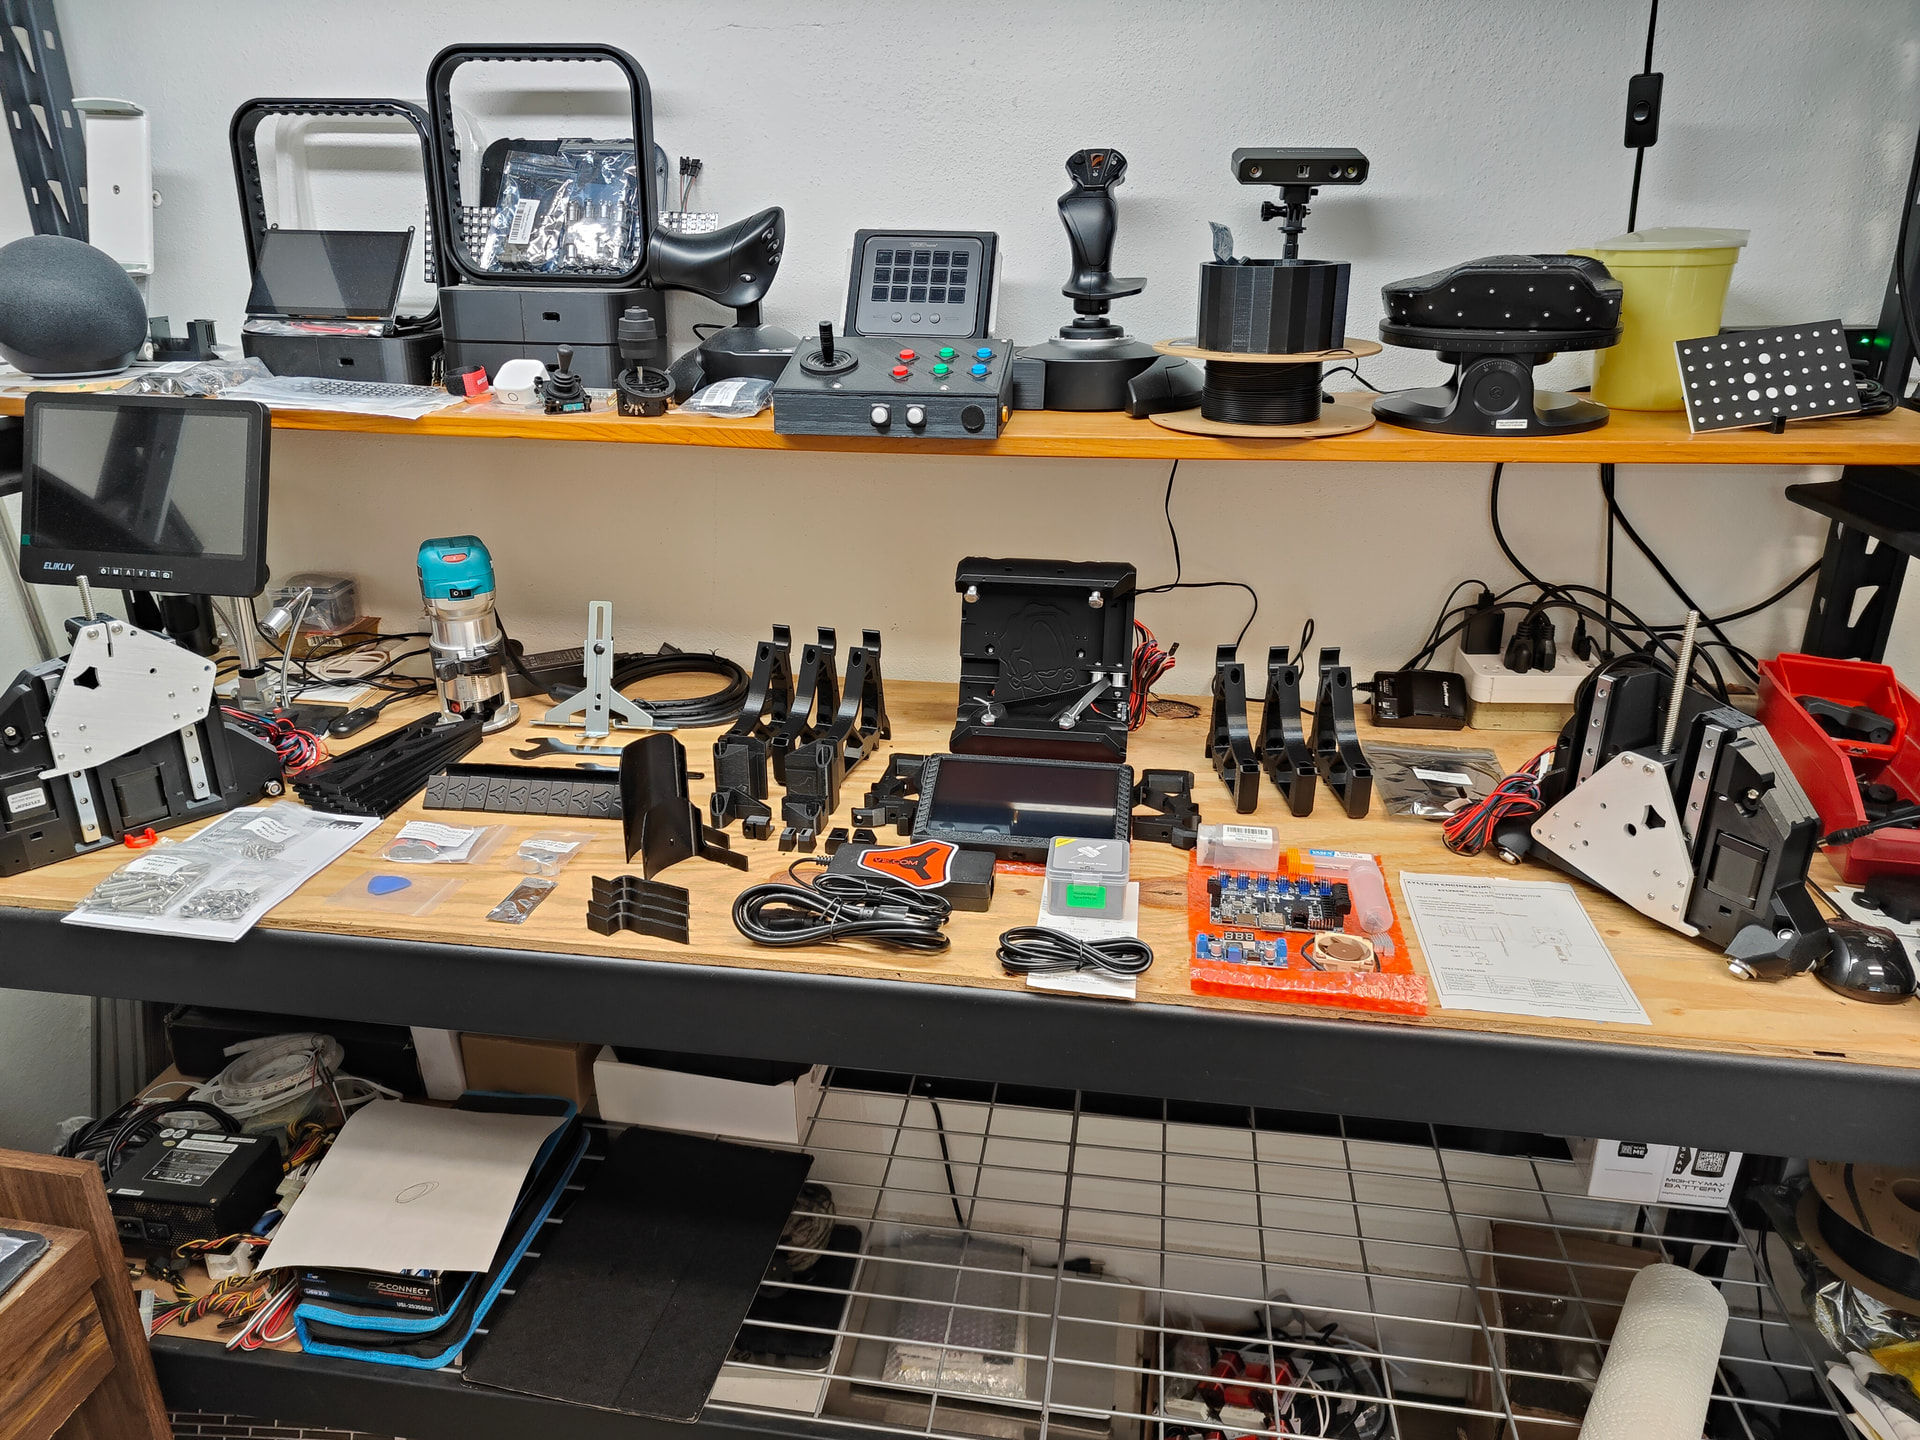
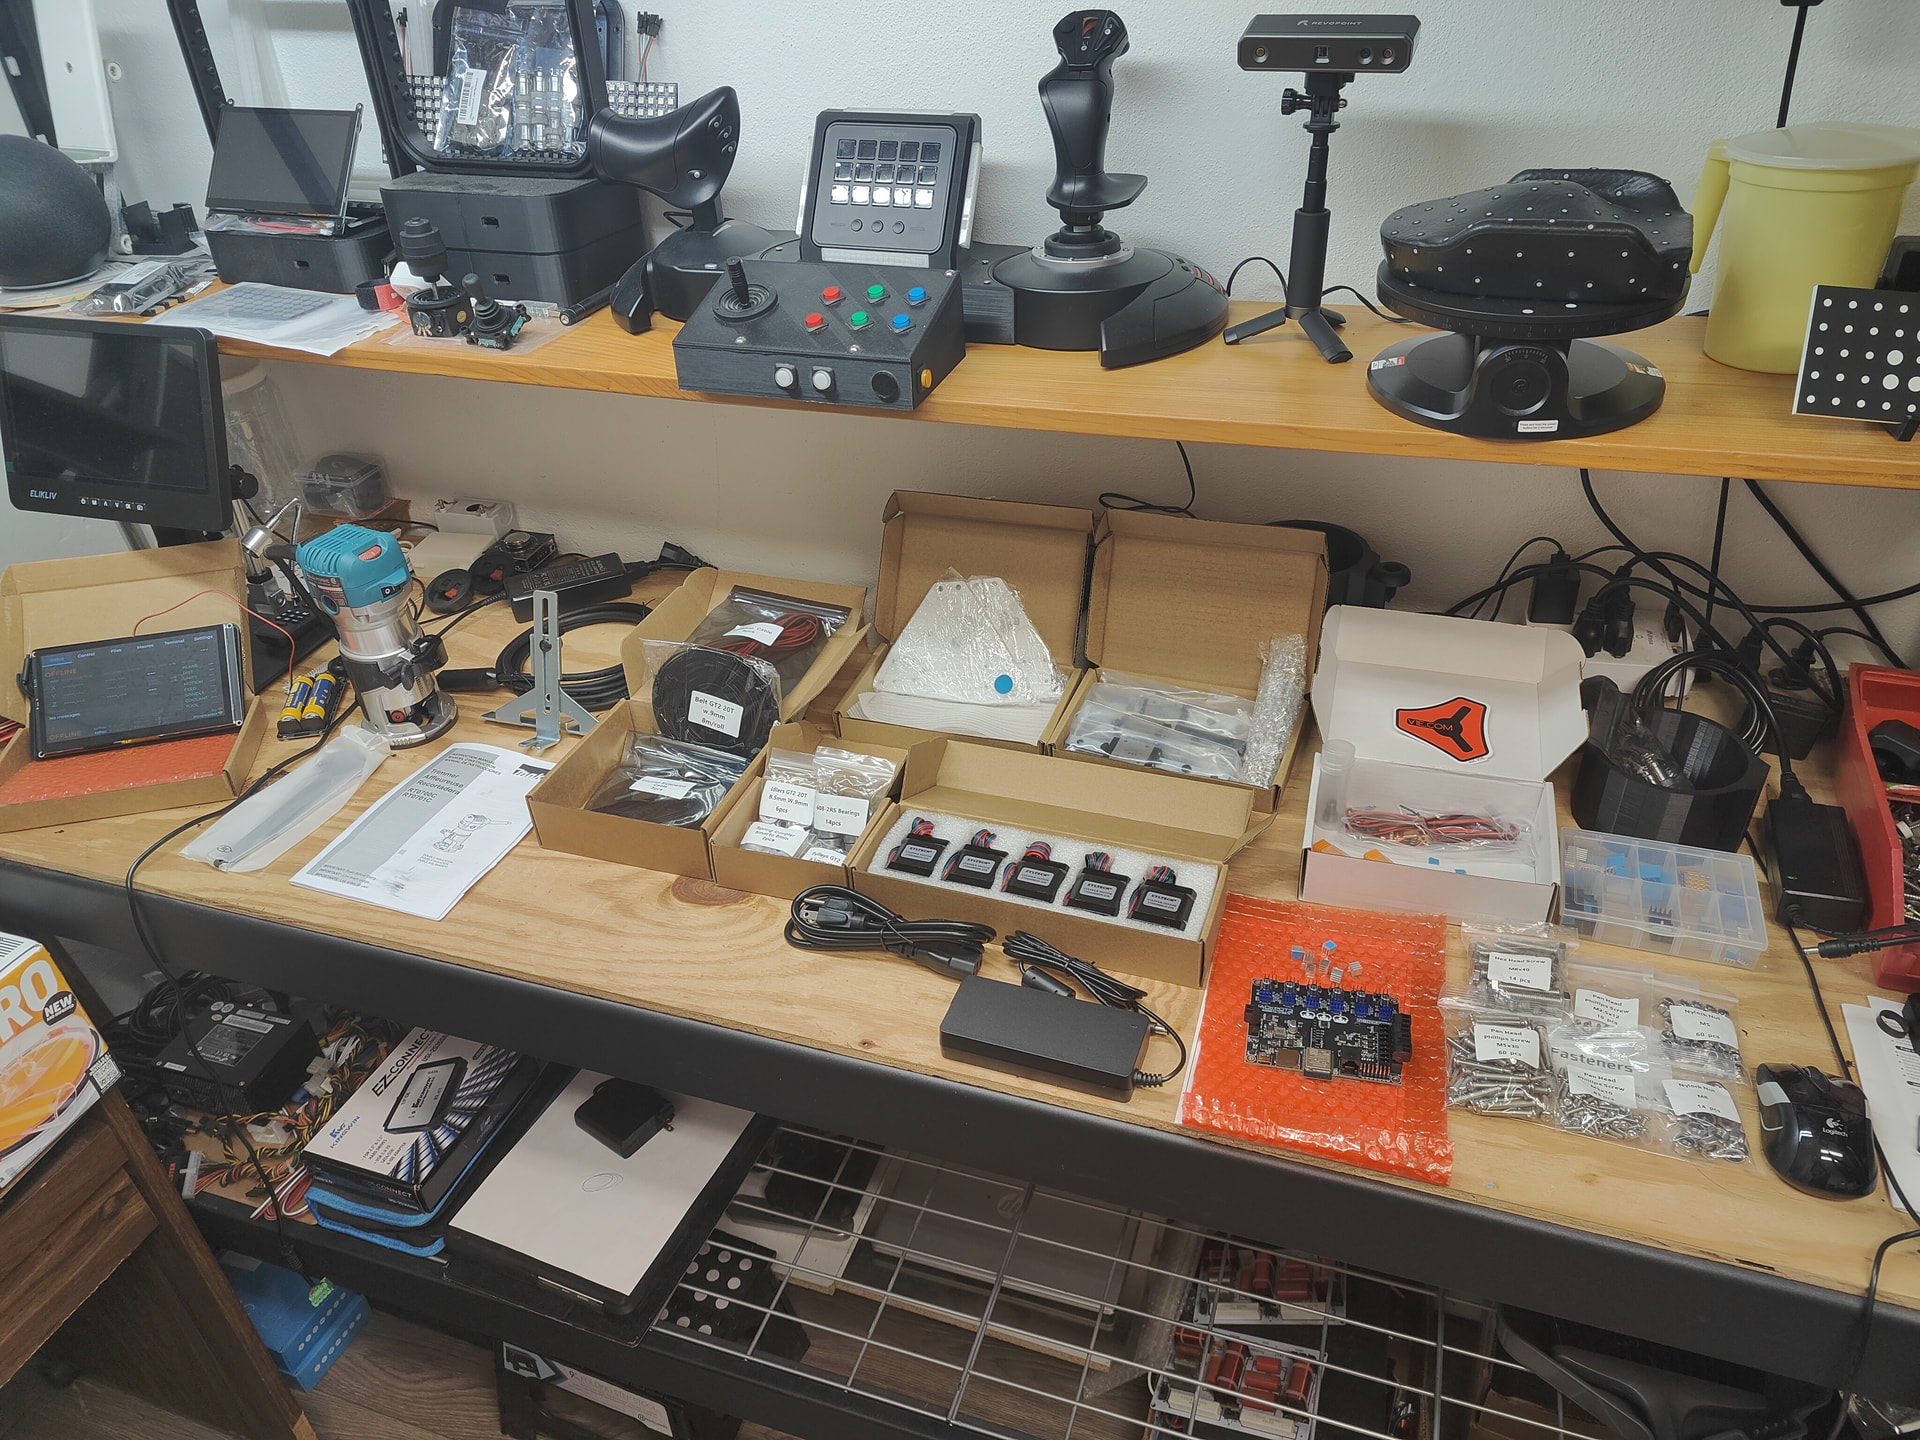
Like I said. I want as many bells and whistles as I can get my hands on, that are useful and not novelty. I have extensive experience in computers, electronics, 3D design, and engineering, going back decades. So, A more complex project does not intimidate me in the slightest. I have even started designing a similar but FAR less costly to build version of the onefinity motion system, that will be able to do full 4x8 sheet work as well. With nearly the same rigidity and reliability. This machine and the onefinity, take my mind in many directions. So, hopefully, once I get this initial unit up and running, I’ll have enough of a grasp on it mechanically, that I can sit down and design the motion system that is in my head, and share it here. I think the idea is rather slick. Not ready to share just yet. I want to prototype it first. But I gotta get through this build and calibration / learning phase first. But, I see my being here and contributing as becoming a regular thing. I like the vibe here. Makes me want to contribute my ideas/designs. :smiley: Pics of my design shop are below. (My dream shop, finally becoming hard reality…) So, know that I am eagerly looking forward to building a PRIME, Precision, Cadillac level example of your work in my shop and adding it to my workspace. Full Stop.


Its ok. I put it into that case specifically to make it useful in other scenarios with other software if/when the Lowrider has downtime or isn’t being actively used. I like keeping my hardware assets flexible to prototype and mess around with on other ideas/designs.

Welcome!

Nice setup. I expect great things from you.

Those look like traditional cartesian printers on rails. I see an orbiter extruder on one. curious of your setup.

As a poor Nerd with only a moderate dev budget available to me, much of what I have is broken/cast off equipment, brought up to spec (In my own way).
I have the 2 Ender 5 units. Both are all linear, orbiter converted, Klipper machines, frame reinforced, adaptive mesh, input shaping, and a tune for 120-150 mm/s. I stayed cartesian, because it keeps maintenance to almost nothing, lowers part count significantly, and is “Fast enough” for my use cases. My Ender 5+ is similarly setup, but has a Microswiss allmetal head instead. I use it mostly for flexibles. My Ender 3 Max, is totally custom. Top down. Dual Z, Klipper, Color Touch, Runout sensor, Mosfet bed control, upgraded power, cooling, and has an auto eject system similar to my loop-elec system in design for it. The CR10S5, has been modded to the sky. Custom SKR electronics box, Mains controlled 1500 watt edge to edge silicone hotbed, Microswiss, runout, XY linear Rails, Frame Supports, Dual Z Sync, on a custom stand, with the bed hand/bent corrected to .22 diff edge to edge. I also have a Prusa MK3S+ with MMU3 and my own redesigned version of the MCS system for material management. As well as a friends donated K2+, that I use for nothing but rapid prototyping. Its dimensionally terrible, and first layer issues have plagued it since shipment. It works. And gives me a quick “See if this fits” part. Bout all its worth. I have a very nice Electronics rework and PCB fab space, with a Custom built Reflow Master Pro controlled reflow oven, hotplate station, 10" HD inspection scope with 2500x mag, Revopoint mini scanner station, Kiri Engine Pro Lidar Scanning, with Climate and Humidity control in both rooms, and Automatic fire suppression, and HD Cameras, watching every bed with AI failure detection set to notify me on my cell if anything goes wrong. These machines run nearly 24 hours a Day. I get my shop space for free for doing design work and part production for a Custom Wheelchair and Rehab Equipment shop here in Florida. (I design custom wheelchair and QoL improvements and parts, mostly for kids wheelchairs, standing chairs, traction systems/chairs, rehab tables and equipment, Etc) After 5PM, and on Weekends, the shop is mine to make whatever I want. Once in a lifetime scenario. Taking FULL advantage ;-D
I also have access to my Best Friend’s workshop. With MUCH newer printers and material options I currently do not have. So, If I need PC-CF or GF, or exotic materials, I just send it over to him. Pick it up the next day. Together, him and I can produce some incredible parts. :wink:

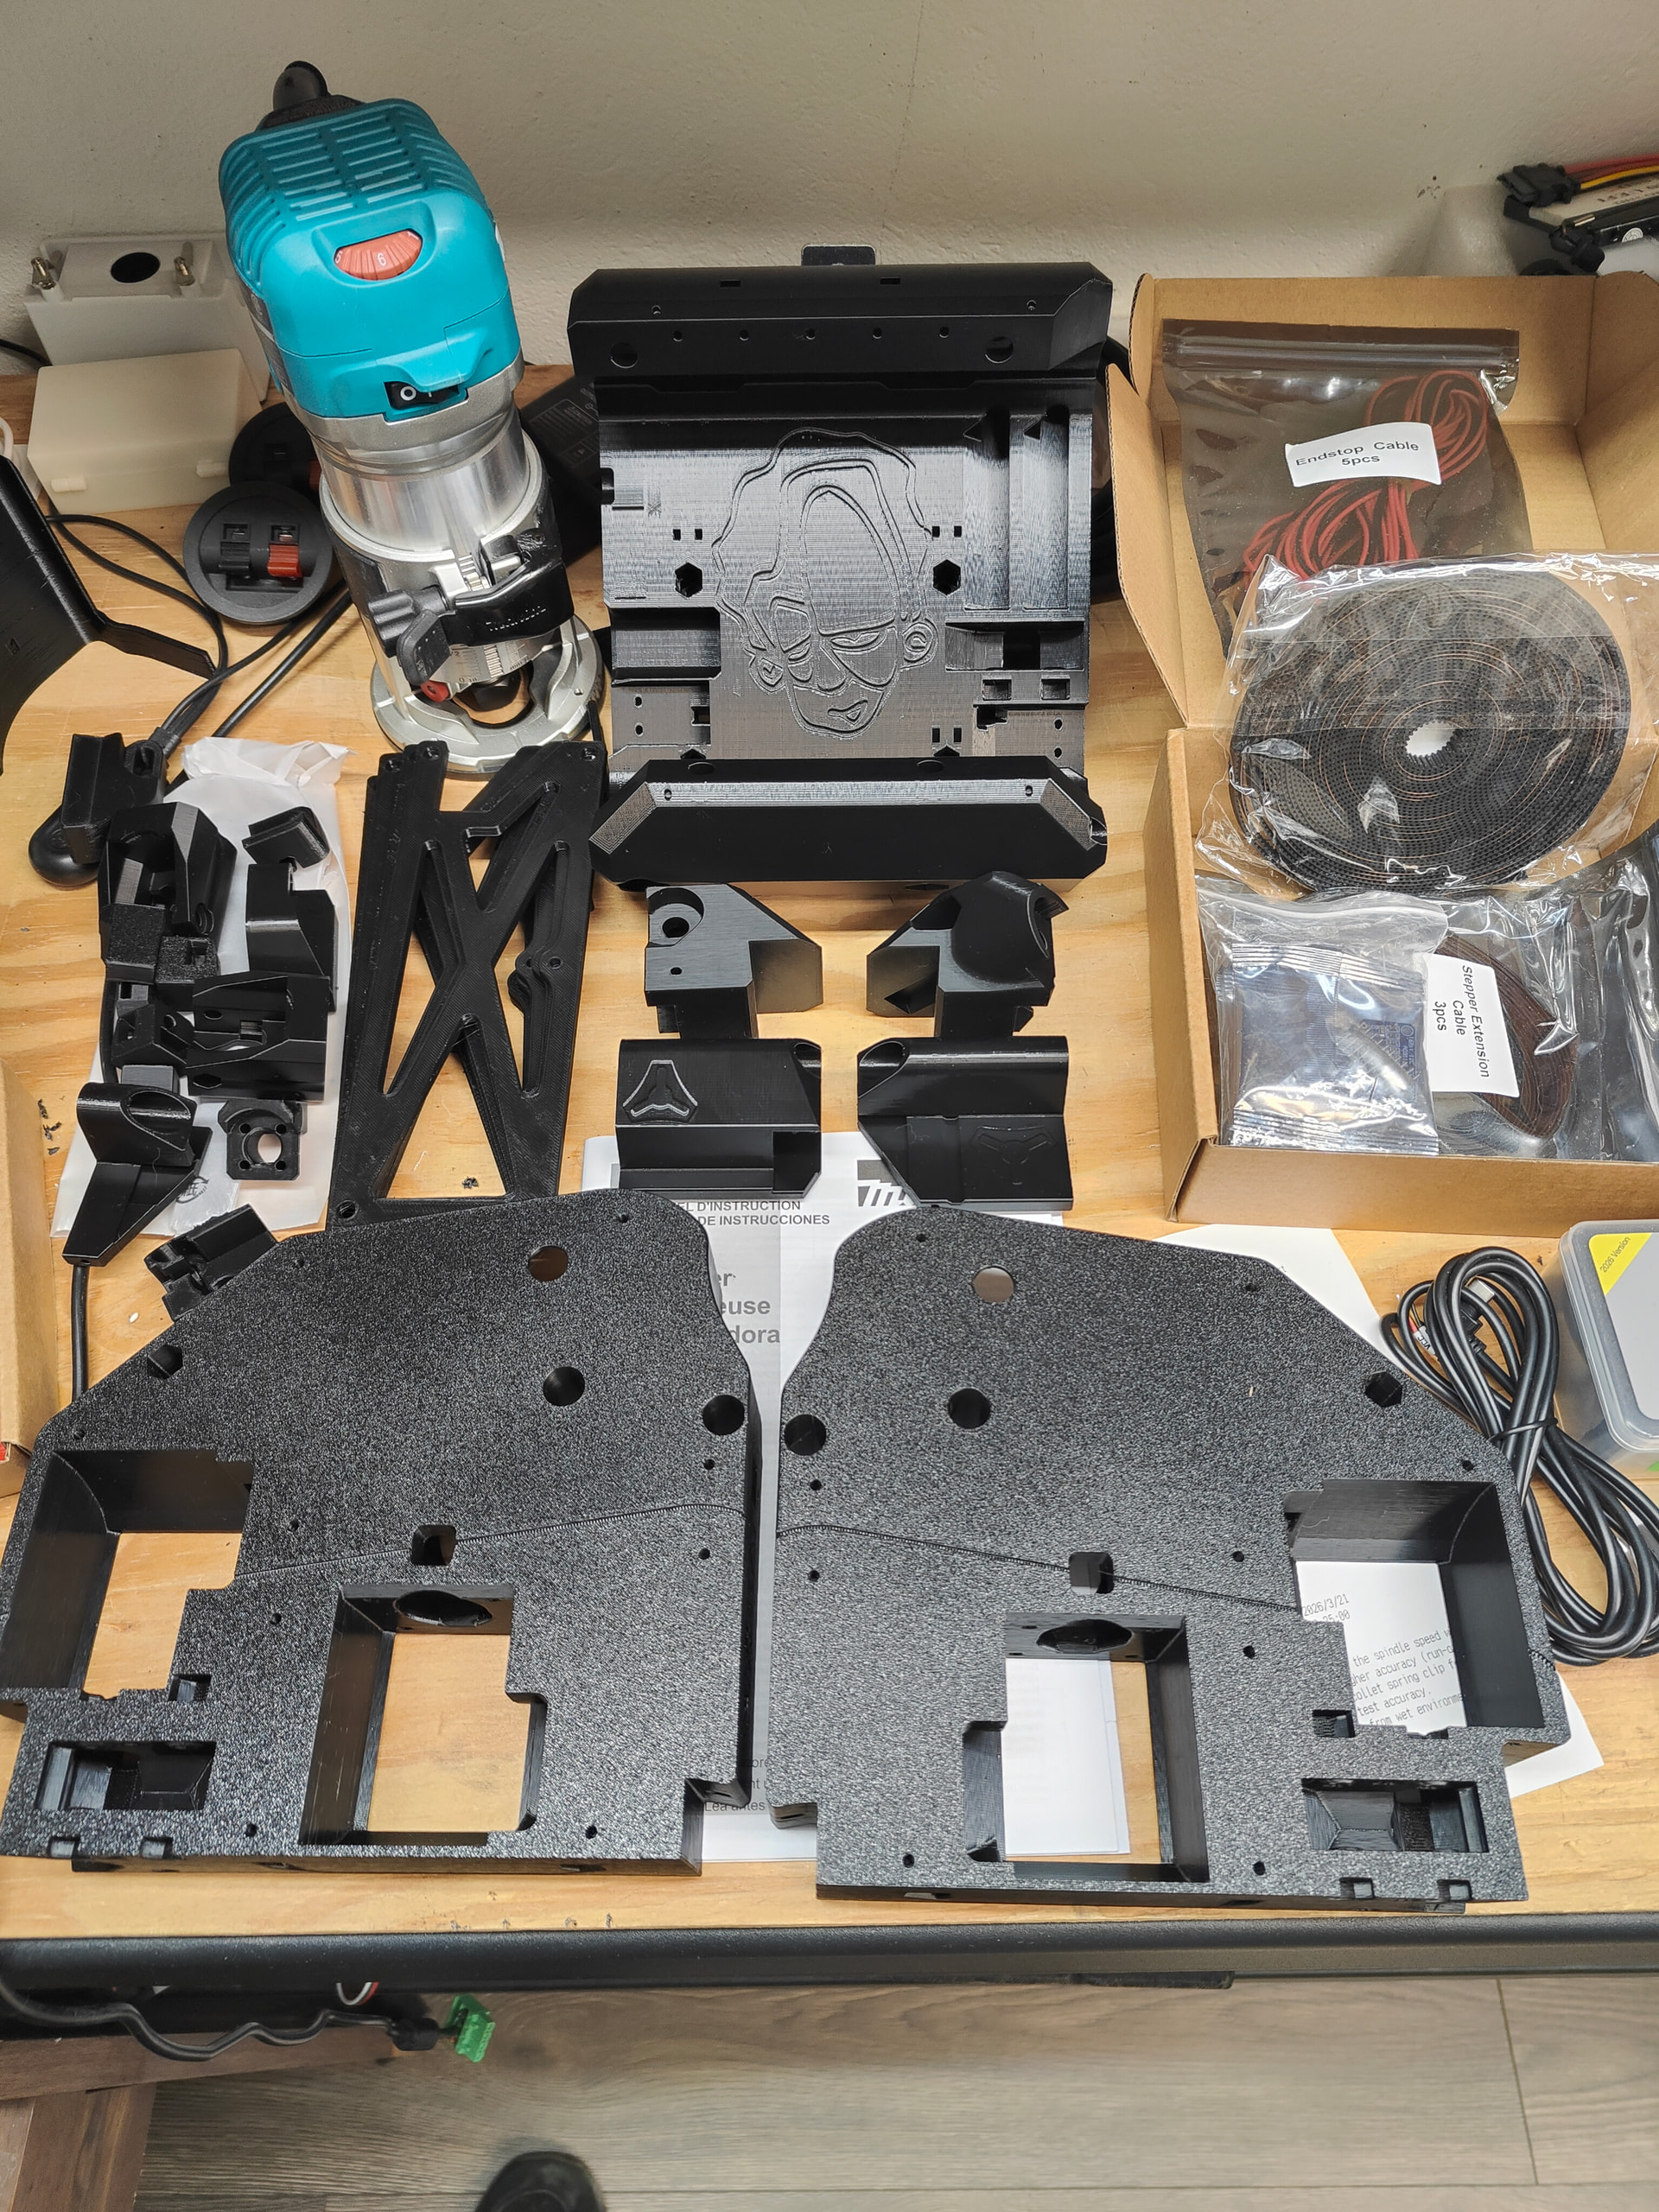
Now we are starting to get closer! (Had a printer nearly self destruct. Had to wait on parts.)
Looking much better :wink:


Won’t be long now…

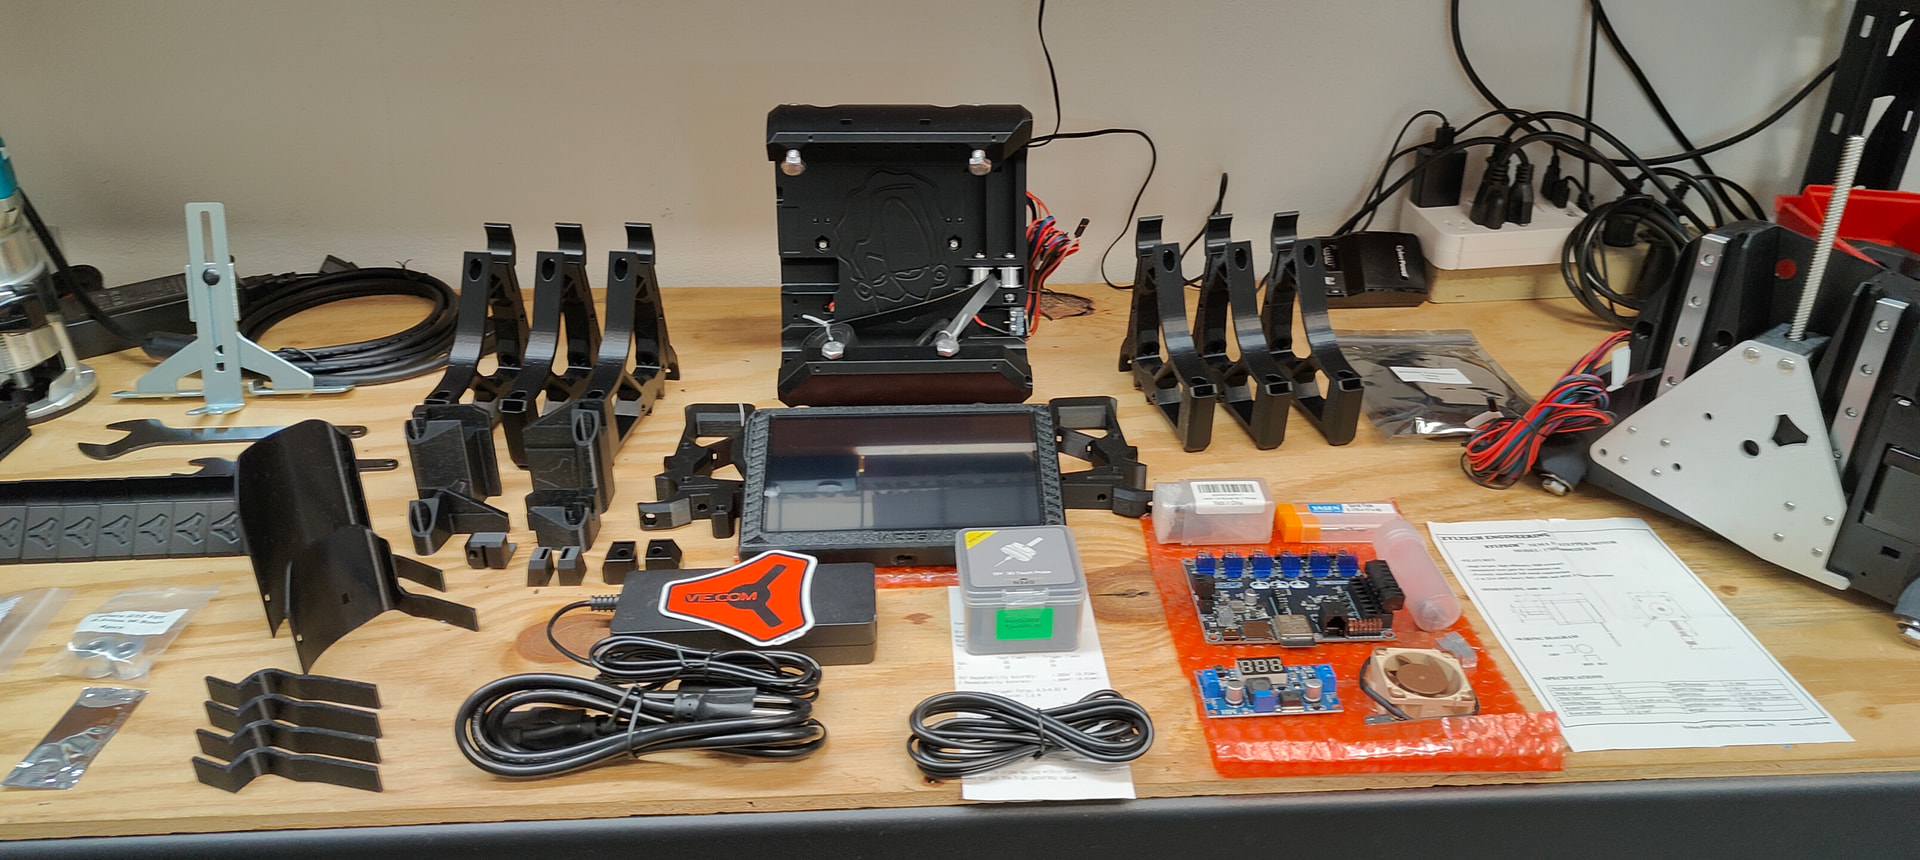
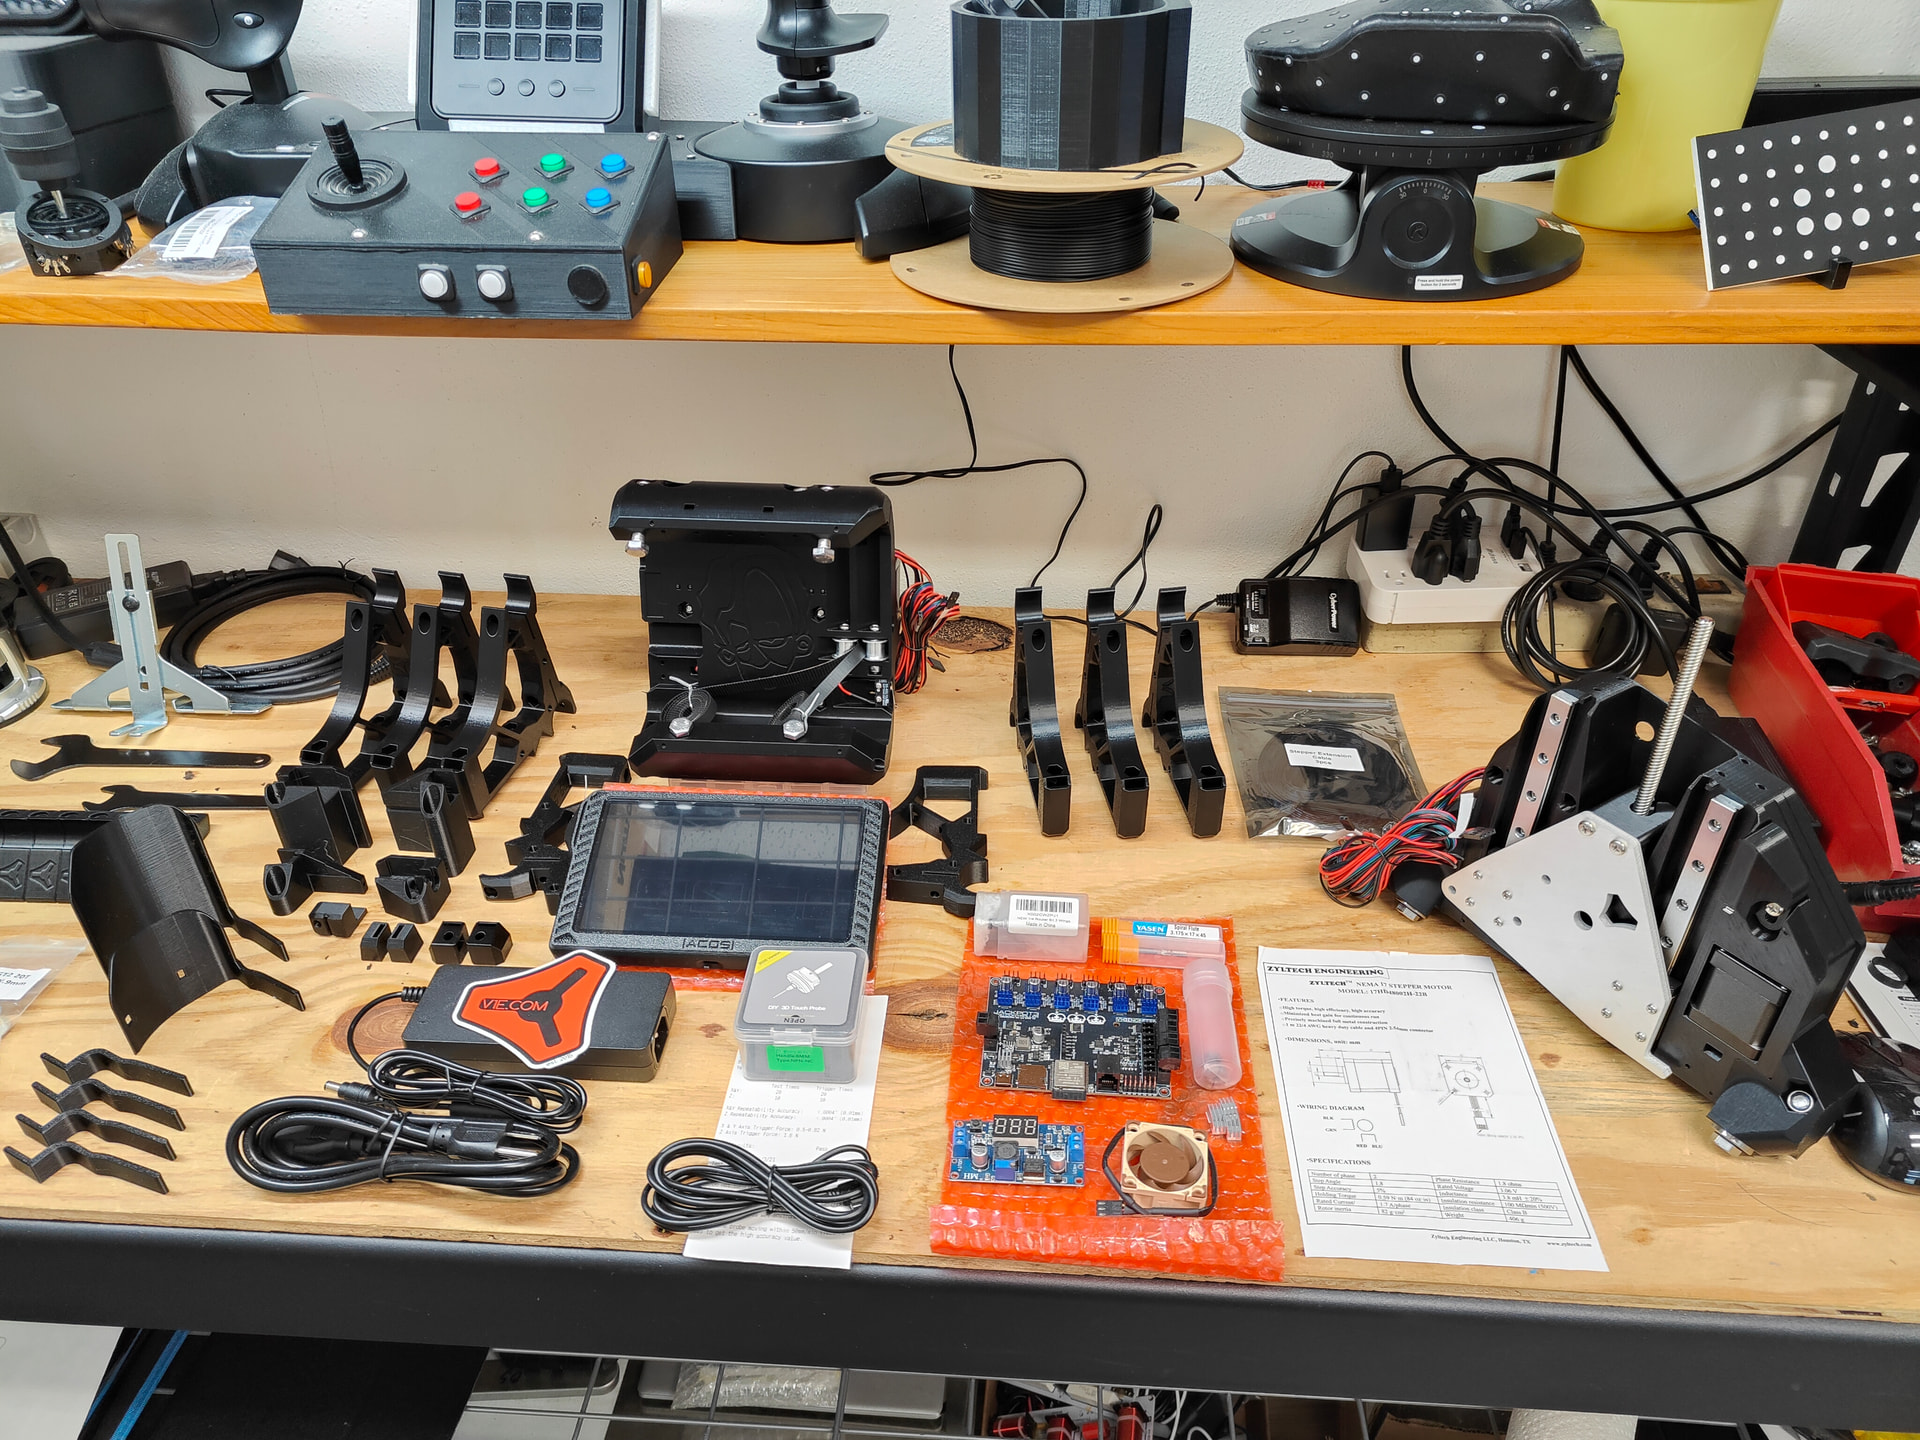
Well. We appear to be ready to build… LFG! >;-D


Still to print:

  • Peter/Pretty plates.
  • Jackpot case
  • Dust shoe
  • TPU bristles
  • Dust hose adapter
  • Overhead hose system / holder

Still to do:
Cut conduit to length
Shine conduit using WD40 and steel wool. Gently shining the surface and removing the coating
Full assemble (Temp strut plates) / Temp surface
Cut full strut plate
Cut torsion box table
Final assembly on table
Mount table endclamp system
Mount touch screen
Mount and test touch/3D probe(s)
Install dust collection
Install cable chains
Install lighting system
Install and test laser mount / laser

Ever Forward…
/-Z-\

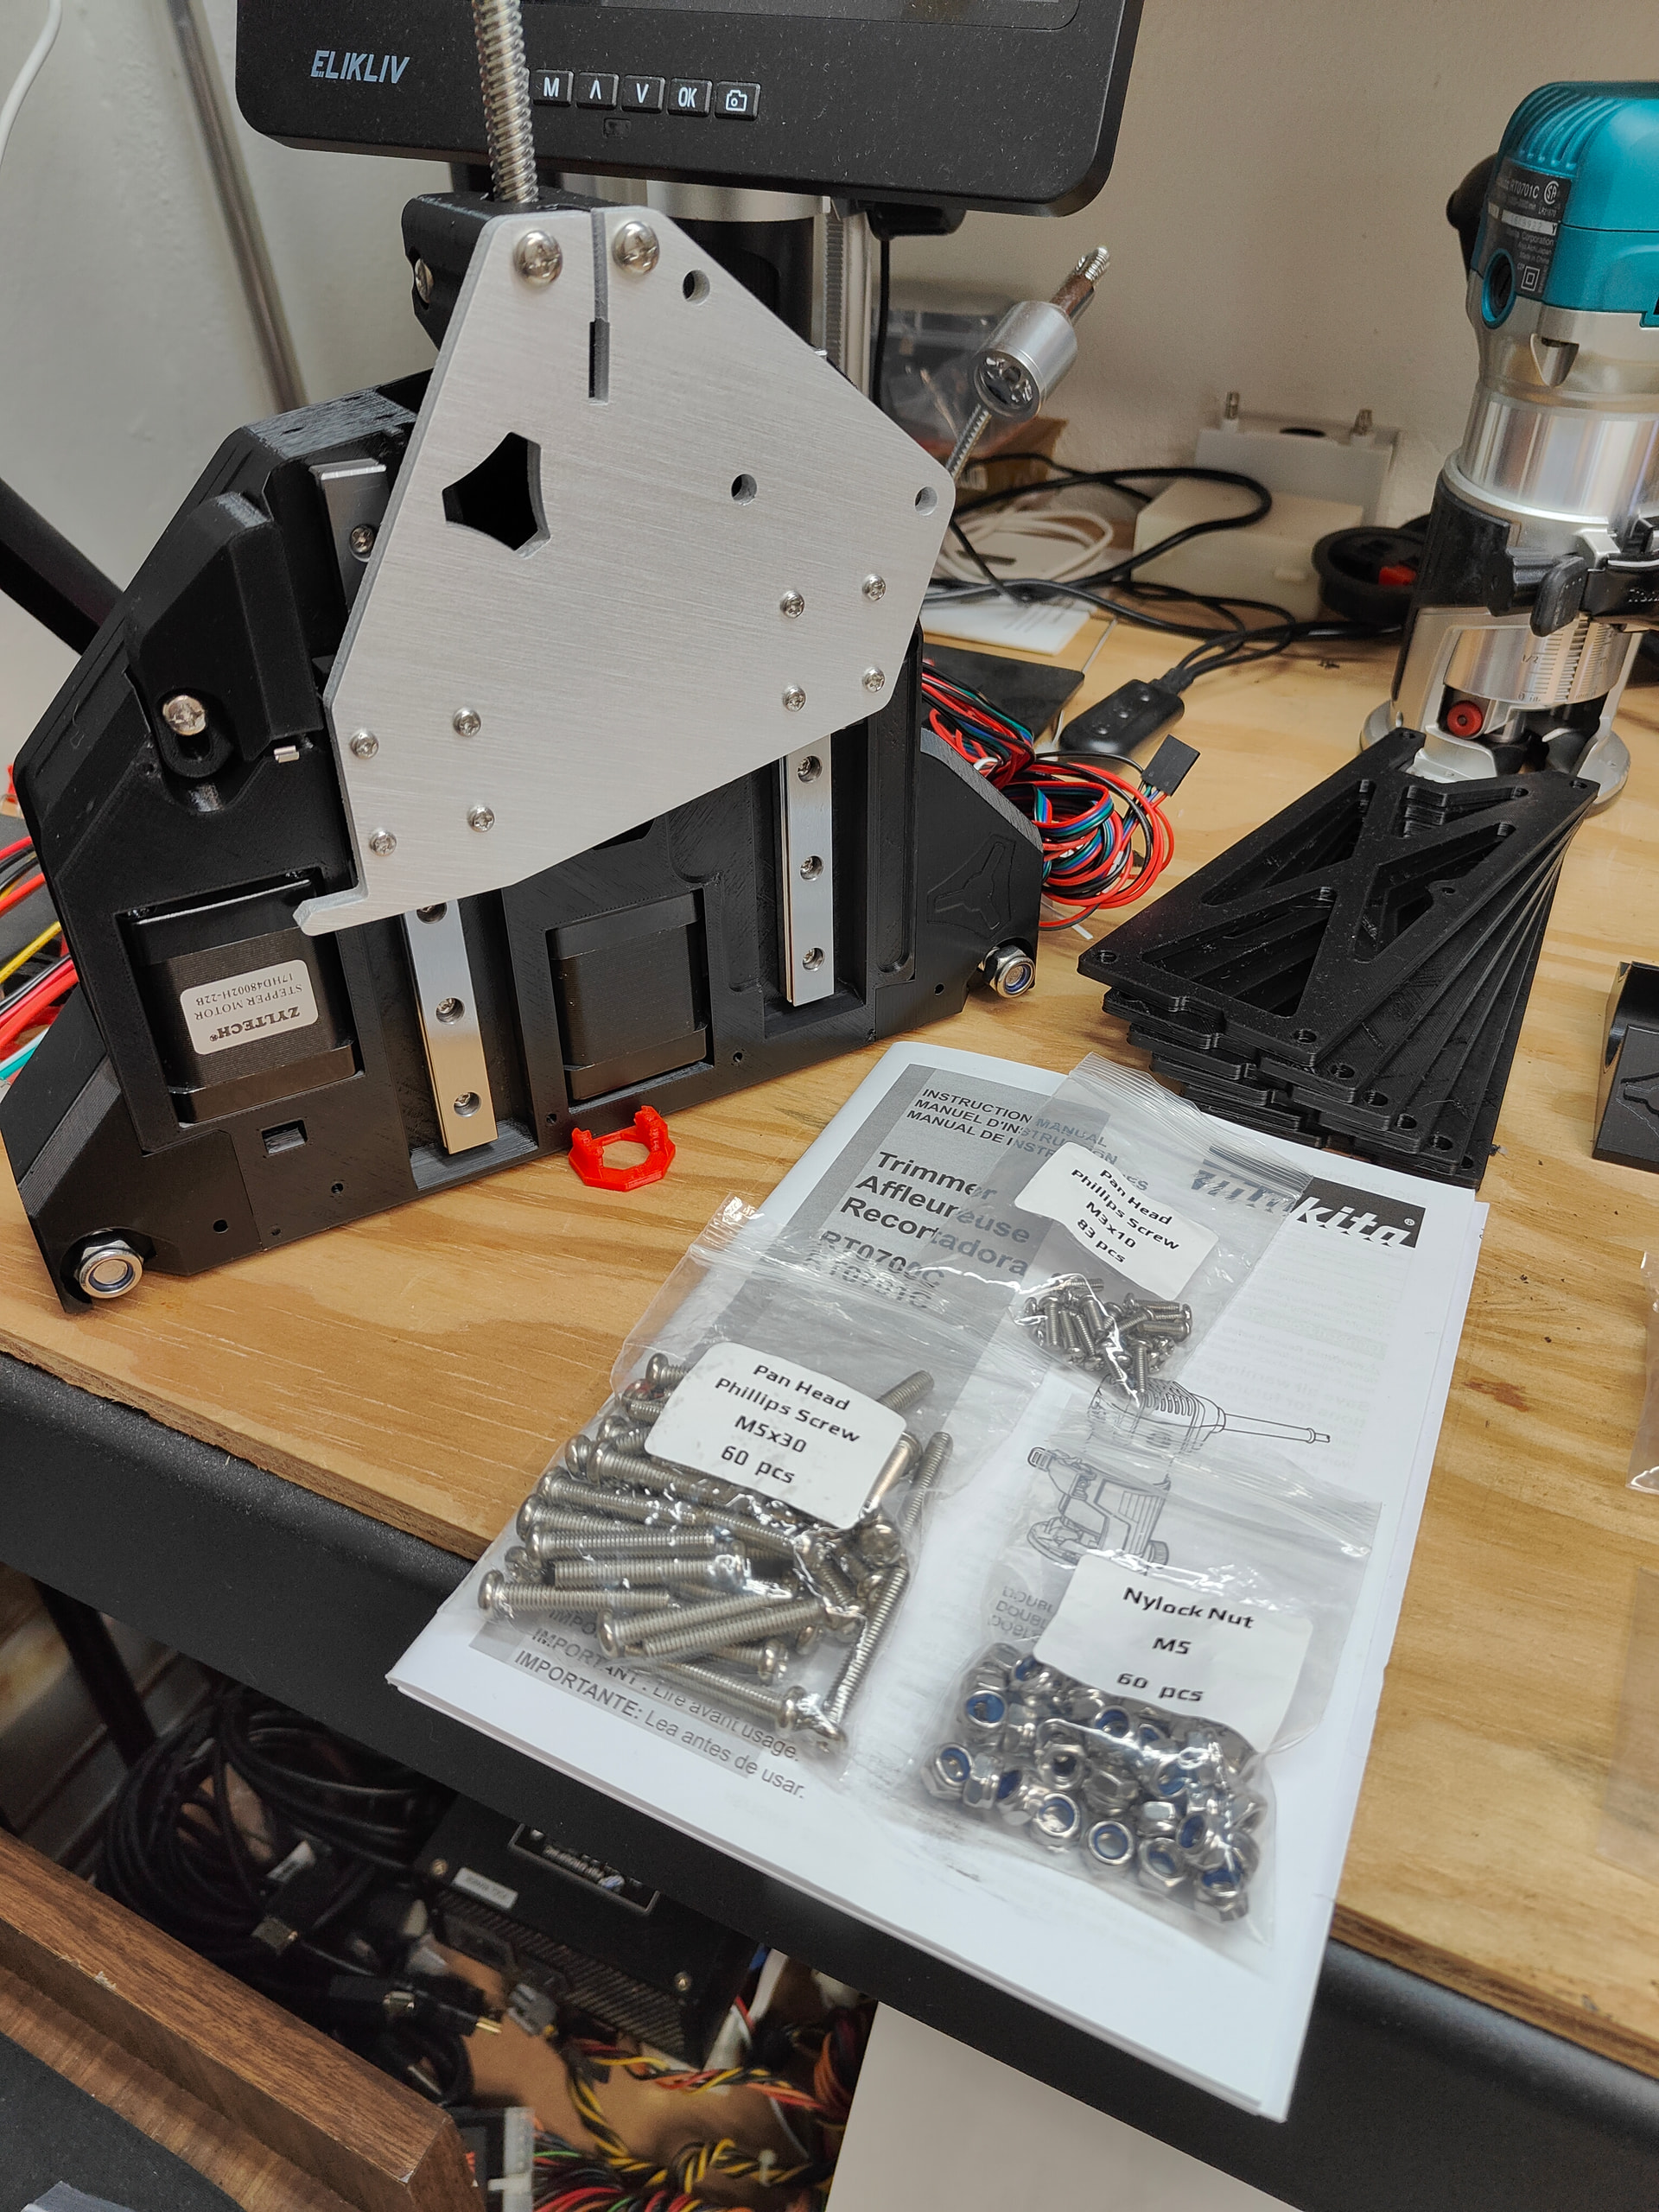
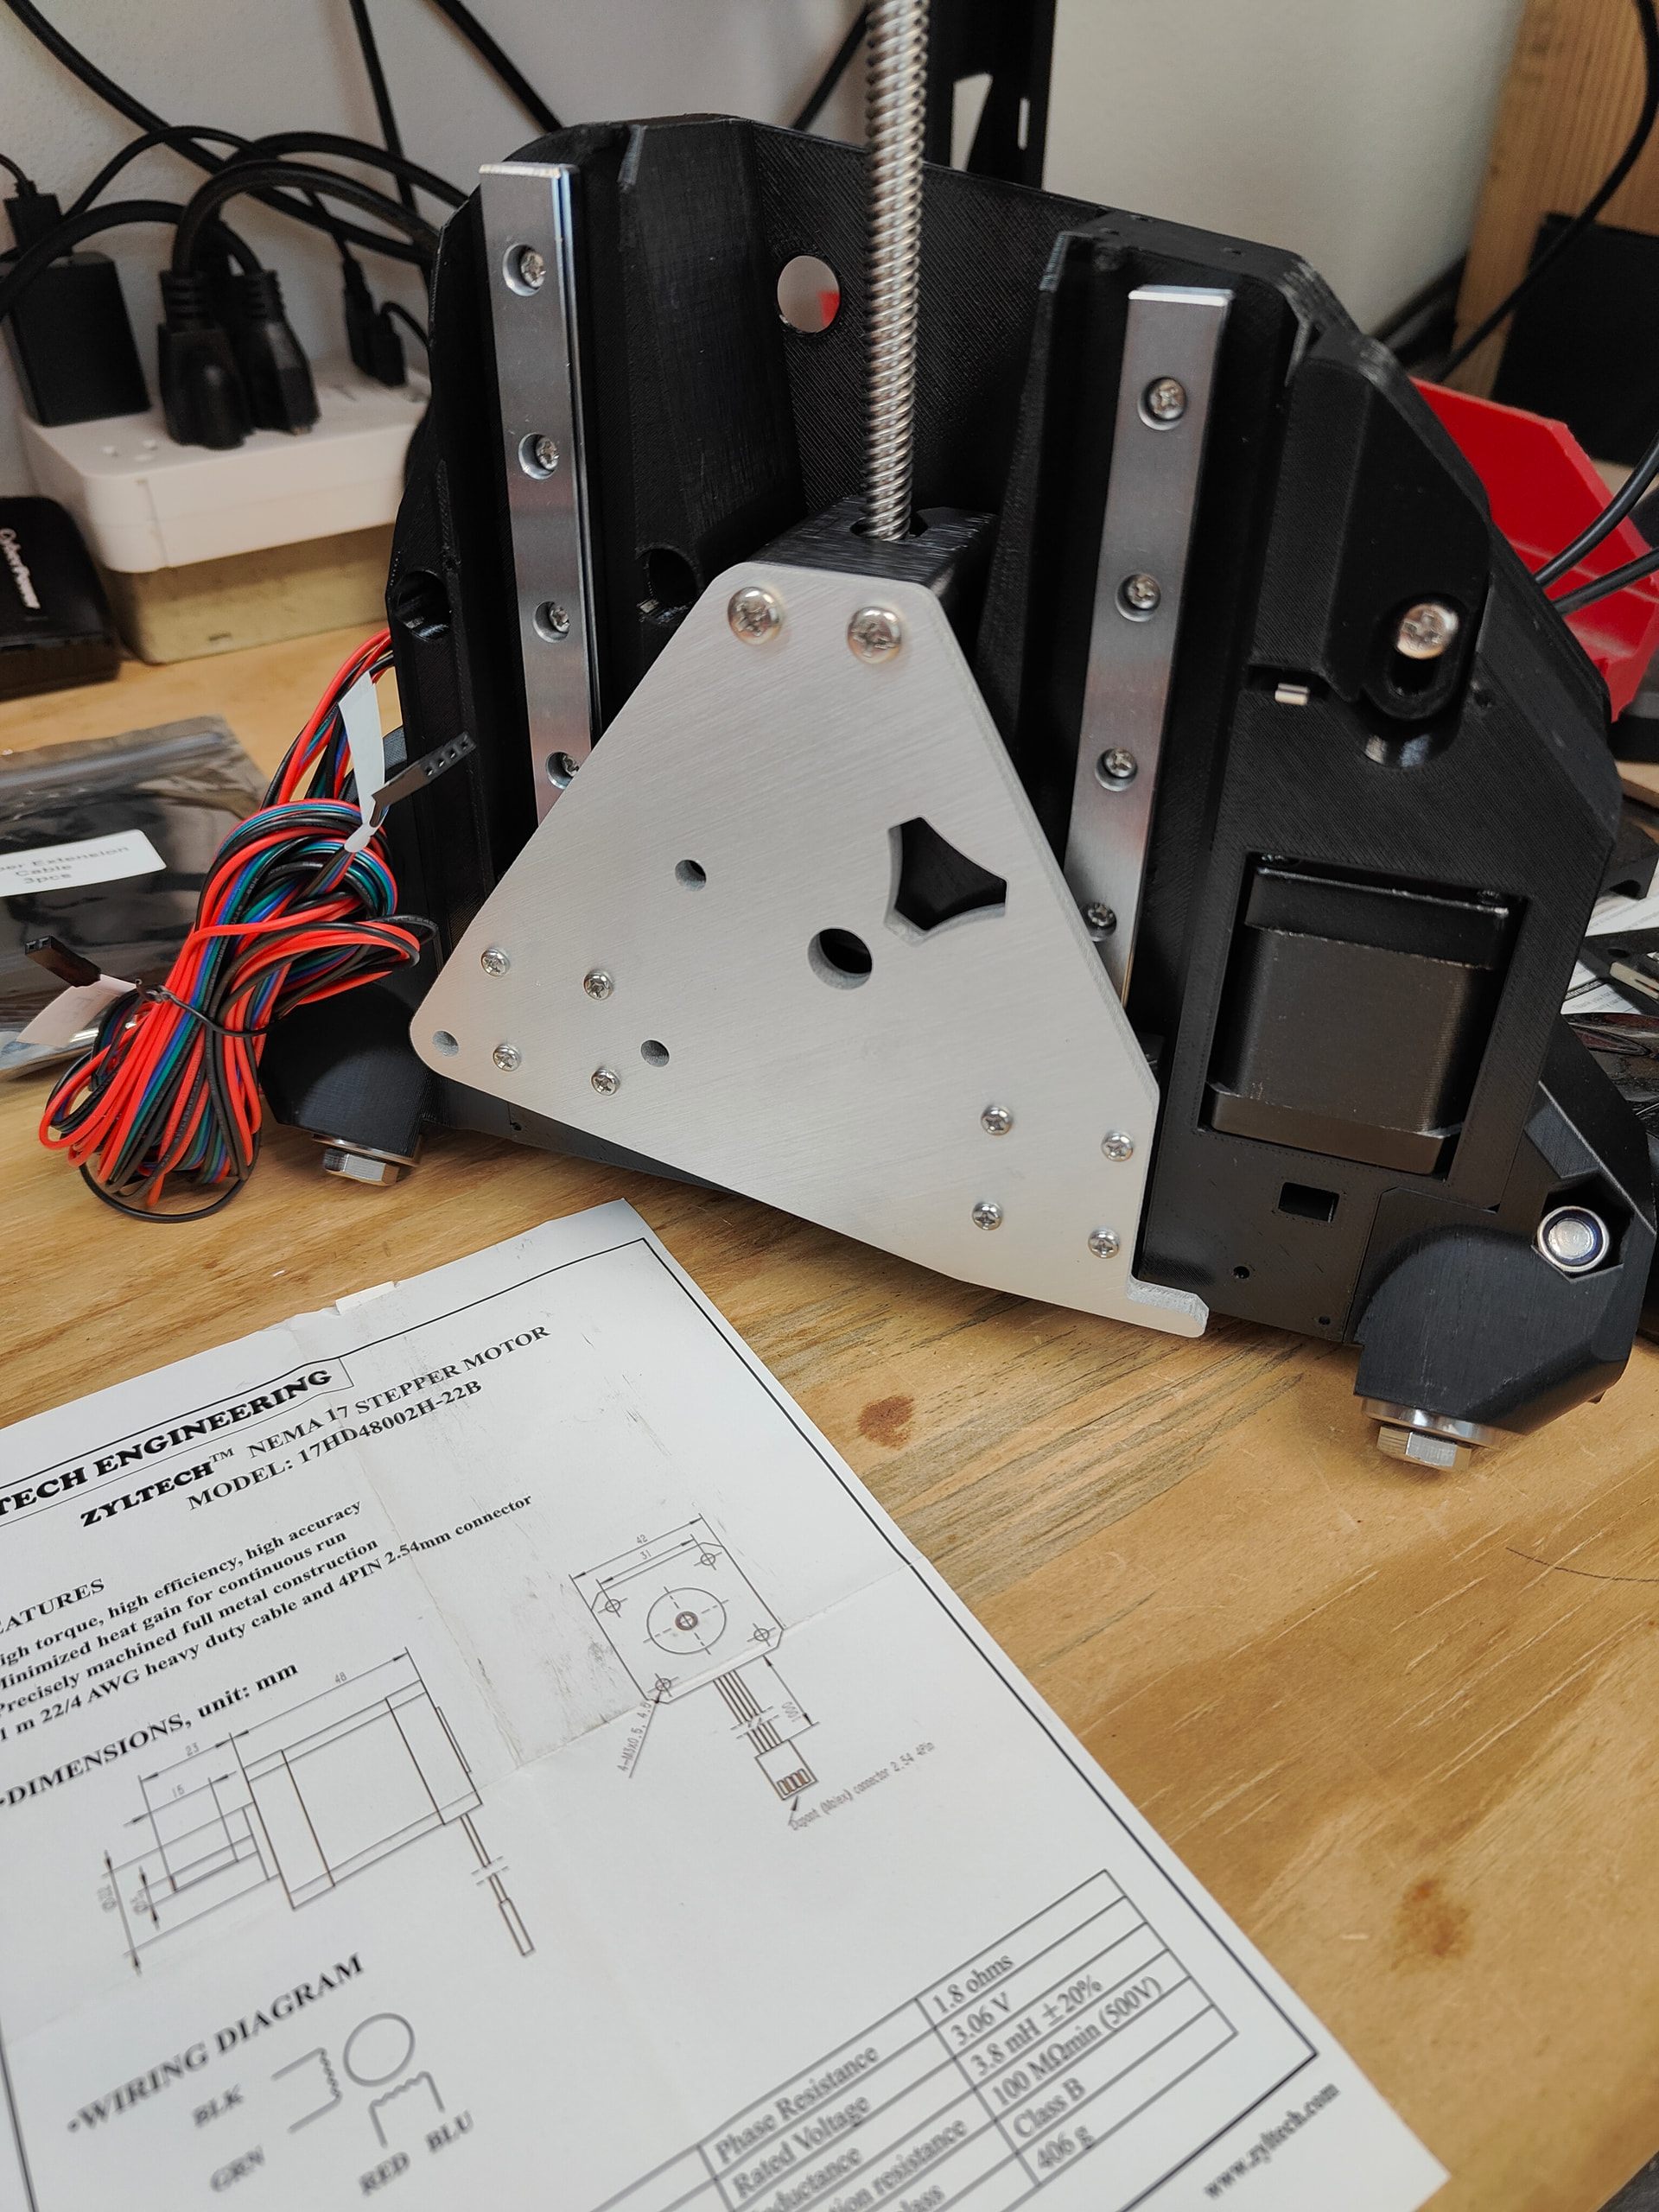
P.S. The circular rubber keepers that come on the linear rails in the screw holes to hold the carriages… Are PERFECT for placing above tricky m5 nuts to keep them in place while working. And, on the Back feet attachment of the YZ Min/Max, you can just leave it in the slot there. It won’t hurt anything. Prevents the nut from rising and damaging the recess for the nut. (Still pre thread this nut to be safe. A Failed YZ / reprint for a single m5 nut = swearing) But this 100% makes assembly a LOT easier. And… on the final stepper wire, for the YZ plates, as you have to feed it through last and its a major pain in the rear to get clearance, the trick to make it EASY, is to push / grab the other 3 cables at the bottom at the end of the fitted channel, and push them back out 6-10" temporarily… THEN feed in the final stepper. Then pull them all back in snug/flush. For me at least, it went in easily both times using this method. No need to yell :wink:
Also, stuffing a USB flash drive under the lead screw stepper during assembly, holds it level up to the screws and makes it go together way easier. The keeper blocks for the linear rails, the long rectangular ones they include, also stuff in there nicely.

Oh yeah :wink:
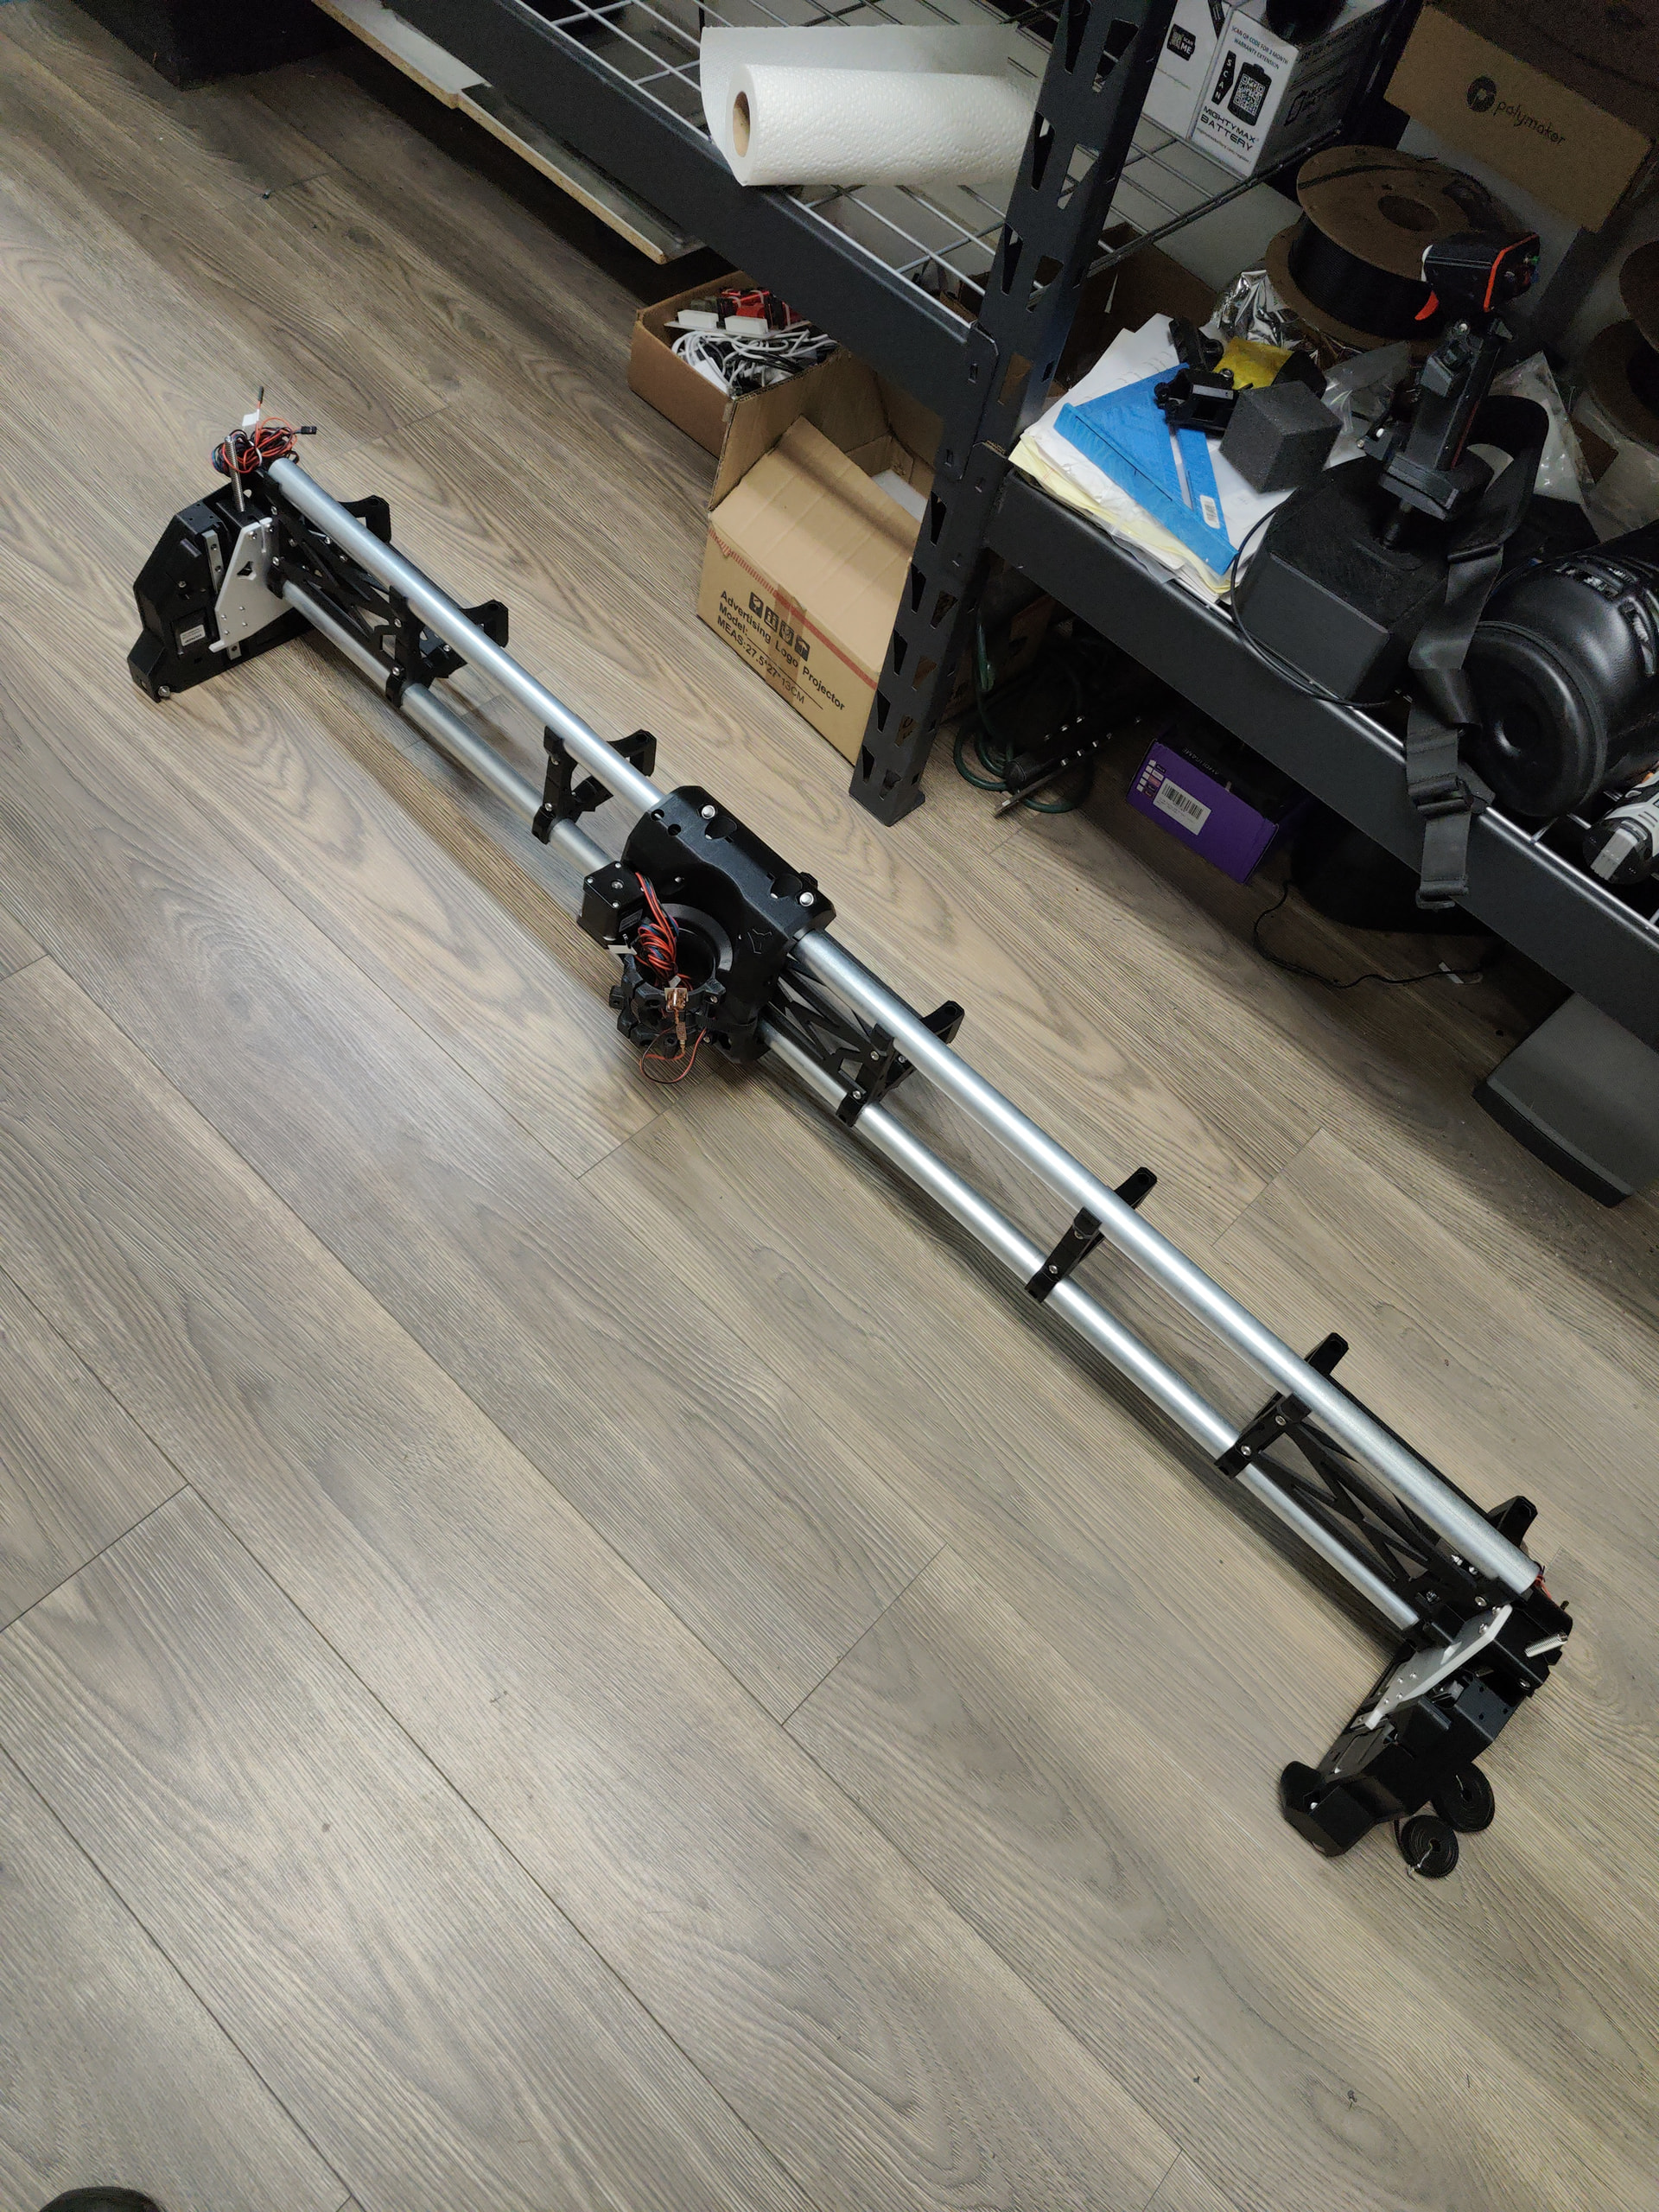
Progress.