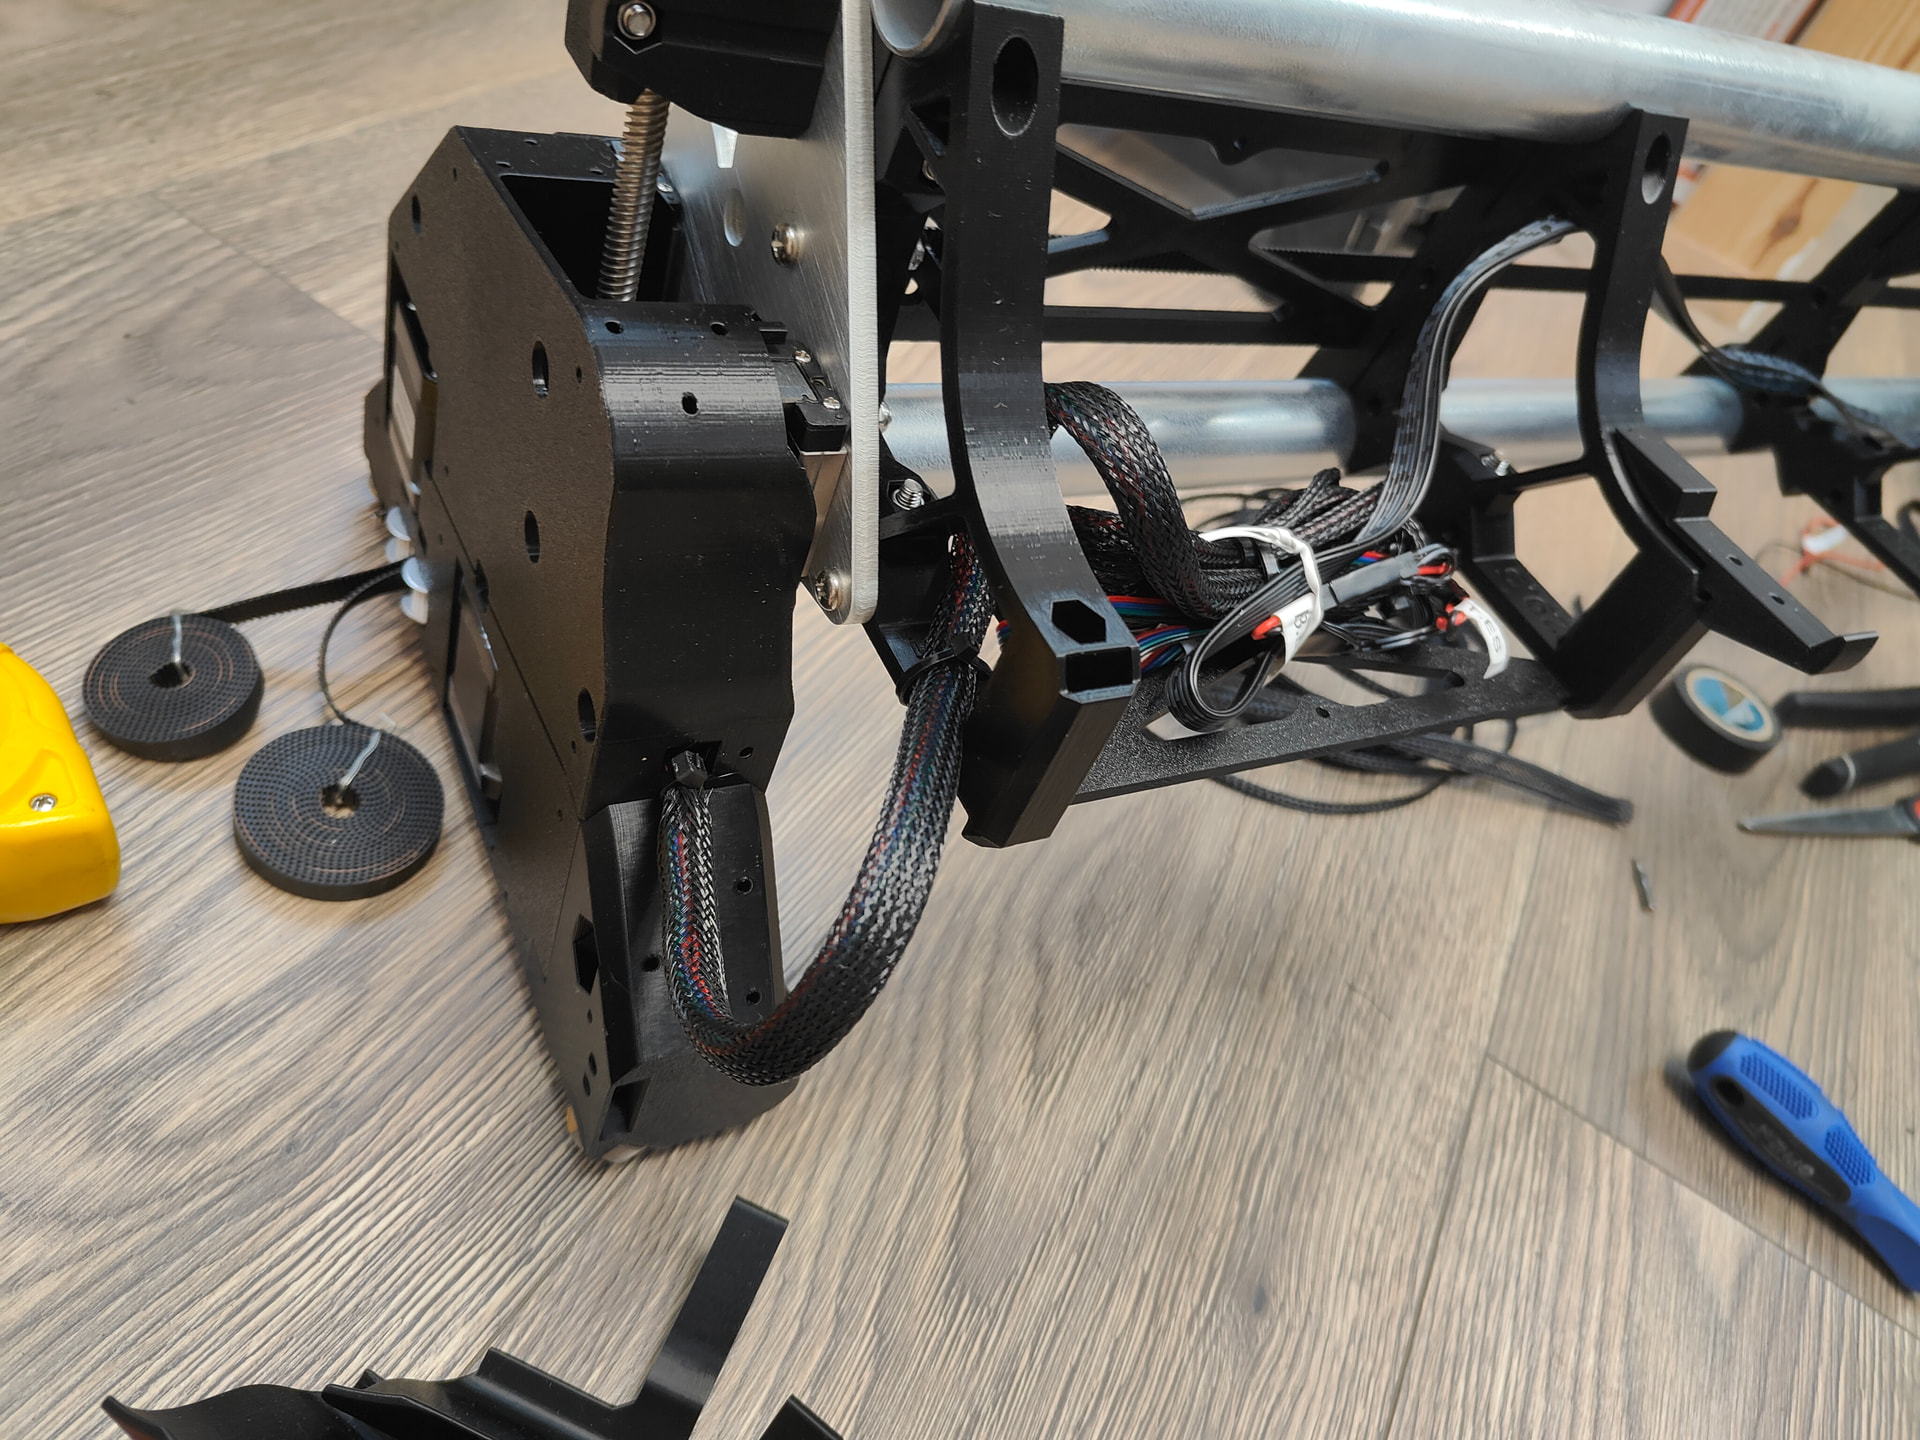
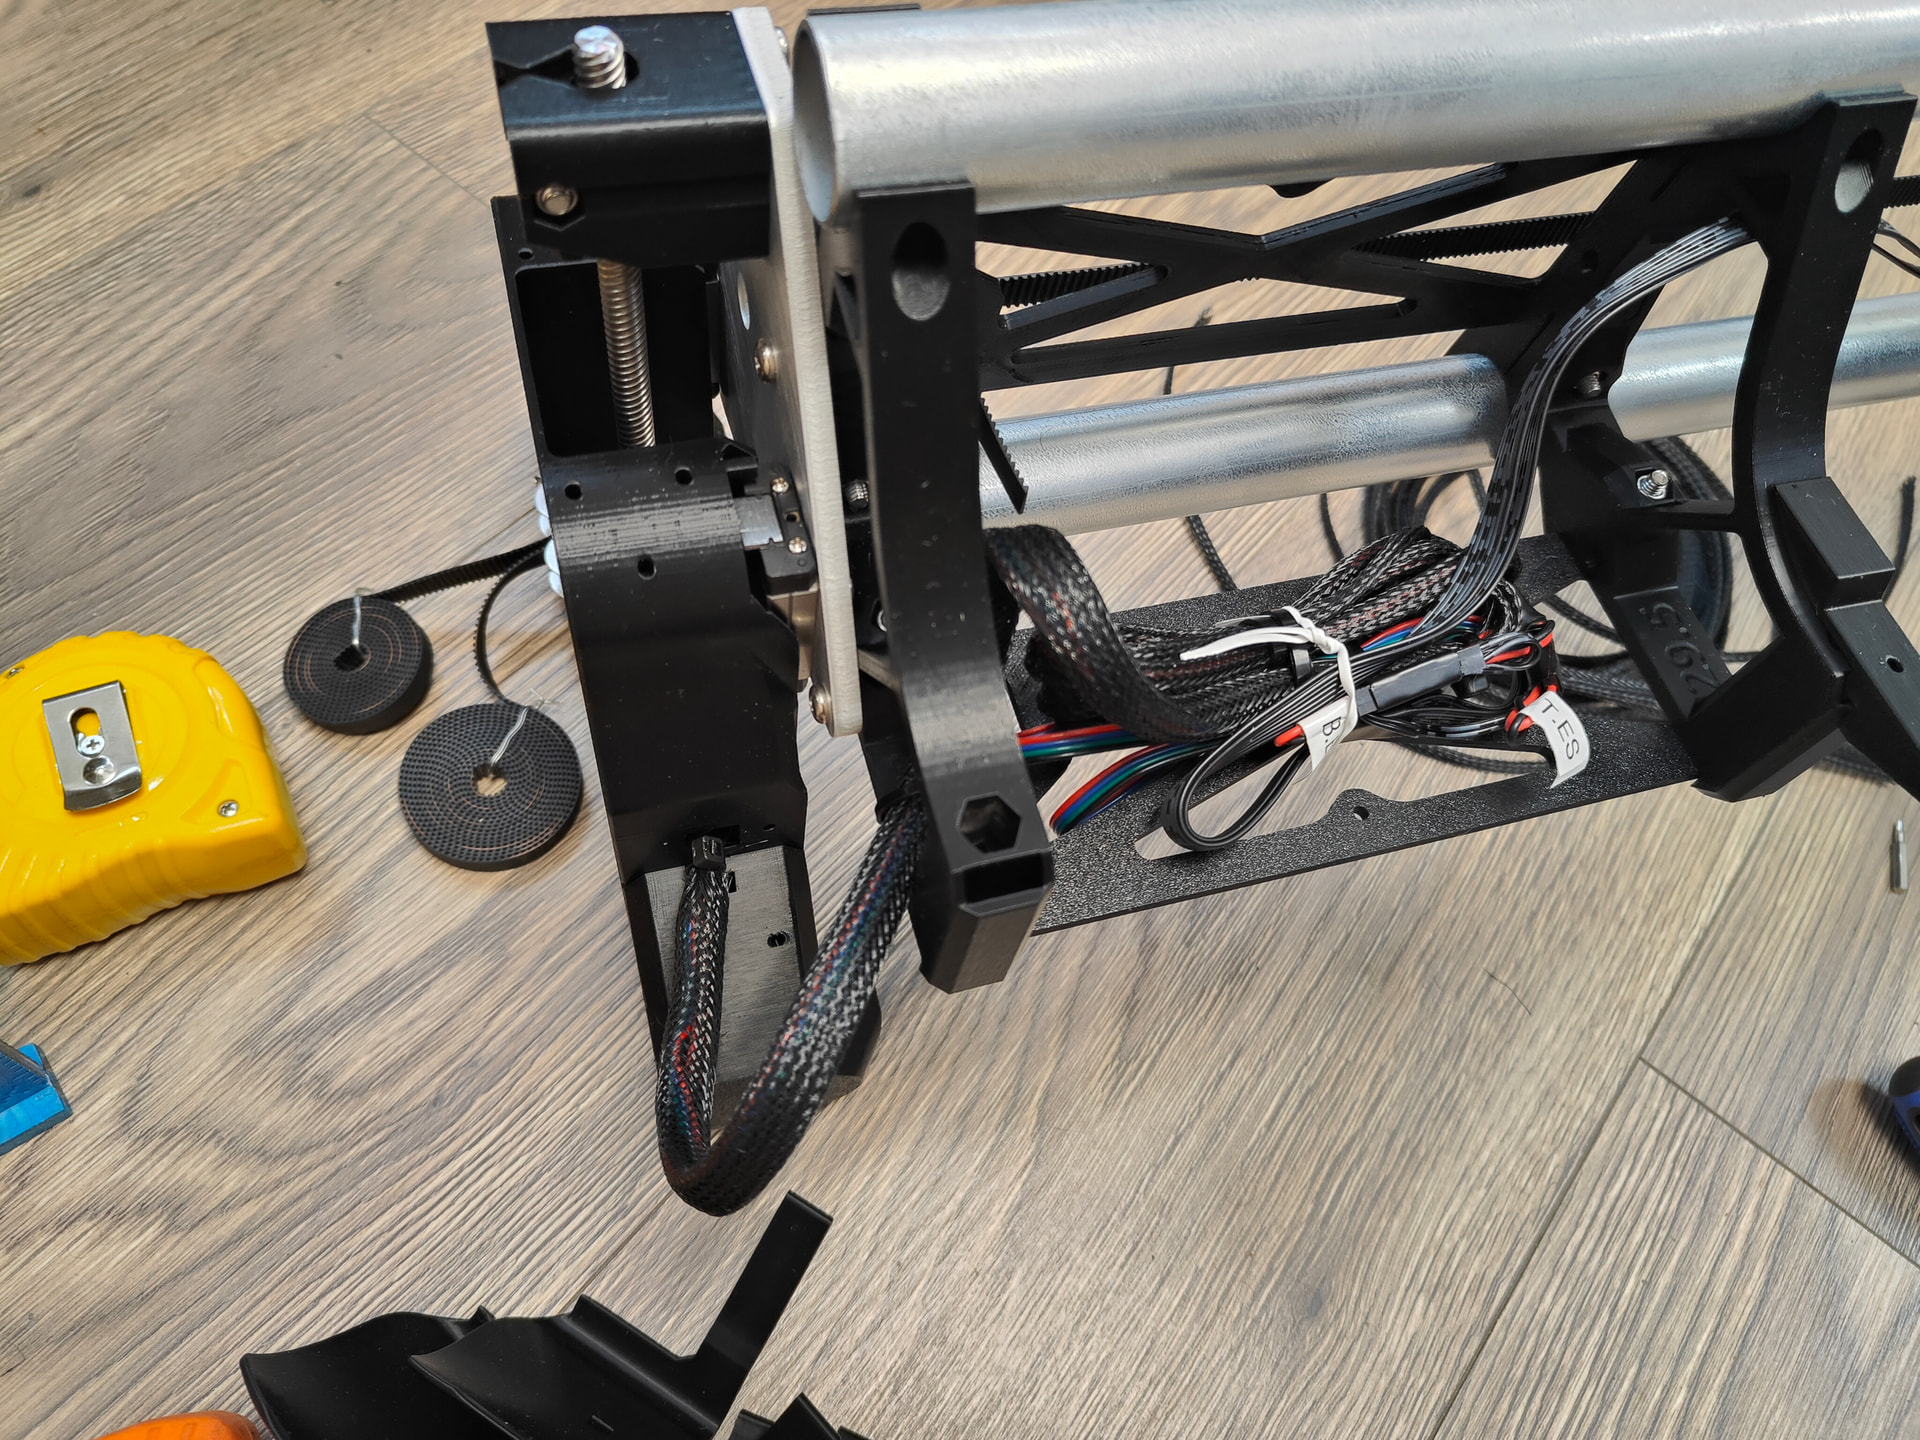
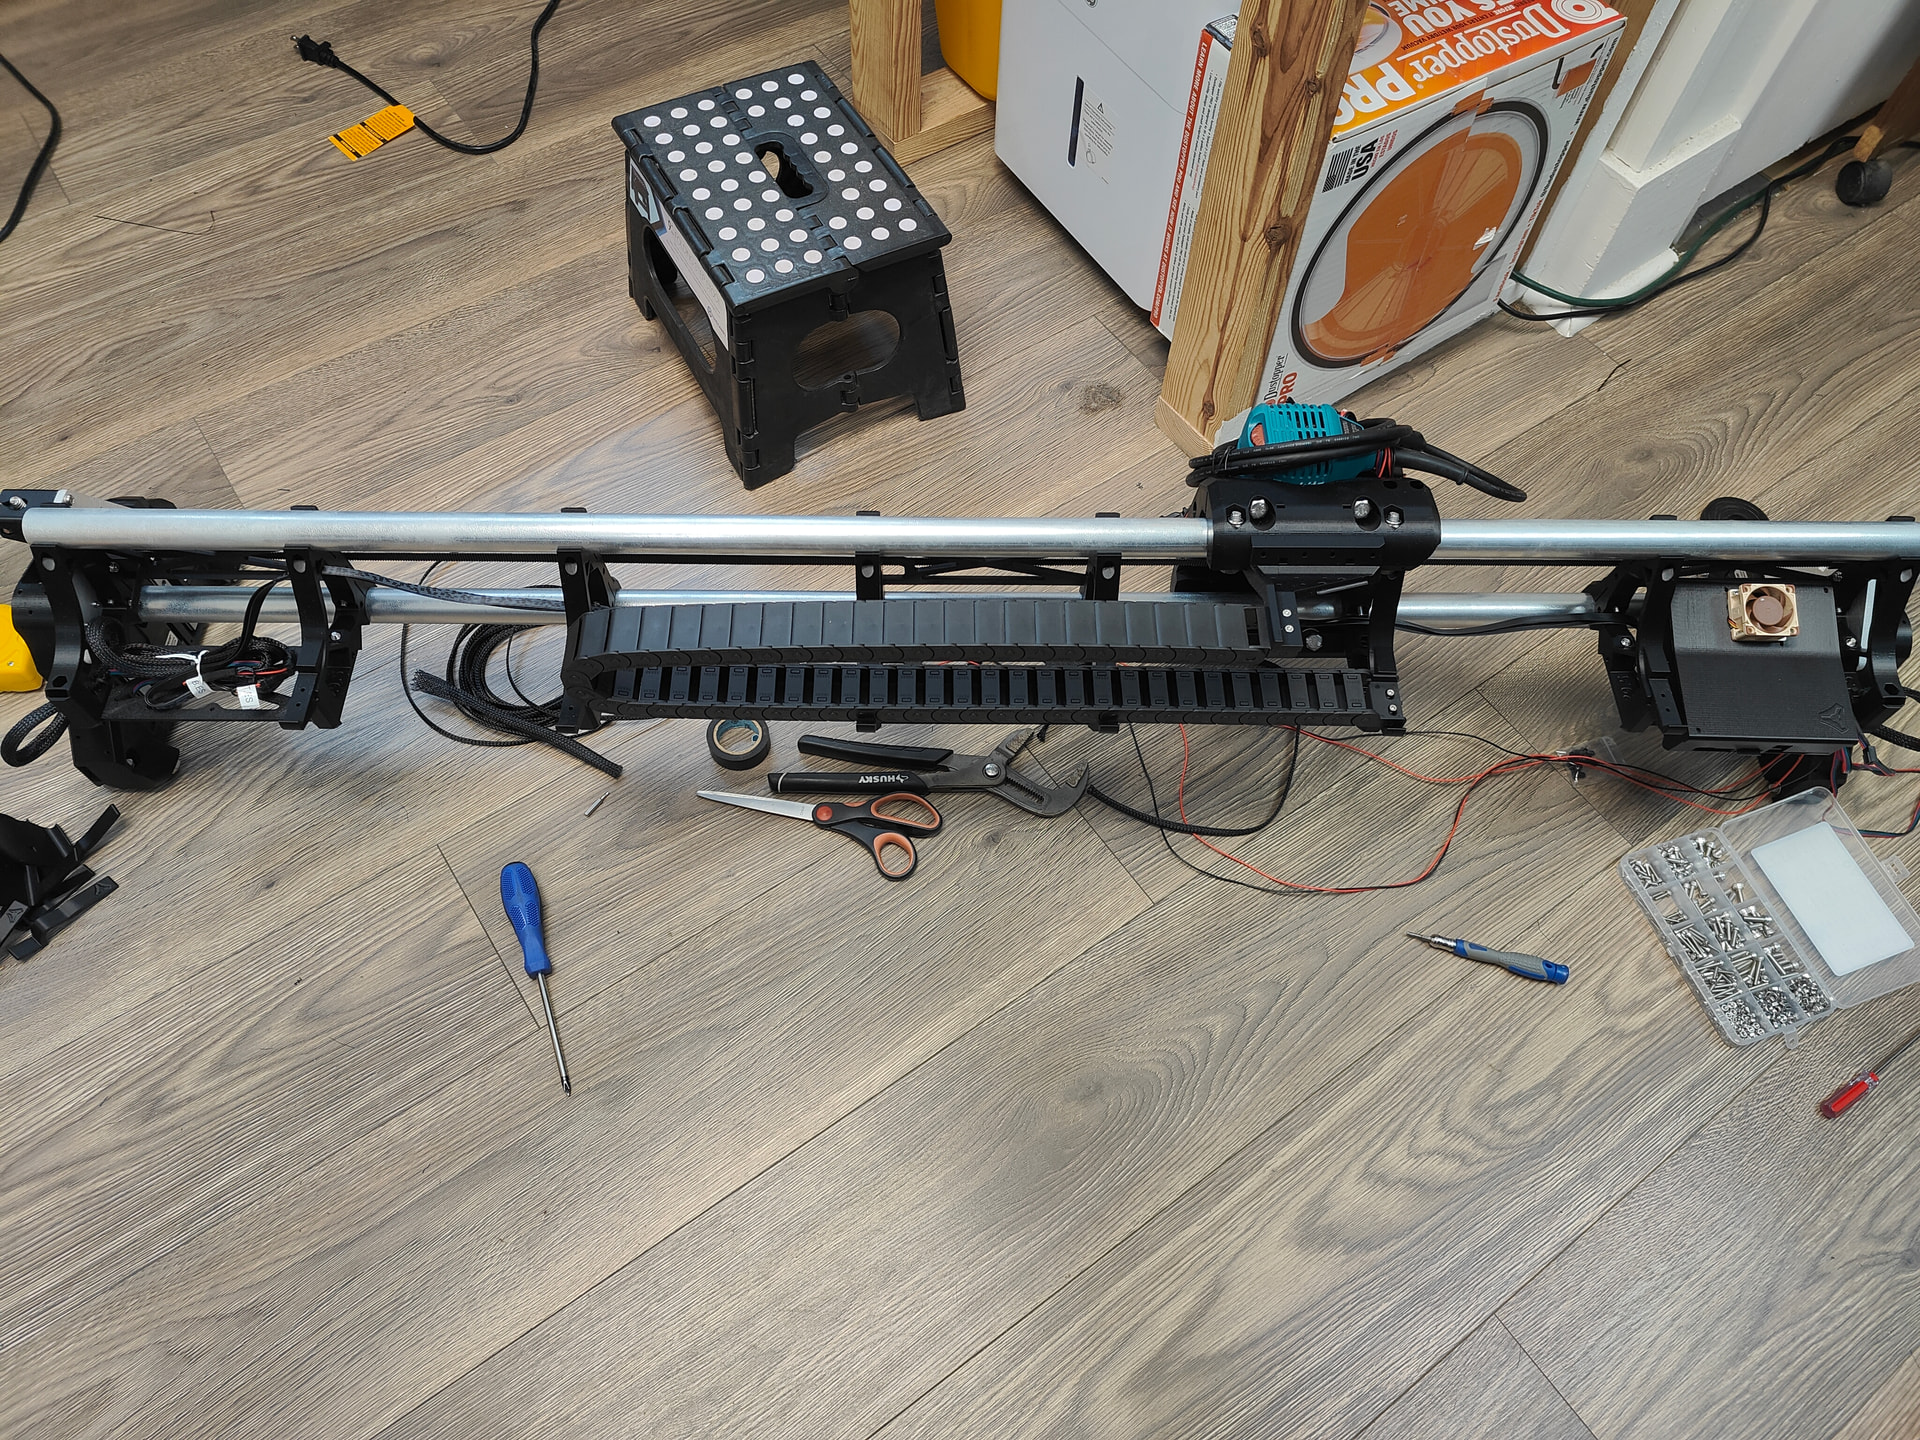
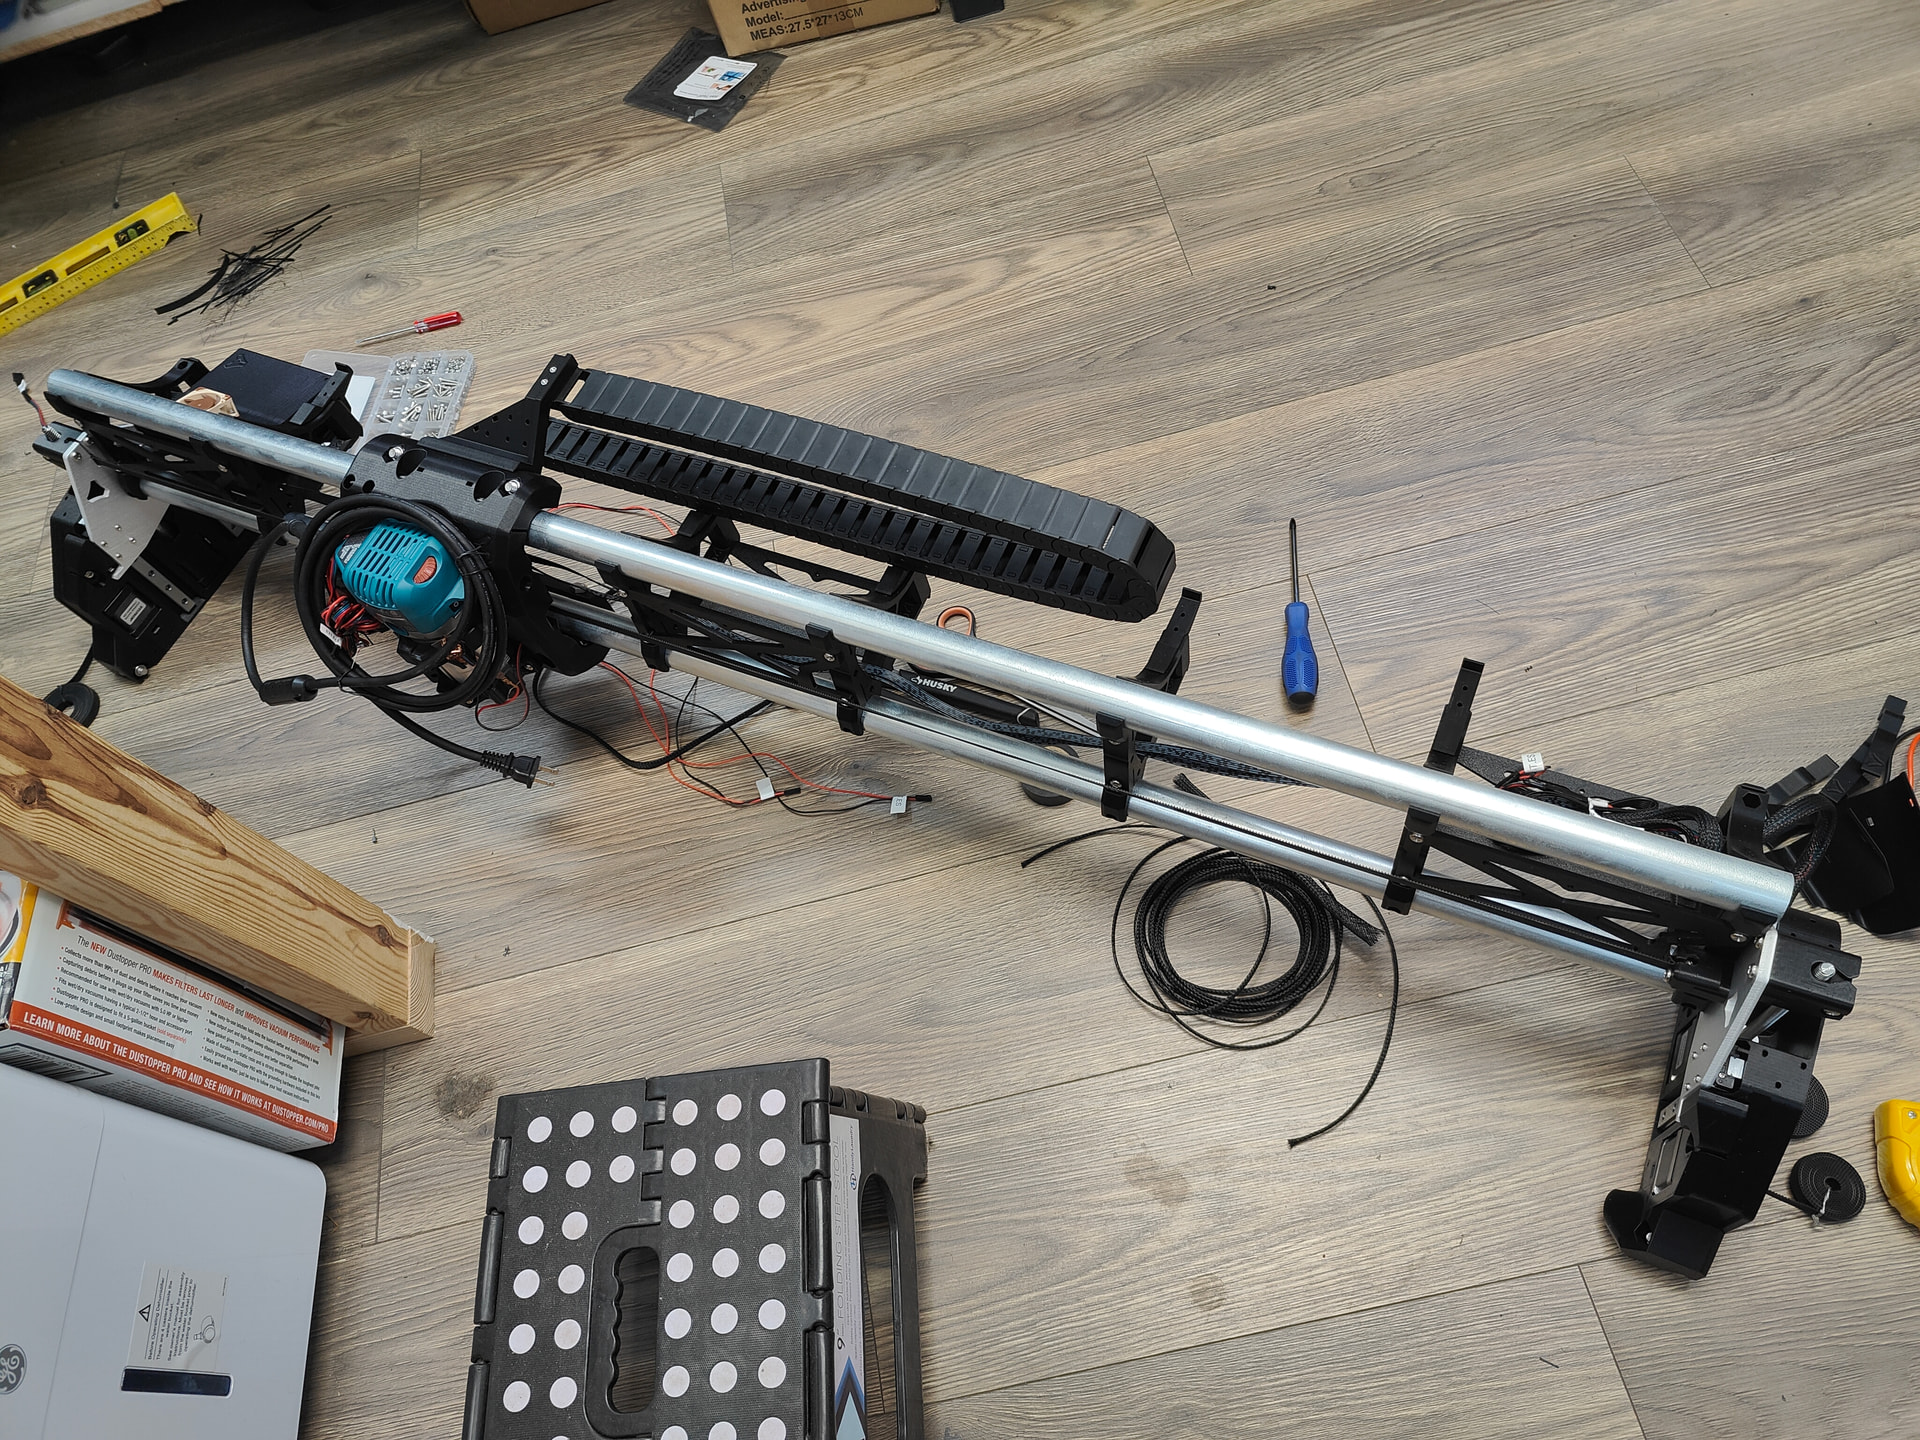
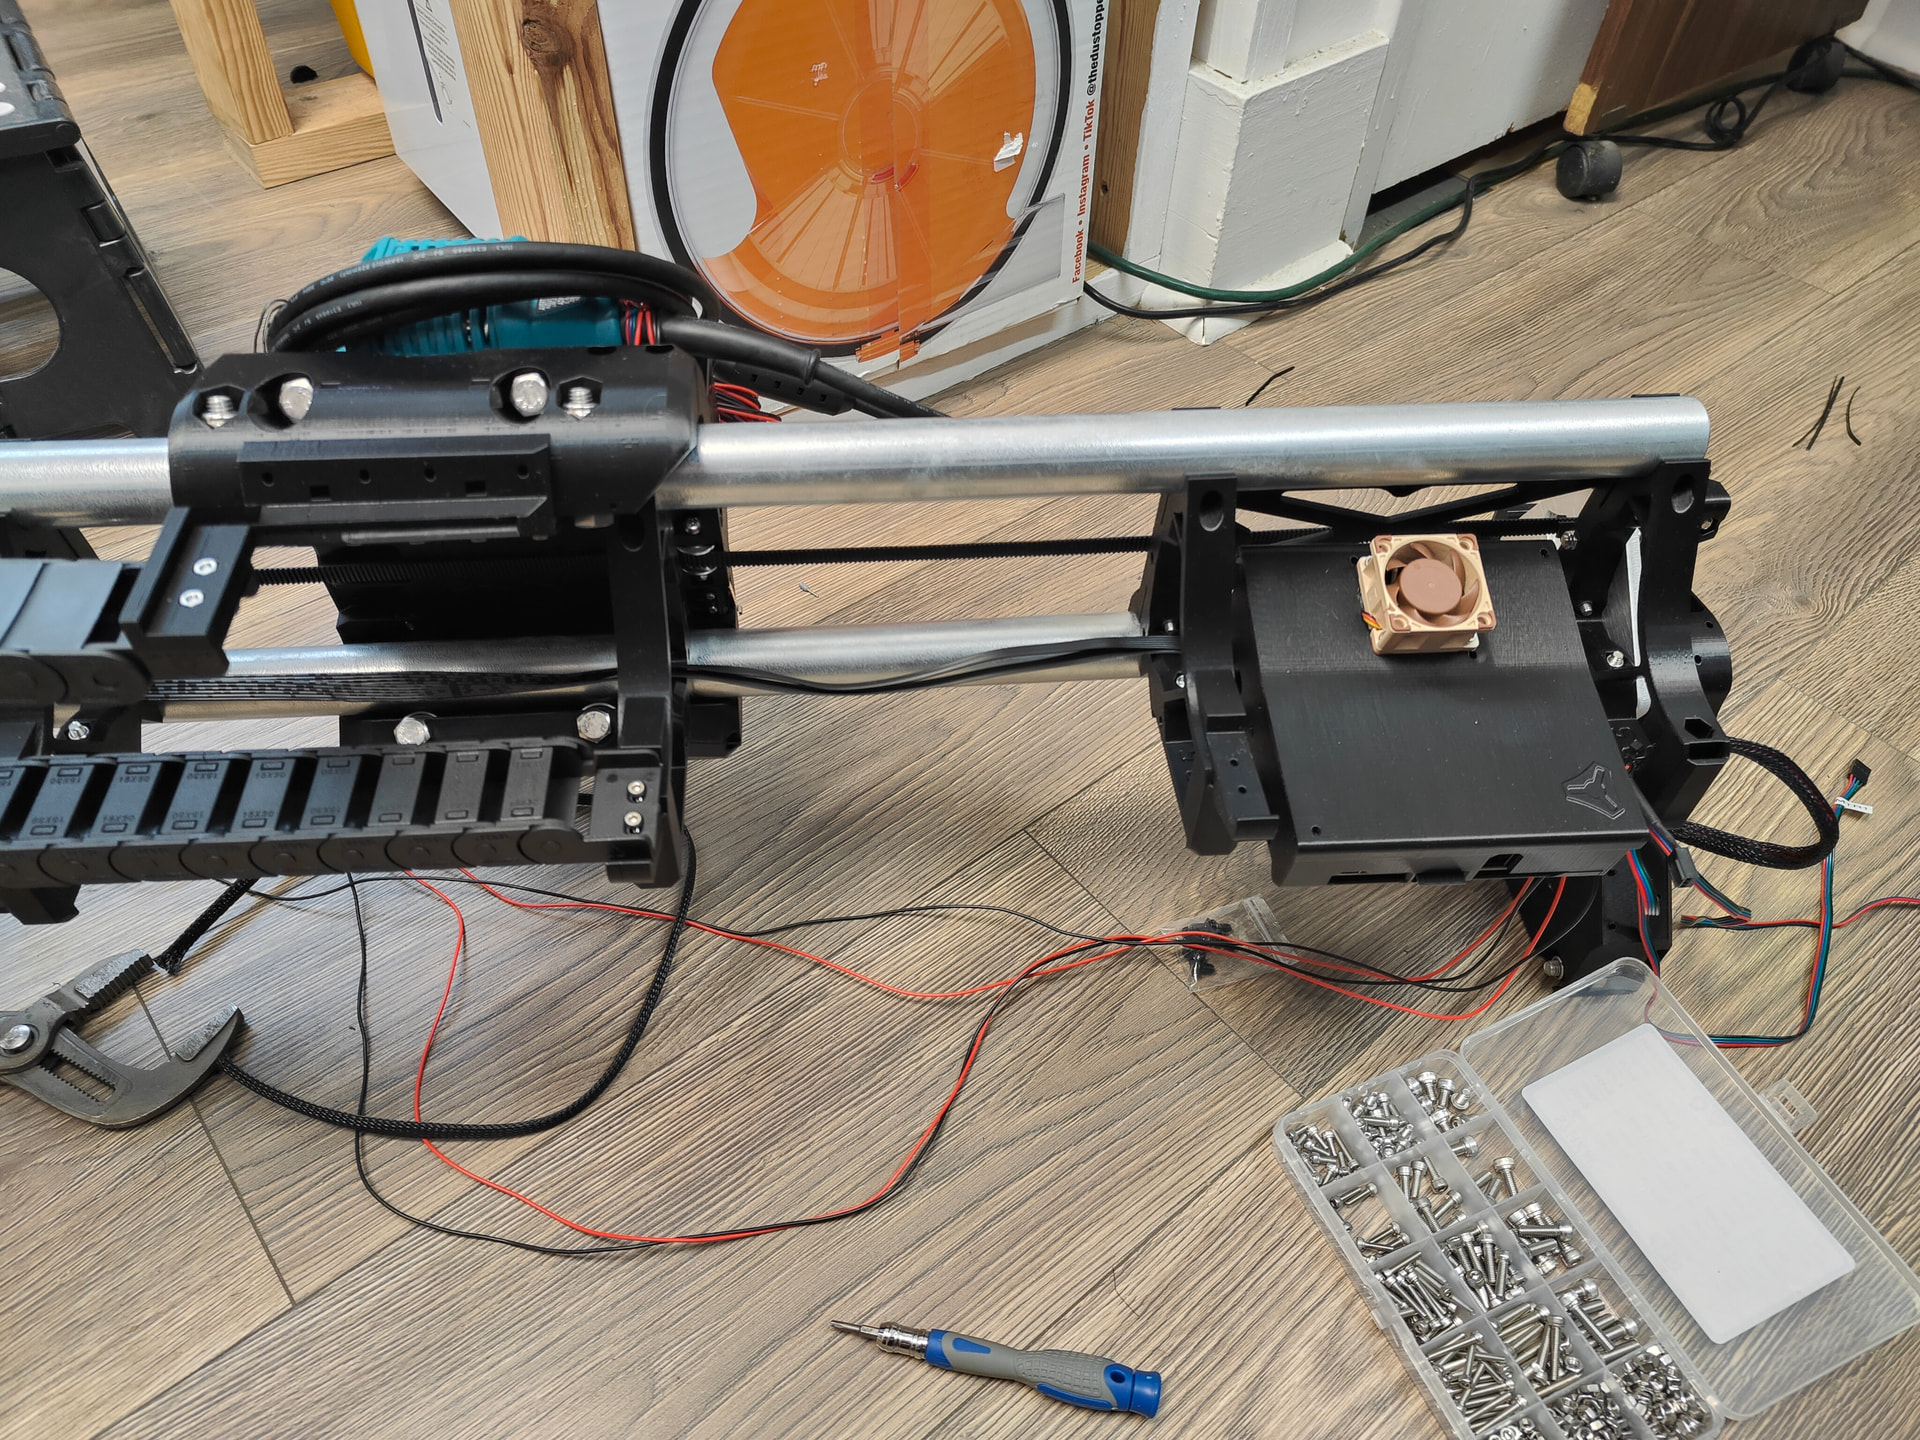
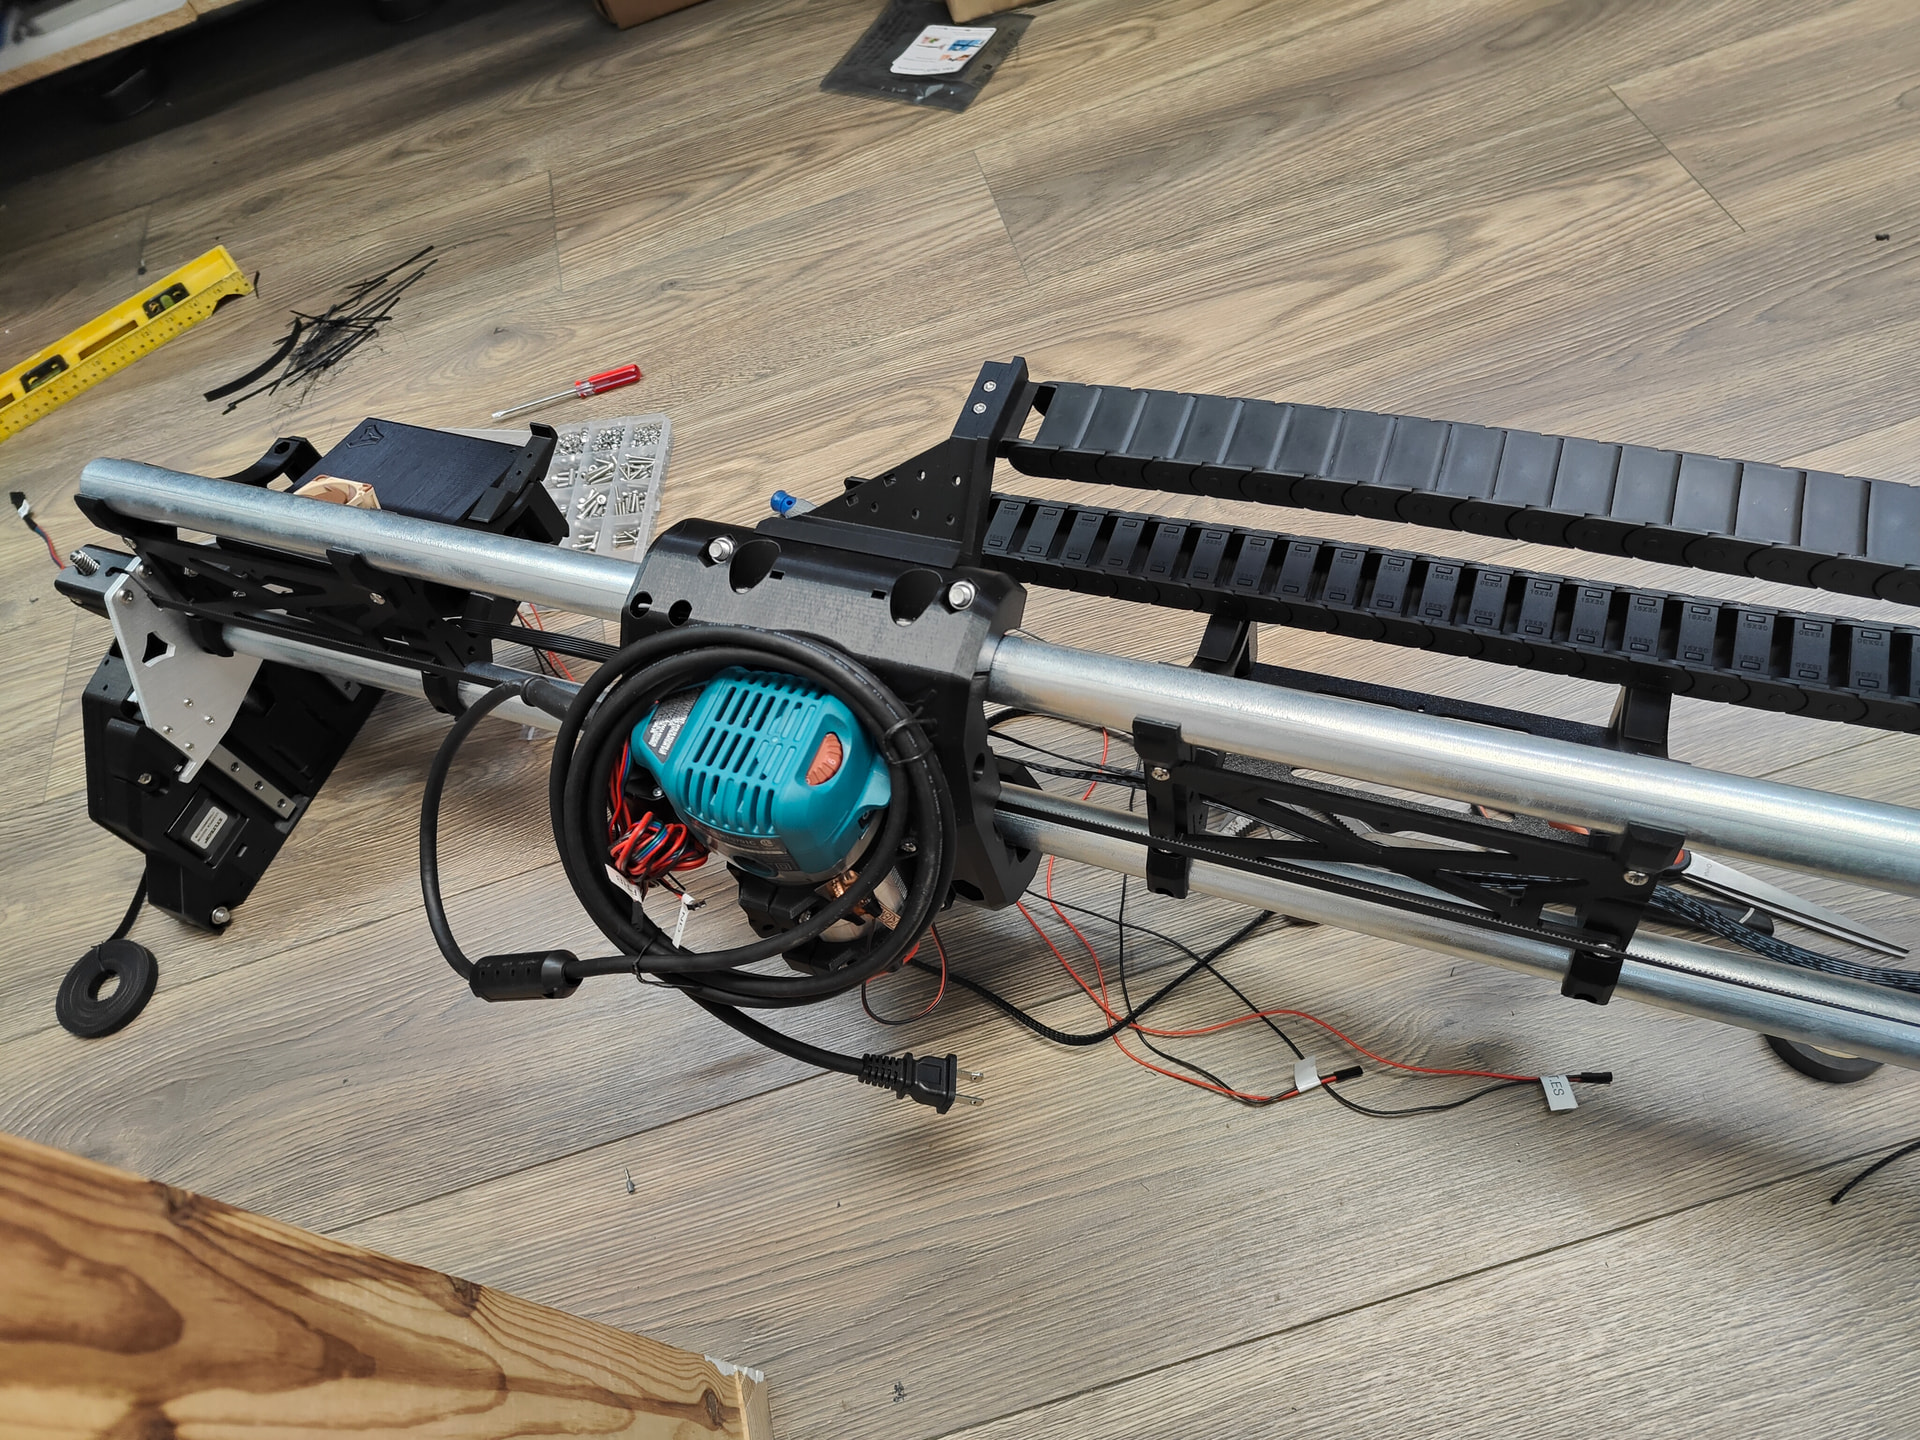
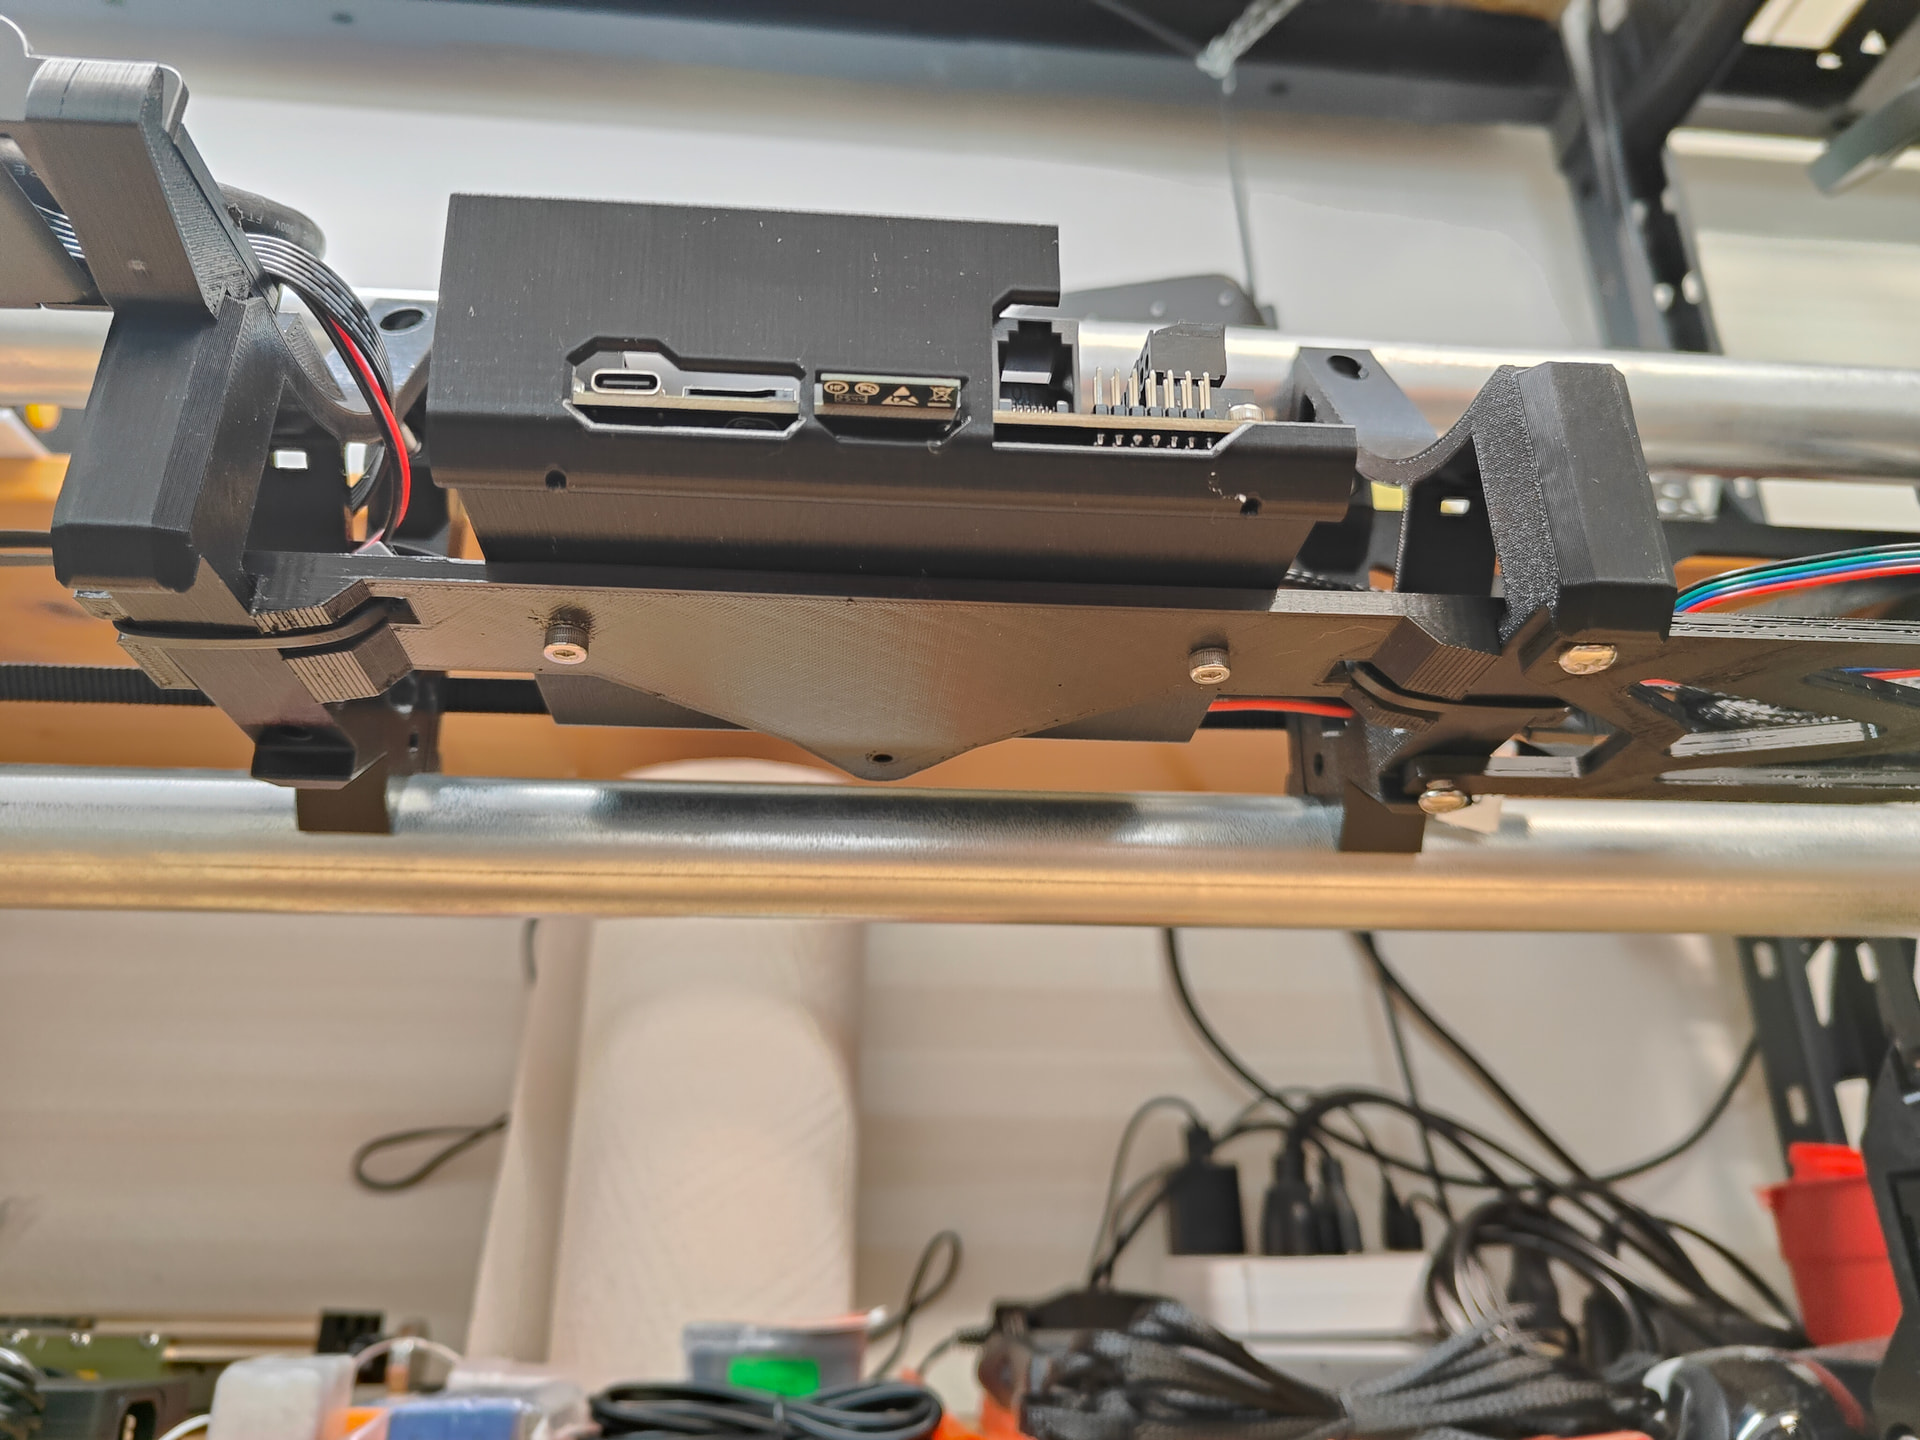
Ok Suggestions are needed… Please.
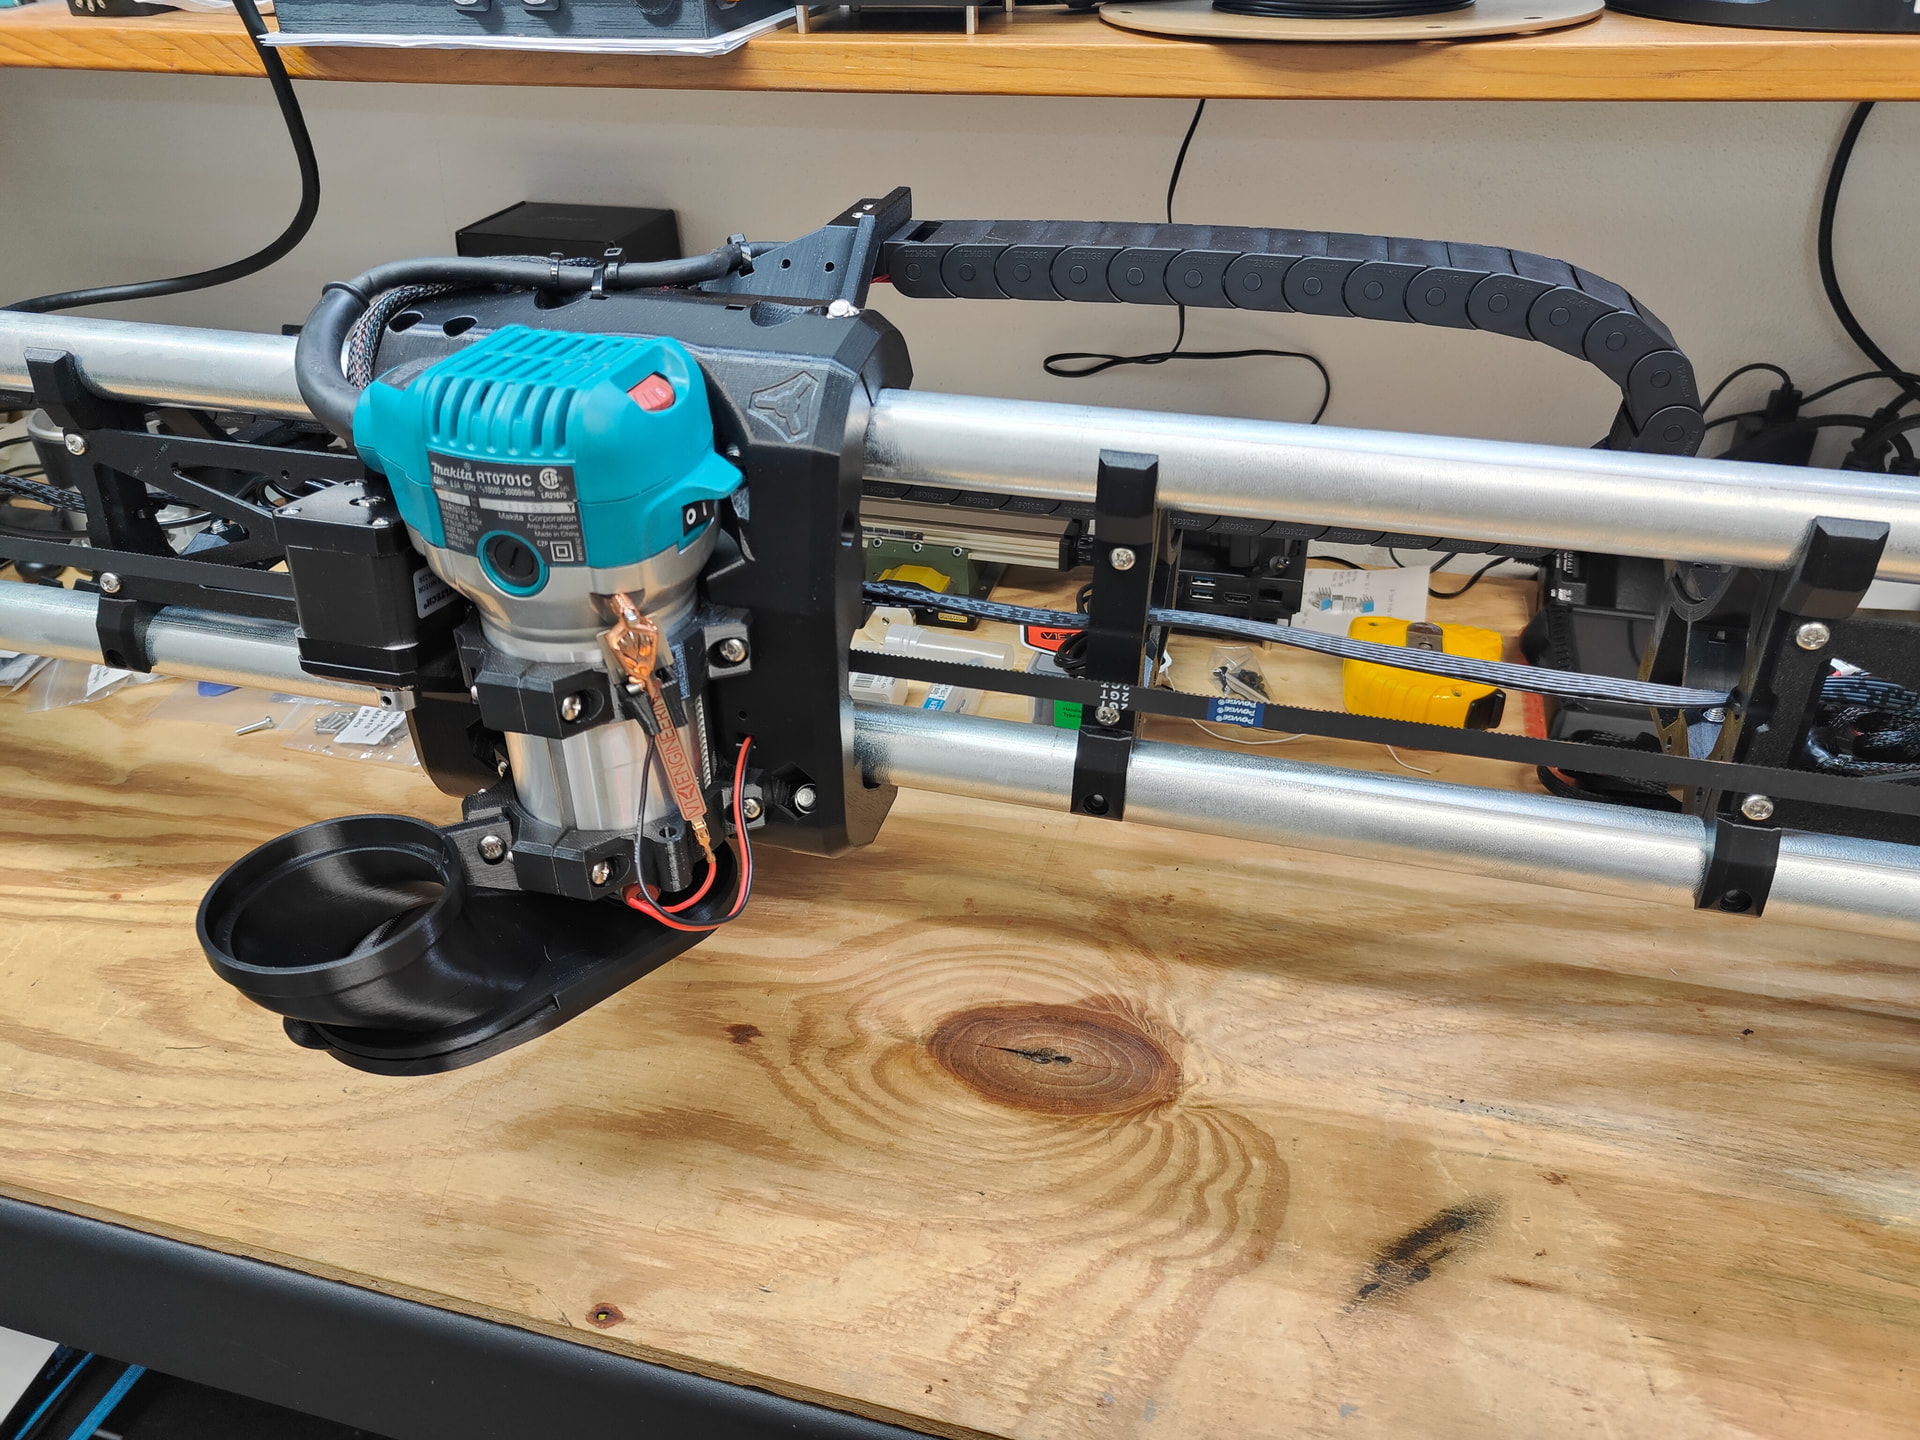
I am to the wiring stage, and I desire to use a cable chain for wire travel on the gantry, and an overhead arm for my dust collection system/hose (Not on/connected to the gantry). I have a room specifically designated for this machine, and it will have a built in dust collection and fire control system incorporated into the room.
Right now, I need to figure out what exactly I want to use here to get this as clean/cable managed and long-lived as possible.
I’m using wire loom where appropriate, in places where I am unlikely to have to do additional wiring or make many changes in wiring down the road. Minimizing service and upkeep complexity and pain/QoL pinch-points where possible. Selecting the appropriate location for the electronics box, cable chain/drag chain, cross gantry wiring, and fastening / securing points, are not super clear once you begin to start going into a finite direction that varies from the build guide. Not a critique, just seeking community suggestions and advice.
(The design is lovely. Easy to build. Well thought out)
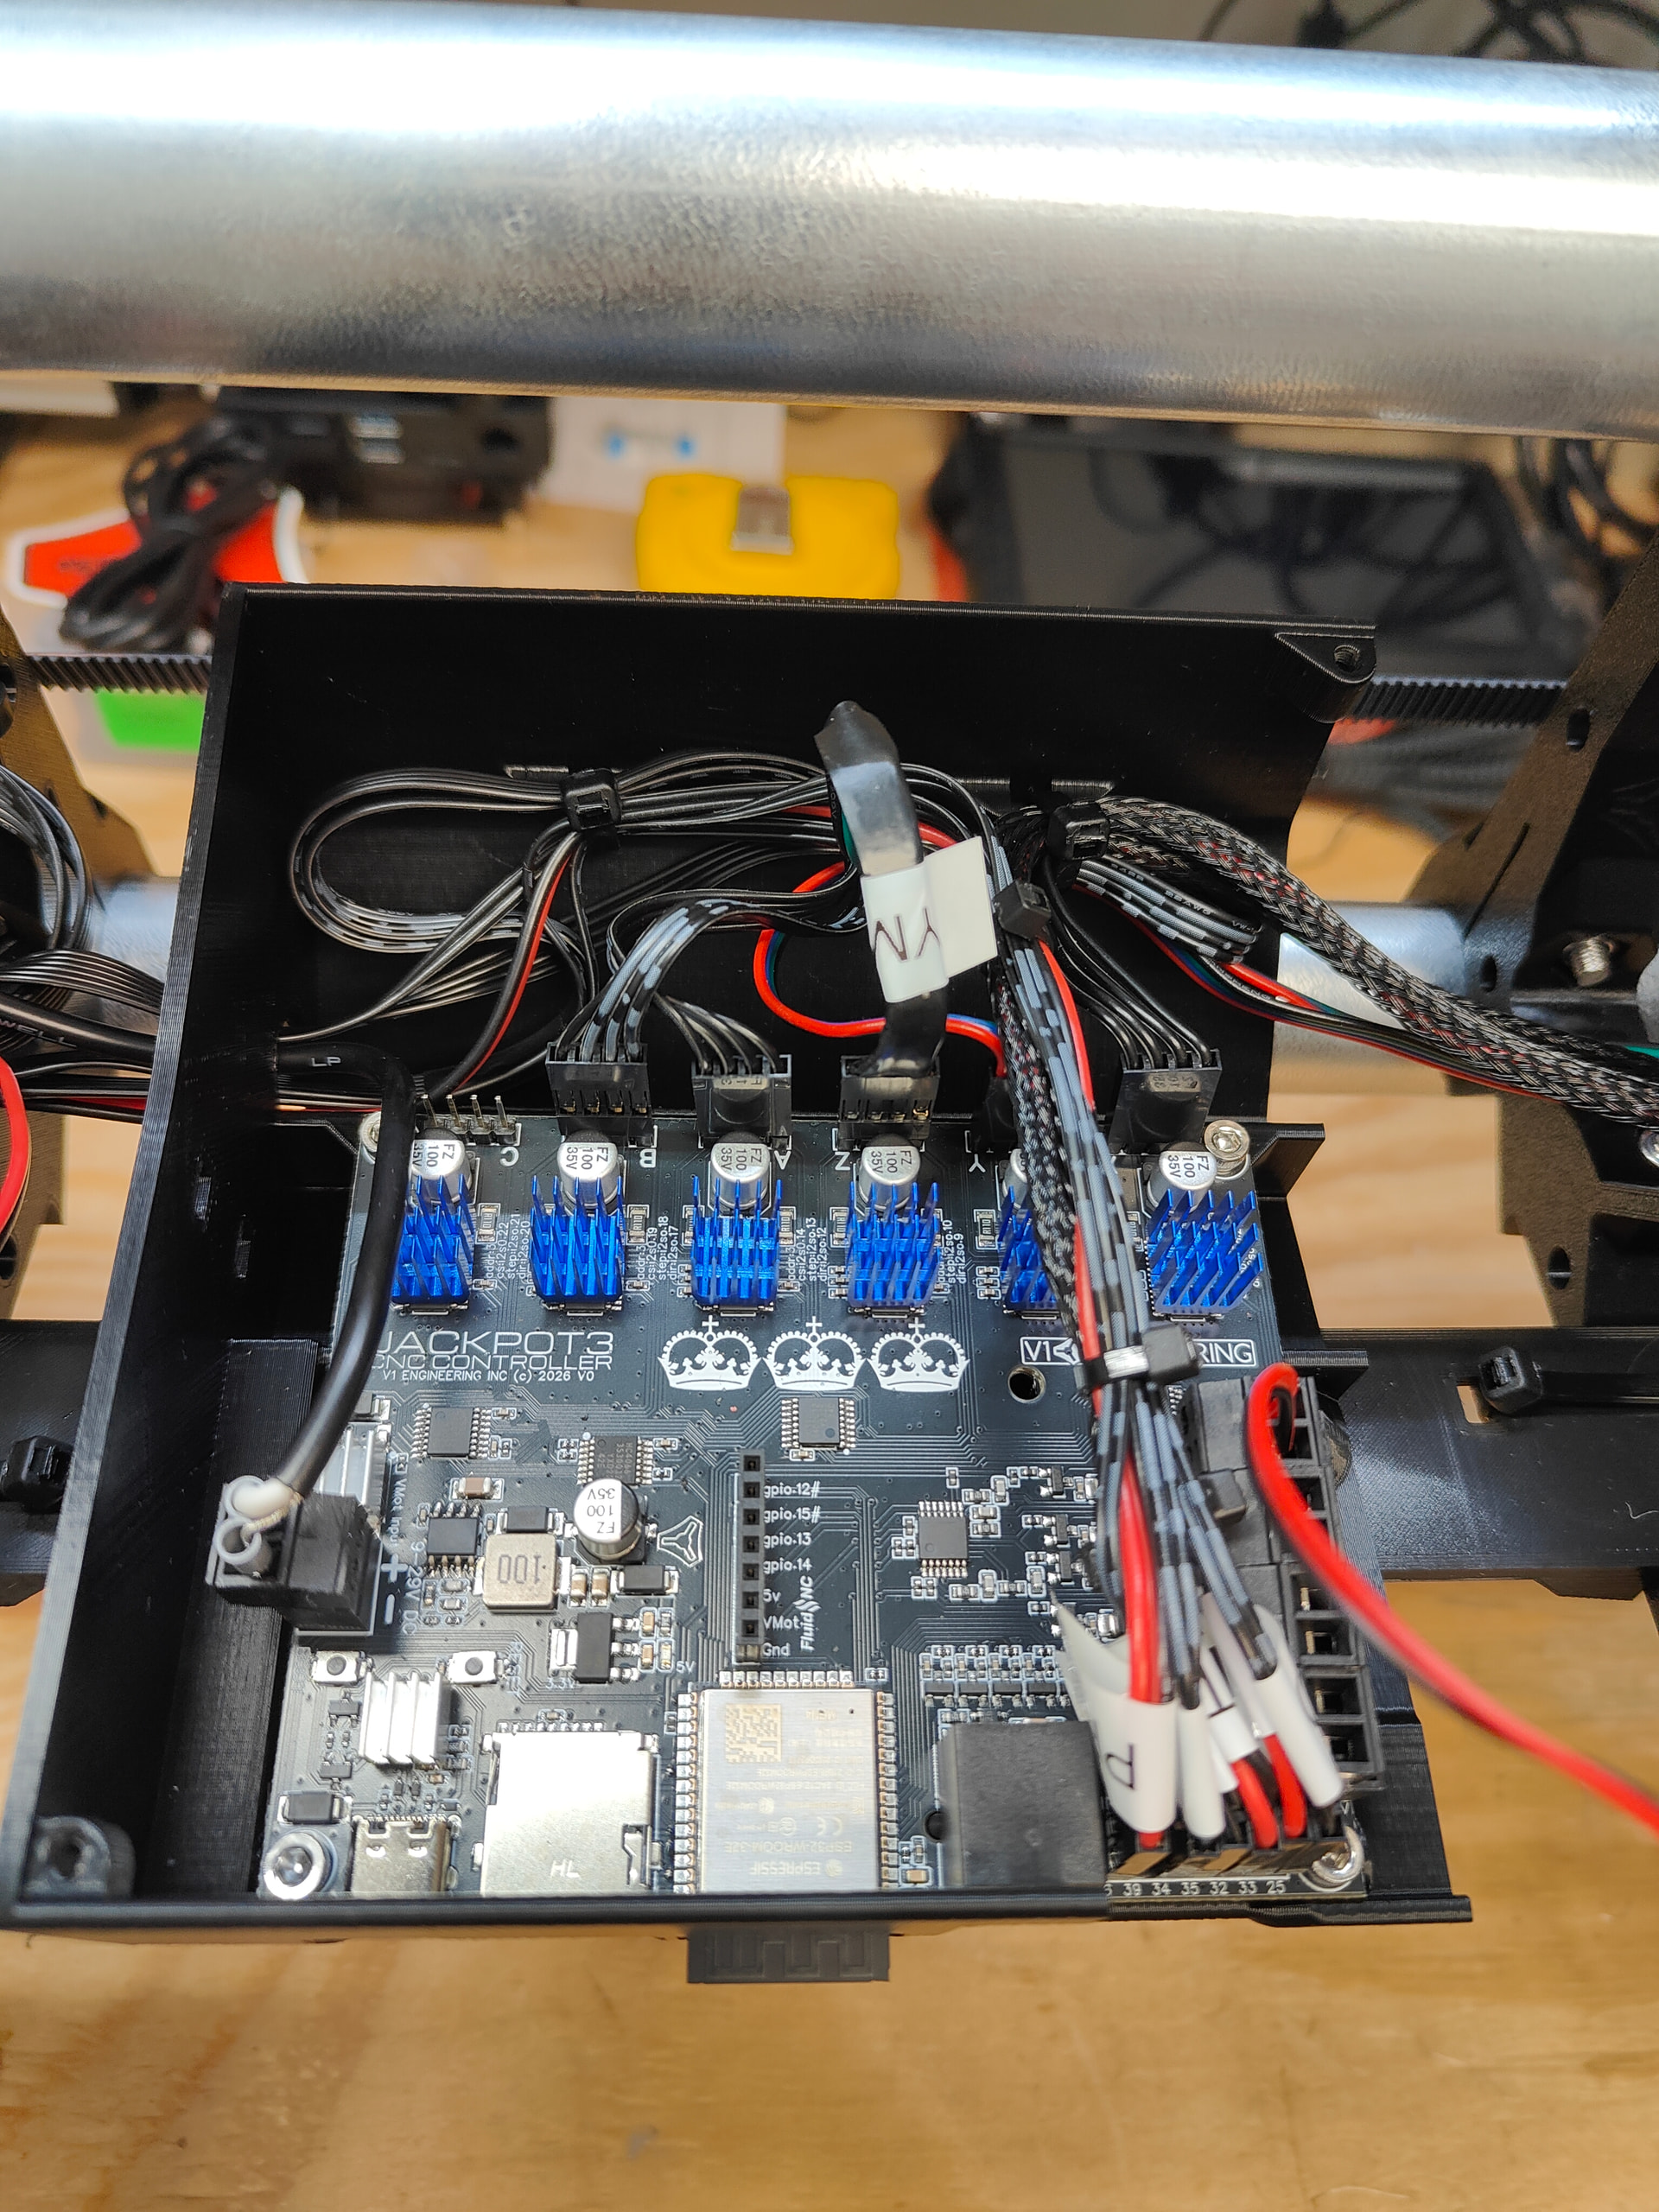
I have the ability/tools to properly shorten and re-apply JST and other connectors to the cables. Should I simply shorten them and remake them at the appropriate lengths? OR, is resistance a factor in synchronization between min/max side steppers? Should I bother?
What do you all think?
I mean, I’m sure on some smaller than micro level it might matter. But the fact that most lr4s have 5 foot extensions on 3 or the 5 motors should pretty much tell you how infinitely small that gap is. I would bundle the extra wire for future changes and be done with it. That being said i completely understand the drive to make it pretty. Just know that’s all it really ends up being is esthetics.
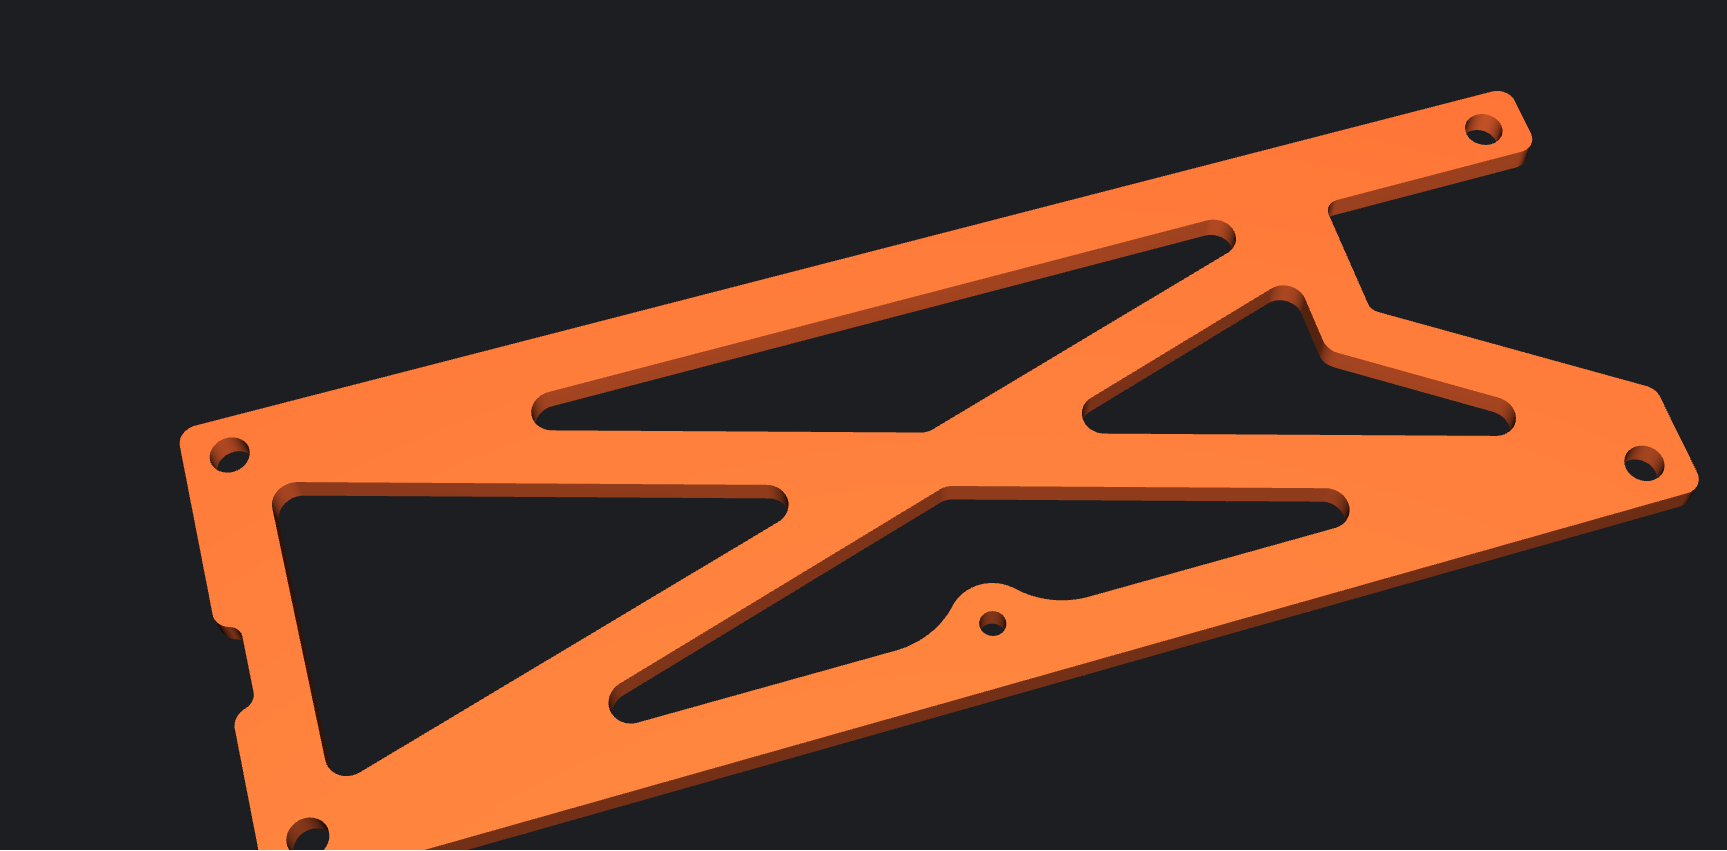
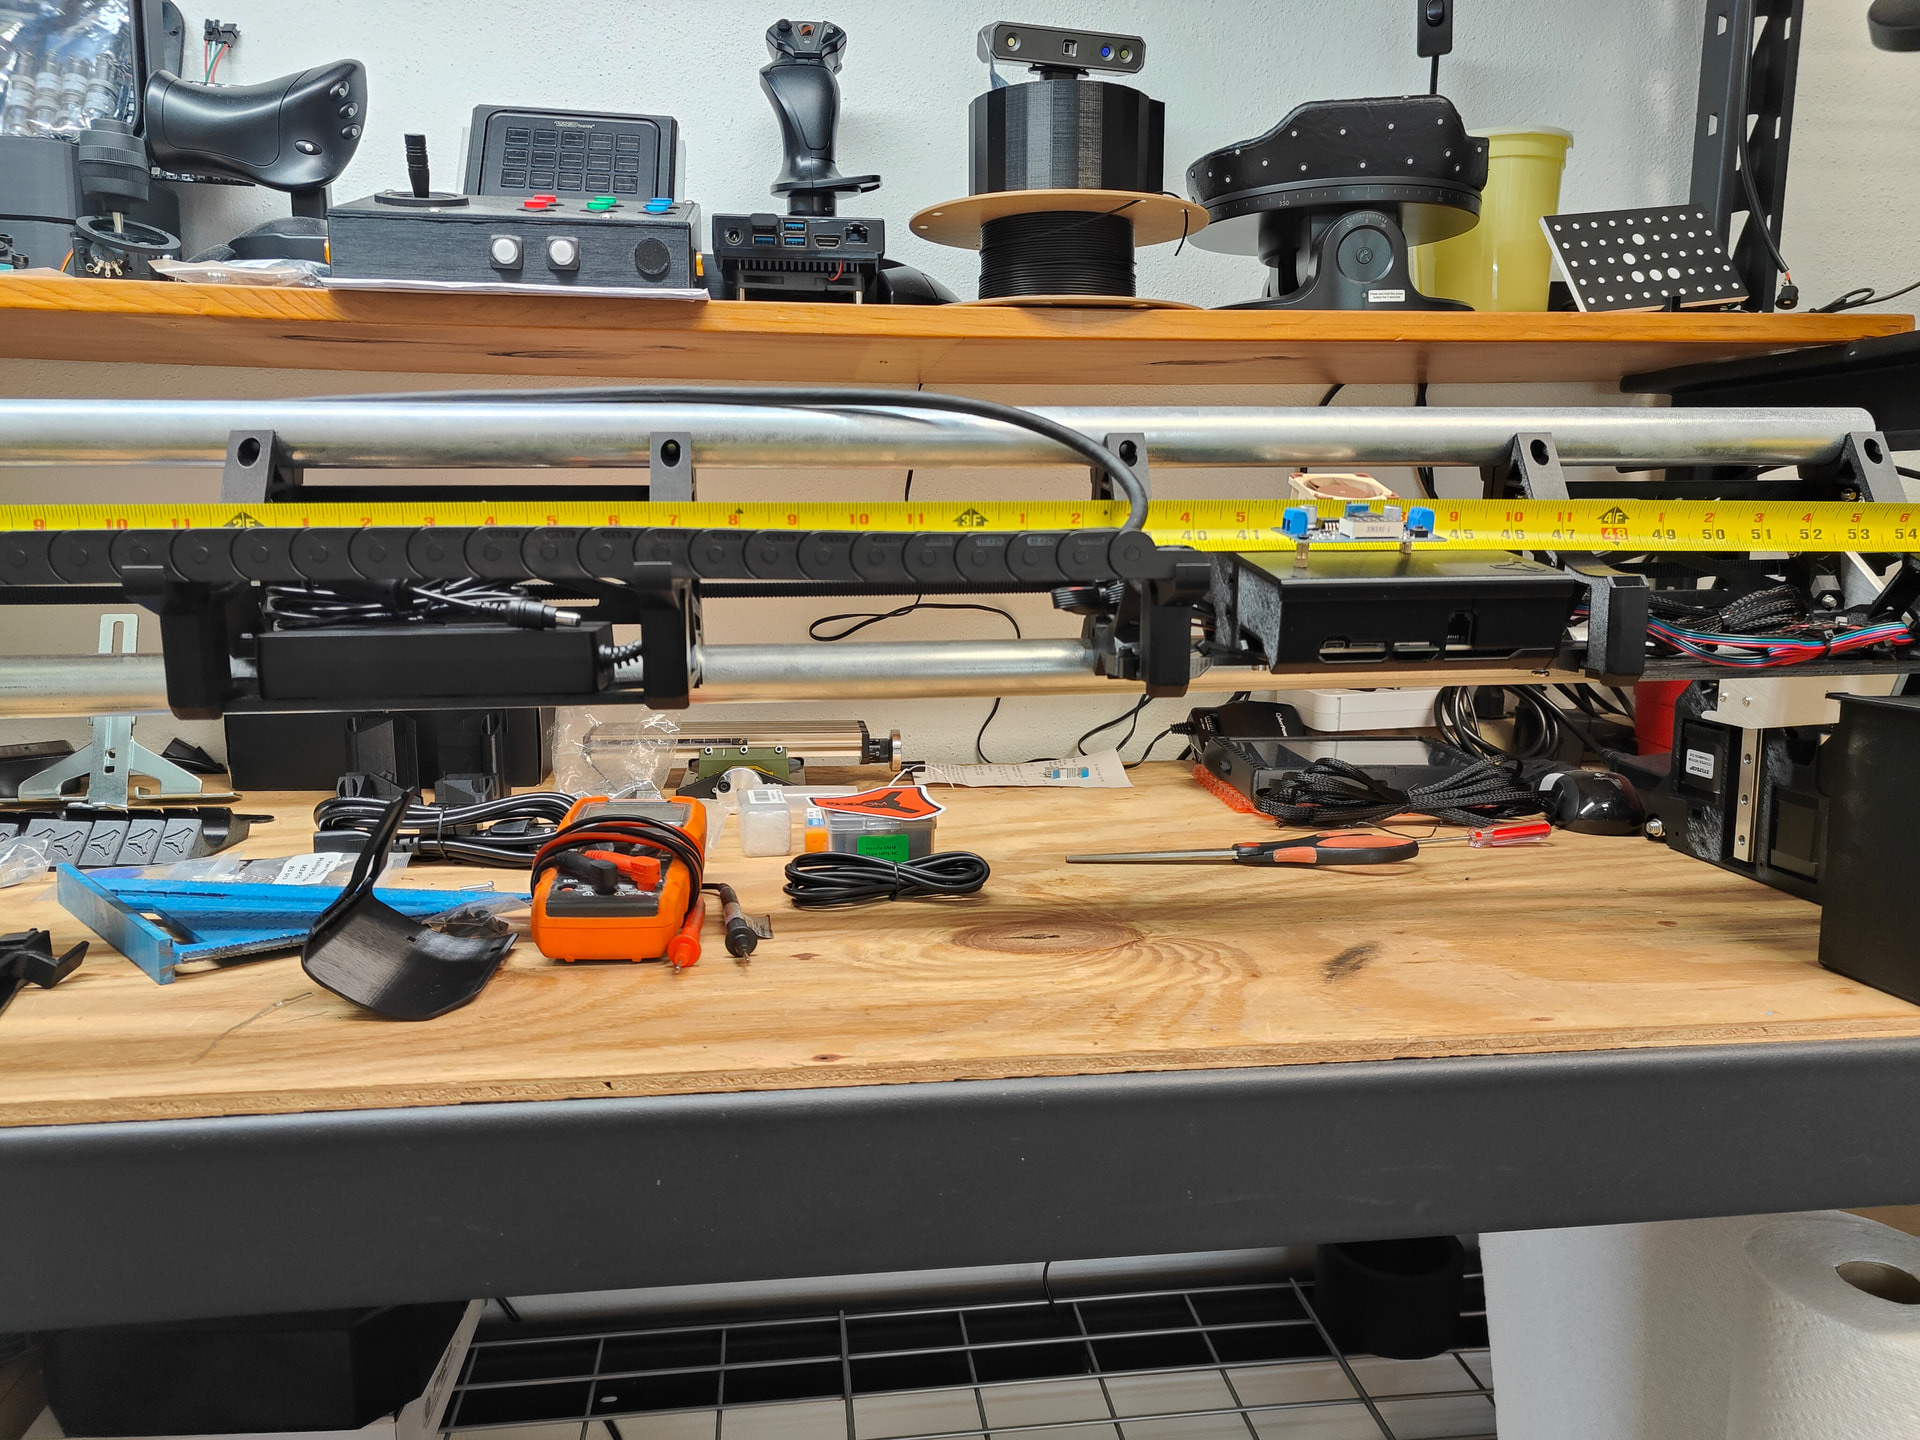
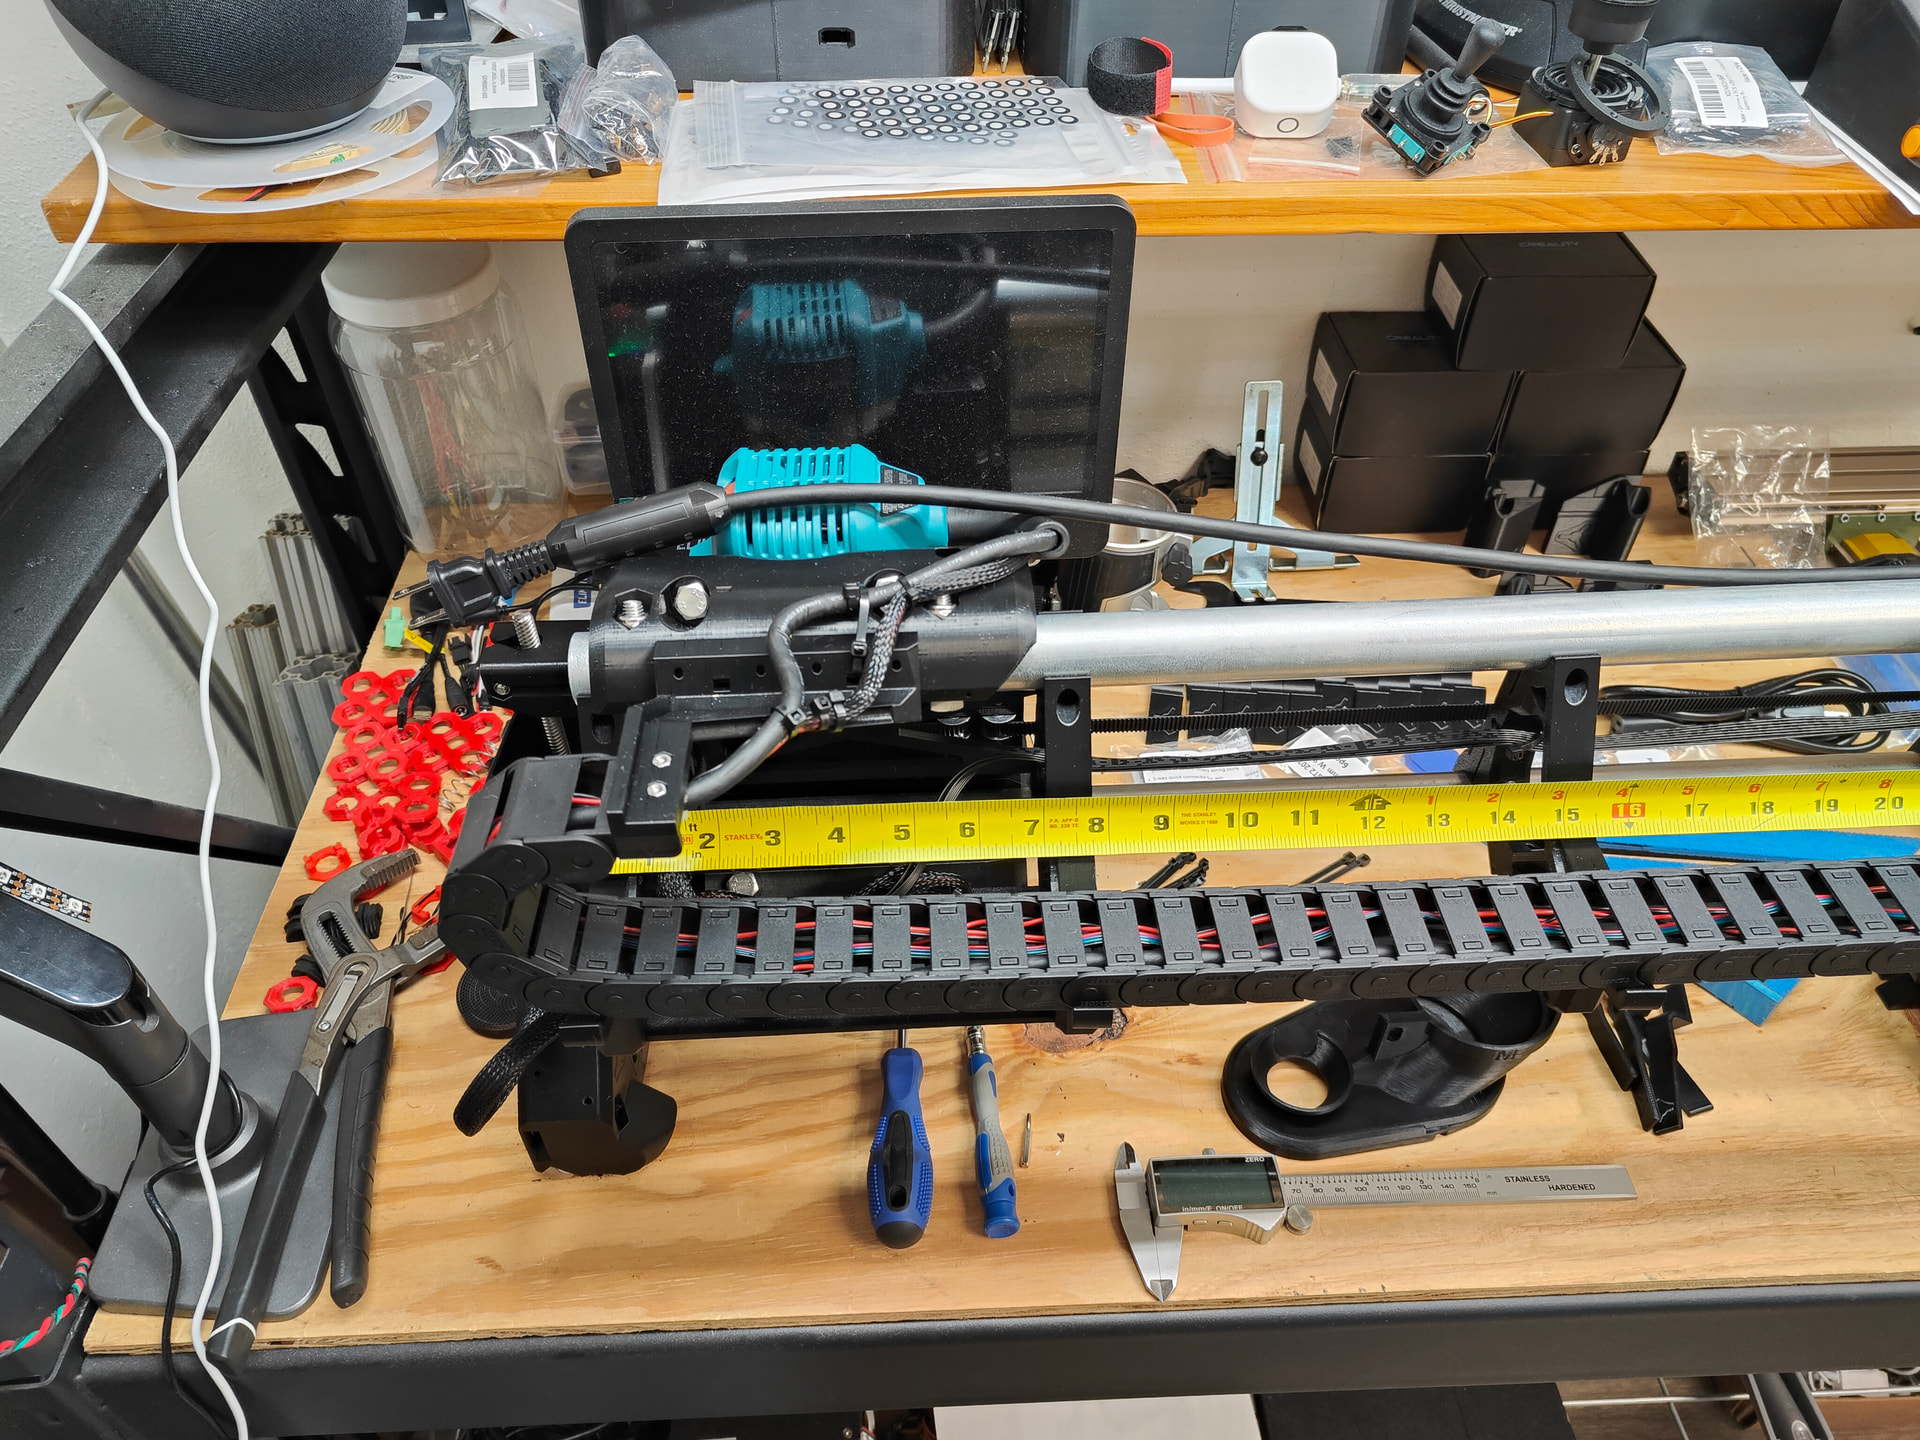
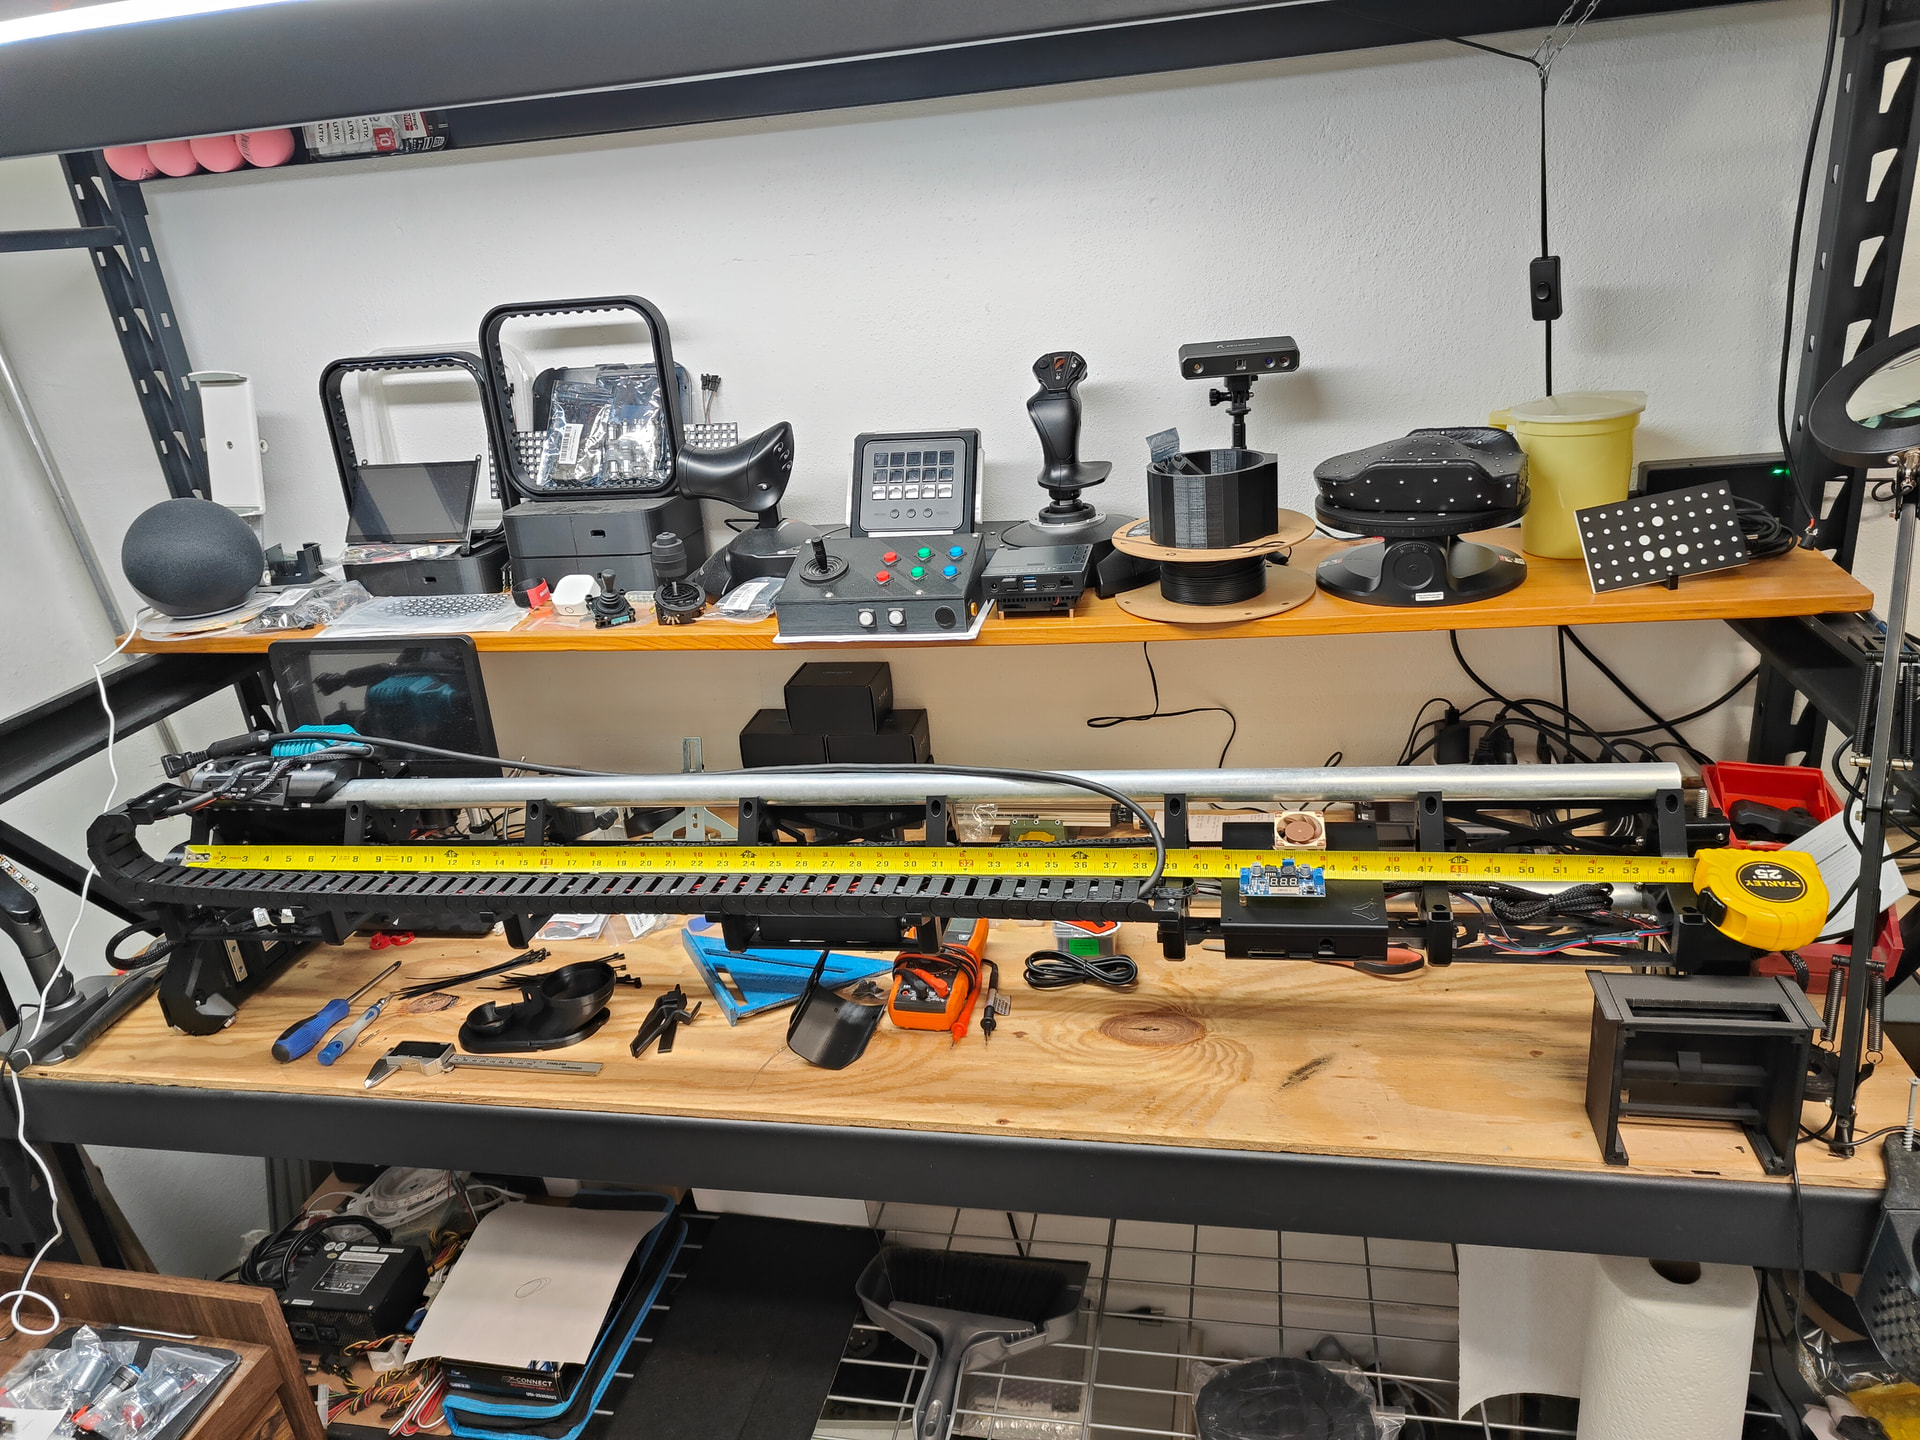
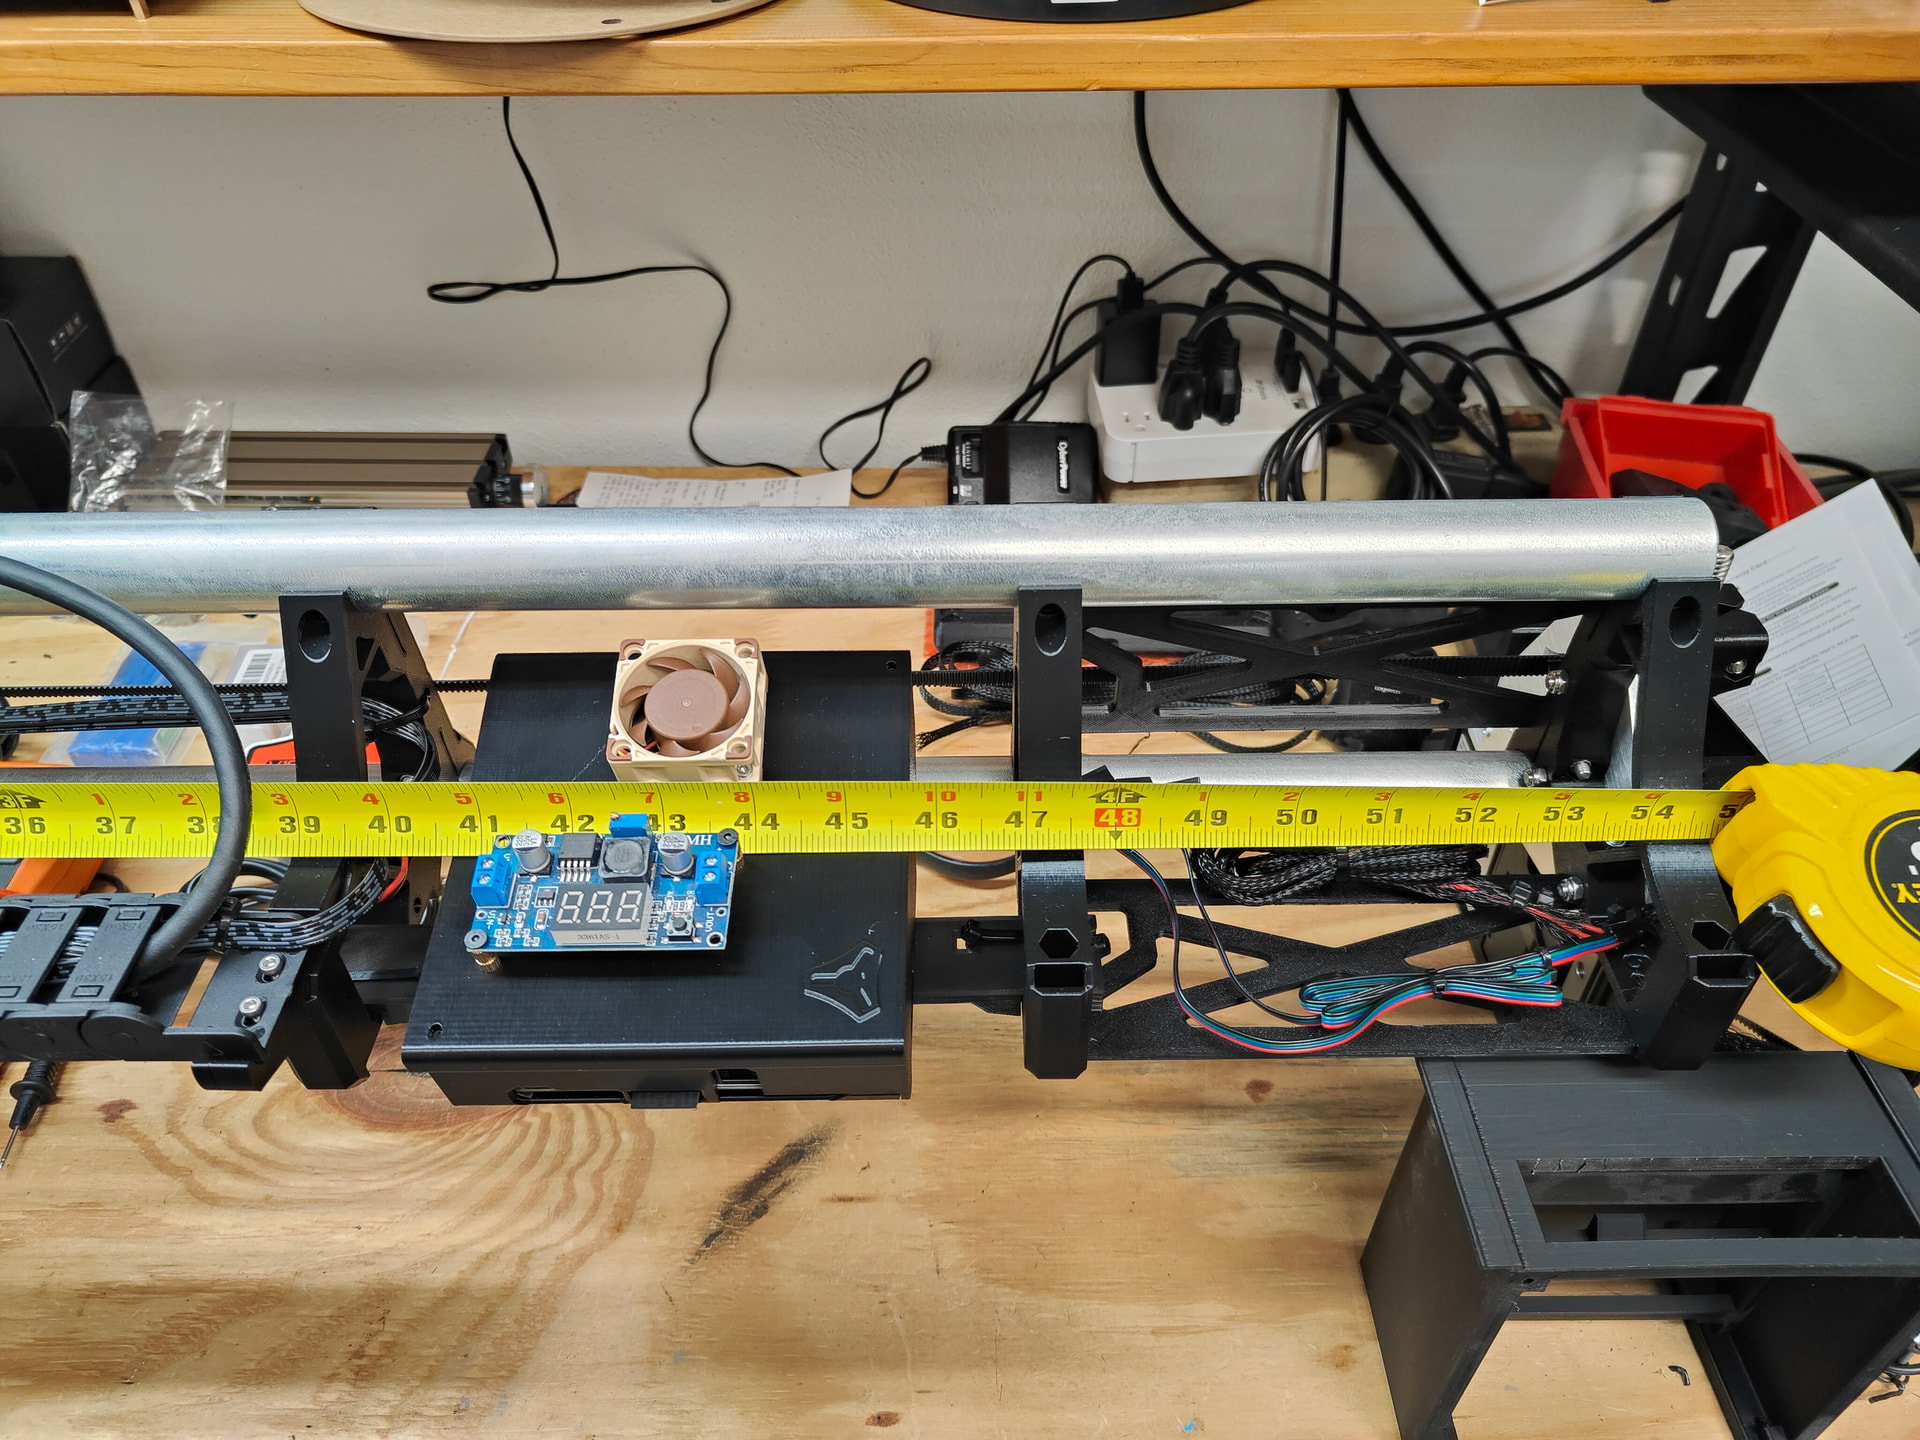
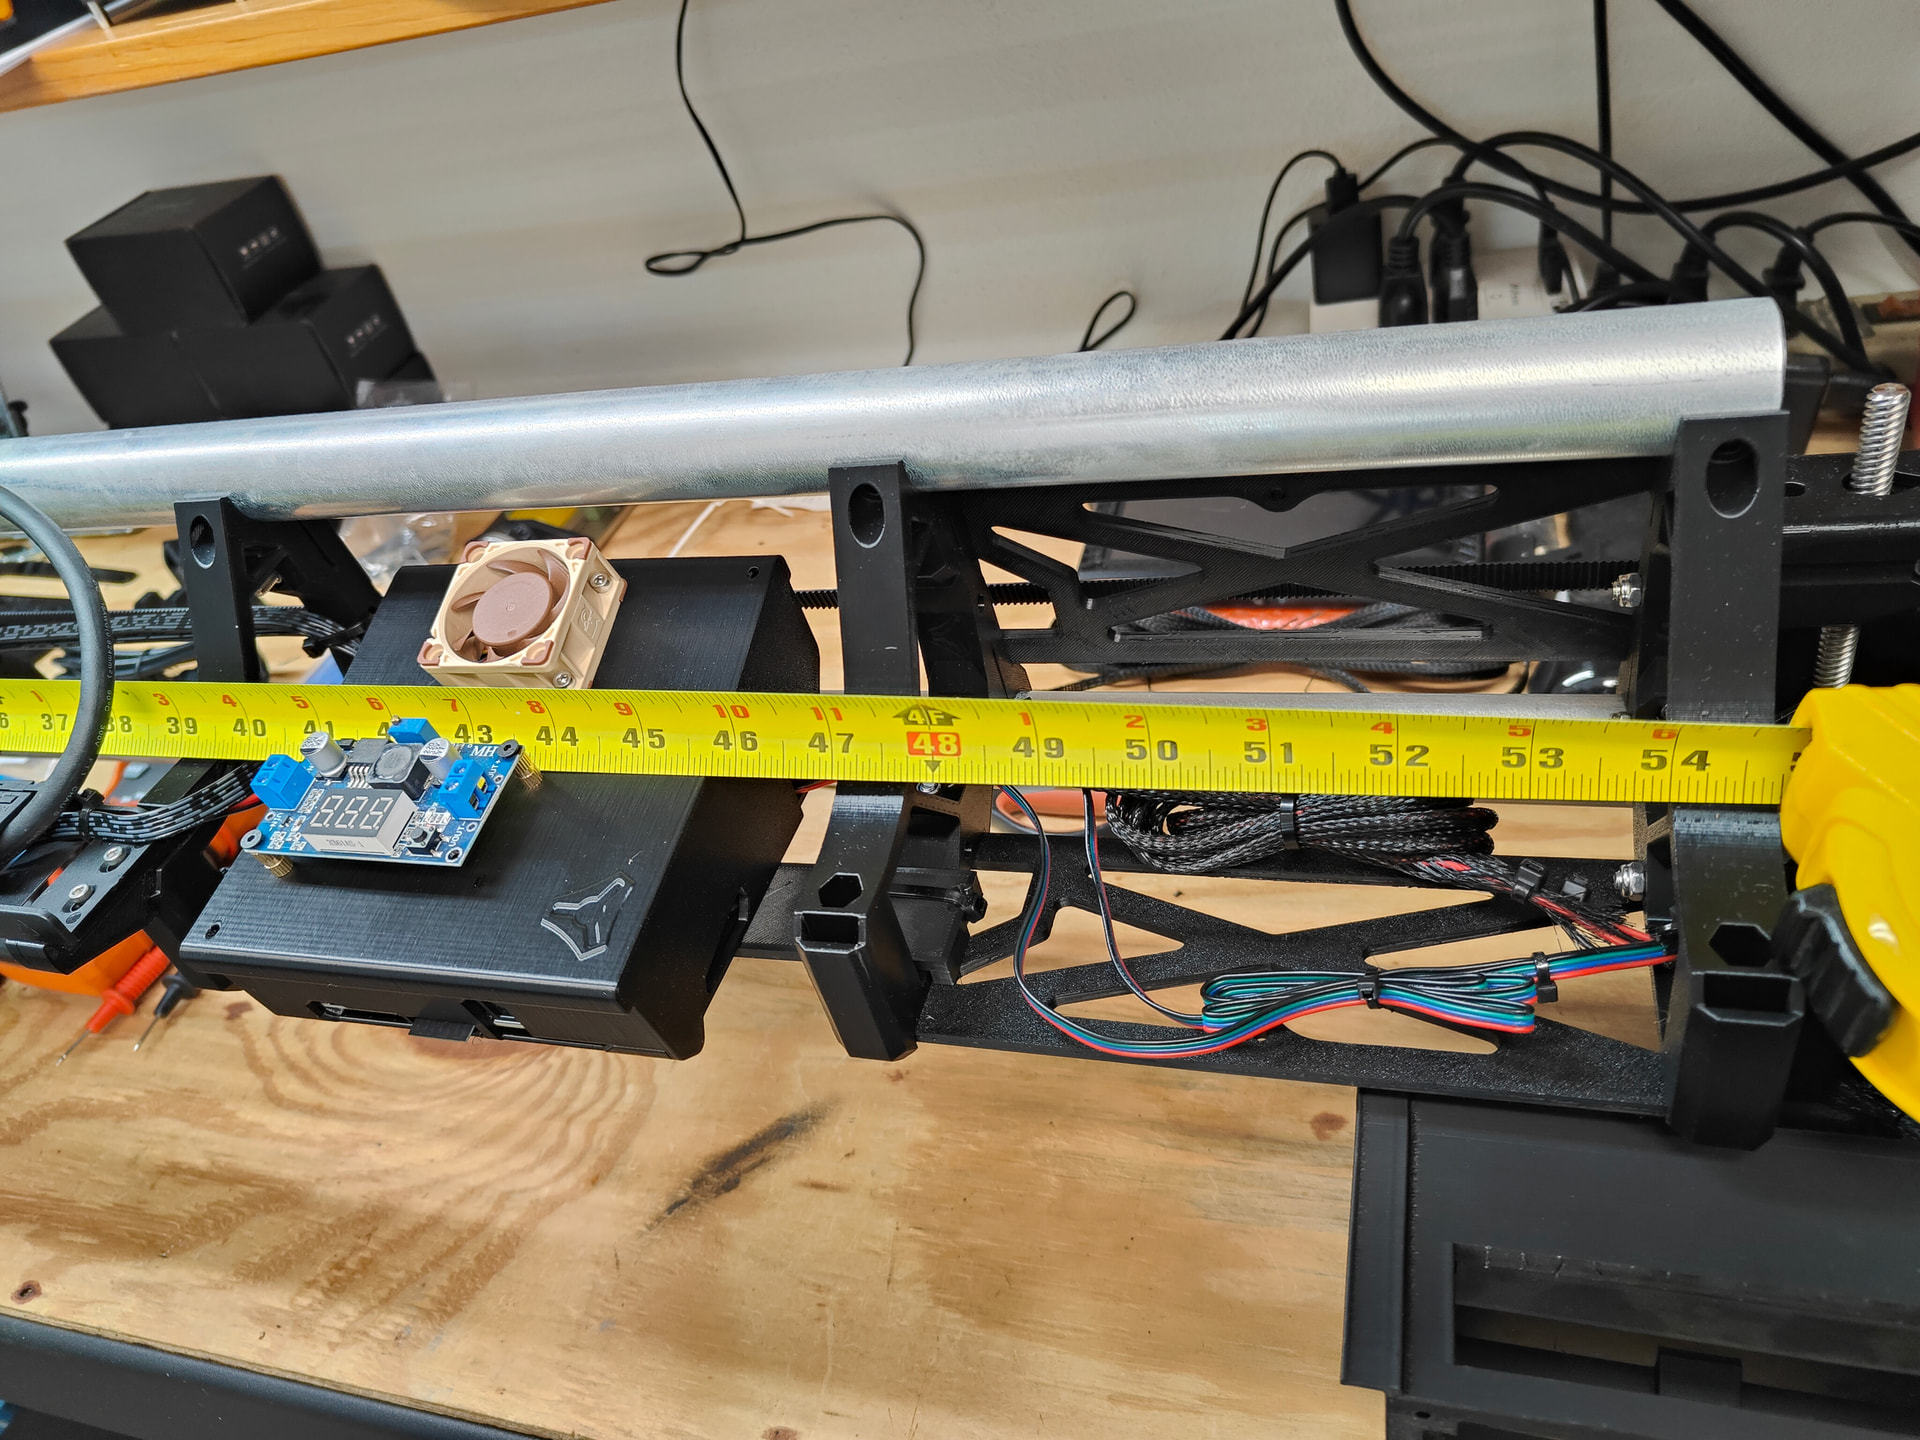
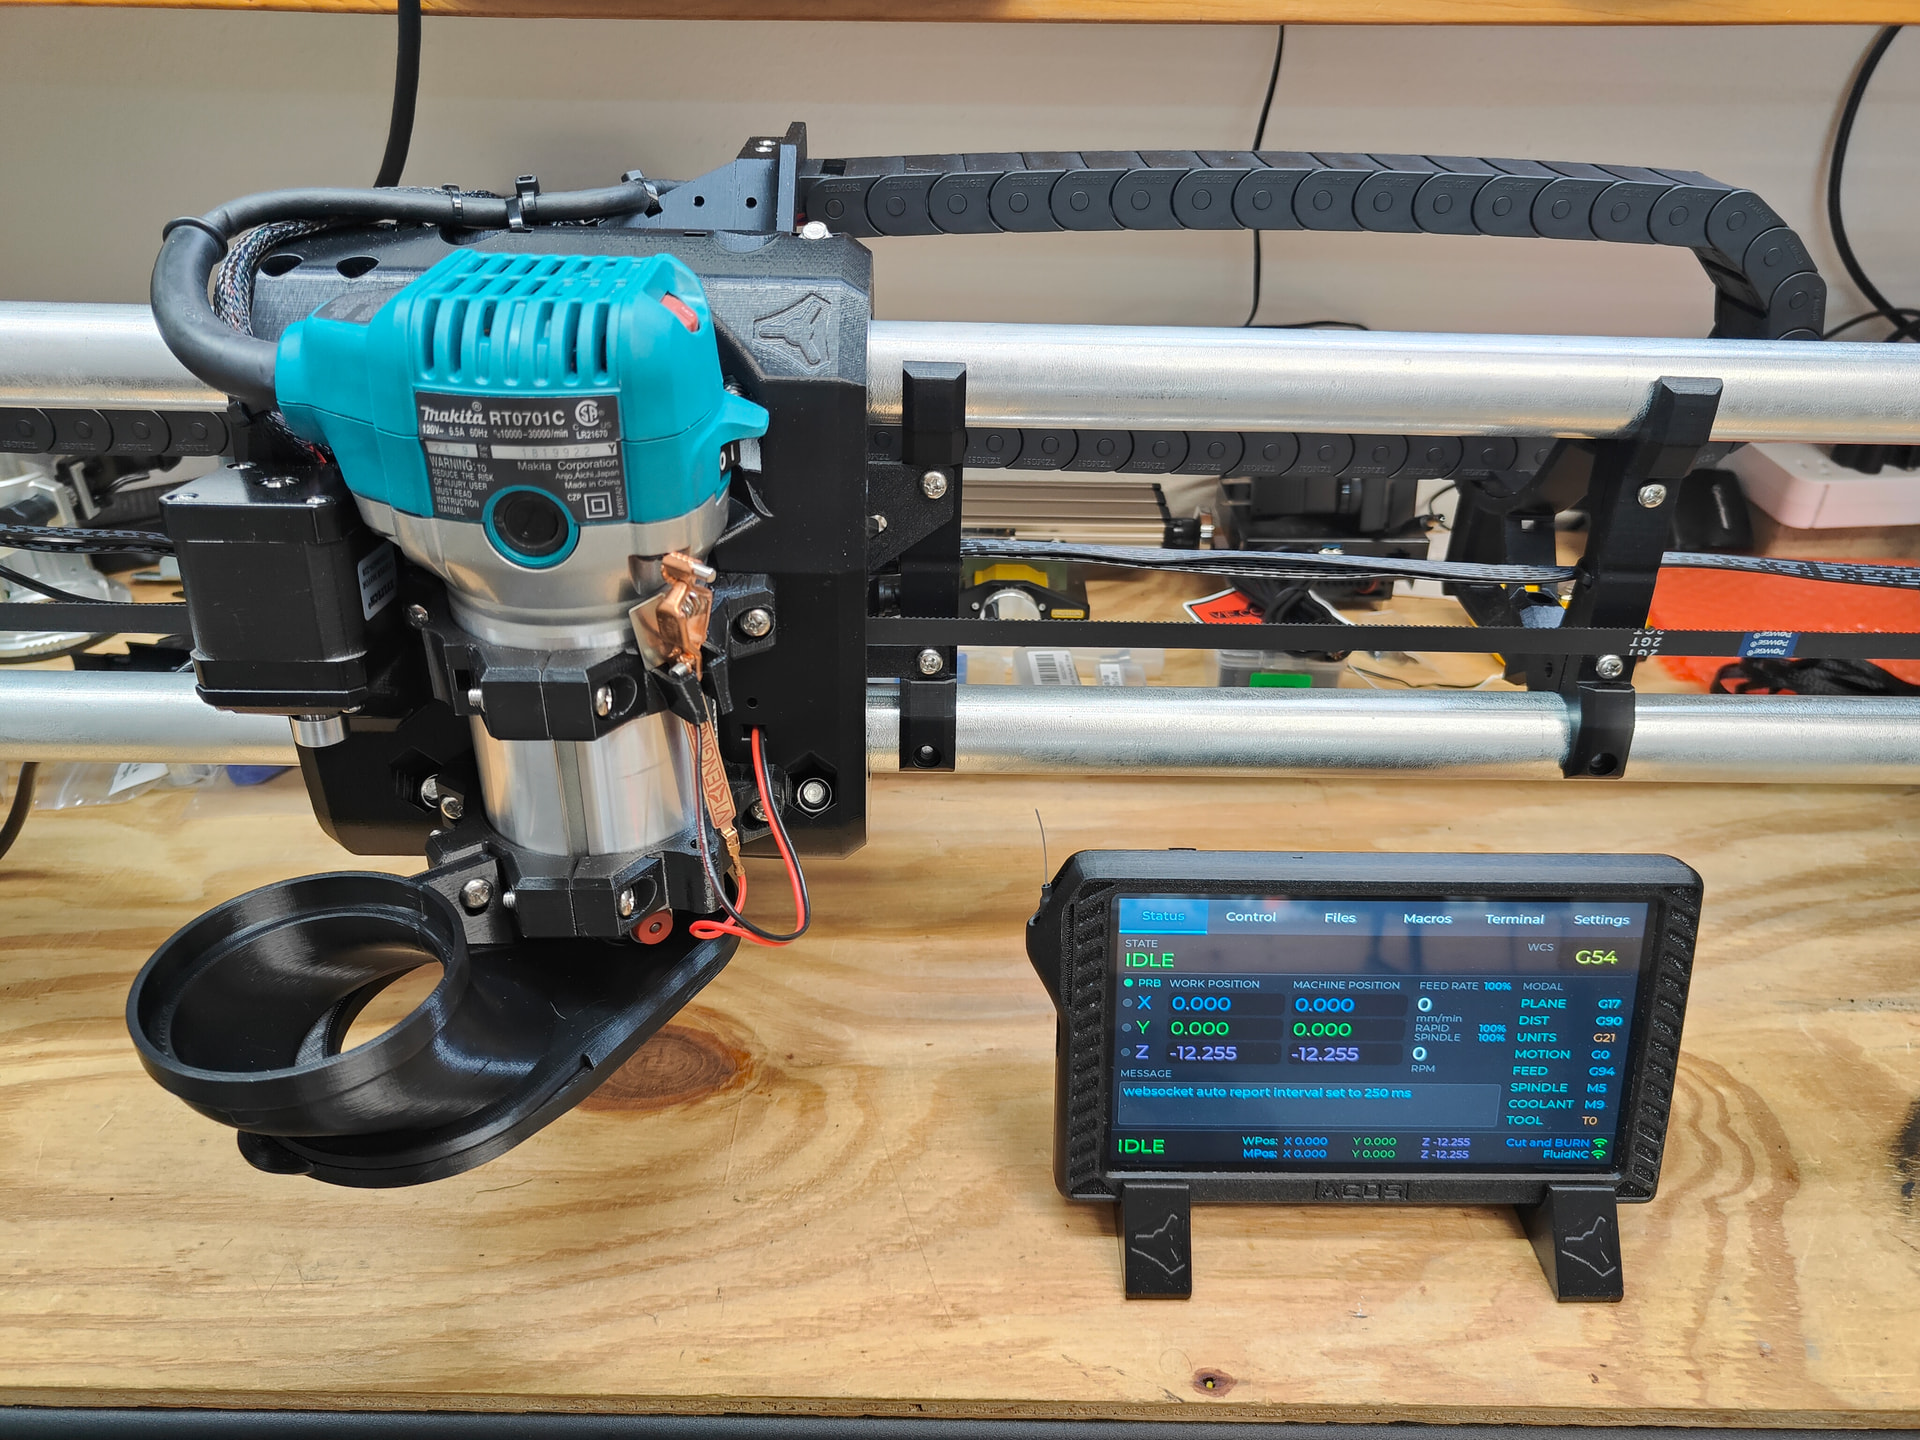
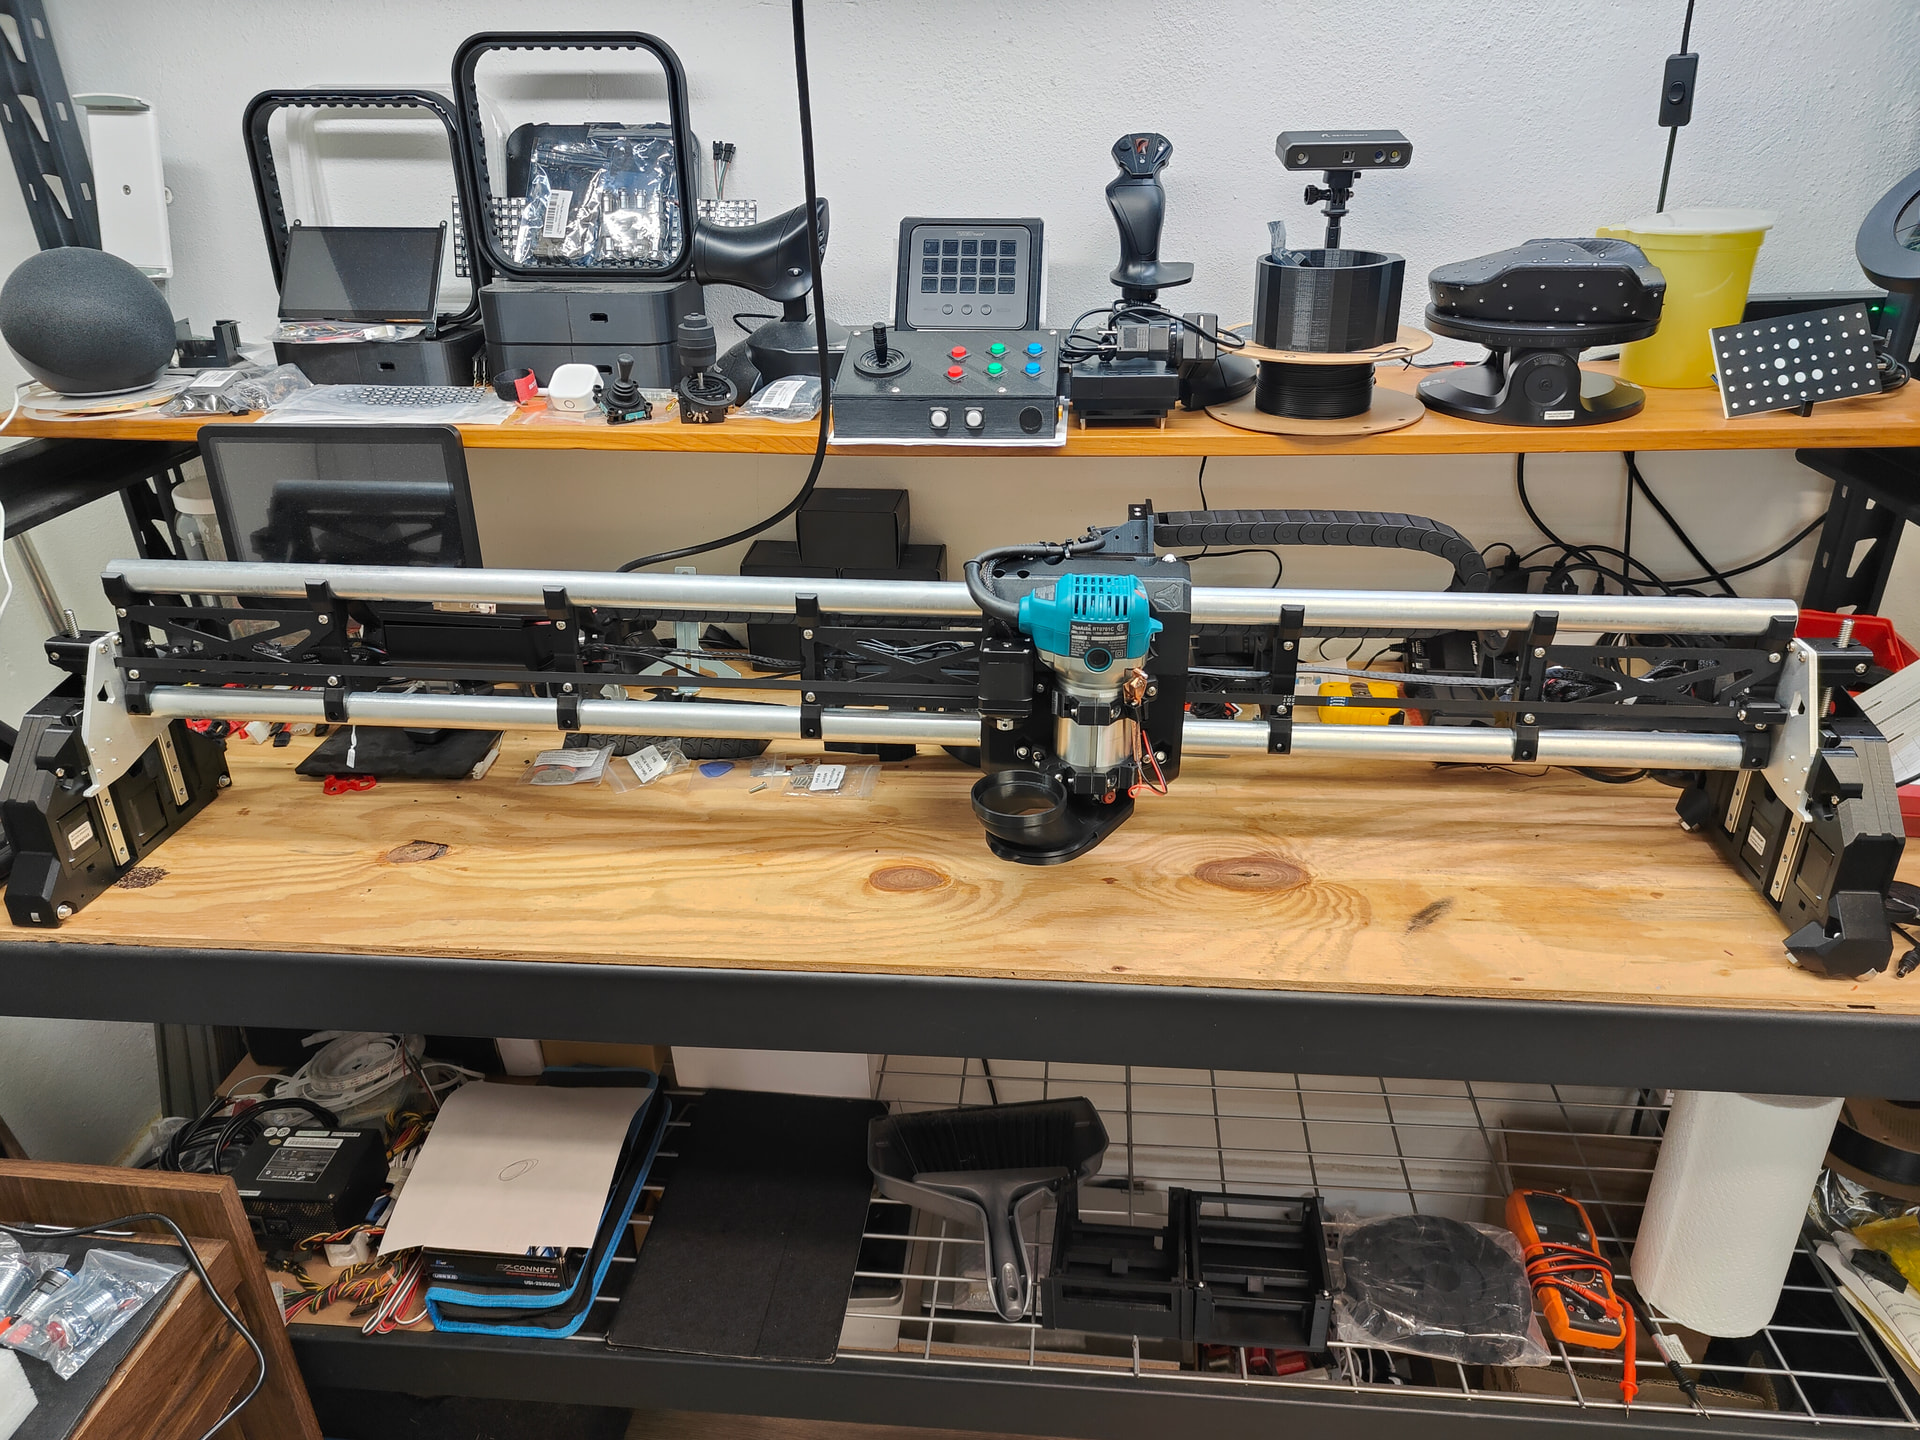
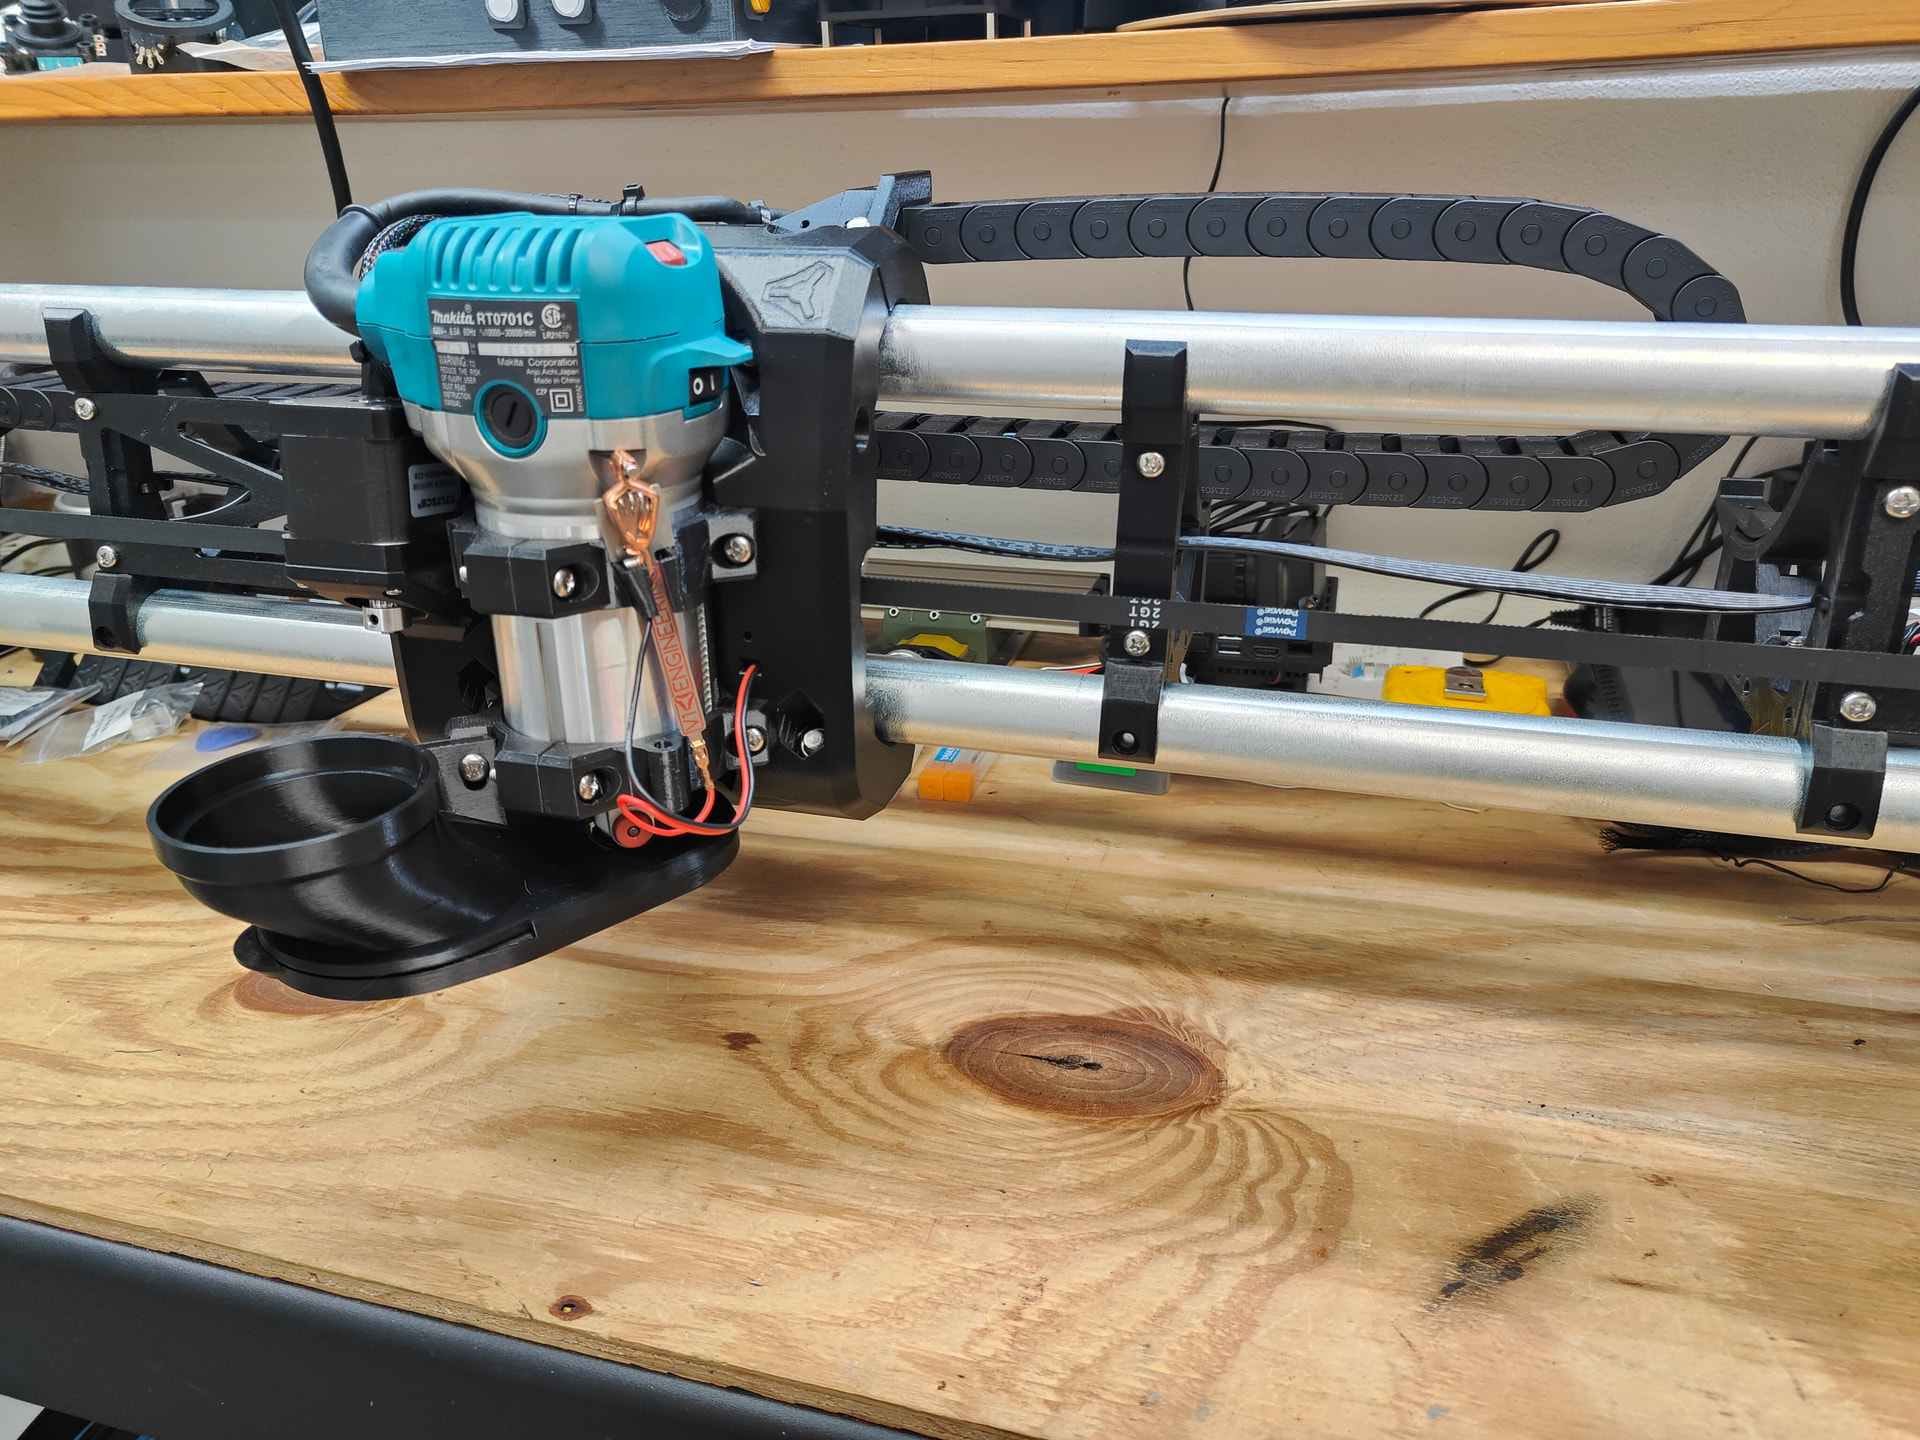
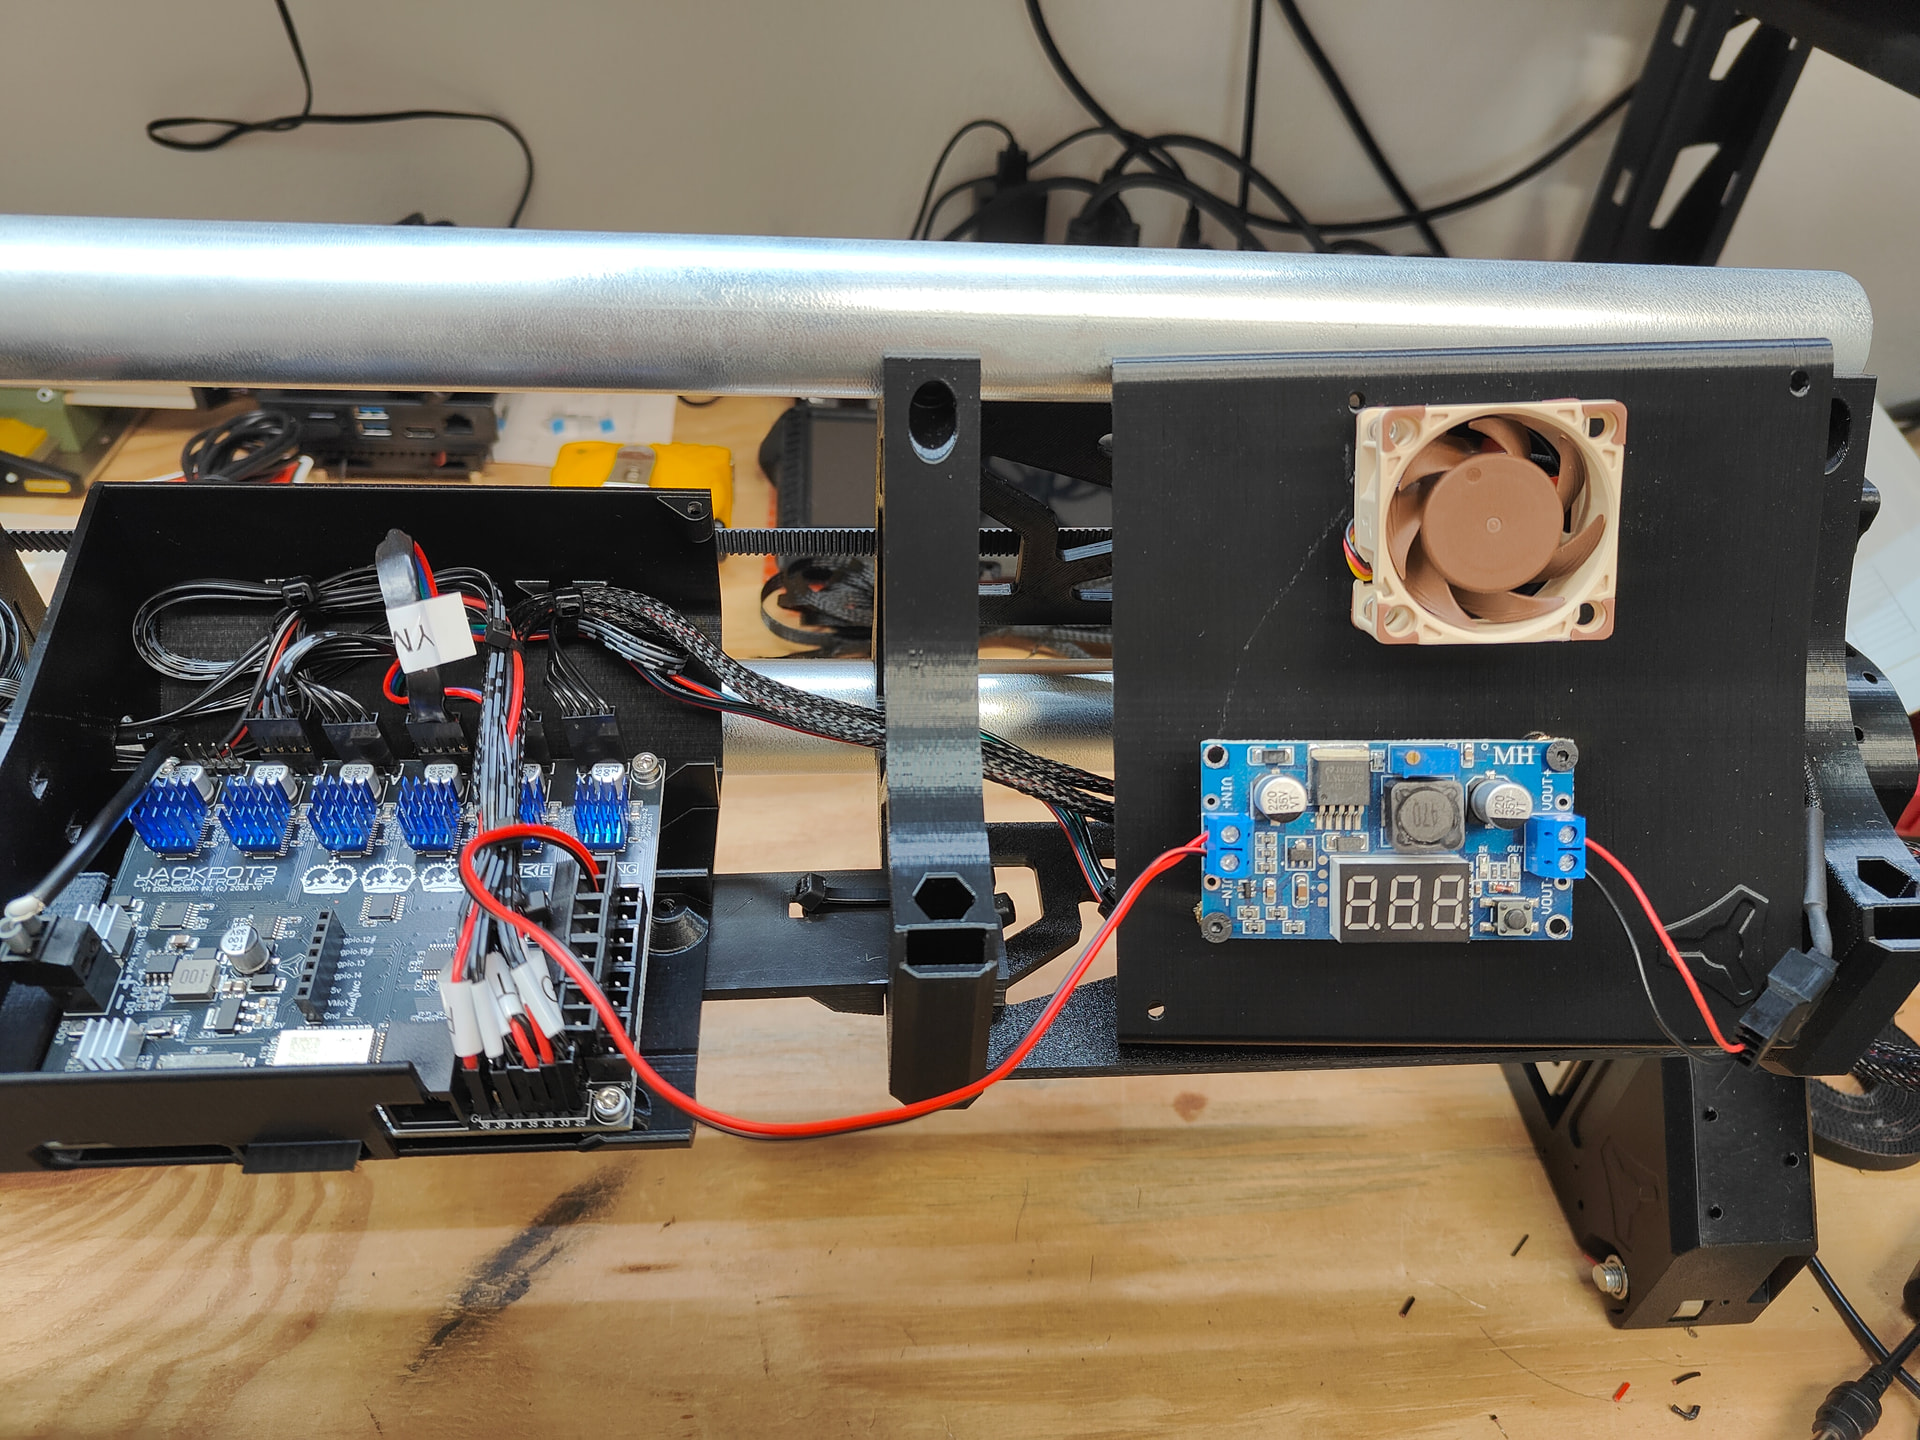
The current amount of braces and their spacing, I’m sure is likely wrong at the moment. But this allows me to mount the board with any spacing until I get this built long enough to cut the forever stuff to go in its place. The way my wires are working, I want to move JP3+Box over from the end temp strut more towards the middle, and this allows me to do that while still having space for the power supply to sit etc. Then once final strut is in place I will likely remove this. but it can also just be left in place. This unit will have a wall mounted overhead boom for power and dust collection. So the wire / cable management is going to need to be more centered. Pics show current machine state and arrangement. Any advice or redirection is most welcome and appreciated. This is my first build. I am trying to visualize it in my head and have even imported the braces, box, and other parts into a Sketchup workspace to begin mod work. So I can make just about anything work, as long as it won’t screw with the design as-is or change critical geometries. Which I can basically see from the build so far. Though having never owned or used a CNC, I may be making mistakes that I am unaware of entirely.
I would like to first thank everyone for assistance and suggestions/input. And most especially the designer of this most excellent piece of automation!
And now… Drum roll please… (Drums play in background, crescendoing into a symbol crash!)
“Look! It’s moving! It’s alive! It’s alive! Oh, it’s alive! It’s alive! It’s alive! It’s alive! IT’S ALIVE!” - Young Frankenstein
Cut and Burn… Is Now ONLINE! >;-D
More to come! (Table build, perm struts, pretty plates, overhead dust collection boom, laser install, and touch probe configuration fun!)
Once I determine an accent color scheme I may do something with the router itself. But I will likely leave it Makita Blue and accent around it.
My thoughts are:
Custom Pretty plates, blanked for easy monogramming and Sticker / Emblem placement
Gantry lighting, possibly incorporating one of my 4 channel WLED boards, and having RGB status lighting colors for the machine itself running on the GPIO/Macros. (Red accented when operating, Green accented when still, moving lights while homing or calibrating, With a pair of Gantry mini spot lights, and possibly clear TPU bristles.)
Also, I will likely make some interesting looking low-poly gantry covers of my own.
And an overhead 40mm hose quick attach system and custom dust collection foot are likely to get made at some point as well.
The wall mounted dust collection arm / electrical boom will be of my own design, and will be added here for download / use by all as well. I intend to make a lightweight 3D printed + Aluminum L channel boom arm, that uses 608zz bearings and simple mounting to get your dust collection hose and electrical to the unit a bit more cleanly, and remove that weight from the gantry as much as possible.
A charging stand will also be getting made for my FluidTouch pendant to sit and charge on the machine.
I just had an Odroid N2+ with 64GB eMMC free up, and I am considering using it as a Static PC for this machine. For layout, design, and monitoring remotely. Likely using some flavor of Linux.
I have many plans for this machine, and I highly doubt it will be the only one I build. I am kind of trying to establish a hardware setup of my own preference, and think through the use case to get exactly what I want here. Any parts I design will be shared of course. I am also looking into bringing back the Status LEDs for the Endstops, possibly through WLED.
So. Stay tuned. I am far from done here.
Yes. I have seen both of those. But my Jackpot3 has the integrated controllers and no status LEDs. So, I will have to work them back in somehow to make use of your strut plate. But I am hoping to find an easy way.
I had to go back and re-watch that scene after you mentioned it. I nearly peed myself laughing after she started really getting into it. I miss Gene and his crew. Those really were the greatest days in movies. I’m honored to have lived through them.