Here is how I installed FluidNC on the V1 Jackpot controller. I am hoping it will make it easier for others to get it installed.
I am not an expert, if you are please let me know if there is anything I should fix/update.
You need to get your hands on a Jackpot at the V1 shop. If you buy from Elecrow you will also need to get an ESP32 and 5 x 2209 drivers.
You also need an SD Card 8GB-32GB. Not a Class A1 or A2. I picked a 32Gb Class 10 SD card.
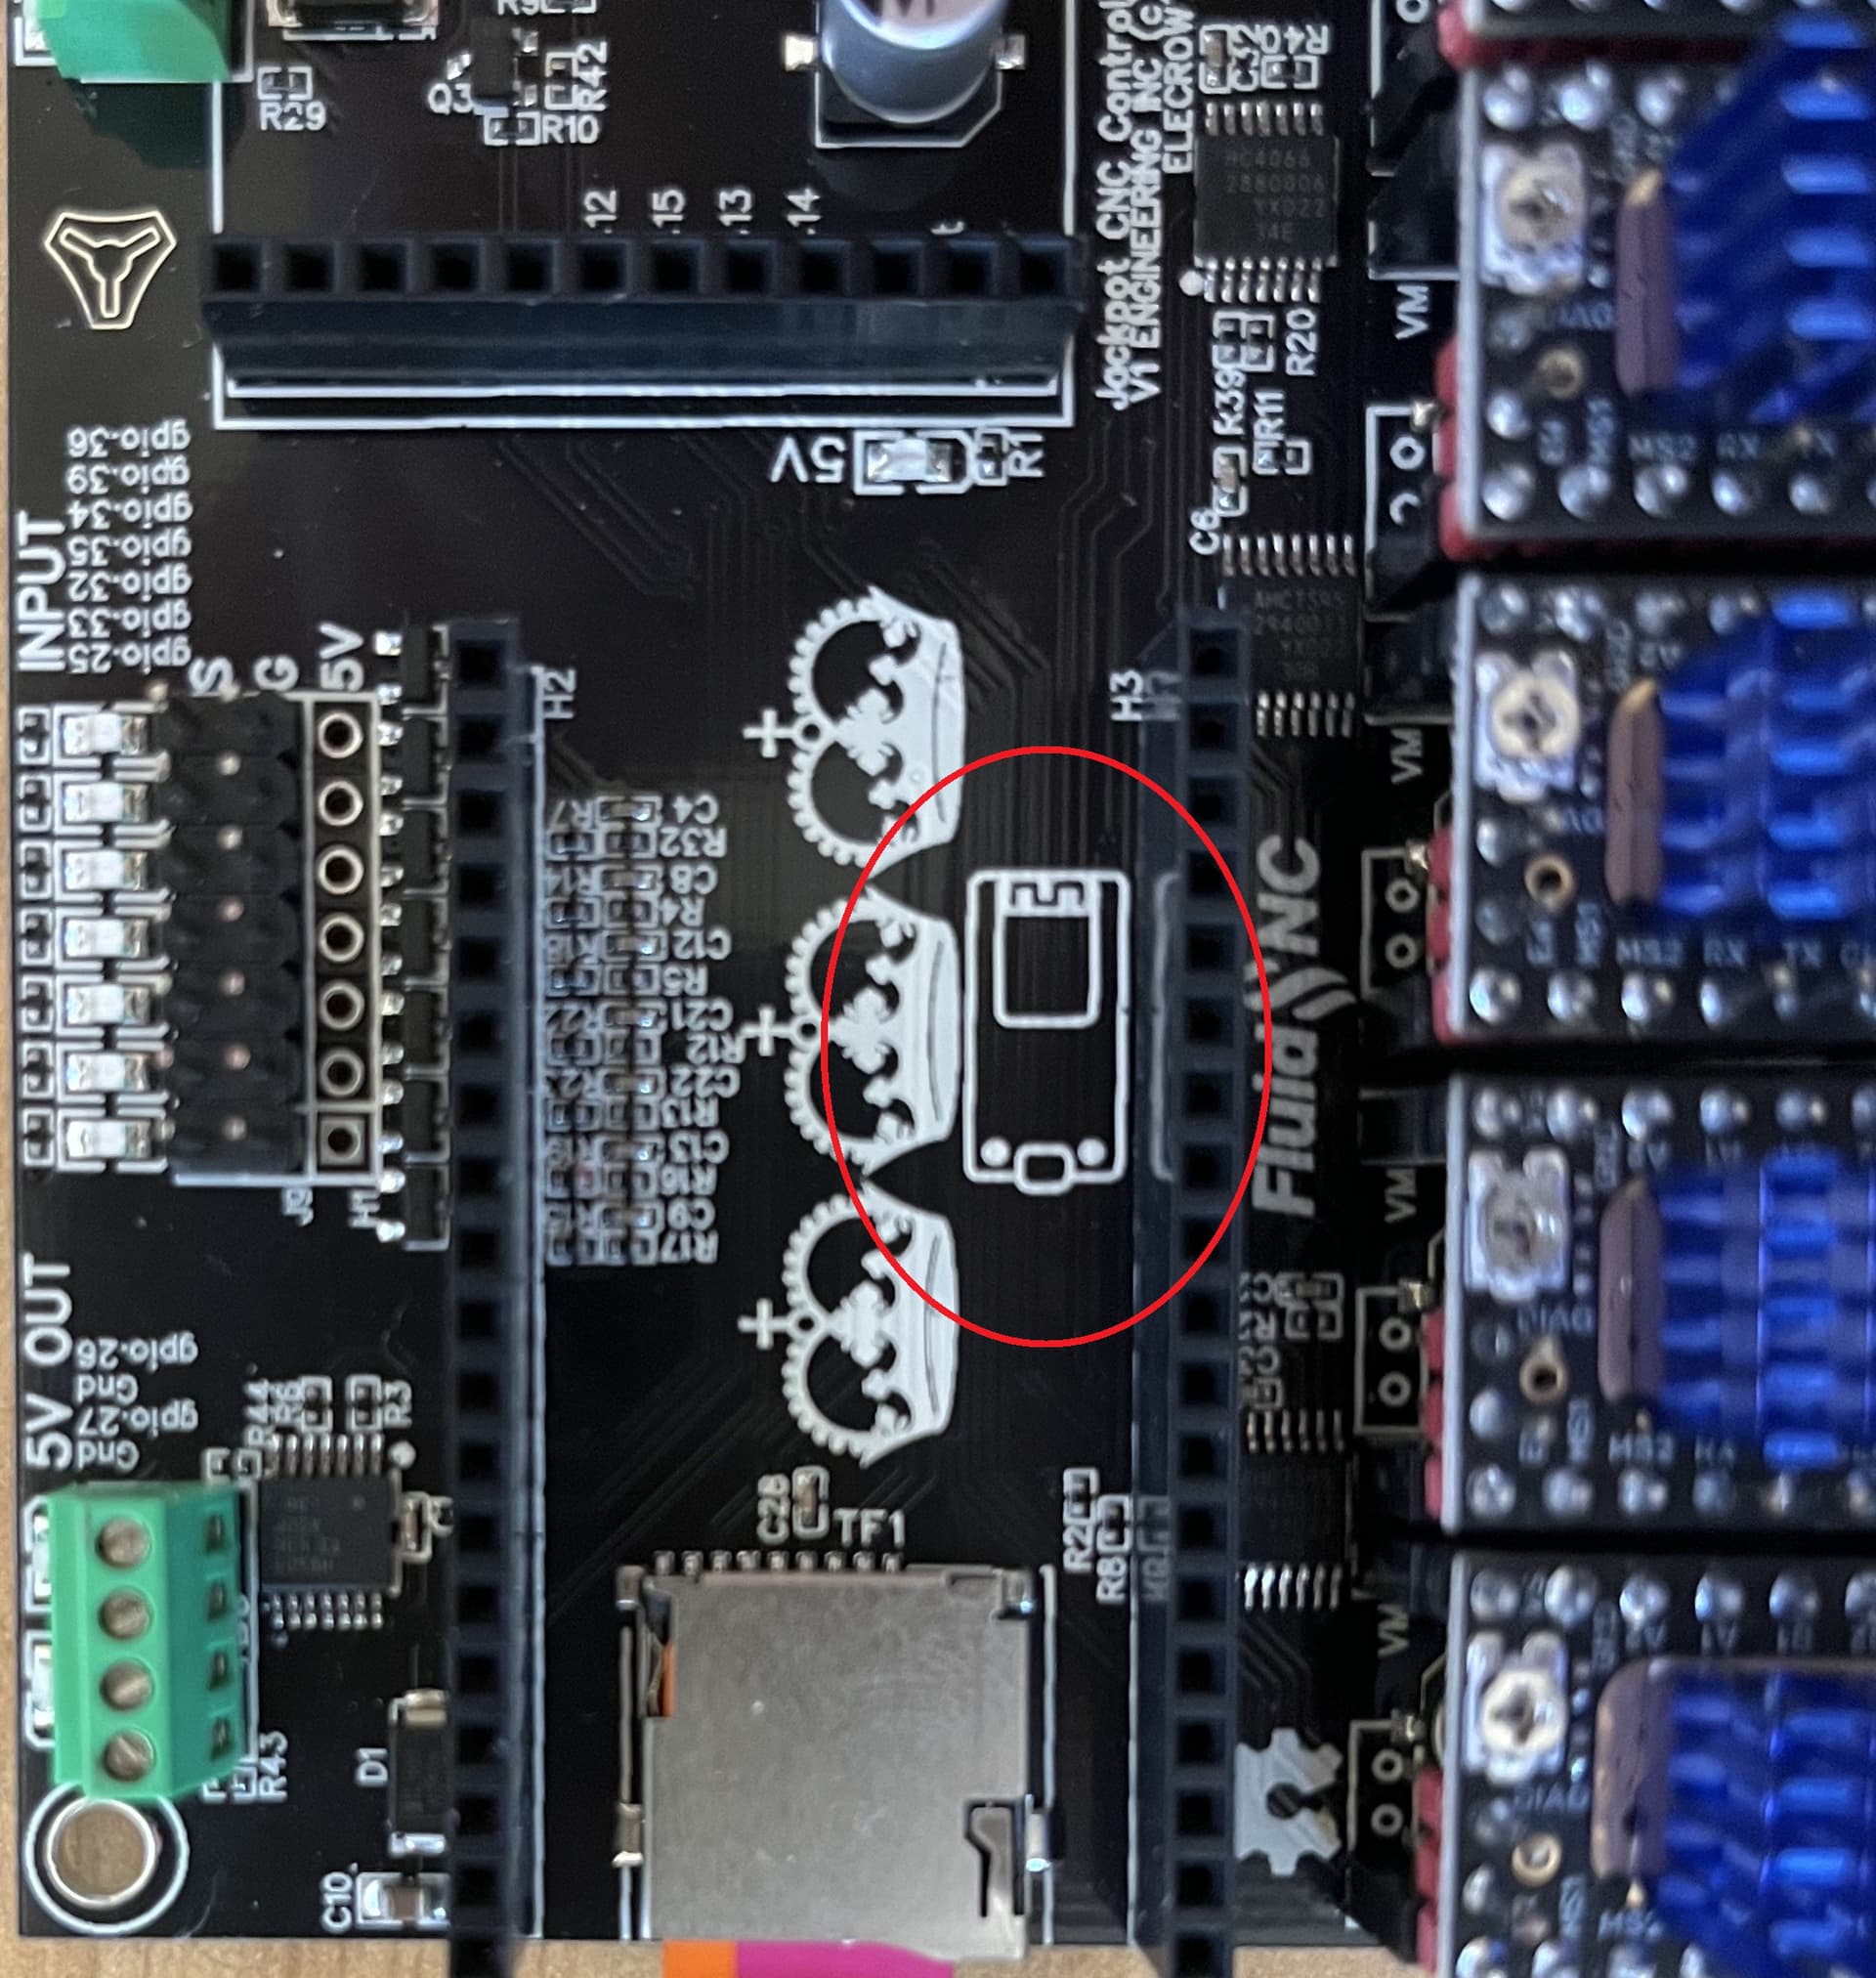
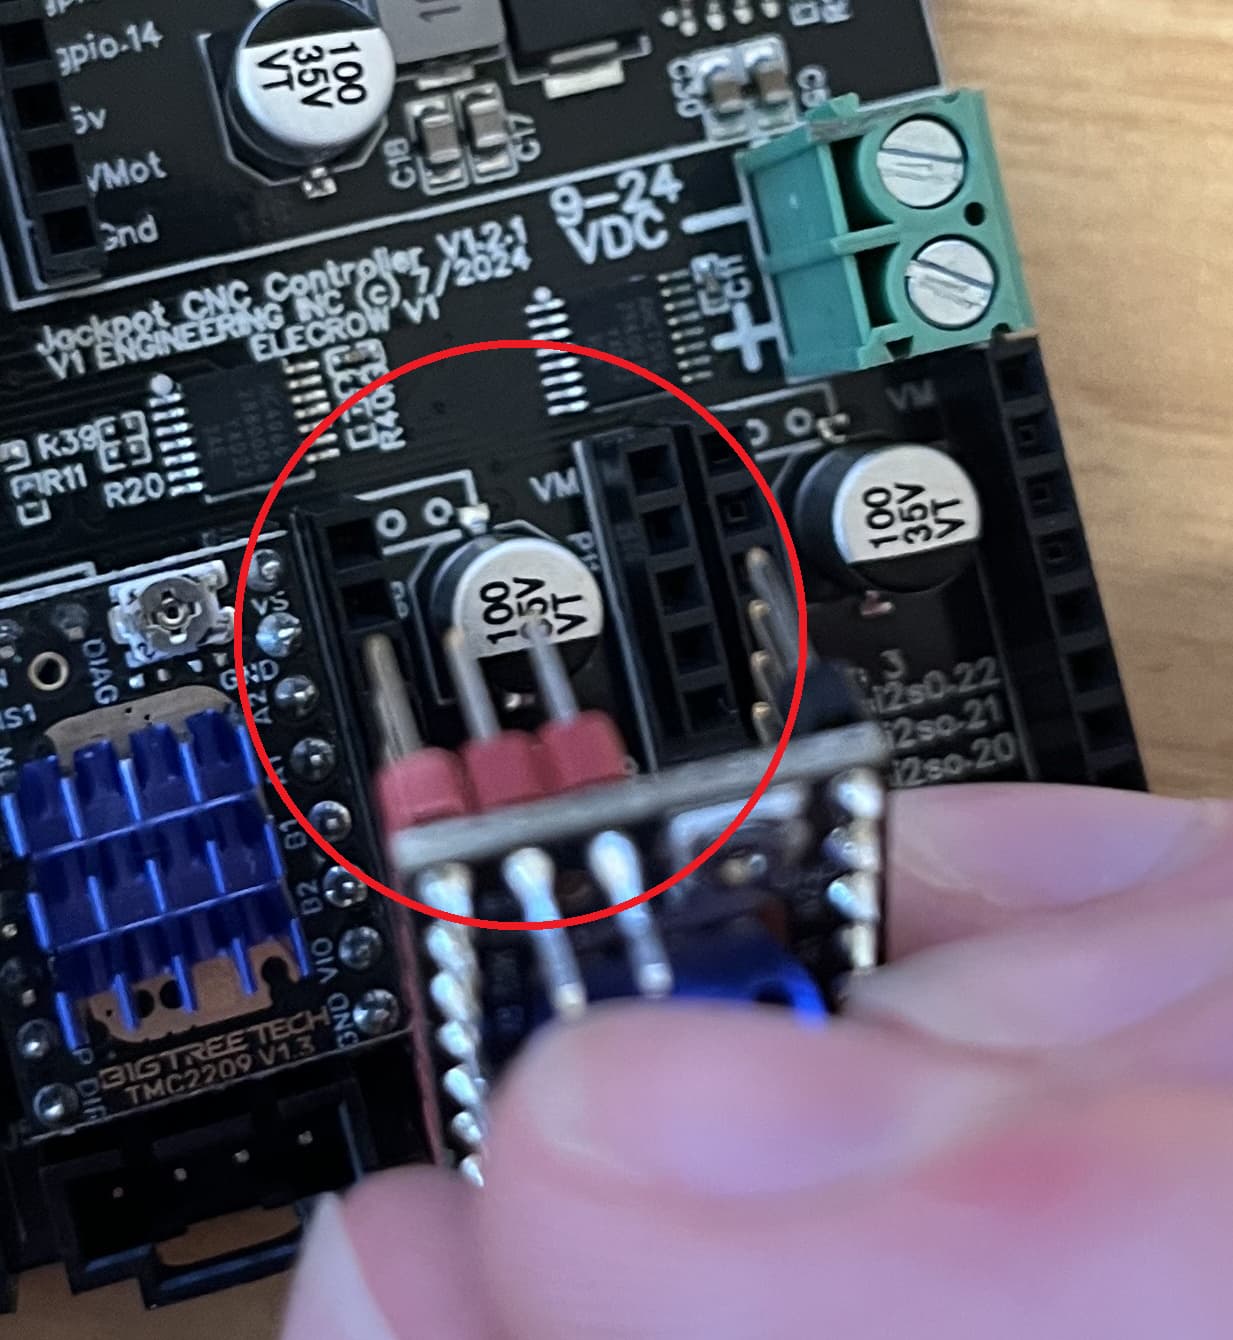
Install the ESP32. There is a silk screen image on the board showing you the correct orientation or just make sure the usb port is at the outside edge of the board
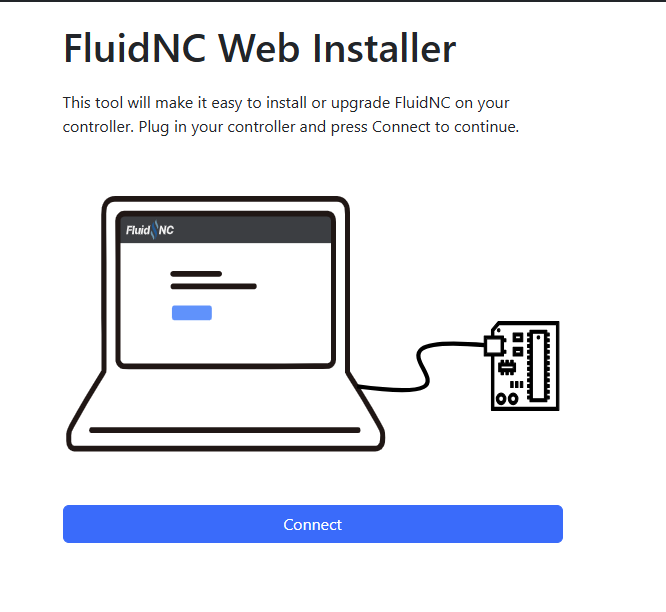
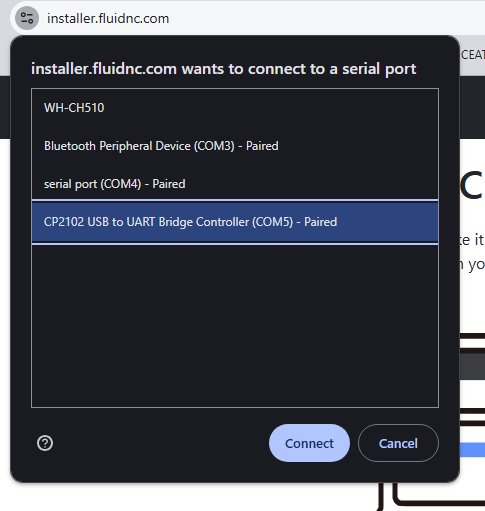
Get a micro usb cable and connect to your computer. Do not plug in any external power during this phase.
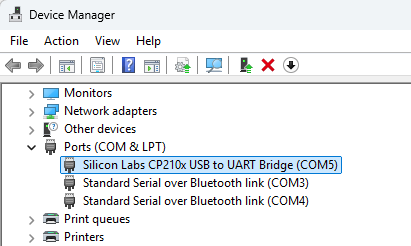
Check the driver when you plug in the ESP32. My computer did not have the right driver for it.
I downloaded this copy of the driver . This is the file I selected for my windows 11 computer
Unzip the file on your computer
Go to device manager and find the device right click and select update driver. Click Browse my computer and navigate to where you unzipped the driver folder. This will install the driver and you should see something like this.
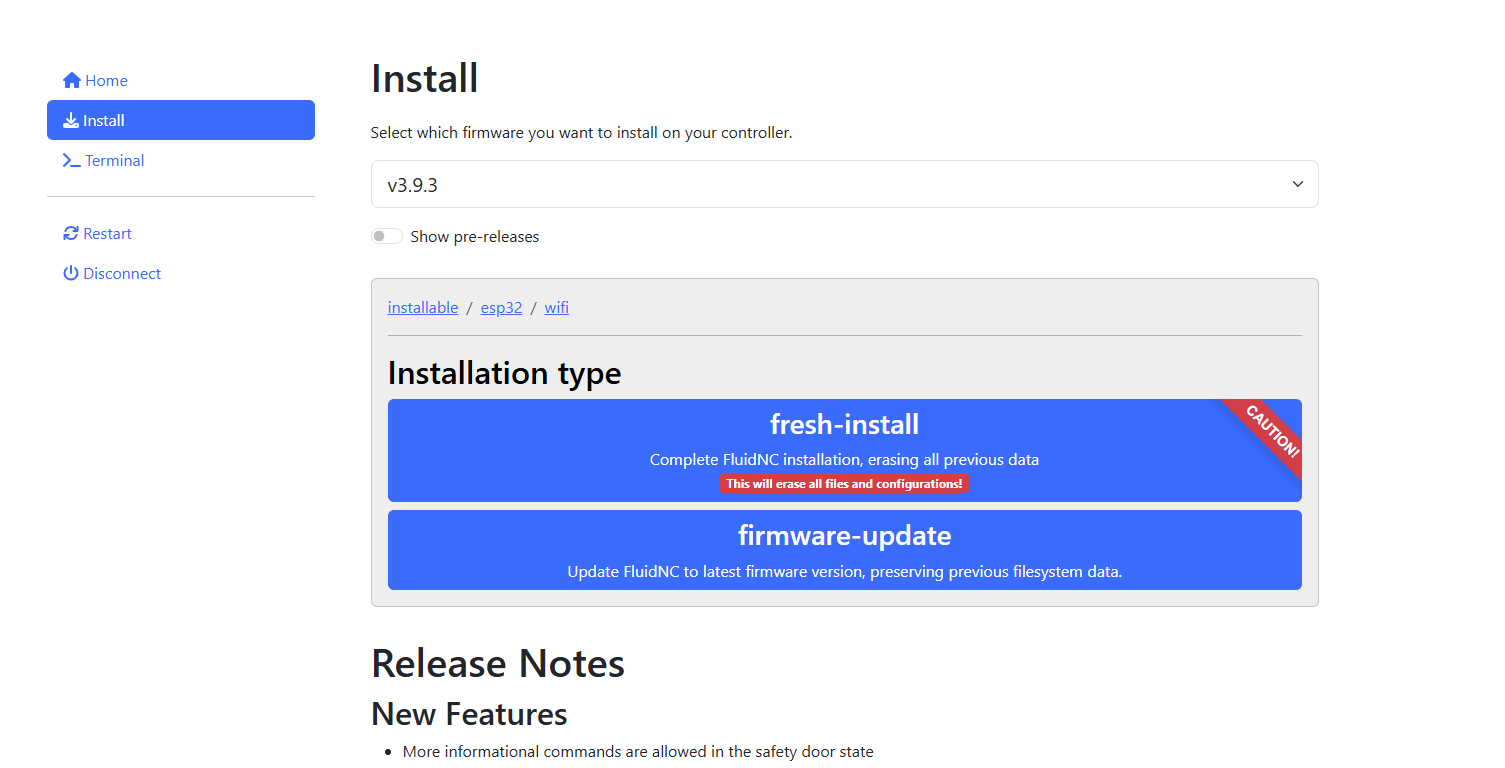
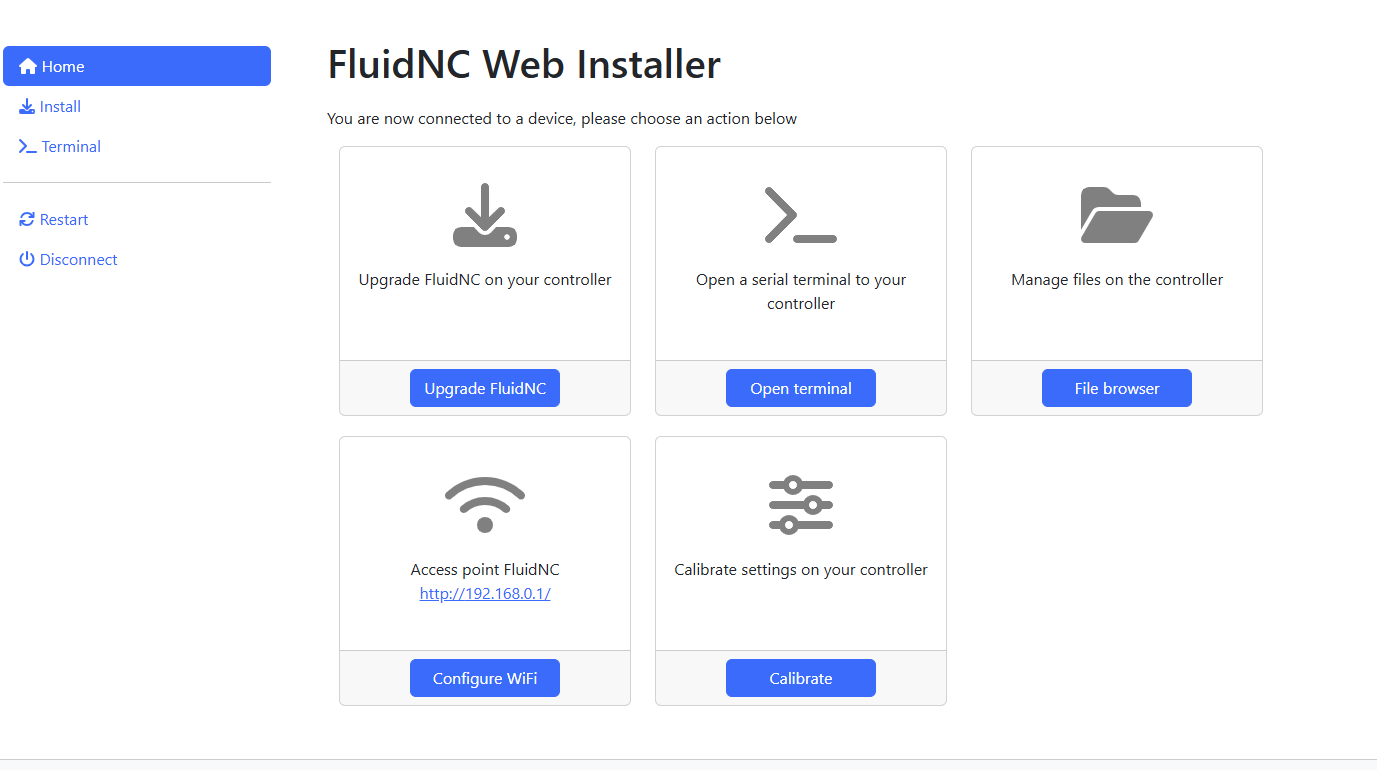
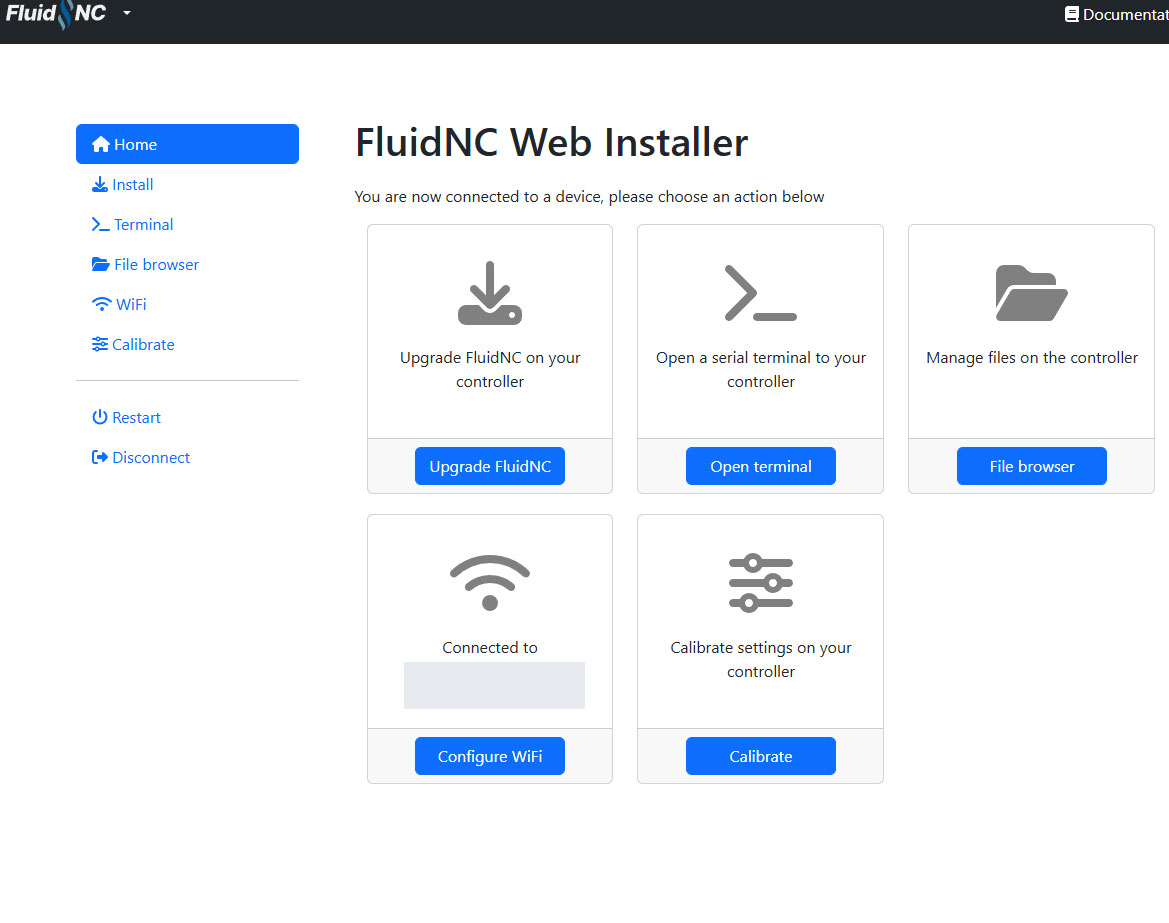
At the Home page you will see a link to your Jackpot FluidNC site. Navigate to the website and you are good to go, once it is all wired up and has power.
Hi,
thank you for your explanation of the process.
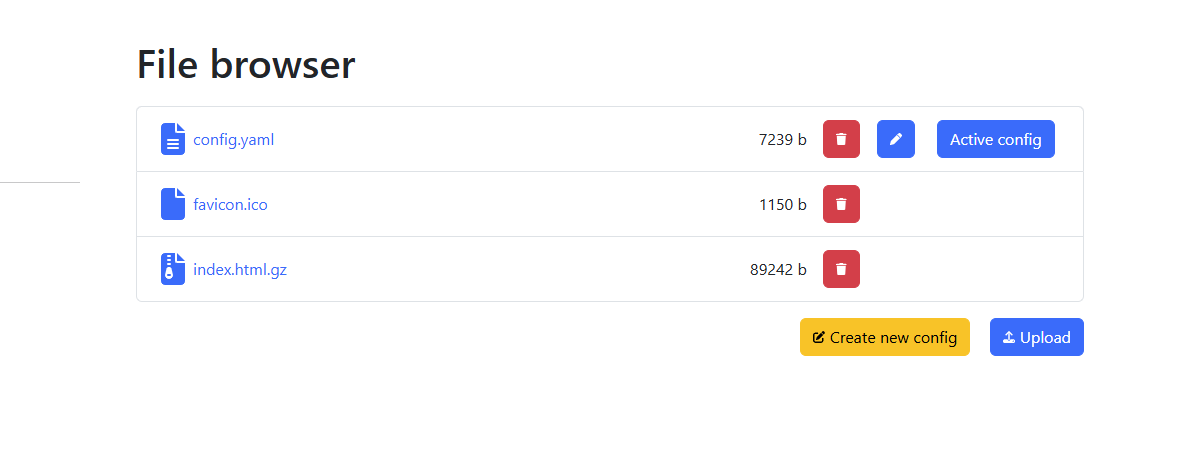
However I have problem with uploading the files via the file browser. If i try to upload for example the config.yaml file, the page says: Uploading config.yaml… and the file is never uploaded.
Has it happened to someone too?
First of all thanks for this guide - I managed to follow it all until here.
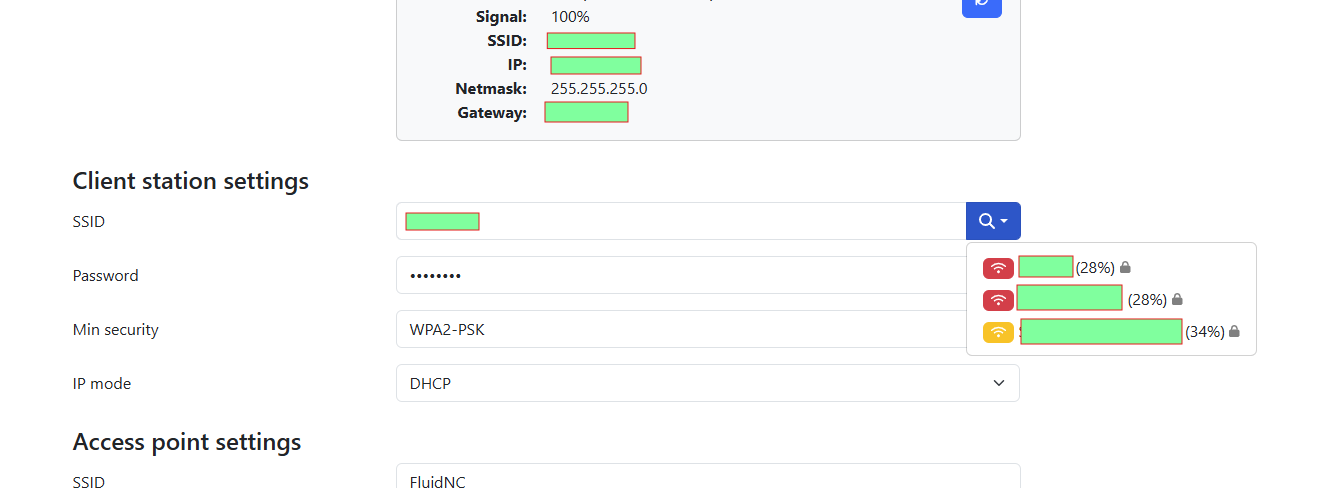
Could anyone clarify like I’m 5? I’m not sure what I’m supposed to click to browse the wifi AP (or what that is) and what ‘my one’ is in reference to and where. Enter the password of my home wifi or? I’ve got stuck in a loop and white screened a few times.
Please let me know if this is correct:
Click the blue circle-arrows button in the Wifi mode section until the Wifi mode details in the grey box gets auto filled. Then select my home wifi in the SSID box, and use the same password of my home wifi in the password box?
EDIT: Ok, that’s the steps I just took and it seemed to have saved, so I think that was it. You could possibly edit that section to make it a bit clearer to help slow people like me.
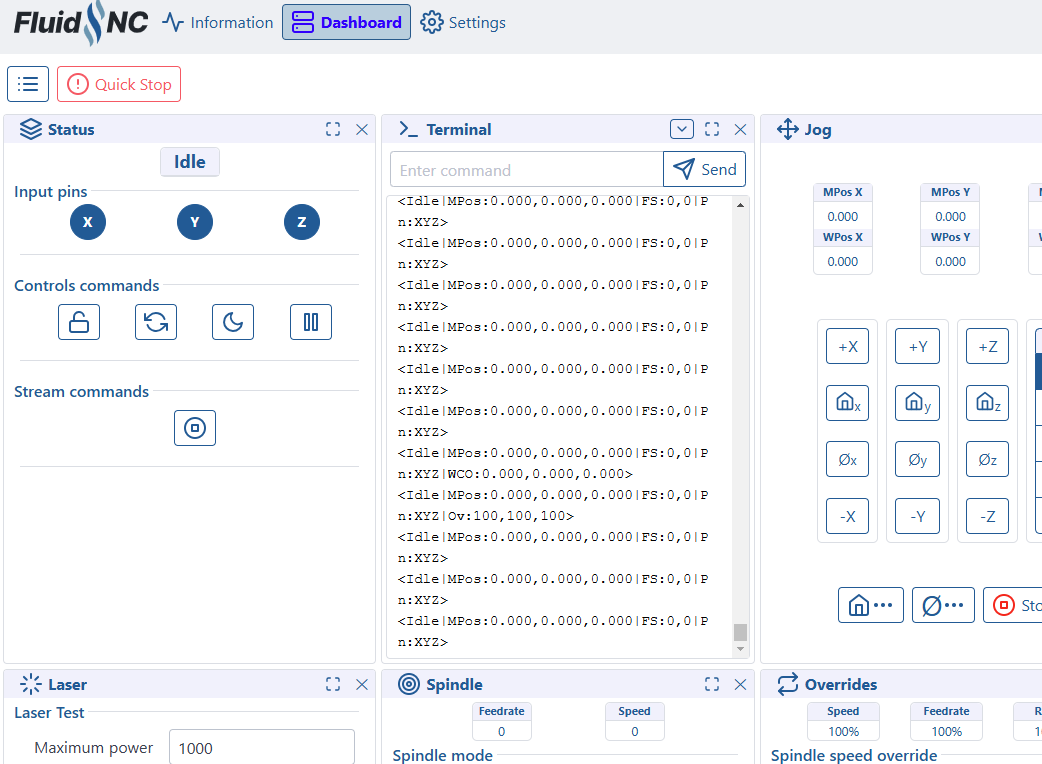
Finally, I uploaded the config file, the only thing I can’t see now is the homepage link to the Jackpot UI.
”At the Home page you will see a link to your Jackpot FluidNC site. Navigate to the website and you are good to go, once it is all wired up and has power.”
The link/website is the router address like 192.168.32.4 or whatever that is displayed in the connected to/Configure Wifi box. (I greyed it out in my screenshot above, but there’ll be an IP/router address there for you)
That’s true if you used STA mode. (Uses your existing WiFi). It’s a little bit different if using AP mode. If you have good WiFi at the spot where your machine lives, then you’re good to go.
if your jackpot ever fails to connect to your WiFi, then it might fall back to AP mode depending on how you set it up.
Also note if your home WiFi ever reboots or if your Jackpot is ever off for too long, your IP address might change.
Thanks, I’ll try changing to AP mode tomorrow and figure that out, I read that it’s the preferred way to use it. I think I just kept everything default when running through the guide and maybe overlooked any AP setting.
In AP mode, the jackpot board creates a WiFi type connection itself that I then connect to with a phone/tablet/PC, no home WiFi network needed right?
I think that must be the part I posted about above, setting up the WiFi details, where I was confused what to do - the steps I took set up STA rather than AP?
I’ll try again today and aim for AP since that’s what is recommended.
The FluidNC developers recommend STA mode. Ryan recommends AP mode. If your machine is working well and your WiFi is good where the machine is, there’s no reason to change it.
Ok makes sense. I’ve set it up in the house for now but the CNC will be in a garden outhouse building, so possibly may run into issues with WiFi strength, we’ll see.
The main thing is understanding what each mode does and how it works, in theory I think I understand it, so will decide on a mode and finalise the setup when everyone is connected and in its final place.