Hello, I’m trying to make my first “cuts” on my lowrider2. I’m using the V1CNC_SkrTurbo_DualLR_2209-bugfix-2.0.x firmware on a SKR1.4 turbo with TMC2209 and a tft35 touch screen. I have the machine moving well and my endstops working correctly. I’m following the “Estlcam Basics” instructions on V1 and trying to make new Y plates as I’m running printed ones at the moment. Z Orgin is set for material uperside.
When I try to start the gcode, the Z access will drop much too far down, crashing my tool and casing me to hit the E-stop. While my endstops work for homing I’m unsure how to stop this crashing. I’m thinking the machine wants to go to it’s Z origin but I’m unsure where that is set and how to change it. Not sure if’s in Estlcam, marlin, etc.
Now get your wood mounted on your table and manually move the endmill to where you want to start, don’t forget to make sure you’re not going to hit whatever you’re using to hold down the wood.
Drop the tip of the endmill down to the top of the surface, and in repetier host issue a G92 X0 Y0 Z0 in the console window.
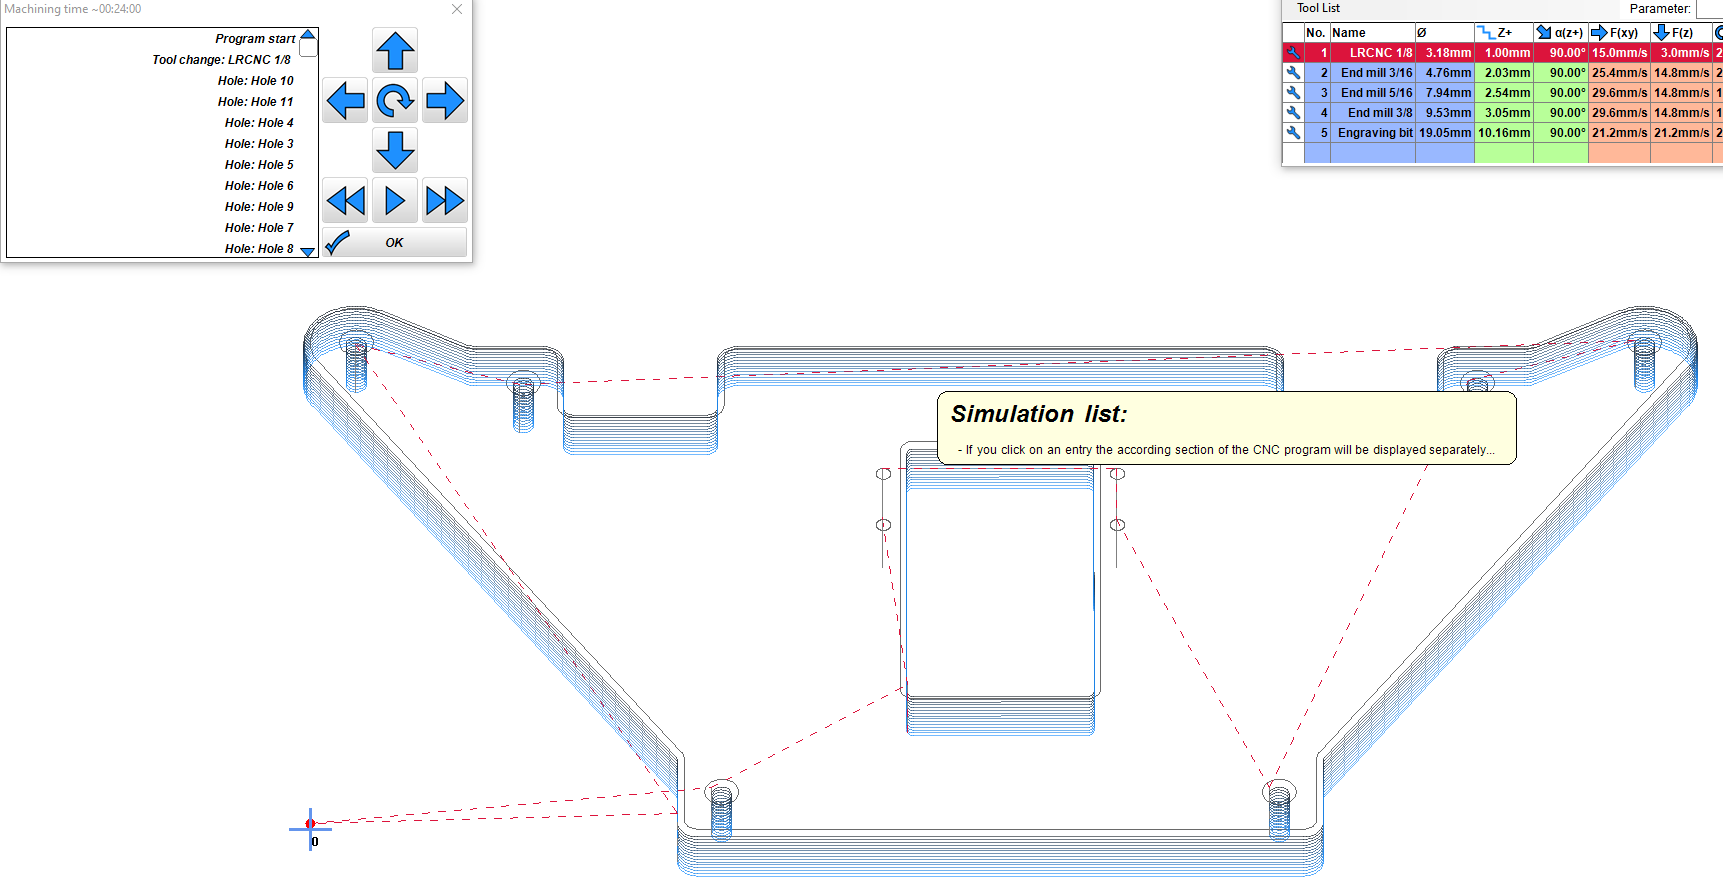
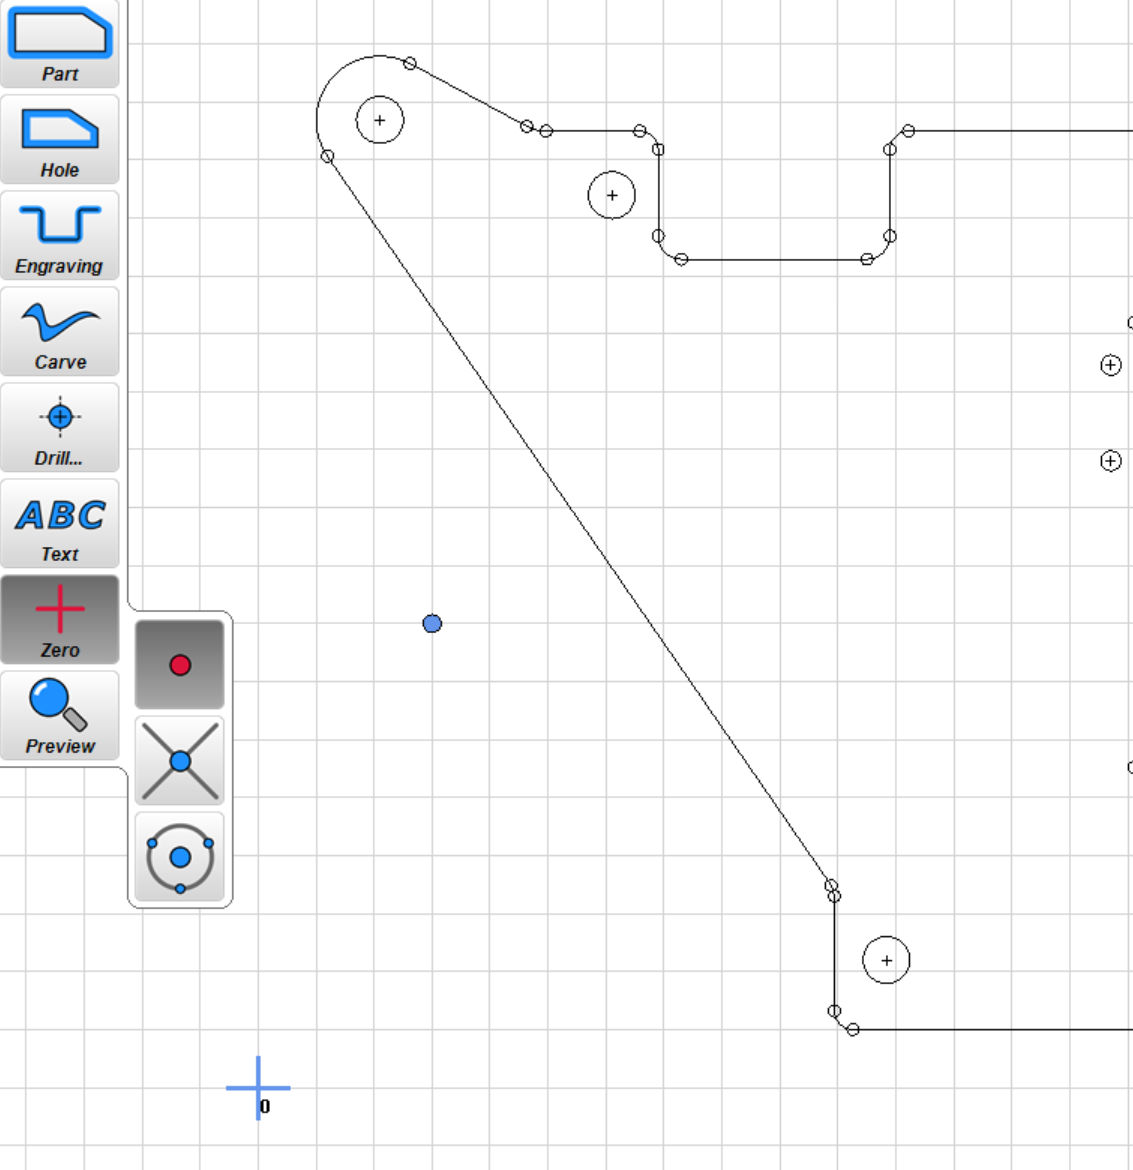
This will set the zero point on the wood where the cross is in estlcam.
But you just need to do something that works for you to set the zero location. G92 X0 Y0 Z0 works great, either as macro, or from the screen, or part of the starting gcode.
My former technology professor is rearing his ugly head, so please forgive me if this sounds too pedantic.
In fact, the G92 command can be used to set any point as the new origin. The convention within these forums is to put the tool where you want the origin to be and run G92 X0 Y0 Z0, but that’s not the only way the command can be used. Each axis can be specified in any combination, and any arbitrary distance can be used for any axis.
For example, if you’ve got a shim on top of your workpiece of a known 1 mm thickness, you could jog until the tip of the tool touches the shim, and run G92 Z1 to reset the Z origin to the top of the workpiece without changing the X or Y coordinates. The same can be done for X, or Y, or any additional axes on the machine.
I just was explaining this in another topic. But Marlin can just use G55 which is another workspace. But you need to have a Z-home switch as it would act a bit weird if not.
I have added a Z-max switch which is useful since I often don’t know how high I can go with a certain workpiece. (safe height was sometimes higher than max-height and ruined everything.)
You can use G55 by
Home your mill with G28 XYZ
Then jog your mill too the Z height you want.
Put in your terminal:
G55
G92 Z0
G53
Then go up again and go to X0 or Y0.
Repeat the commands for X and Y or both
G55
G92 X0 Y0
G53
After you are done you just have to add G55 at the beginning of your program and G53 at the end.
If you have a Z-max switch you can use a safe height with the commands:
G53
G28 Z
G55
G55 offsets are stored so if you need to do reset or something happens and your machine resets you can just go to start the program again after homing as it knows the G55 offsets.