You do need a rubberband ![]()
1 Like


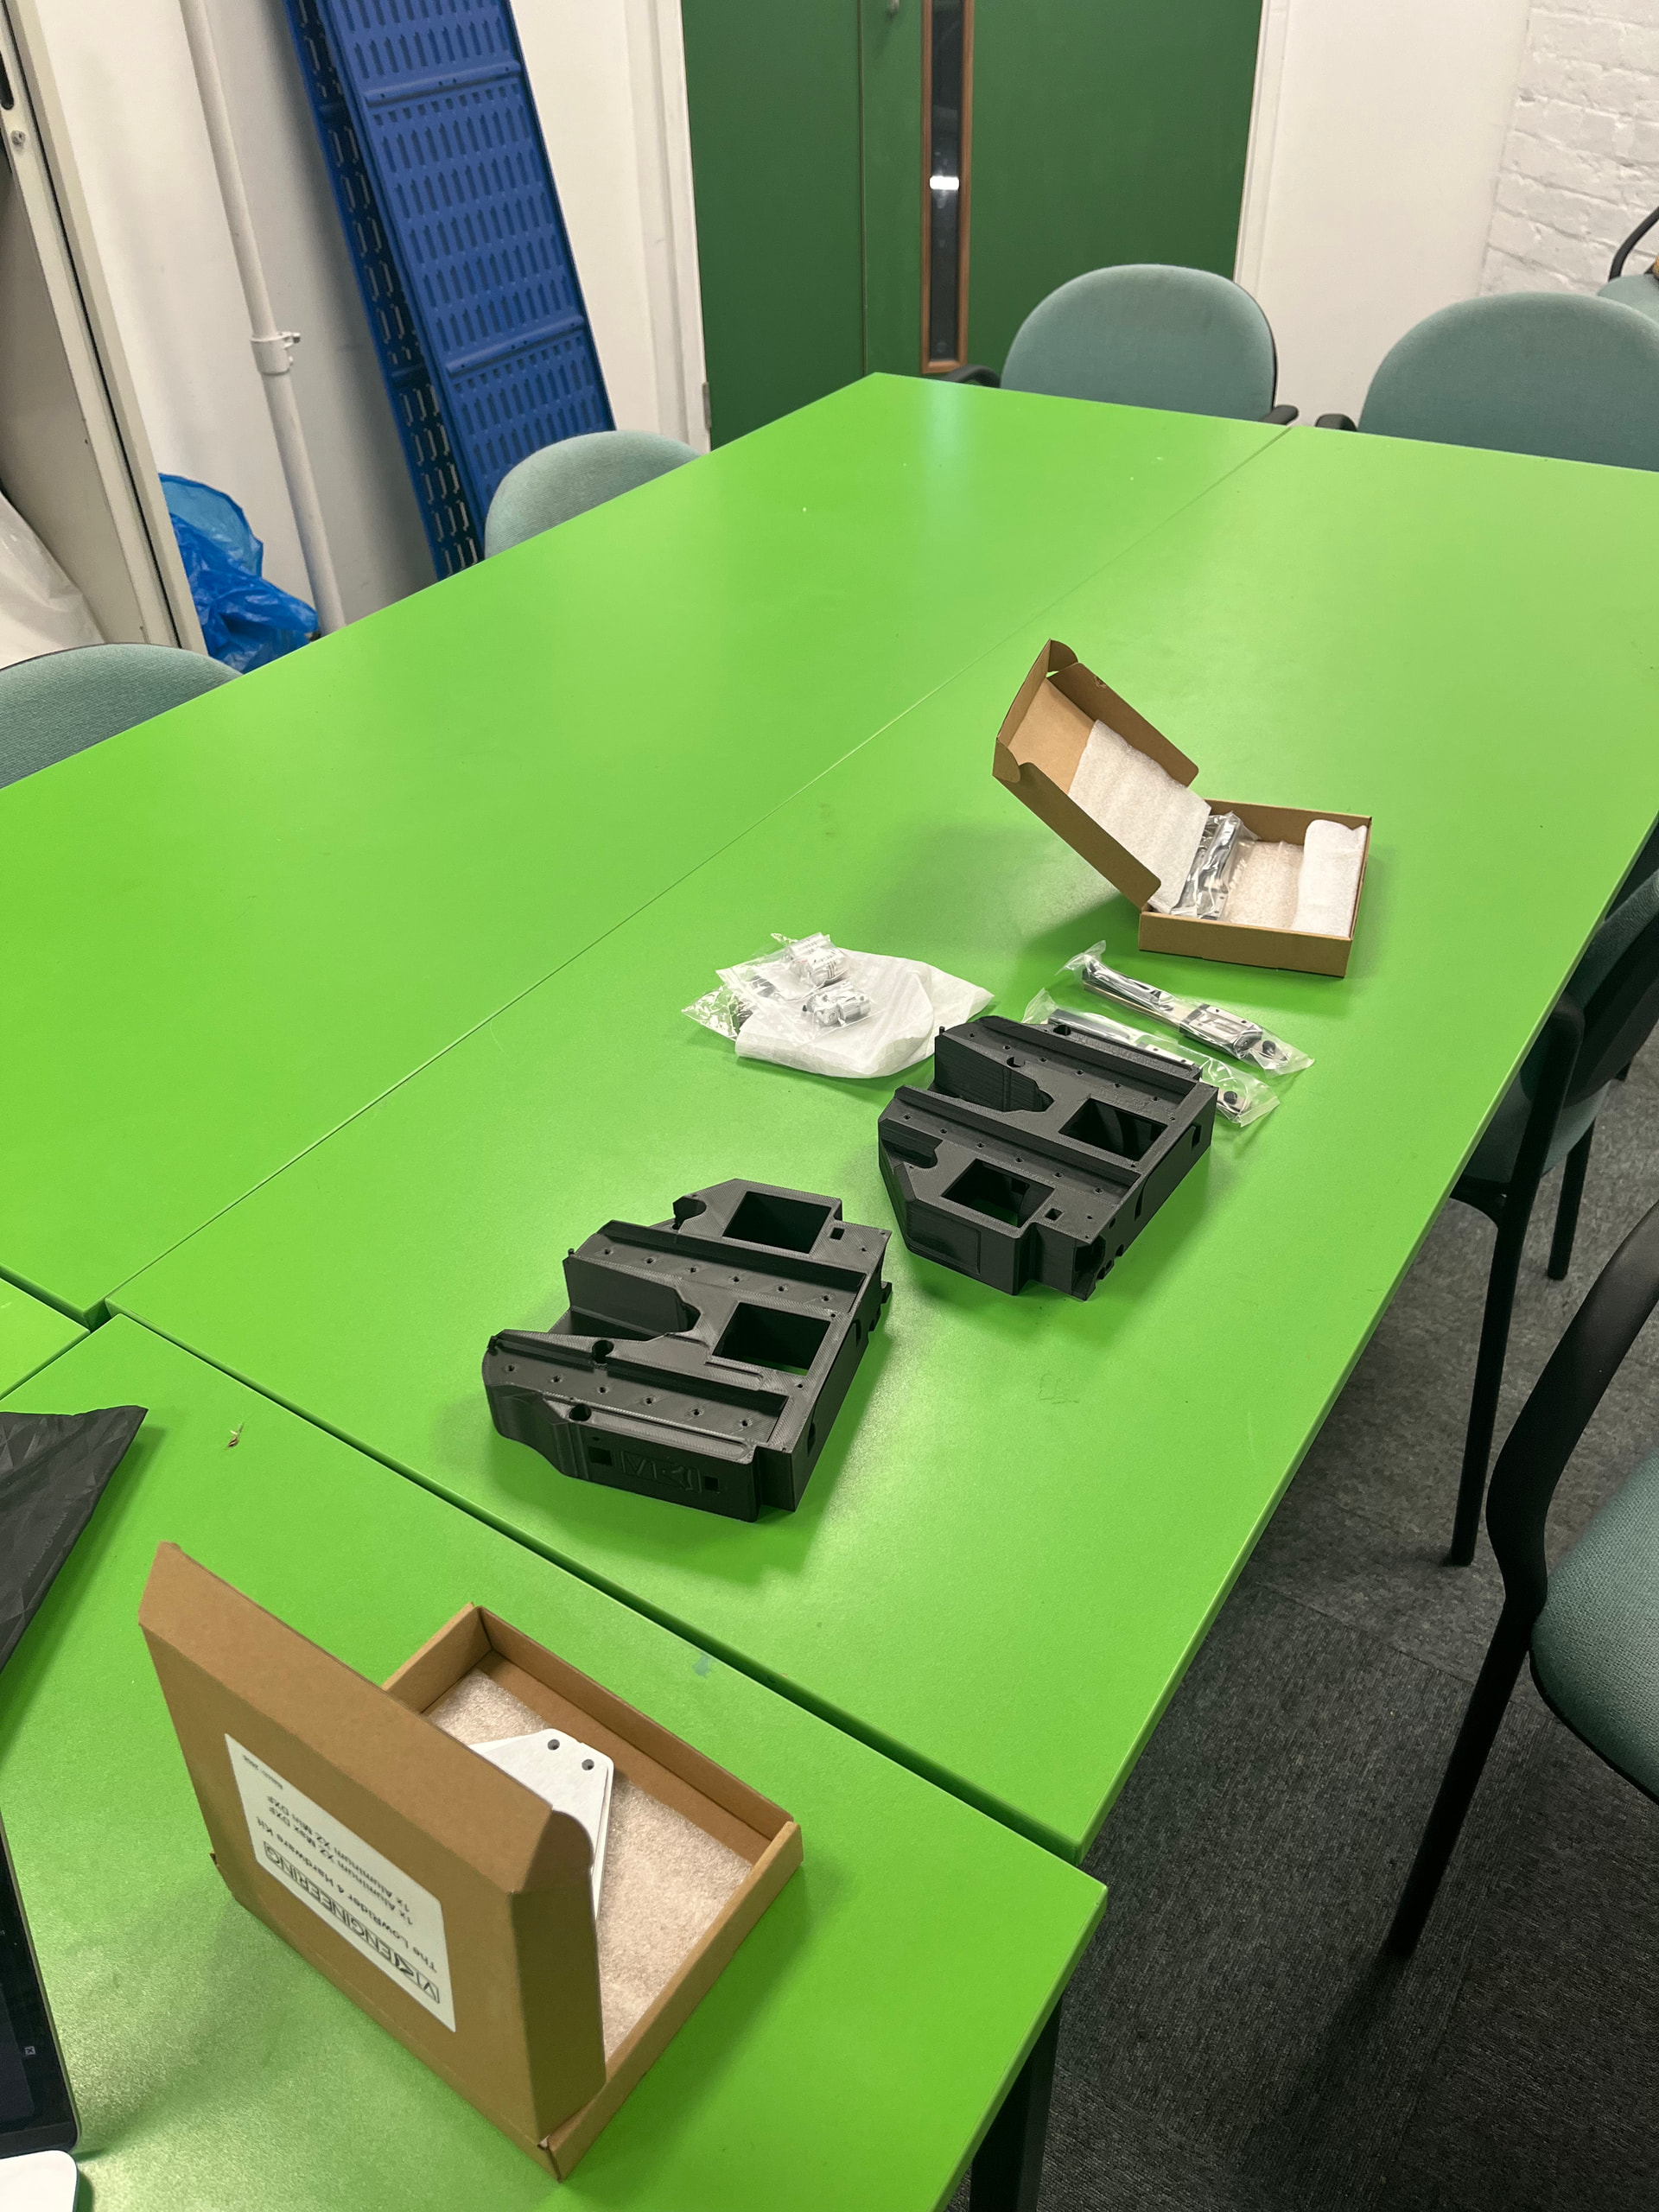
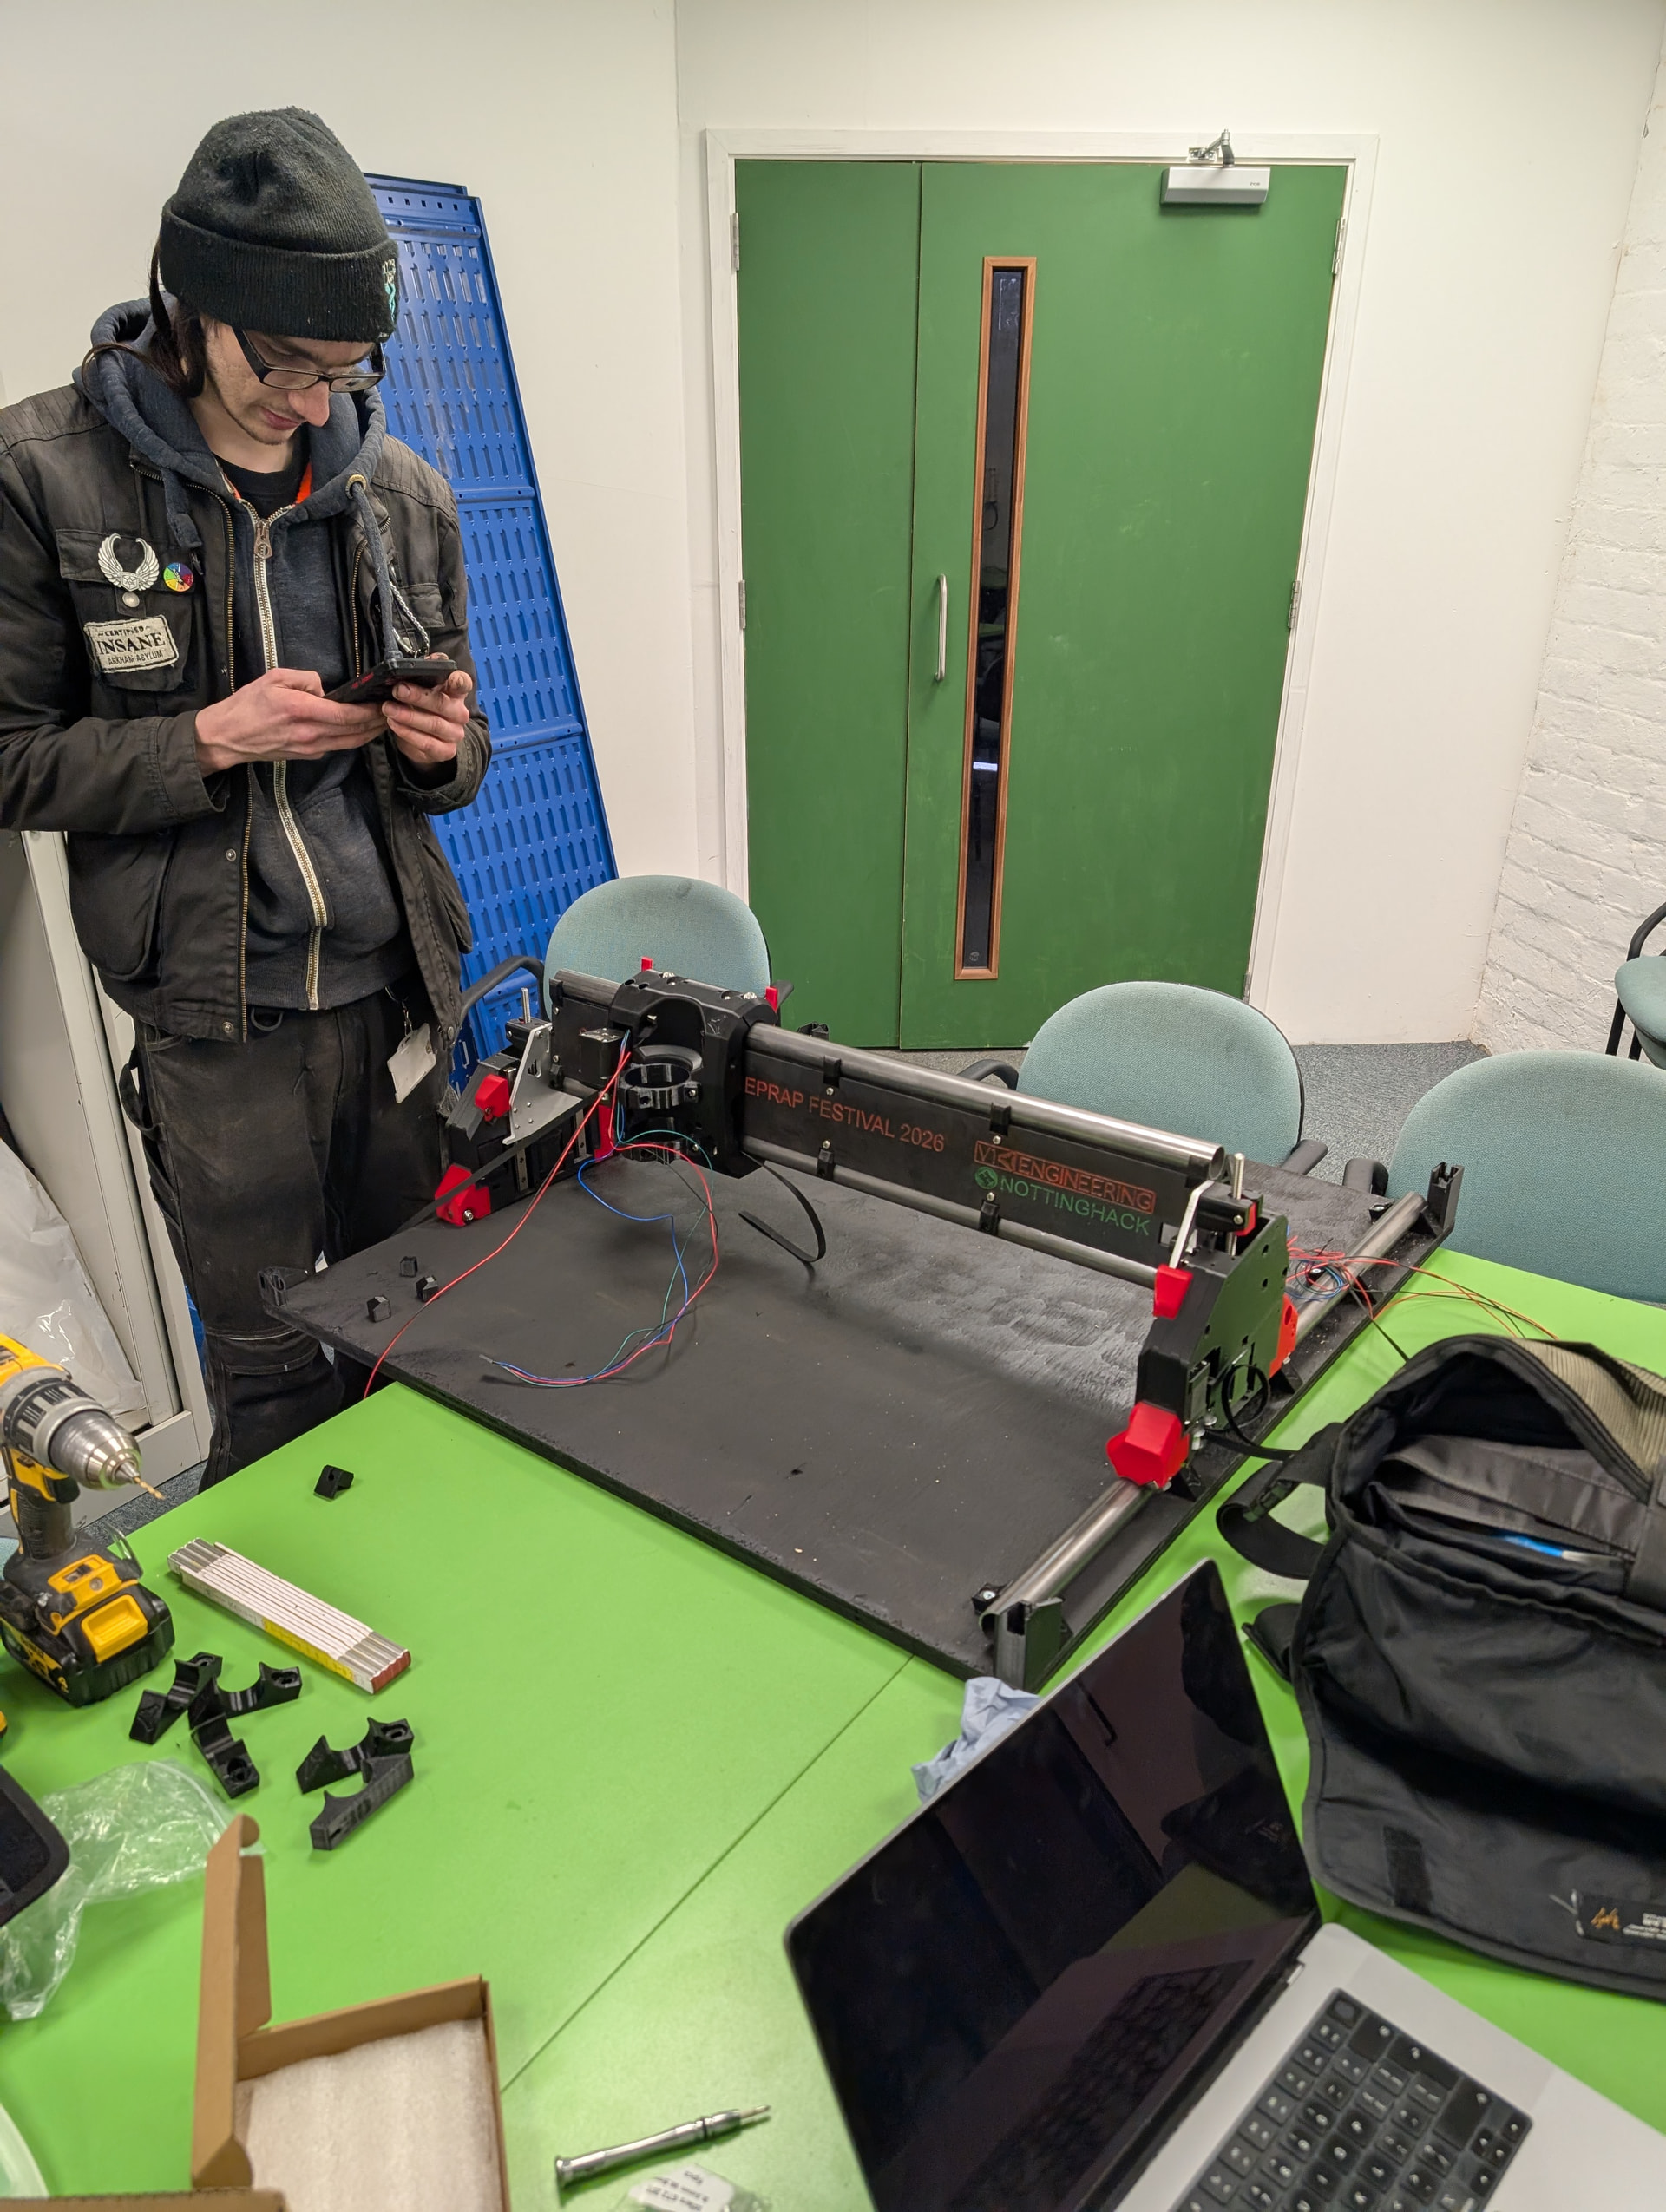
This morning at 09:00, we had a table full of parts.
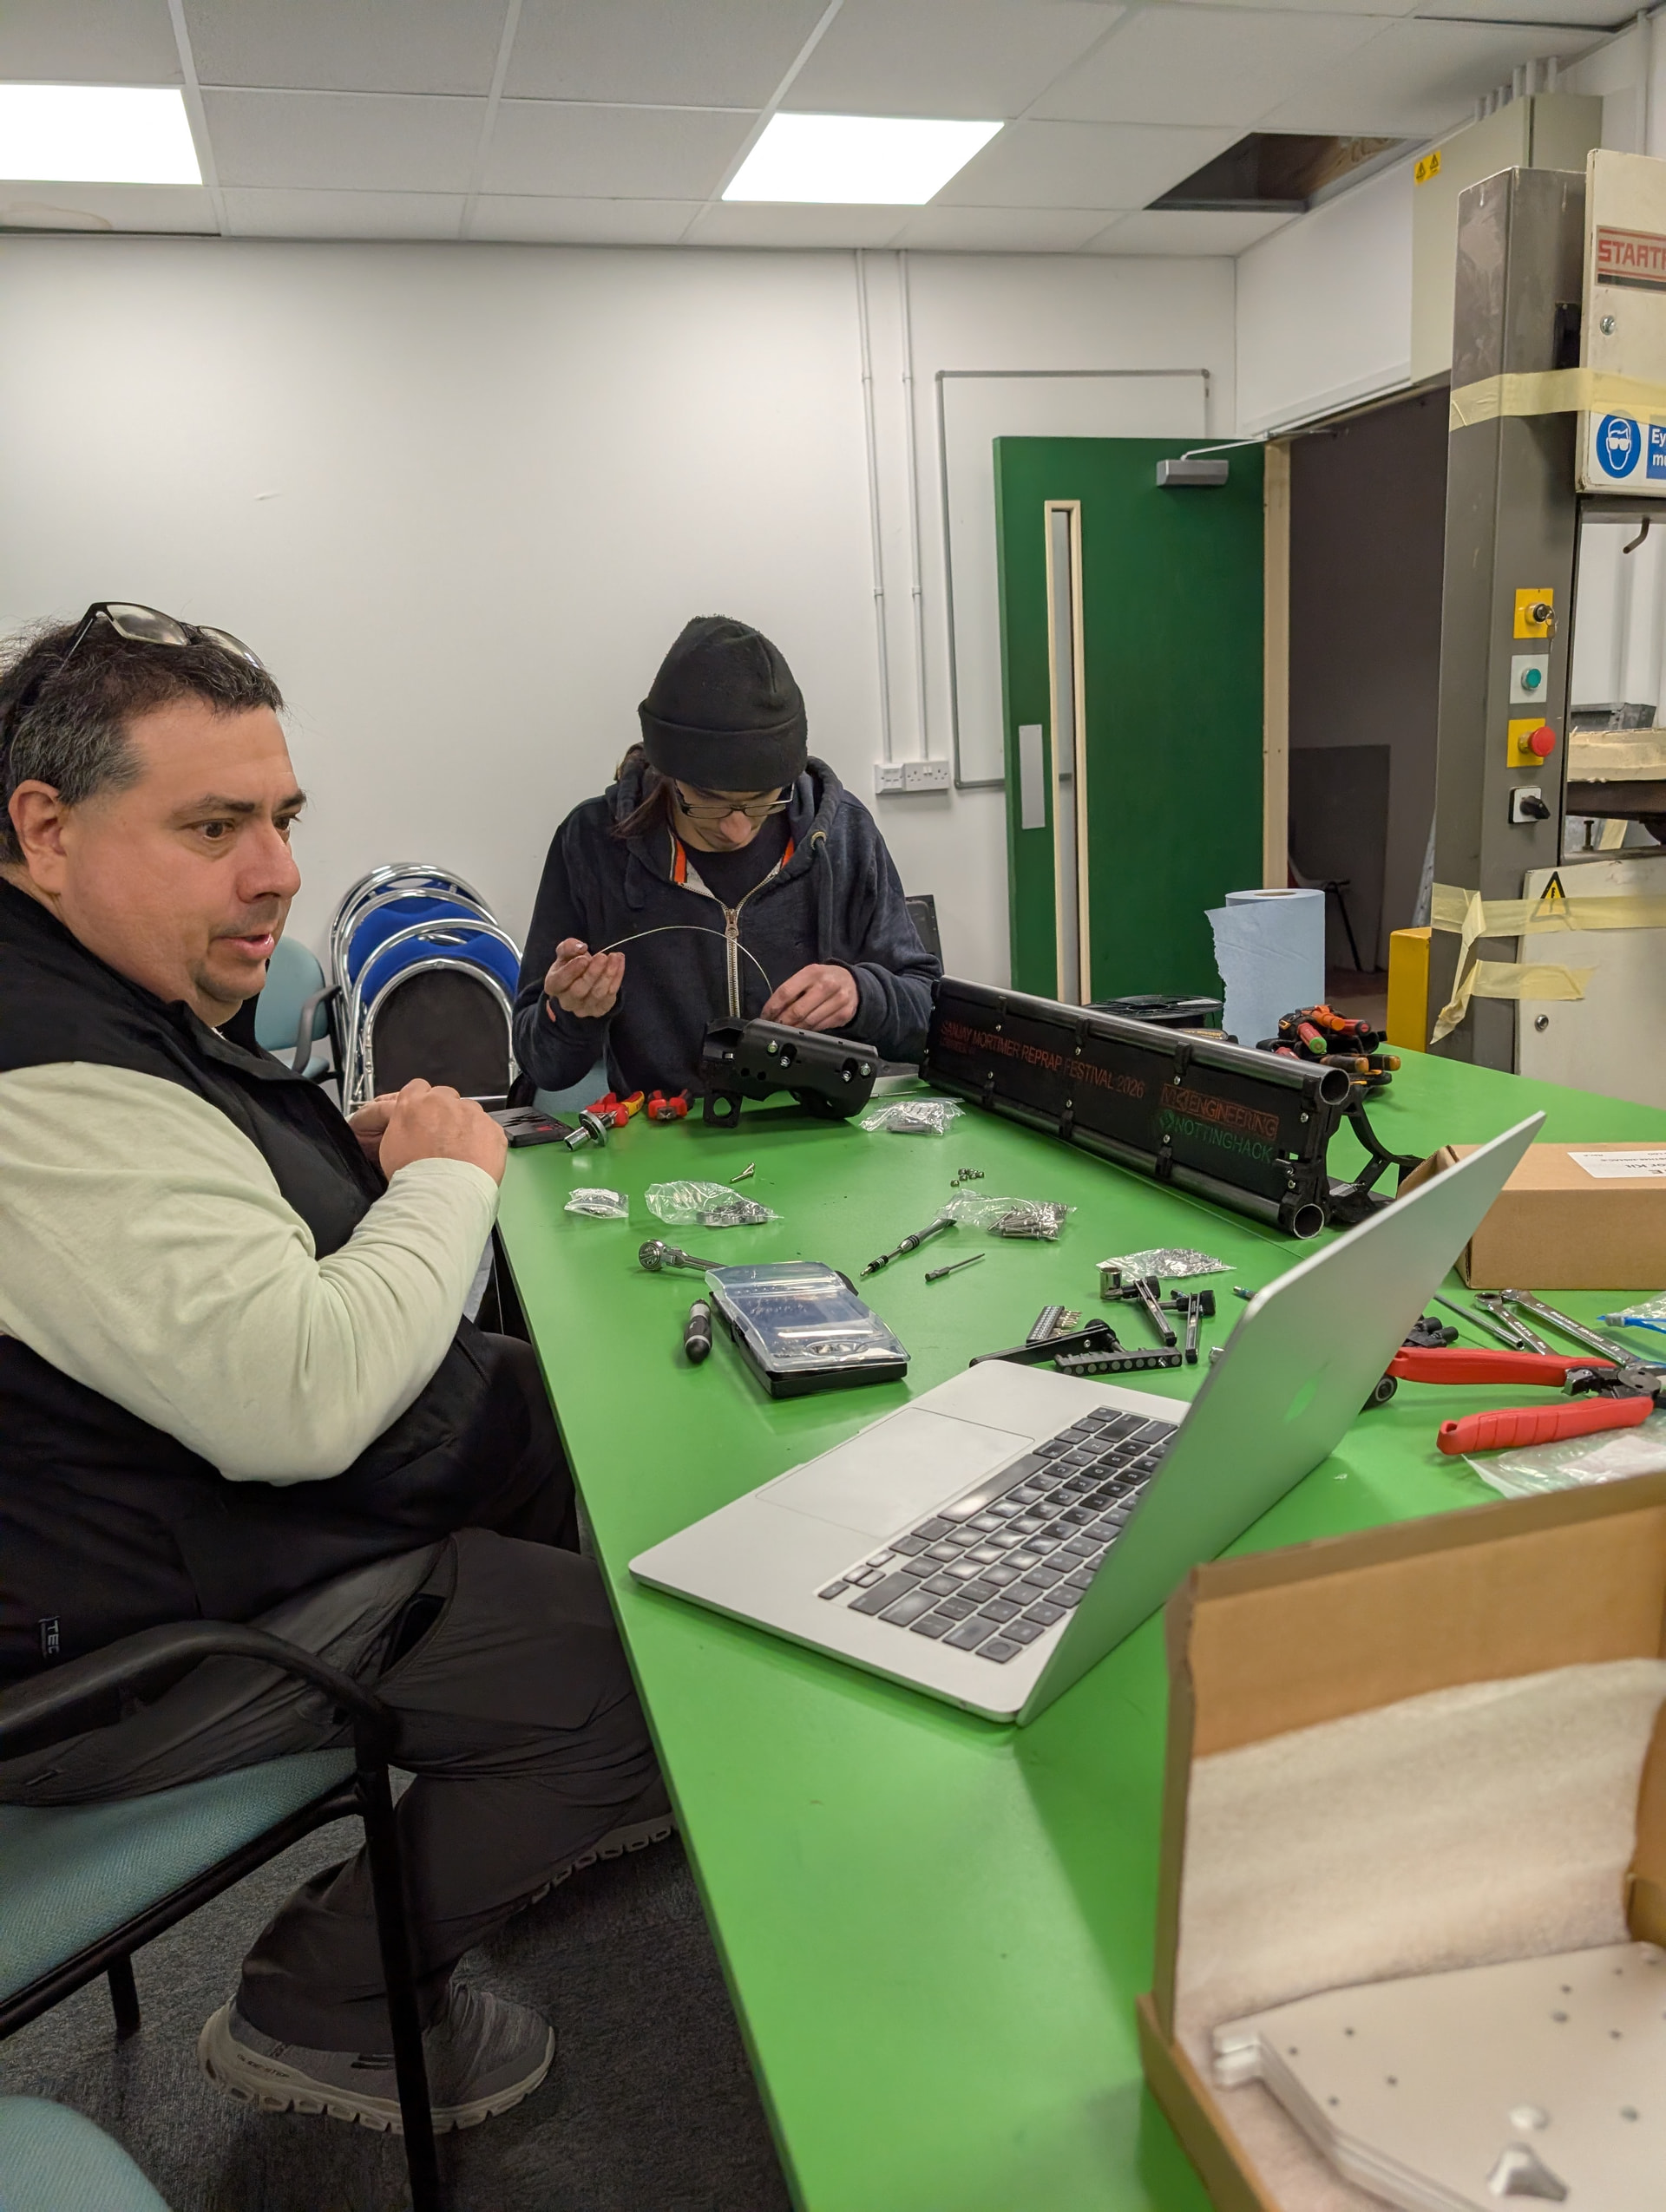
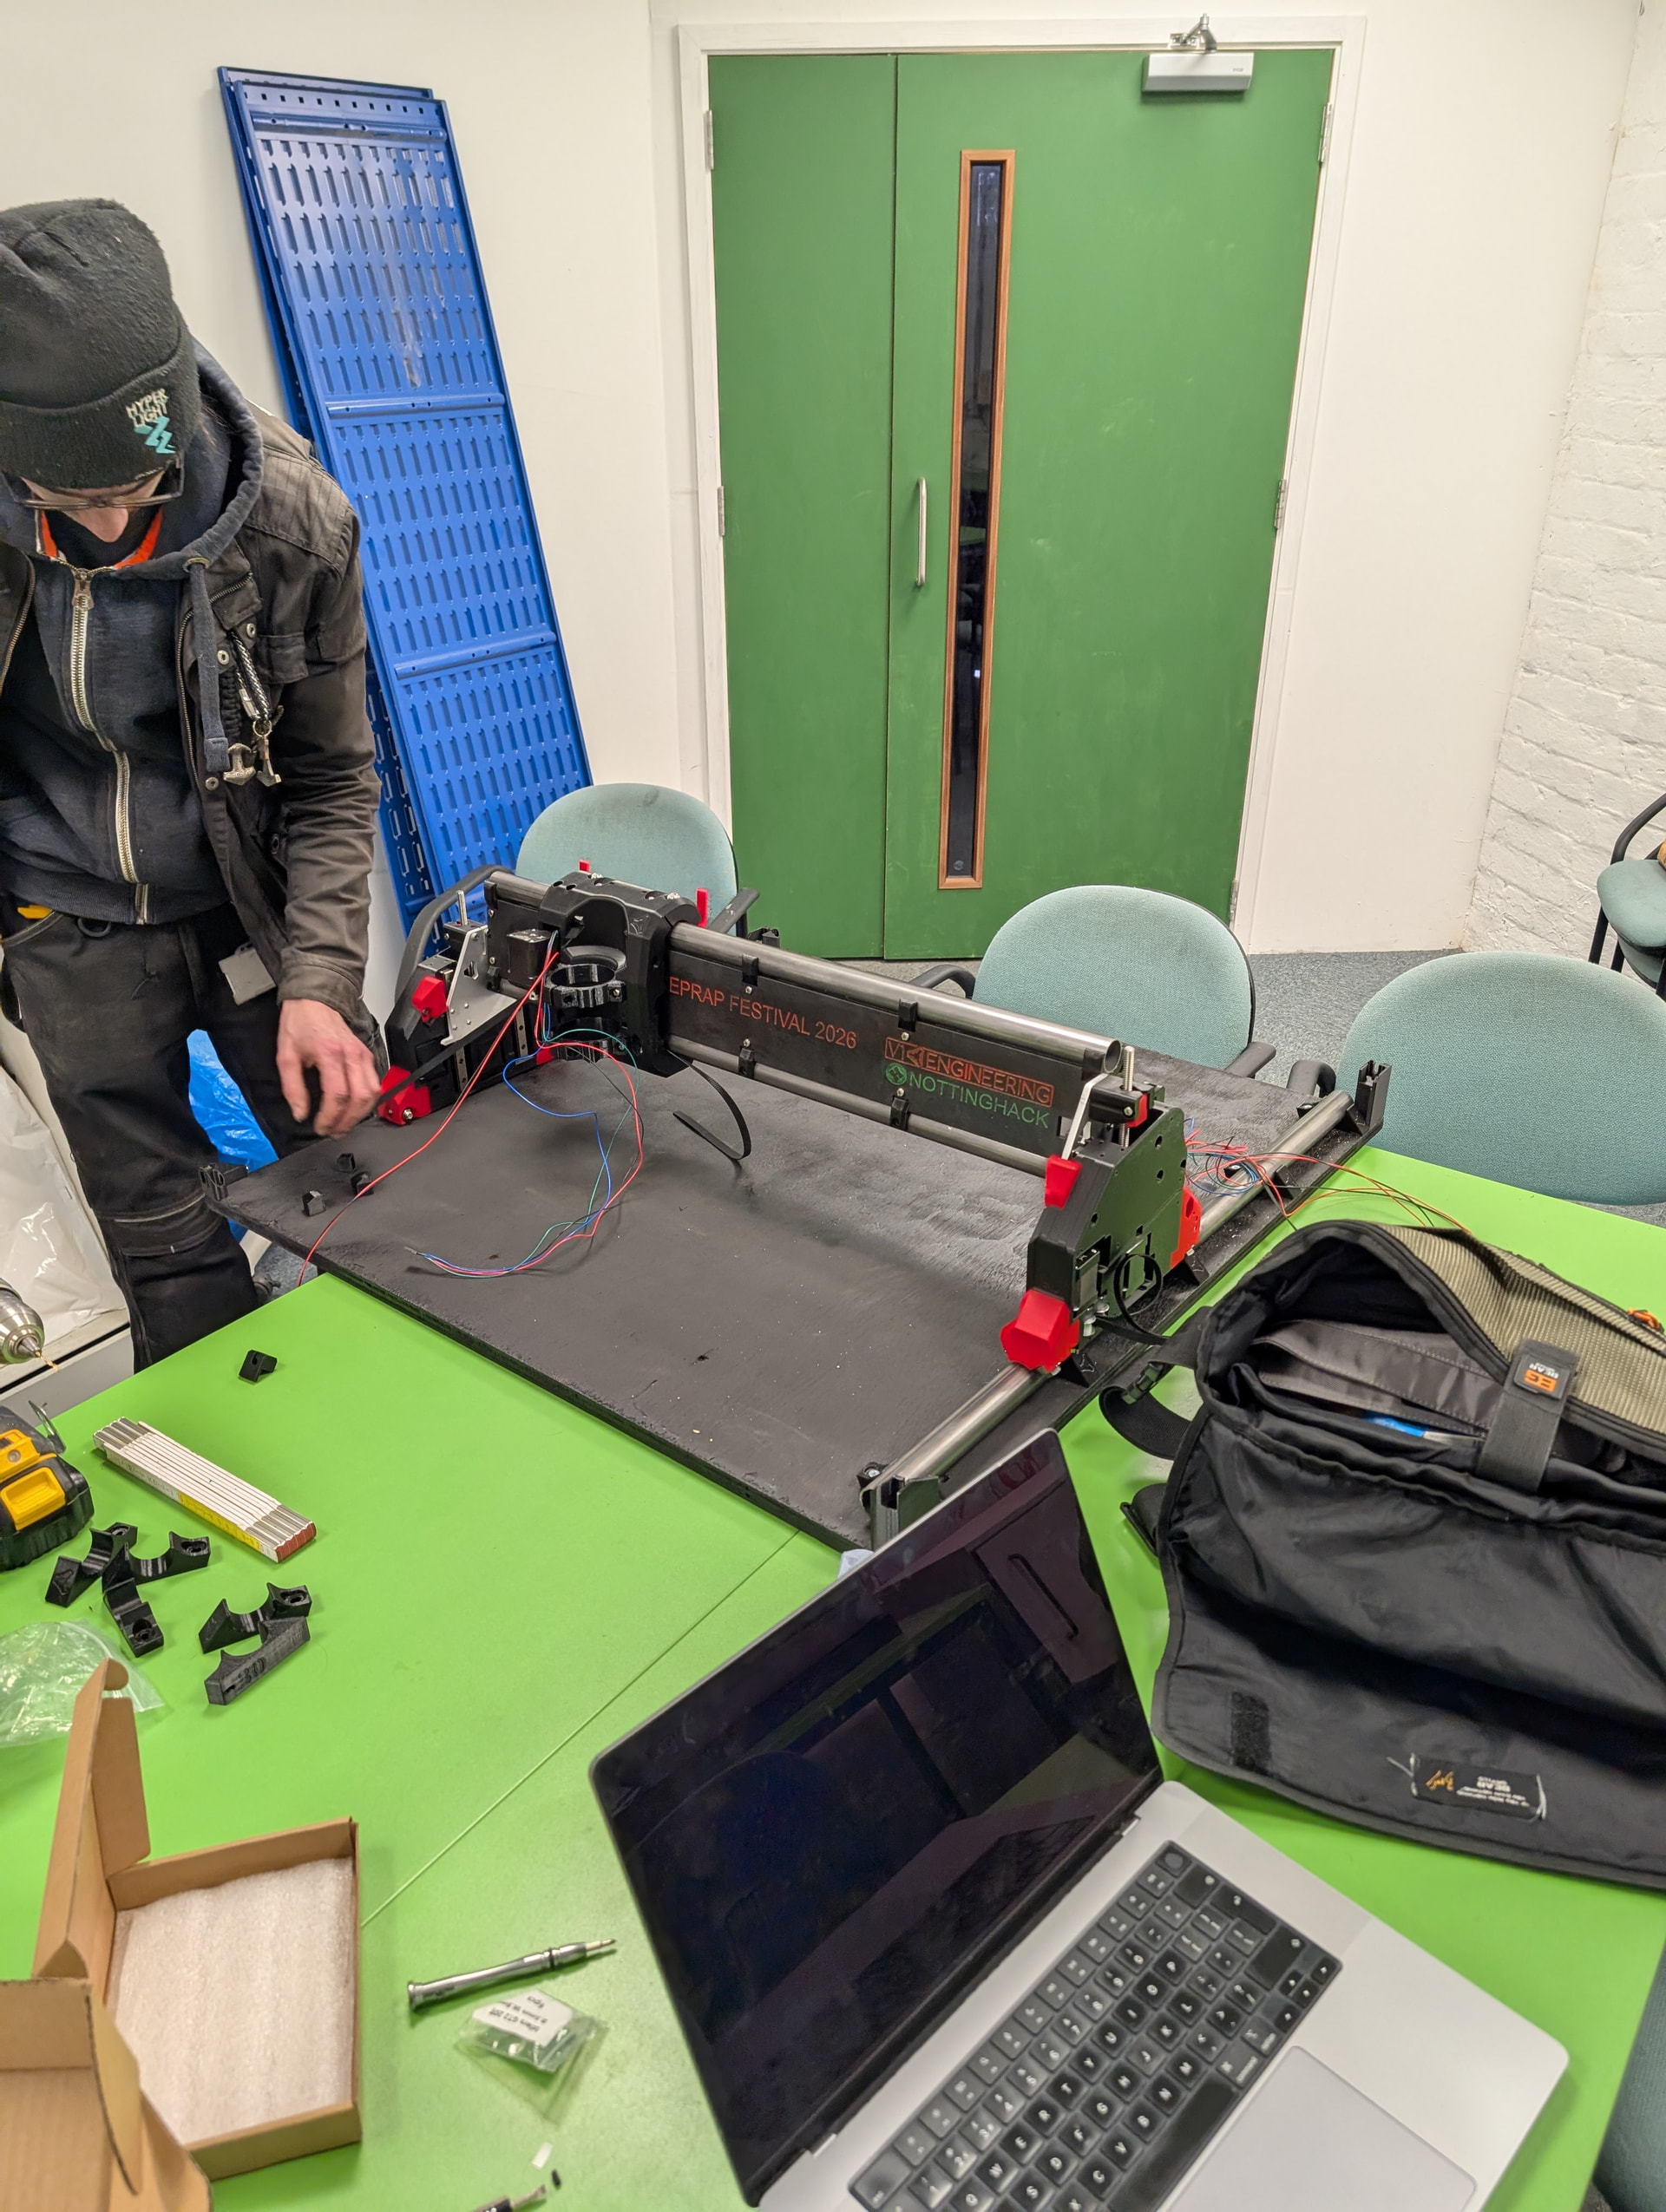
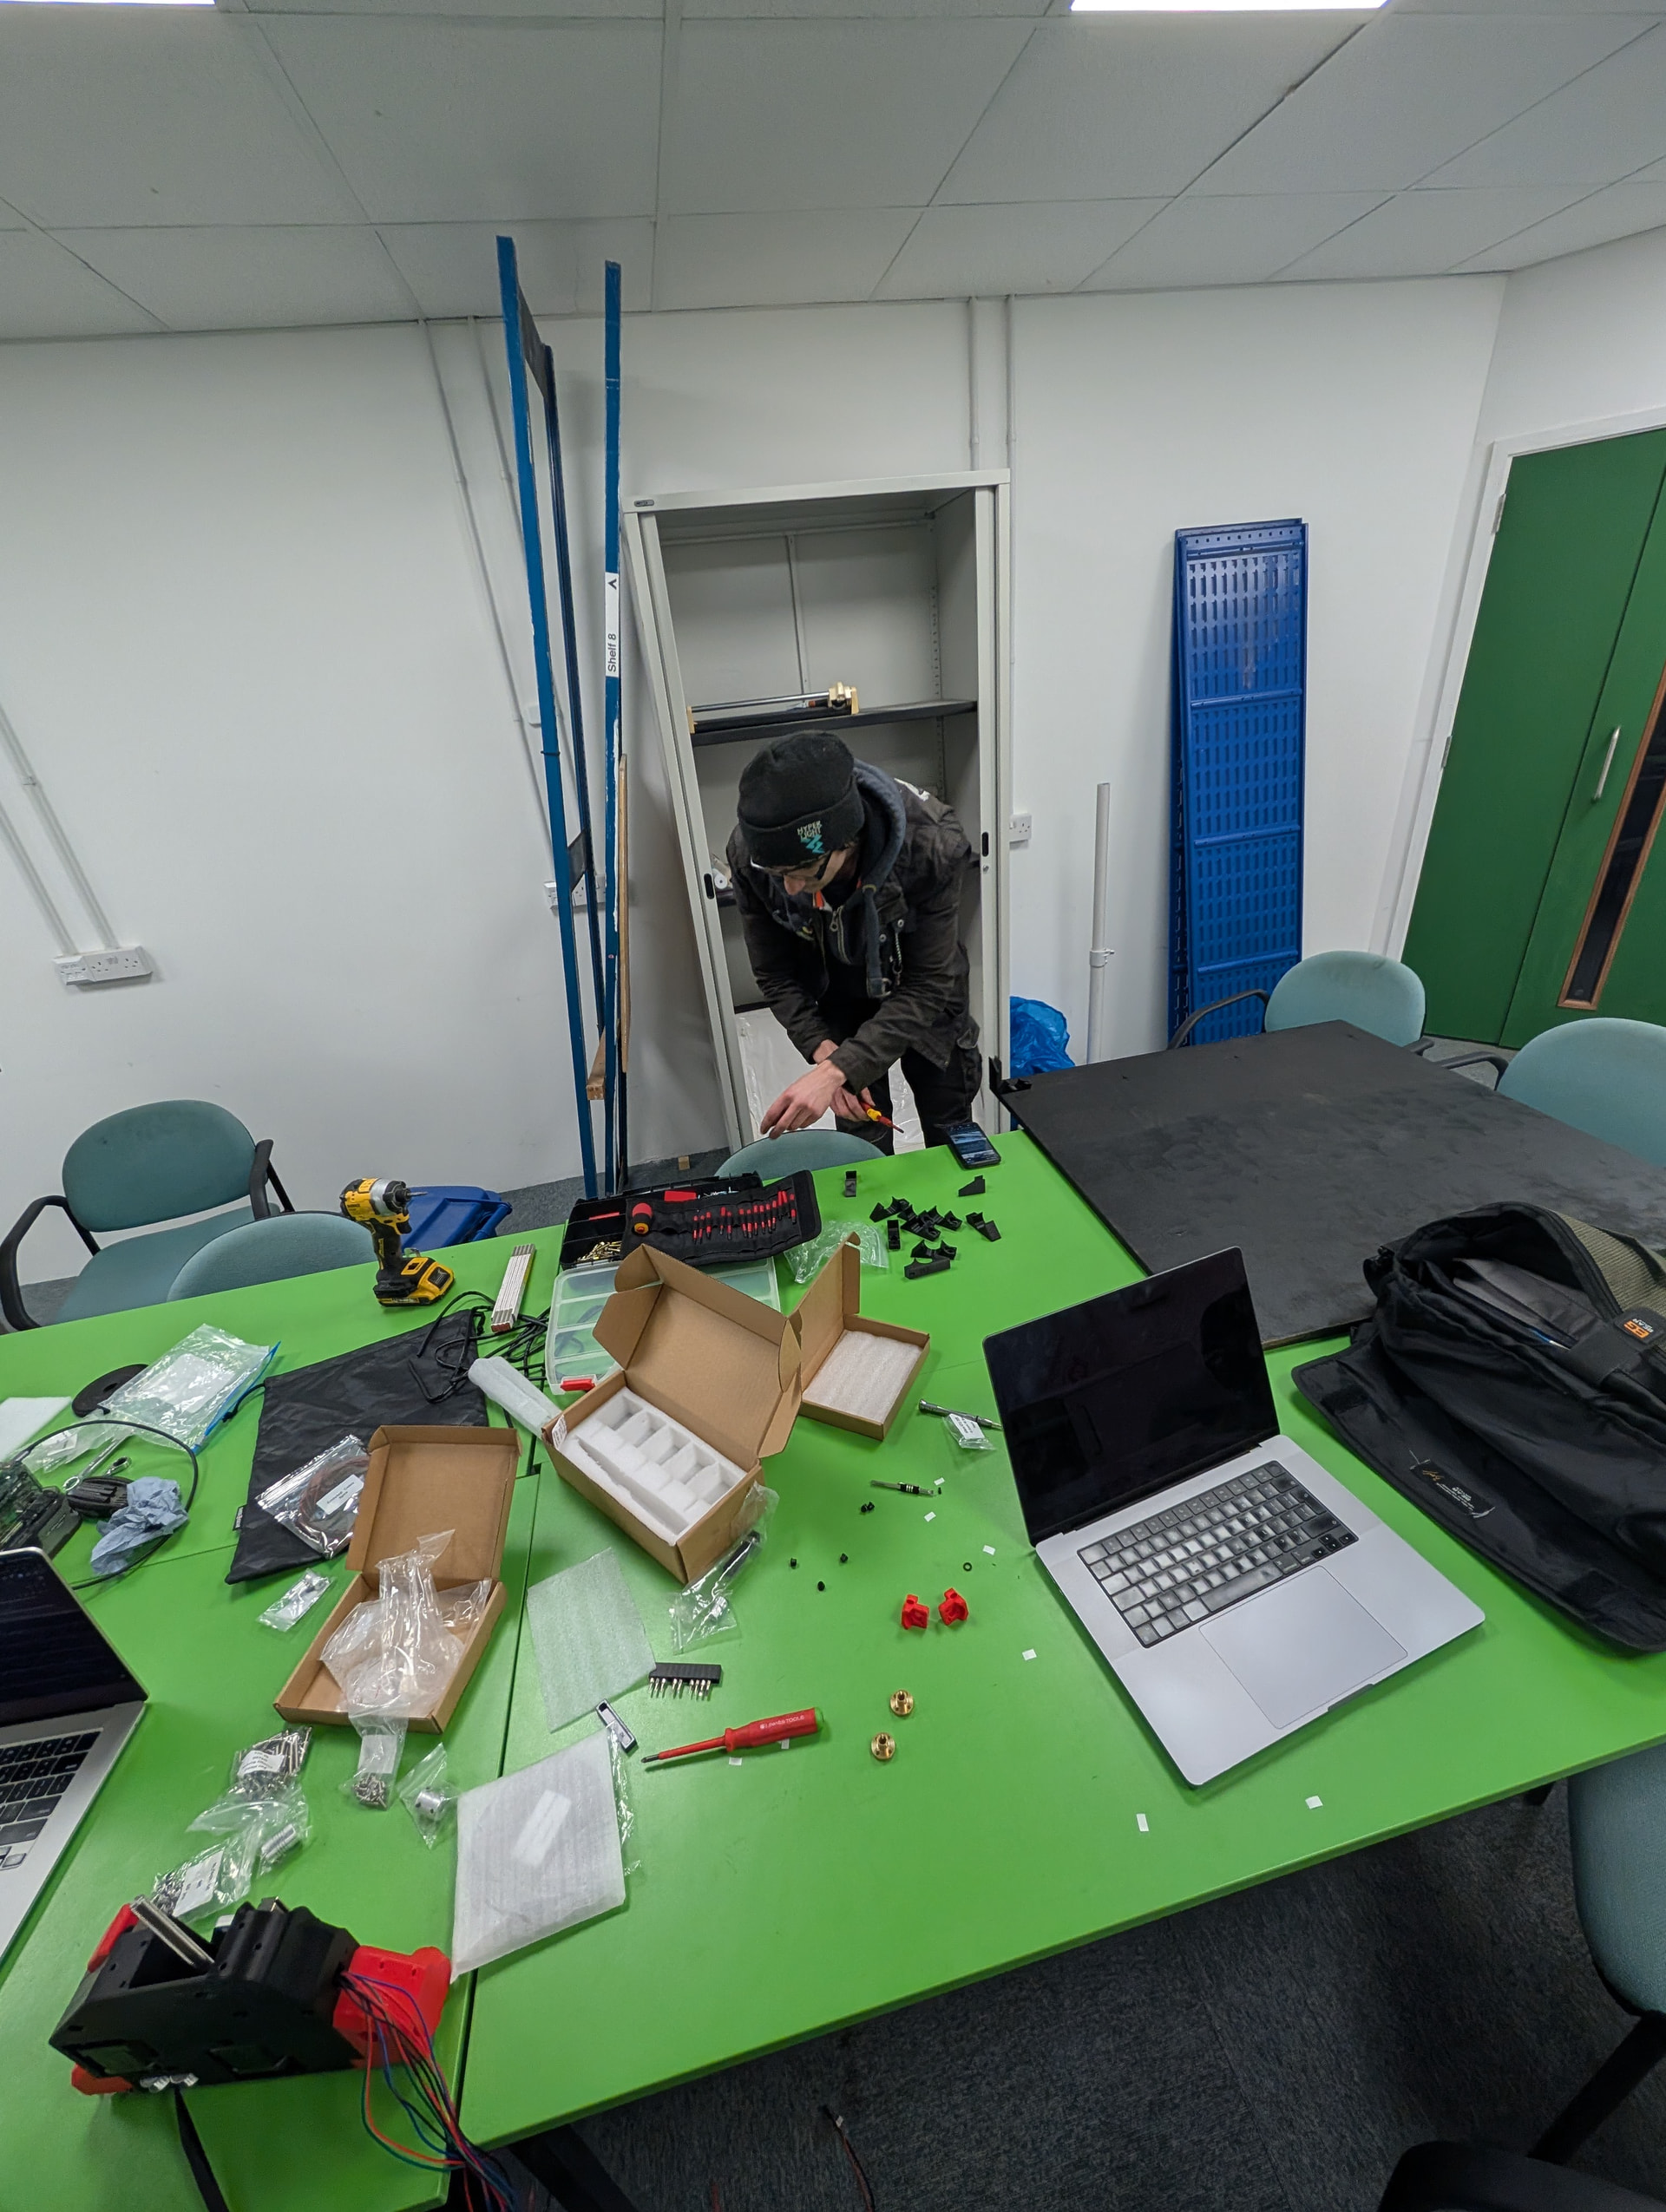
AJ and I started in, and Chris joined us.
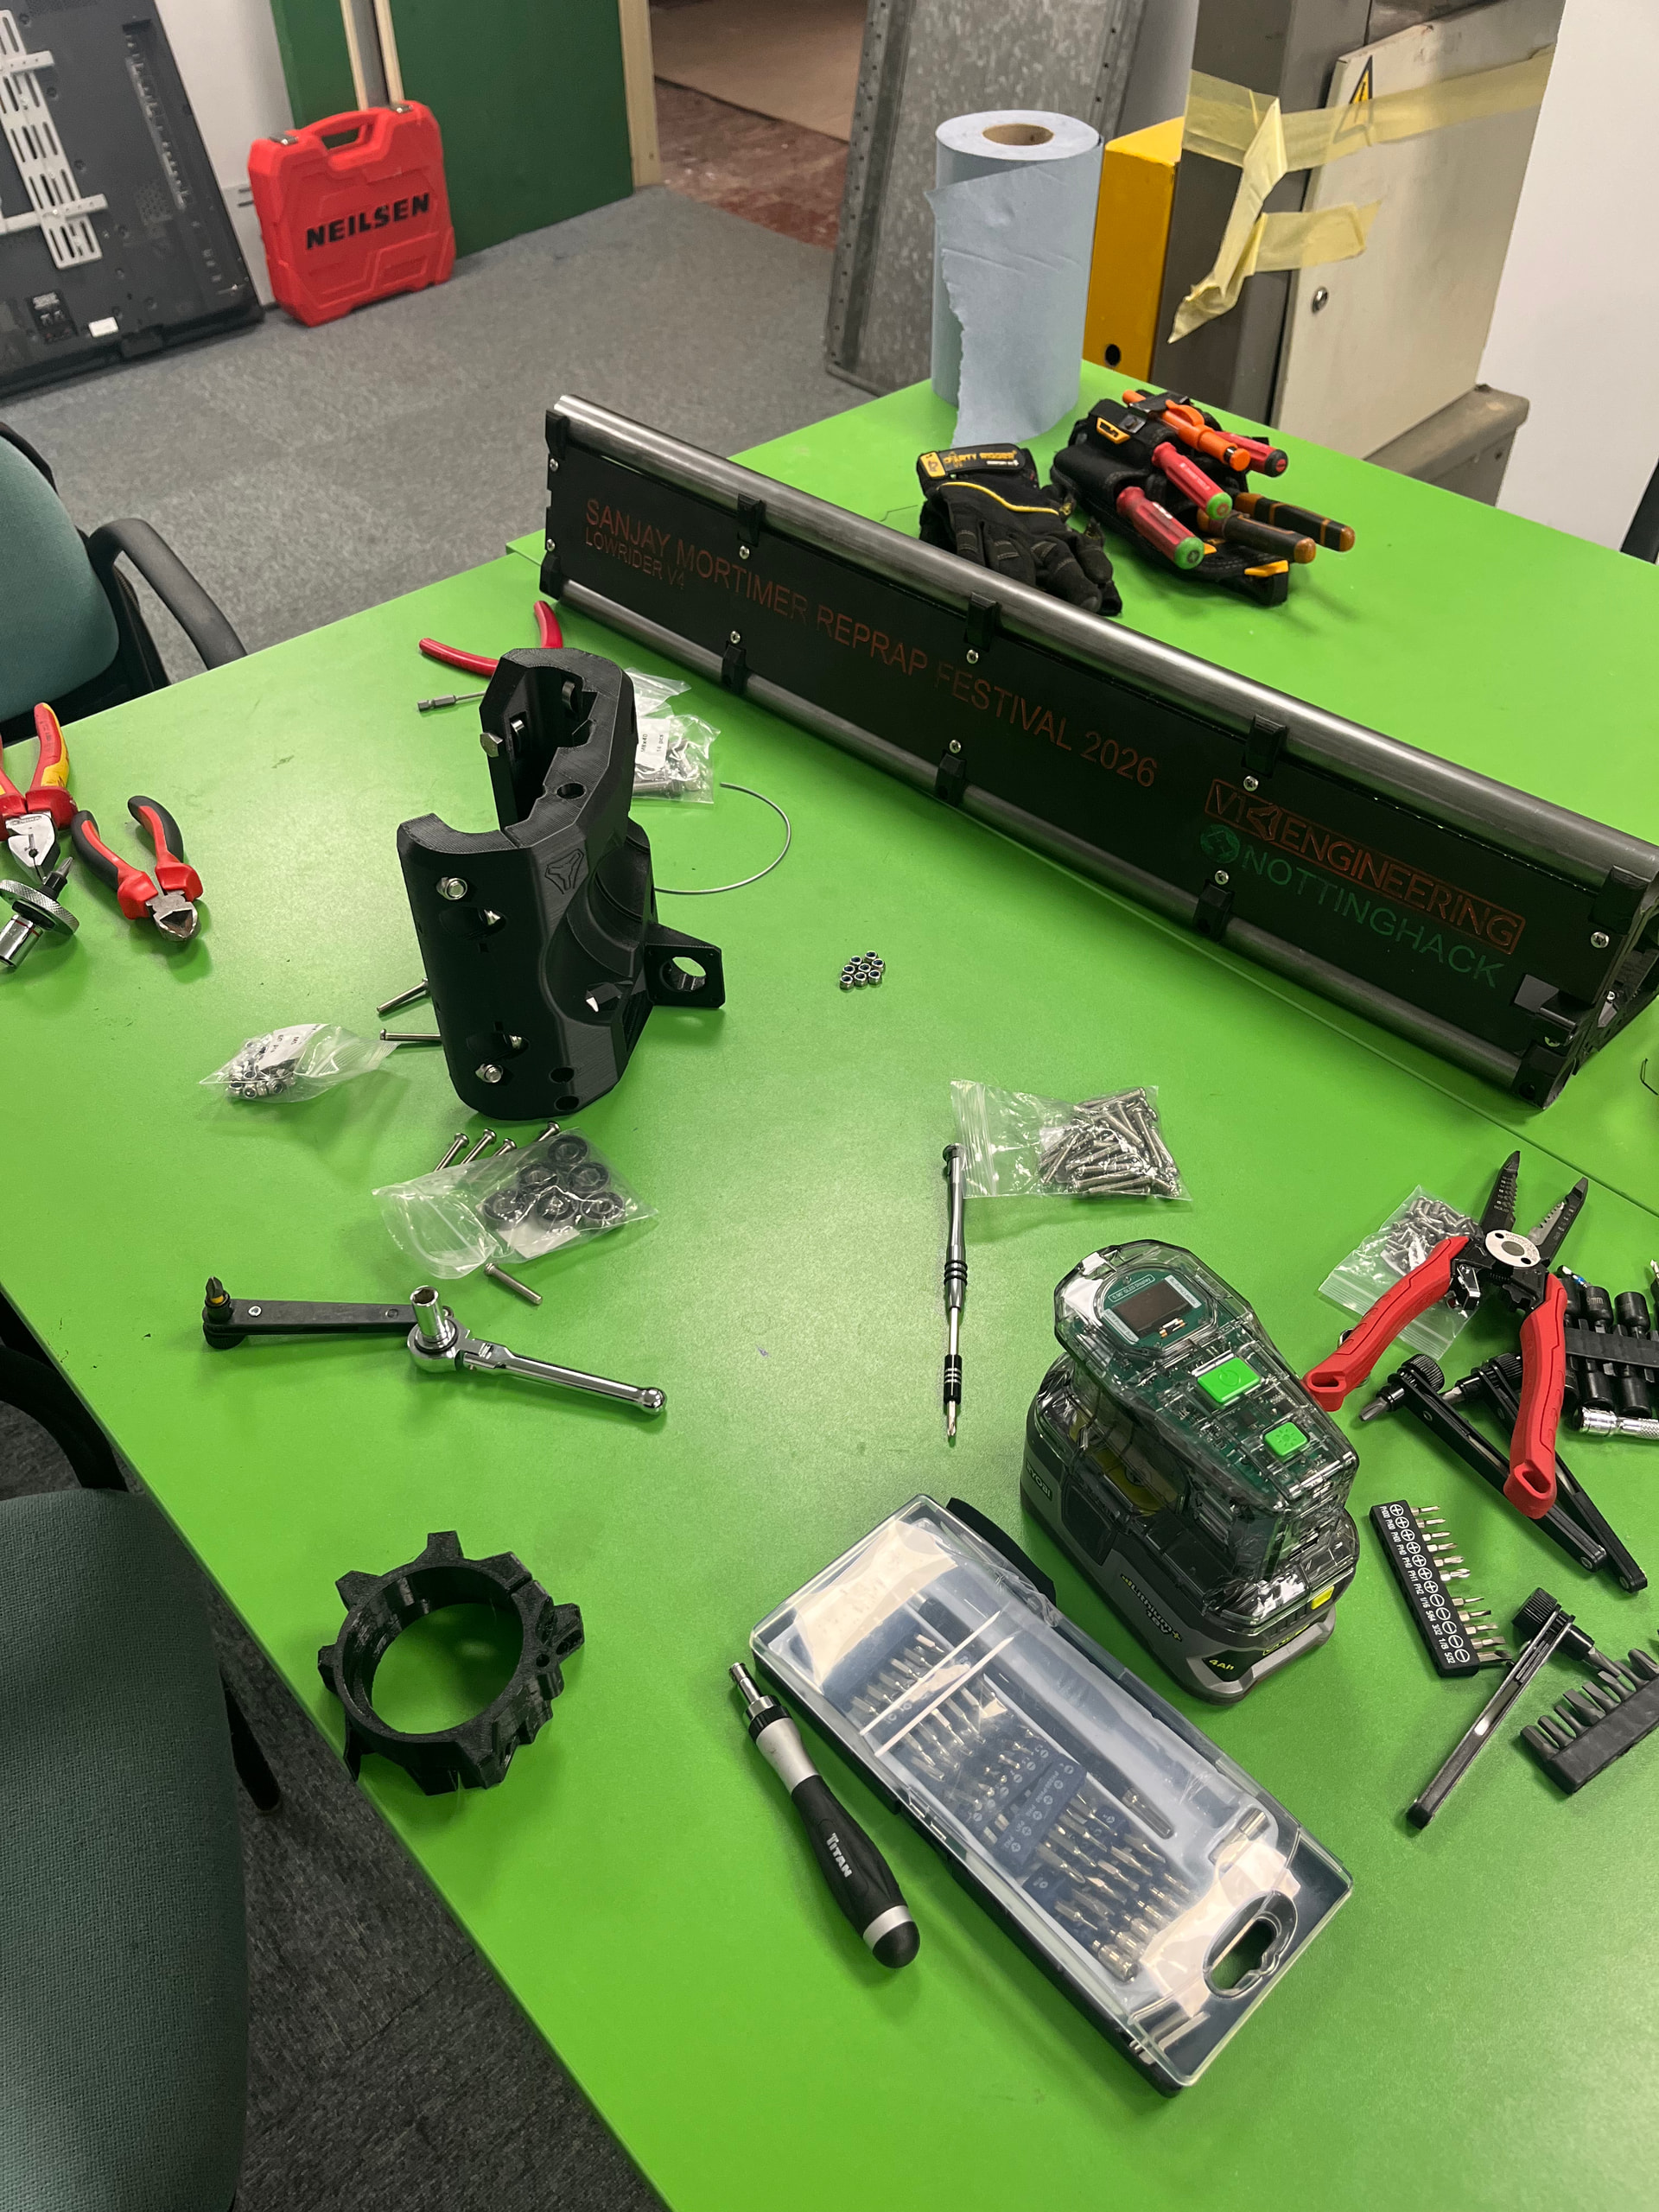
Chris and AJ cooperating on final assembly…


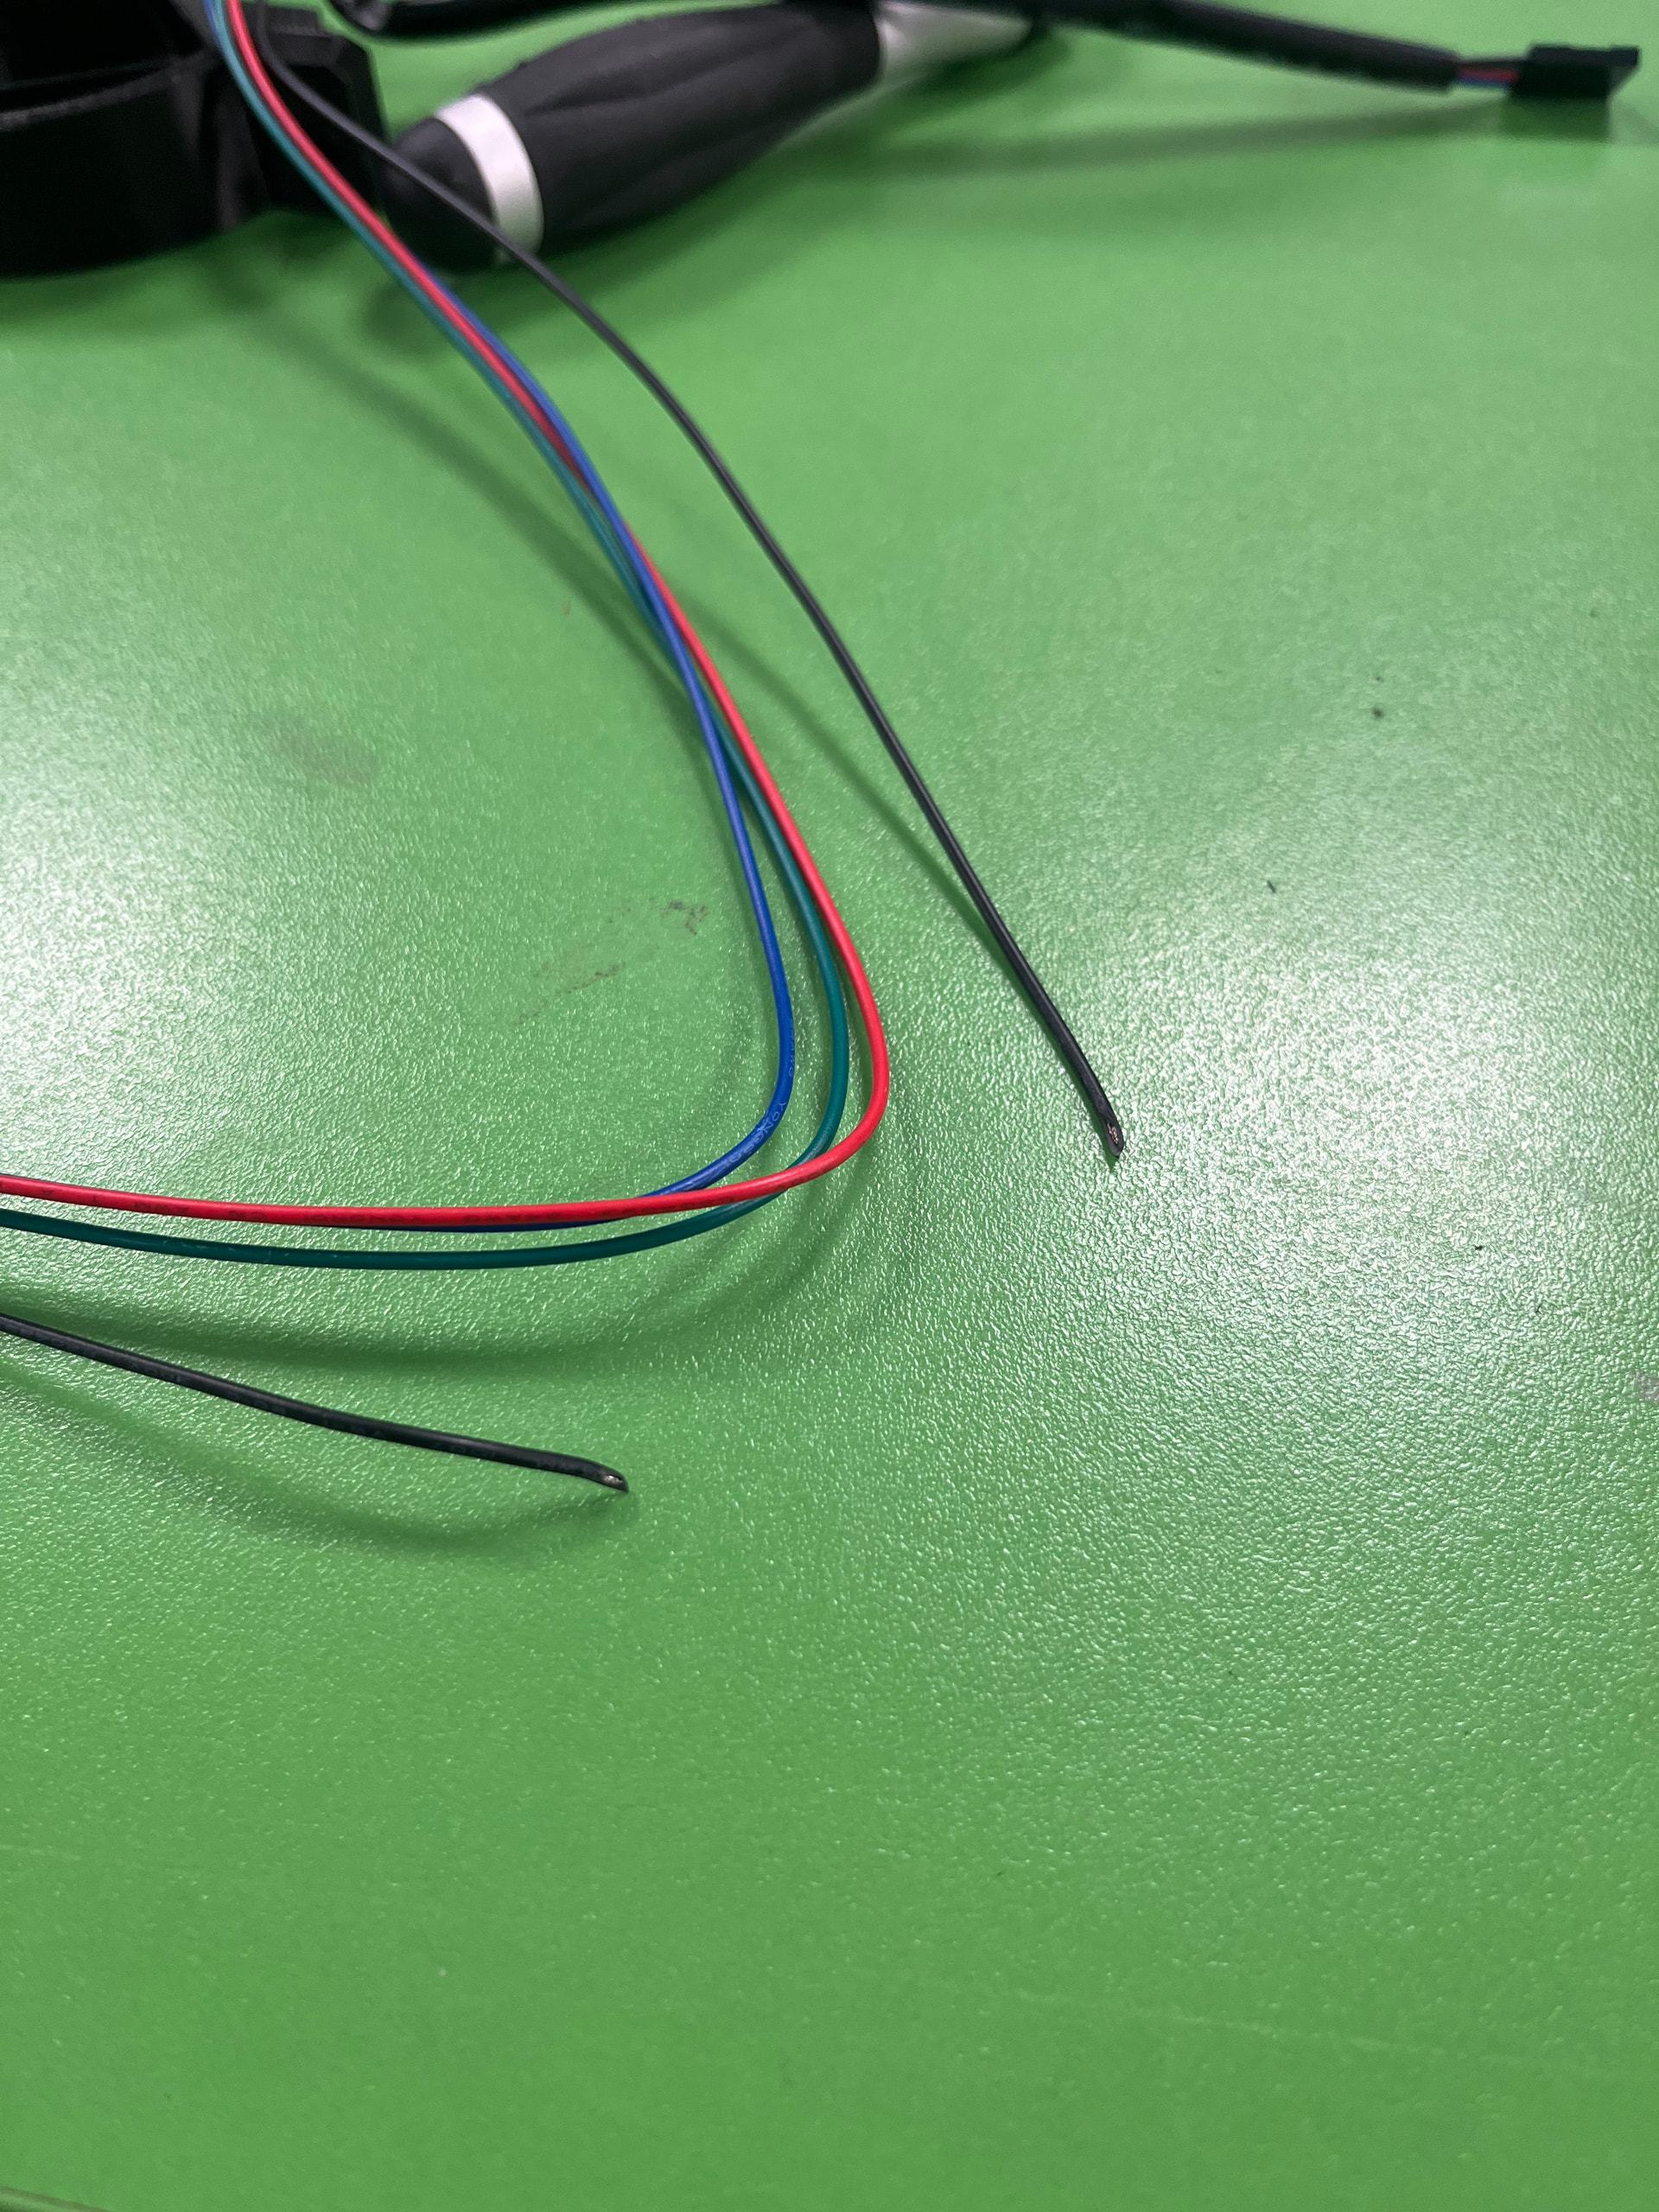
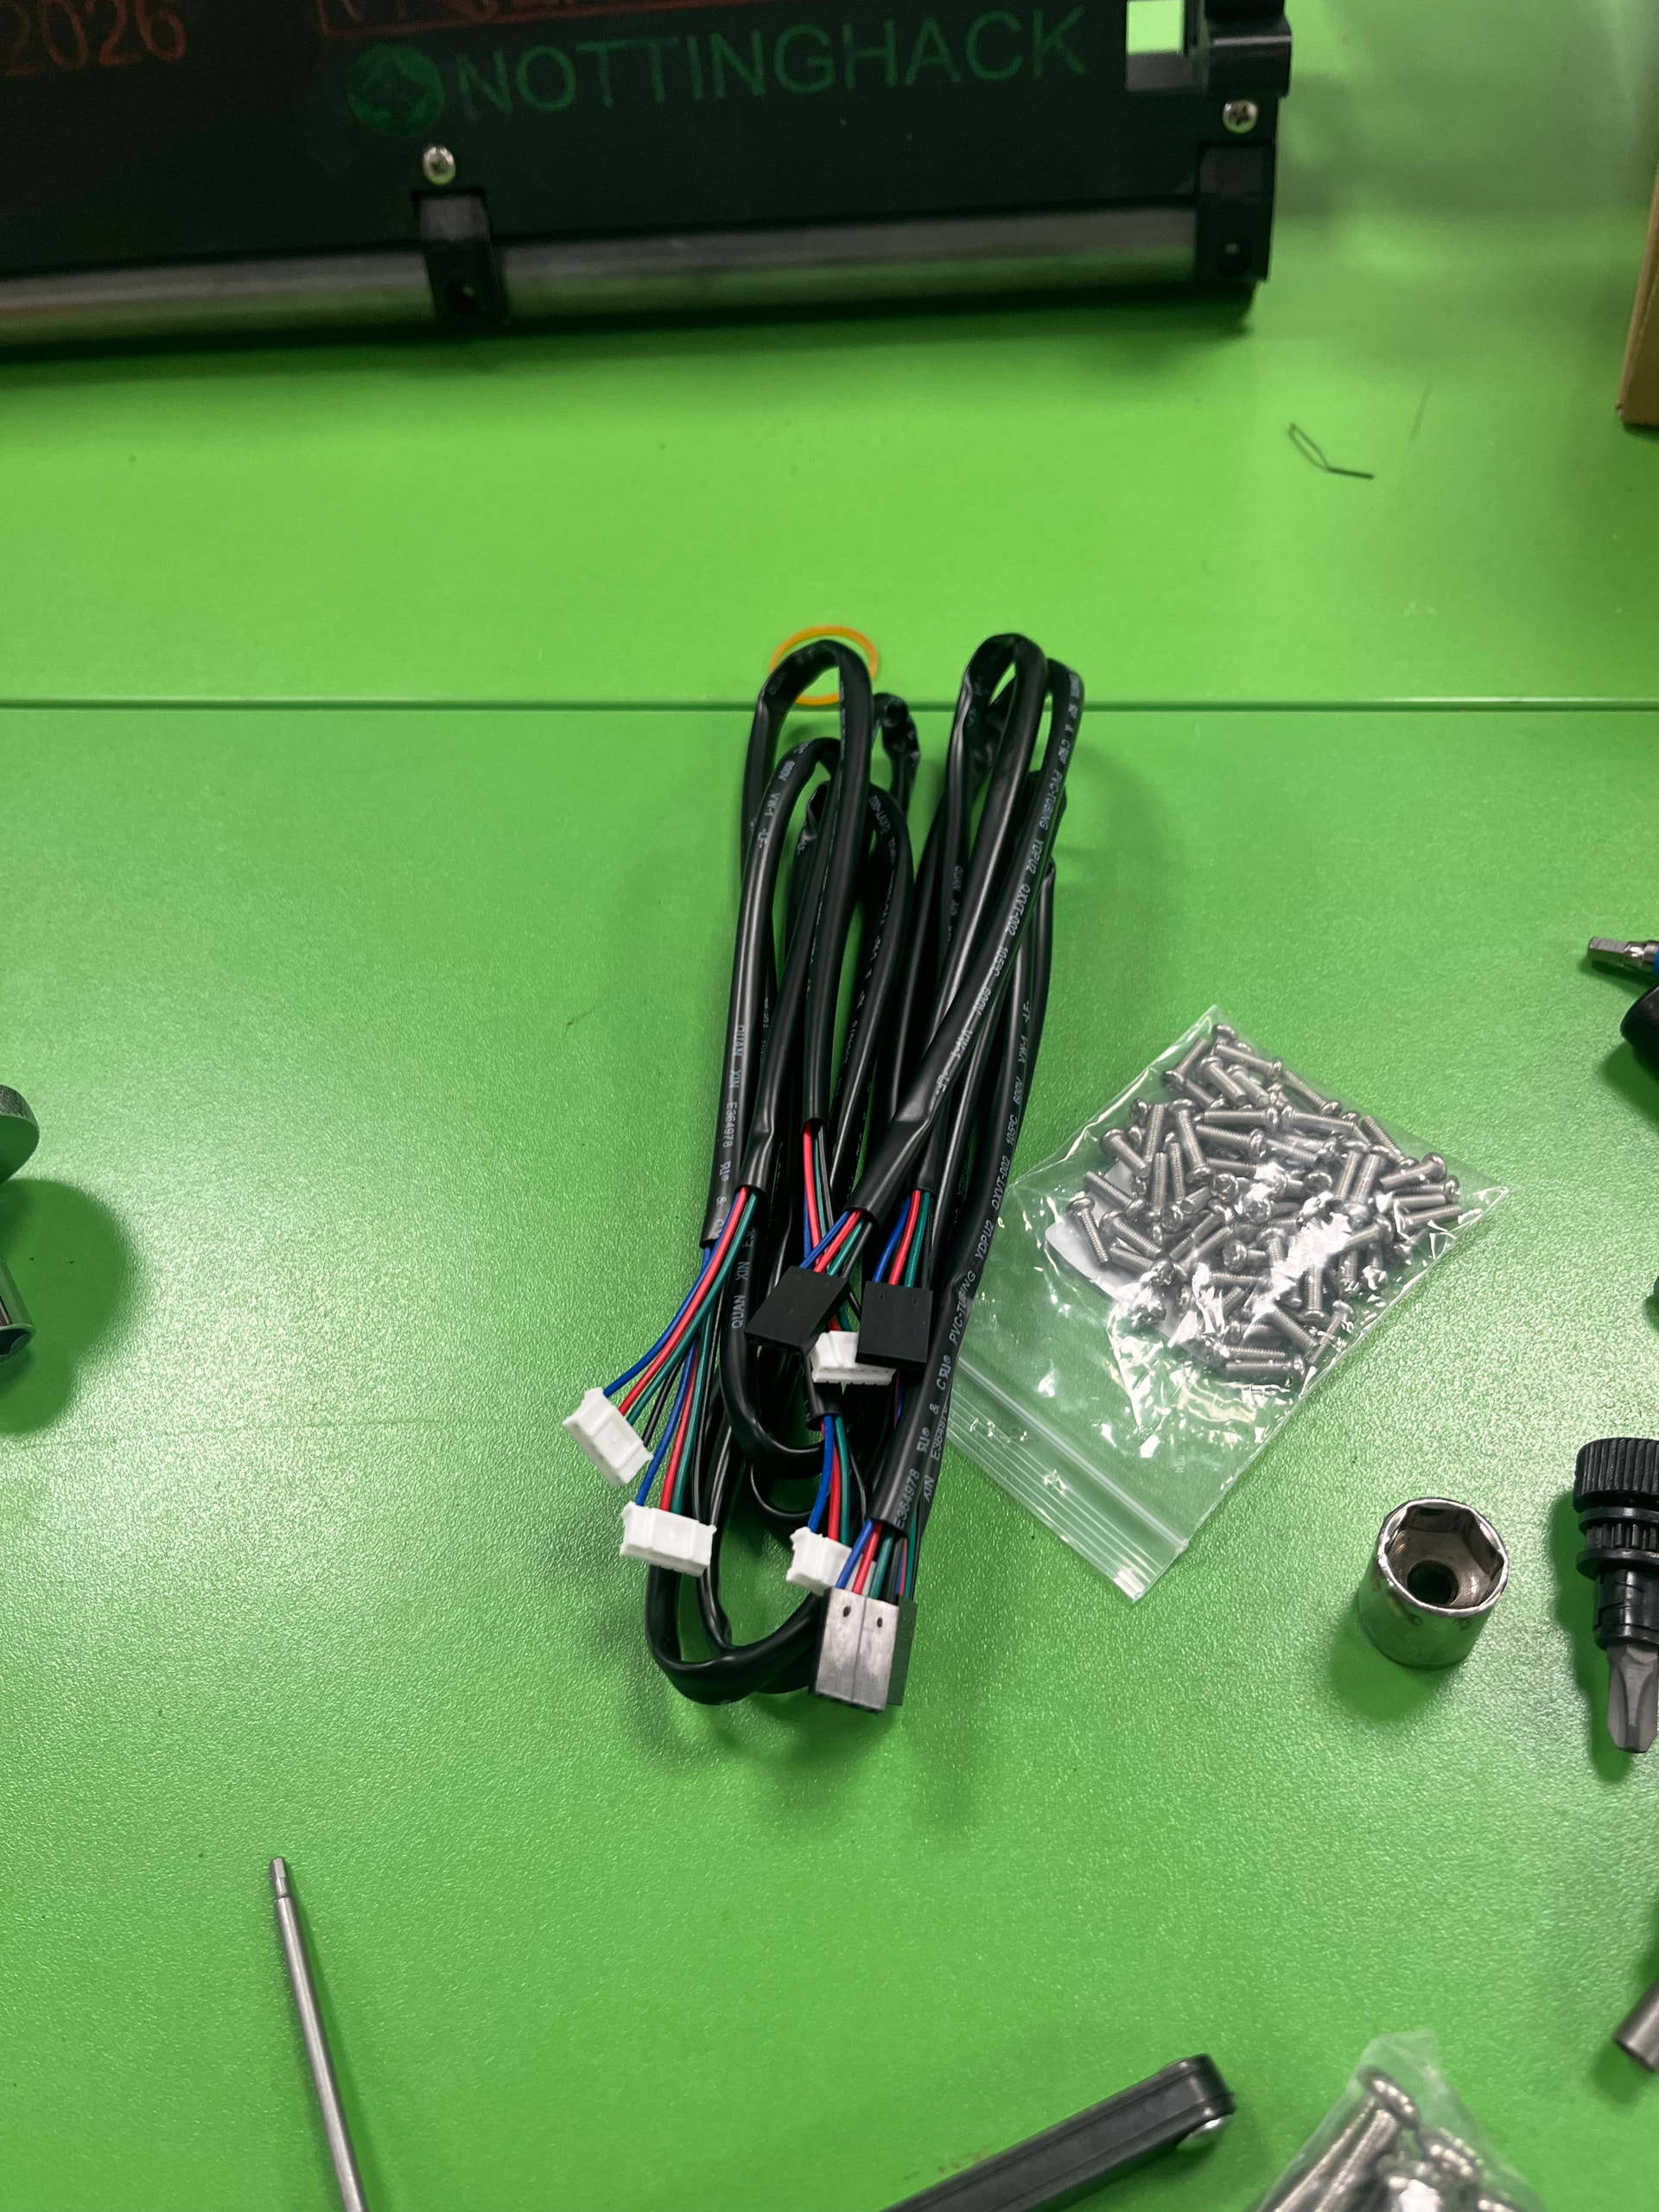
Looks like the LDO motor kits continue to come with sleves on the motor harness.
I snipped a wire cutting it off… and AJ soldered it up.
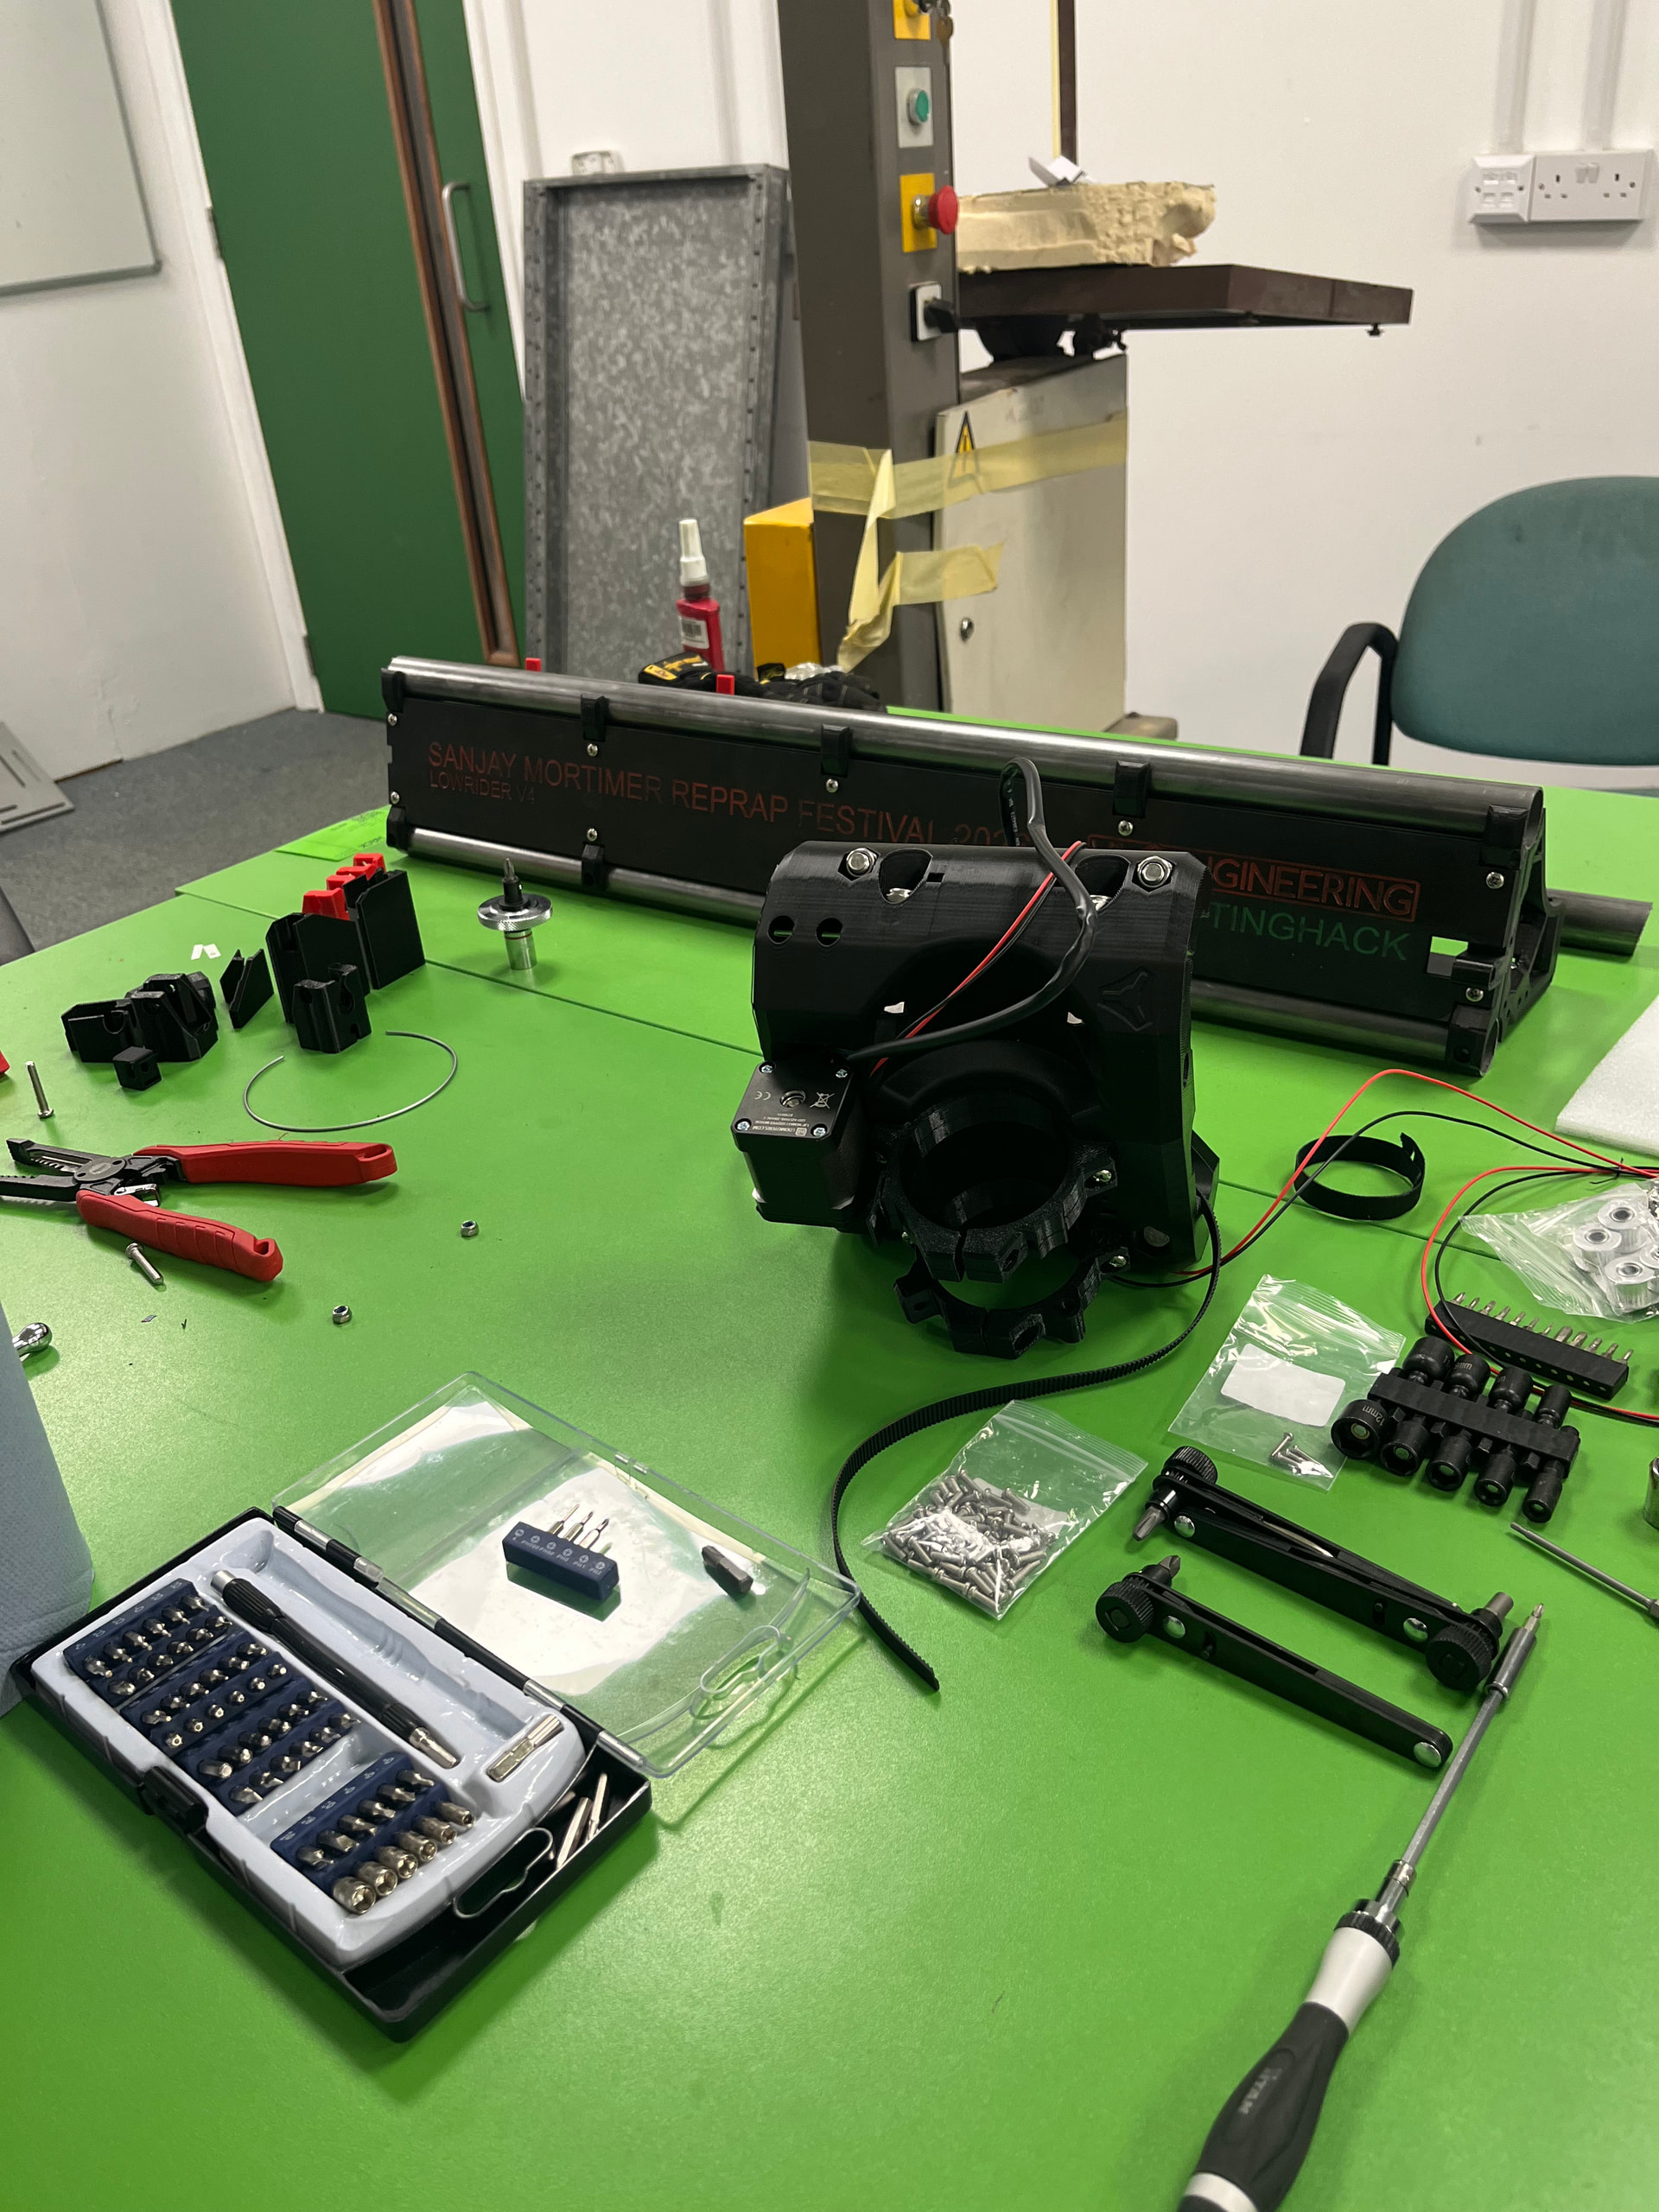
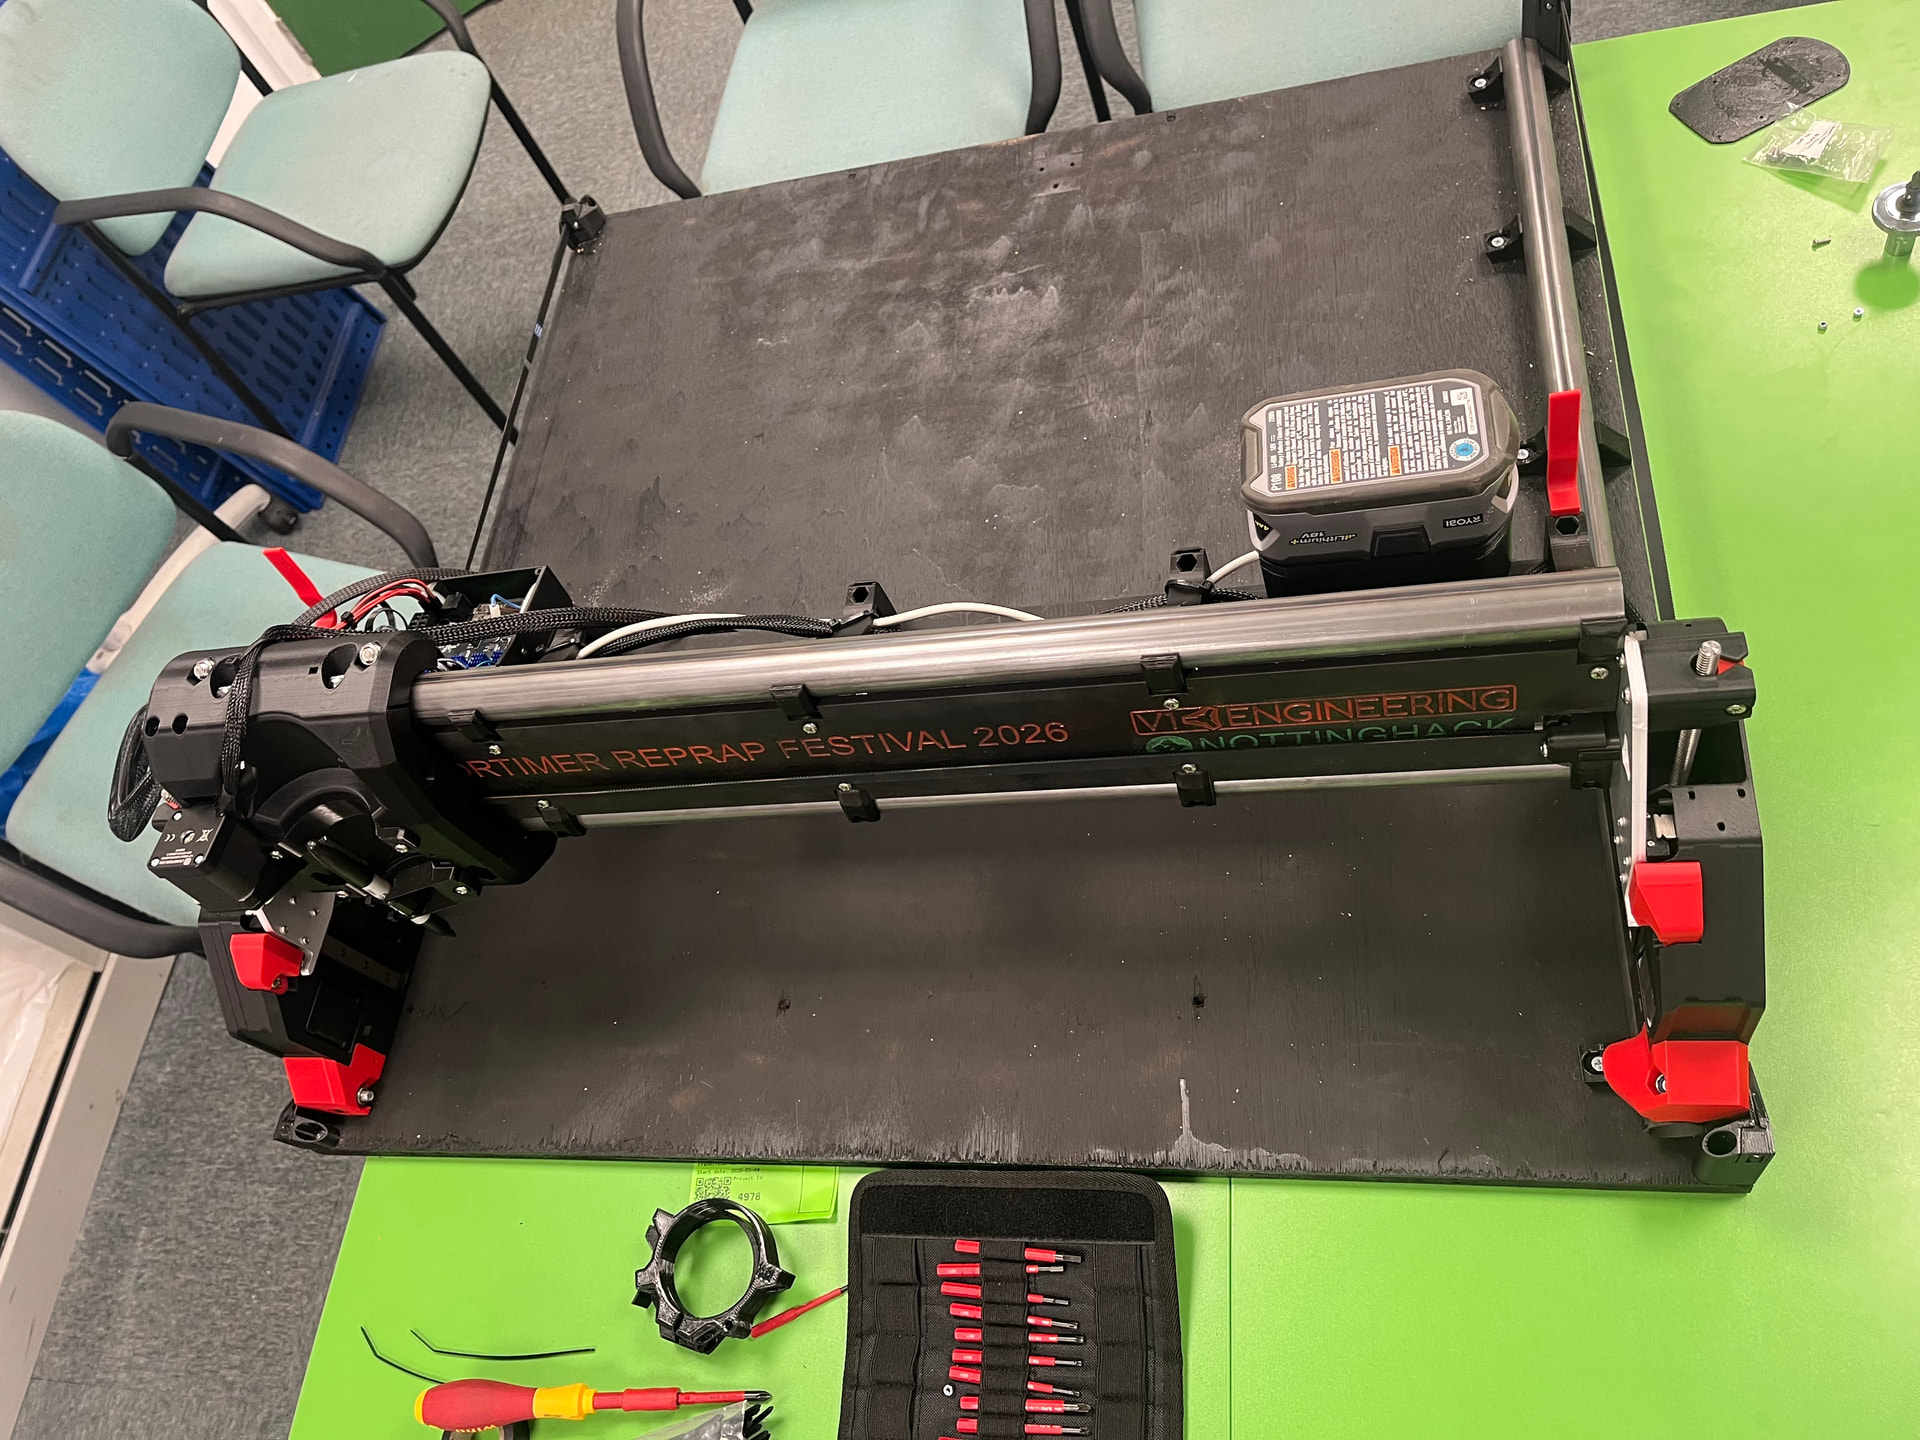
And at days end (16:00)

Tomorrow we drop the Jackpot in and wire up the battery box and off to Manchester we head.
Yes, you can build an LR4 in a short day, so totally doable in a long day or with one more body.
Oh and an aside. I saw this yesterday, wondered about it:
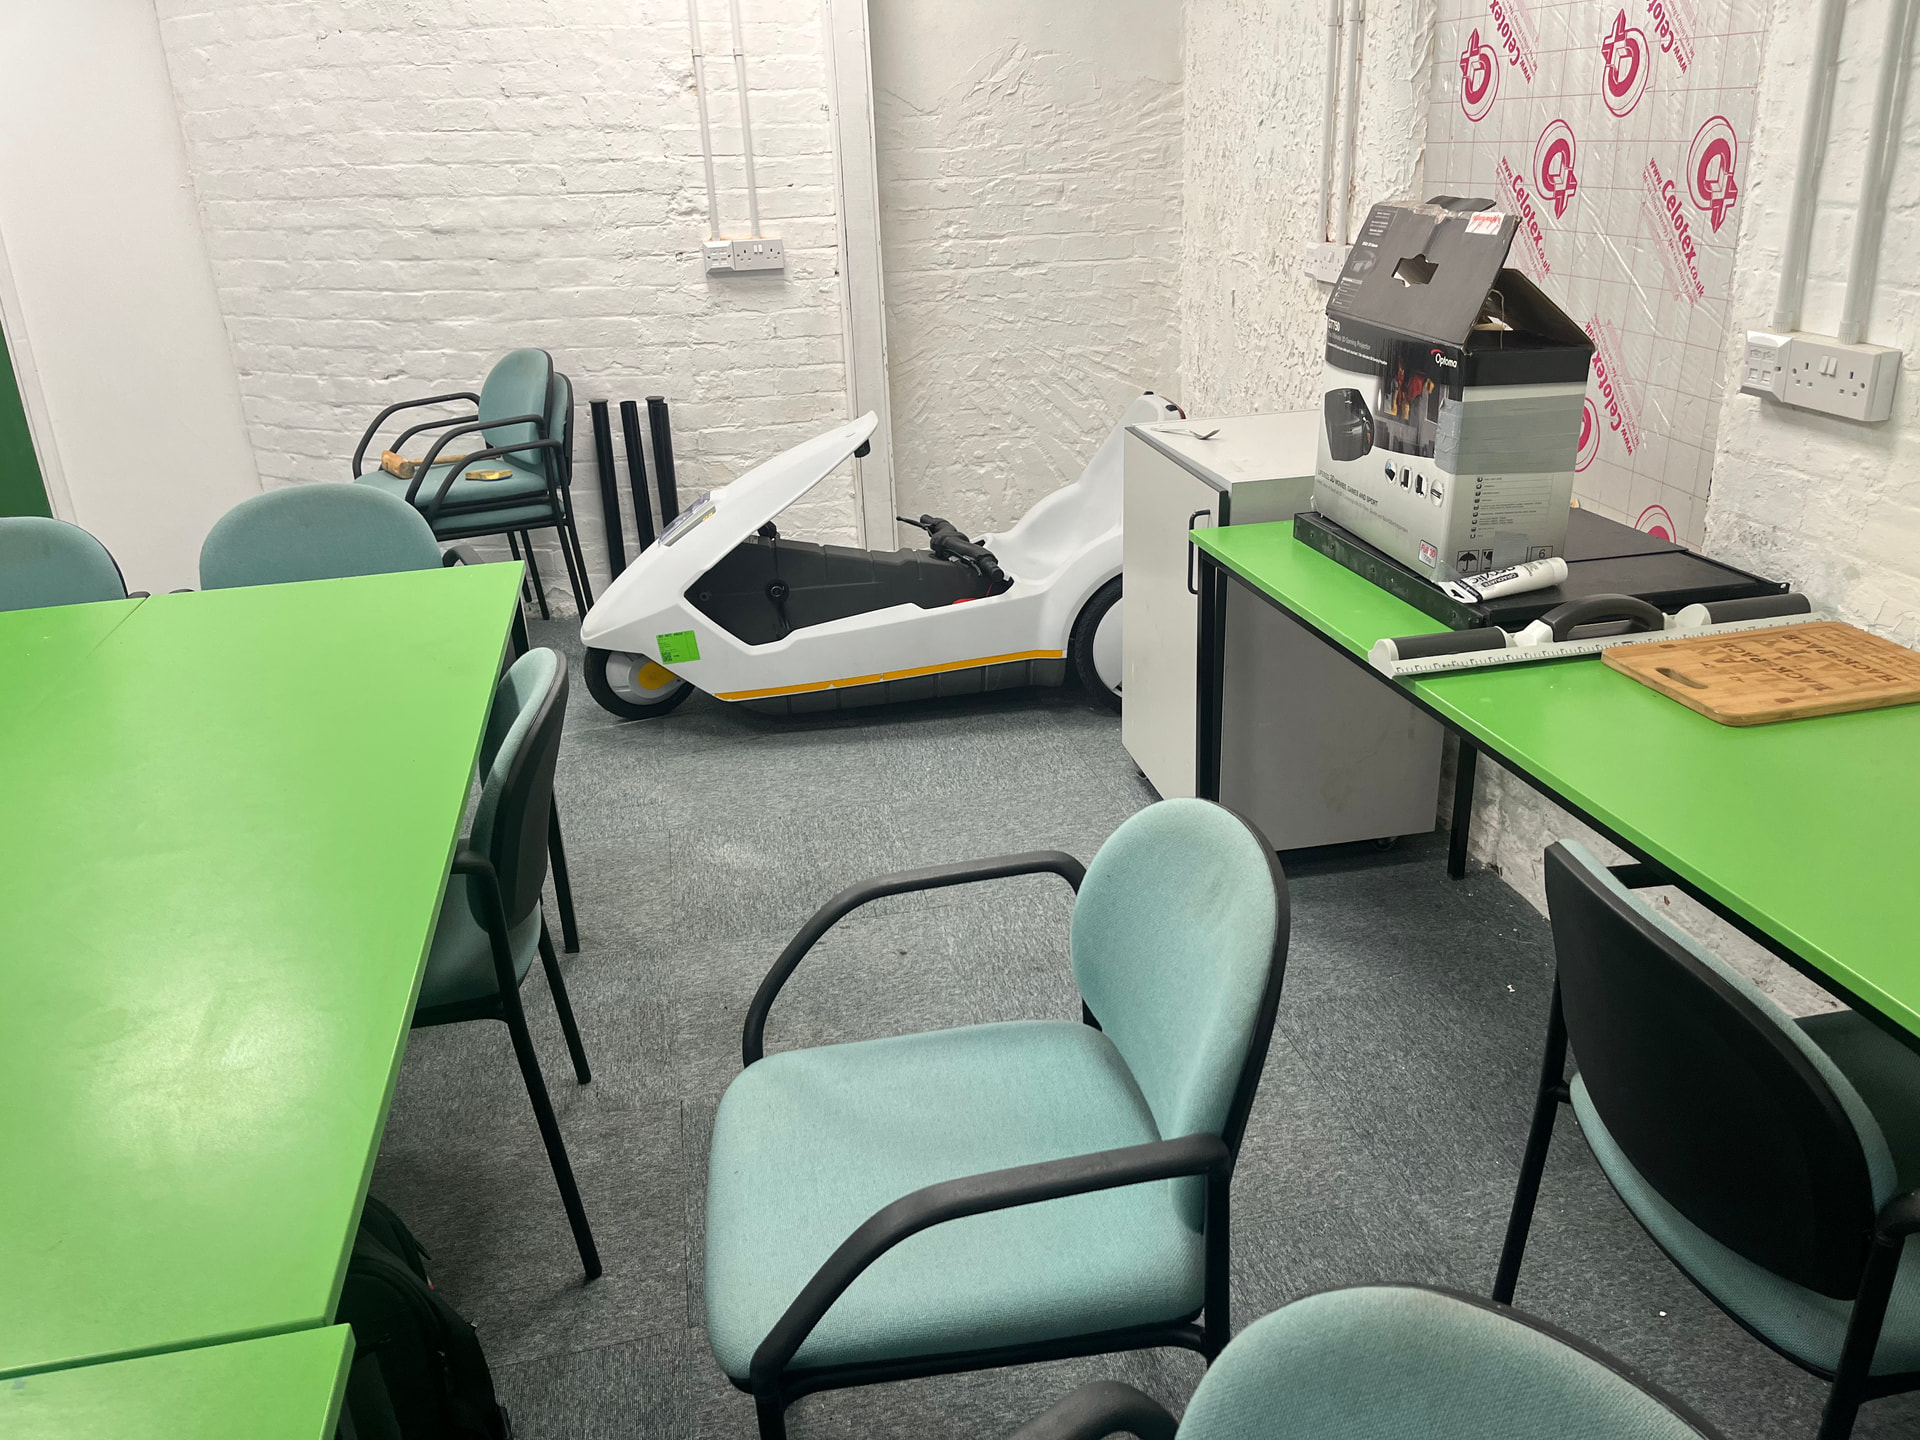
Yes, it’s a genuine item:
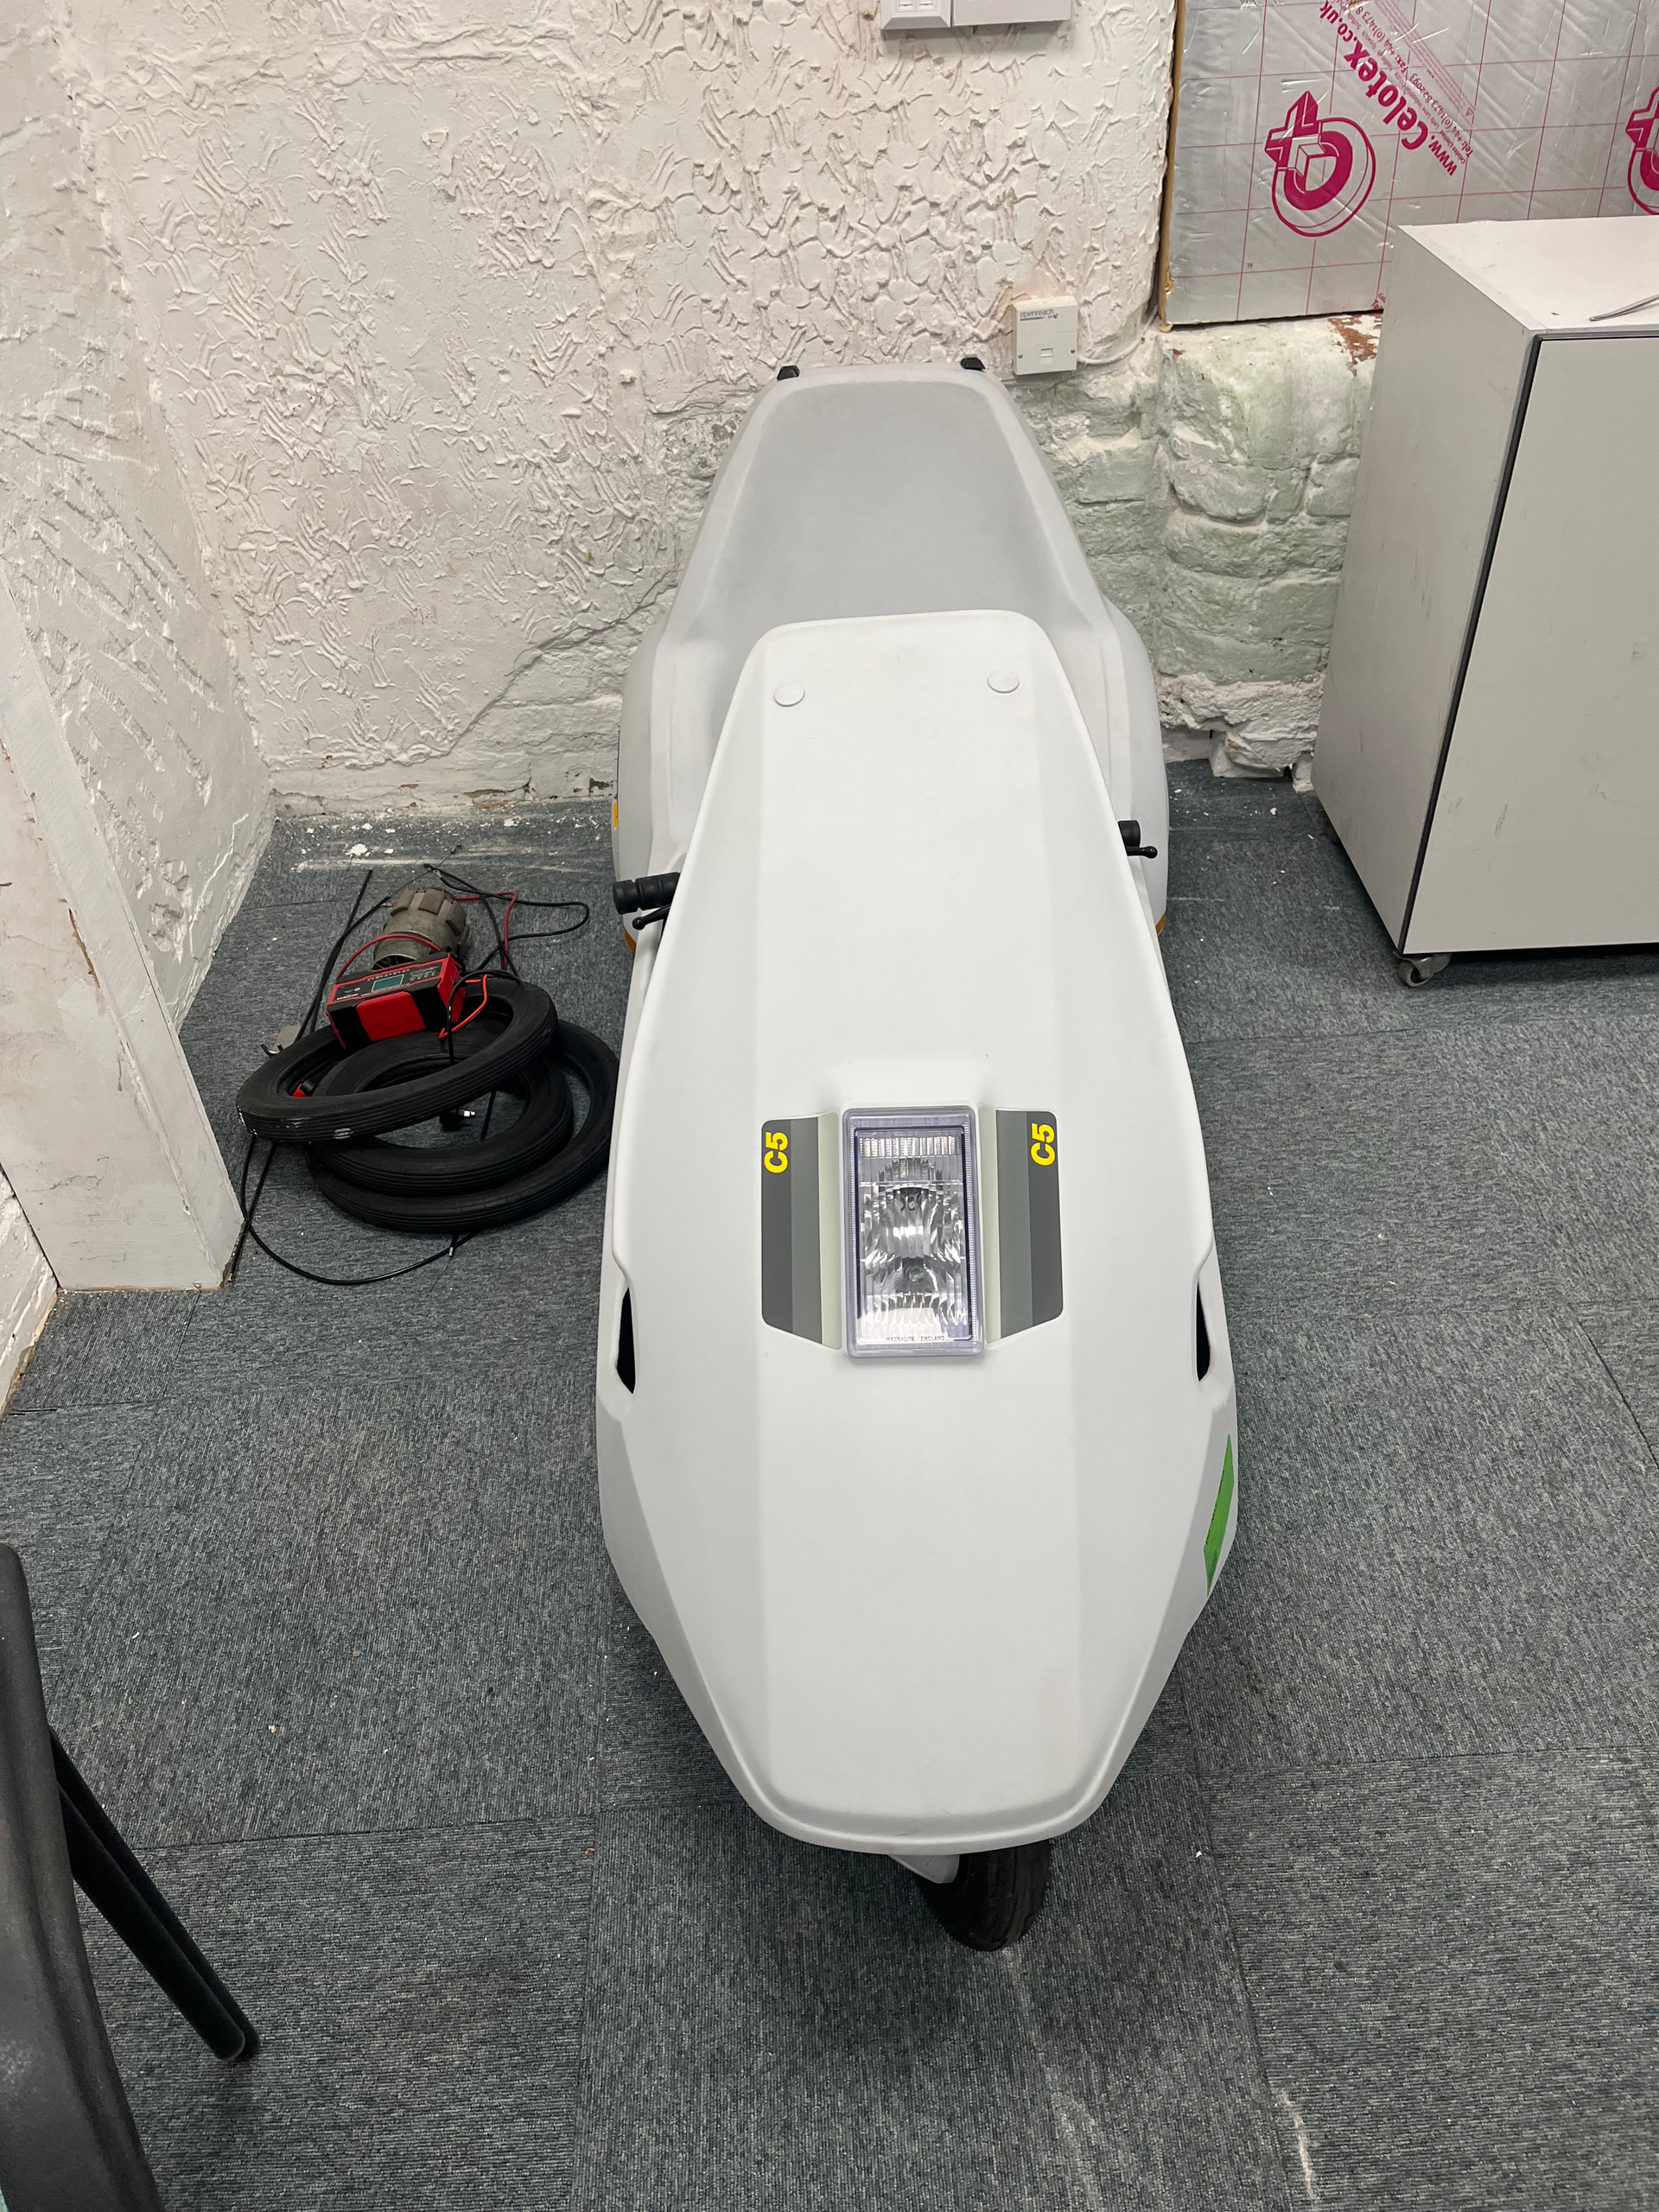
Way ahead of its’ time.
I had a TS-1000 at one point, was very familiar with the Sinclair products.
6 Likes
Nice!
2 Likes
Look at them kids having fun. ![]()
3 Likes
I’m getting old, but when I’m around this much enthusiasm it very much feels like a kid having fun. Makes me want to come back next year and still want to find time to visit a space up in Norway…
5 Likes


Is it weird to think you guys just scoured the instructions and that made me anxious. Who know how many people look at those things per day, knowing you all just did it puts a little knot in my stomach.
I have yet to build one with someone else, I am sure that will be an experience to remember.
4 Likes
We set out to fully follow the instructions, but that lasted all of about 3 minutes, 29 seconds. ![]()
I did take a some notes for things that are in the documentation but we still stumble on.
Some suggestions:
- We should put a note that if you kit came with the poly sleeve on the motor cables, it should be removed. (Note: I managed to cut a wire trying to snip carefully through the sleeve.). Chris proposed a better method which is to snip a little into the sleeve, then use the wire itself to “Unzip” the sleeve, which doesn’t damage the wire.
- The note about running the bolts/screws into the nylocs before using them is in there, but it isn’t prominent.
- The kit we received had idlers which are toothed. That’s fine, but we should add a note to the documentation clarifying that it’s fine to use those.
- AJ and I had a back and forth around “how do we lay out the table again?”. It’s in there but the documentation could be better about how best to lay out the rail and belt holders on the table. As you can see in the pictures, it turned out fine.
- We used the trick of using an 8mm drill bit to clear out the holes for all the M8 bolts. I think this is in there, but a note about that being OK could be more prominent.
- We did put the horizontal screw into the stubs, but only started it and left it loose. That leaves the nut holder free to move horizontally with the lead screw to prevent binding but doesn’t allow the nut holder to separate out of the z stub. AJ noted he’d had one jump out, and in fact so have I. They key points are in the documentation but somehow it seems less obvious in just reading through what the best practice is.
- We had AJ’s laser cut strut plates, so didn’t have to remove the core. That said, in the docs there is a text description of @Tokoloshe 's trick of sliding to top rail over. This would be much better told with photos showing it rather than just words.
- We haven’t yet done squaring or leveling, but note that the documentation has a bias towards Marlin and little about using FluidNC. We should probably revise that to have FluidNC pictures and screenshots and maybe an early link to a sub page for Marlin.
We had the pleasure of having a local skeptic look at the machine as it was undergoing initial assembly of the beam with the YZ plates. We’d chatted a bit over lunch about the design principles of the LR4, and as we were doing the assembly you could sort of see the wheels turning as the design choices were sinking in.
I continue to say there’s no better way to introduce people to CNC machine building than the LR4. It’s easily buildable, can be self-sourced, and it can’t really horribly damage itself just with motion commanding errors or anything else if an operator is present.
I can’t wait to see with the NottingHack space does with the machine when it goes back home there after the show.
Random notes:
- After a few days in country, I think these folks have been lying to us about the rain. Nothing but beautiful sunny days while I’ve been here.
- Somehow bandsaws seem to just pop into existence and then break here.
- maker communities have very similar challenges all over.
(edit by Ryan so I can find this later. - #I_notes)
7 Likes
That’s been my key takeaway as well, even after building the PNC, that the LR4 is the best machine to start with, hands down, money wise, danger wise, ease of assembly wise. Nice to see I am not alone with that assessment. ![]()
4 Likes
Gutted I had to run away and ljght a tap show before we could get the machine moving. So close as well!
1.5% of the space by area is bandsaws. 8 out of 10 of them are broken! ![]()
![]()
For the record, the impact driver was an innocent observer ![]() Was going to screw down the stuff to the table with it but then read the note about predrilling, at which point I went back to hand driving.
Was going to screw down the stuff to the table with it but then read the note about predrilling, at which point I went back to hand driving. ![]()
I used my impact driver at RMRRF last year, only problem was I had the belt holder in some stupid random location when it was all said and done. Graciously, Ryan pretended it didn’t bother him and left it that way for the show. He had to be twitchin’ pretty badly.
Not said is AJ already had to have someone cover a shift for him to entertain me the evening prior at the space. I’m grateful for the warm welcome that I’ve received here. We have a secret day of margin in that we show up at the Dalton building and only have to set the machine on a table, then have the rest of the day to fiddle if needed.
1 Like
Both shifts only appeared in the diary on Tuesday evening! Safe to say someone now owes me one ![]()
1 Like
One last observation before bed. I completely misread the setup time; Most of the show set up is Friday PM as the building is in use by students until 5PM on Friday. I read the start times as AM, not PM and ASSumed the setup day was like an RMRRF (all day, day prior).
Reading comprehension fail. I always have been more mathy than visual.
So, my new plan is we can take a leisurely morning getting the LR4 all ready and checked out, then head to Manchester, get checked into hotel, and then bring the machine over to set on the table Saturday morning at the small table set up time.
That means if needed, could do a thrash session at the hotel on Friday.
A whole different kind of hidden margin.
Following is the full quote, which is spread over two pages in the exhibitor pack:
If you were with us last year, the Dalton Building is next door to the Business School. Stands can
be set up on Friday, 6th of March 2026, during your allocated time:
Platinum Exhibitors: 6 pm,
Gold & Silver Exhibitors: 7 pm
Bronze: We recommend you arrive early on Saturday morning. The venue will open from
07:30 am and the event does not start until 10 am.
Please do not arrive before your allocated timeStudents will still be using the building until 5 pm and the facilities team will need time to clear
all current furniture and lay out exhibition tables. If the venue is filled with people, it will hinder
their progress.
3 Likes
Awesome work guys! Looking forward to seeing it all running tomorrow!!
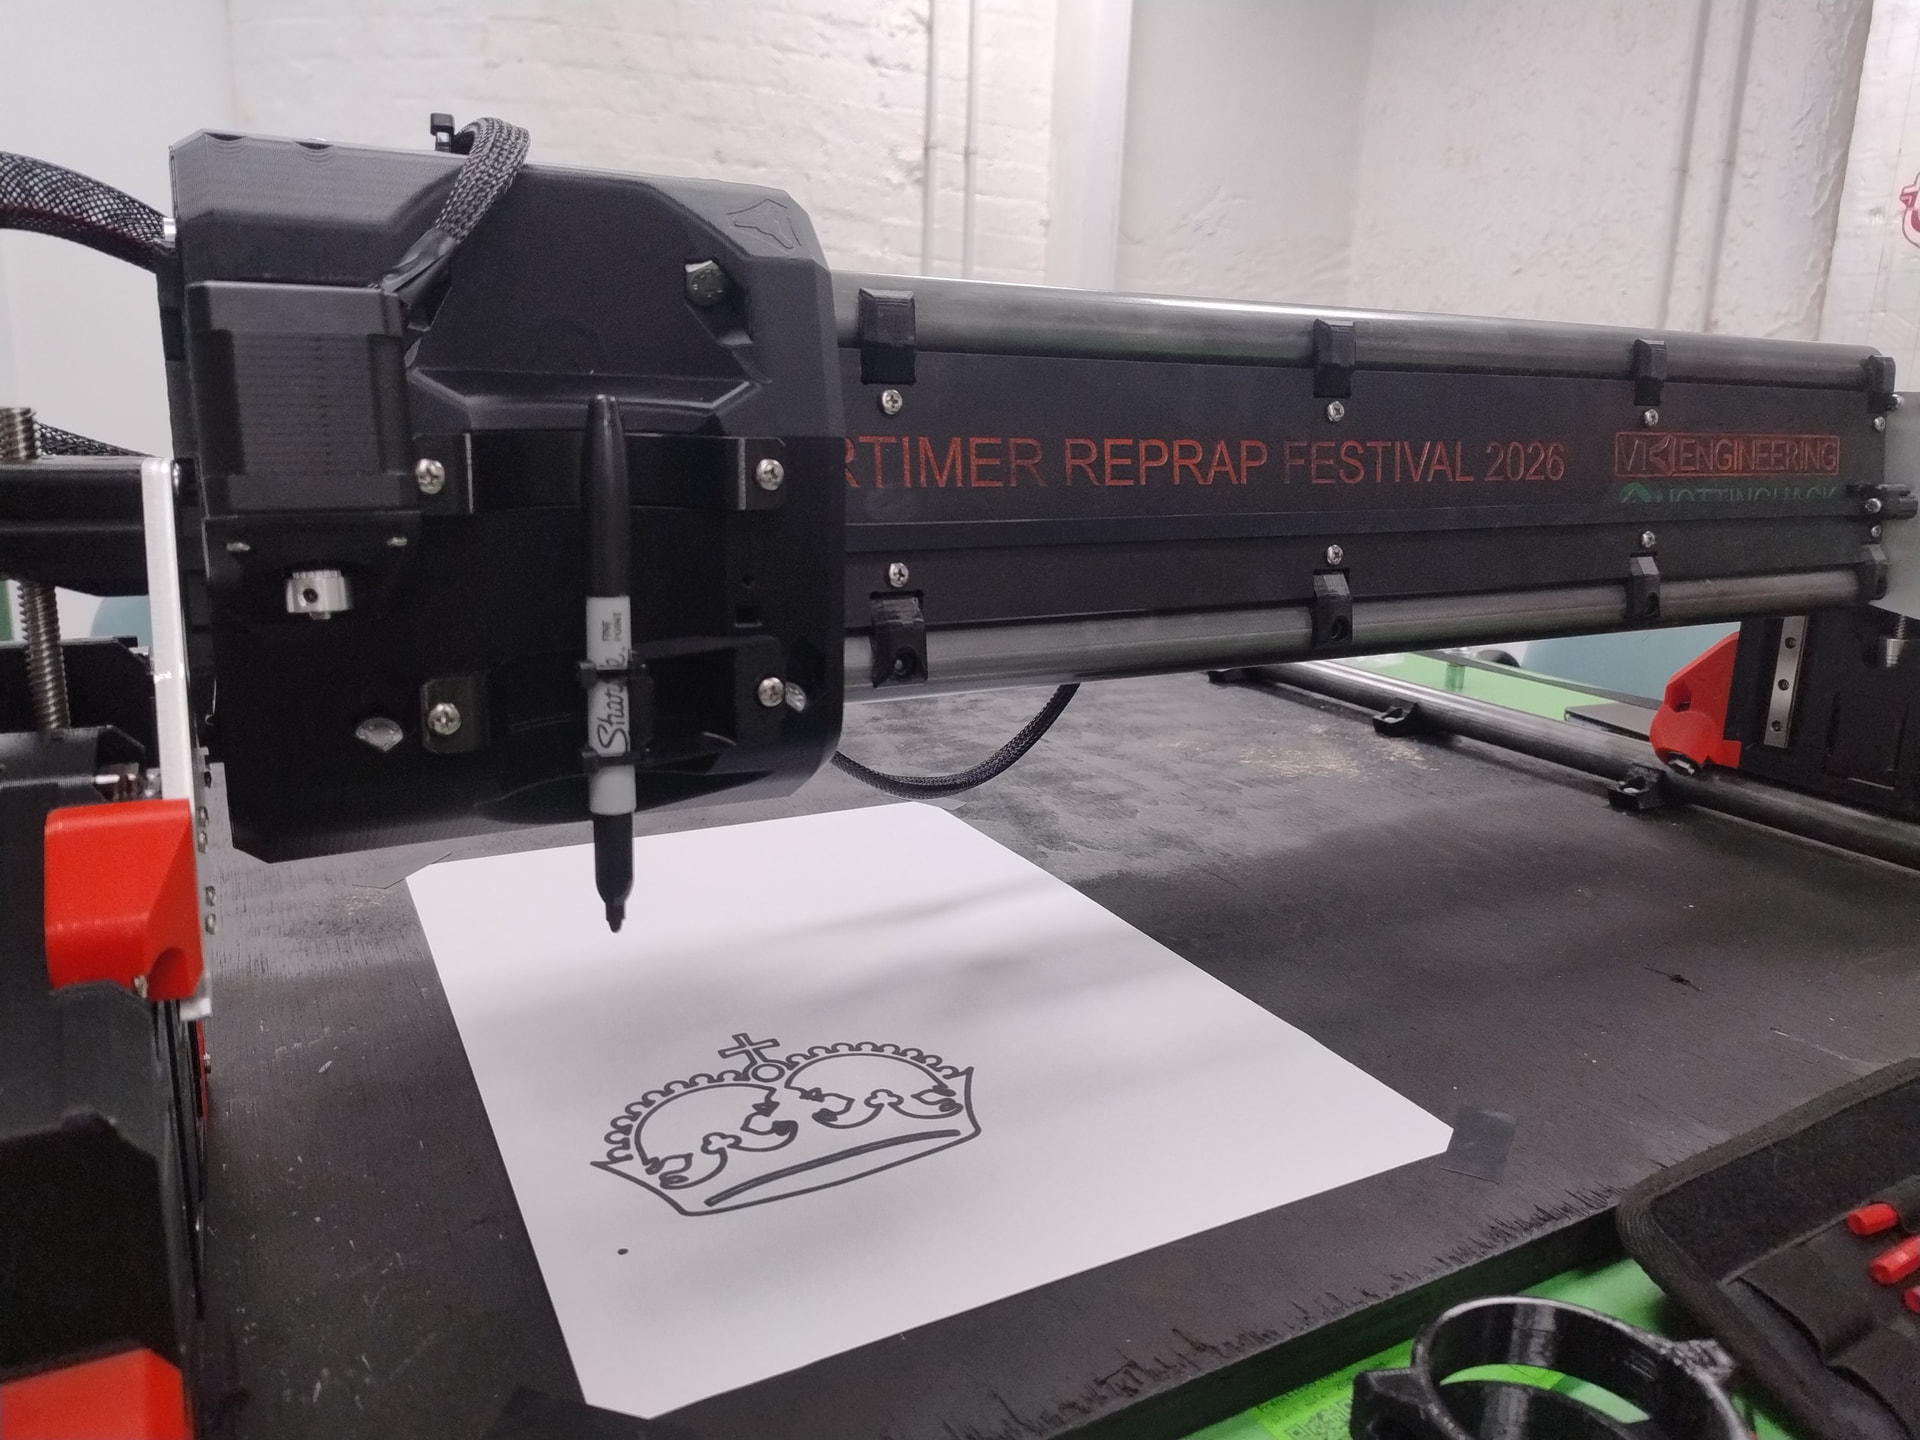
Give this a go!
Sanjay Solo.dxf (30.4 KB)
1 Like
Neat. ![]()
We’ve made it to Manchester, the LR4 goes onto the show floor early tomorrow morning.
Is anyone able to take that DXF Chris posted and export a plot?
Machine works beautifully.
4 Likes
How big do you want it?
2 Likes