Come on now…you had to know we would follow suit! LOL
1 Like
I really wasn’t sure how it was going to go. Honestly though it jas gone so smooth. I did measuring last night. Inner diagonals as built are far far less that half a mm without trying.
I had to nudge two of my rails 1mm. I think it is completely dialed in in under 10 minutes. So far, this is how they should be built
4 Likes
It seemed to work out well for me, anyway. Glad it’s working out elsewhere
1 Like
Now I just have to figure out the best place to get the HDPE and how large of a second mortgage ill need to afford it LOL
2 Likes
I’m thinking it does not have to be HDPE. There are surely other options, depending on thickness. I’m thinking it’s a bit like a torsion box. The “skin” itself adds a lot of help, even if it’s not that thick.
Where is this button?
Edit: when I read this, I thought you were meaning you created a special button for calculation.
If you are just referring to the built in measurement tool, I know about that.
I may well end up replacing the plywood with acrylic, myself. HDPE is nicer, but it definitely is spendy. The plywood actually seems pretty good. My theory using it was that the extrusion would keep the plywood from warping, the plywood would keep the extrusion square.
No changes for me any time soon though, the printer is as square as my CNC, which I was very careful with before cutting. I may want to redesign parts for wire routing and management, and I’ll think about it then.
Pretty sure he’s talking about the inspection/measure tool.
Of course I did all my panels myself. The back panel was to the edges of the extrusion. The side panels overlap the plywood, so they’re just past the extrusion, and the front panels overlap to cover to the sides. I like the overlapping panels myself for aesthetics, but however you like.
Oddly enough, I made my drawings parameteic. Fill in your X, Y and Z rail sizes and your material thickness. I think the 50mm gap between front uprights and the Z rails is hard-coded though.
1 Like
I had acrylic in mind, at least so far. I have some 1/4" thick acrylic in hand. I can cut it with my laser. I also have some 1/2" thick HDPE left over from job. I have not researched whether it is safe to laser cut. And it’s thick, so may be a CNC router cut job. I guess will need to cross that bridge of choice eventually.
Yes sir. I’m sure that 1/4" plywood or Acrylic would be just as good. That was meant more as a joke to Ryan showing off with the fancy stuff. Just yanking his chain.
2 Likes
Cool
I went to the plastic shop and was asking a bunch of questions. Then I asked about HDPE for the last printer and he opened the shop door to a stack of those quarter sheets. They were a about a foot bigger in both directions then I was asking for. But they wanted to get rid of them. That is why when it was less than half price I grabbed them all to get even a bit more discount. If I am not mistaken, they were just over $40/quarter sheet. So it took 1 1/2 of those to do the V4, pricey but not too bad.
I was planing on selling some material packs and cut it up for that. Now I will probably use it to make a few more printers real quick.
2 Likes
Gotta jump when you come across a good deal like that!
2 Likes
Quick question: any advice on height placement of the power supply, regarding the back panel?
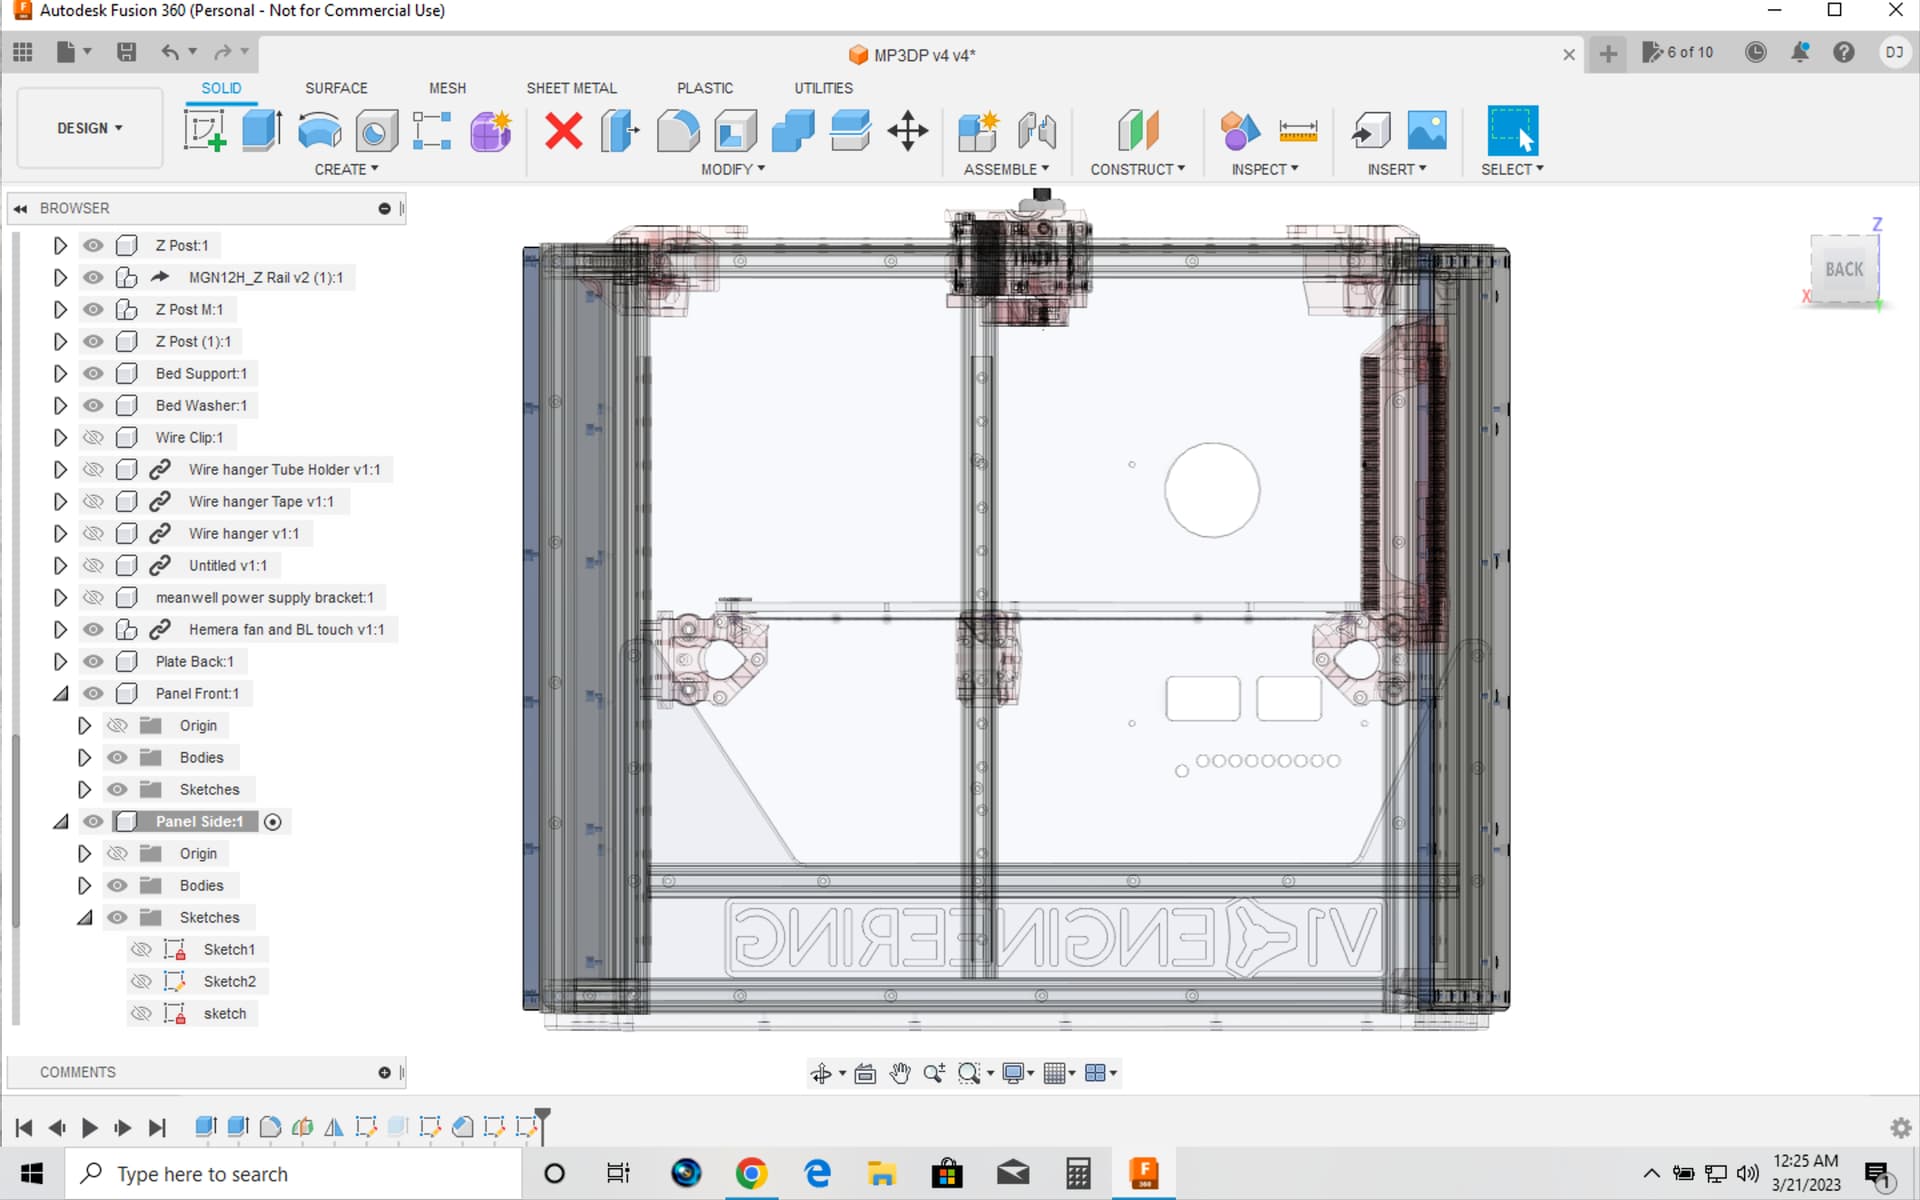
For enlarging the usable area from 200 cubed to 300 cubed, below is a before and after on the PS location on the panel. I guess I’m wondering if it should “cling” toward the middle, the top, or the bottom?
BEFORE (200 cubed):
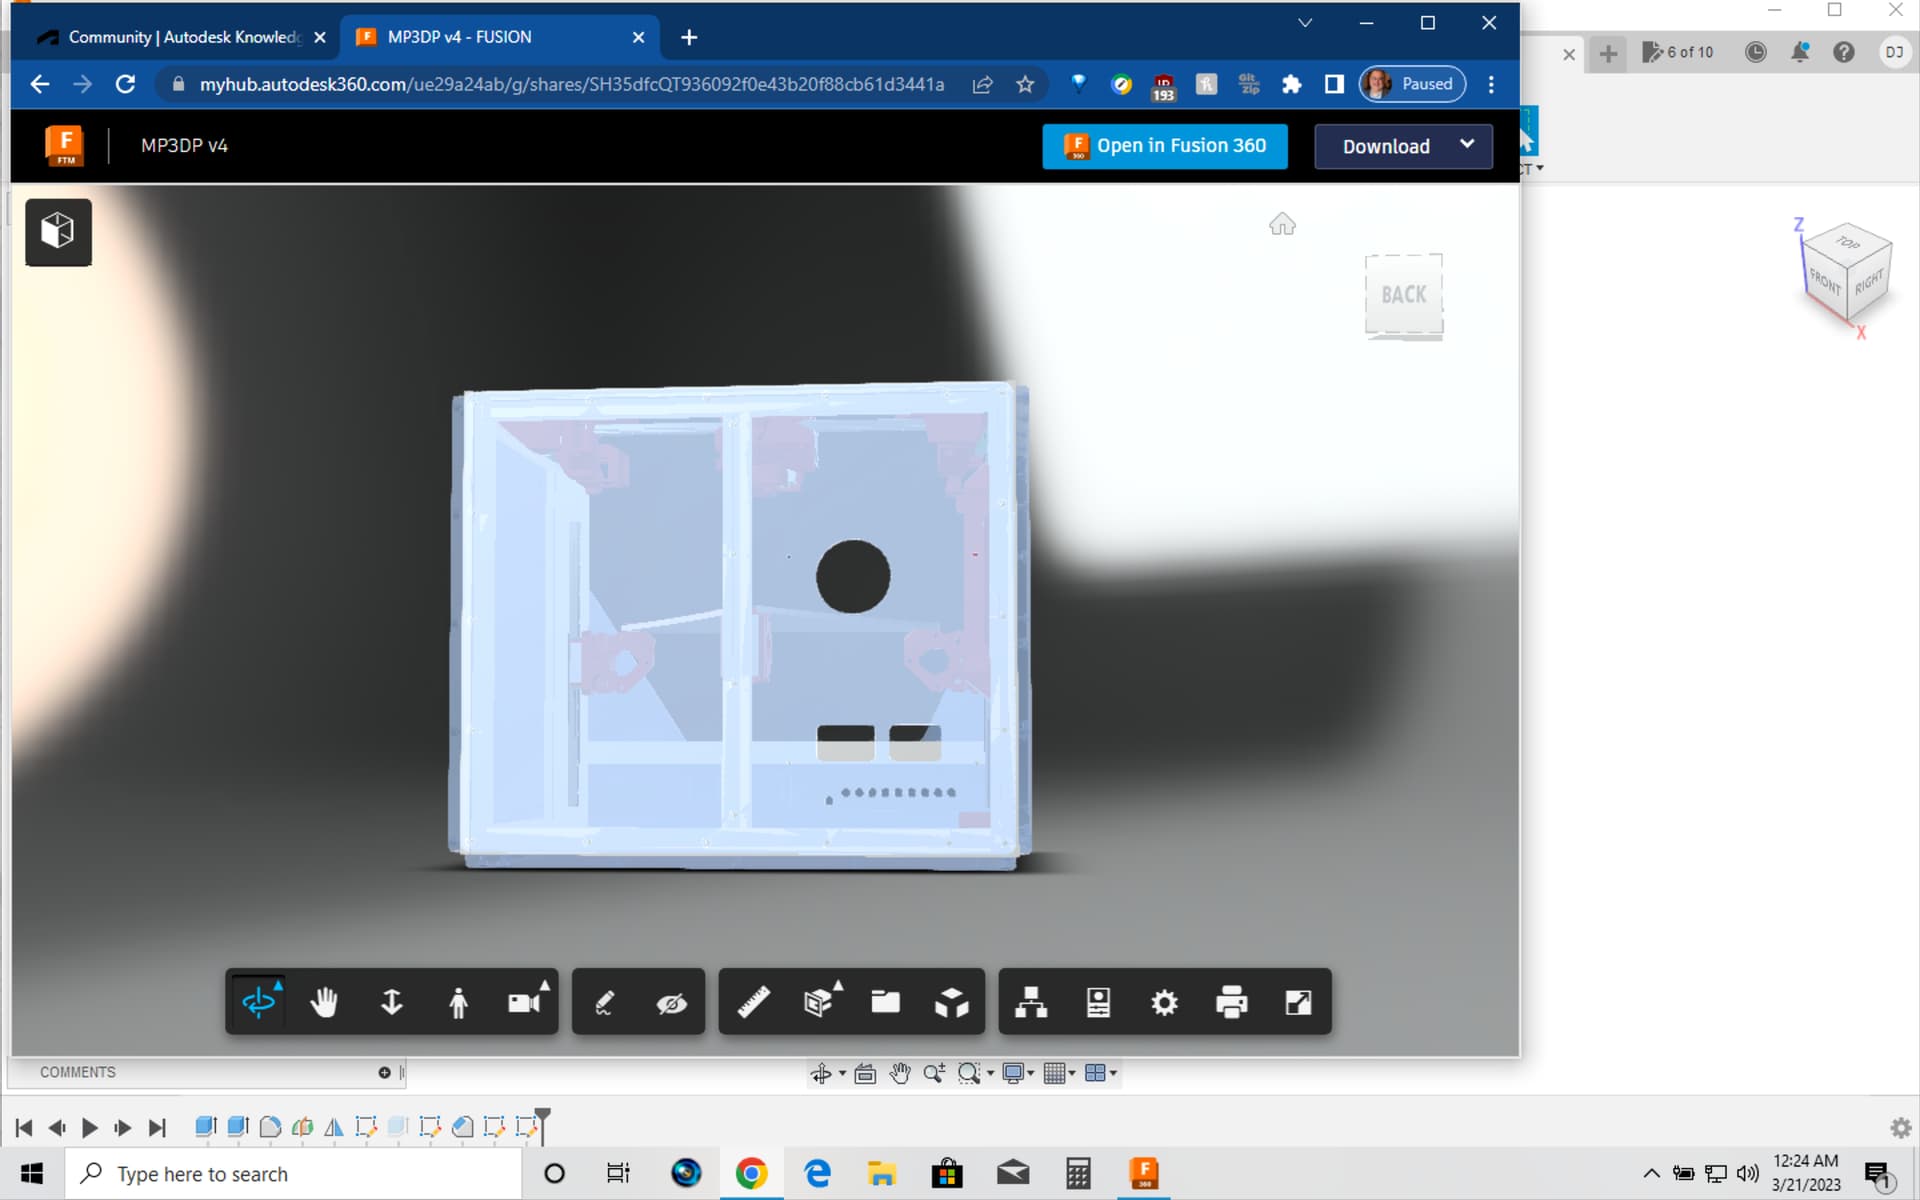
AFTER (300 cubed) — with no effort to adjust the result of simply editing the parameters:
If anyone lives near a Menards, they have quarter inch hdpe sheets. That’s what my printer is skinned in. They’re used to line horse stalls to make them easier to clean out, and keep the horses from eating the walls. They like to chew on the wood.
2 Likes
I think most people would normally just mount it outside the printer itself. If you do mount it inside like me, It is all personal preference. If you are unsure you might want to wait to see the printer when it is done. You are asking questions on parts I have just made and have not currently tested yet. I consider the release V50 anything above that is alpha as I am still building it.
You also need to take it apart and reverse the fan flow.
I put it inside to minimize the footprint and keep it safe from kinds fingers touch mains power at RmRRF.
1 Like
I’m torn between wanting it all inside the partial enclosure (since the front and top are open — should not be a concern of too much heat on the power supply) versus going “full enclosure” (putting some doors and lid on, probably plexiglass or some such) for instances of needing it for certain filaments, and then probably mount the power supply outside, but put another cover over it.
Yep, and they have 1/2" thick HDPE in 4’x8’ sheets as a special order item. We have a Menards about 50 min. drive away, and they’re building another one here in our area.
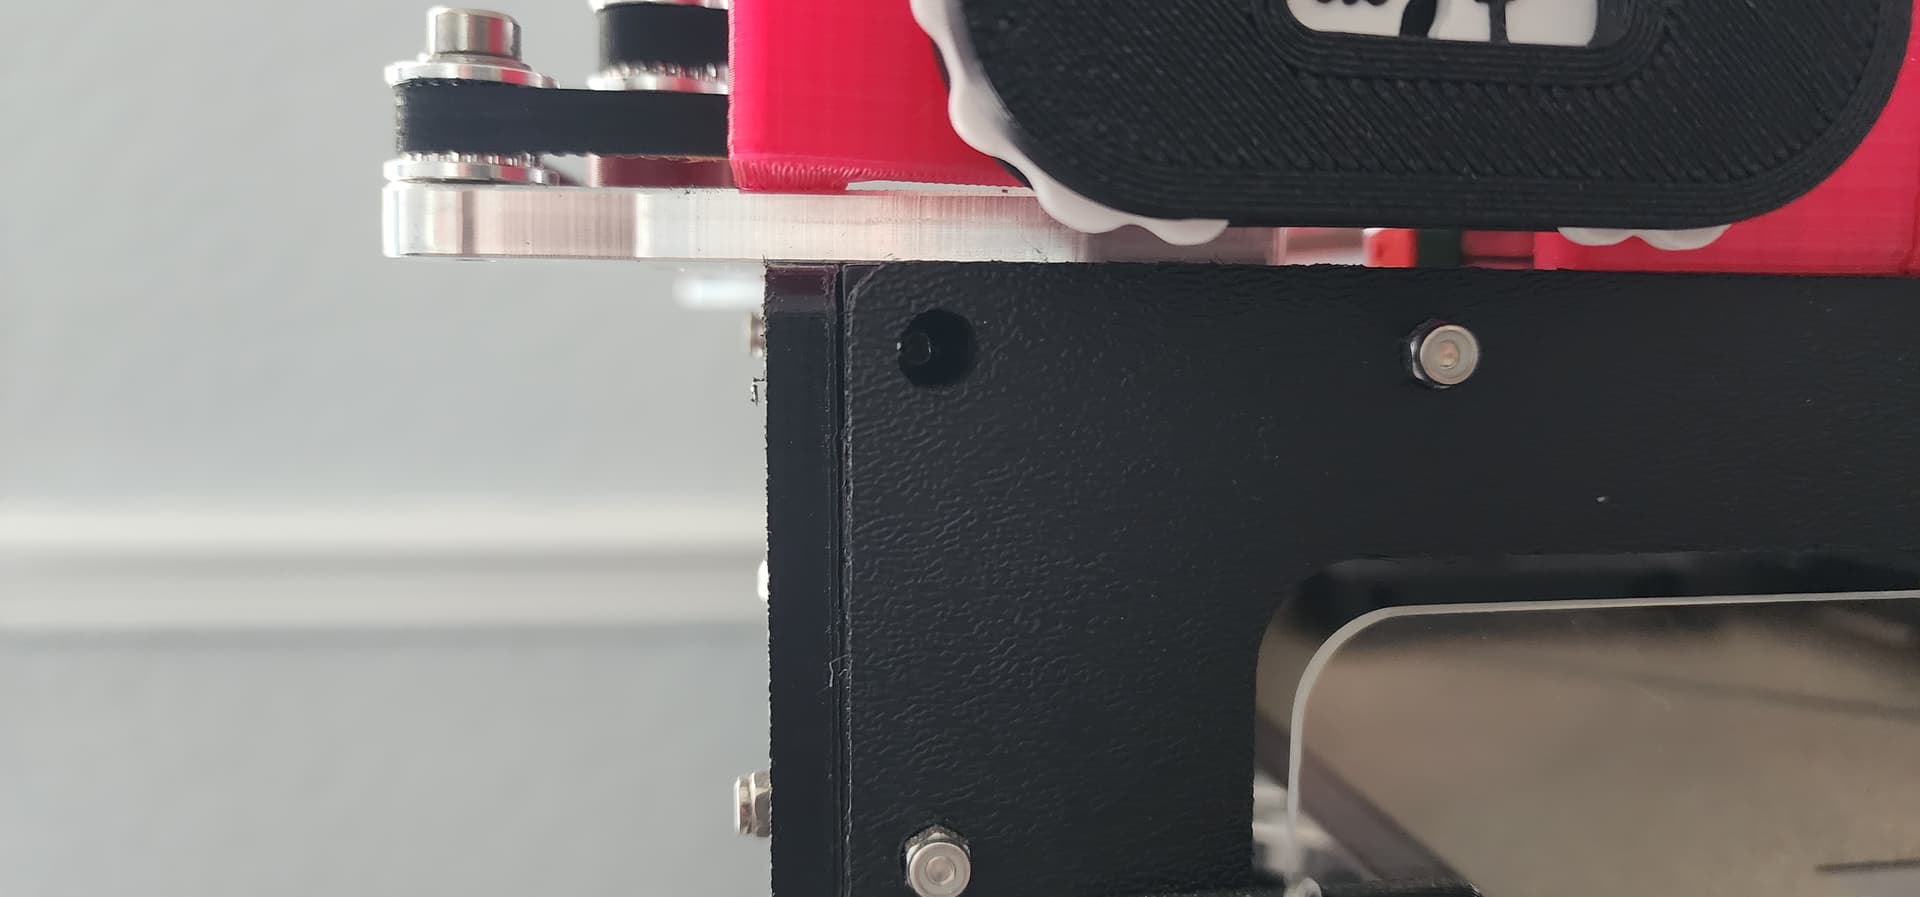
I’m not home and I don’t have a picture of the back board of my build on my phone, but I can tell you, if you are planning to mount everything on the back panel, you will only need a 14mm hole at the back panel. The Z motor wire can be fixed/attached to the bed support plate and go out to the back with the heated bed wire. The X and Y motors cables can go on the top of the 2020 extruders and cover with a 3D printed T-Slot cable cover.
I will be home tomorrow afternoon and can post pictures.
Now as far as the power supply, (if I remember right) I have it mounted about 70mm from the bottom frame and almost center (left to right)
2 Likes
@gpagnozzi Thanks!