V1E.com Forum
Repeat V2?
Mostly Printed 3D Printer - MP3DP
Hardware Development
vicious1
(Ryan)
October 8, 2022, 10:34pm
163
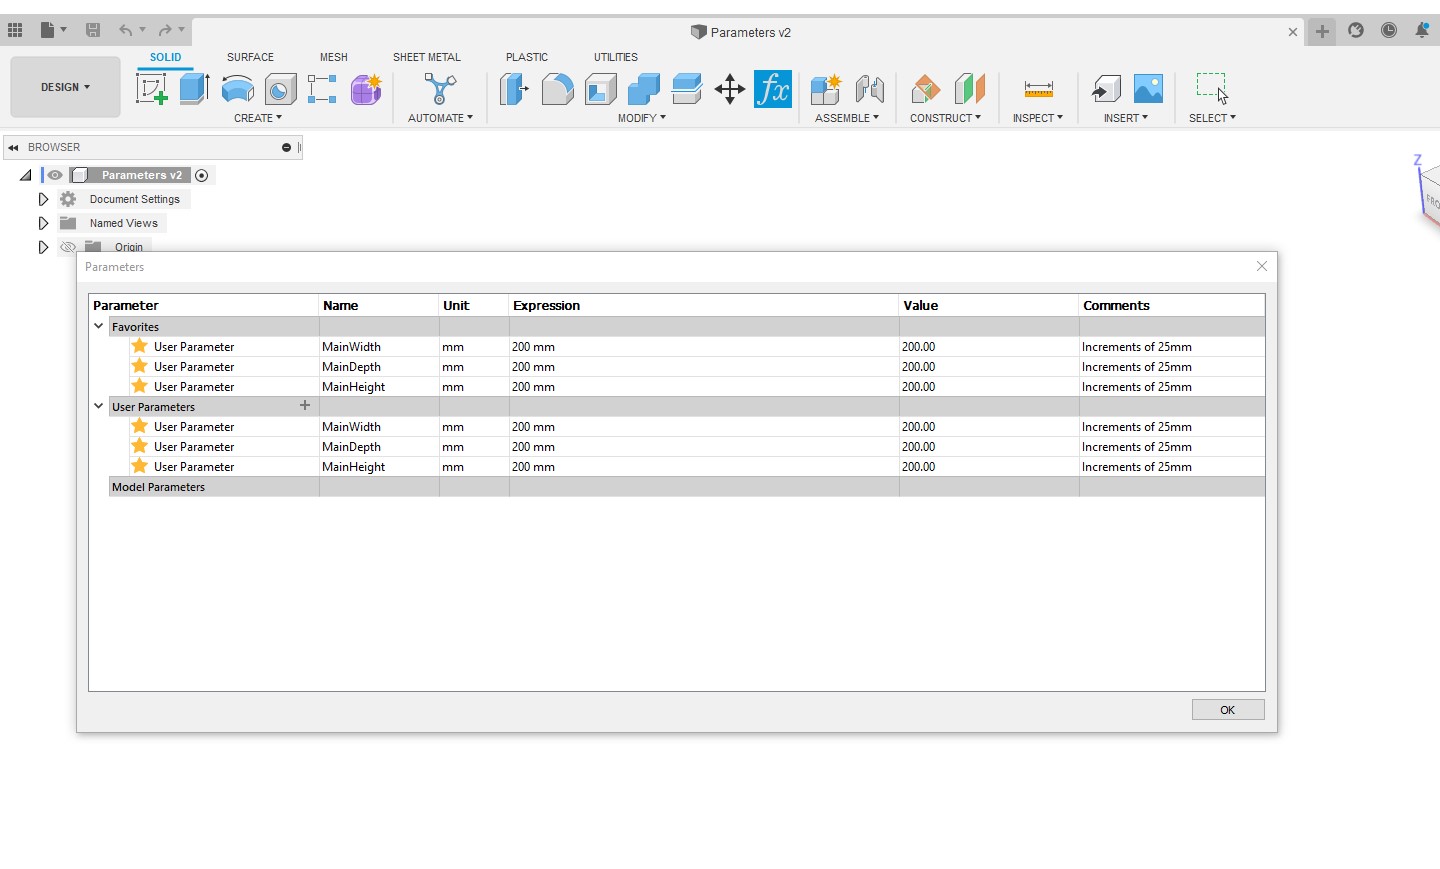
Screenshot 2022-10-08 153322
1440×869 113 KB
Make sure all 6 of these are changed and saved, close the file then open the rest in order.
MP3DP v4 - Aza's build
show post in topic