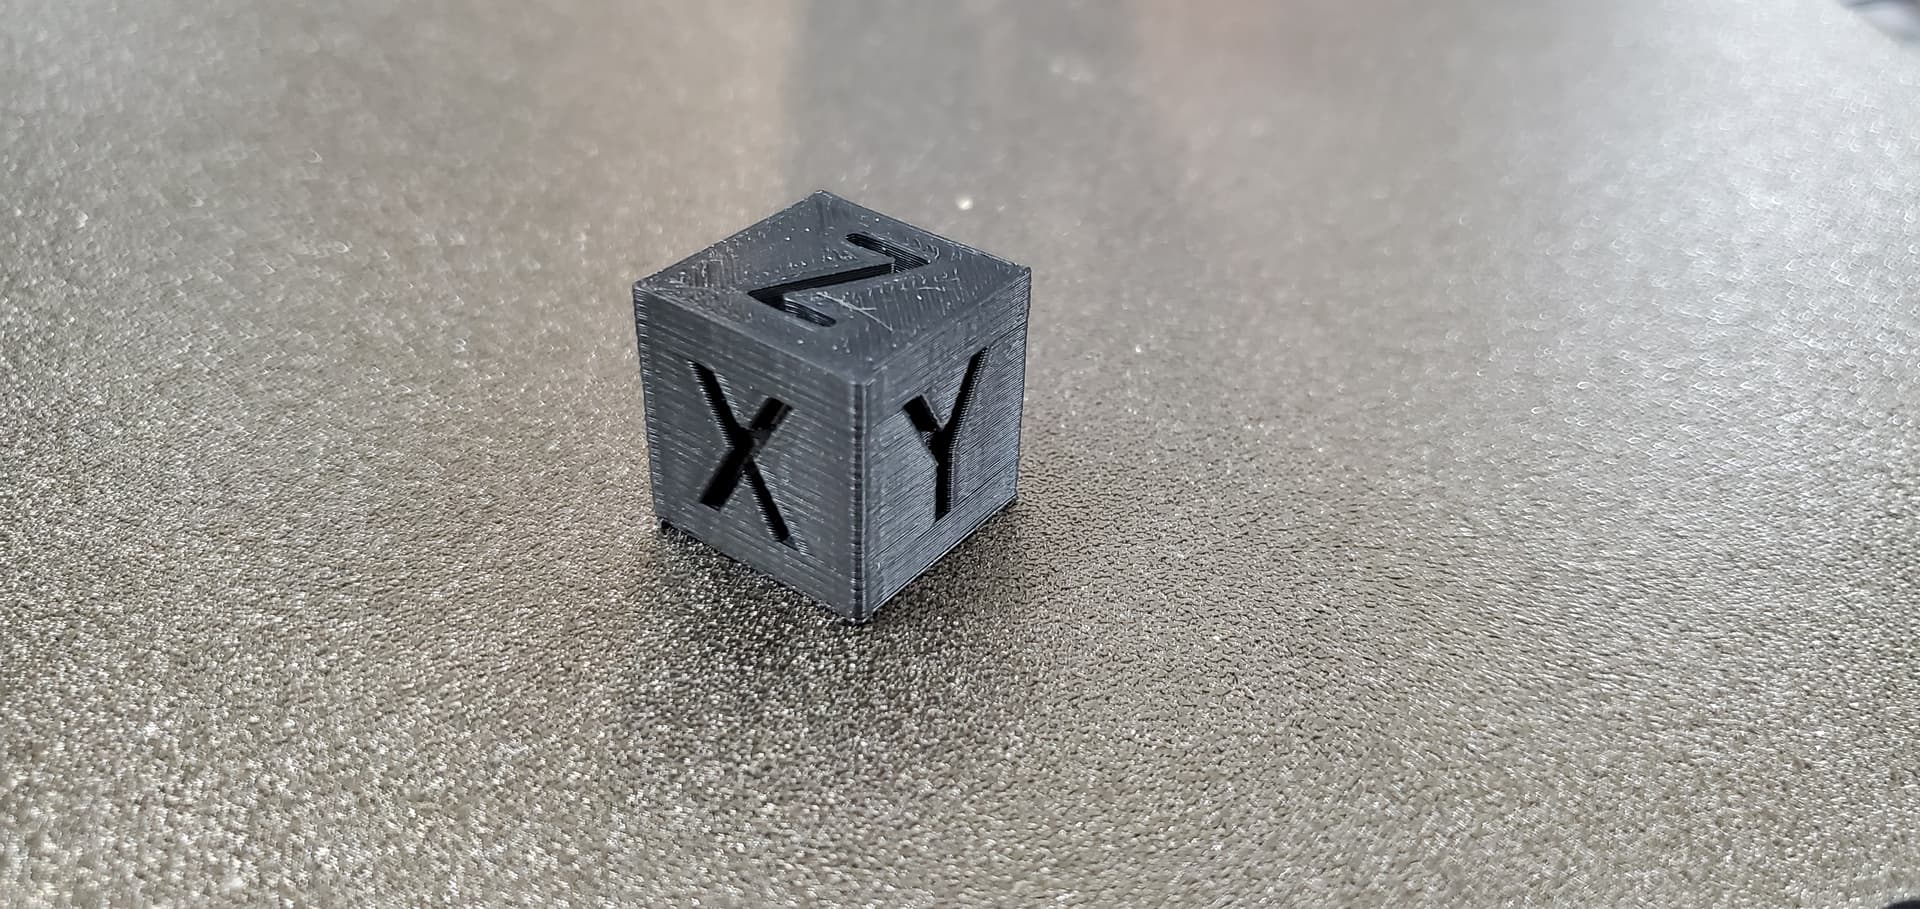
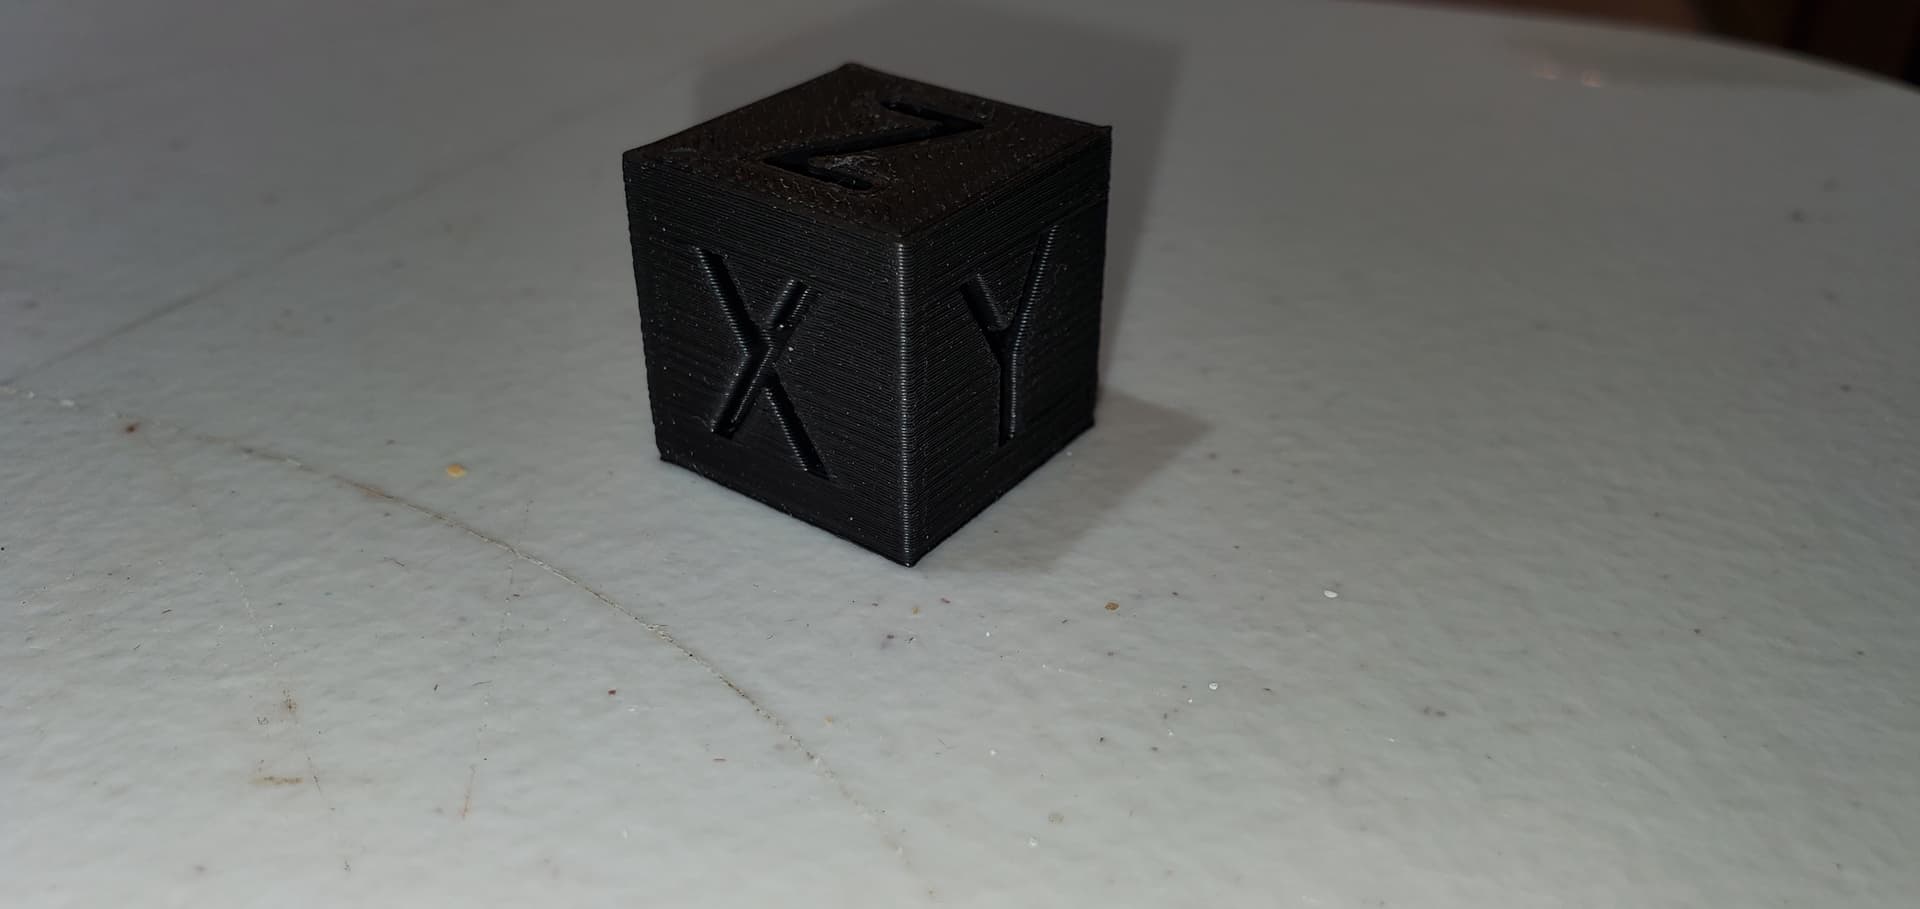
I pulled the 2209s. Loaded up the DRV8825s, set the vrefs, compiled some new firmware, and learned that I didn’t know how to set microsteps, either, lol. Took me three tries before I found my mistake. Also, I’d slowed the accelerations way down trying to figure out what was going on (resulting in the cube above…running a faster one now). The motors were all going backwards, but the only thing i changed was the step driver type. Weird.
These things are definitely louder than the 2209s, even with stealthchop off, but no clunking noise and no drifting, so they stay put. I’m definitely blaming the drivers for both of those issues. That way i can blame the sensorless homing fiasco on them as well. I’m sure it’ll help me sleep a little.
And the pictures…
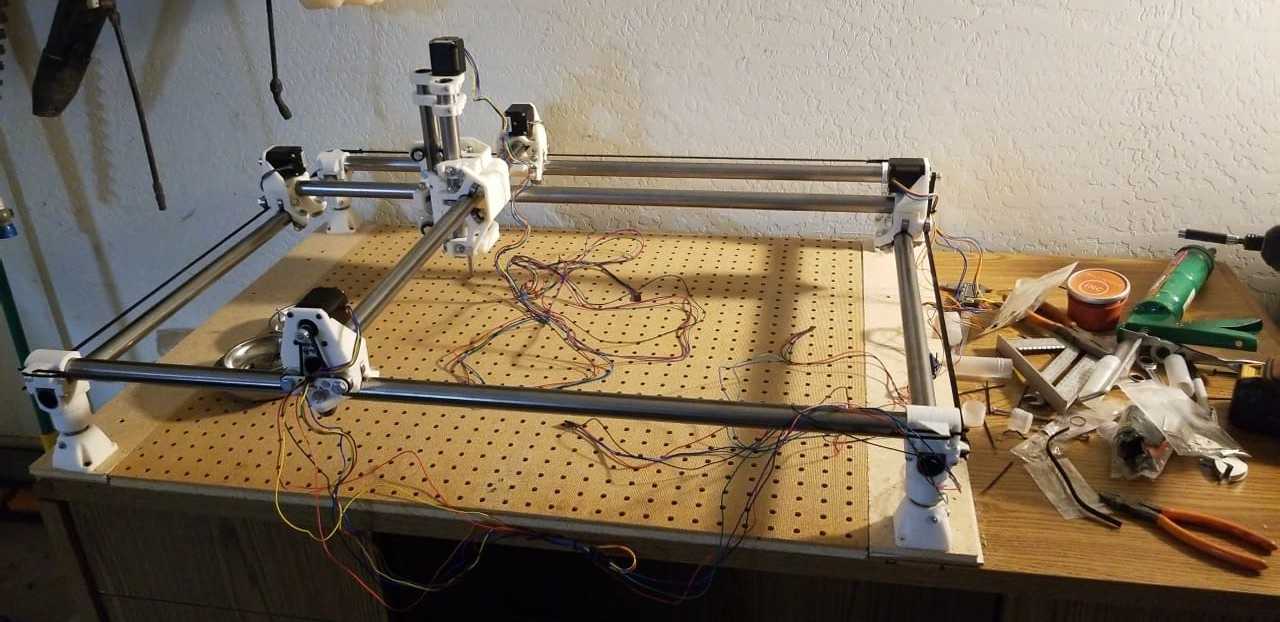
I used this acrylic to cut my own braces because my old printer isn’t square enough, and the way I built it means I have to take it apart to make it right. The cnc is very square though. All this acrylic is off-cuts I save from jobs I do, so they aren’t big enough to span an entire side, but I don’t pay money for them.
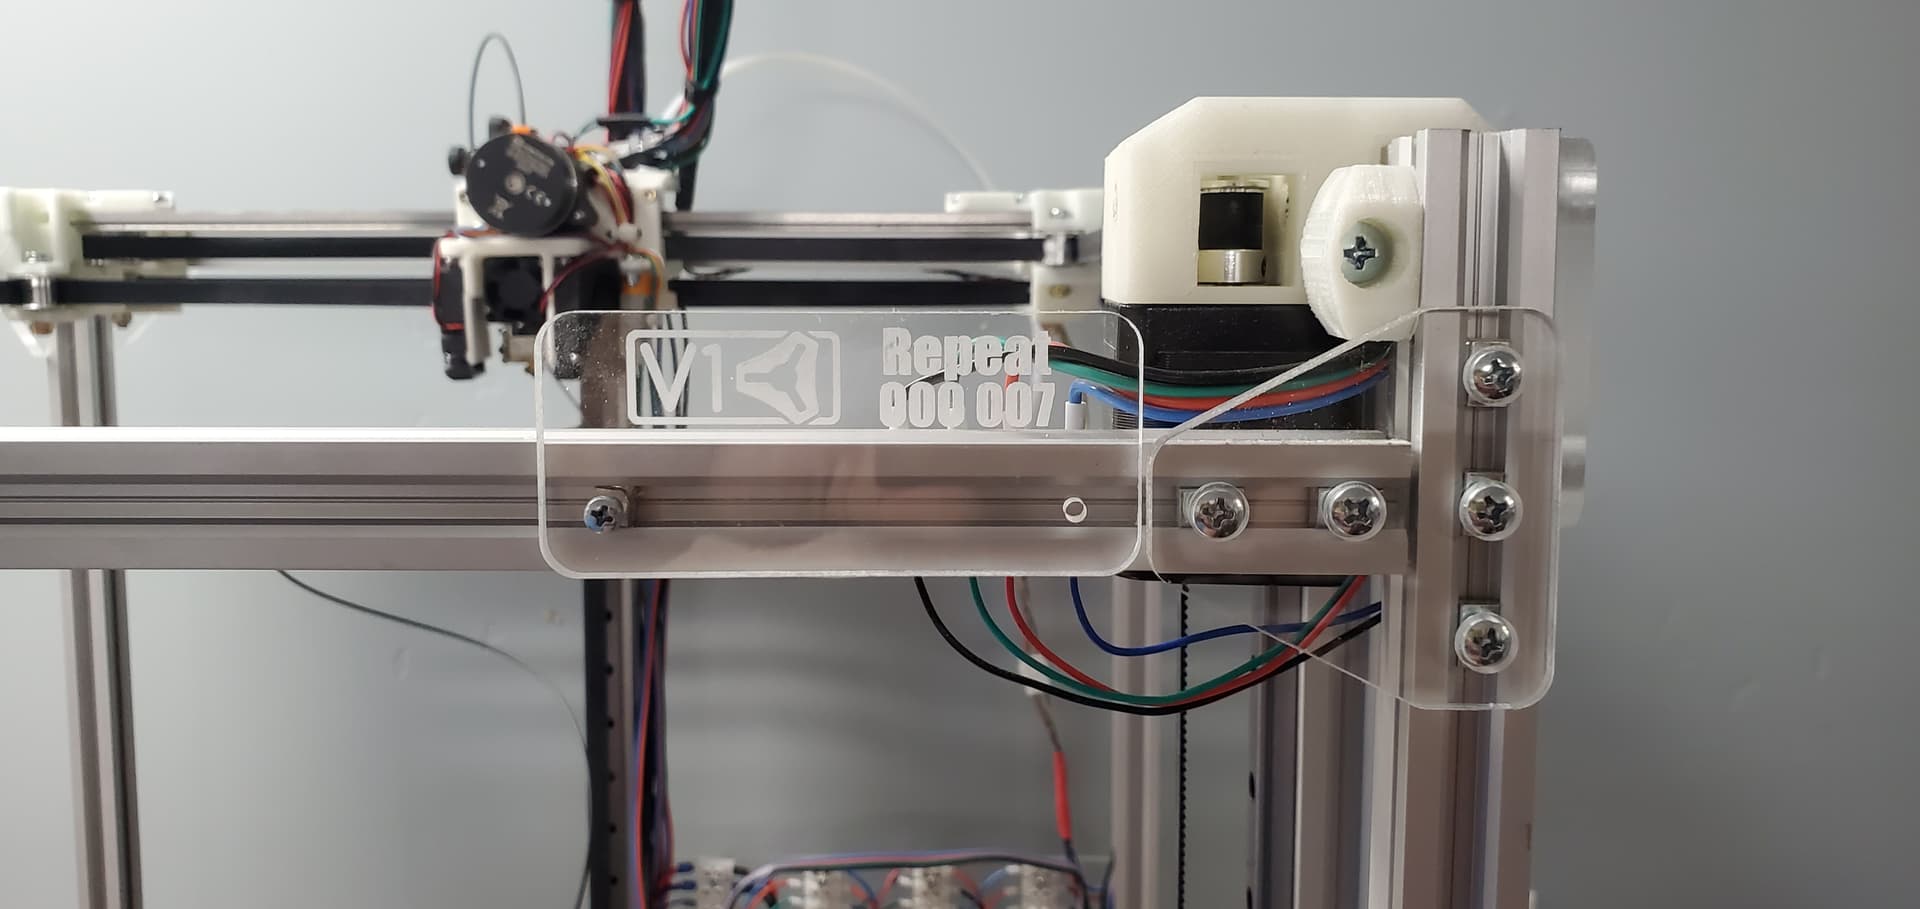
If you look closely you can see the heatserts…they work really well in the acrylic.
By the way, I really REALLY hate crimping dupont/jst connectors. Inadvertently ordering 18AWG instead of 24AWG didn’t help.
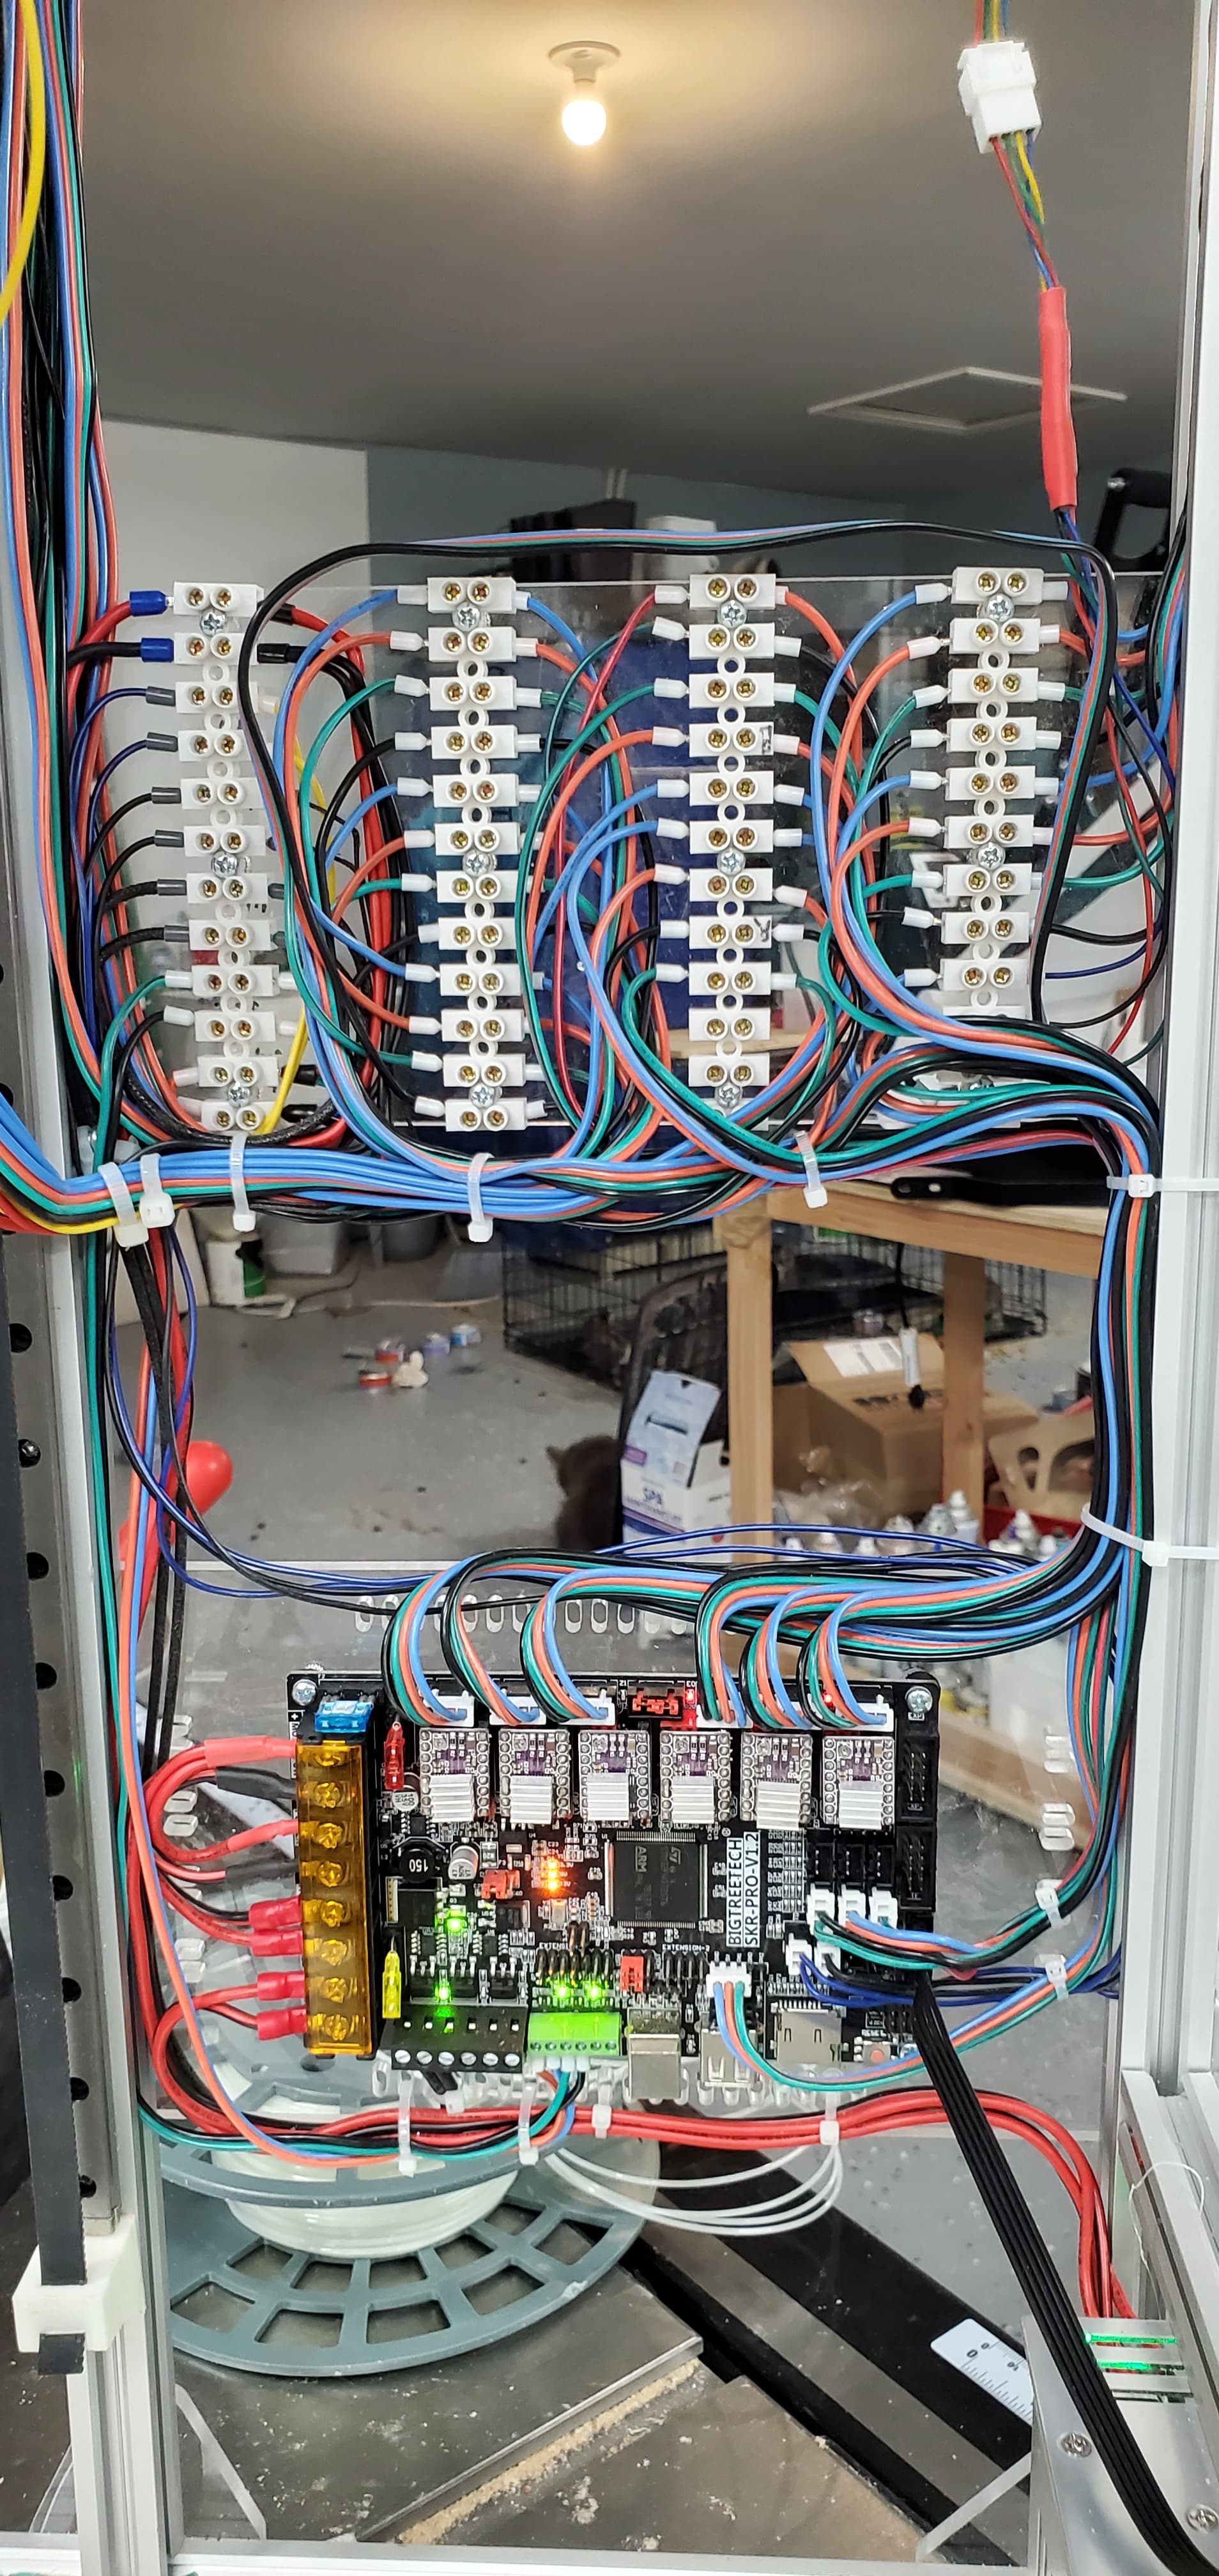
Crimping these ferrules is easy peasy, though. So is turning a screw. I don’t usually have to do much with wiring on printers, but it seemed like I was always messing with it on the mpcnc so I wanted to get some experience with these. Only thing I would change is to leave more space between them. I’m a fan.
The goal was to have everything disconnect very close to where it lives and never have to pull wires off or through the machine unless the wire is bad. Maybe I’d have also soldered screw terminals to the skr for the motors, endstops, and thermistors. Only wire that’s different is for the extruder because I wasn’t willing to cut that one until I knew it worked well. It’s the one hanging in the back corner.
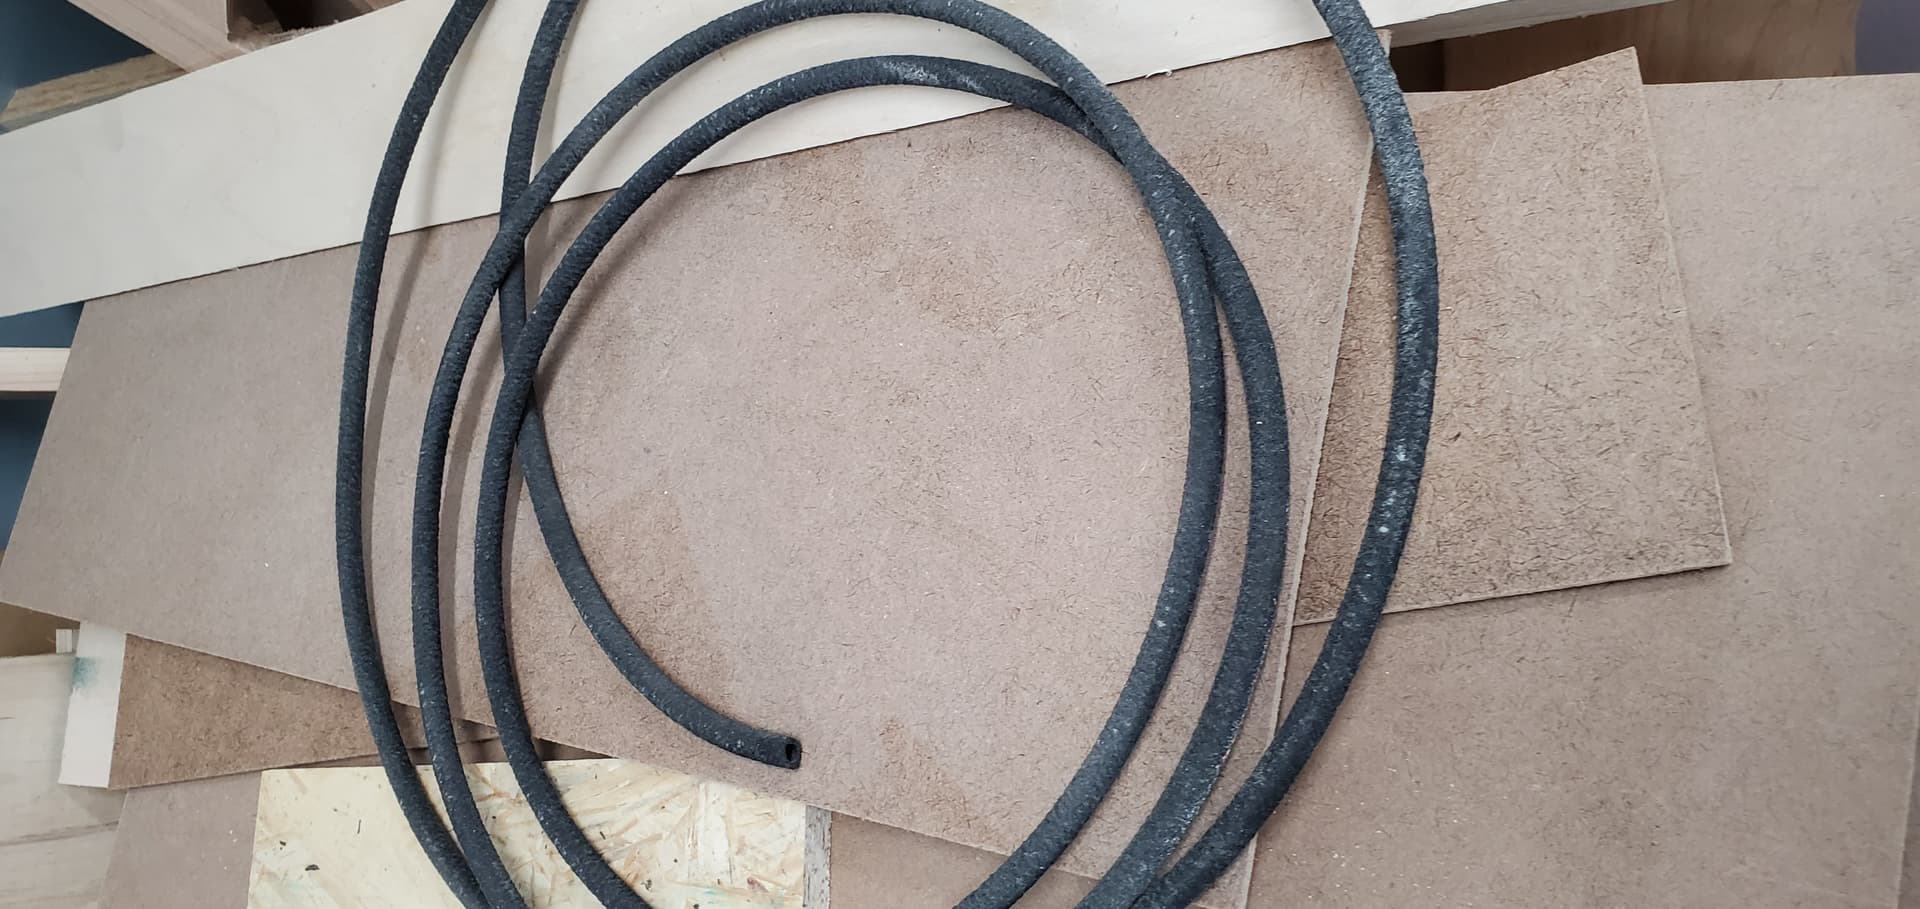
Leftover 1/4in soaker drip line is pretty much garbage in the yard, but it makes an acceptable core for the umbilical. Short pieces also made good standoffs for the skr.
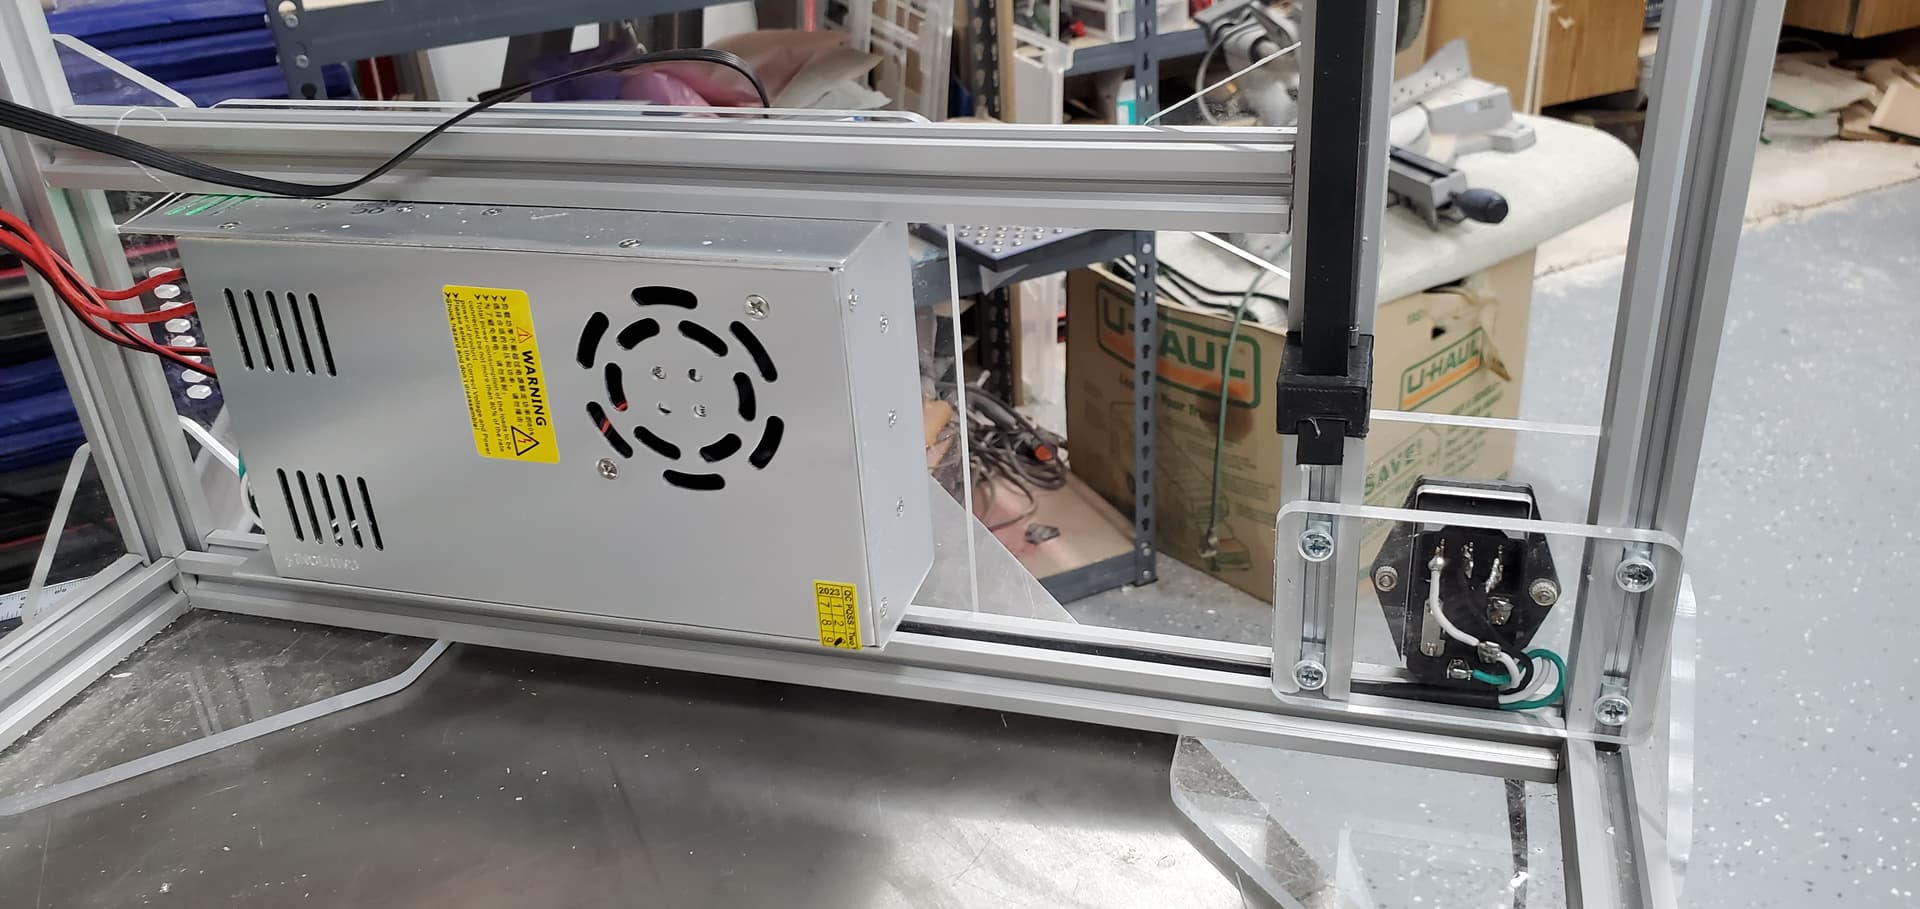
Got a switch wired up, too. I didn’t have any crimp connectors, which was ok because they would have stuck out anyway. I was going to seal it up with some silicone, but decided a cover plate would look cooler.
I bet I have plenty of speed left, and a lot of quality to find as well. Wife was pretty impressed cubist to the progress I’ve BEEN getting in the old printer. She didn’t quite understand what I think I can do after tuning it a bit, but she did understand that it’s significant
I need to go plan how the bed leveling and mesh is supposed to work. I sorta got it working in the old printer, but I don’t understand it, and I’m sure I’m not doing it correctly.
I’ve started using these all over the place. DIN mounted. Not sure if they’d take up more or less space than the connectors you used. These probably cost more. But there’s multiple colors
I still just soldered on extensions for most of my wires and only really use these when going in/out of devices it’s hard to get to the connectors (looking at you raspberry pi).
For $13 I got 20 strips of 12,so they DO appeal to my inner cheapskate. The screws aren’t amazing though. They’re serviceable, but none of my screwdrivers fit quite right. I ended up using my mini screwdrivers (like the ones you use on watches or glasses), and those are hard to get any real torque on.
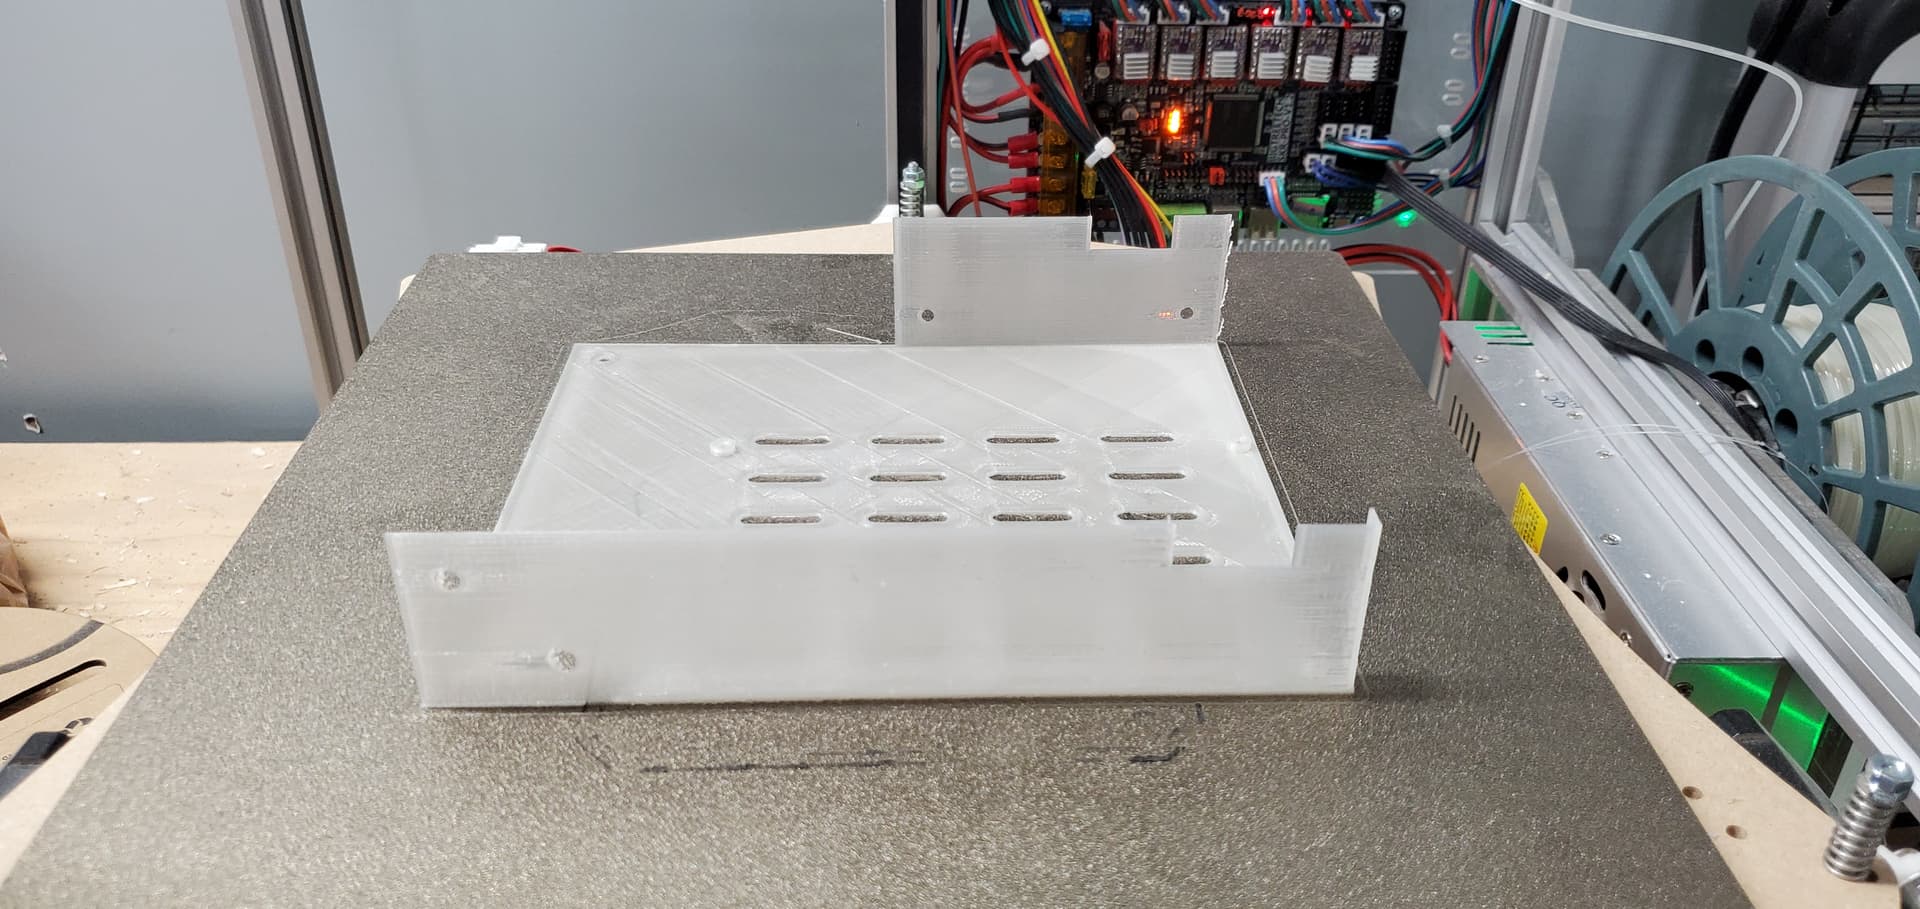
Backup parts, going for it all at once. Probably shouldn’t be a big deal, but it’s been so long since I could try more than one part at a time and expect it to not fail…
Kinda slow I guess, but faster than I was printing on my ender and it looks good! Also, didn’t have any appetite to push it, since I only had a little TPU and wifey really needed these parts.