Don’t have a ton to say but this process has been so easy so far so thank you Ryan and everyone here! I have a ton to learn about the actual CNC process, but I should have a running LR3 this weekend! (just waiting on the lead screws I forgot to order ).
Not even entirely sure what all I’ll build with the machine yet, but cabinets for the garage and some signs for the property will be the first things for sure! I’ll post more on this when I get to putting it together. Thanks everyone for your posts, they really helped me decide this was the one for me!
I’m very familiar with yours, subscribed on my personal youtube since I started the build! That plasma cutter and laser stuff has me ready to get some time with wood cutting under my belt then tackle those projects!
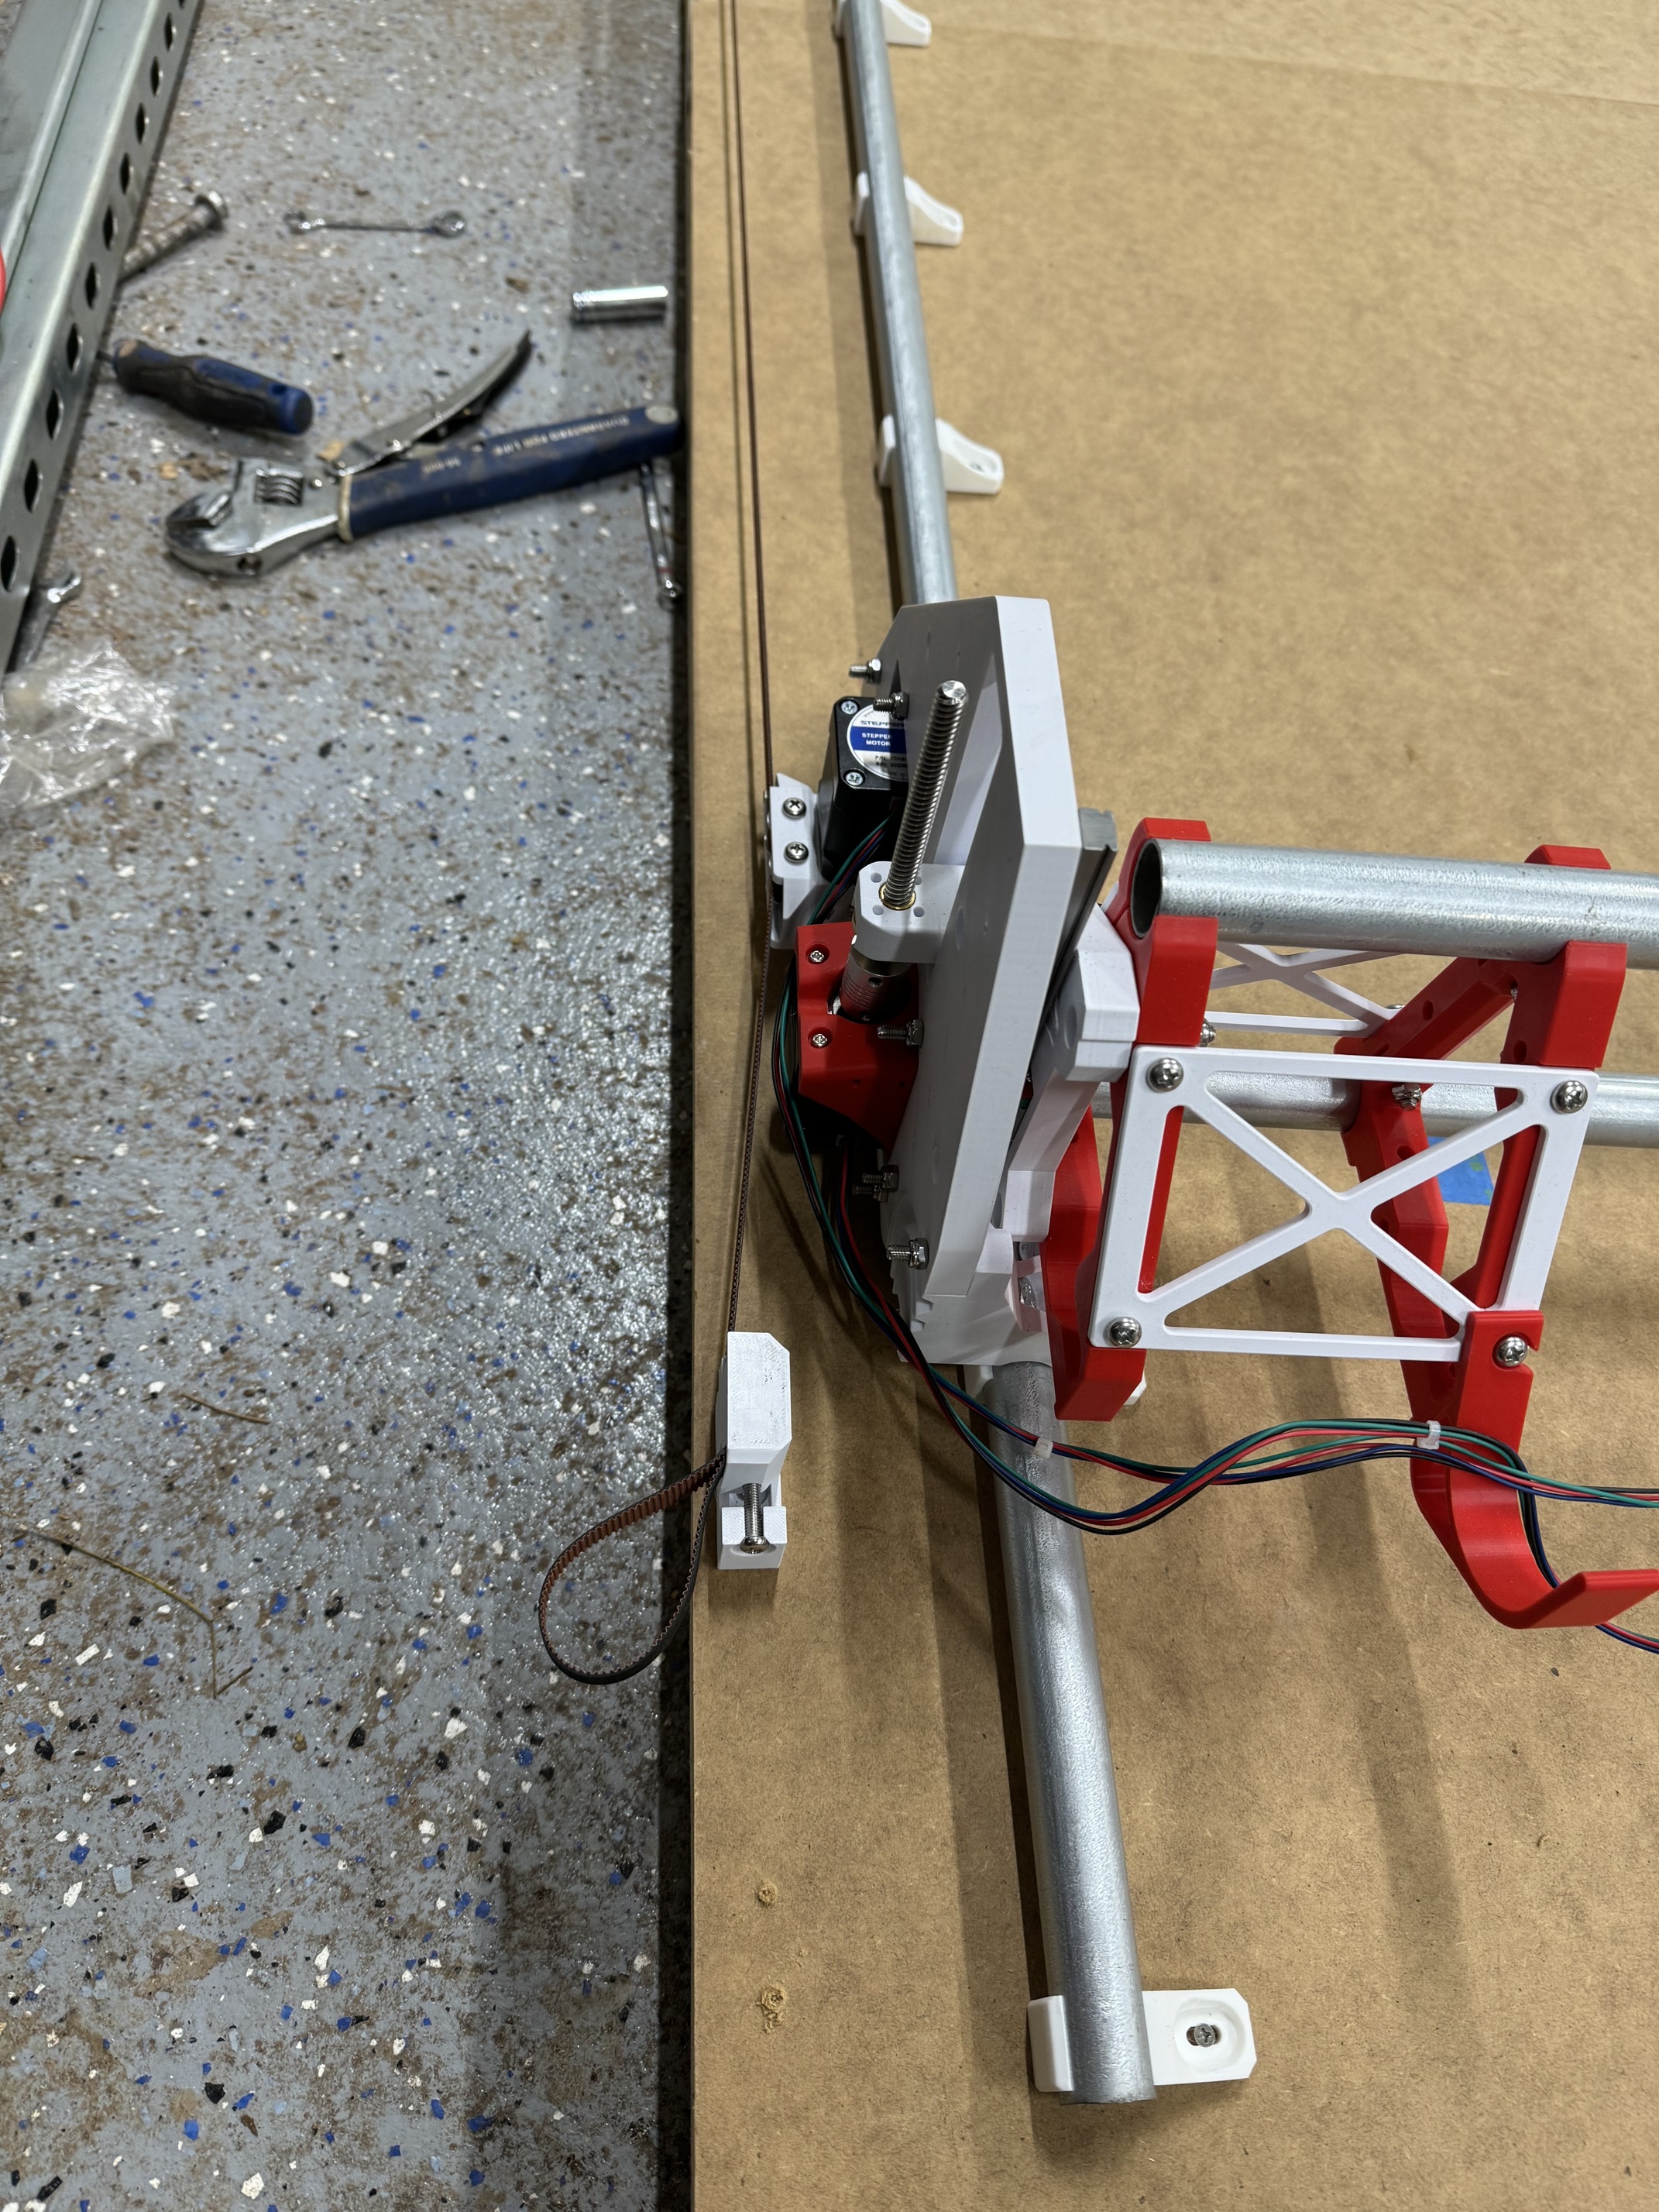
Based on the deflection of the belts, yes, you are way off!!! The belts are supposed to be in a straight line all the way. You need to reposition the Y rail (or the corresponding belt holders) , as well as the opposite side belt holder.
Both belts should be perfectly straight at each end when you are done
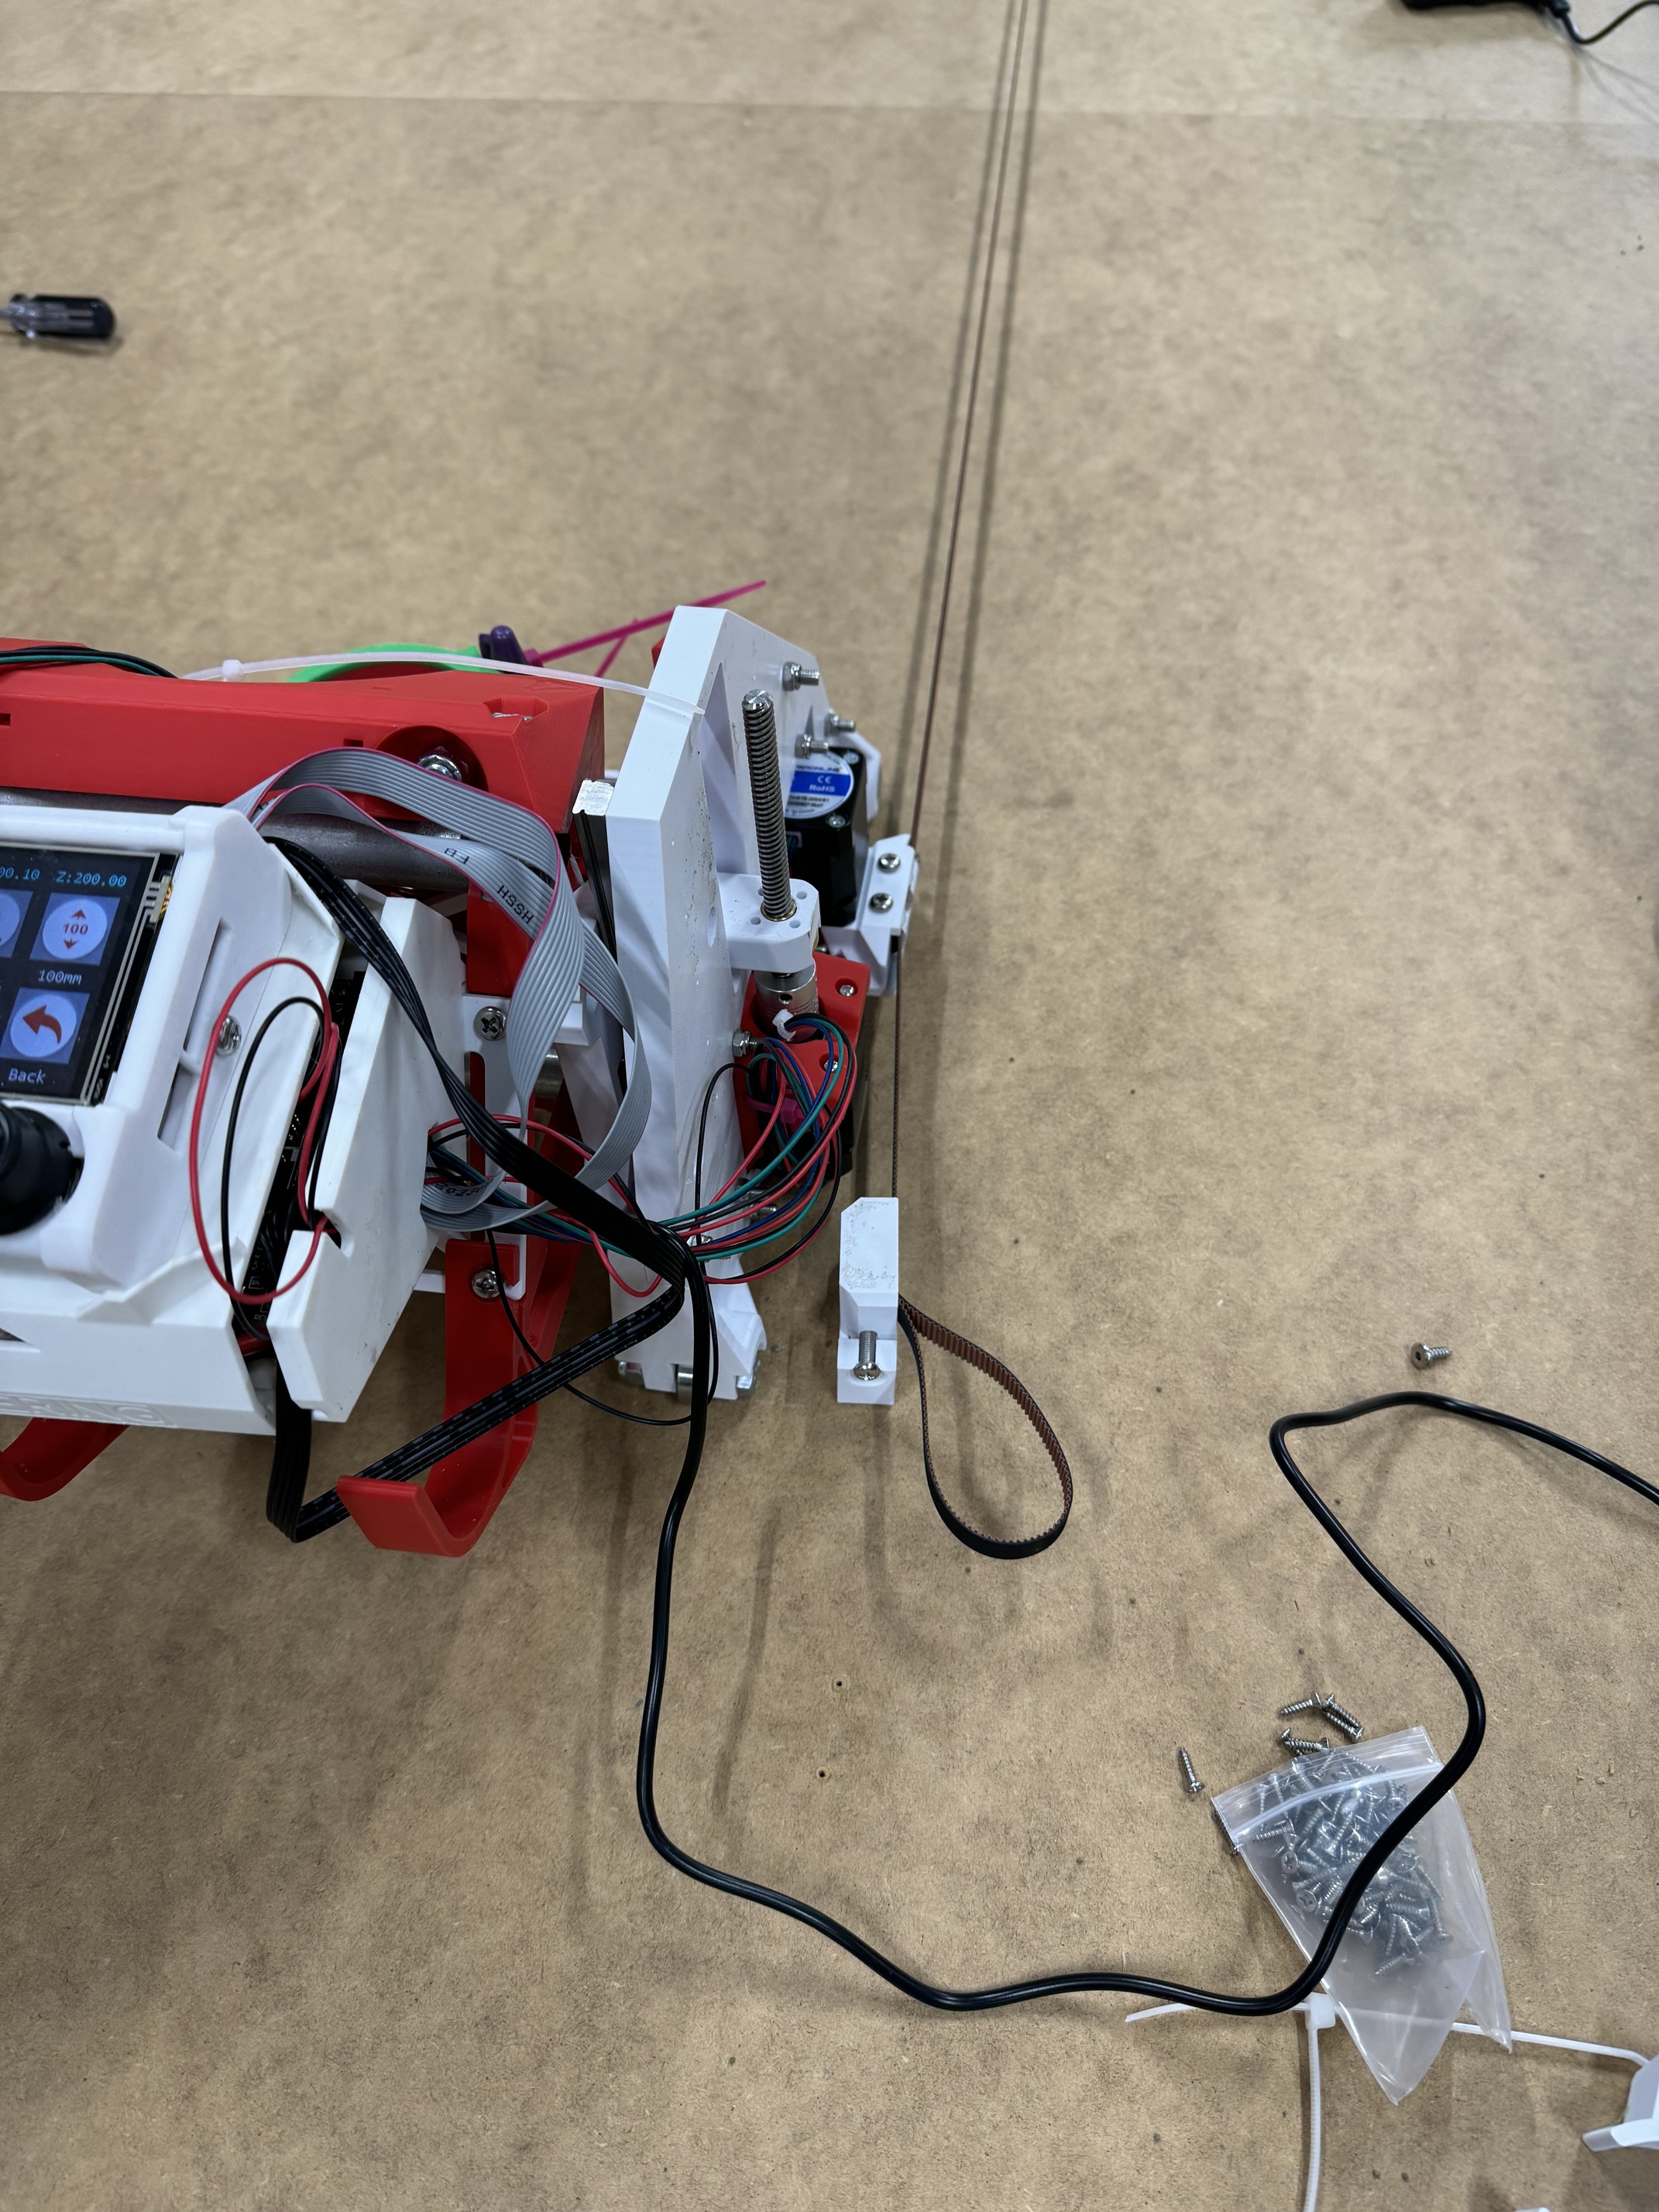
I have noticed that when I tell it to home on the z axis only one side moves, any tips (if not that’s fine I’m still going through the docs on this stuff)
make sure your Z axis is low enough that its not touching the endstops. Go to terminal and type M119 and see what your endstops report as. Could be a few different things but this will be a good starting point
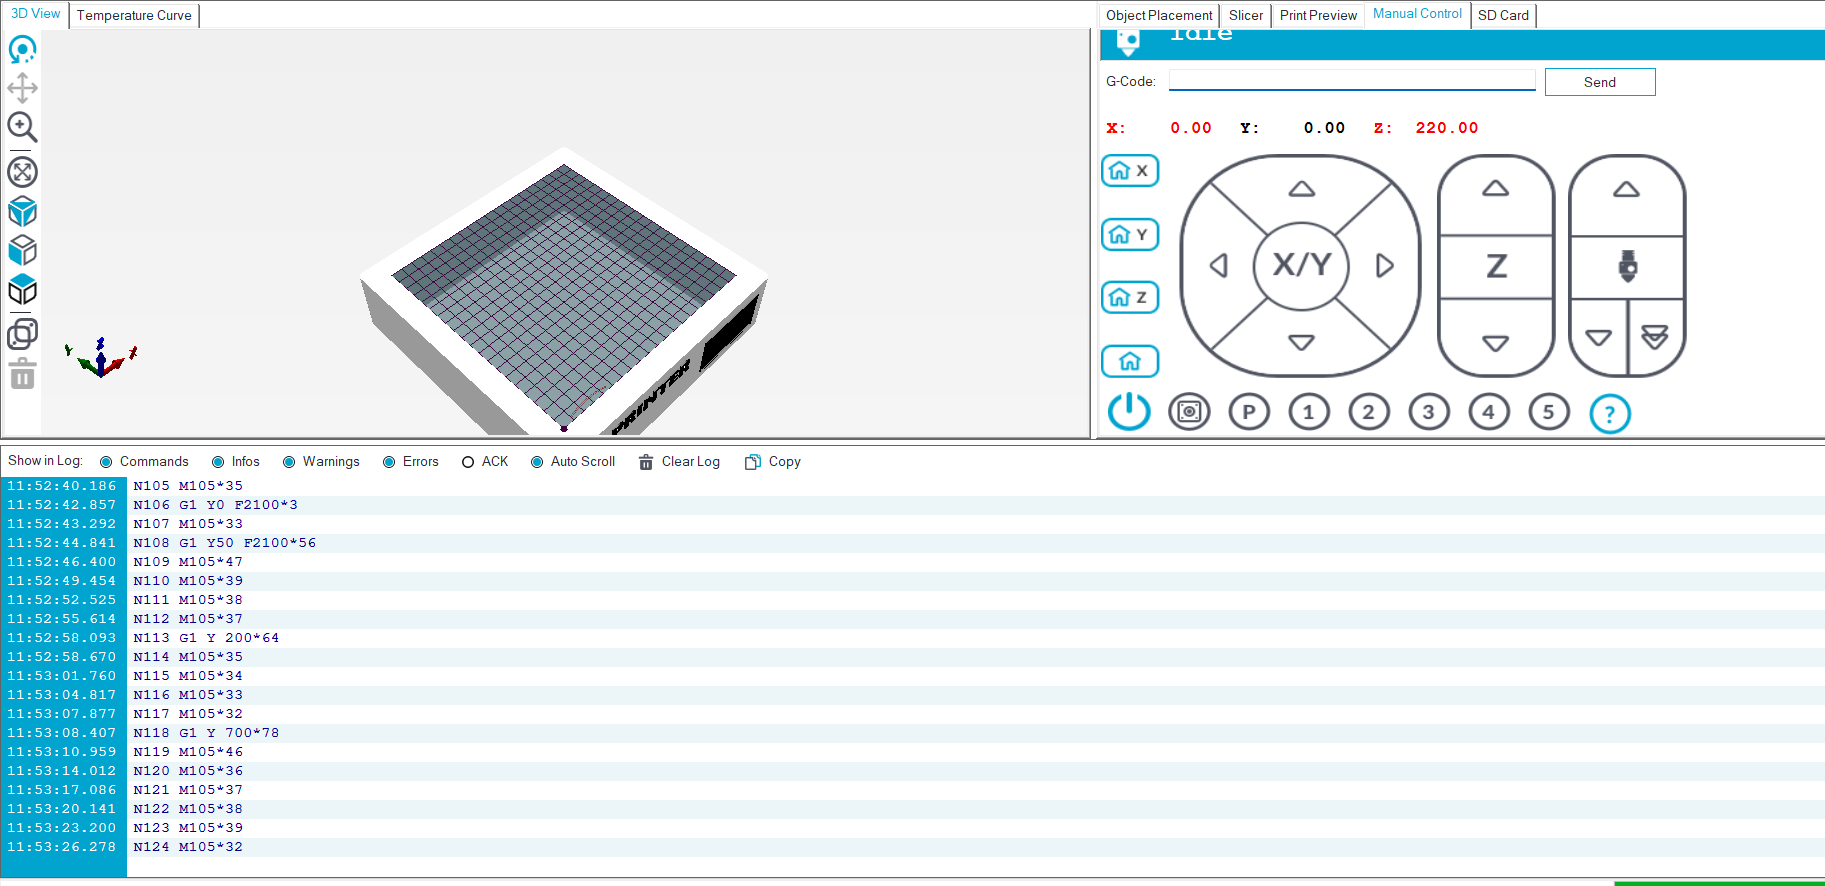
OK new question, this might be normal just not sure, my repeteir controls for x and y are backwards, but it homes fine now G1 Y 700 sends the machine backwards is that right and do I just have the board backwards in my head?
For a LowRider, when you are standing in front of the X axis gantry on the side that has the router near you, X minimum is to the left, X maximum is to the right, Y minimum is toward you, Y maximum is away from you.
I’m for sure going with the torsion table, in my head it would be awesome to have it be a fold down table top from the wall.
I’m starting to second guess myself as I’m planning this though as I don’t think the printed parts and lowrider will be consistent if it’s hanging from the wall. Thoughts, anyone one with experience with hanging it from the wall on it’s side or back?
Hmm. I think some people remove the gantry from the fold-away table before stowing it. I think some have rigs that lift the table stright up against the ceiling, without tilting it, and they leave the gantry on the table.
It may be doable to engineer a fold-away table that works by parking the gantry and the core/router in preassigned locations and installing some type of supports before folding it away.