Ah. I noticed it mentions “Flyfisher604” on the page you linked but not on the thingiverse.com page.
I myself did a remix of that (back when my LowRider was a v2), and I designed some mount brackets for attaching it two ways to the LR2, one with the aluminum angle bracket turned so it formed a V, and one with it when the aluminum angle bracket was turned so it formed an upside down L.
I did not remember ever seeing or noticing “Flyfisher” being associated with the source design, but I may have just missed it.
My x axis is out of square about 1/8" - 1/4" inch, higher on the rail side. I tried adjusting the z stops to be level but it’s still out. Any tips (I’ve just started troubleshooting so any ideas will be helpful)
Thoughts so far:
1.) rail may need bearings adjusted to sit more on the rail
2.) lead screw maybe higher set on the rail side
3.)I just need to get a few drinks and it will look straight.
If the bearings are not sitting on the YT rail, it may be because of a twist in the beam, or the XZ plates not being entirely parallel. If it’s a twist, a bit of brute force twisting the other way actually does the trick. If it’s non-parallel, a bit of adjustment where the XX plates bolt to the beam with shims or washers, or just making sure that the X tubes don’t stick out past the braces might do the trick. If you press downwards on the “toe” of the YZ plate and the bearings click, this may be needed. Good to check this first.
The lead screw height isn’t really the problem, so long as it’s centered well, the XZ plate should trigger the end stops at the same height.
Well, that might help, but probably won’t make your projects look better in the sober light of morning. Maybe more to the point would be to look up the M666 command. I know the description says for delta printers, but it also works for the Y and Z axes on a LowRider.
Ok I’ve tested a bit more after you helped figure out the issue with z going different directions!
On the left side of the table z touches just fine, even was able to make small holes in the base for squaring starts.
On the right side of the table both front and back it does not touch, and z is maxxed out at the bottom.
My thinking is I’ll need to adjust the XZ plates to be a little lower on the right side of the table to get it parallel.
What’s weird is I measured from the bottom of the XZ plates on both sides when it was at Z MAX, and I got the same dimensions 4 1/4" from the table. So I’m afraid I’m just setting myself up for more trouble after I get these lowered. Thoughts?
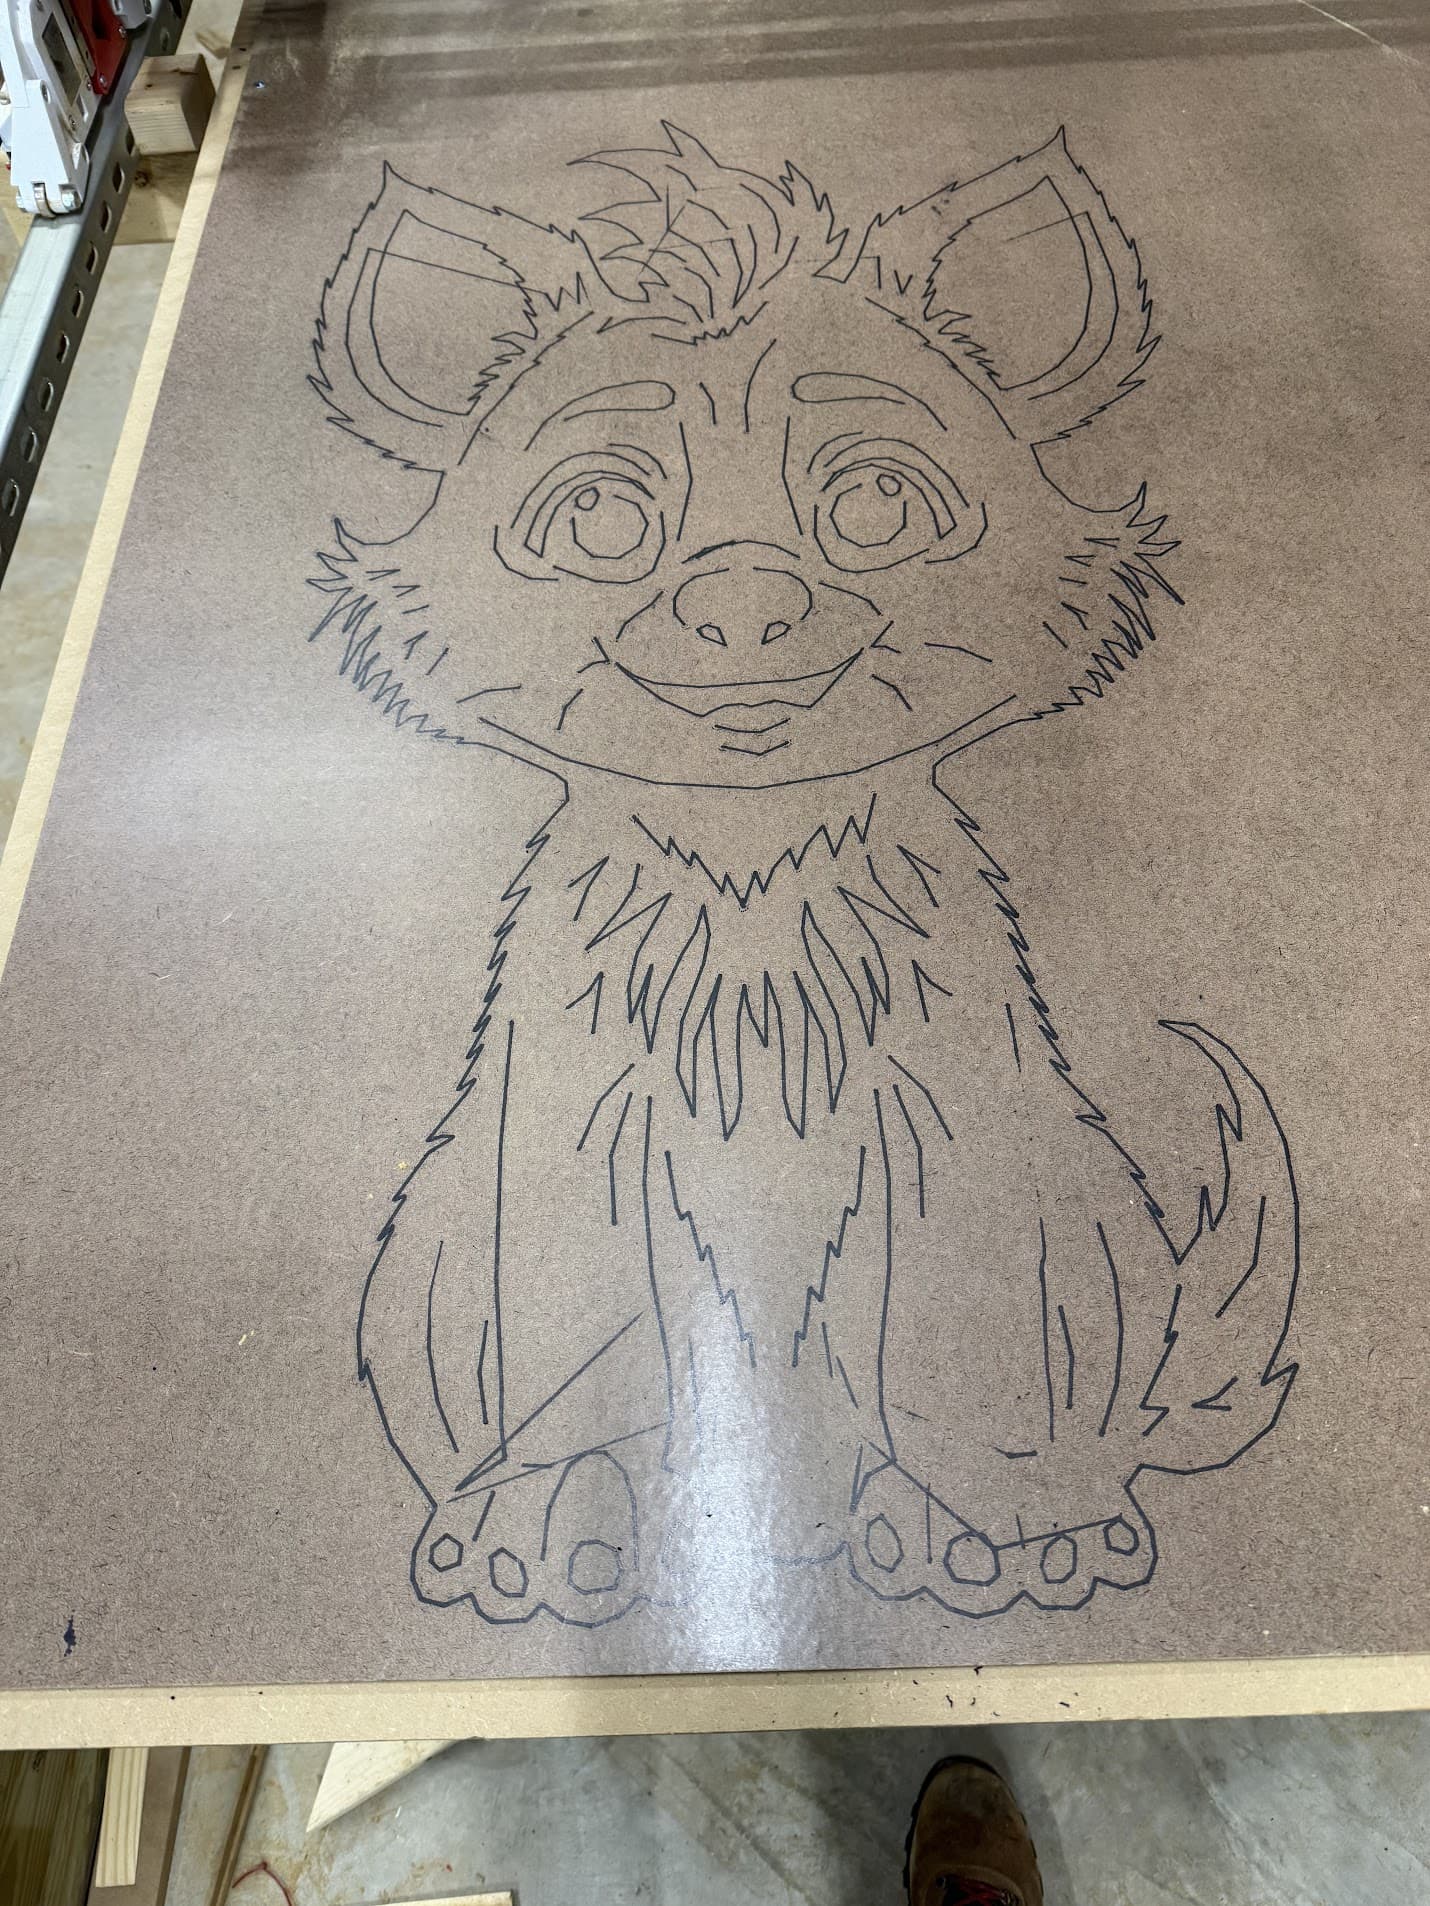
I could not be more estatic, crown is officially carved out! https://youtu.be/__2CQxKrrFA Thank you everyone for the help so far and Ryan for creating this amazing machine! I know it’s not a perfect cut but at least it’s working!
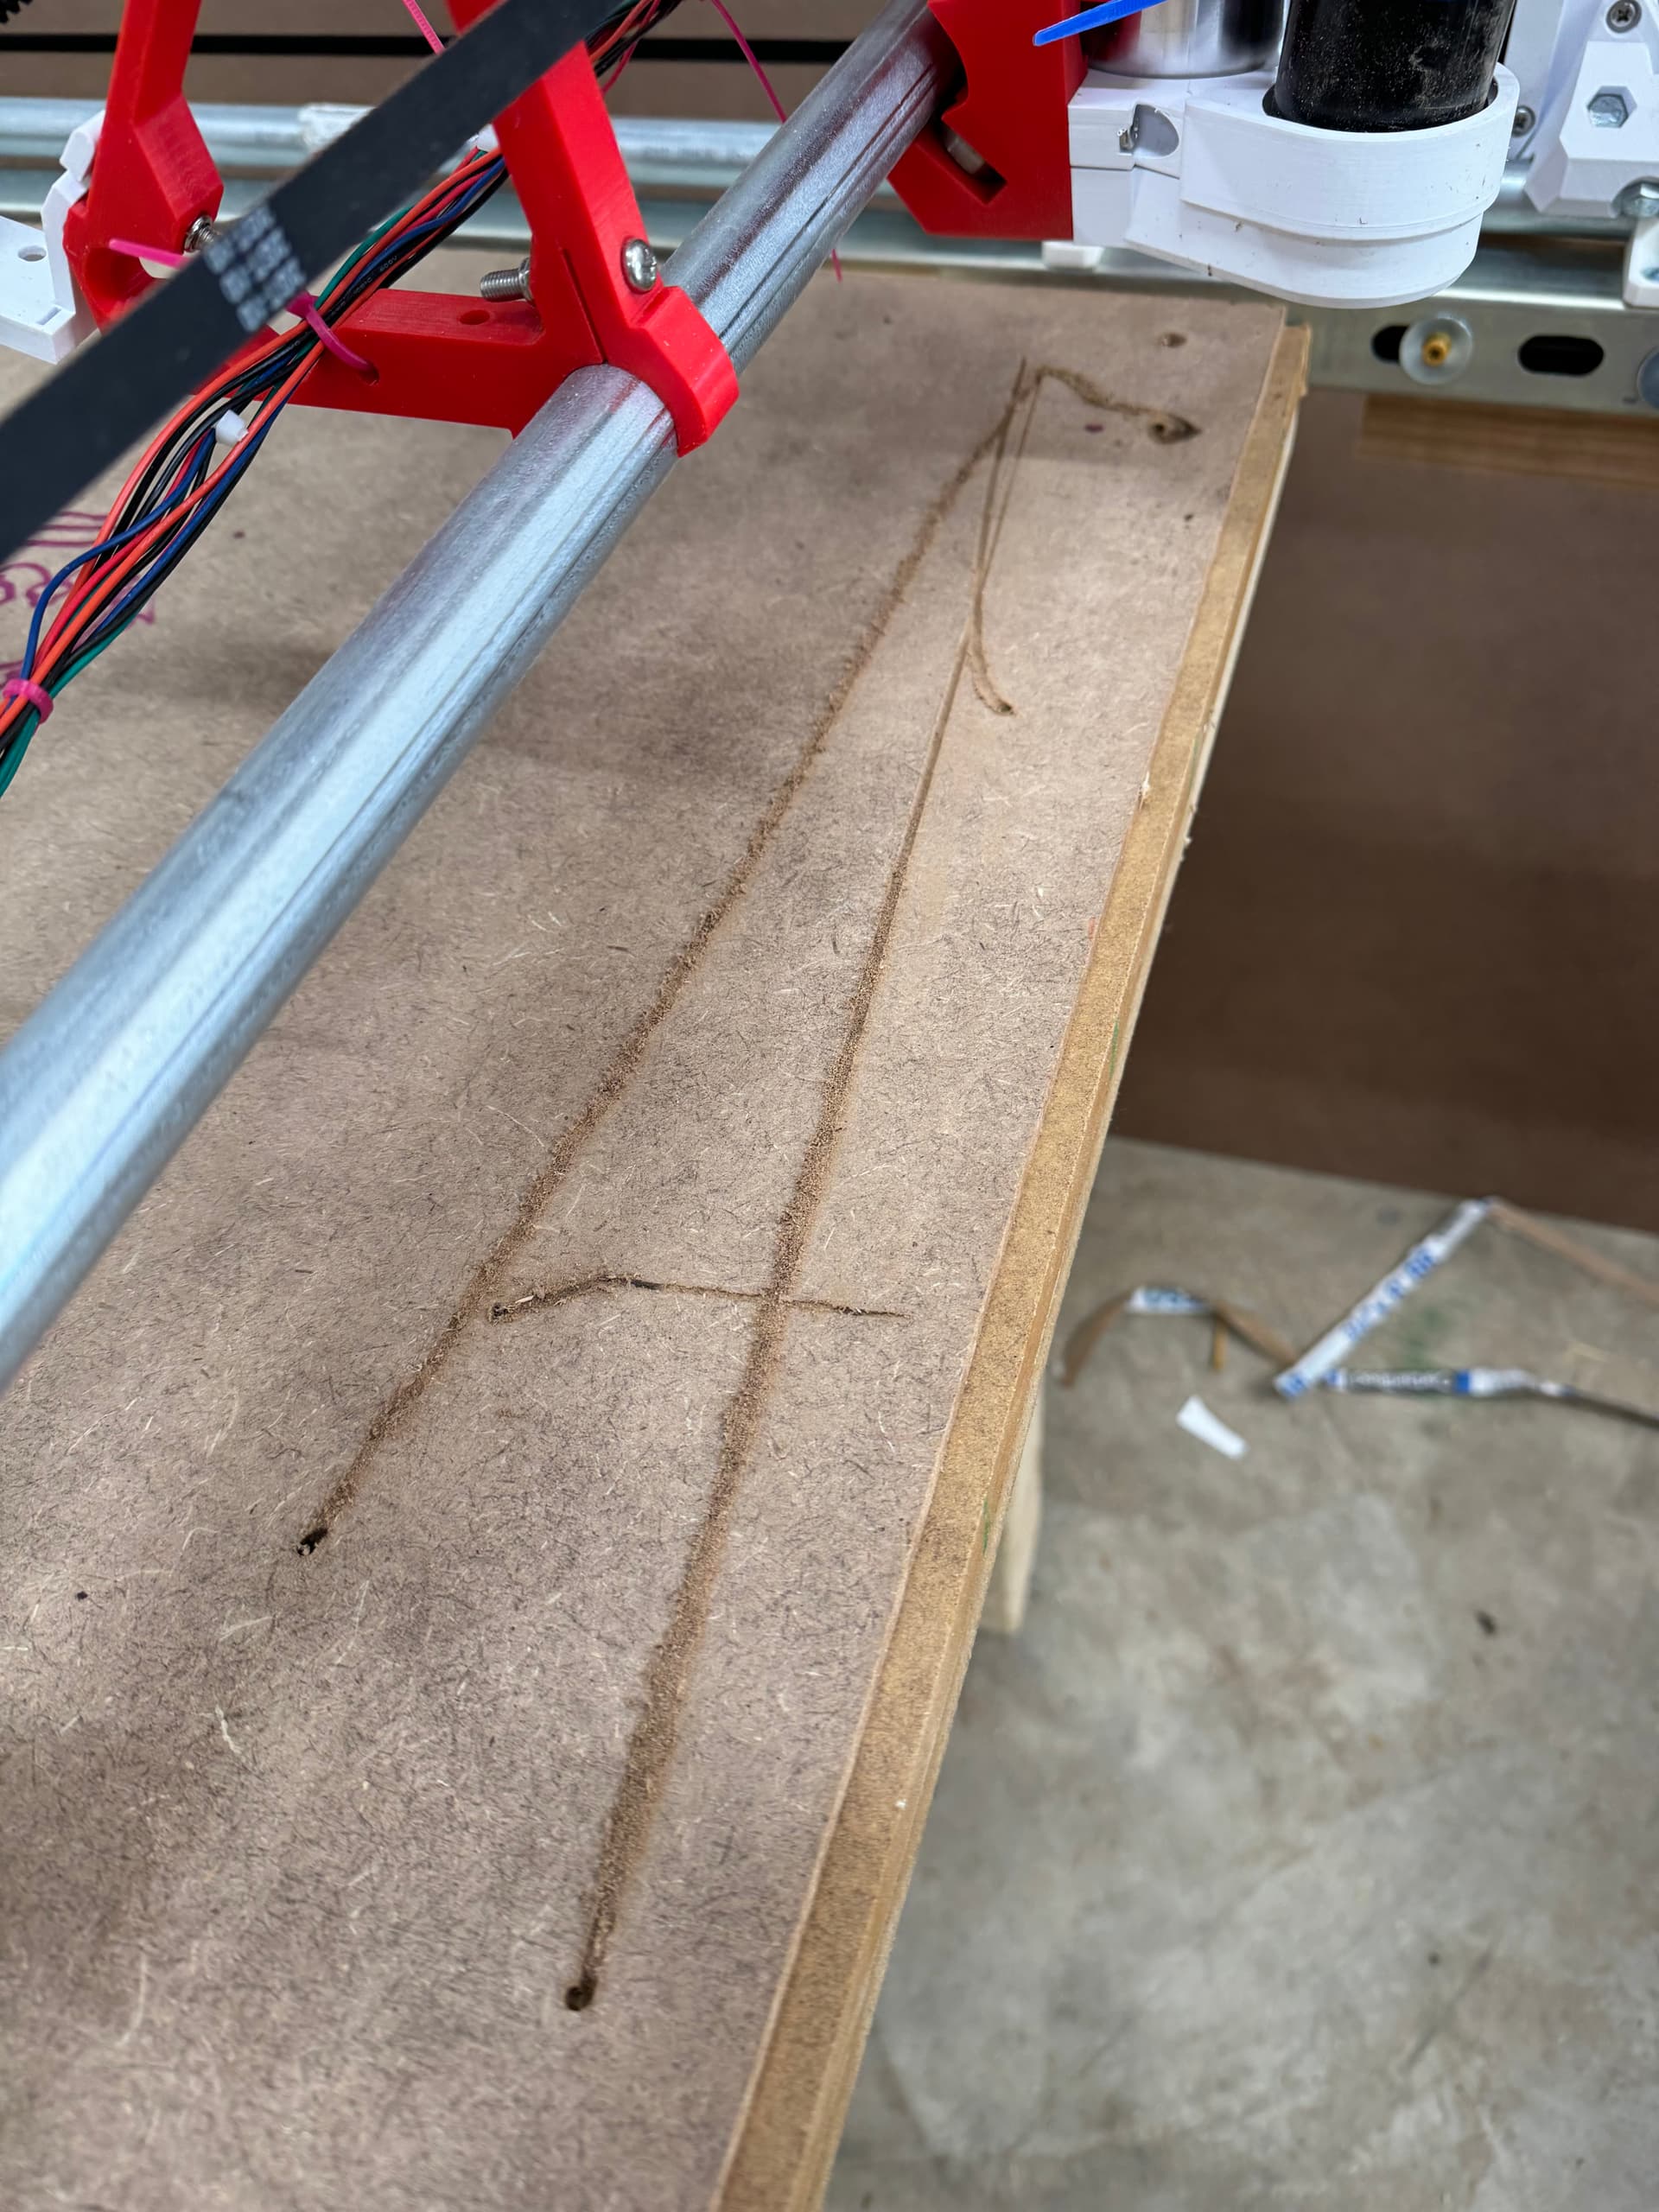
Ok tried the cut the struts and I think I’m missing something hopefully simple!
What’s happening is it starts going and then just starts going in the x direction instead of the y direction and it has already plunged the little bit for z. The picture shows multiple attempts the first one I thought I just messed up something, the second one I knew I messed up something
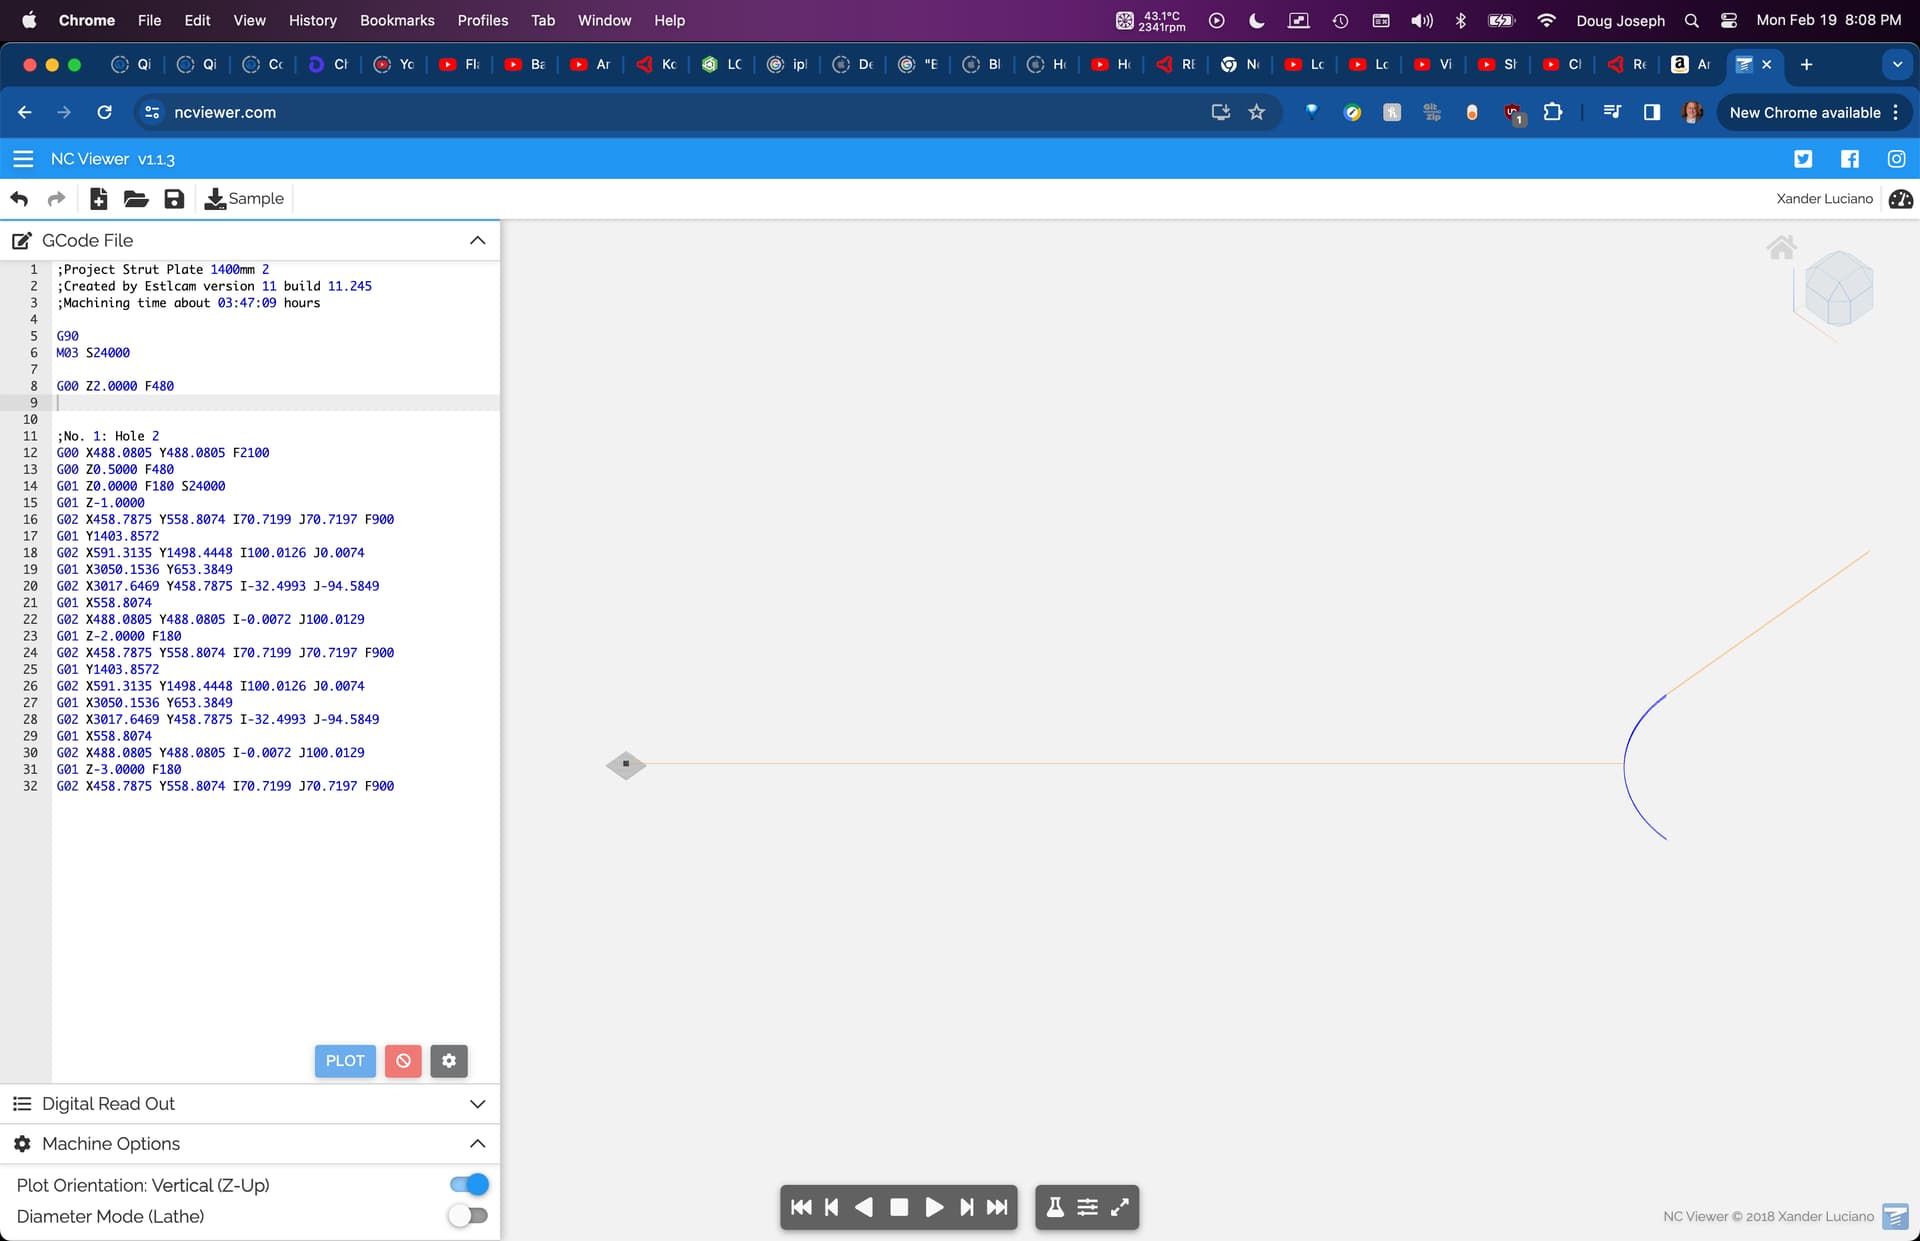
I first noticed estlcam tried to re-home my machine so I cut that line out here’s the G Code that’s causing the issue
This and the nc viewer comment you made led me in the direction to the solution thanks so much Doug!
I had two problems one I had messed up in estlcam somehow but I have done some more learning on it and got it going now.
Second issue was that I wasn’t putting it together that to have the machine run where you want it to start you have to position it similar to you do for the z axis with setting its location to 0.
Either way thanks again for all the help you’ve given and I got a good strut test cut done!
Yes, setting your XY origin is a thing just like Z. There are also several coordinate offset memory slots in GCode systems that can serve as memorized “workspace” offsets. If you find yourself always having to re-use the same origin location, you can assign / save it in one of those coordinate systems. It’s like a handful of “memory storage for offset variables” thing.
Got it “flattened” last weekend, then ran a bit of a different test inspired by Doug’s giant crown! I think it’s flat enough to start cutting again.
Went down the flattening rabbit hole because I tried to cut some test cabinets out of MDF and it started skipping steps because part of the table wasn’t as flat as I thought. I learned a big lesson that level != flat unfortunately in the CNC world anyway, and again maybe I’m still wrong and it should have been flat if it was level, but it for sure wasn’t.