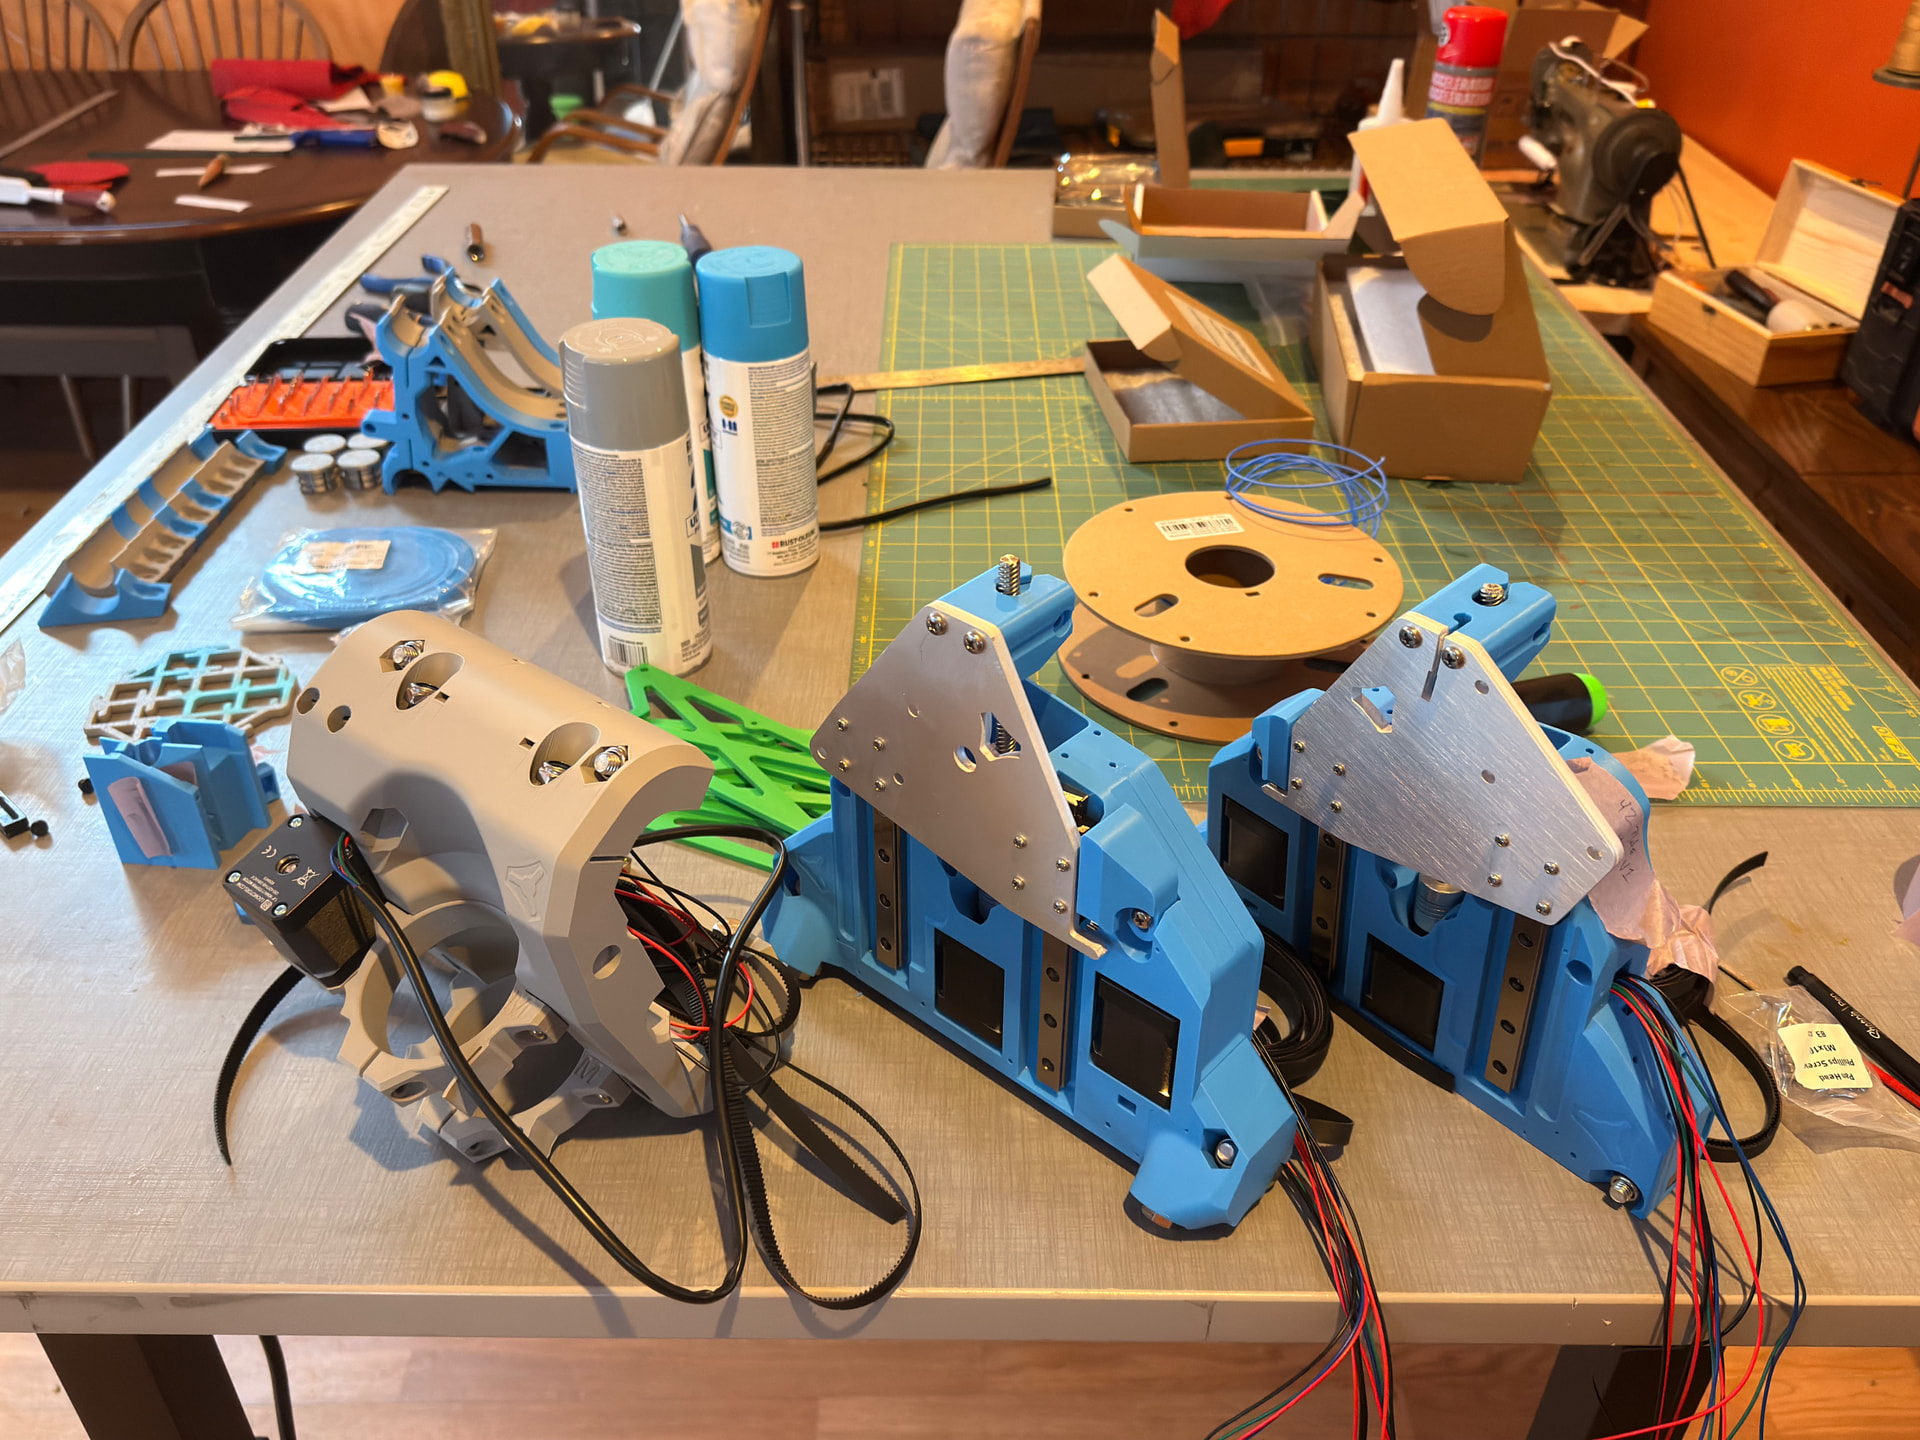
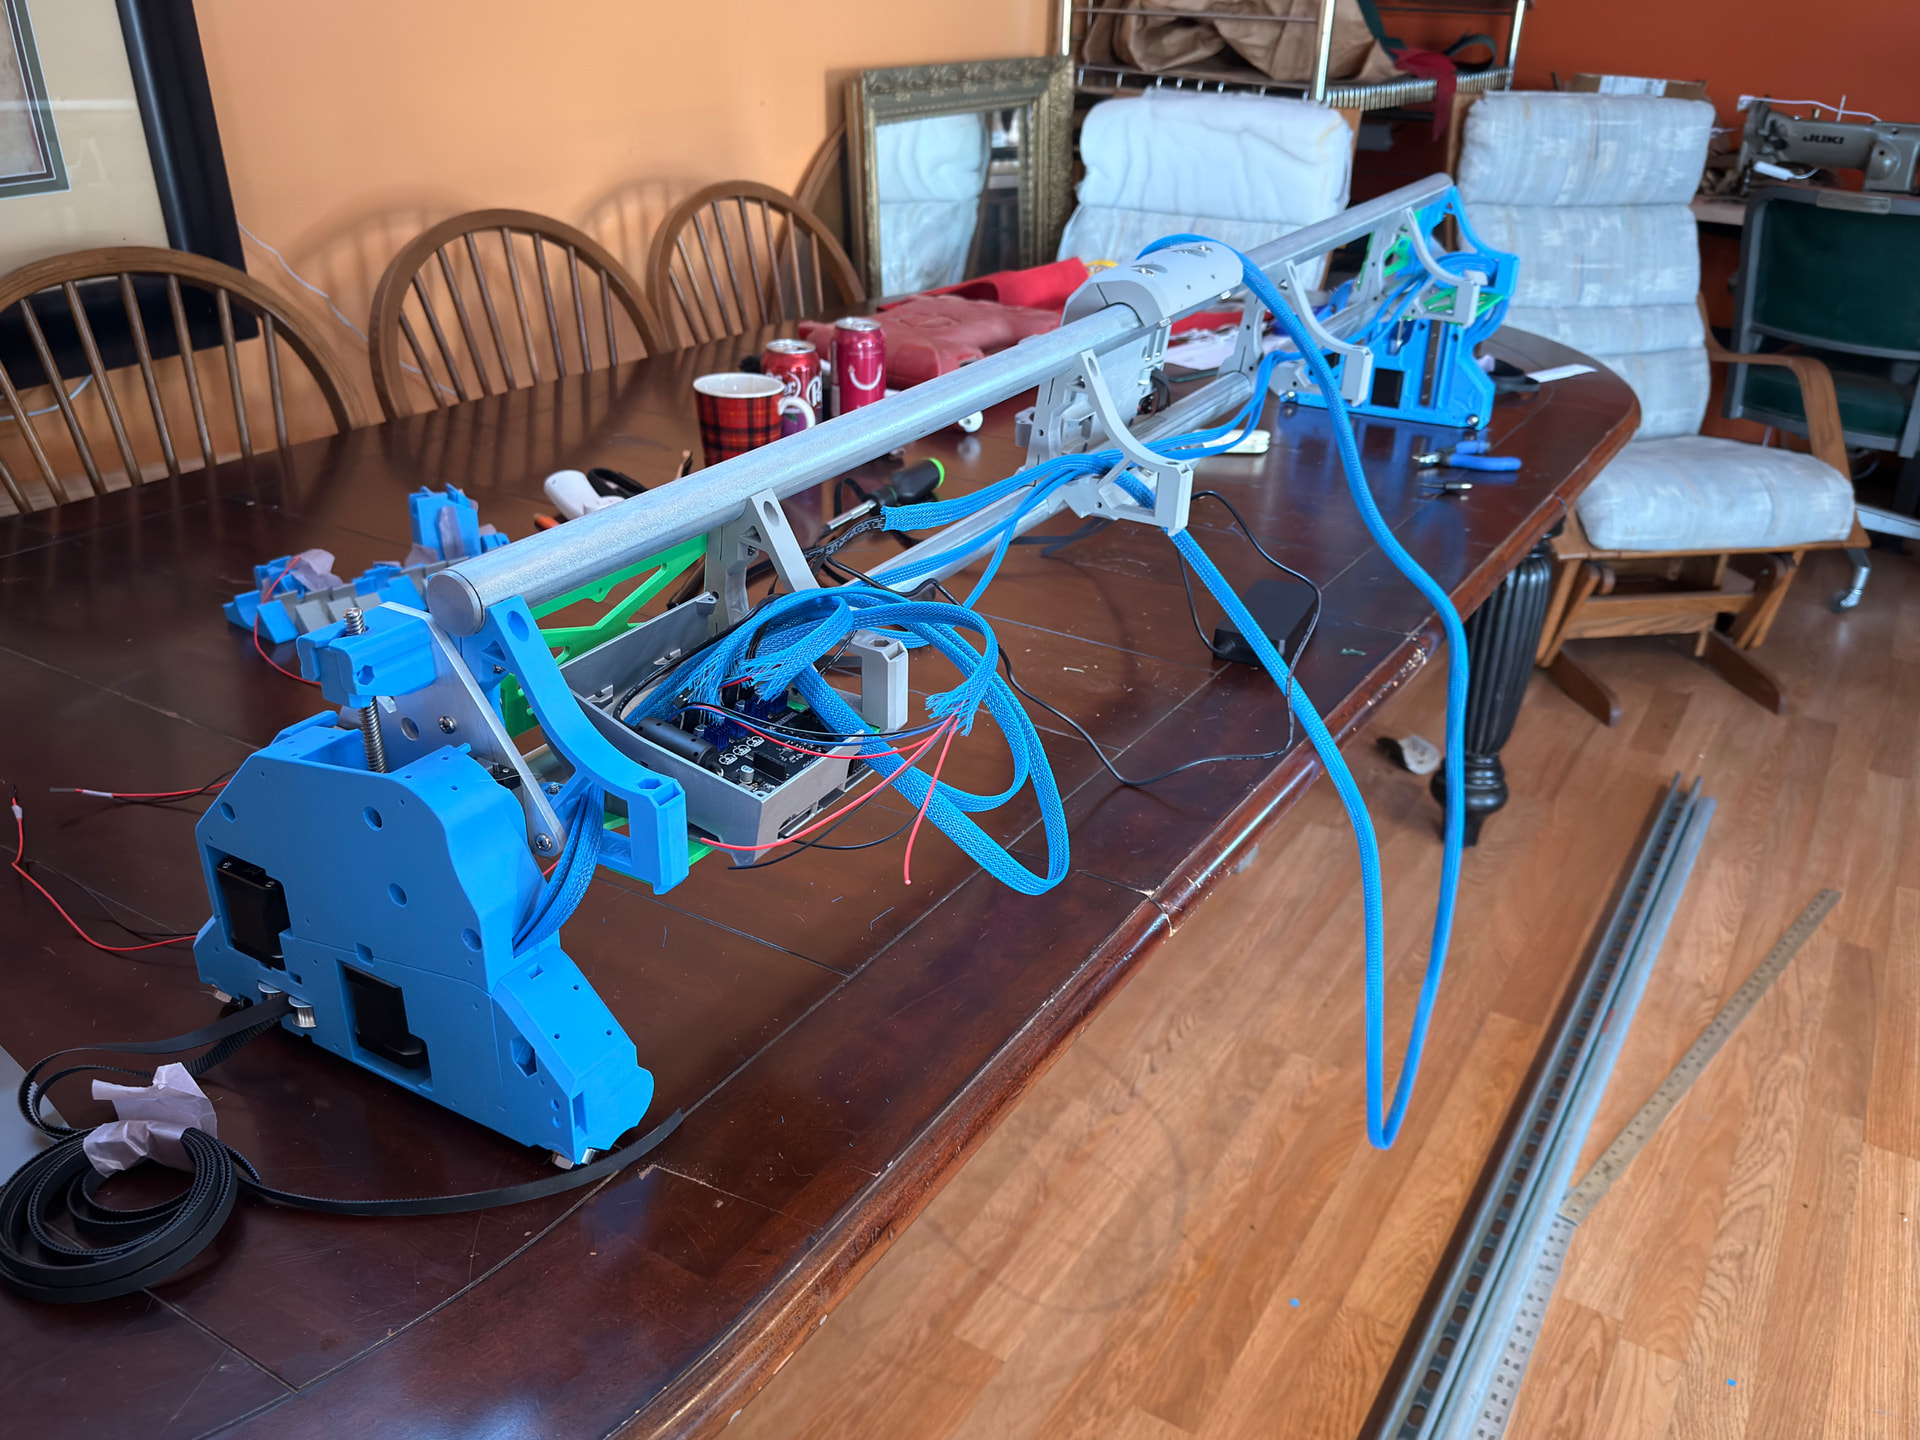
Finished printing all the parts and the V1E kit finally arrived after the Post Office decided to play keep-away from one station to the next for a weeks. Build progress underway:
Yeah, a couple of times it looked like a “whoops, wrong truck” after a few days of no movement, then it would pop up in Detroit - which isn’t a normal interchange for my location, then moved to the small town next to me - who they held on to it for a few days, then to Lansing and finally go it in yesterday.
Not the only package that was late, but definitely the weirdest. Good thing the package had tape around every centimeter, no damage occurred!
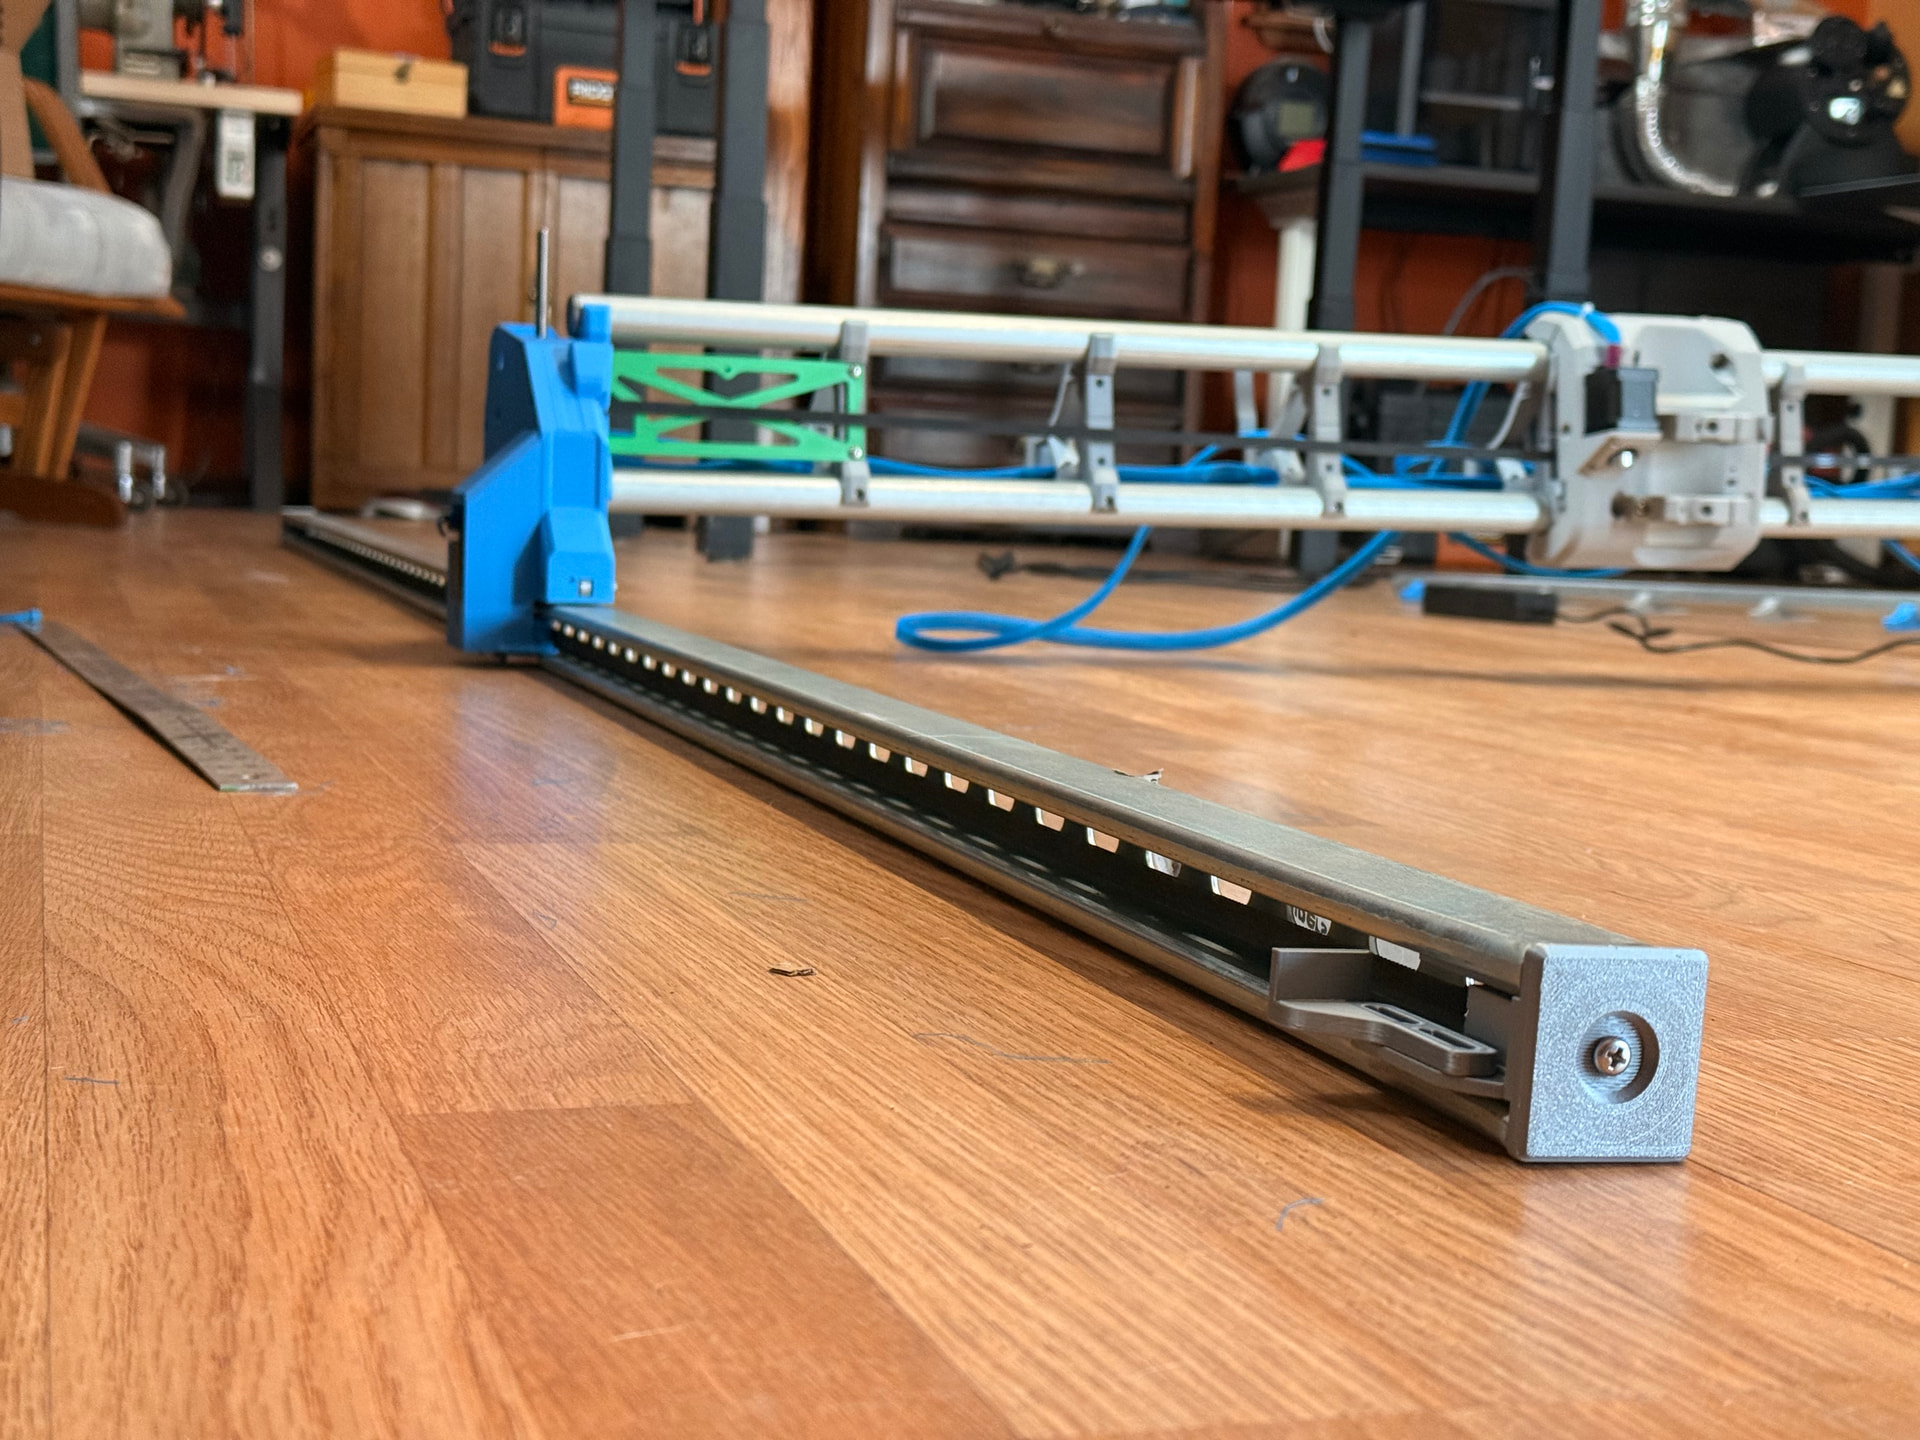
Did not read the printing instructions clear enough - printed 2 of the Strut Max, so I have an extra nubbin on the X0 side preventing from triggering the limit switch.
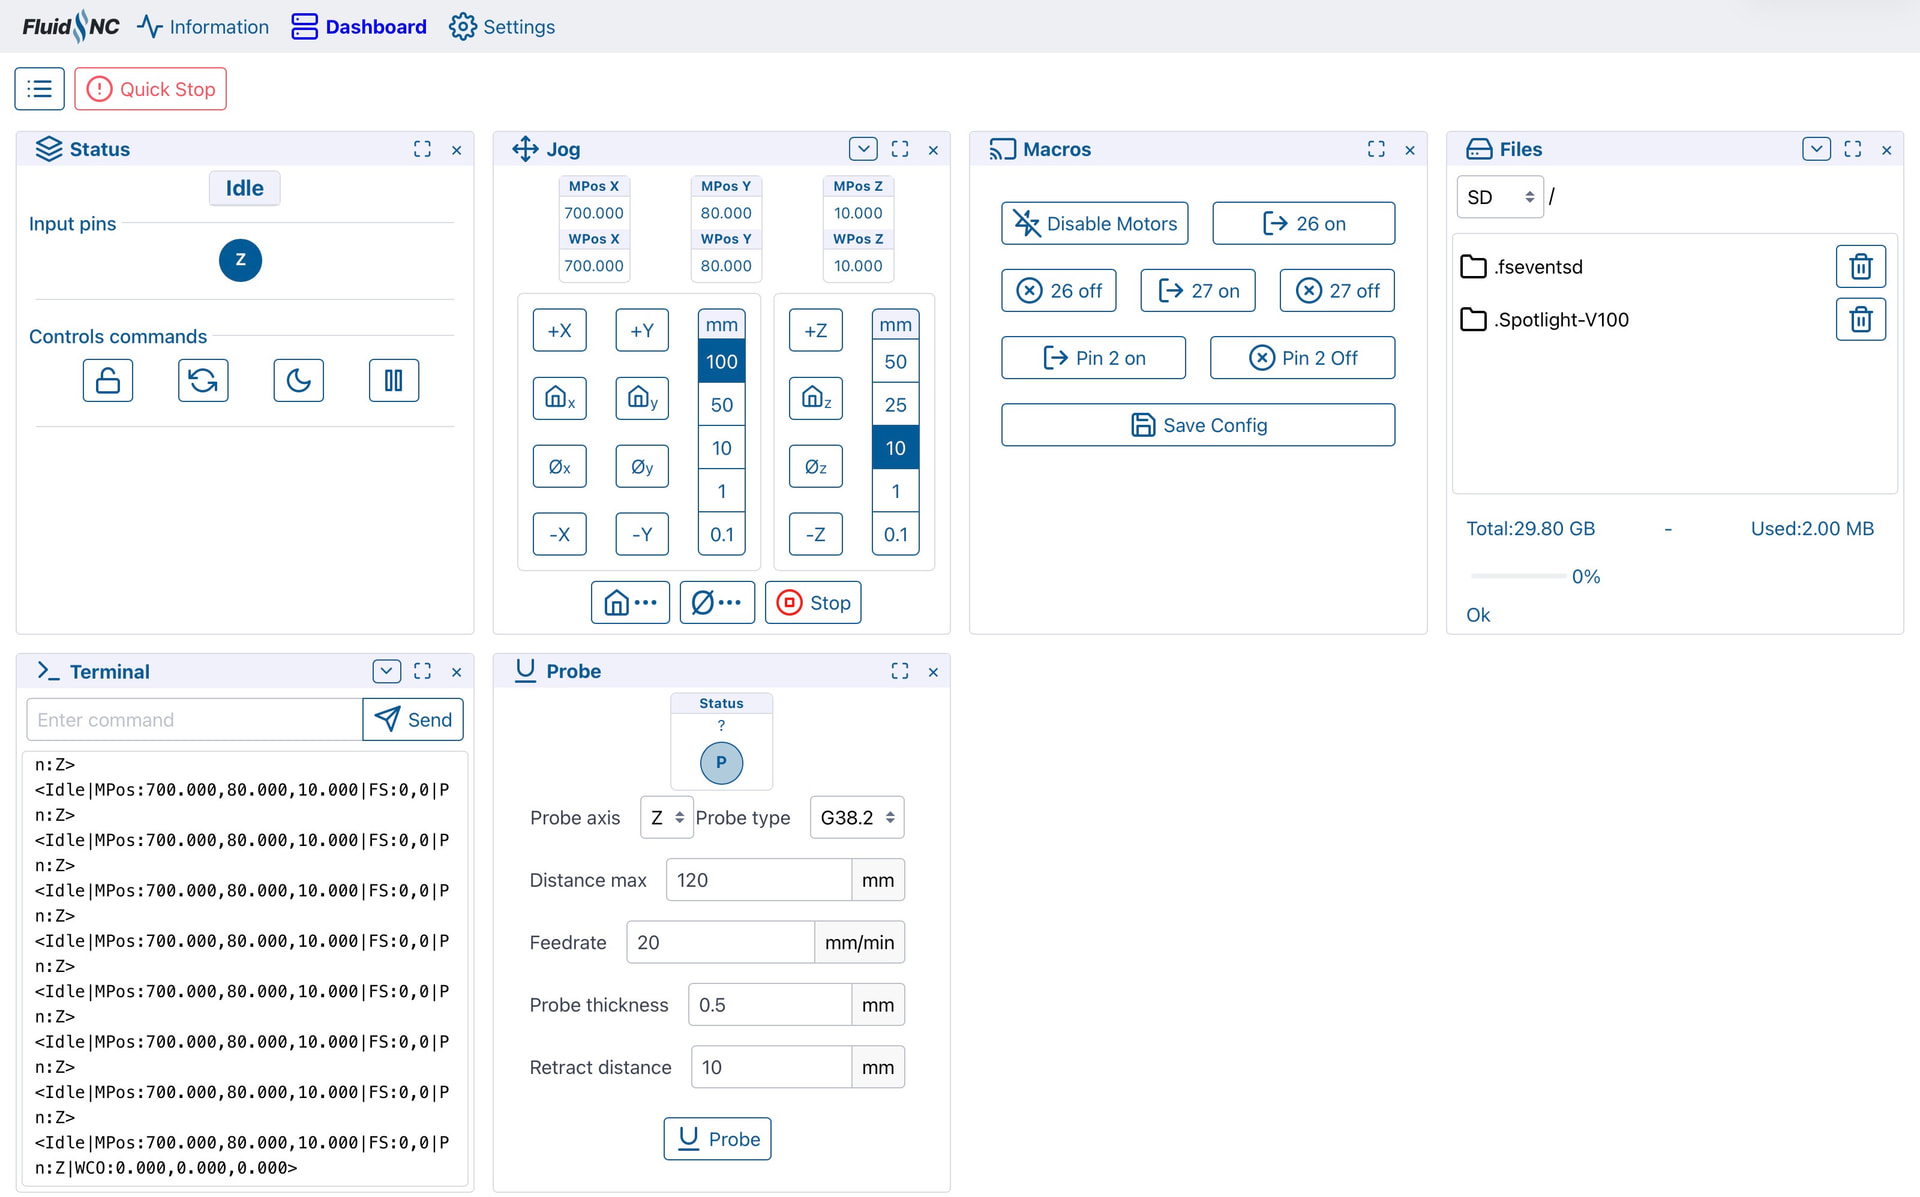
FluidNC booted right up in AP mode, and after looking at the settings for far longer than I thought I set up my home network to it very simply. fluidnc.local works just as it should. I will say, the settings menu is laid out very strangely.
Dashboard comes right up, but doesn’t have a nice visual controls. Things seem to be thrown into boxes, will have to update this layout first. Finding the X Y and Z also took a few minutes more than I would have liked to admit, but wanted to make sure I knew what I was looking at first as the layout was not intuitive.
Anyone know of a good writeup to tweak the FluidNC dashboard?
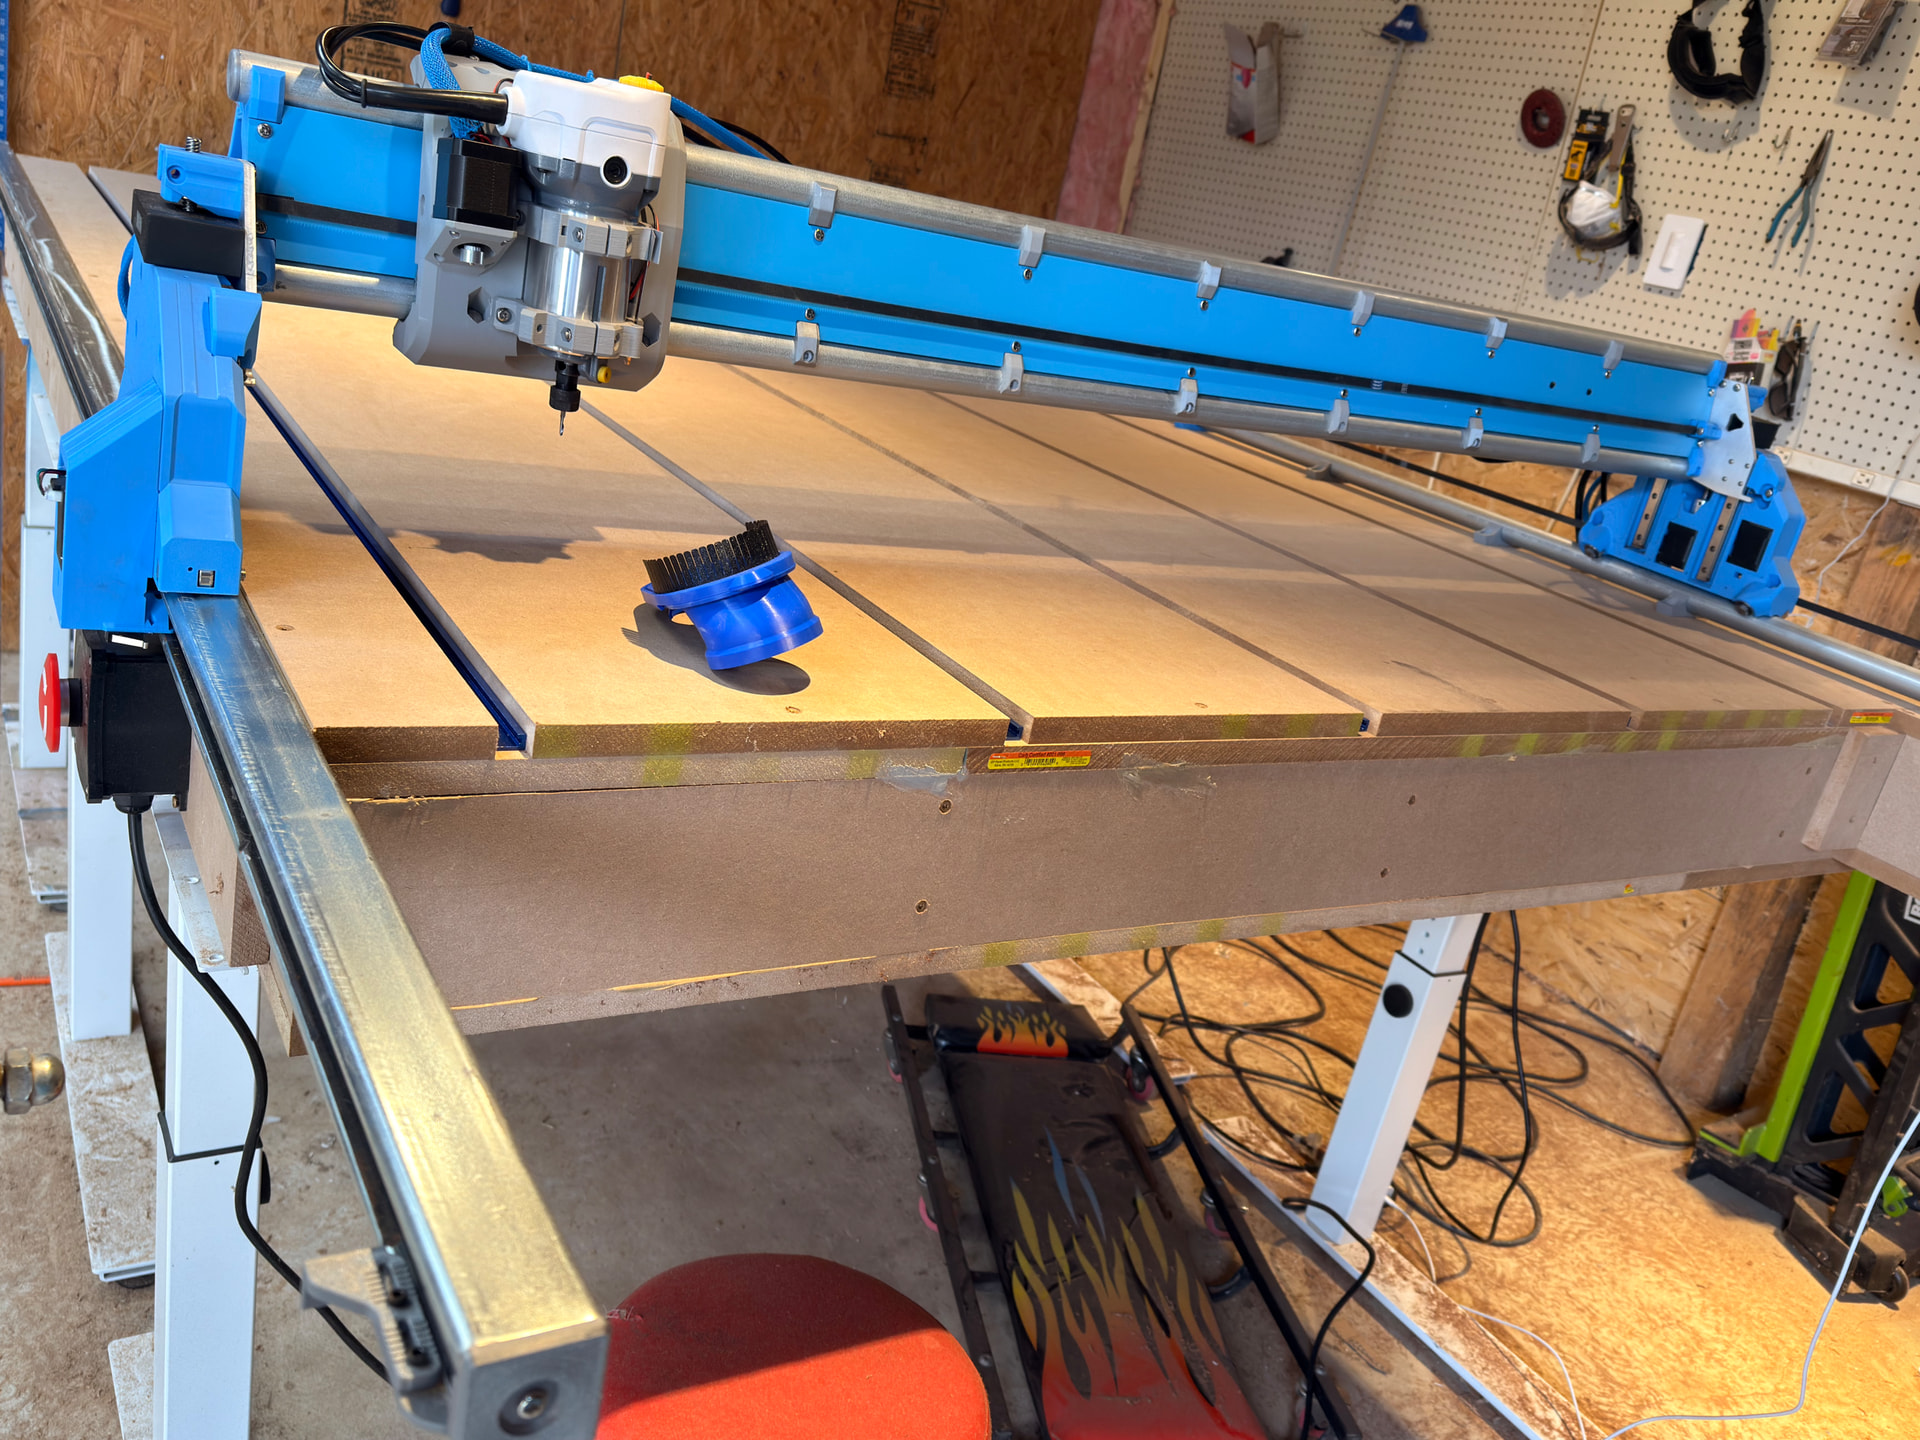
Need to make a minimum viable table to start from to make the strut plates. I am also going to use the @DougJoseph superstrut mod to hide the Y belt on the left side once the full table is built. Plan on making this a full work table so I can move sheet goods out the side easier. Also want to eventually make the rear door covers on the gantry he has designed, but need to decide on blue vs gray - and buy more of that filament!
All in all going very smooth, any slow-downs have mostly been me not reading close enough. I got lost a couple of times reading the instructions once or twice, but slowing down to re-read got me close enough to understand what was going on.
Thanks again for sending this build out into the world, I wish I would have found this community years ago!
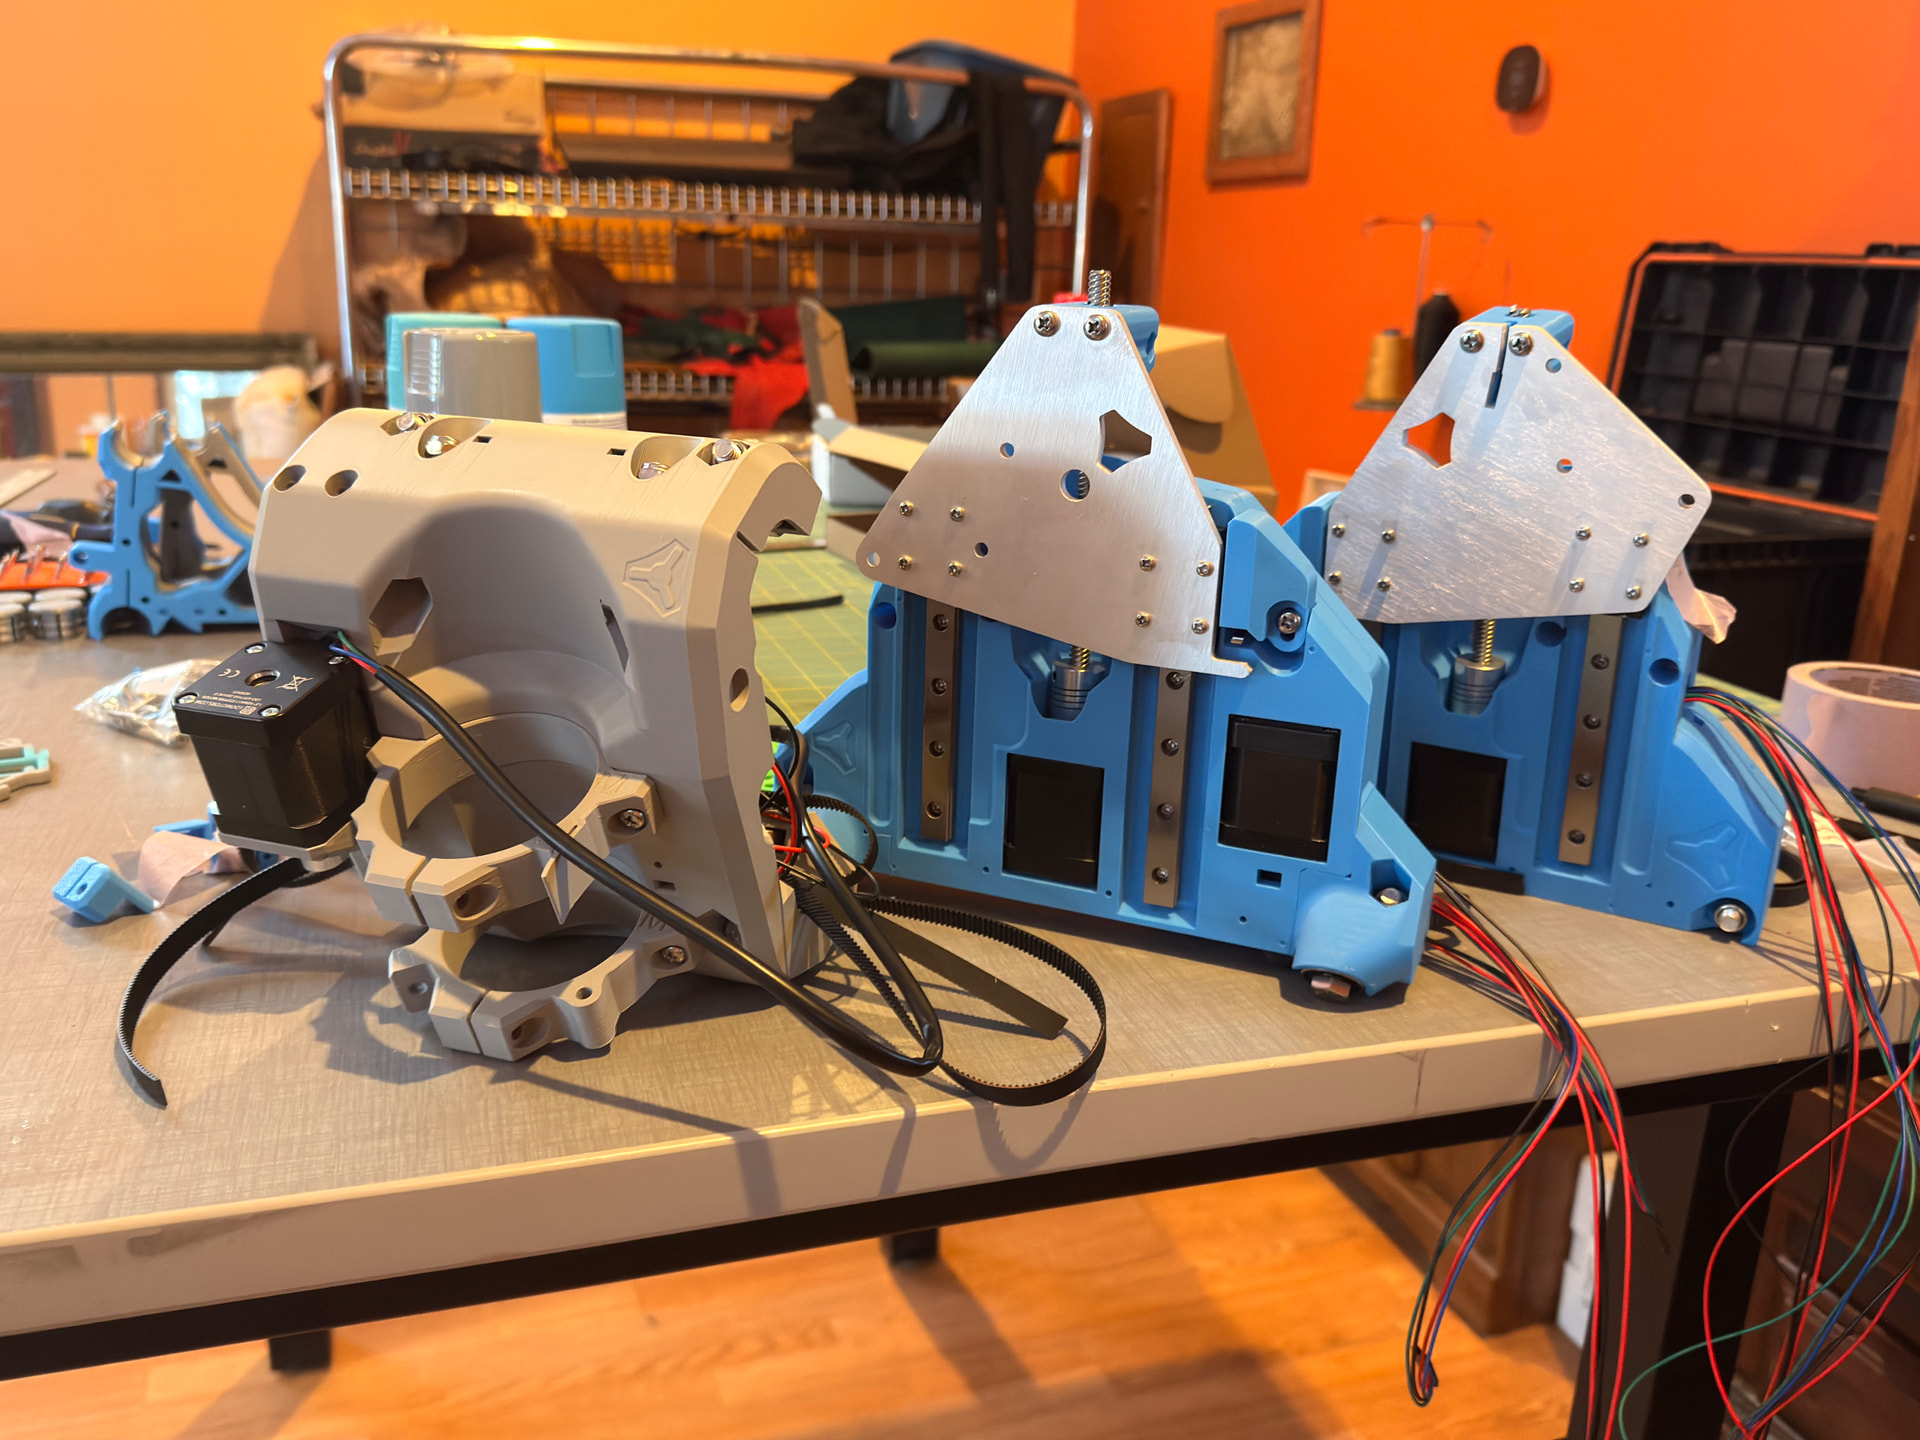
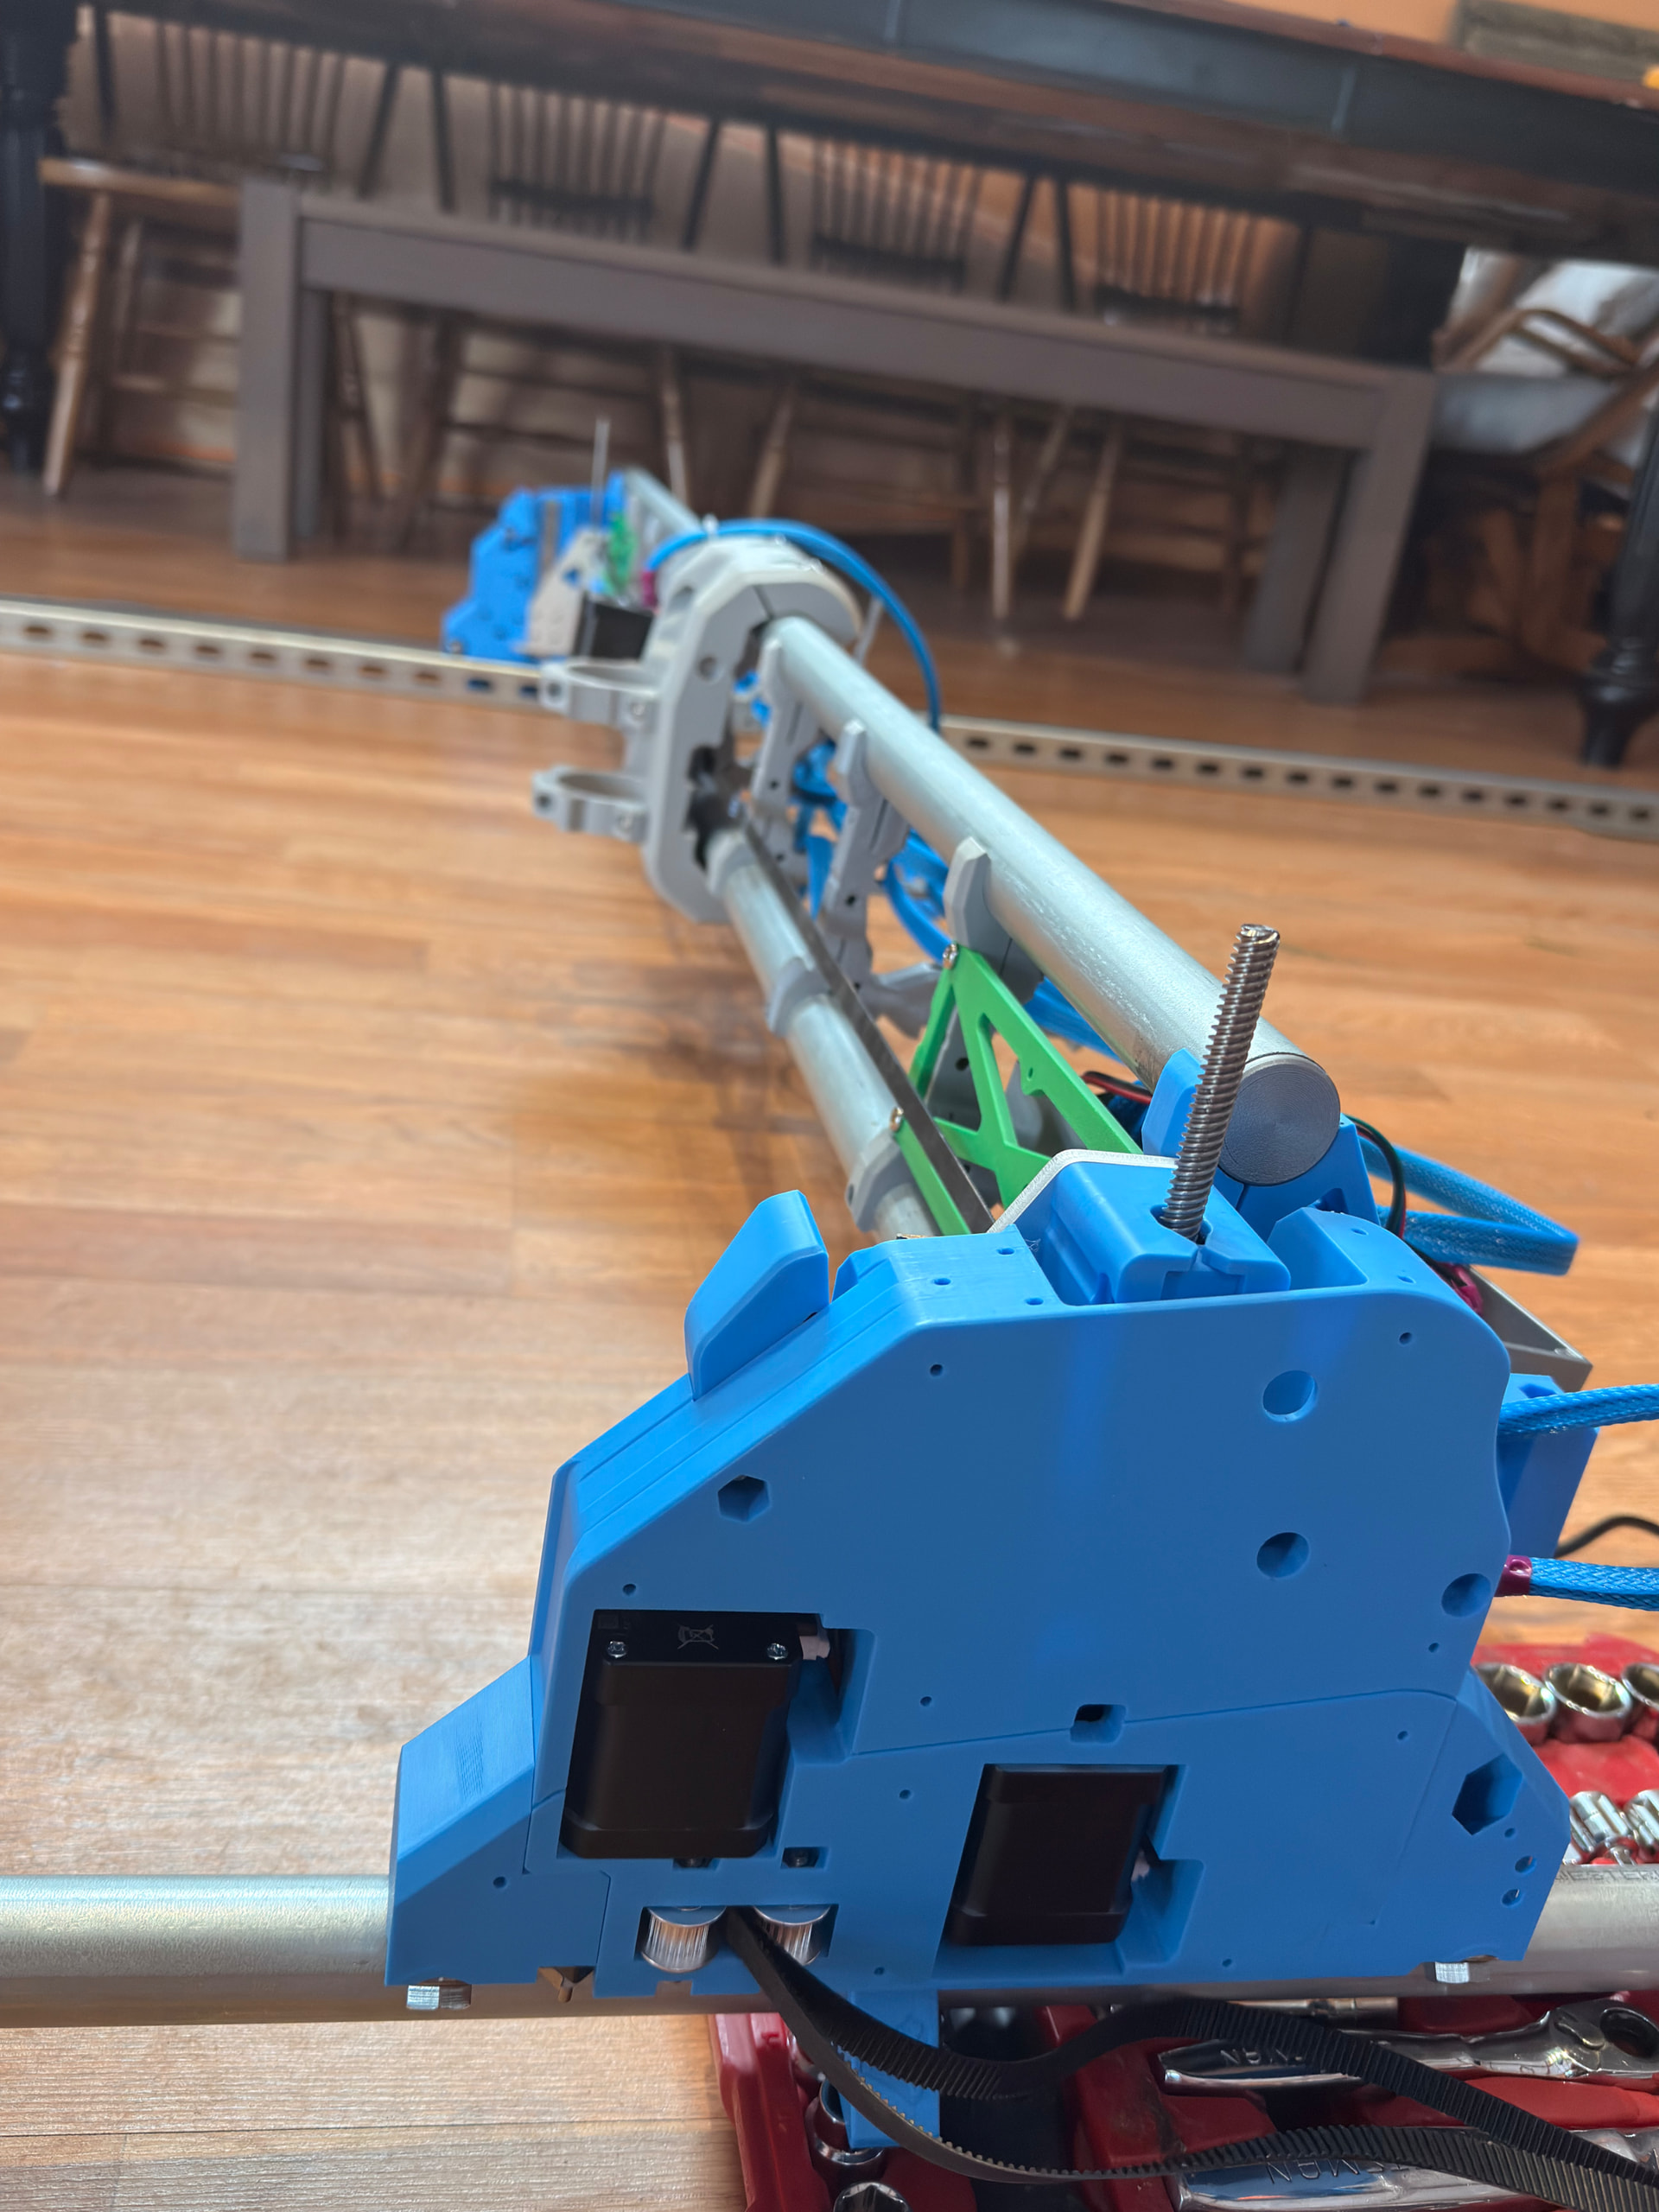
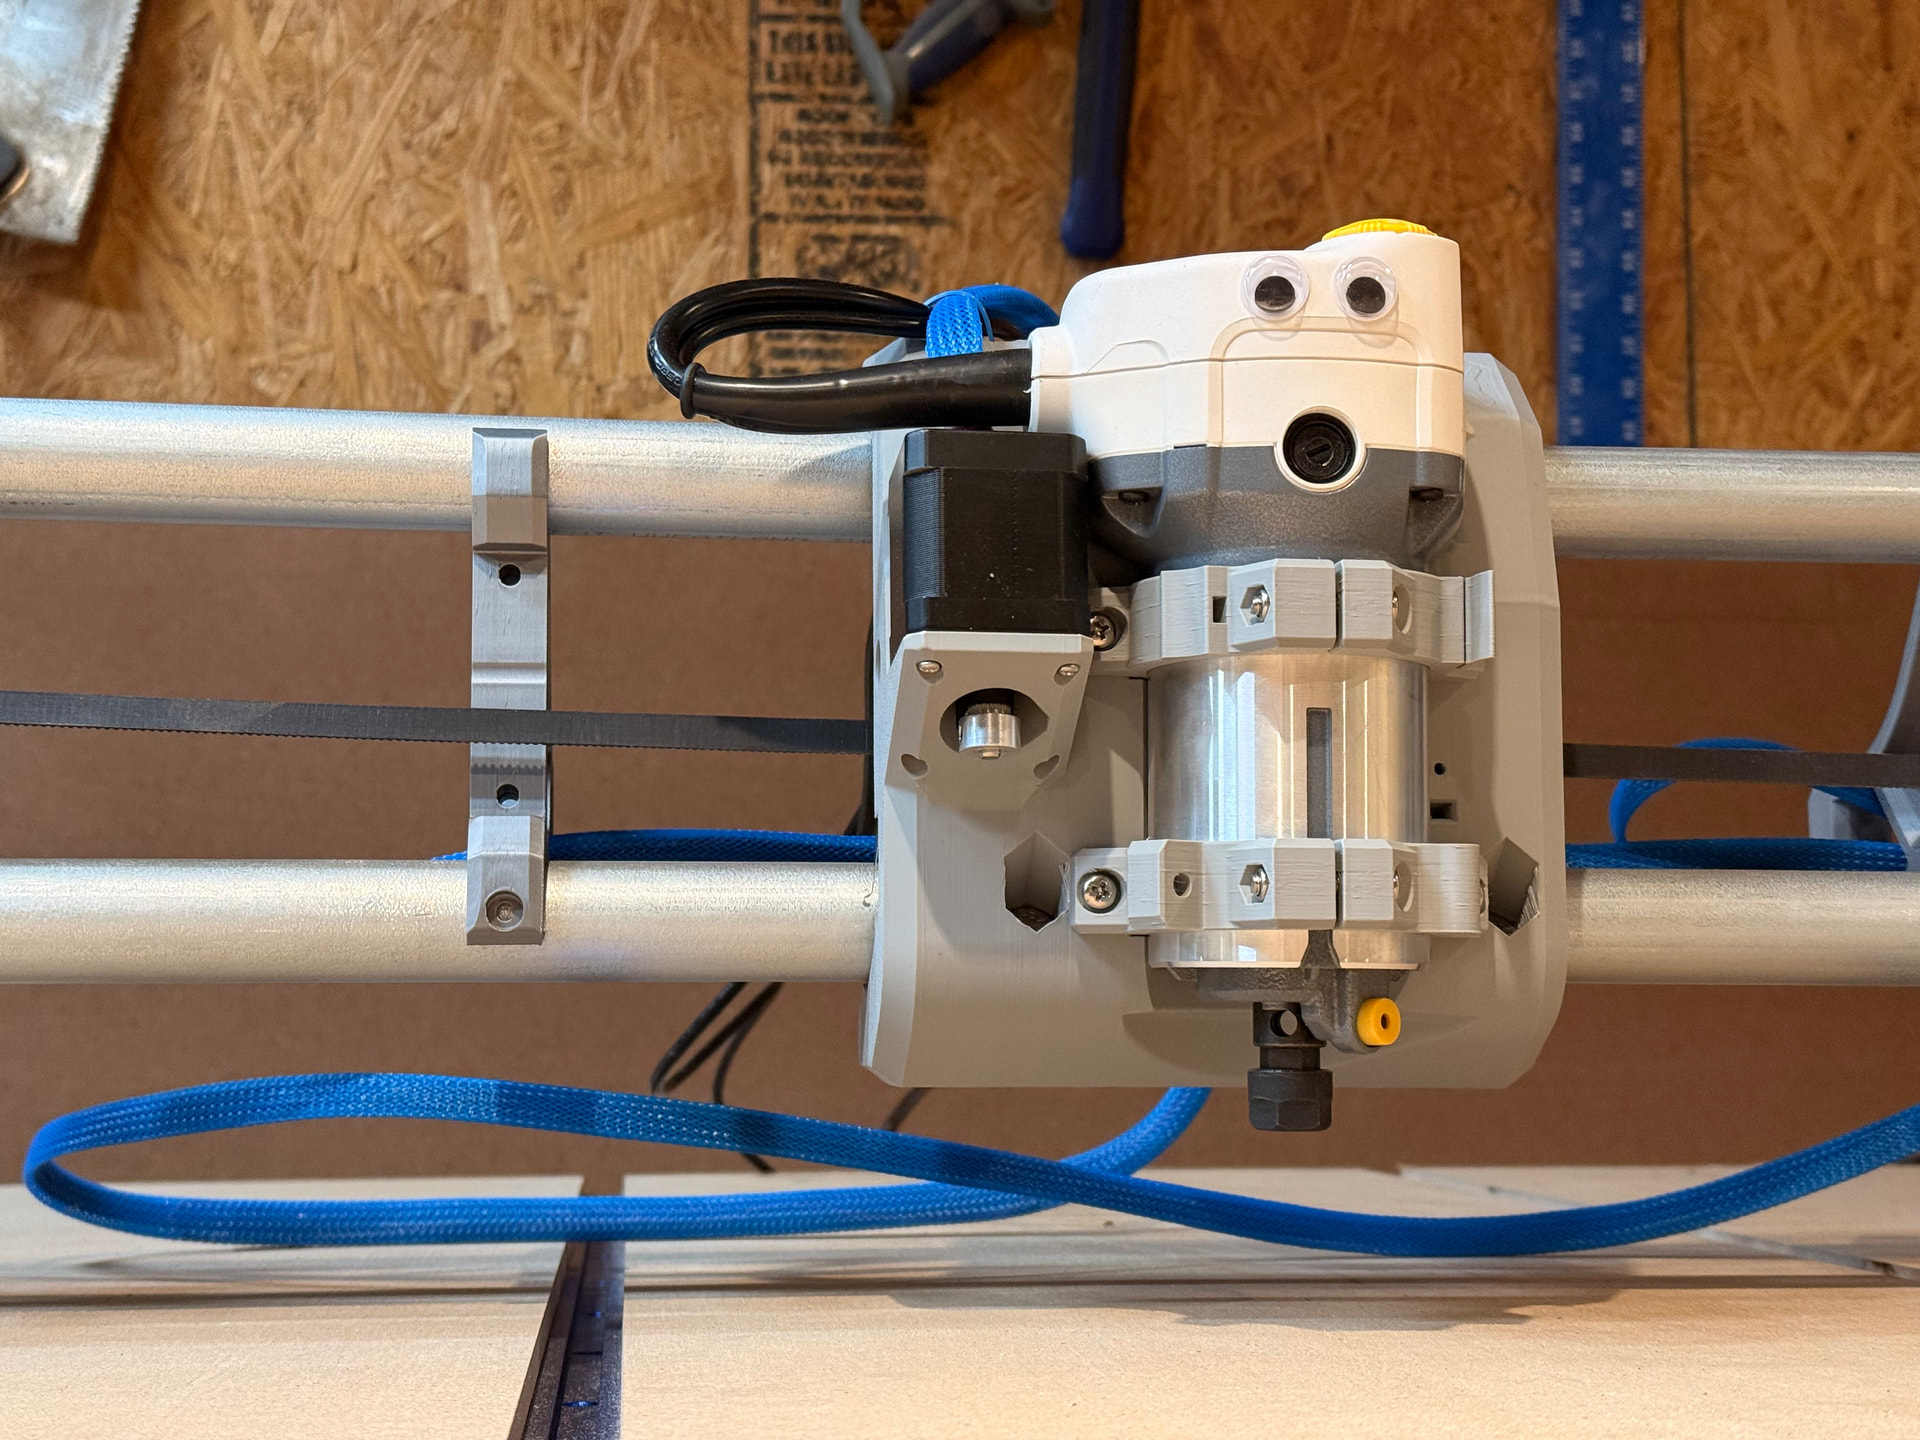
Printed and installed @DougJoseph the unistrut hidden belt mod, and I think it will work great in the end. I will say, it is fiddly to get installed after initial install. Very important to read notes closely, order of operations is imperative! You will also have to pull all of the wires back through so don’t bother using wire shielding until done - the dupont pins only fit through the tunnels, not the motor connector.
Of note, the M3 screws that hold the adapter in cannot be the ones used for the motor, they need to be slightly longer. Also, the motors that are sent in the V1E @vicious1 official kit do not fit with the wires in their tucked in area - the opening is too small in the upper part of the cutout. Cannot wedge it in due to the metal flange on the top of the motor. Also will most likely have to do a little adjusting, the insert is not riding on the low side of the opening and touches the lip in places. I also only have it loosely set on the floor so getting it tied down and square may fix some of it.
All three axes move - and the right way! All limit switches are also identified and working as intended.
Assorted musings -
Tape the wire extensions together at the dupont connections, especially if you use wire shielding! (Ask me how I know…)
24V power is perfect for RGBCTT COB led lighting, Zigbee controllers are pretty cheap and reliable as well. Putting a larger transformer on and plan to have some under glow!
@SupraGuy The new Scienci AutoSpin T1 Router just shipped and should be getting it this week - do not worry, it will be able to see EVERYTHING!
Max cutting area predicted to be 4 1/2 feet, table width around 56”. Max length 10ft, with 2ft detachable to accept router table or vertical holds. If making the torsion box, will need to adjust the wheel side to accept the unistrut.
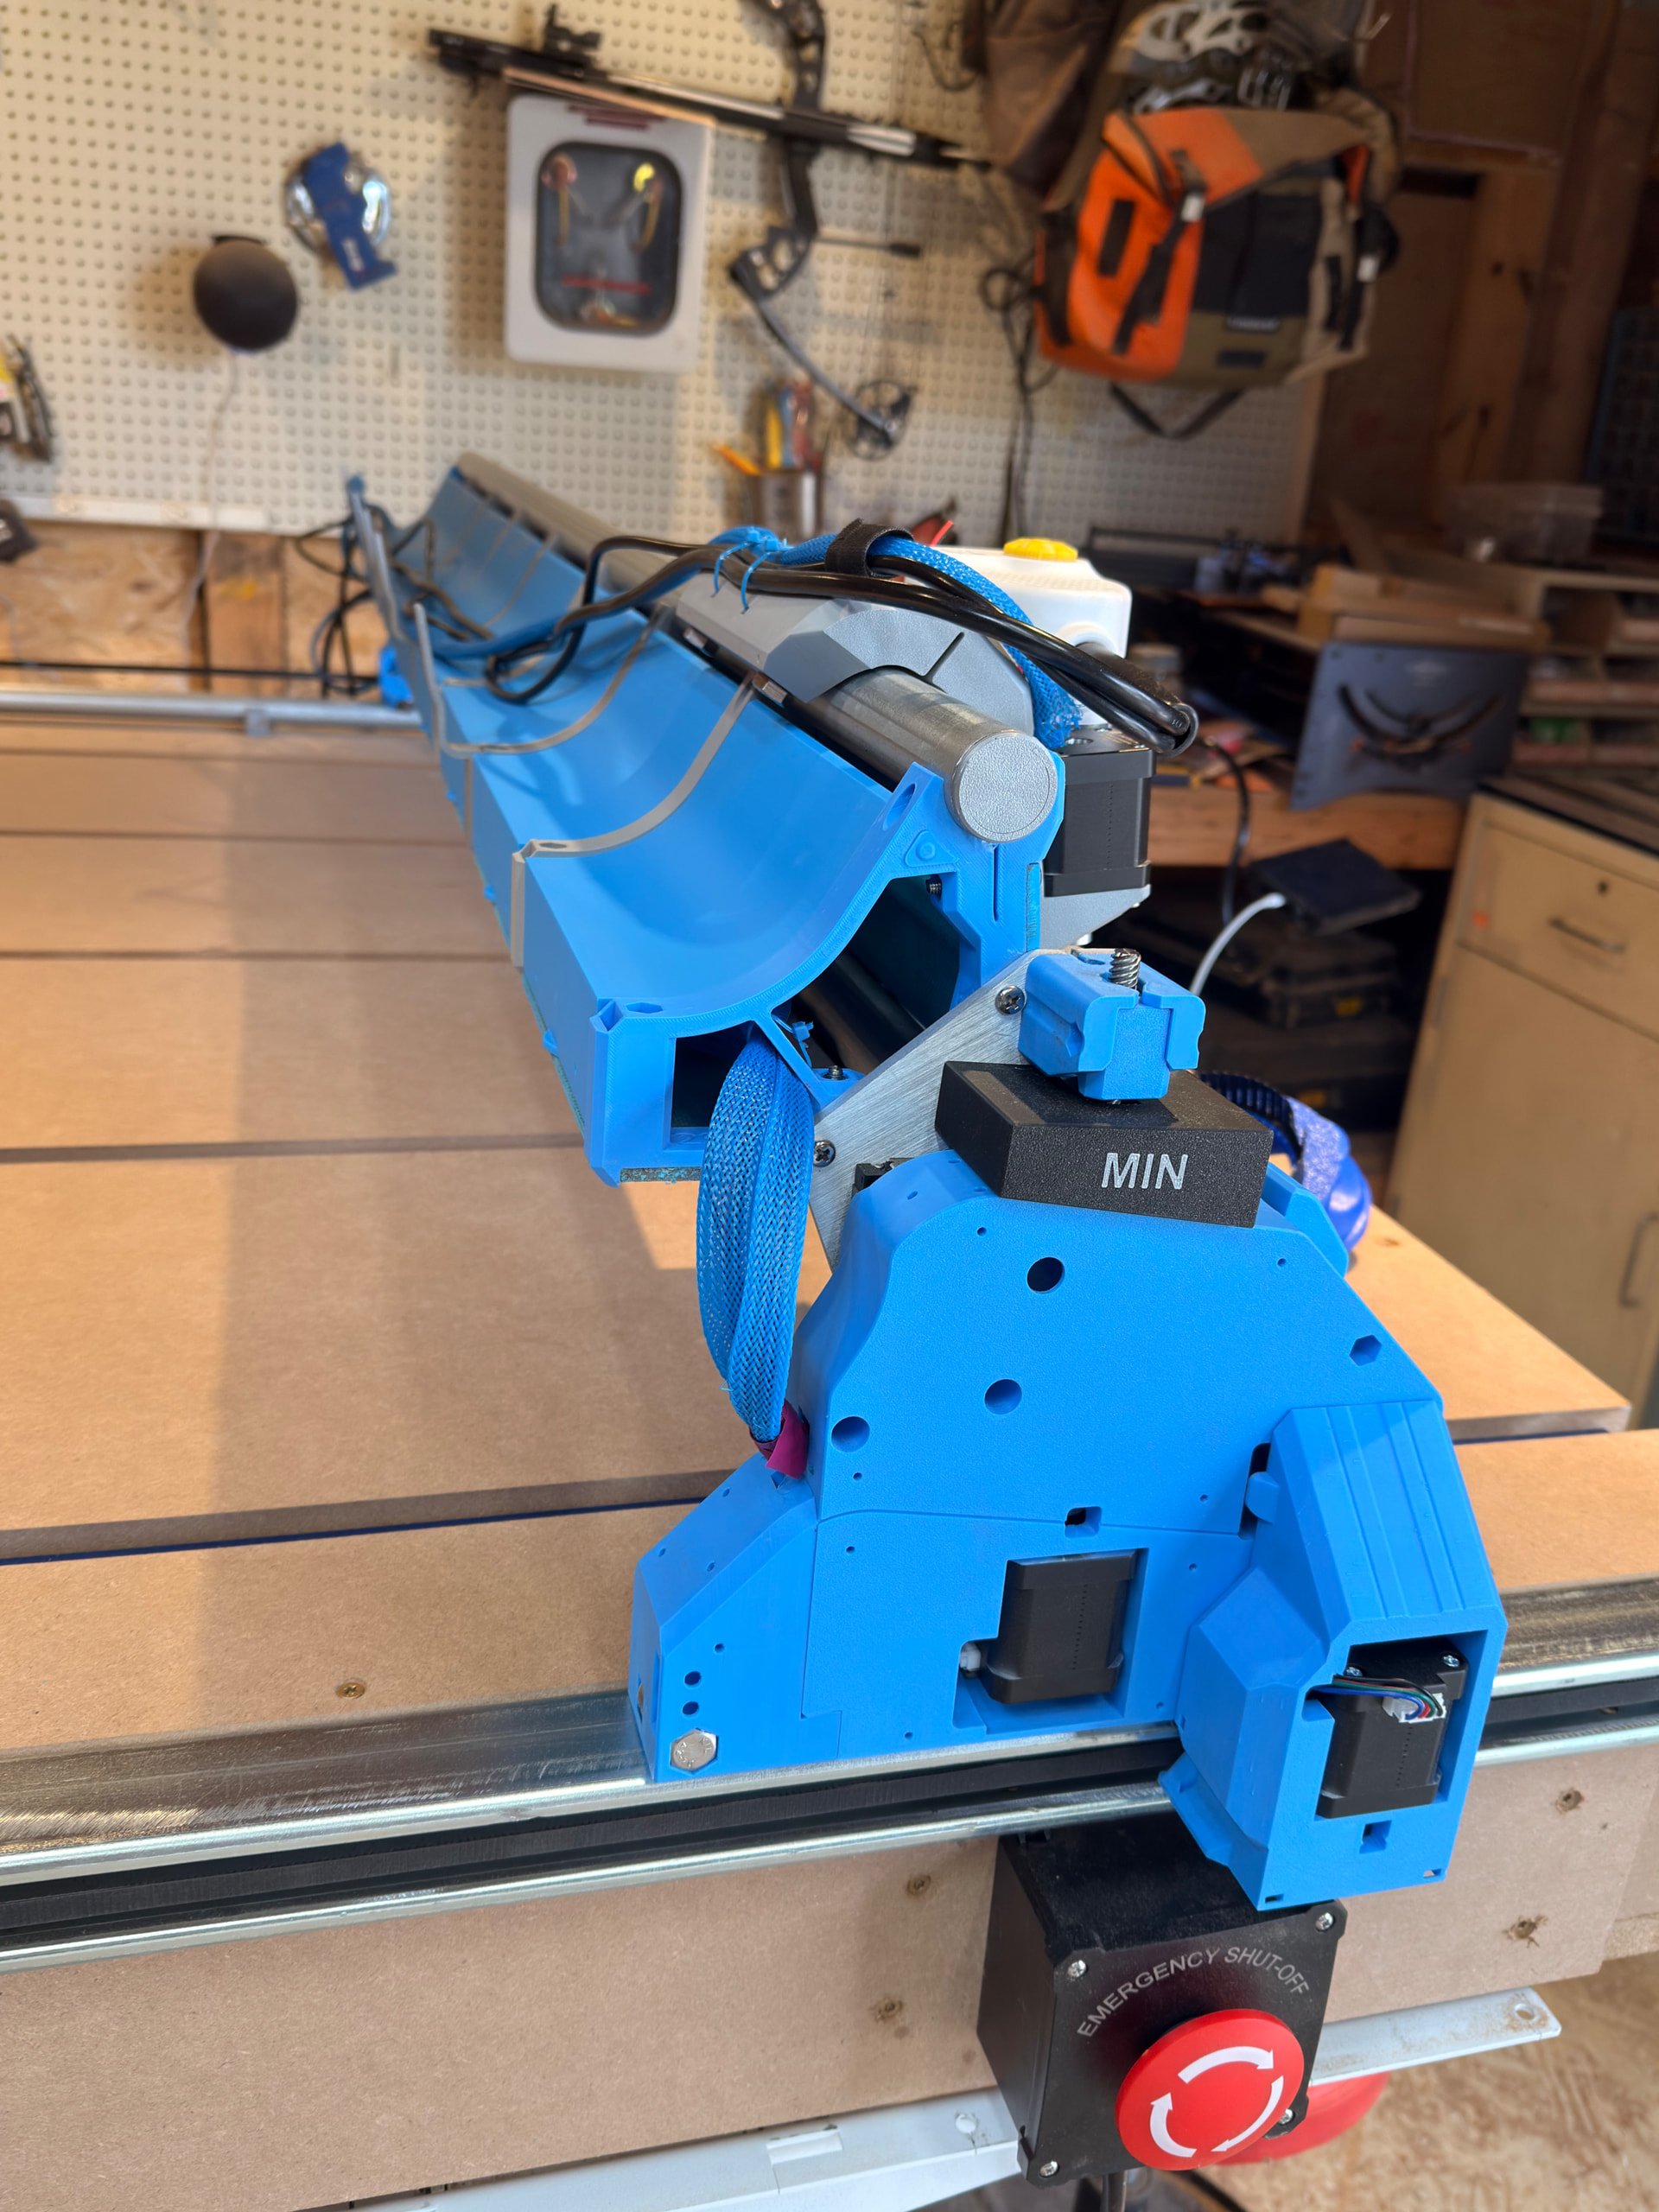
In this photo, I think you have the adjustable end-stop parts needing flipped with each other. The end-stop bent plate portion should be bent/pointing downwards instead of upwards.
Thanks for the heads up! Actually they are fresh off the printer and just threw one on there for the picture. I’ll be sure to flip them round when they get screwed down.
This is LR4. The newer version for LR4 is in my Printables.
As noted, doing it from the start is less work than retro-fitting it onto existing, as it saves time and fiddling. A counter argument though, is that would mean not building yellow-brick-road first…
I would highly suggest to go full commit if you want to hide the belts. I was close to the breaking point with some of the wires fishing them in and out.
Also, before you begin get an M3 screw kit with nylock nuts (I used standard because that is what I had) and would recommend the two tapered M5 screws @ 20mm for the freewheels. Didn’t have those unhand, so a grinder and Dremel later I massacred a couple of the M5 30mm screws from the kit and superglued the bottom of the screws.
Also, put the freewheels in BEFORE you assemble the connecter piece to the tower. This isn’t like Ikea, you actually have to read the directions!
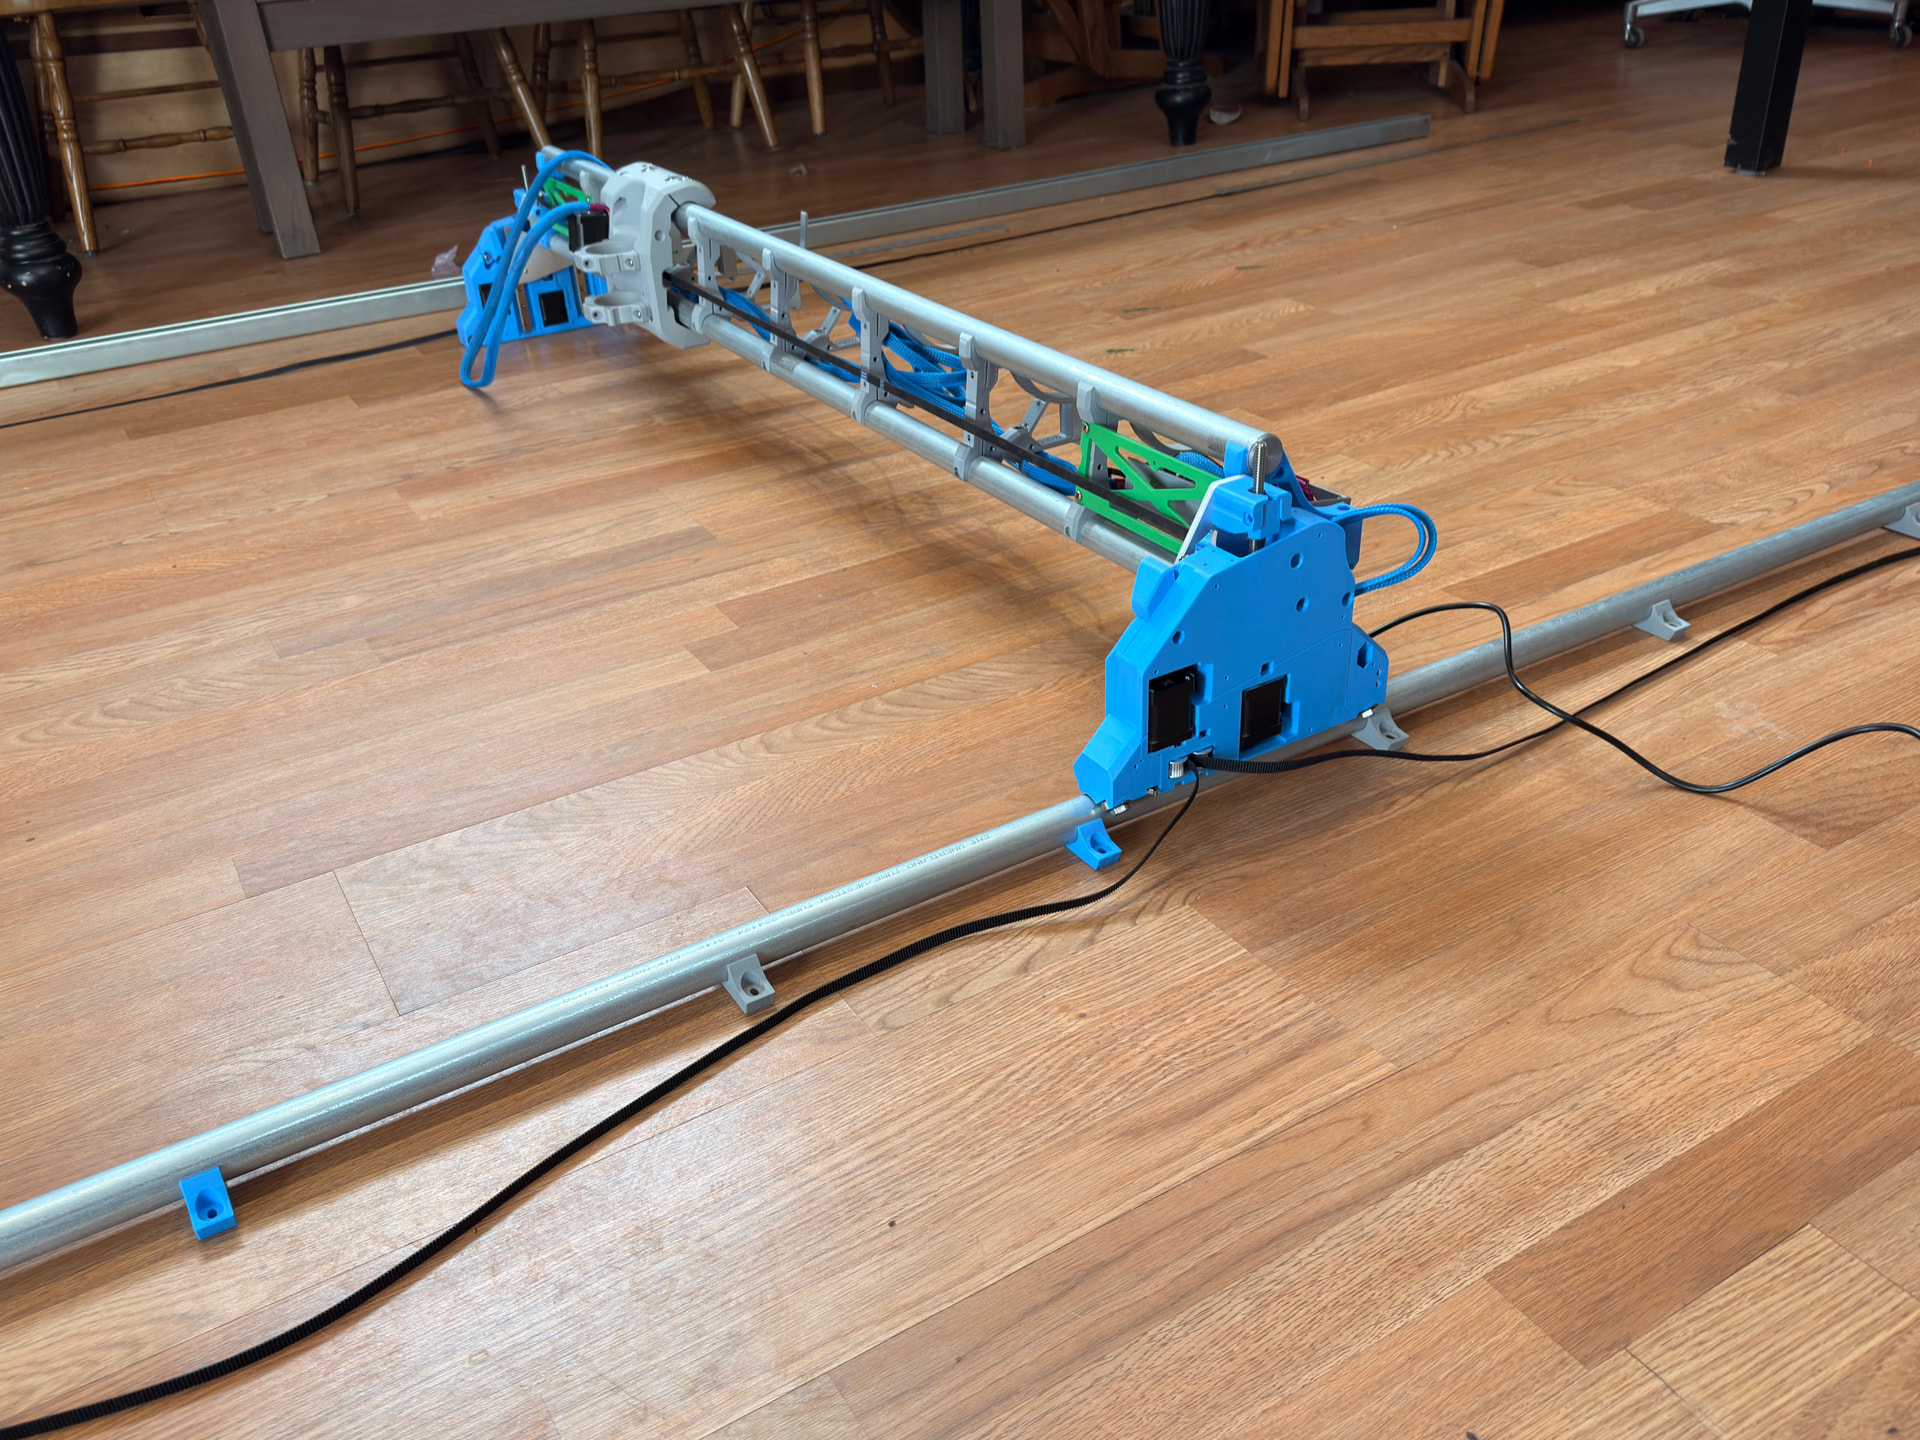
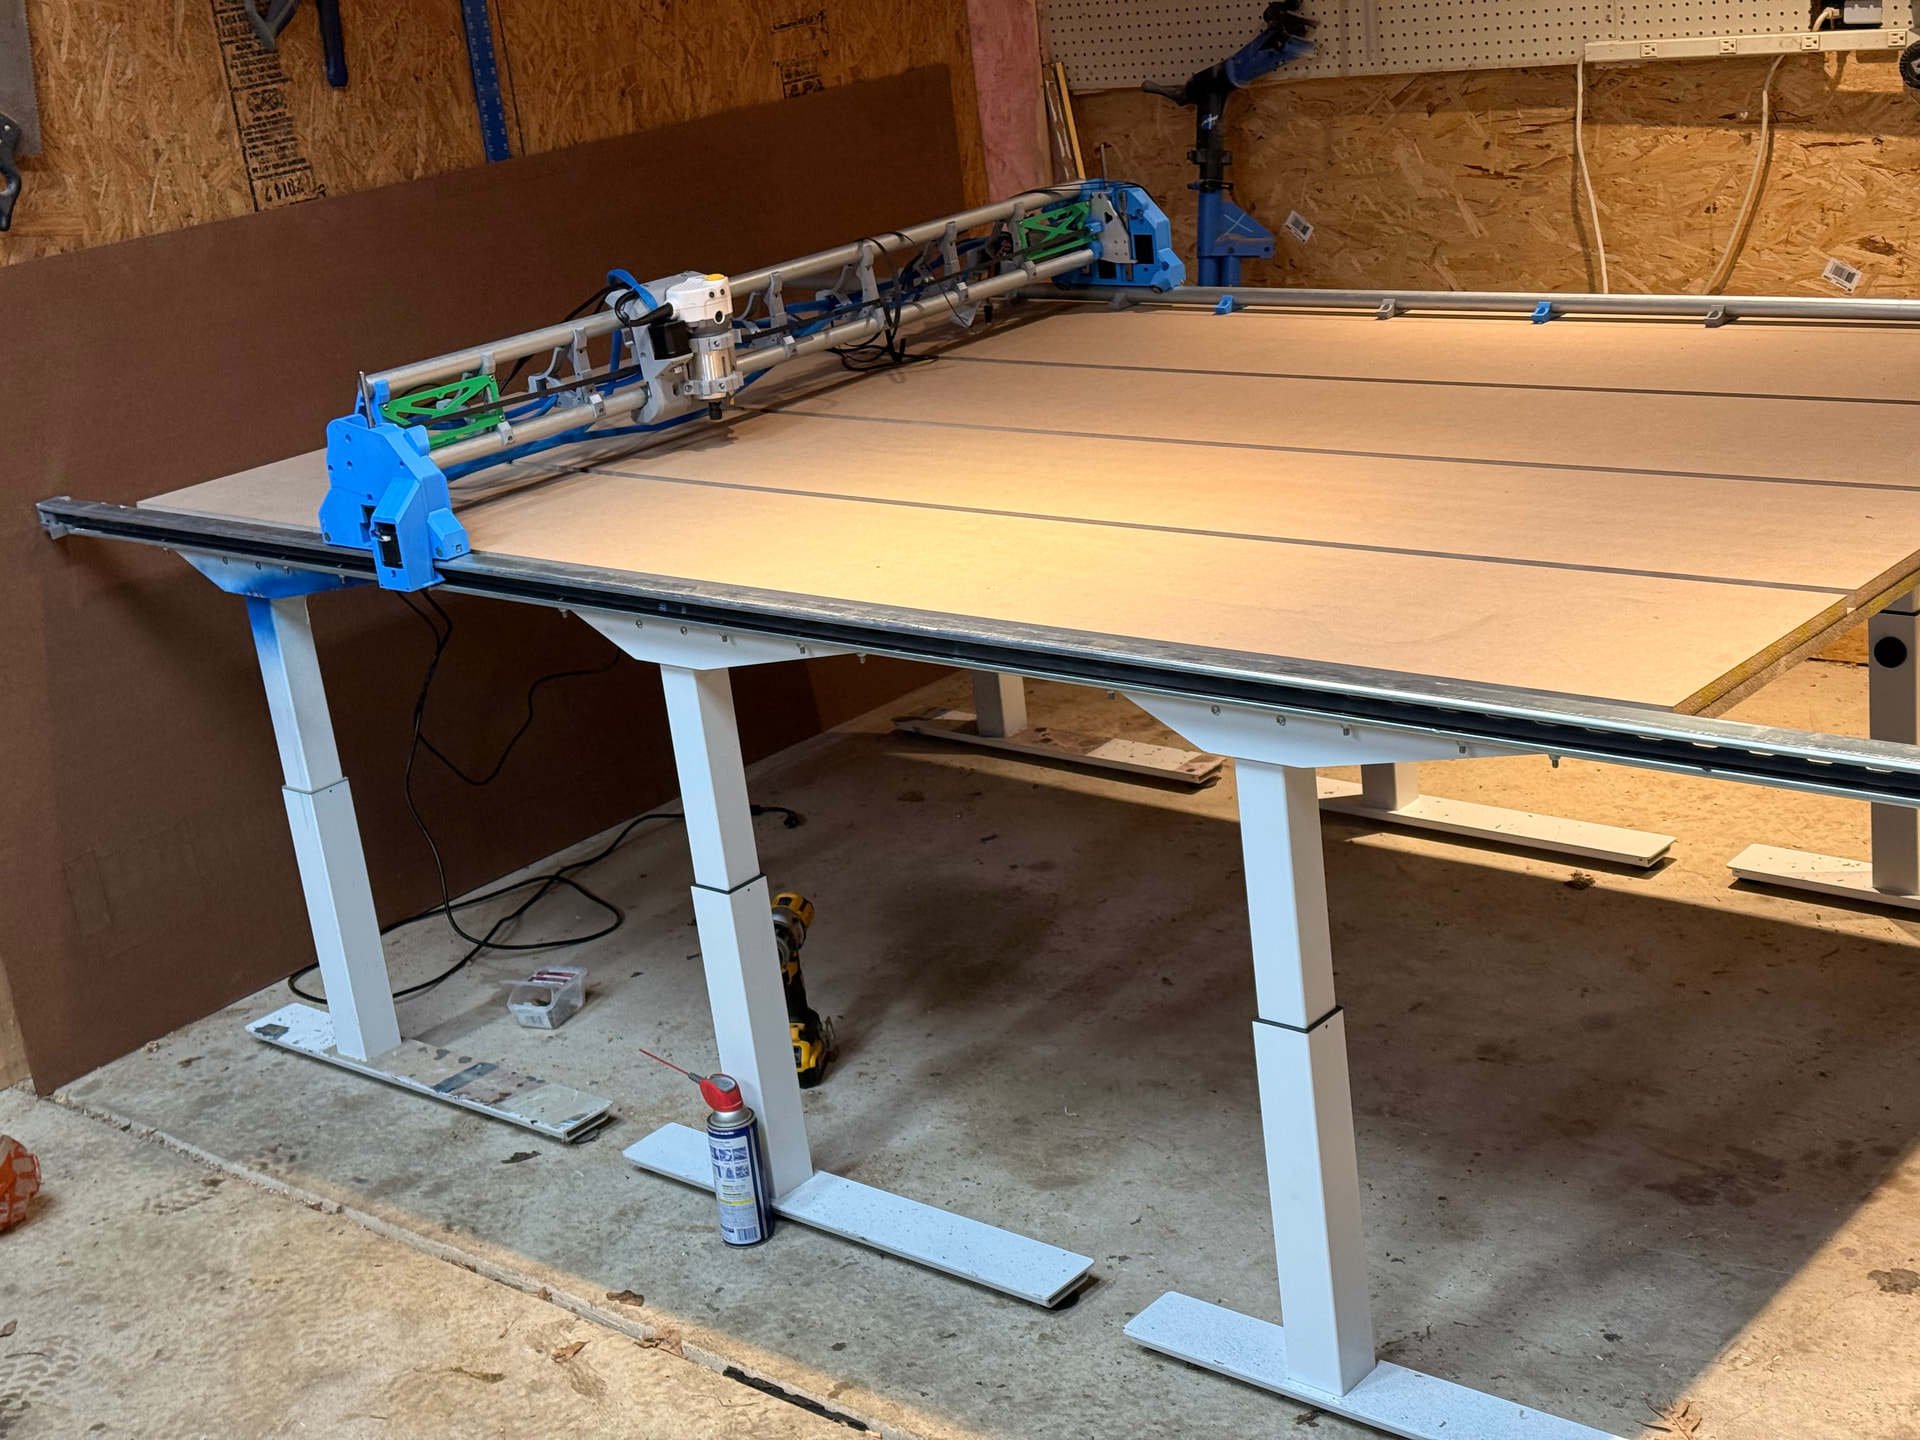
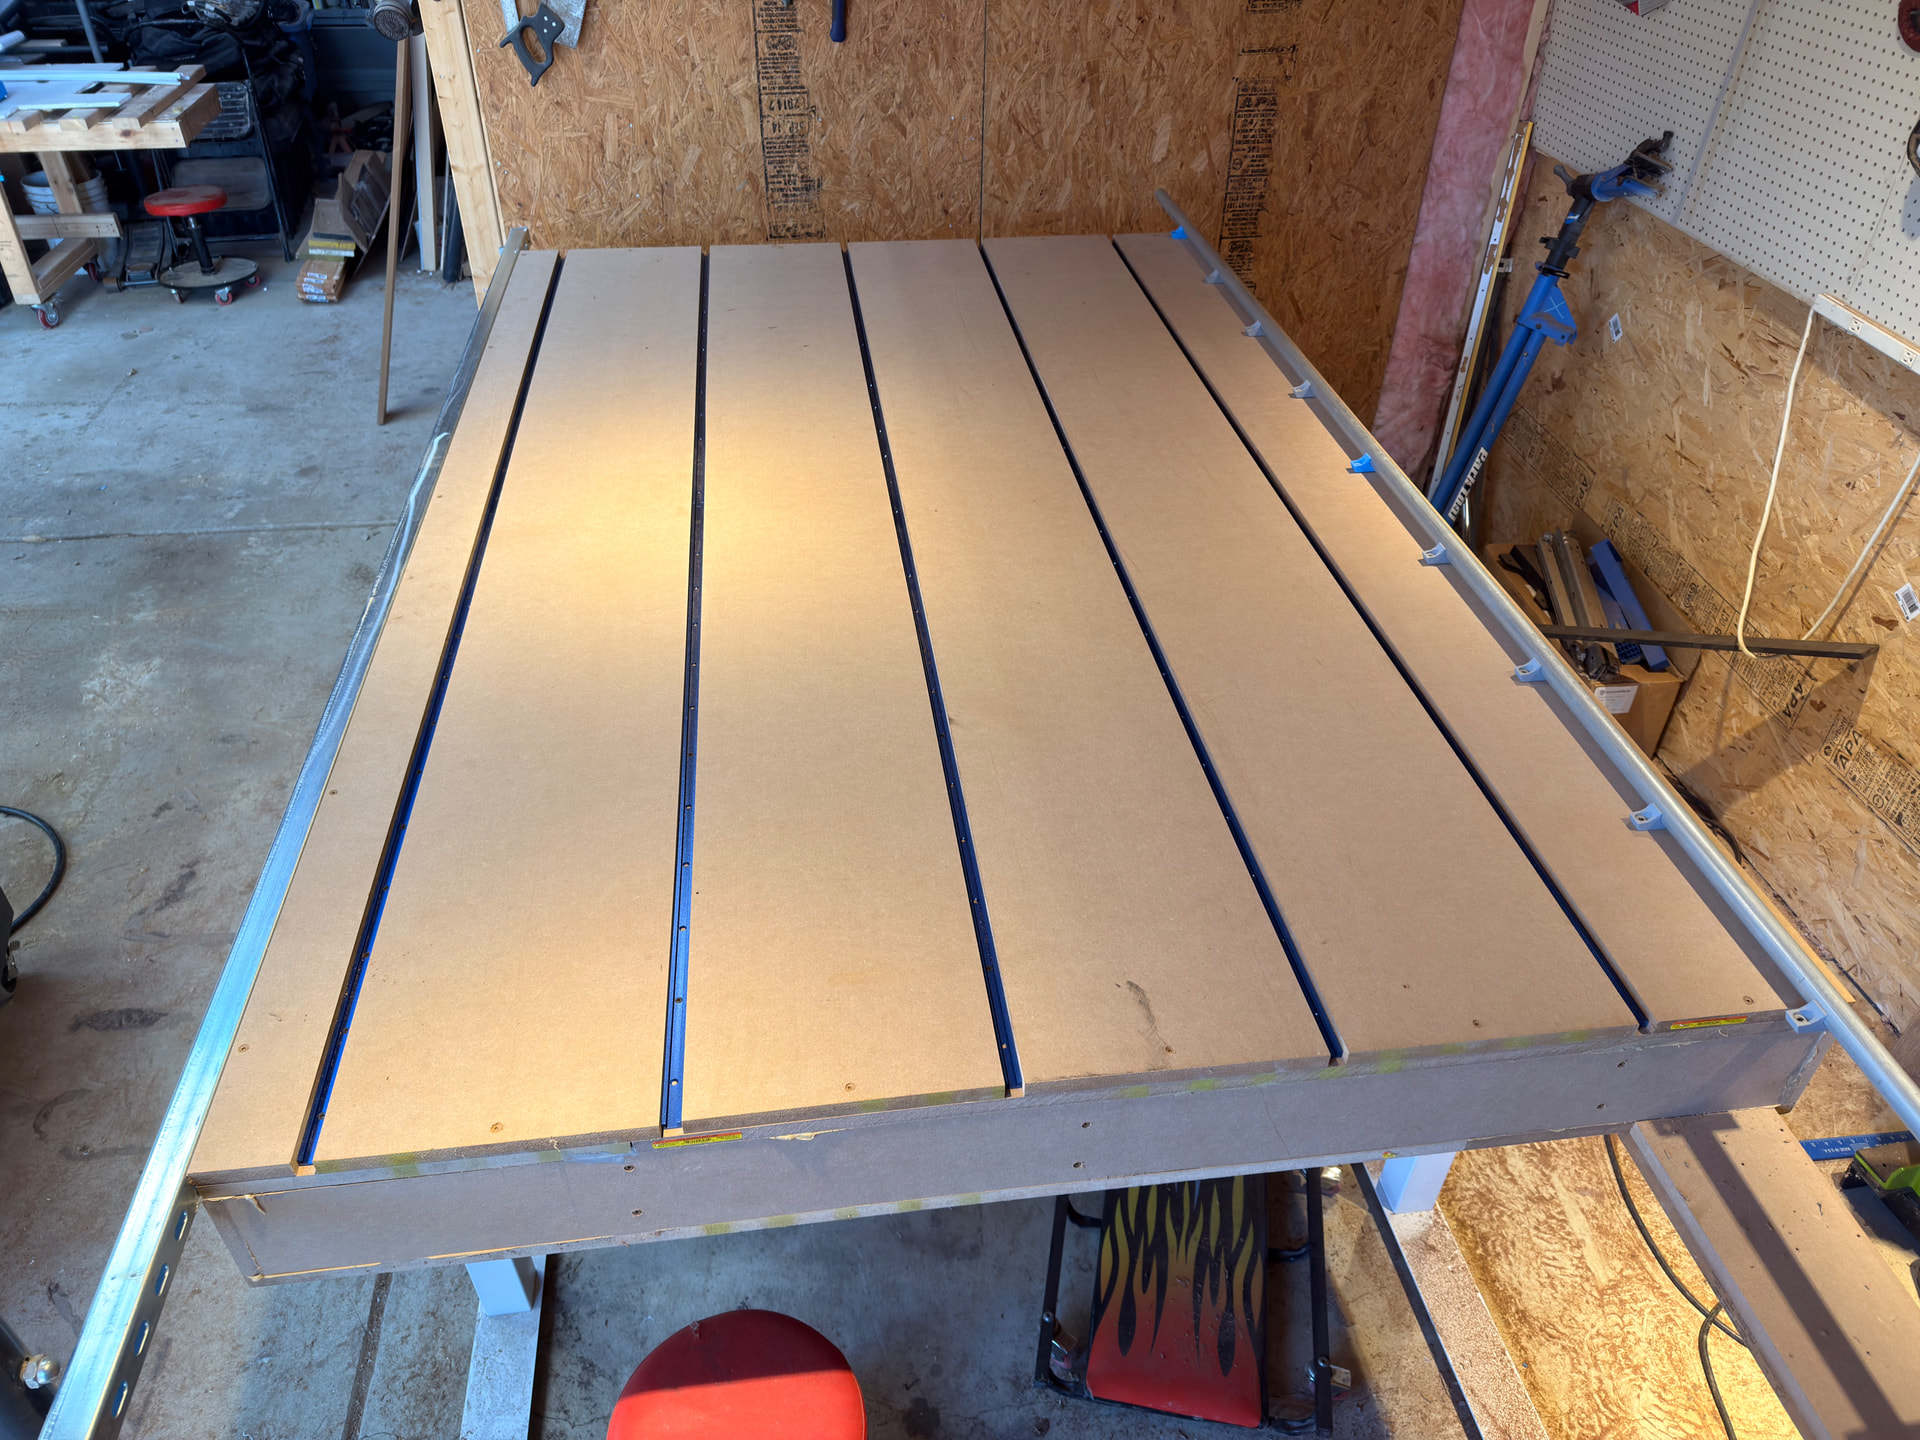
Had a few frames from sit/stand desks I got for free a few years back after one of those co-working places closed after COVID. Think they are going to be plenty rigid enough, a plenty adjustable to get a good level on them. Add some t track and a cut spoil board, close to ready.
The unistrut attached via some 1/4 x 20 screws and keeps the three frames rigid to each other. Unfortunately the variability of the unistrut is giving me clearance issues on the insert, will have to take the grinder to it tomorrow to open up the opening some.
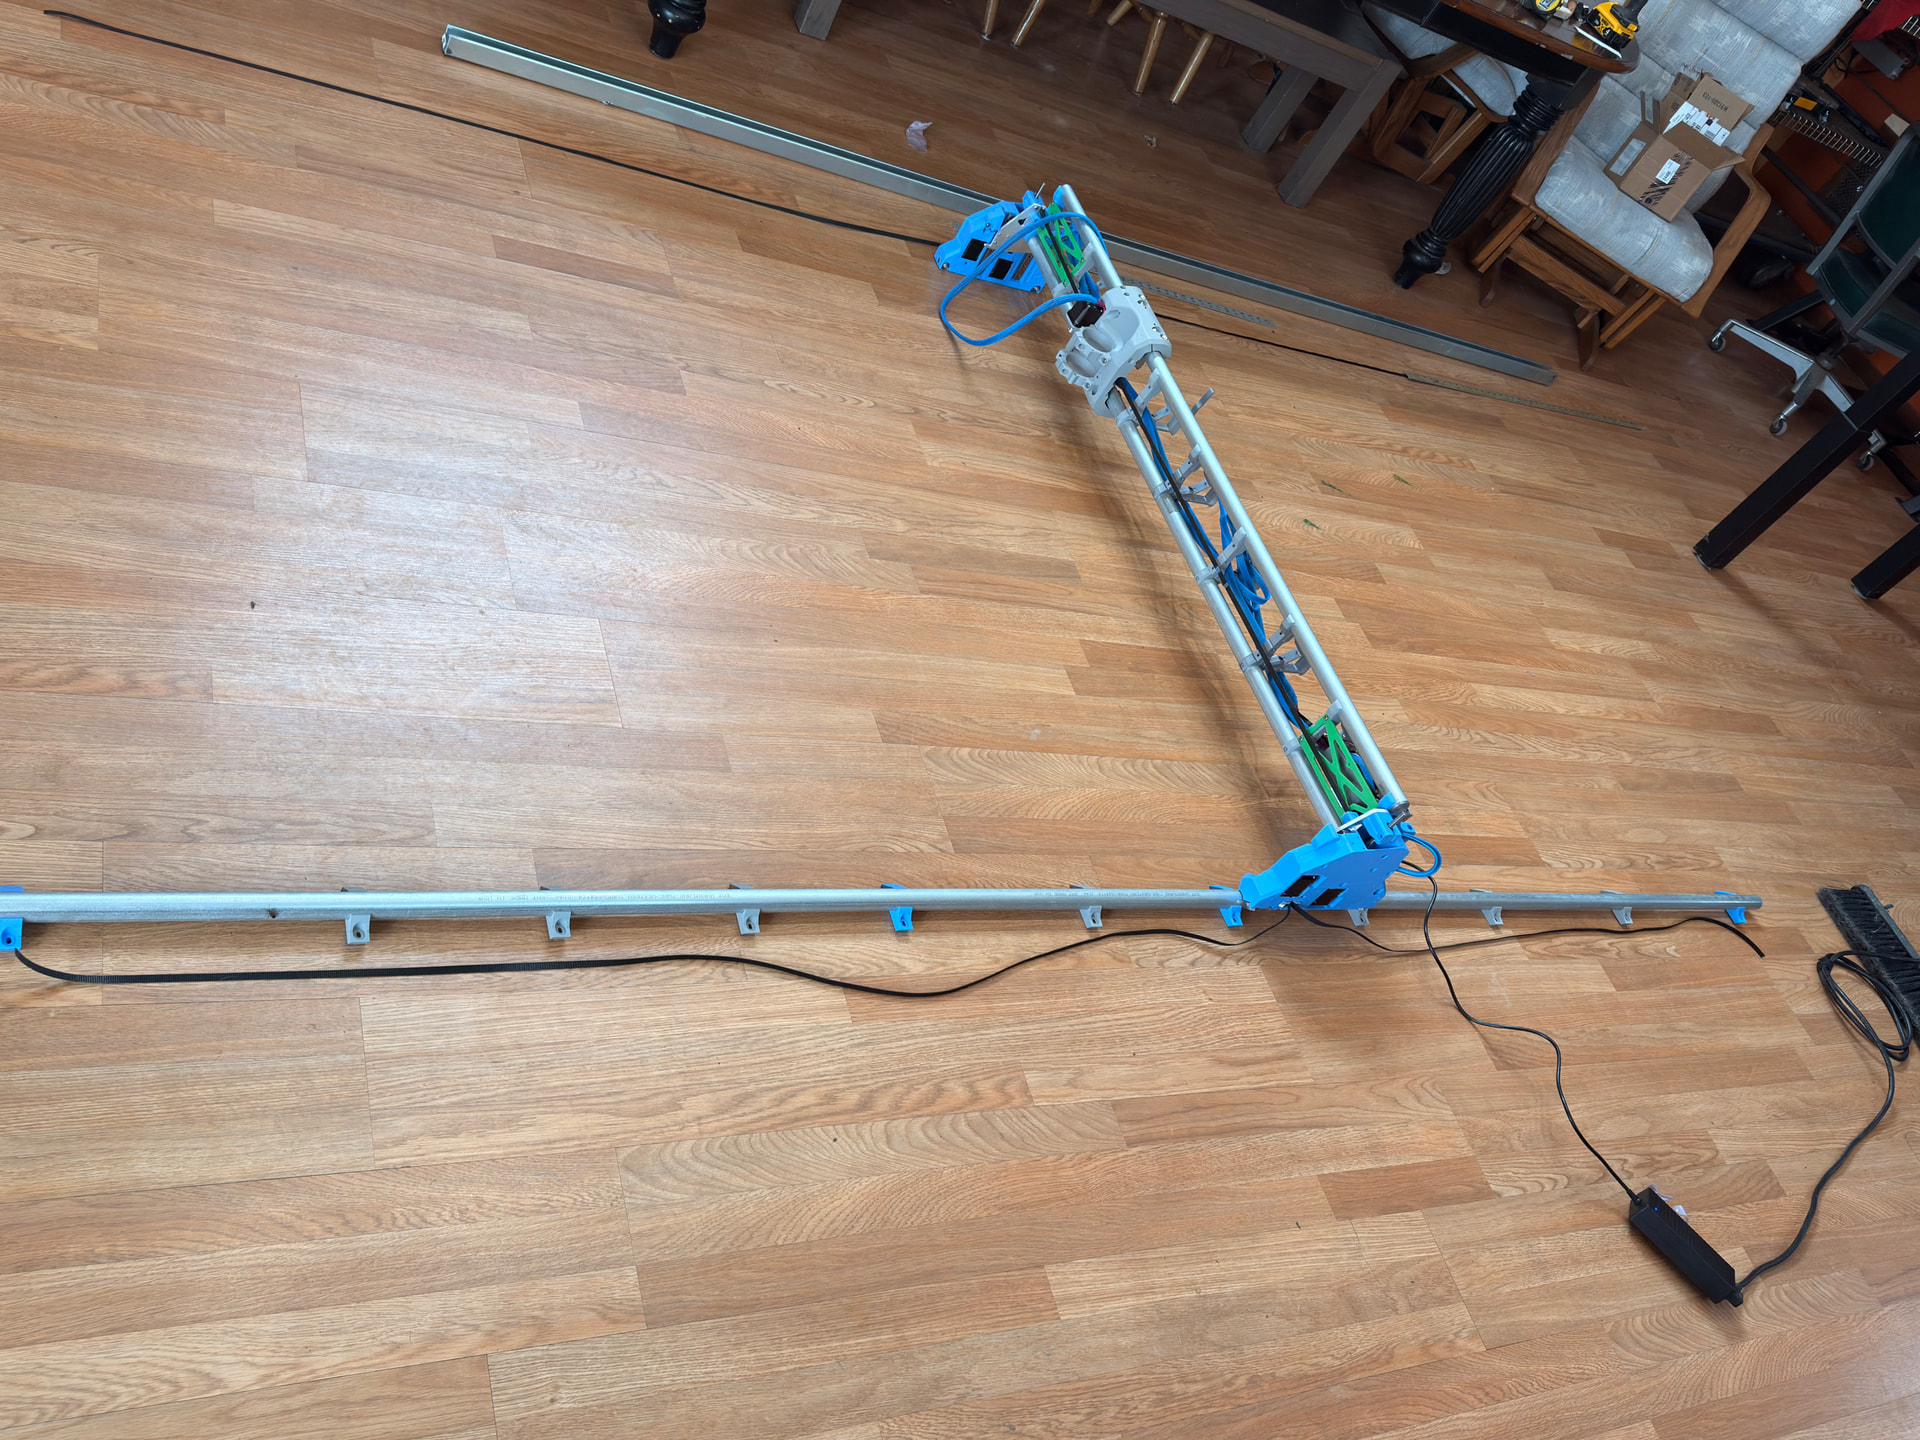
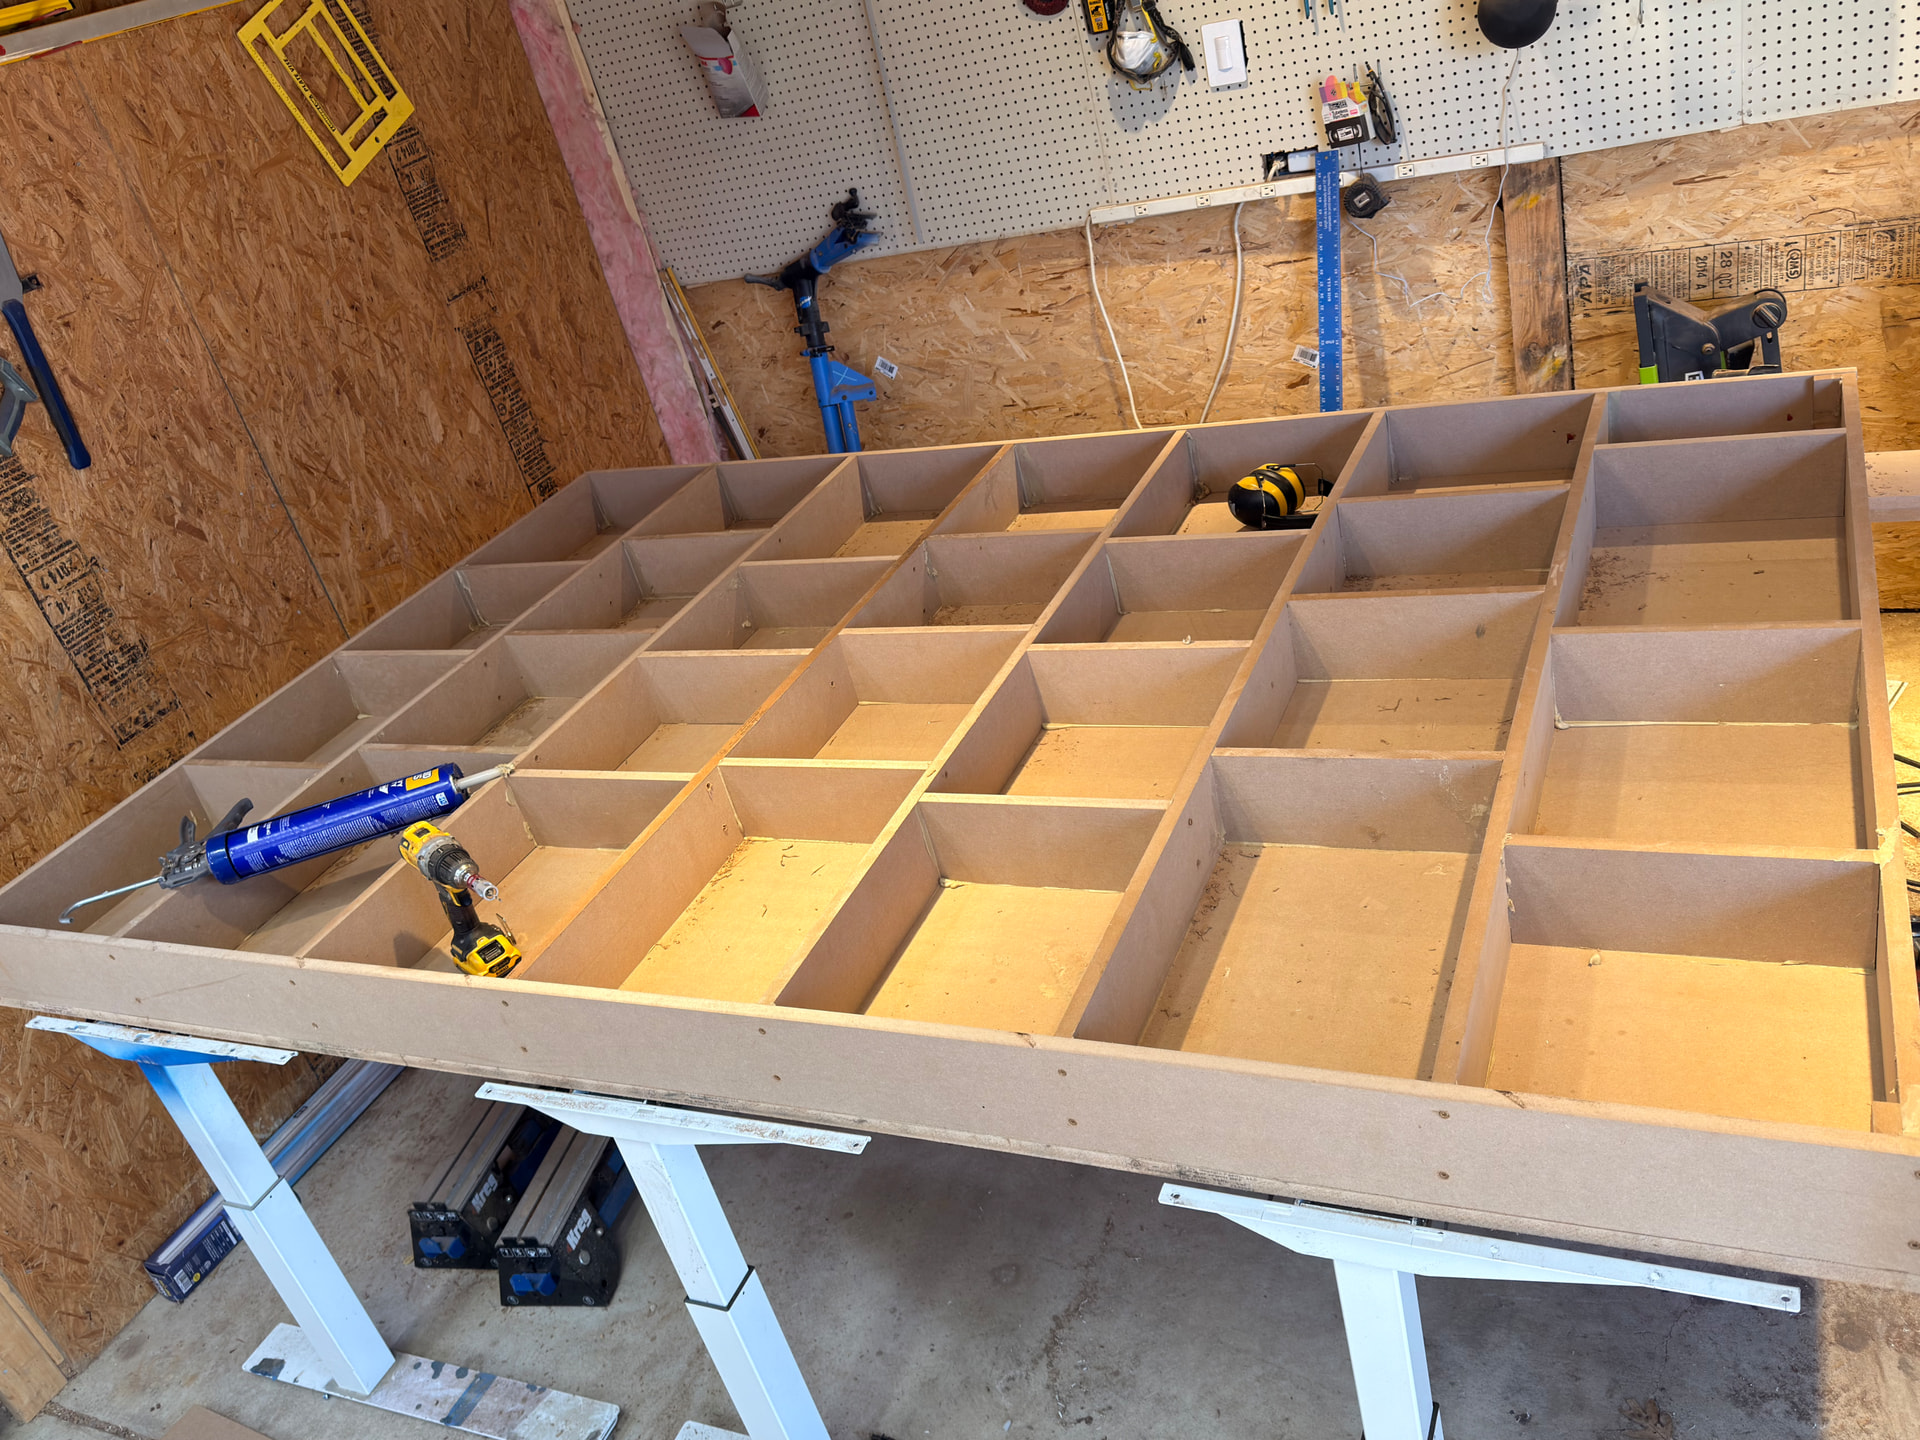
The initial stab was definitely stable, but the inherent design of three sets of standing desk legs was too inconsistent to keep flat. Doubly so for the unistrut that would ever so slightly bow and flex just enough to get the lower gantry arm to catch. When @DougJoseph says “no touchy”, he really means it! So went off to build a proper torsion table, hand built from the table saw, screws, and liquid nails. For my setup now was easier than trialing too many times on a faulty table to make a better table. This gave me a proper side to affix and support the unistrut, and to box out the ends so I can extend overage of 2’ for vertical piece cutting down the line.
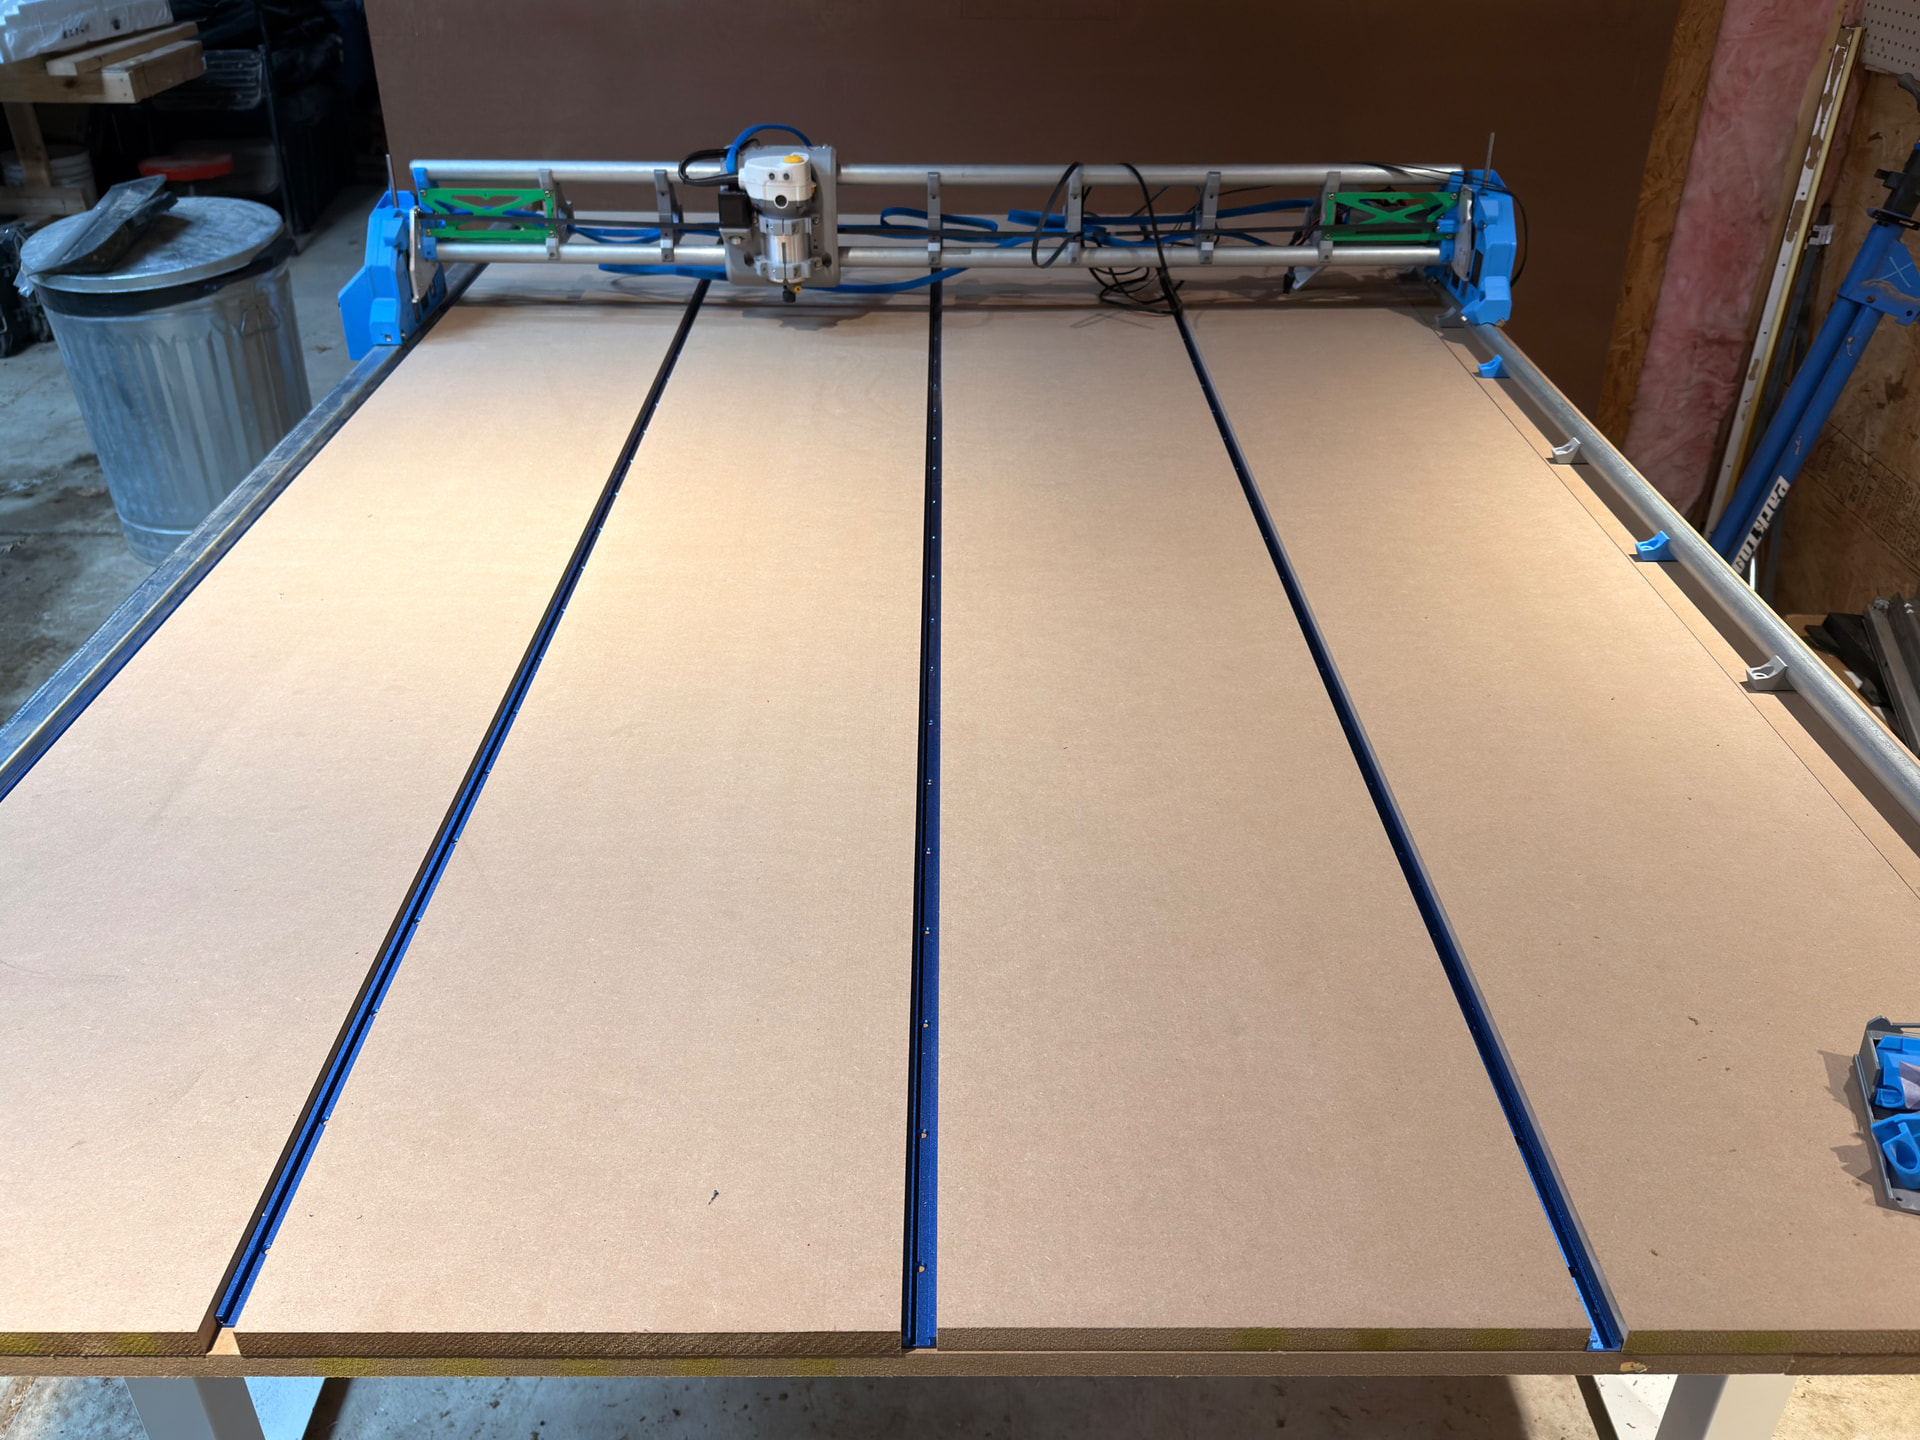
Gantry finished and boxed in, again with @DougJoseph design. The fitment is good on each of the hatches, but when a cold snap hit they are now falling off the pips of the hinge - maybe just enough shrink to get them off? May see if I can alter the hinge design to have a slightly more pronounced pip to hold the hatches on better. Otherwise, super happy with how it turned out!
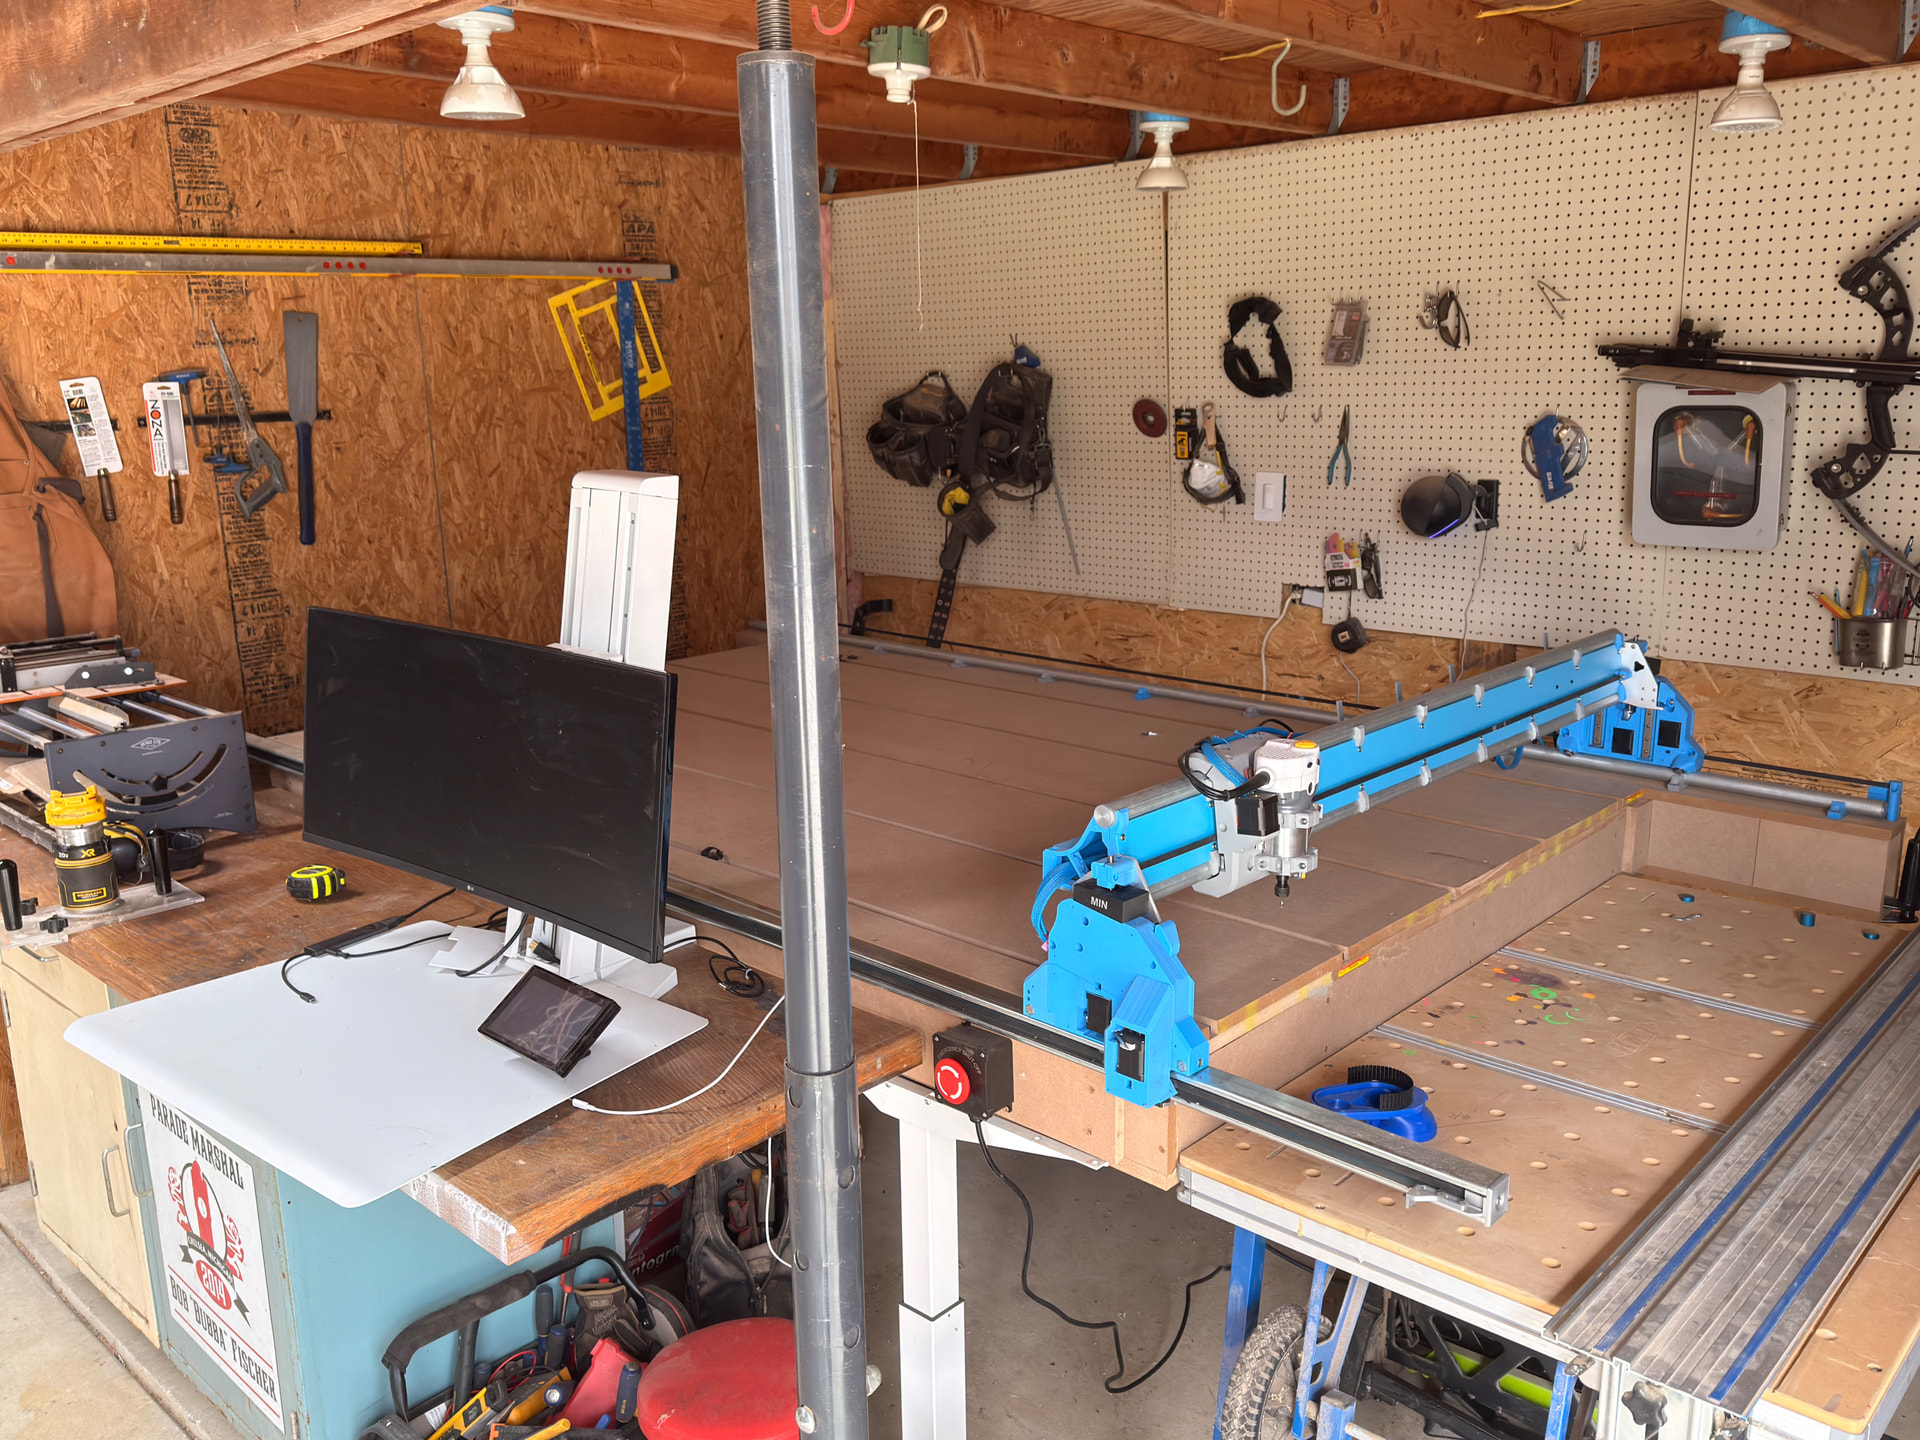
Also on display is the unistrut y-belt hiding guide thingy, really happy I took the extra time to dial this in. Runs like a champ with the new torsion top, and extra happy because until I can get a jack to help lower the legs it’s almost 4’ in the air with that additional box height. Good thing I chose adaptable legs…
Have a Kreg track saw cutting station (highly recommended if you don’t have the room for a table saw) that snuggles right in to the vertical overhang area. Can be used as vertical support or moved out of the way for larger planned materials. I had an old sit/stand computer stand setup laying around with an older monitor, playing with placement and setup now. A FluidTouch with the Elecrow Advanced by @jeyeager is mounted on the rising platform by a MagSafe mount. They make ring magnets to make anything MagSafe compatible and works really well. As of today there is no battery so manually plugging it in for power, but thinking of investigating if I could put a battery and MagSafe coil in the device and upgrading the mount to be a charger - then it would always be charged up and easy to grab at a moments notice. Very nice design Jason, works a treat.
Now to finish clearing the area, finalize computer placement so I can throw sheet goods on there easier, lower the legs to a not-insane height, and move to true mechanical and digital squaring.
Then first on to the first project!
*Nothing I do is ever final