Hello!
I’m Tanaka, living in Japan.
I’m thinking of moving from Maslow 4.1 to LowRider V4.
・Circumstance
I ordered Maslow 4.1 as my first CNC through crowdfunding, and it arrived about two weeks ago, and I spent 19 hours (2days) assembling it.
However, during the preparation stage, concerns about the accuracy of the cuts gradually grew, and although a 12-foot x 8-foot wood frame was required, it was difficult to place it in an empty room at home, so we decided to switch to LowRider CNC V4 without ever using Maslow 4.1.
It cost me $625 including shipping, and took me 19 hours to assemble it, but I’d like to complete the LowRider V4 as cheaply as possible for the Maslow that I’ll never use.
It’s currently drying, so I’d like to print the parts as soon as that’s finished.
I usually use Creality Print as my slicer software, but will that be a problem?
Maslow’s accuracy is ±0.5mm and can be worse depending on frame strength, calibration and other settings.
The plan has been put on hold for the time being, so we can still turn back to Maslow.
Hello, Tanaka! Welcome to the forums. Where in Japan are you?
I visited your beautiful country during the beginning and height of the pandemic in 2020 to launch an interplanetary spacecraft on a magnificent H2A rocket from Tanegashima.
Our way is the community here helps each other. You’re well on your way by asking for help.
At each step of the way, the community will help you with your build and projects.
Not generally. There are a few places like the core and the YZ plate that have special features in the design that if your slicer doesn’t get right will cause you problems.
When you print these parts let us help you look at the various layers to see how they’ve been sliced by your slicer.
Also, follow the recommended settings. It’s a mistake to use too many parameters or do other “tricks” you may have learned, because Ryan has again built in special features and “hints” in the part design that if you try to outsmart this it will end up in a worse, not better part.
Thank you very much.
I’ll start printing them out tomorrow after hearing from you all about each detail.
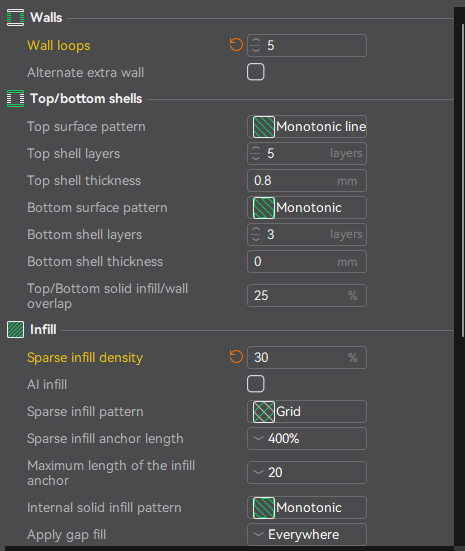
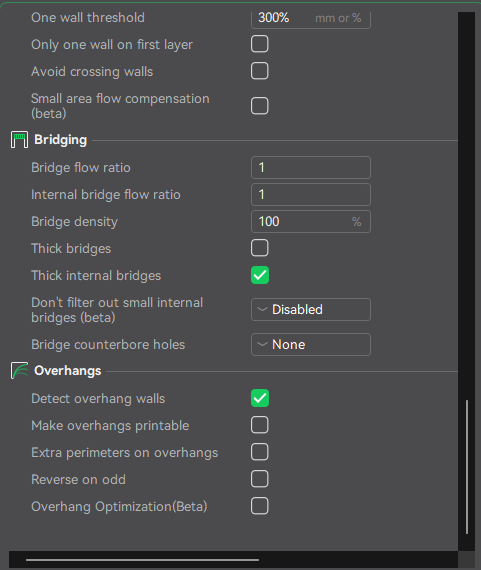
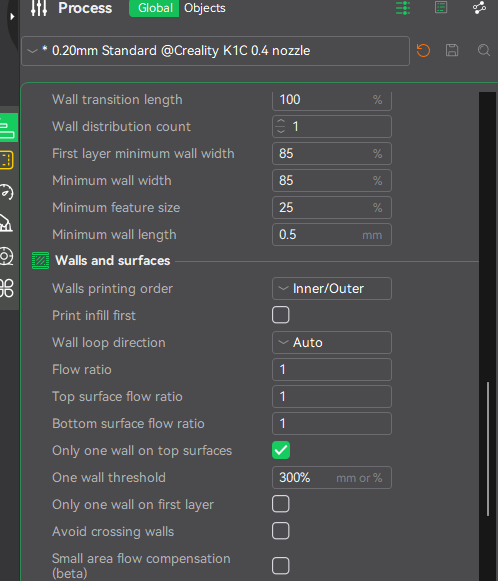
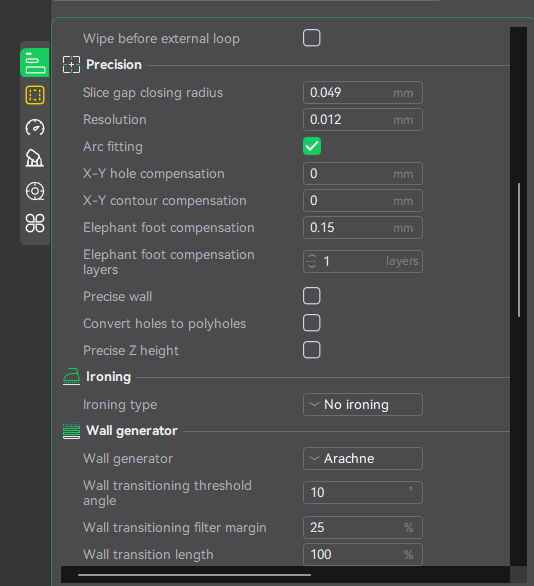
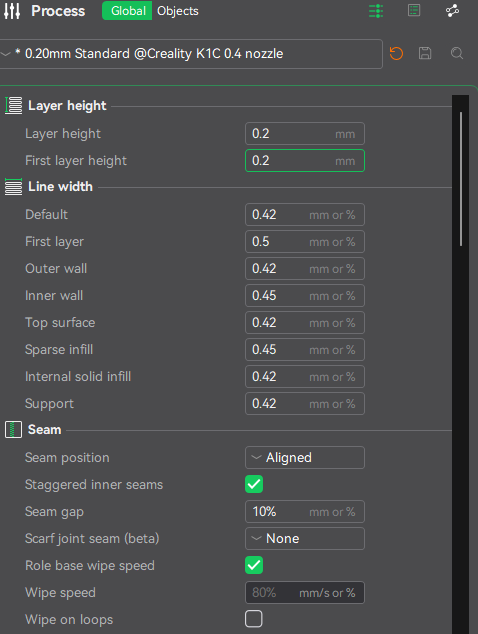
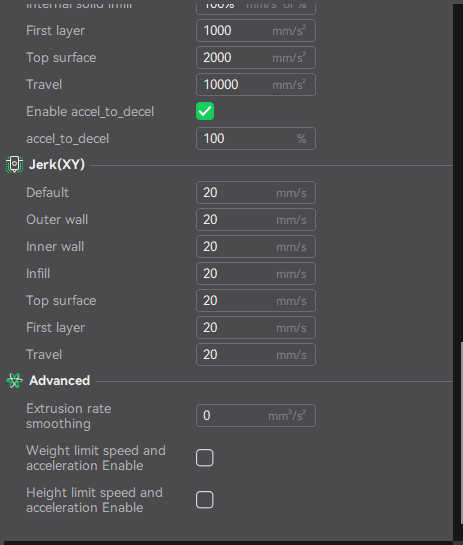
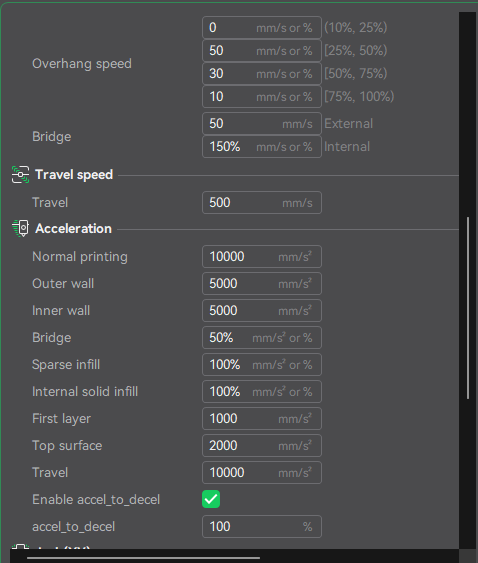
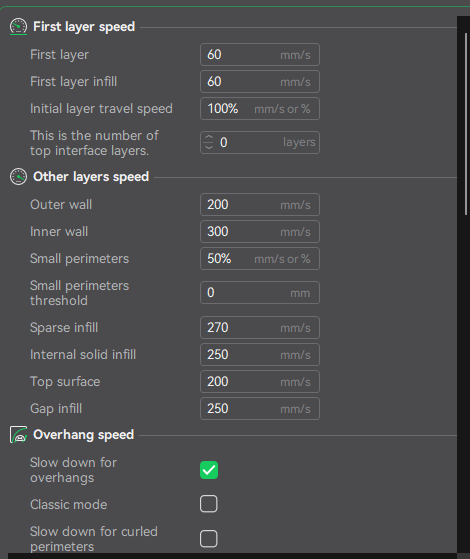
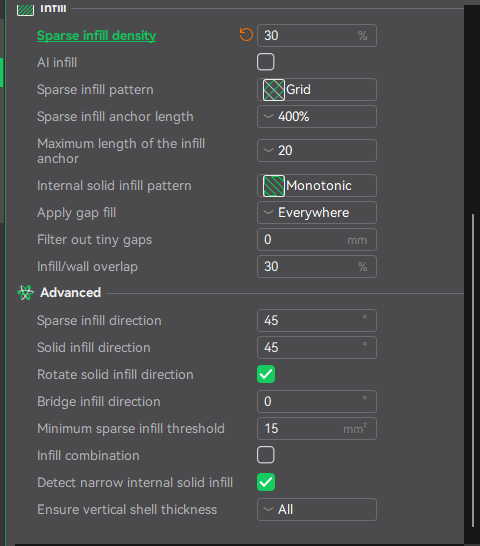
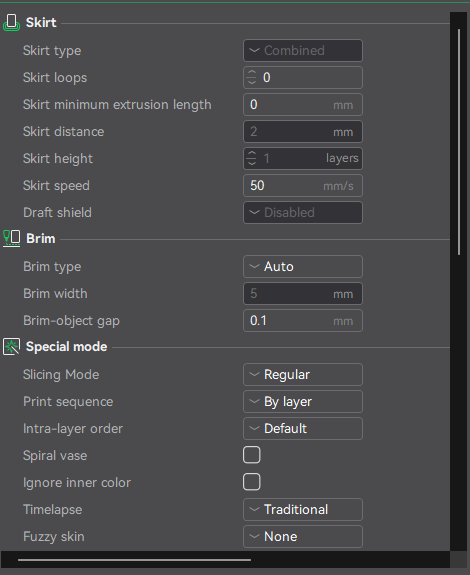
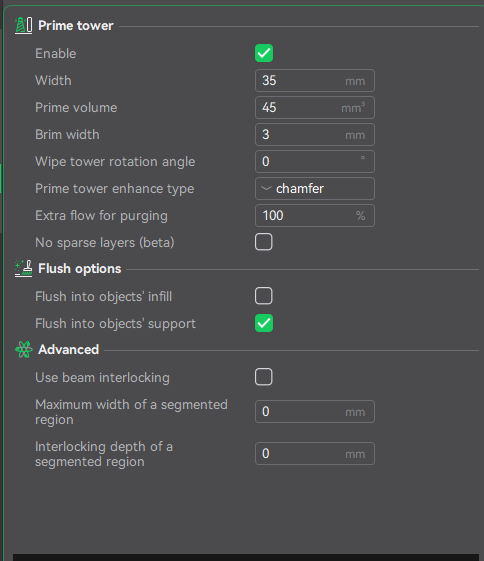
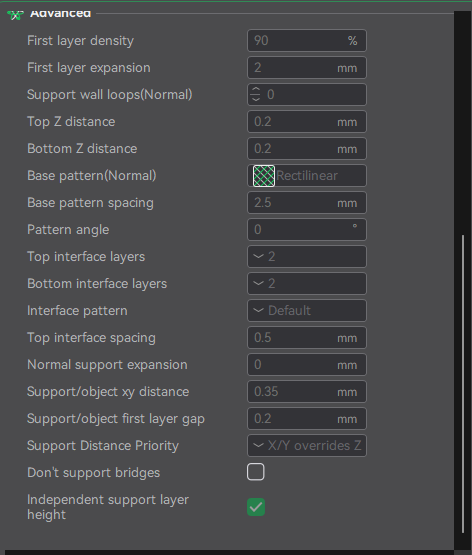
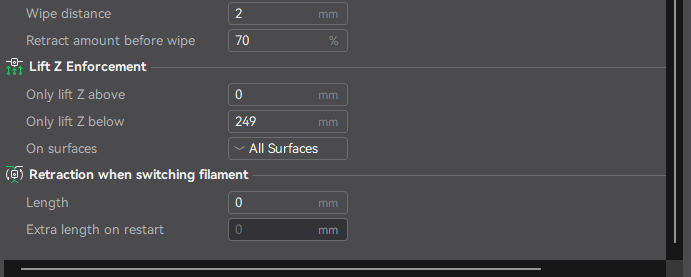
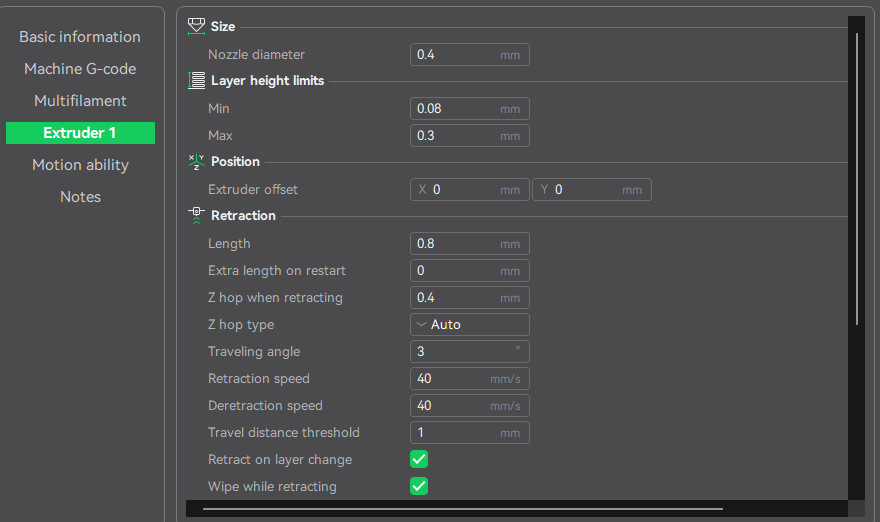
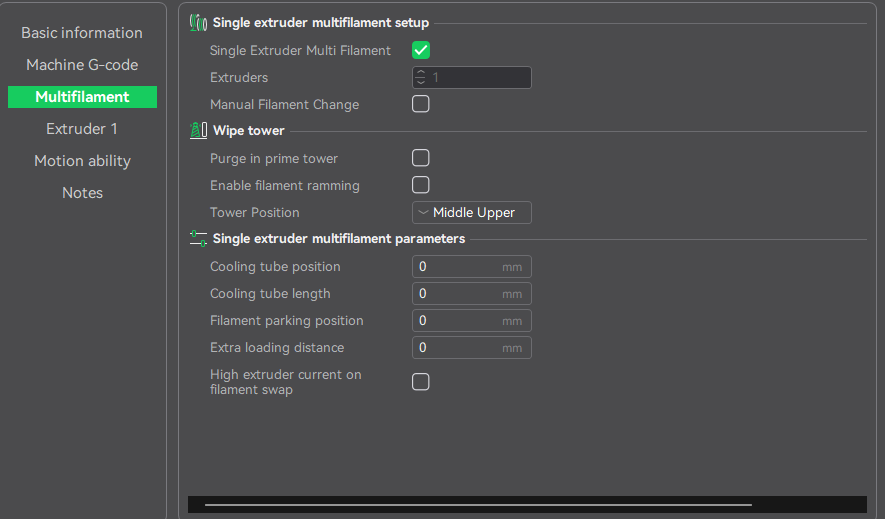
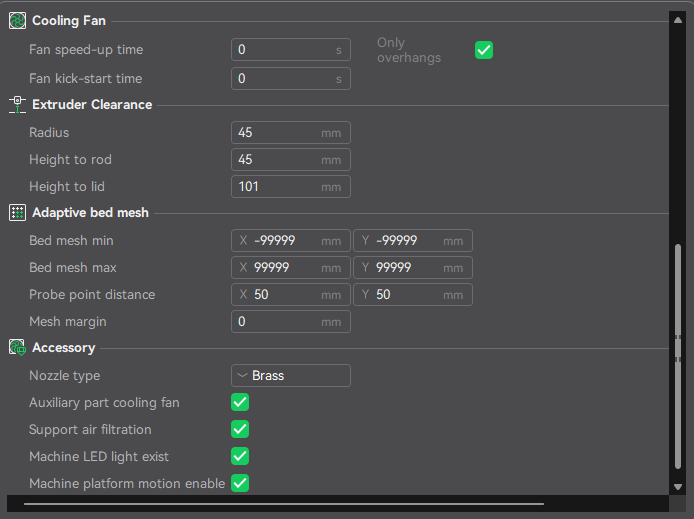
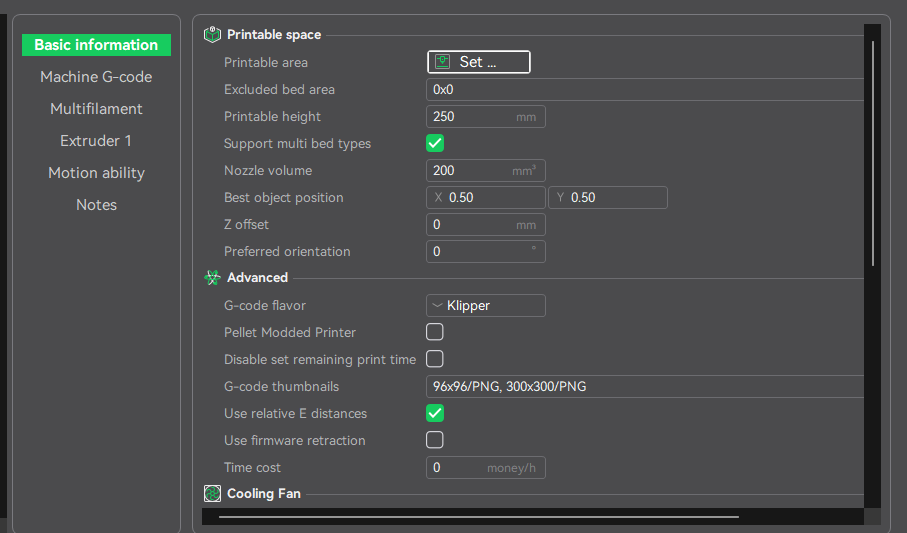
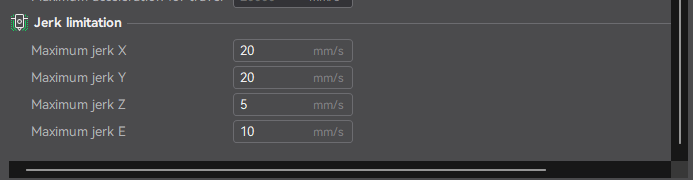
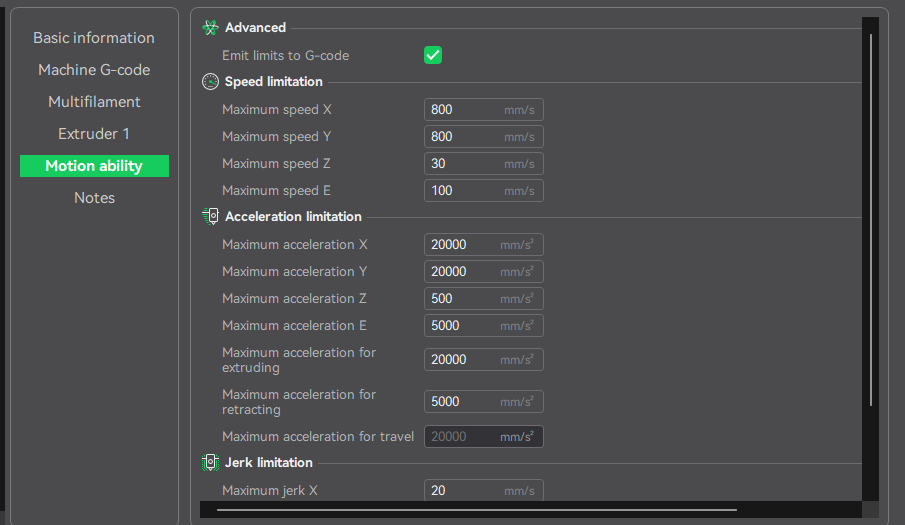
This is a screenshot of settings.
Please confirm.
That’s all for now.
I’m embarrassed to say that I have hardly ever printed with basic PLA.
I’ve only ever changed the print settings for each filament by myself, such as changing the wall thickness (not the height) from 3 to 5, or imitated other people’s settings…
I plan to print the wall thickness with a setting of 5 loops.
I would appreciate it if you could give me detailed information on various settings for printing parts, such as whether it should be 6 loops or 4 loops.
It’s a 0.4 nozzle, but I’m also curious what you all think is a good layer pitch.
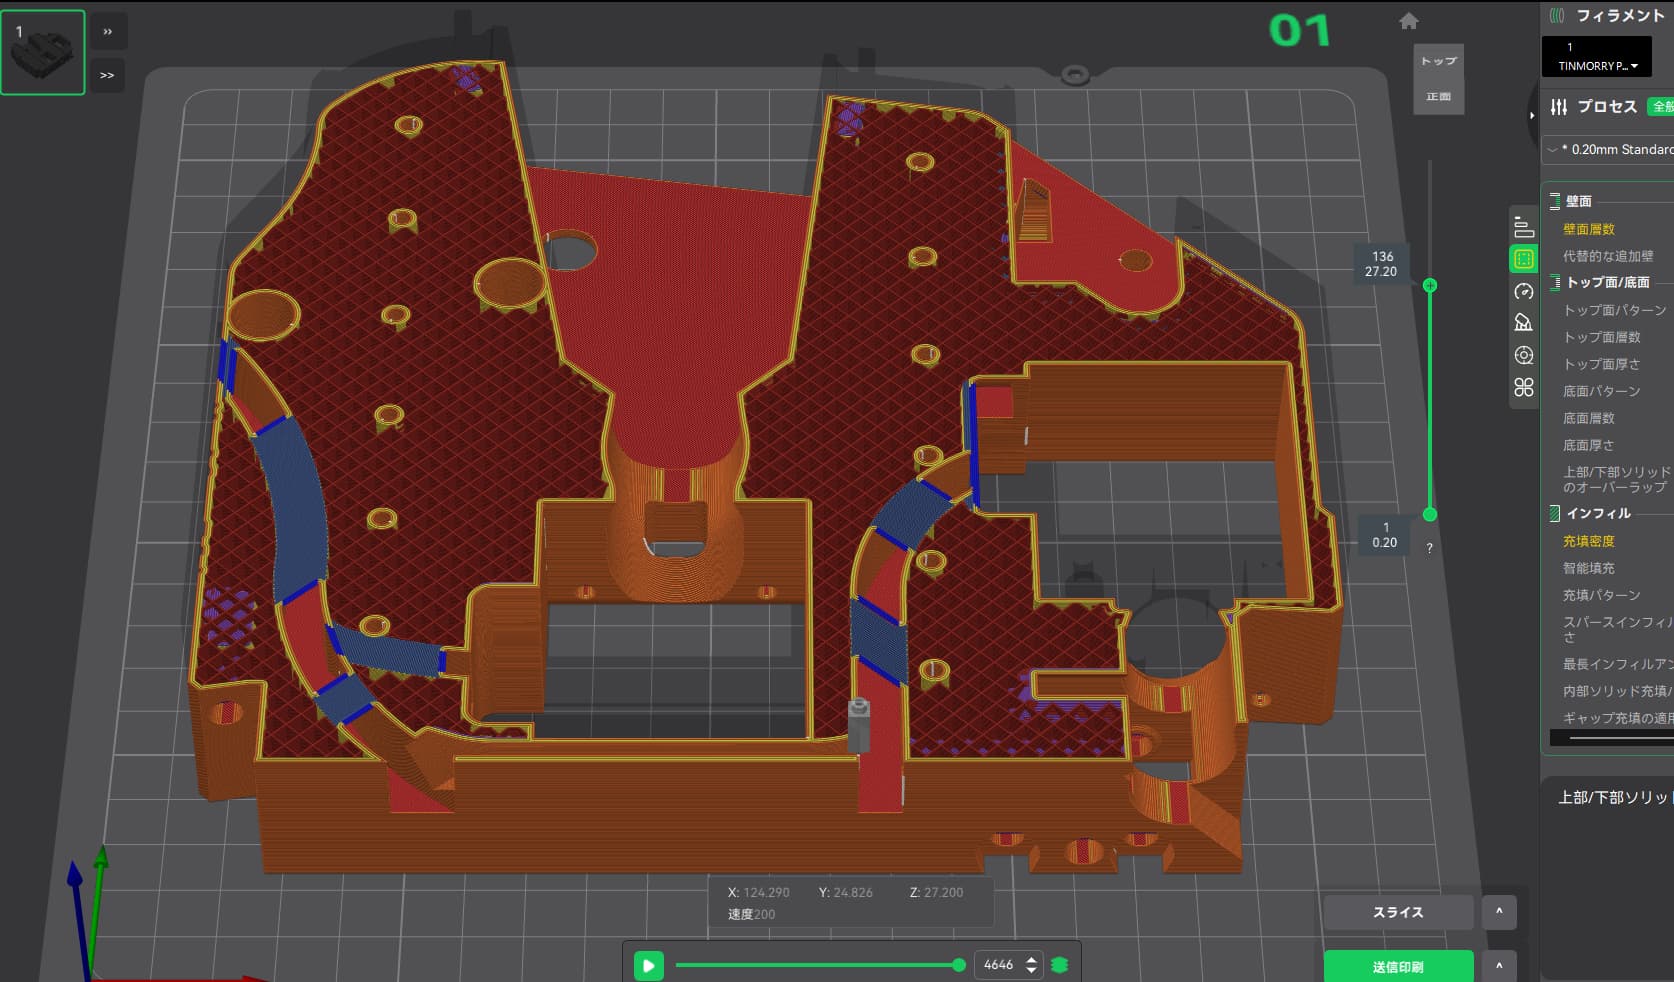
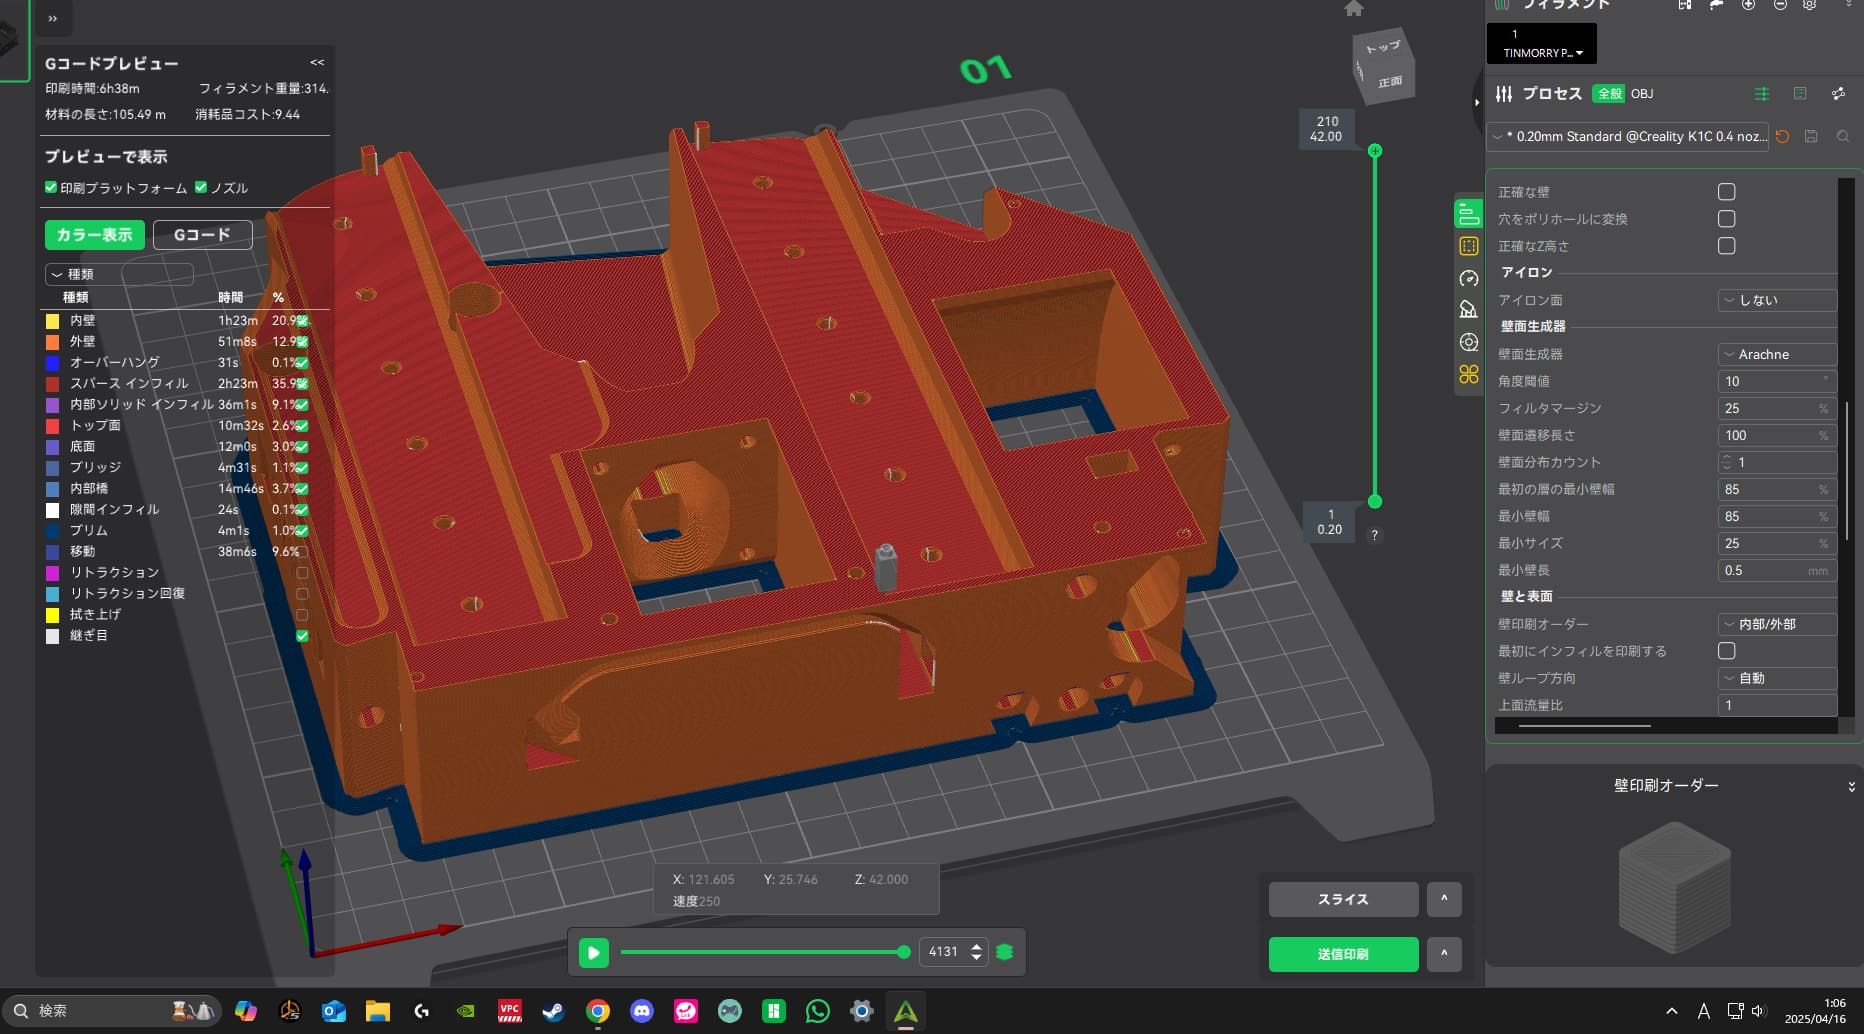
Below is an example of what to look for in the YZ plates.
In the screenshot below, this is the layer at 27.20mm high. Note that the bridging goes across the channel inside the part in the short direction. This is an area where those special hints I mentioned are in the part. When you preview your print files, they should look like this. If the bridging overhang lines run the long direction then you will have a bad result in your print.
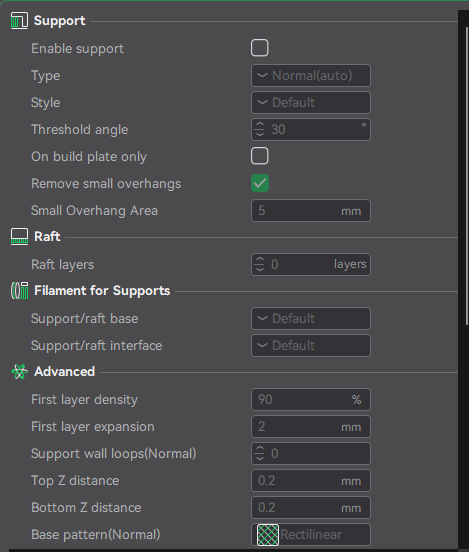
Basically, regardless of whether it is large or small, use a brim to prevent it from warping.
Regarding support material, is it better not to use them?
(I don’t want to use the small internal wiring spaces and holes…)