Just starting to play with the machine a bit, I’m focused on v-carve inlays at the moment. My first attempt wasn’t too bad but did suffer from a couple of spots of chip out that filled with glue and… so, didn’t look too bad from a “proper viewing distance”.
Doing “easy” laser inlays, of course, they never suffered from chip out as there was no physical contact between the material and the tool and the waste material burned/vaporized and was exhausted out as soot and smoke. Not so, here… the need for dust collection rears its ugly head…
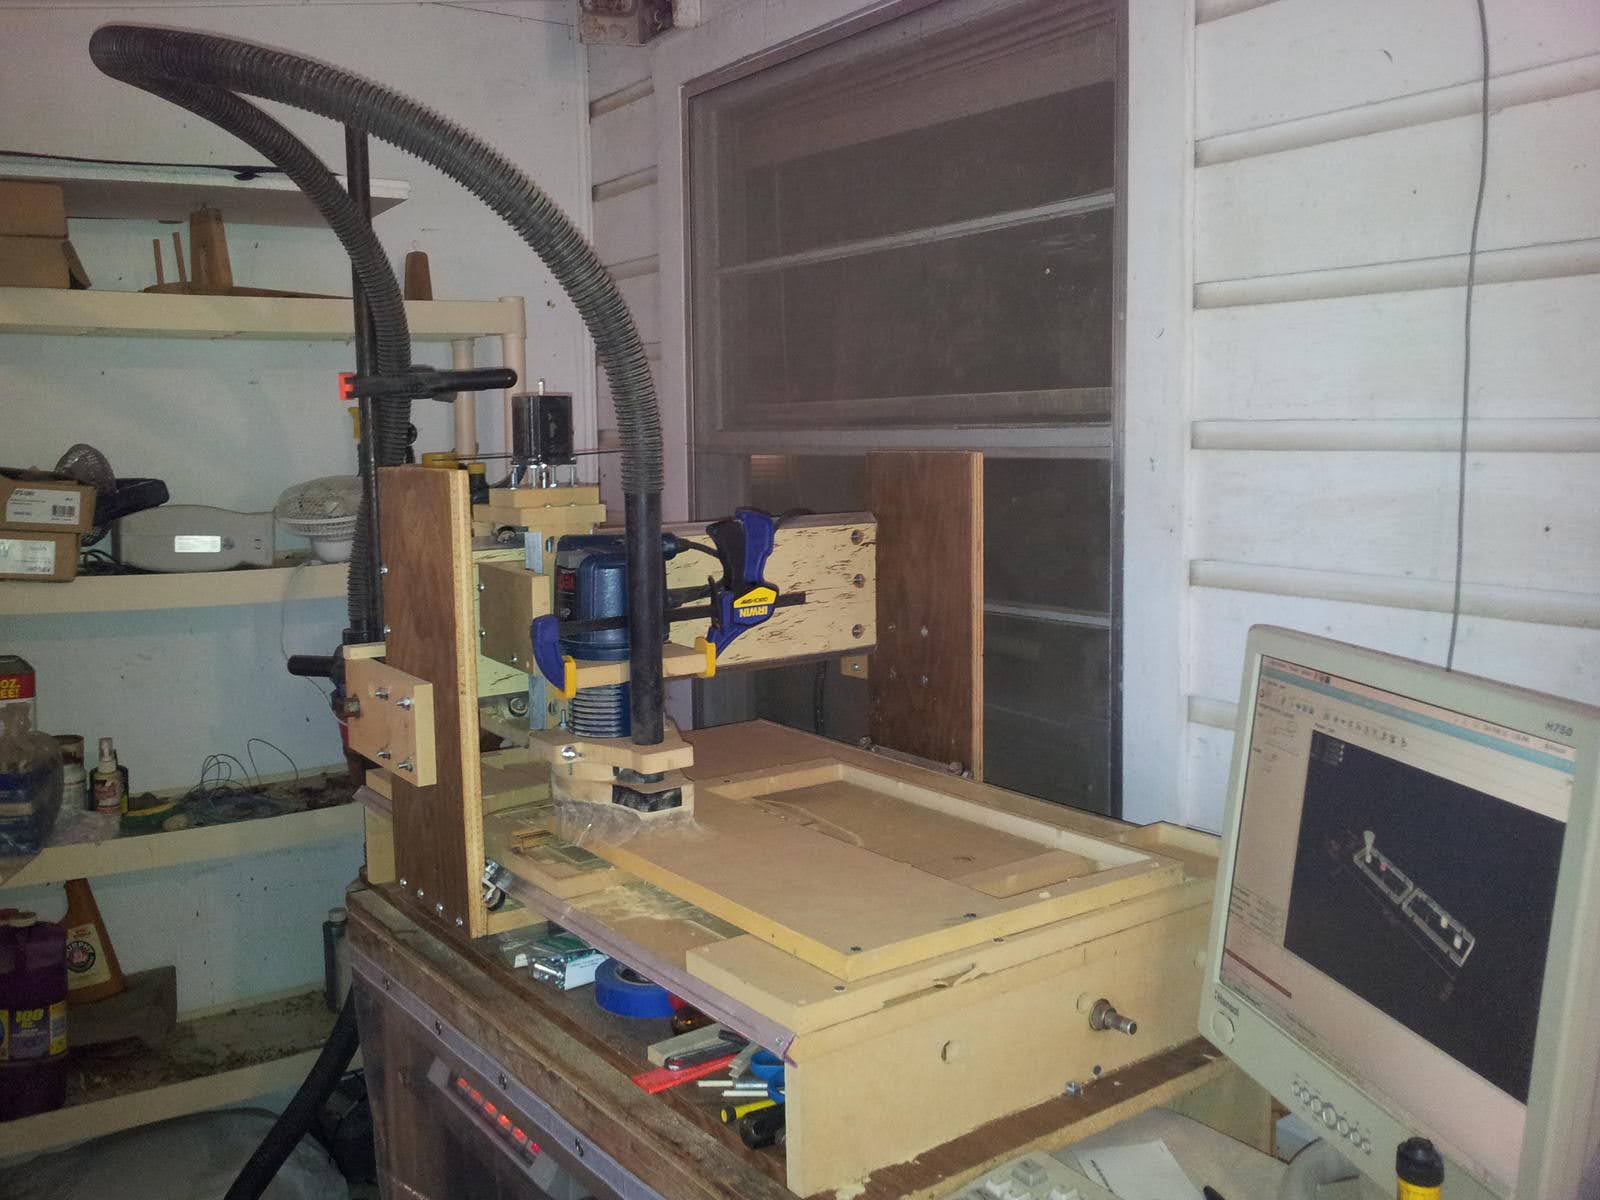
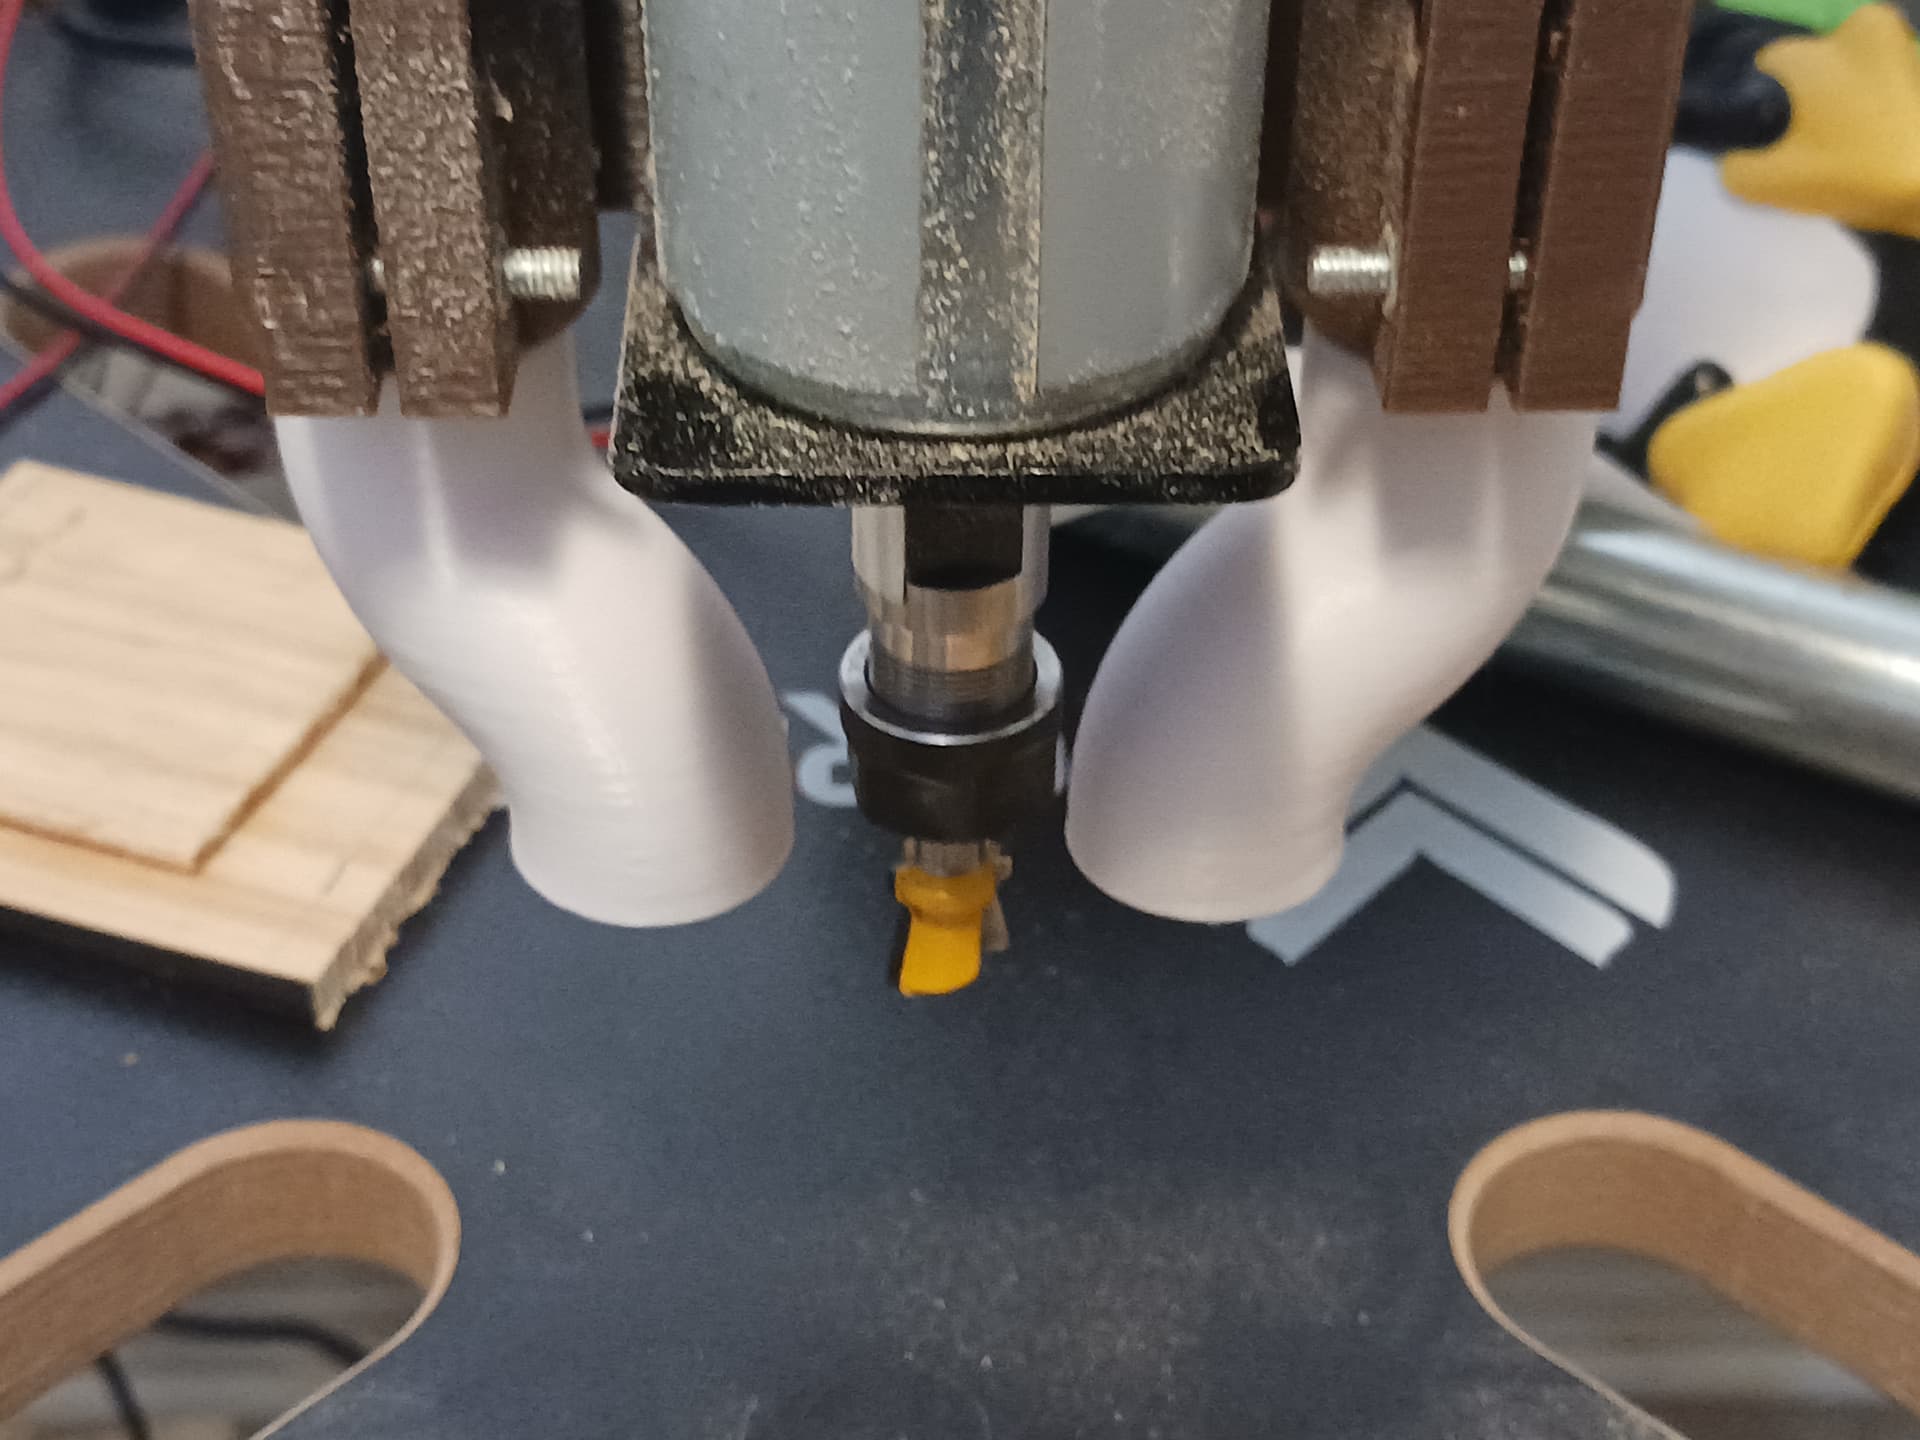
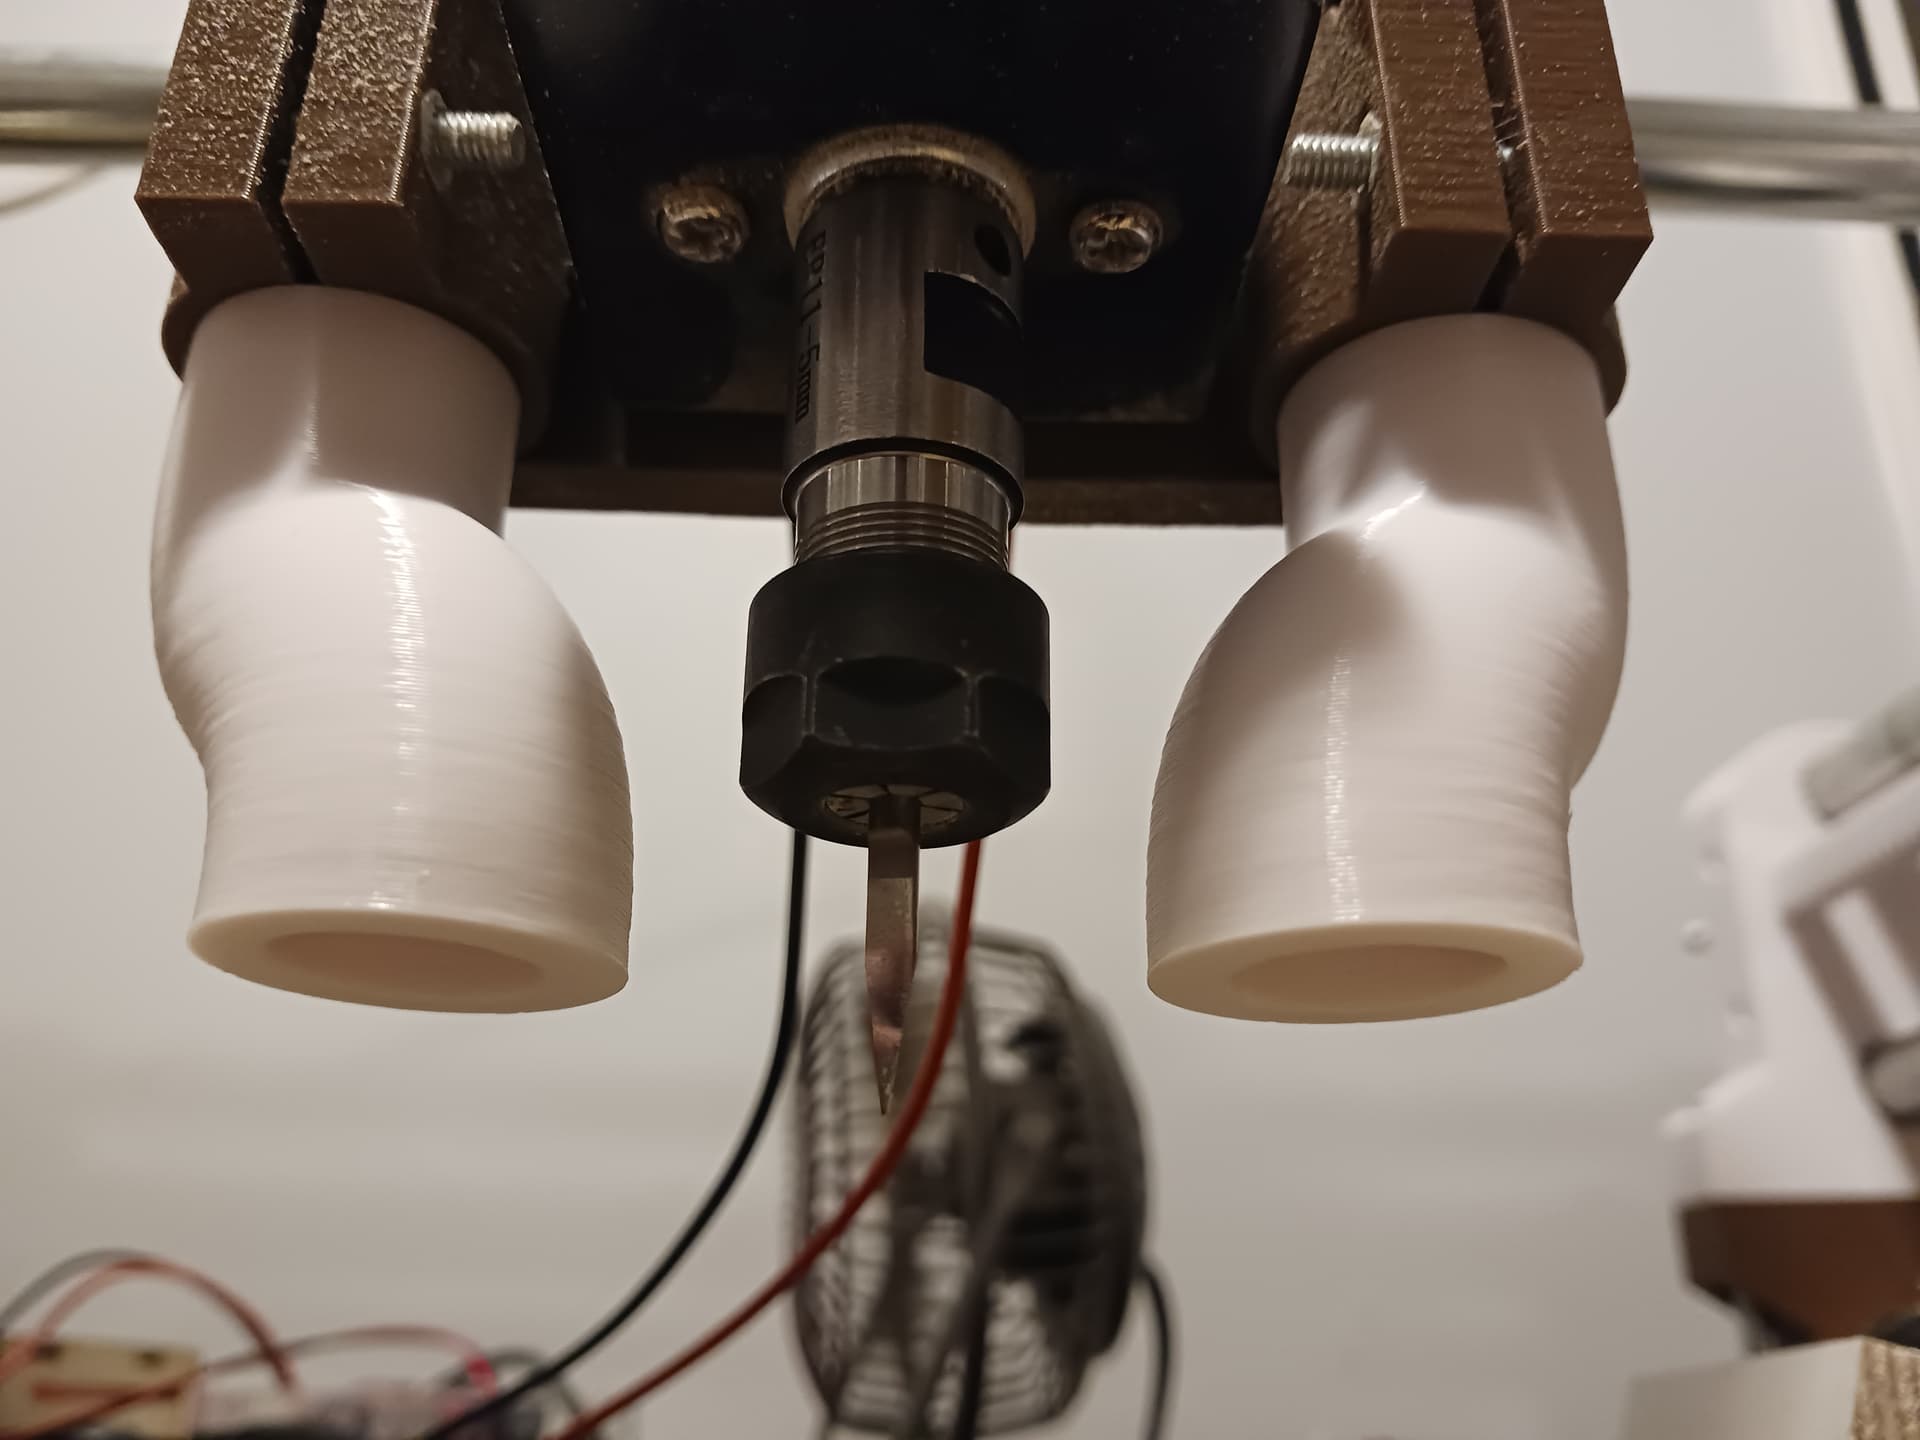
I had wondered some time early on in MPR&P development, that if I ever needed dust collection, could I somehow use the Z-conduits since they’re already running right down to where the bit is? Maybe something similar to how I did dust collection on an early BuildYourCNC-inspired machine… before I ever knew enough to stuggle with design of a dust collection system? Well, that’s the inspiration behind this first SWAG dust collection system…
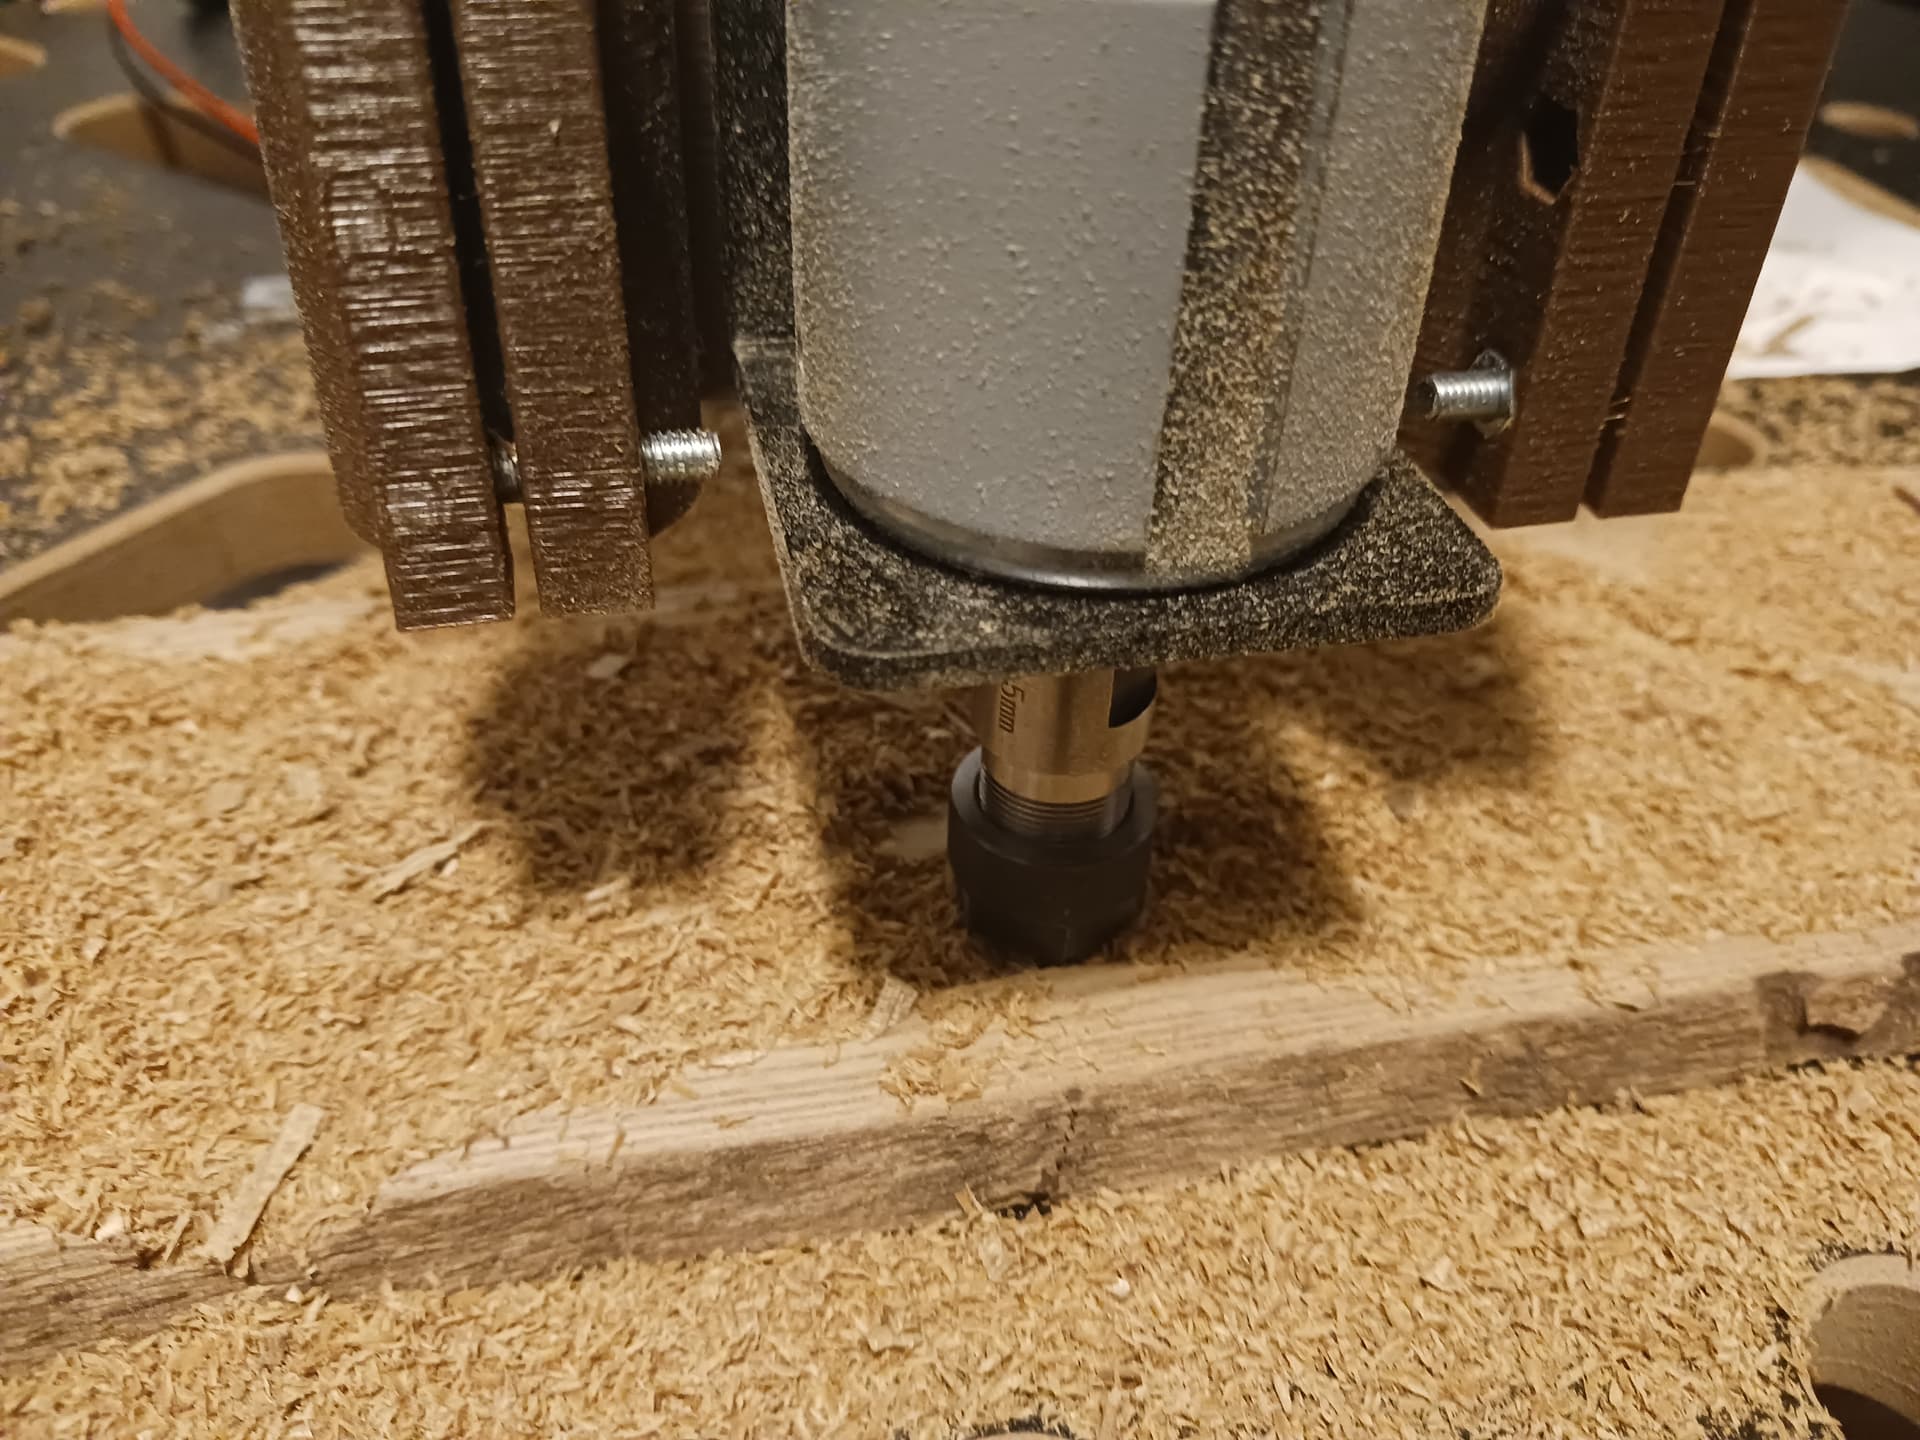
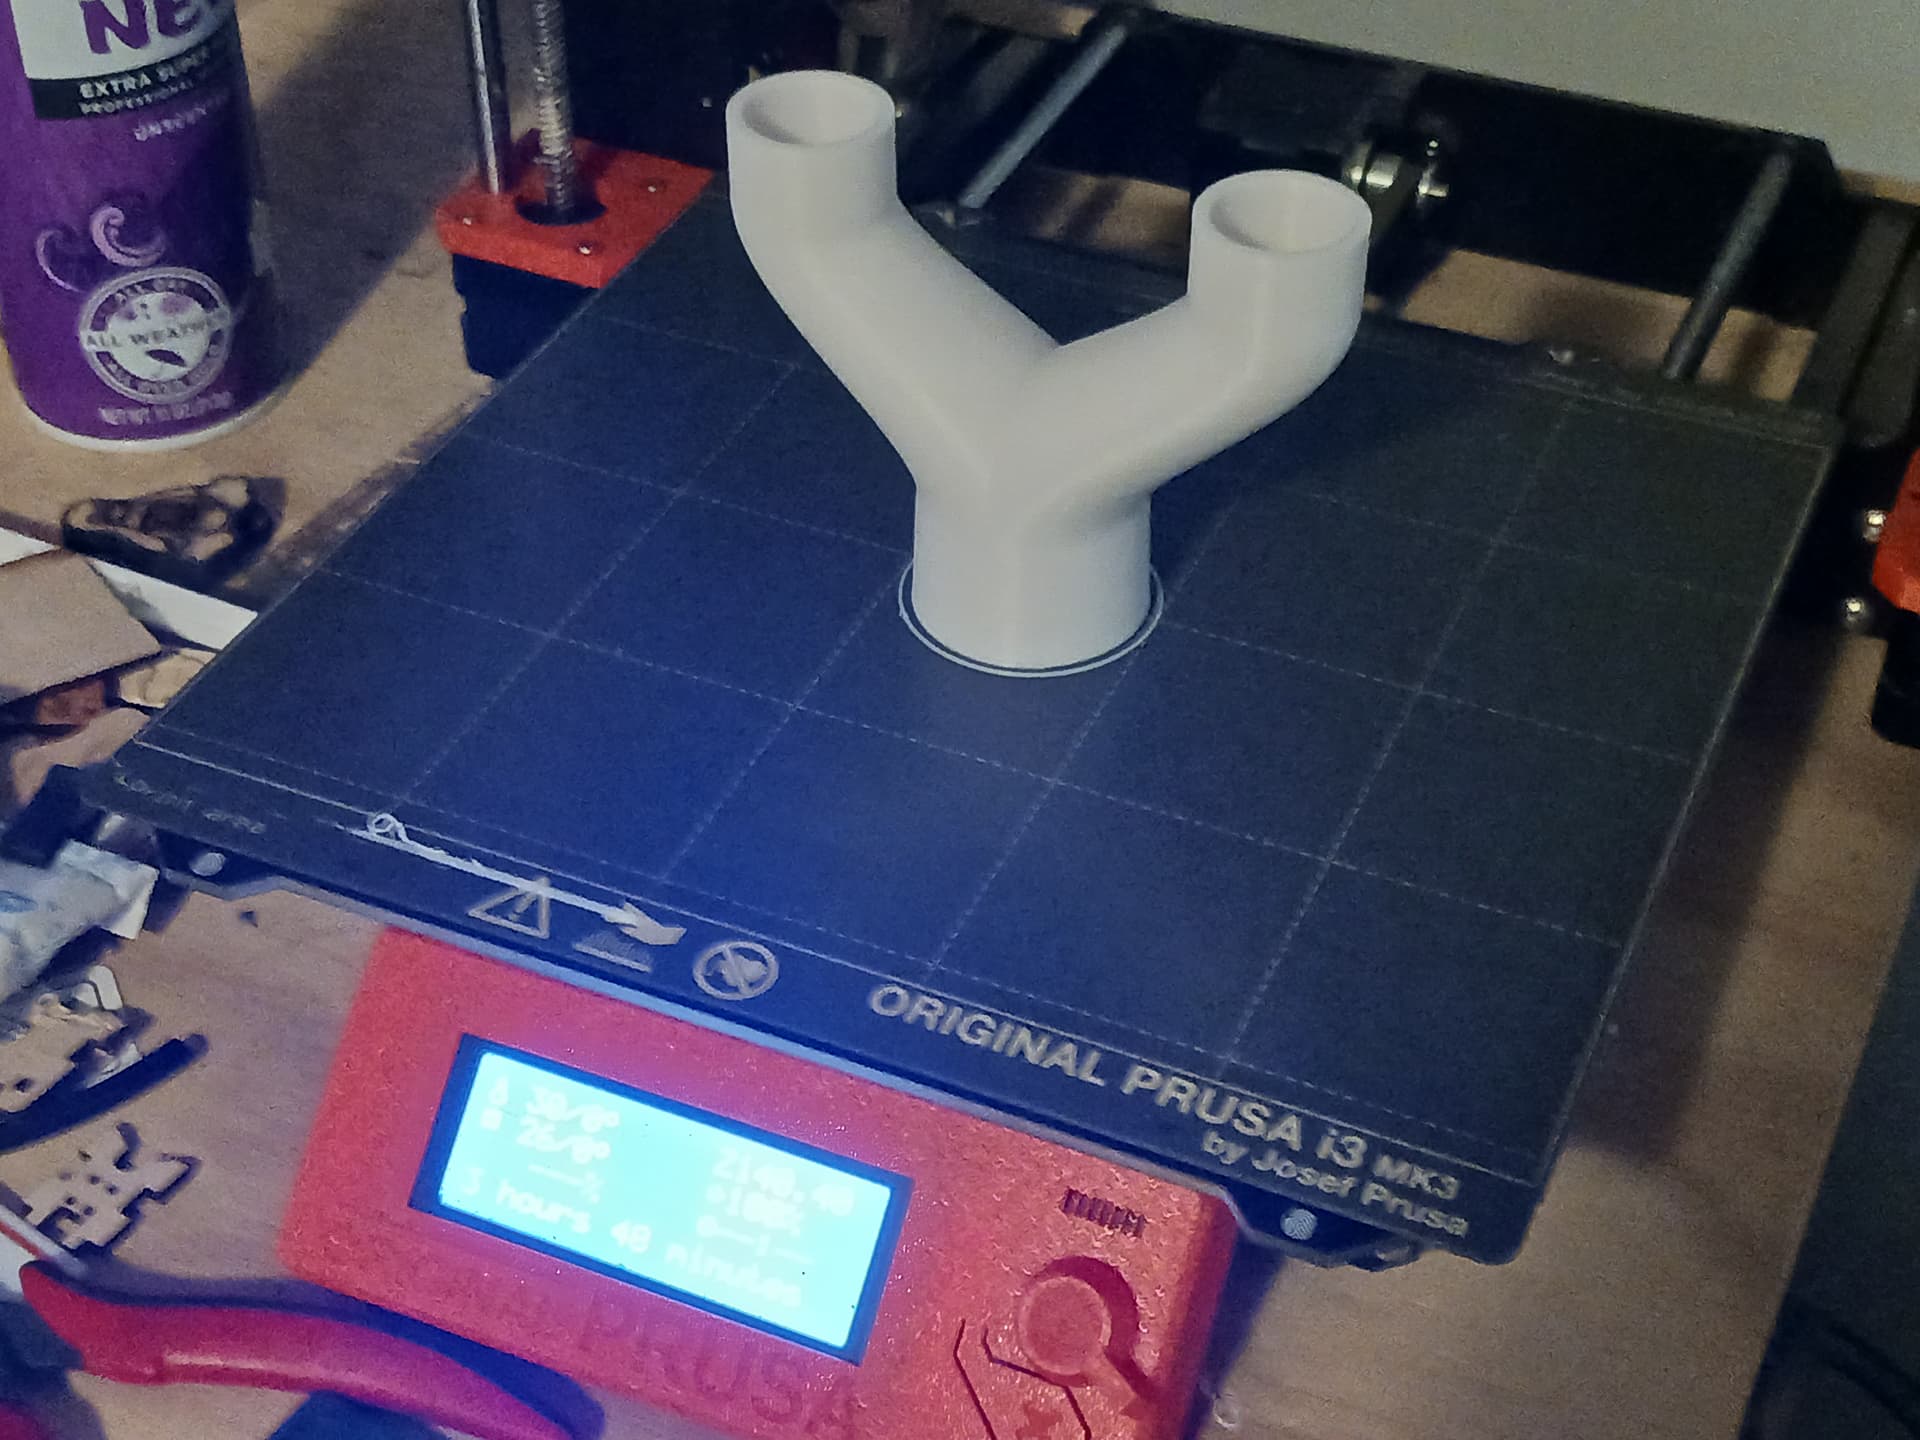
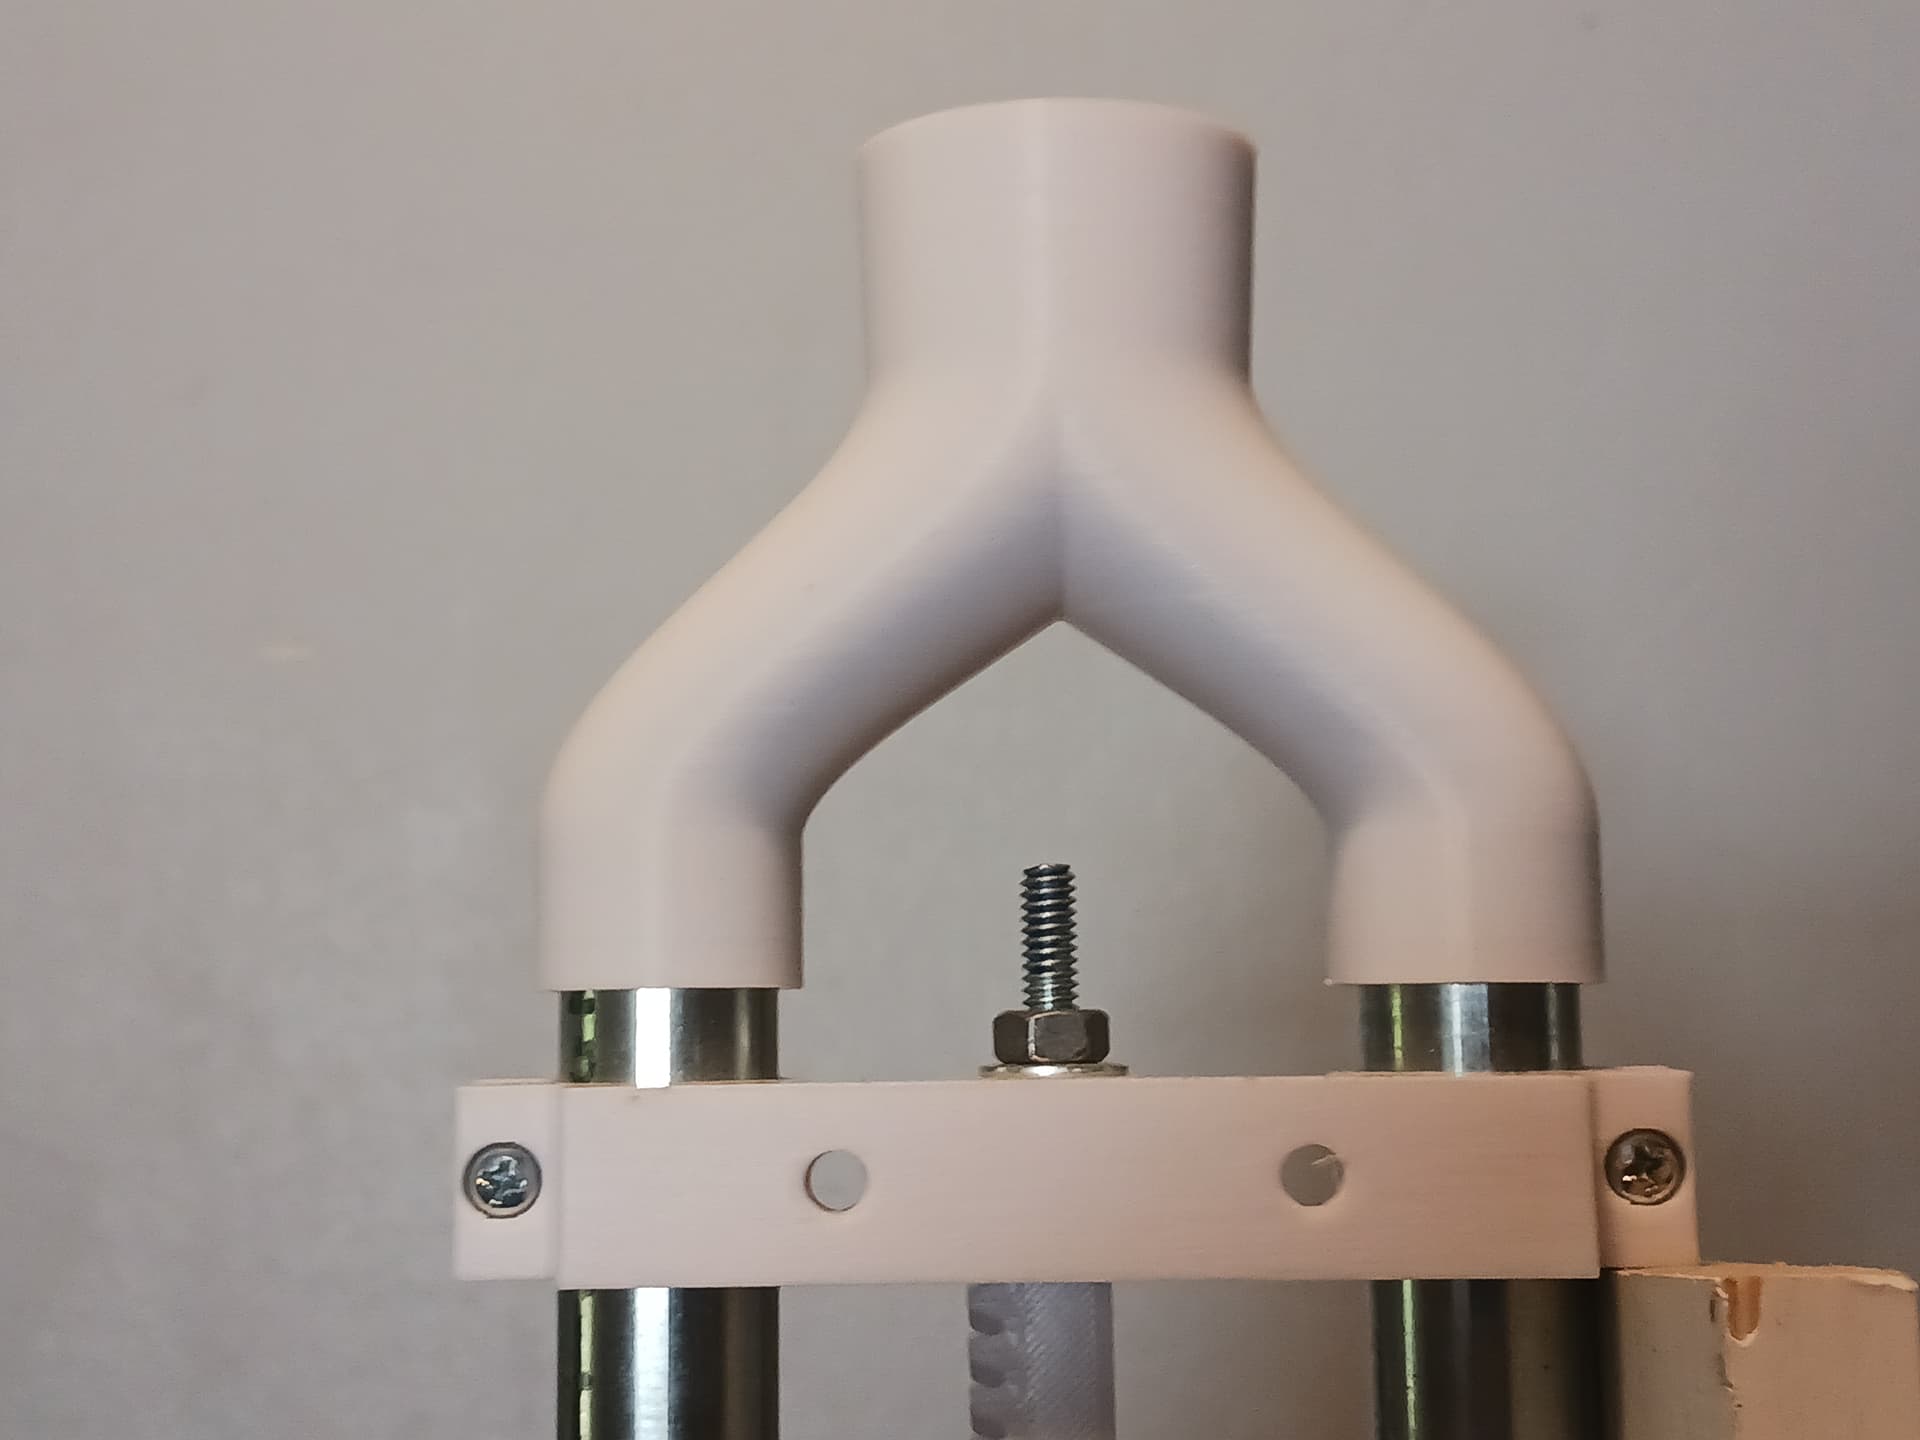
A couple of printed nozzles that lightly friction-fit into the bottom of the conduit, next to the bit, and can be swung out of the way (or removed) when changing bits…
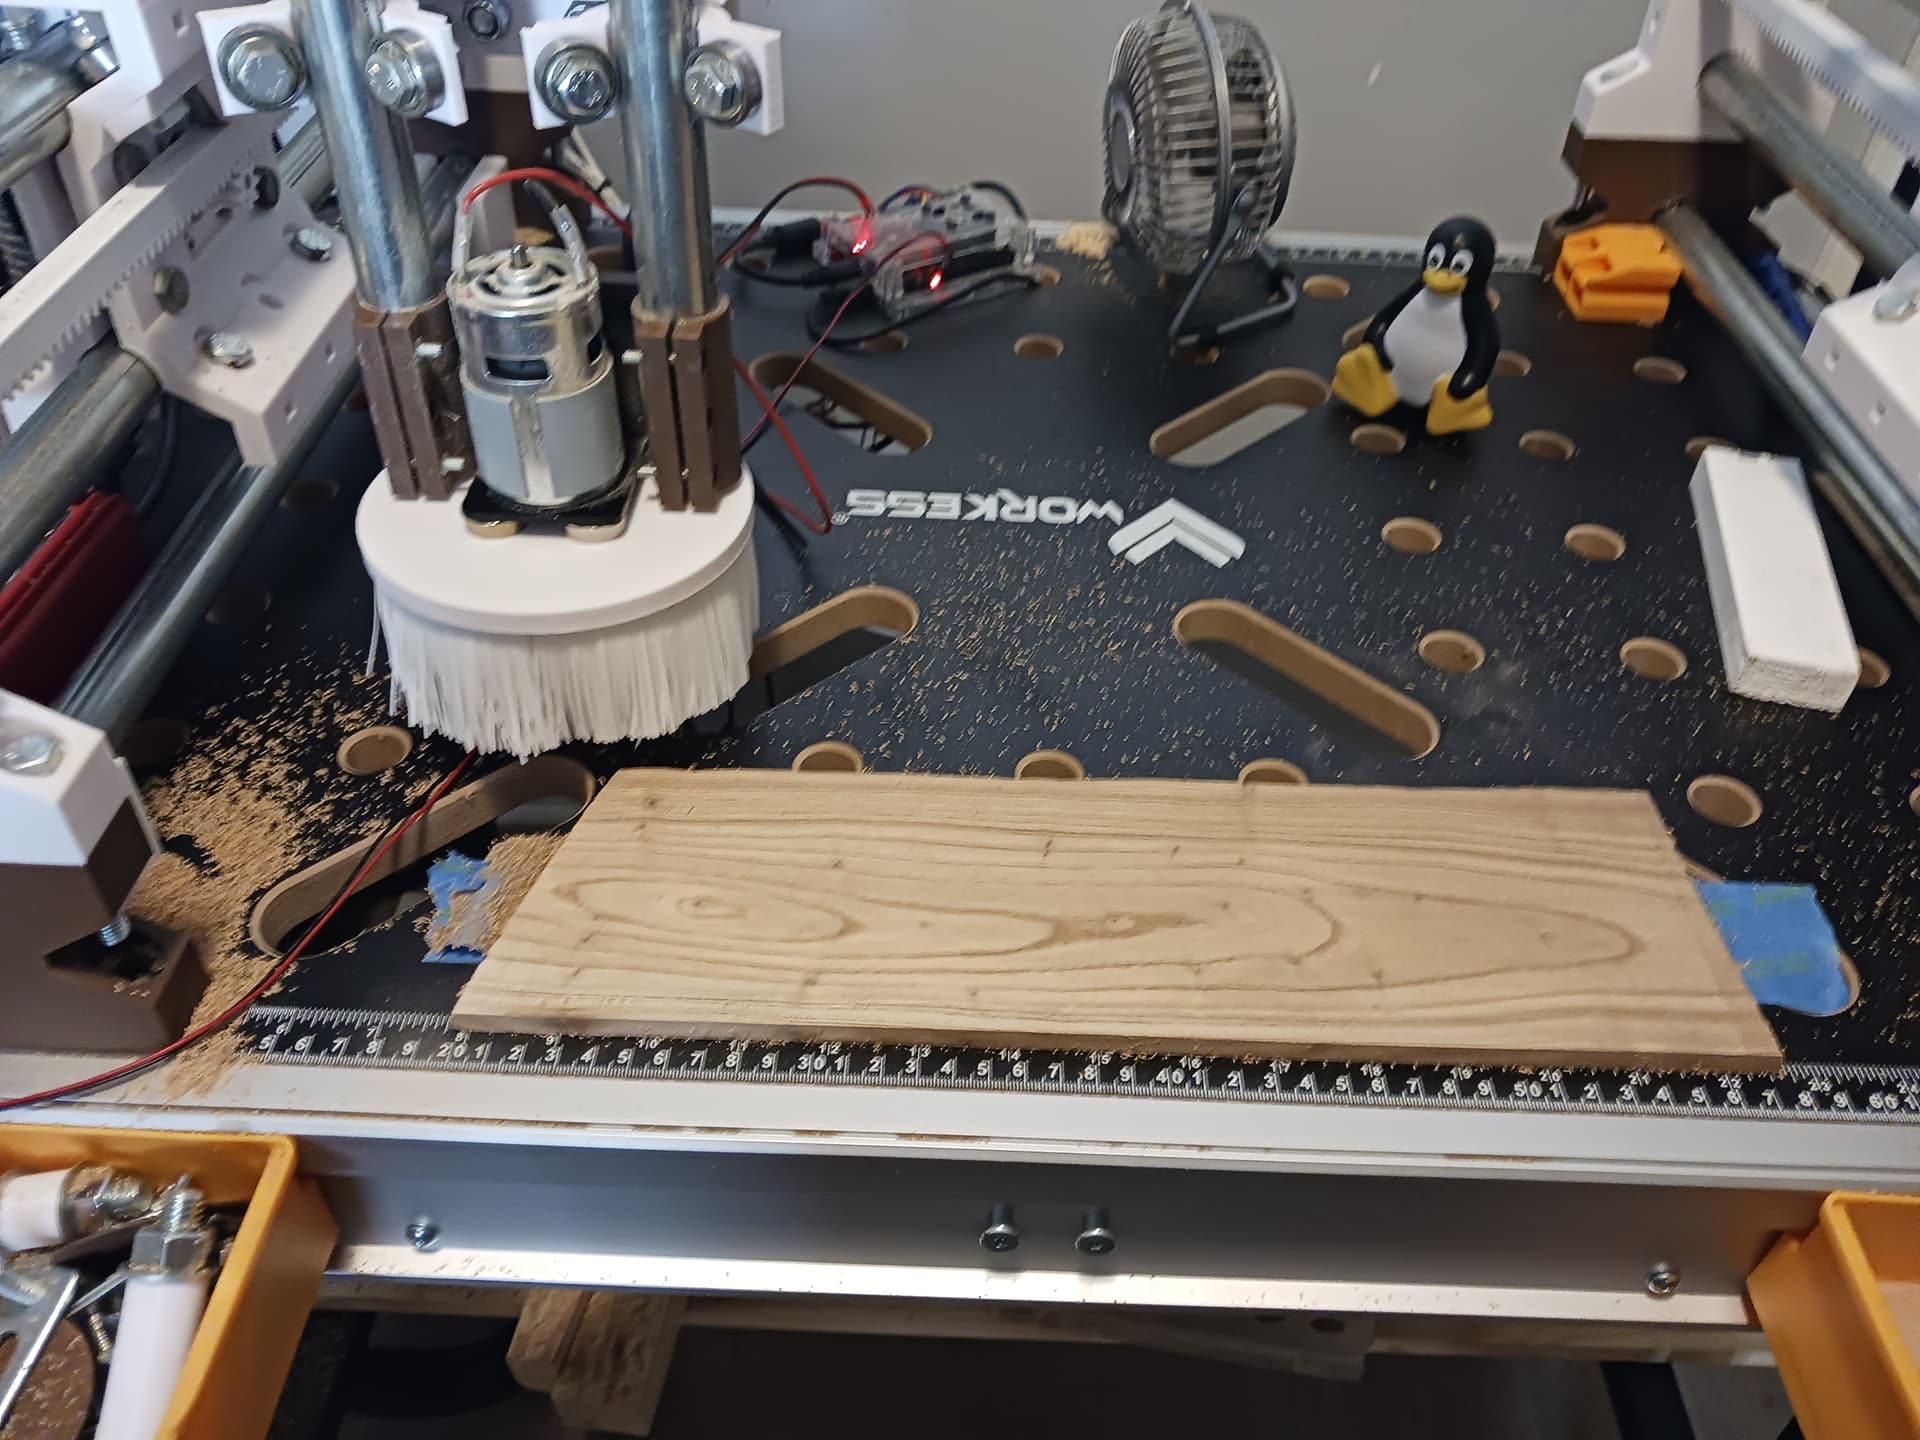
I need to get back on the inlays now and see how this works. It’s finally dawned on me the importance of surfacing the stock before cutting any inlays and have been playing with Jamie’s surfacing pattern generator to surface my small bandsawn planks.
I’ve never really worried about a perfectly uniform thickness of my bandsawn planks for my laser-cut, finger-jointed, boxes before as they were always “close enough” for what I was doing and also lent a handcrafted look to the finished product… but not so with v-carved inlays. The v-carve depth geometries involved are very tiny and uniform material thickness is crucial in order to achieve a proper inlay fit.
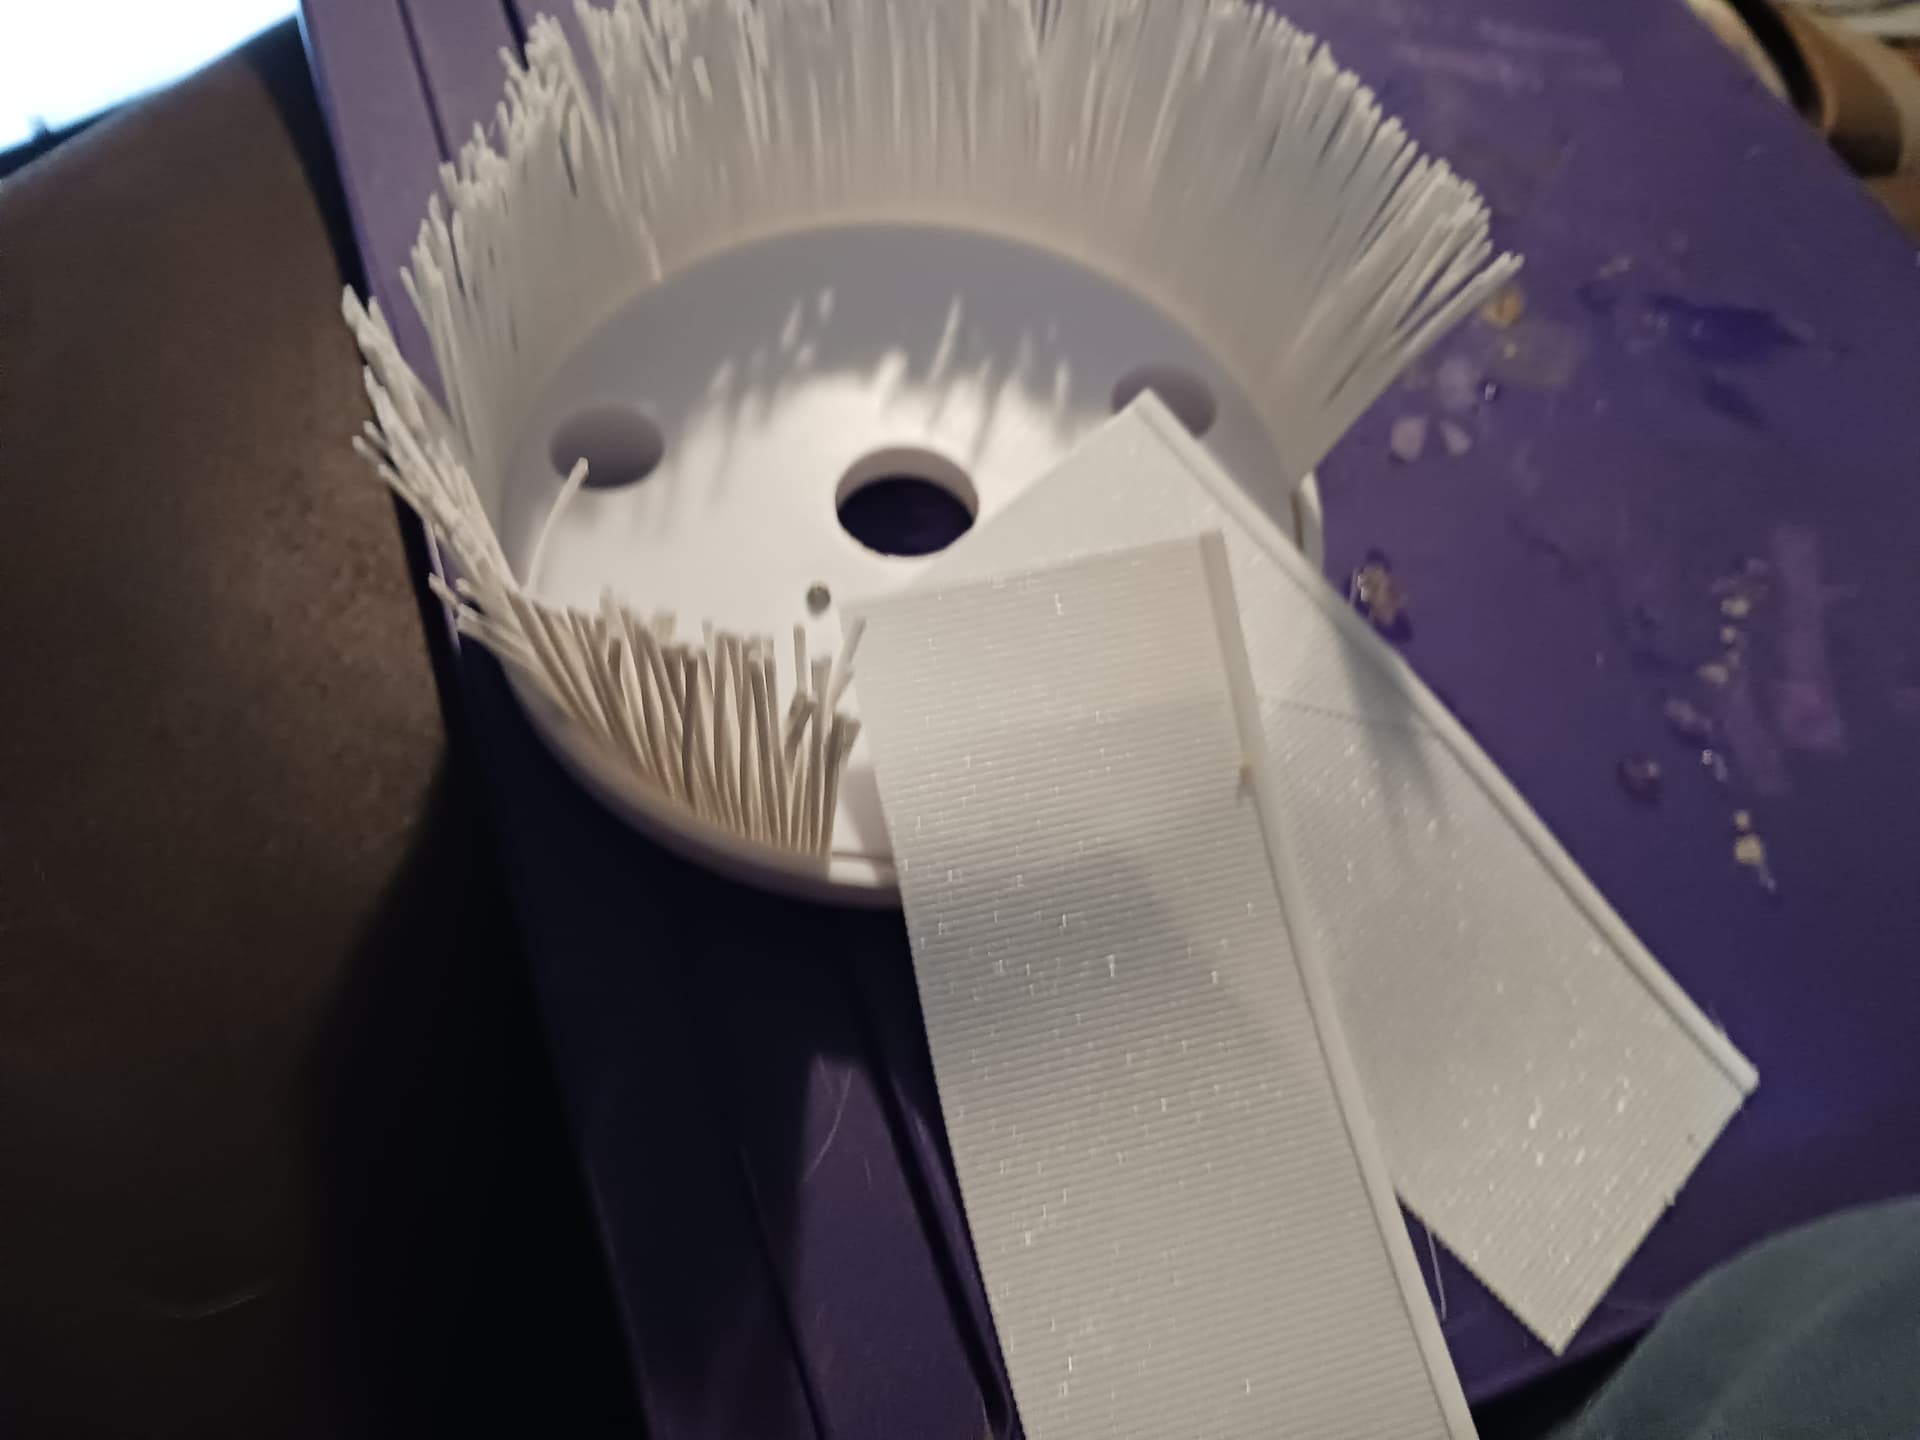
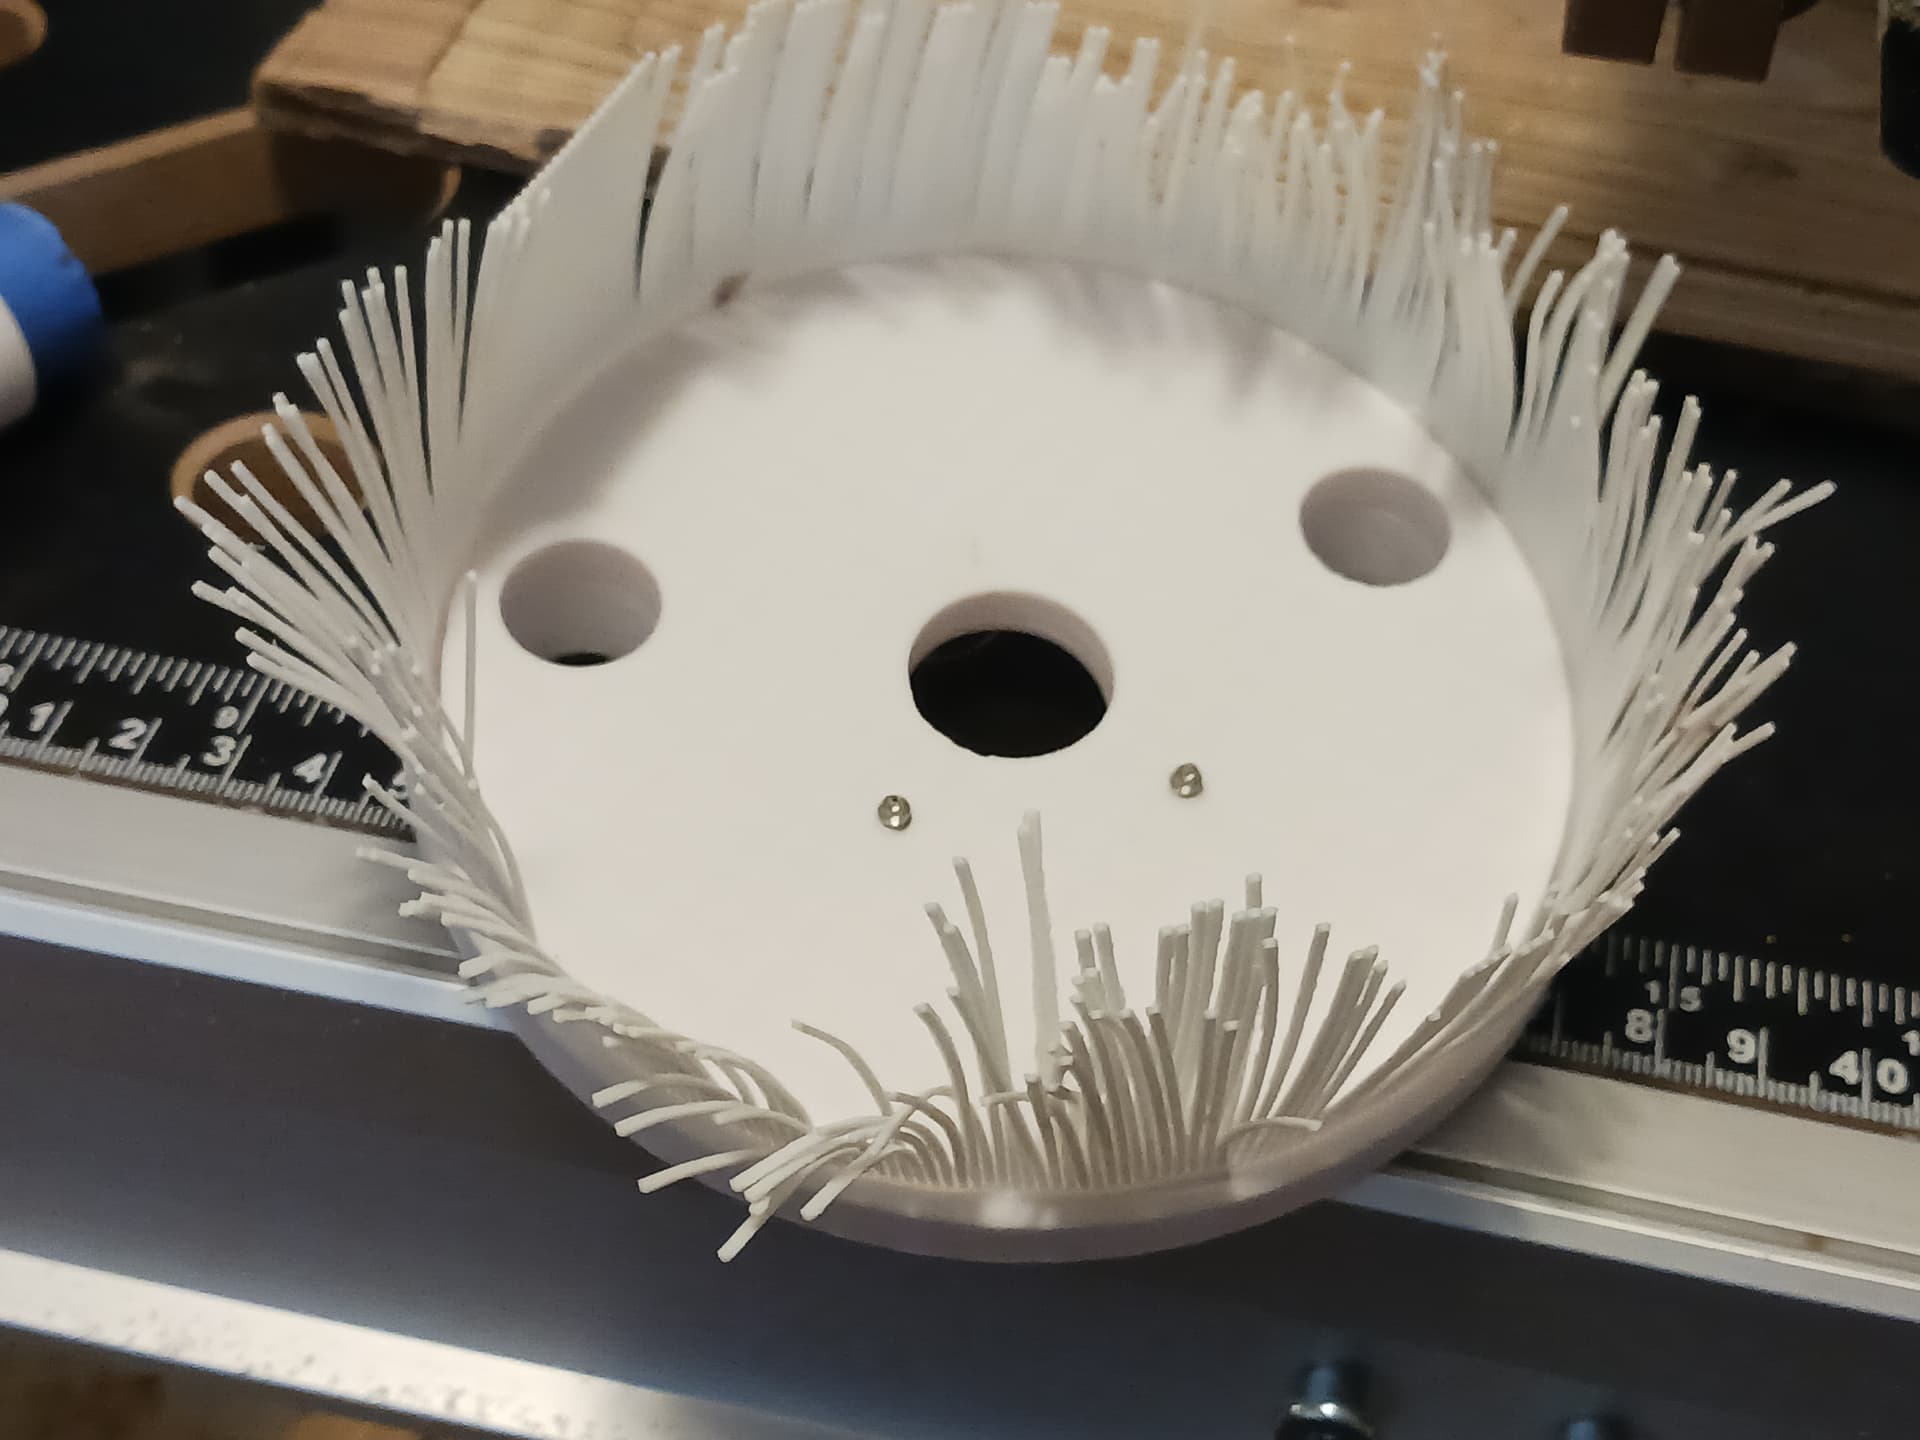
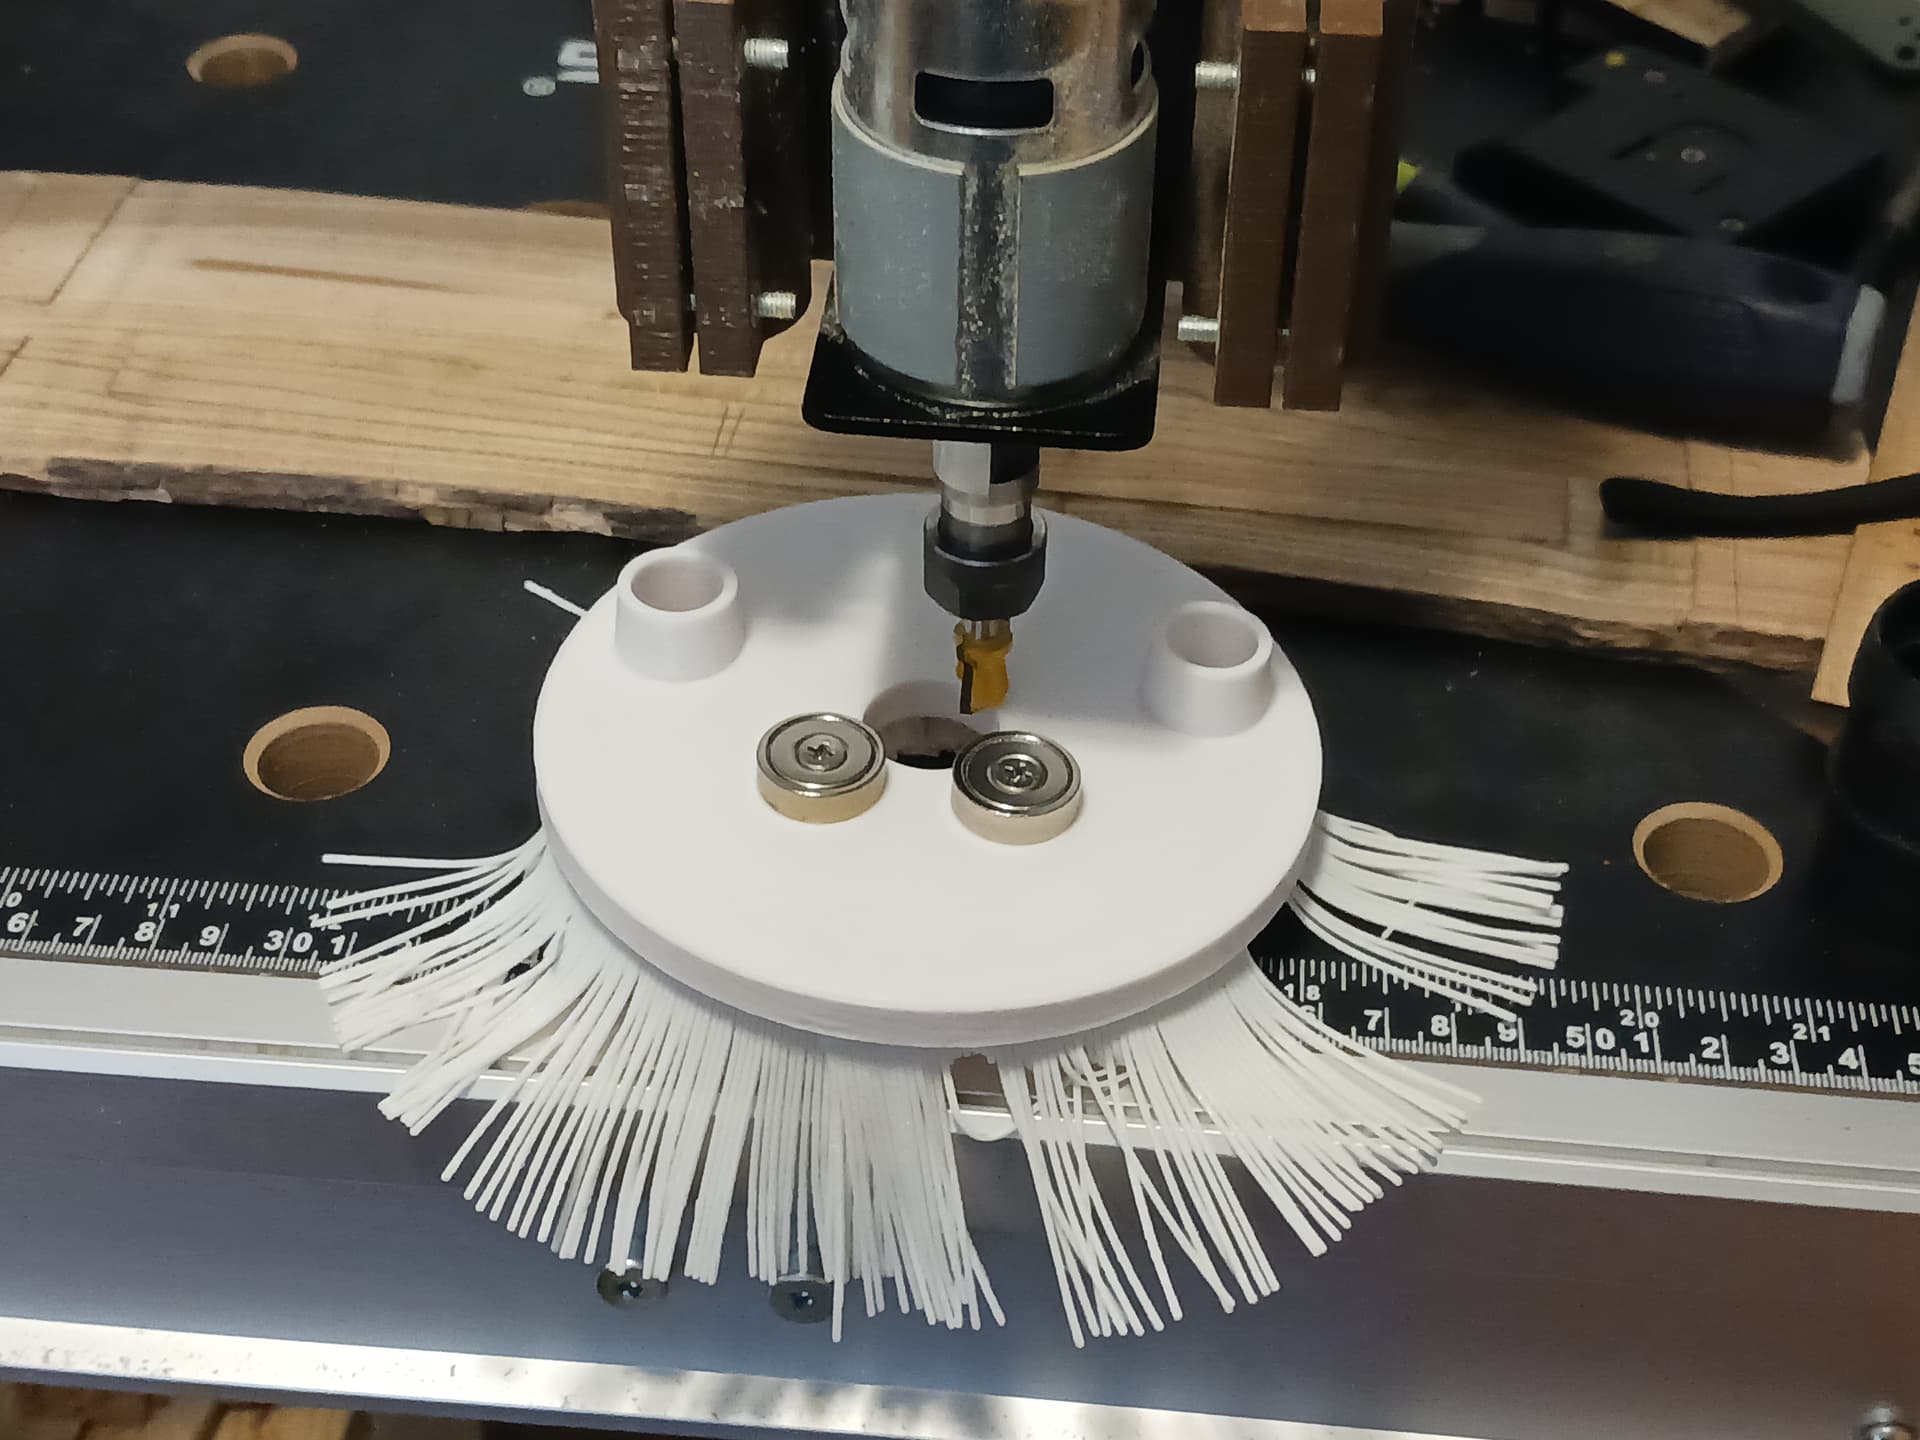
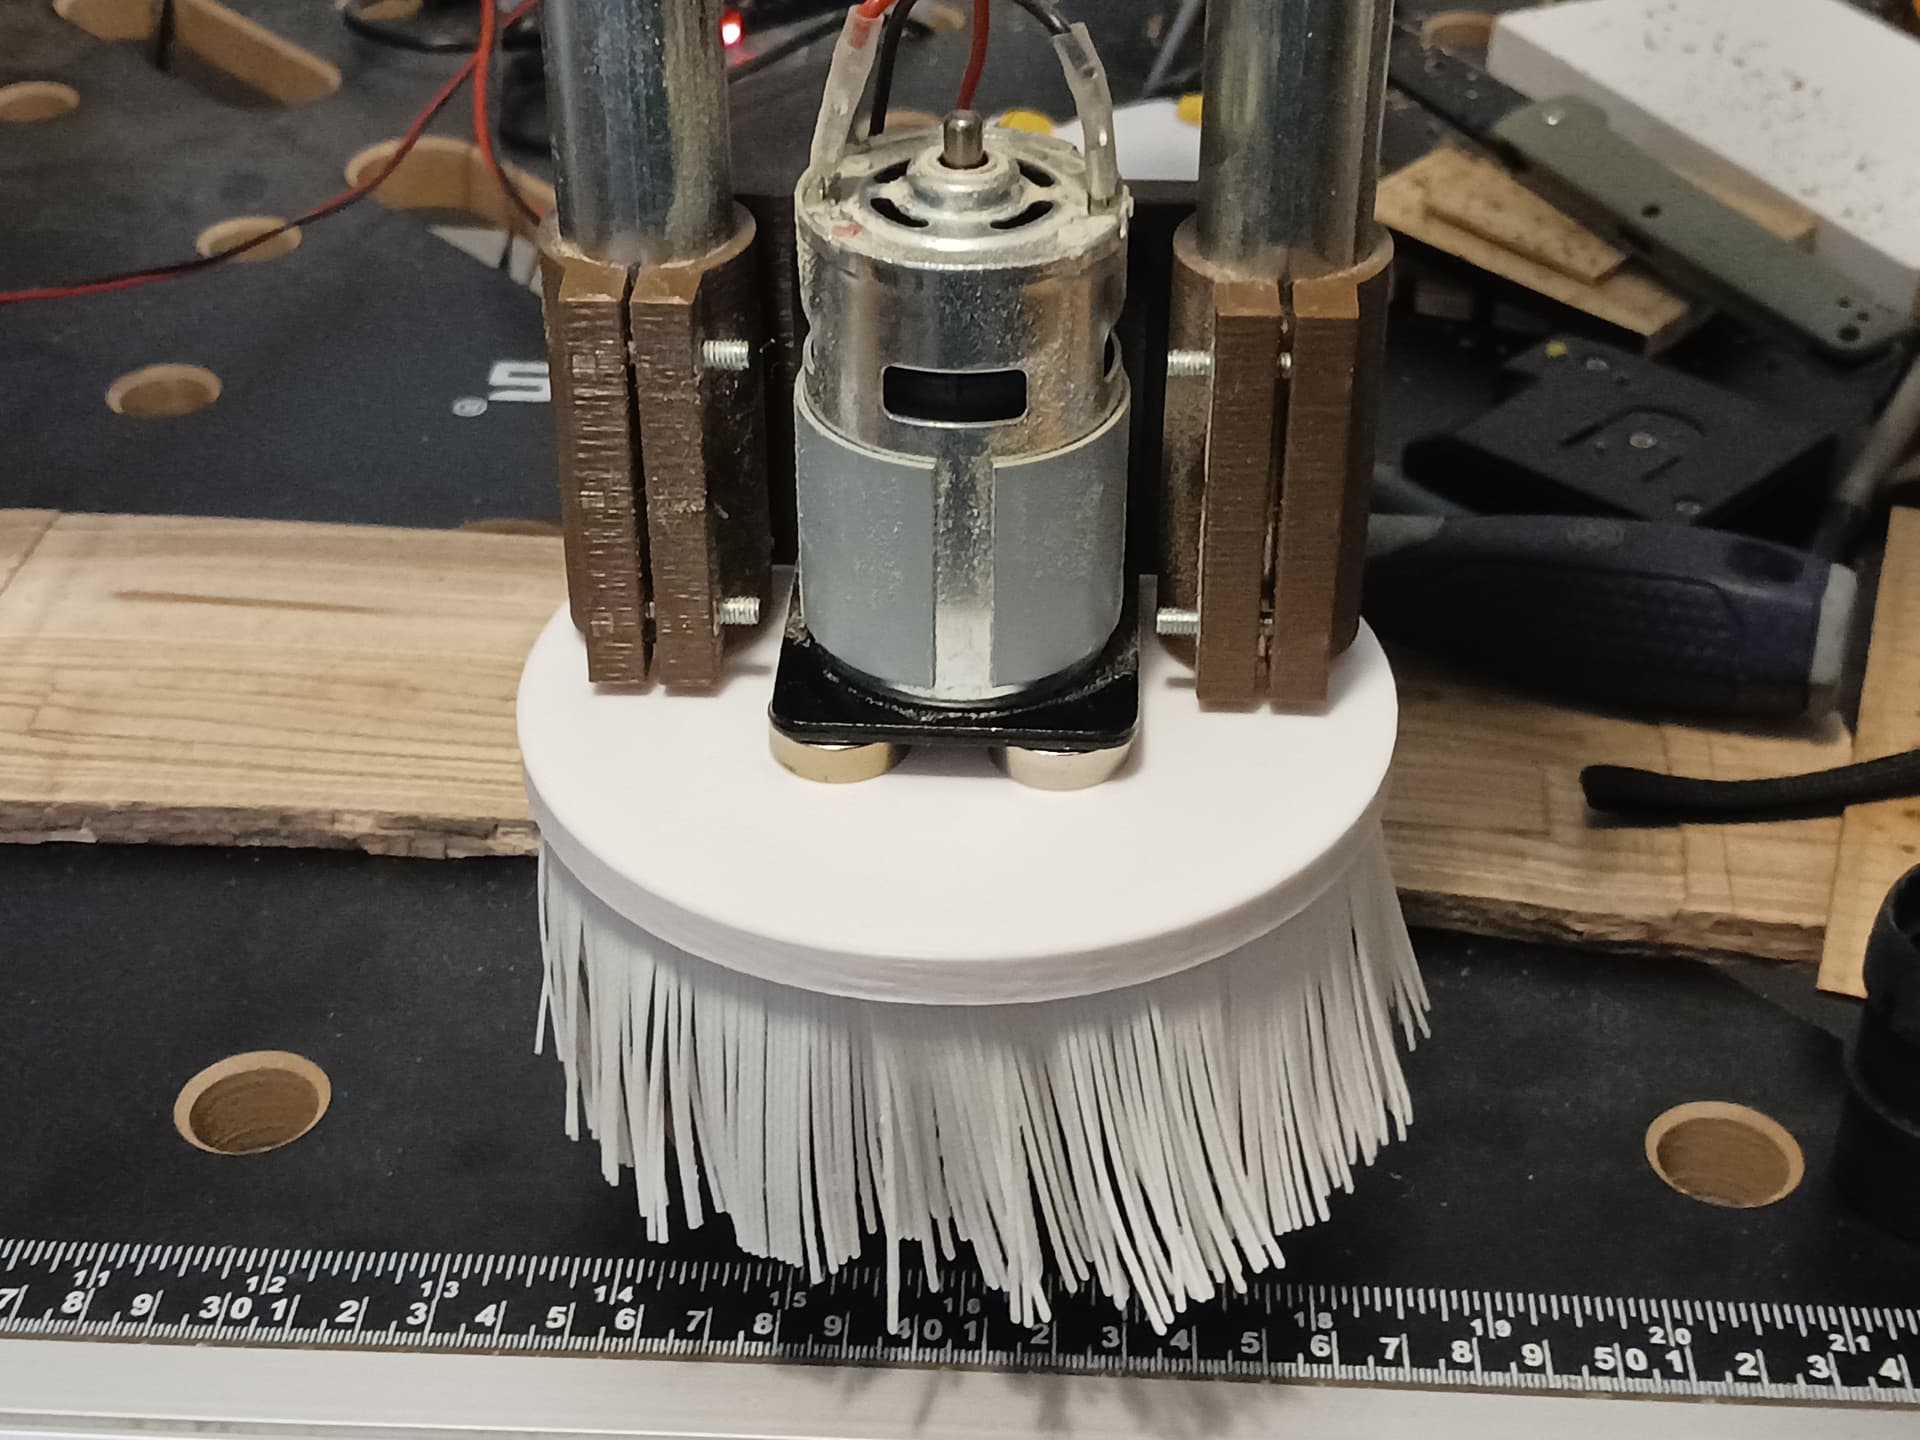
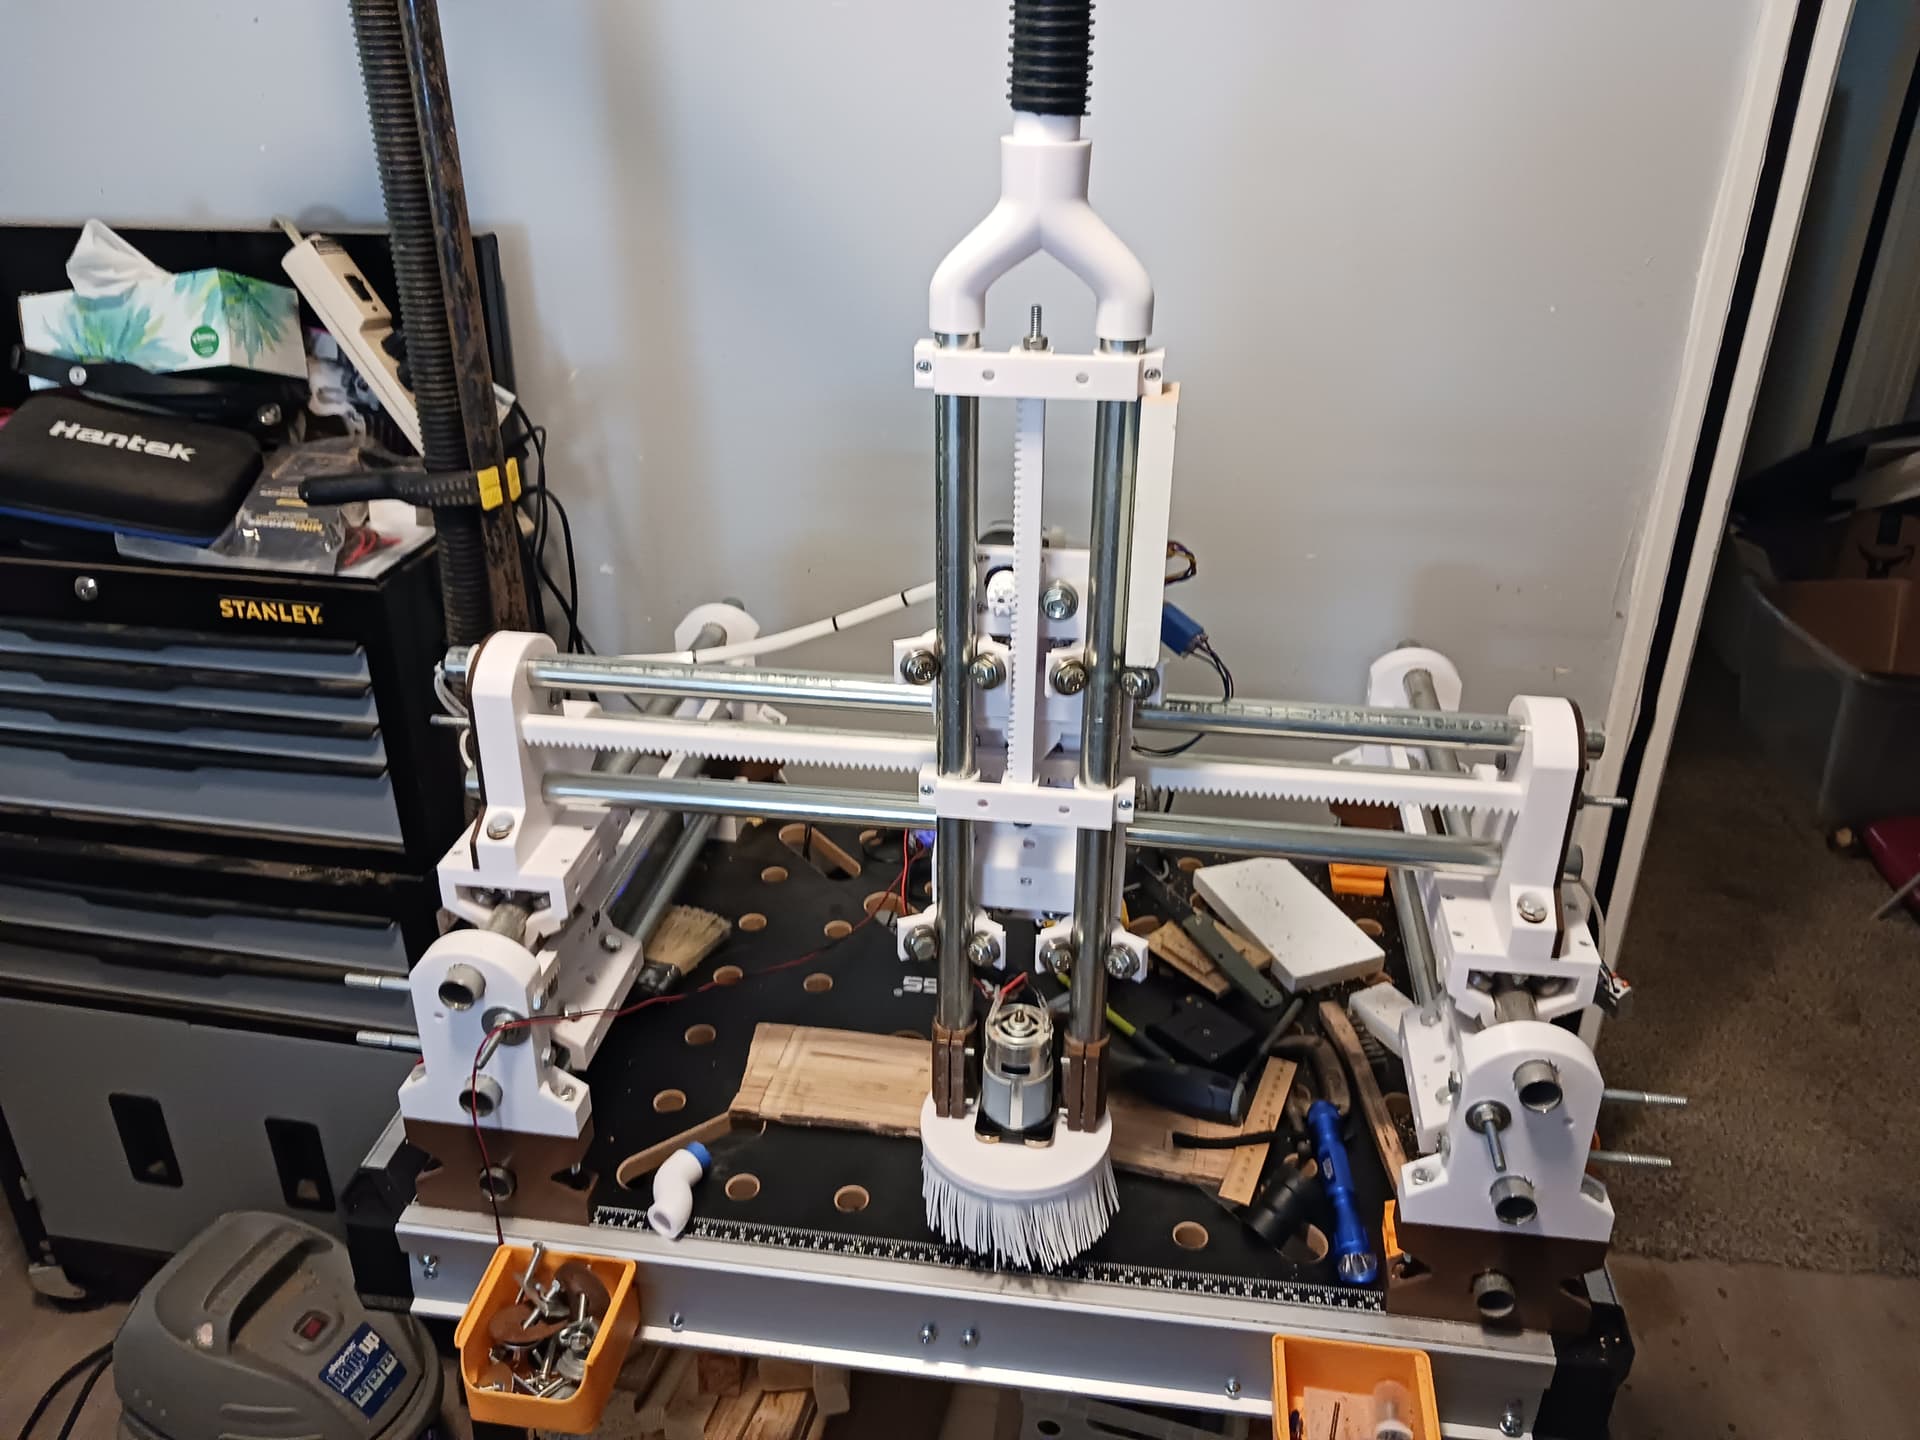
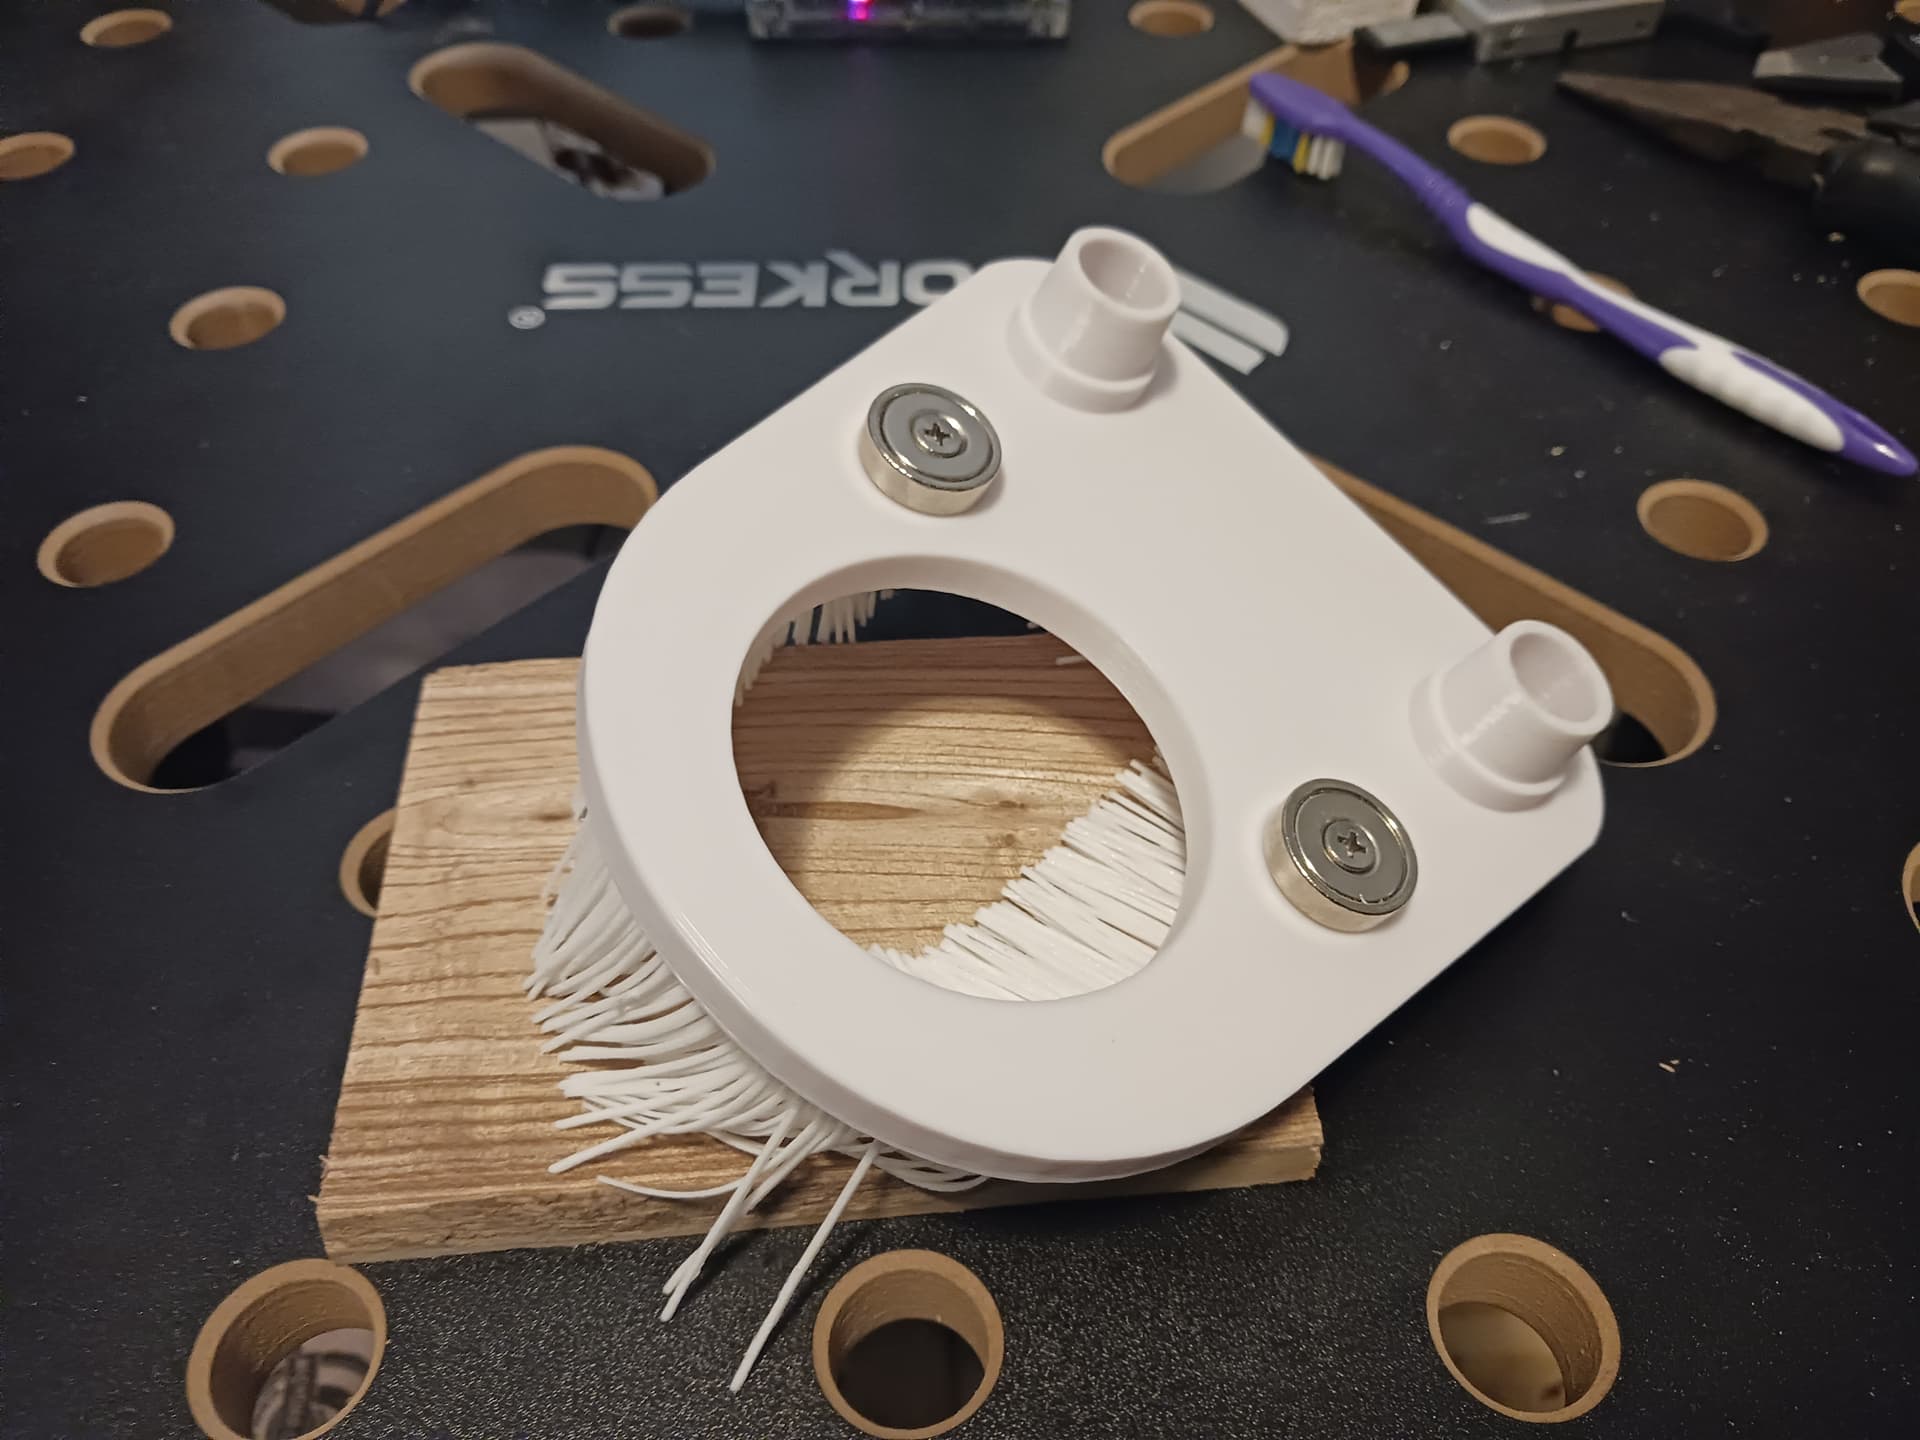
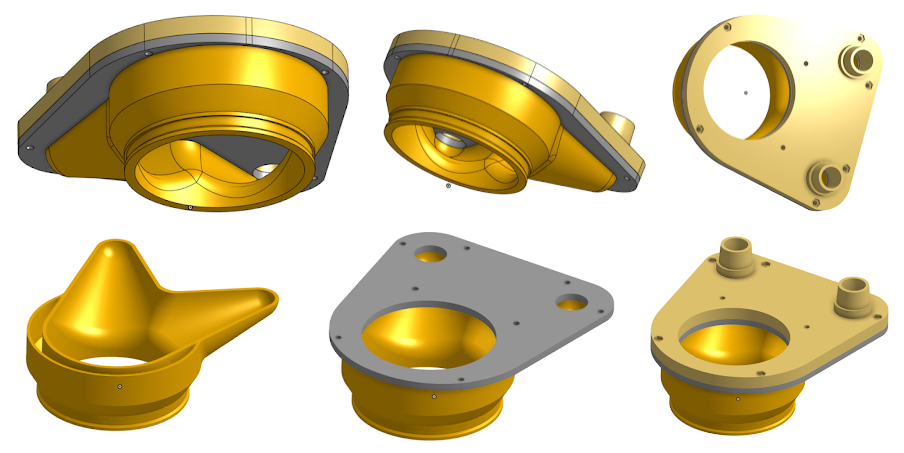
I’ve rethunk my MPR&P dust collection system. The small pick-up nozzles couldn’t catch the coarse sawdust when surfacing a plank… each time the direction changed the waste would be sent forcefully in a different direction. So I decided a dust skirt would be needed in an attempt to contain the spray of sawdust. I used Onshape to design and print a magnetic dust collection pick-up head that incorporates a groove to hold some skirt bristles that @gadgetmind had posted to Thingiverse. I had some TPU on hand so printed the skirt as well… and sized the groove to take a double wall of bristles.
My wifi has been acting a bit strange as well recently… but seems to have stabilized. I’m going to give RPi4 and UGS another try. I really liked being able to use my phone as a pendant rather than exposing a laptop to the sawdust…
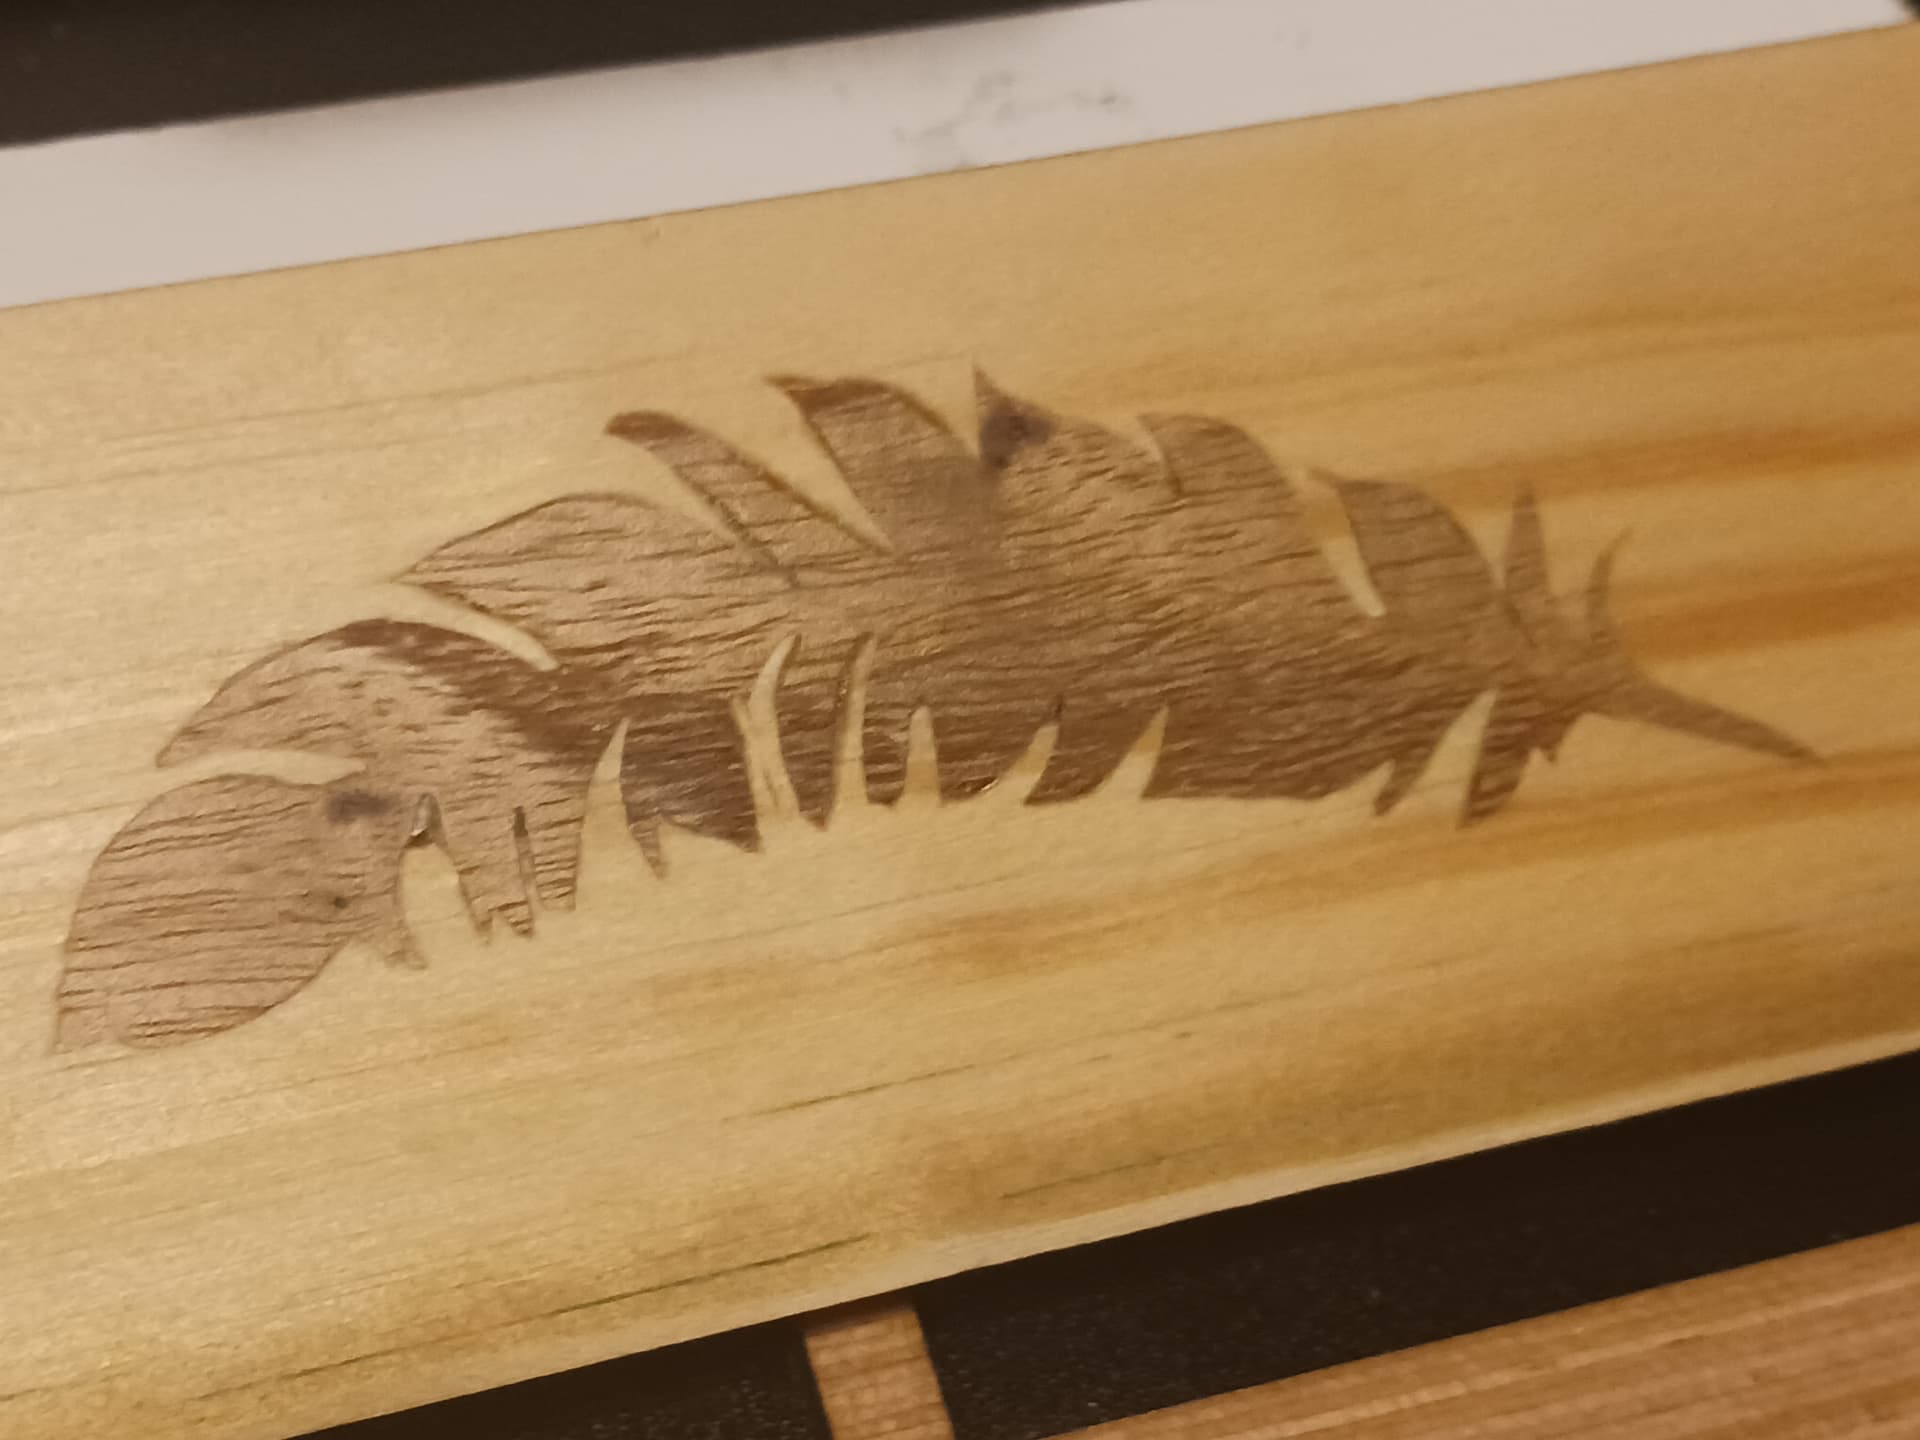
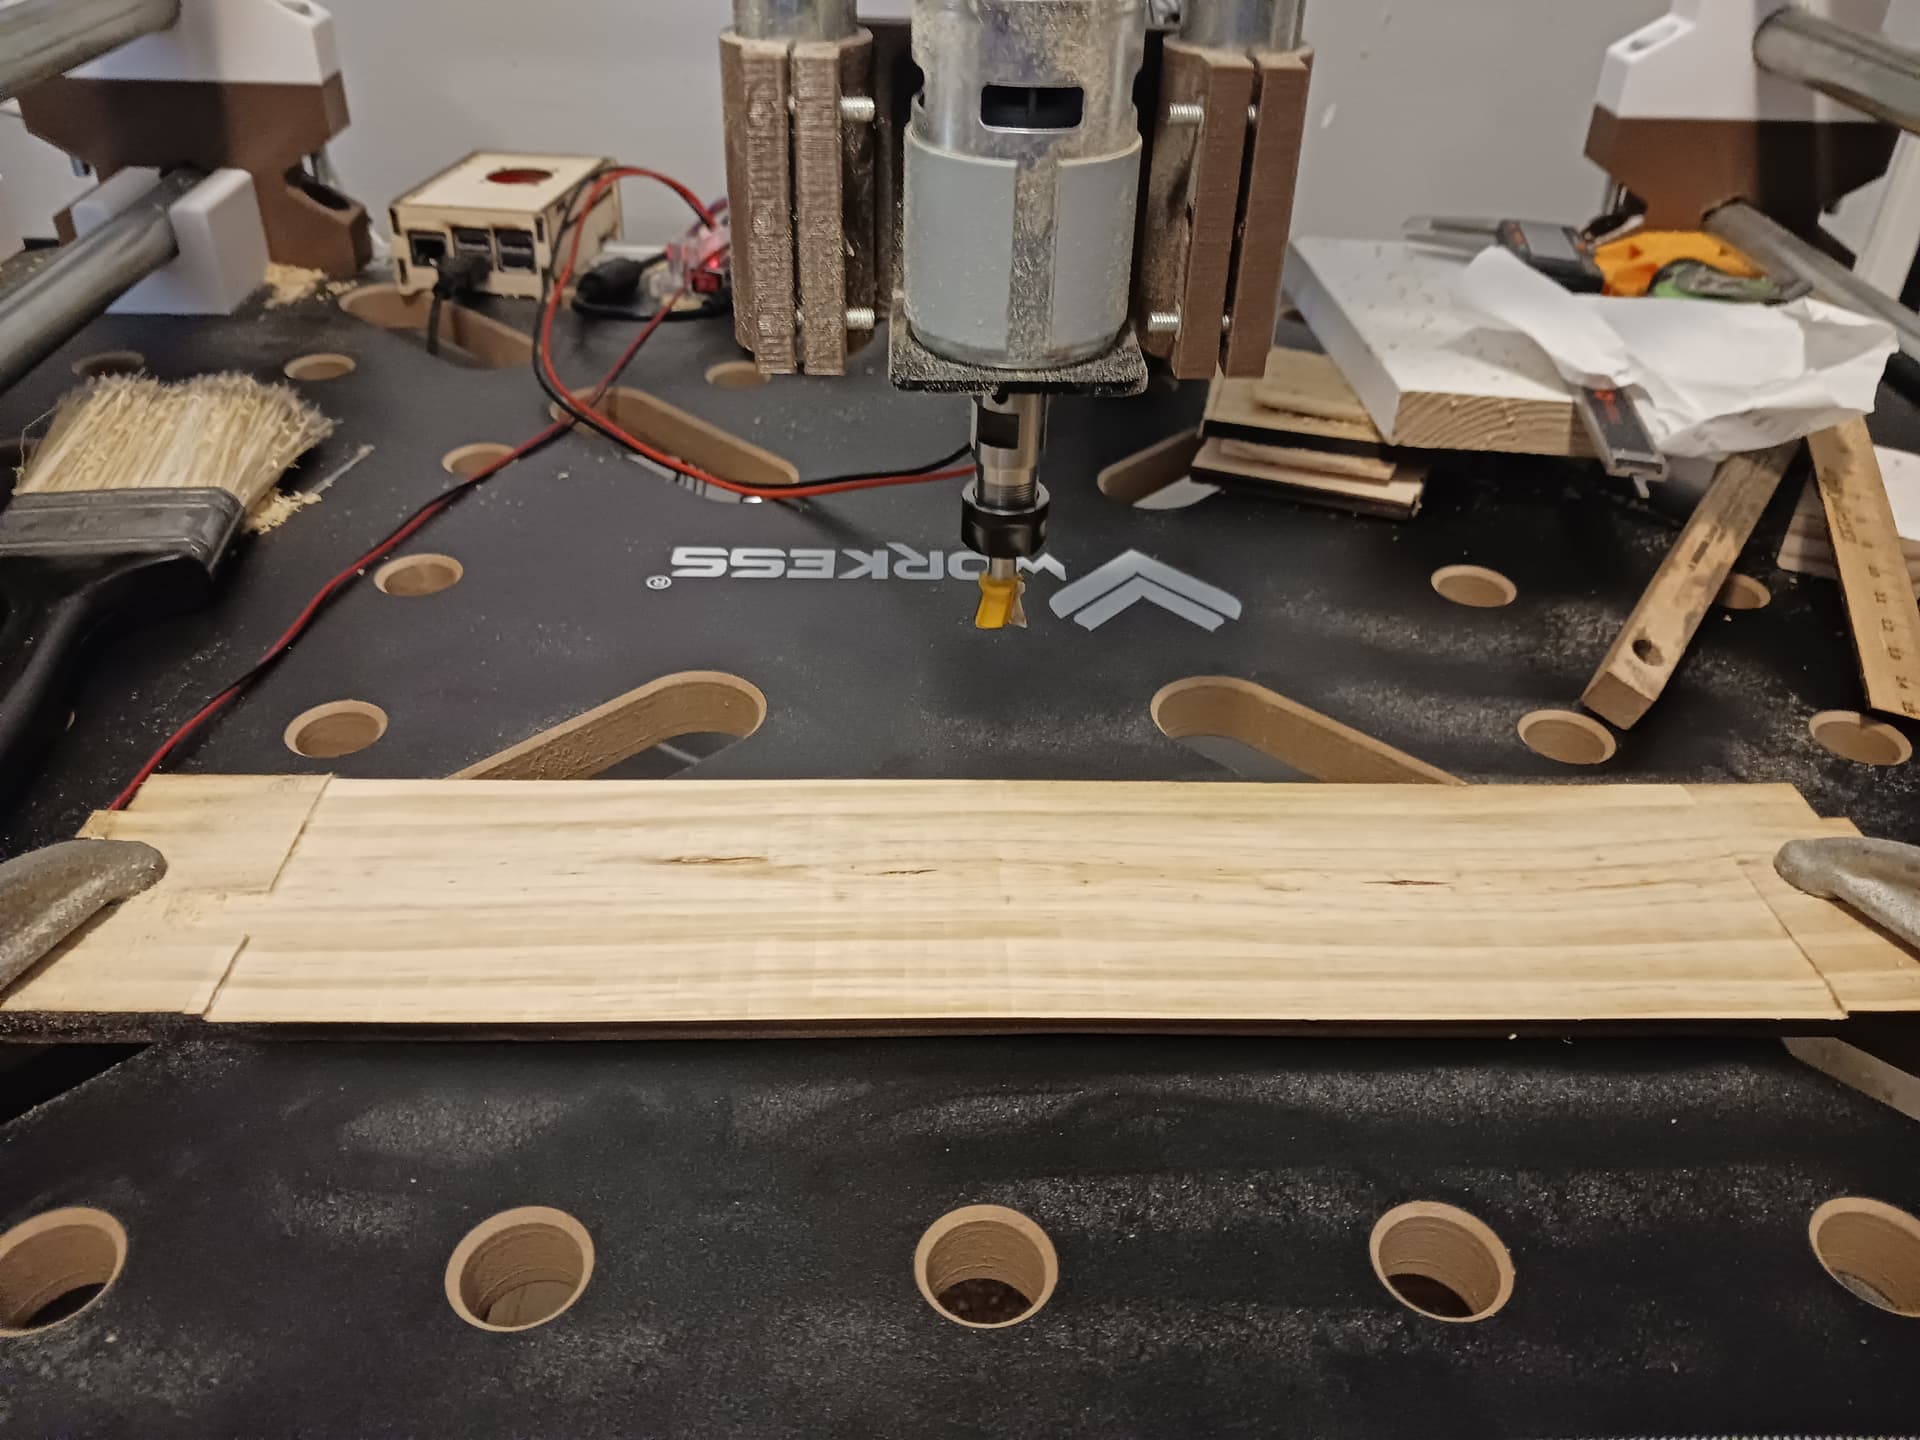
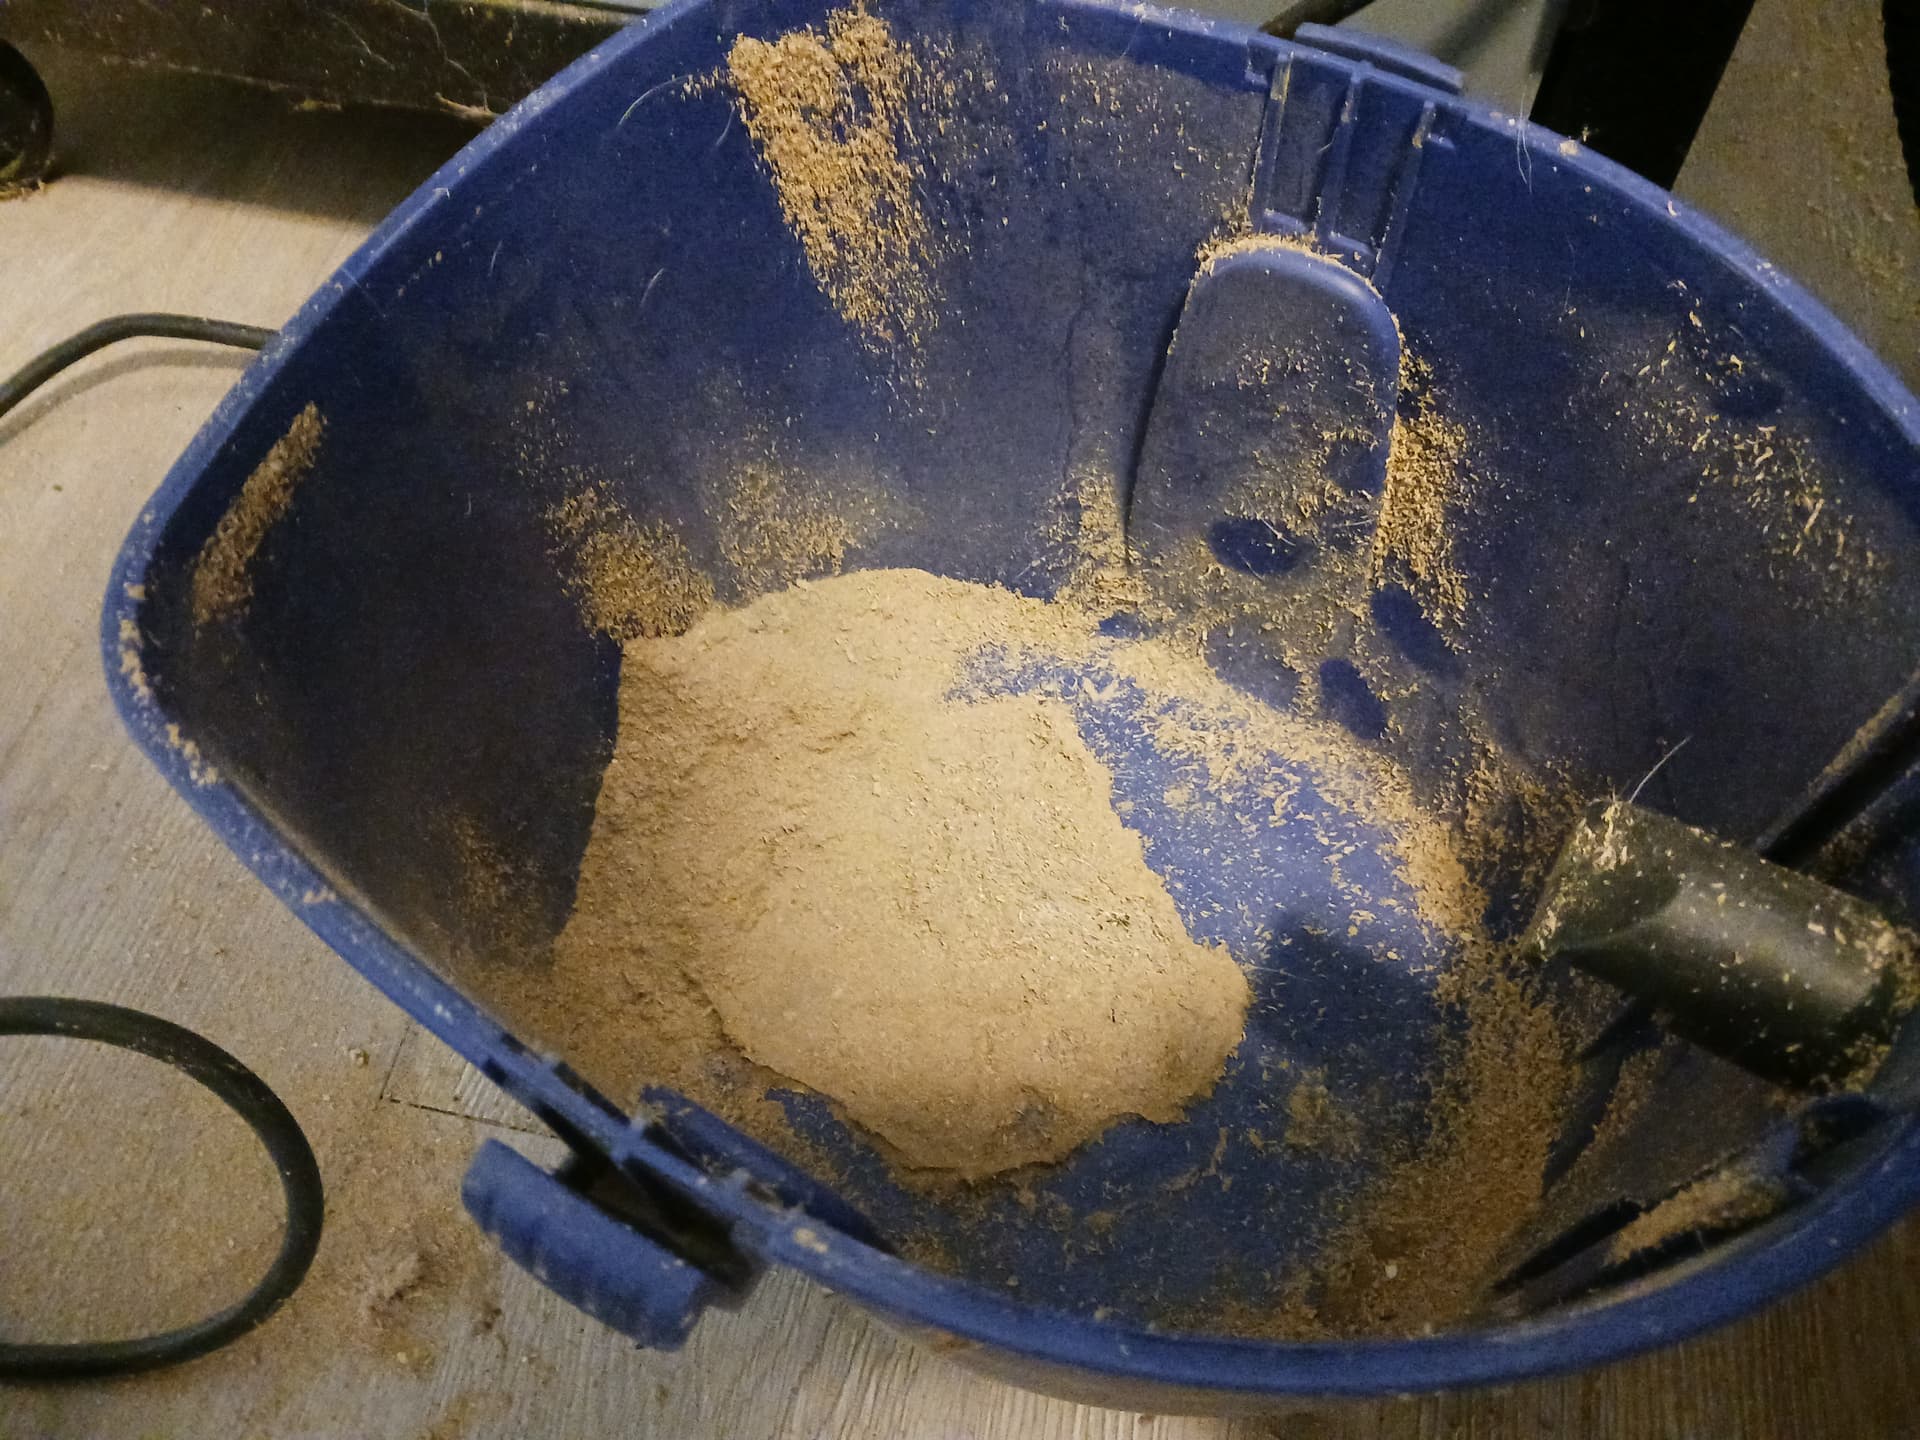
Alright! Surfacing a small catalpa plank with 1/2" dovetail bit (used as a surfacing bit)… with the new dust collector and skirt. It’s not perfect (the bristles could probably be a little longer when using this bit)… but it greatly reduced the amount of sawdust left to clean up and picks up almost all sawdust when completely over the workpiece.
I’m pleased with it so far. Now I probably should rerun the job using the unaltered Longmill gcode for the IDC feather… just to see how effective it really is.
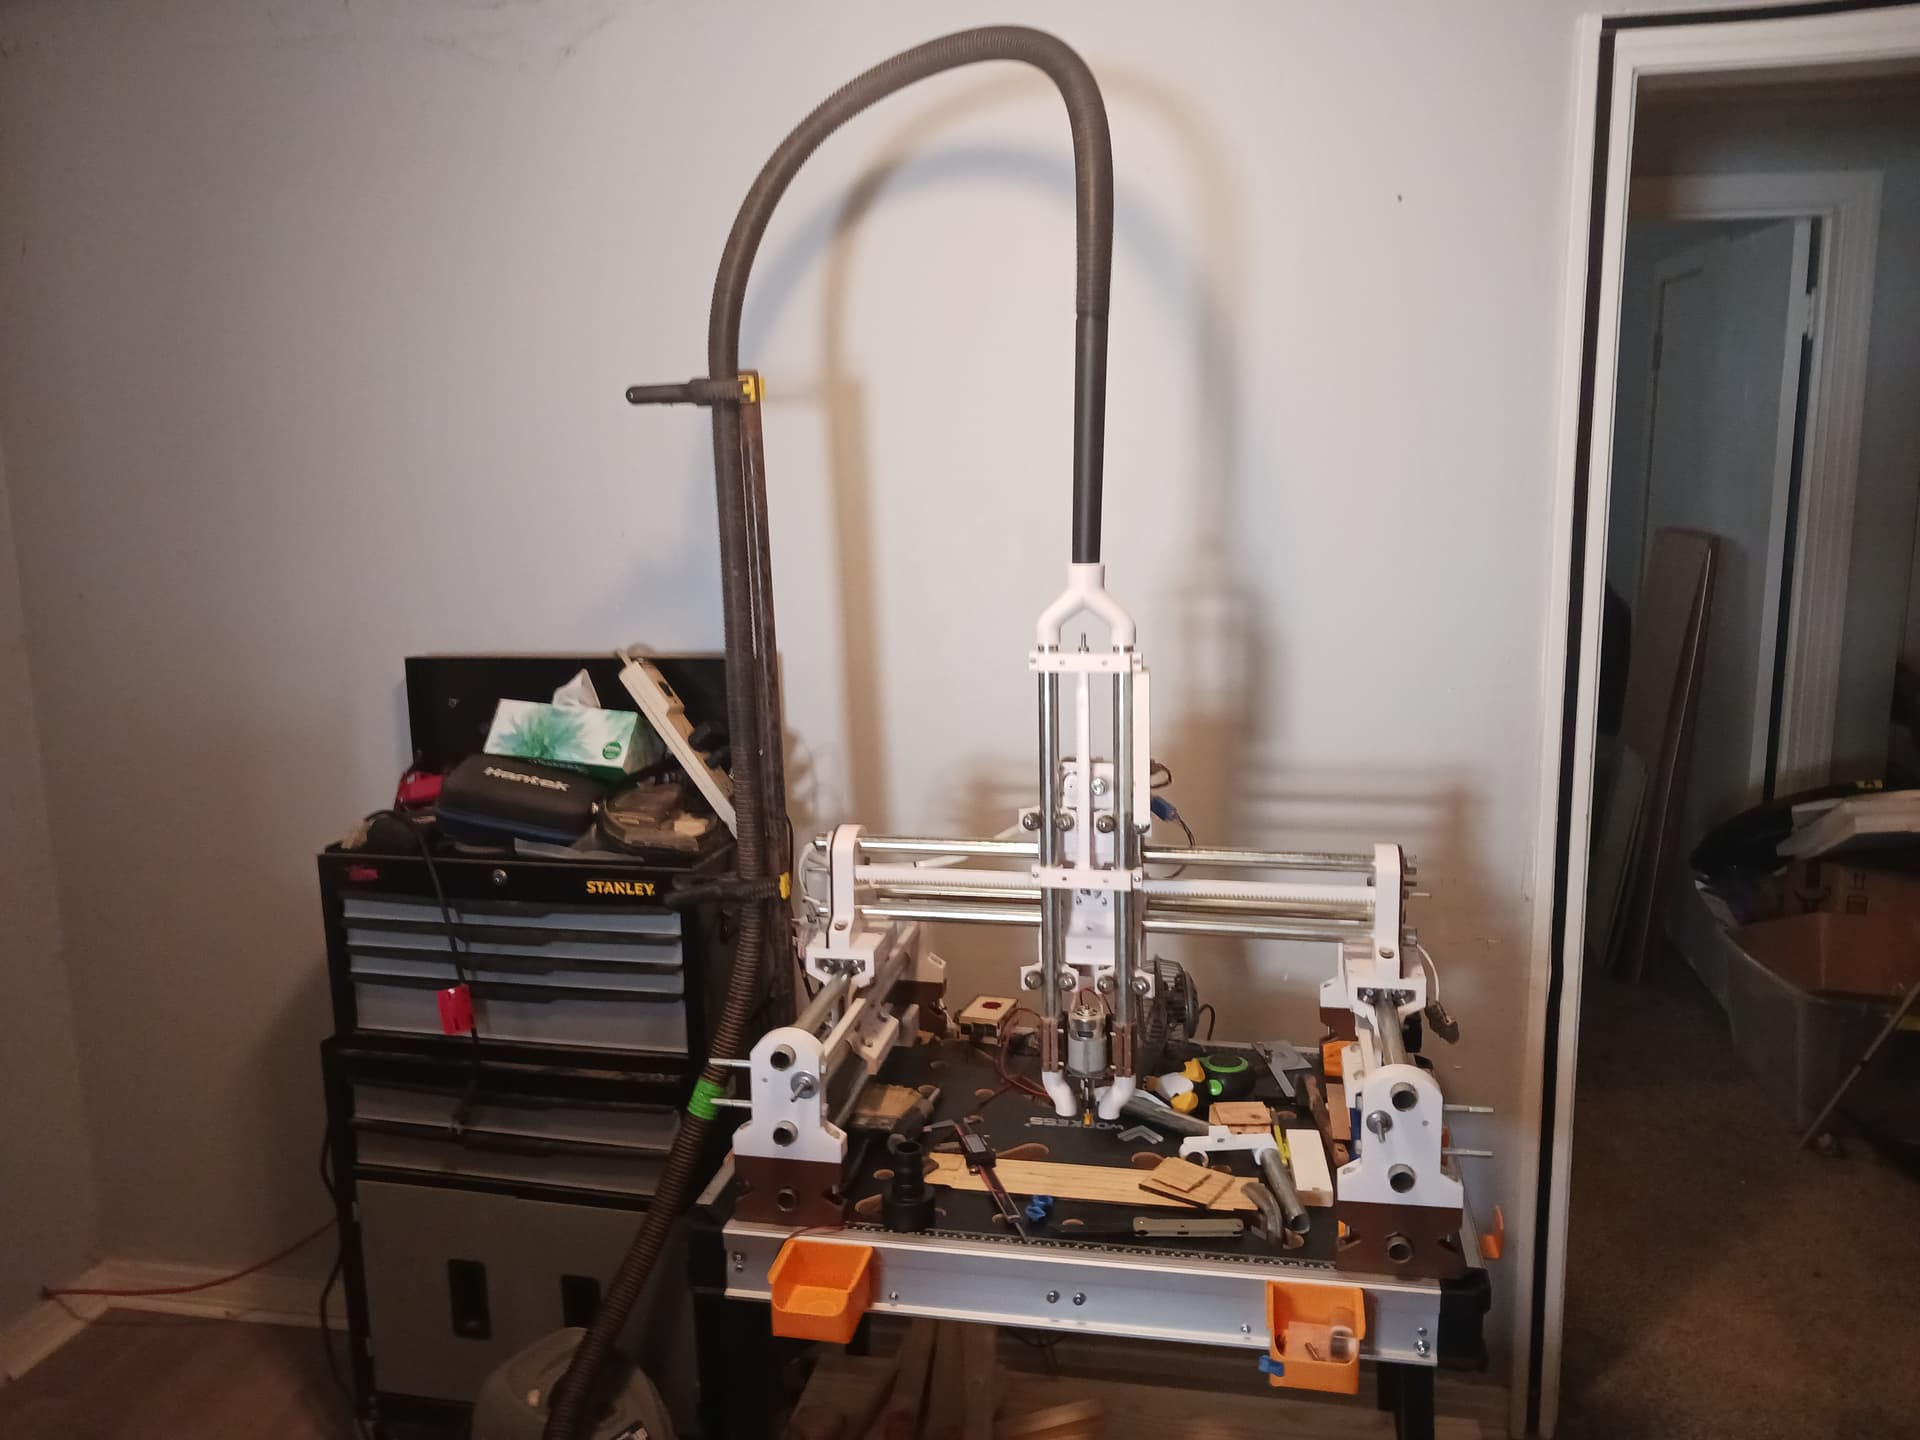
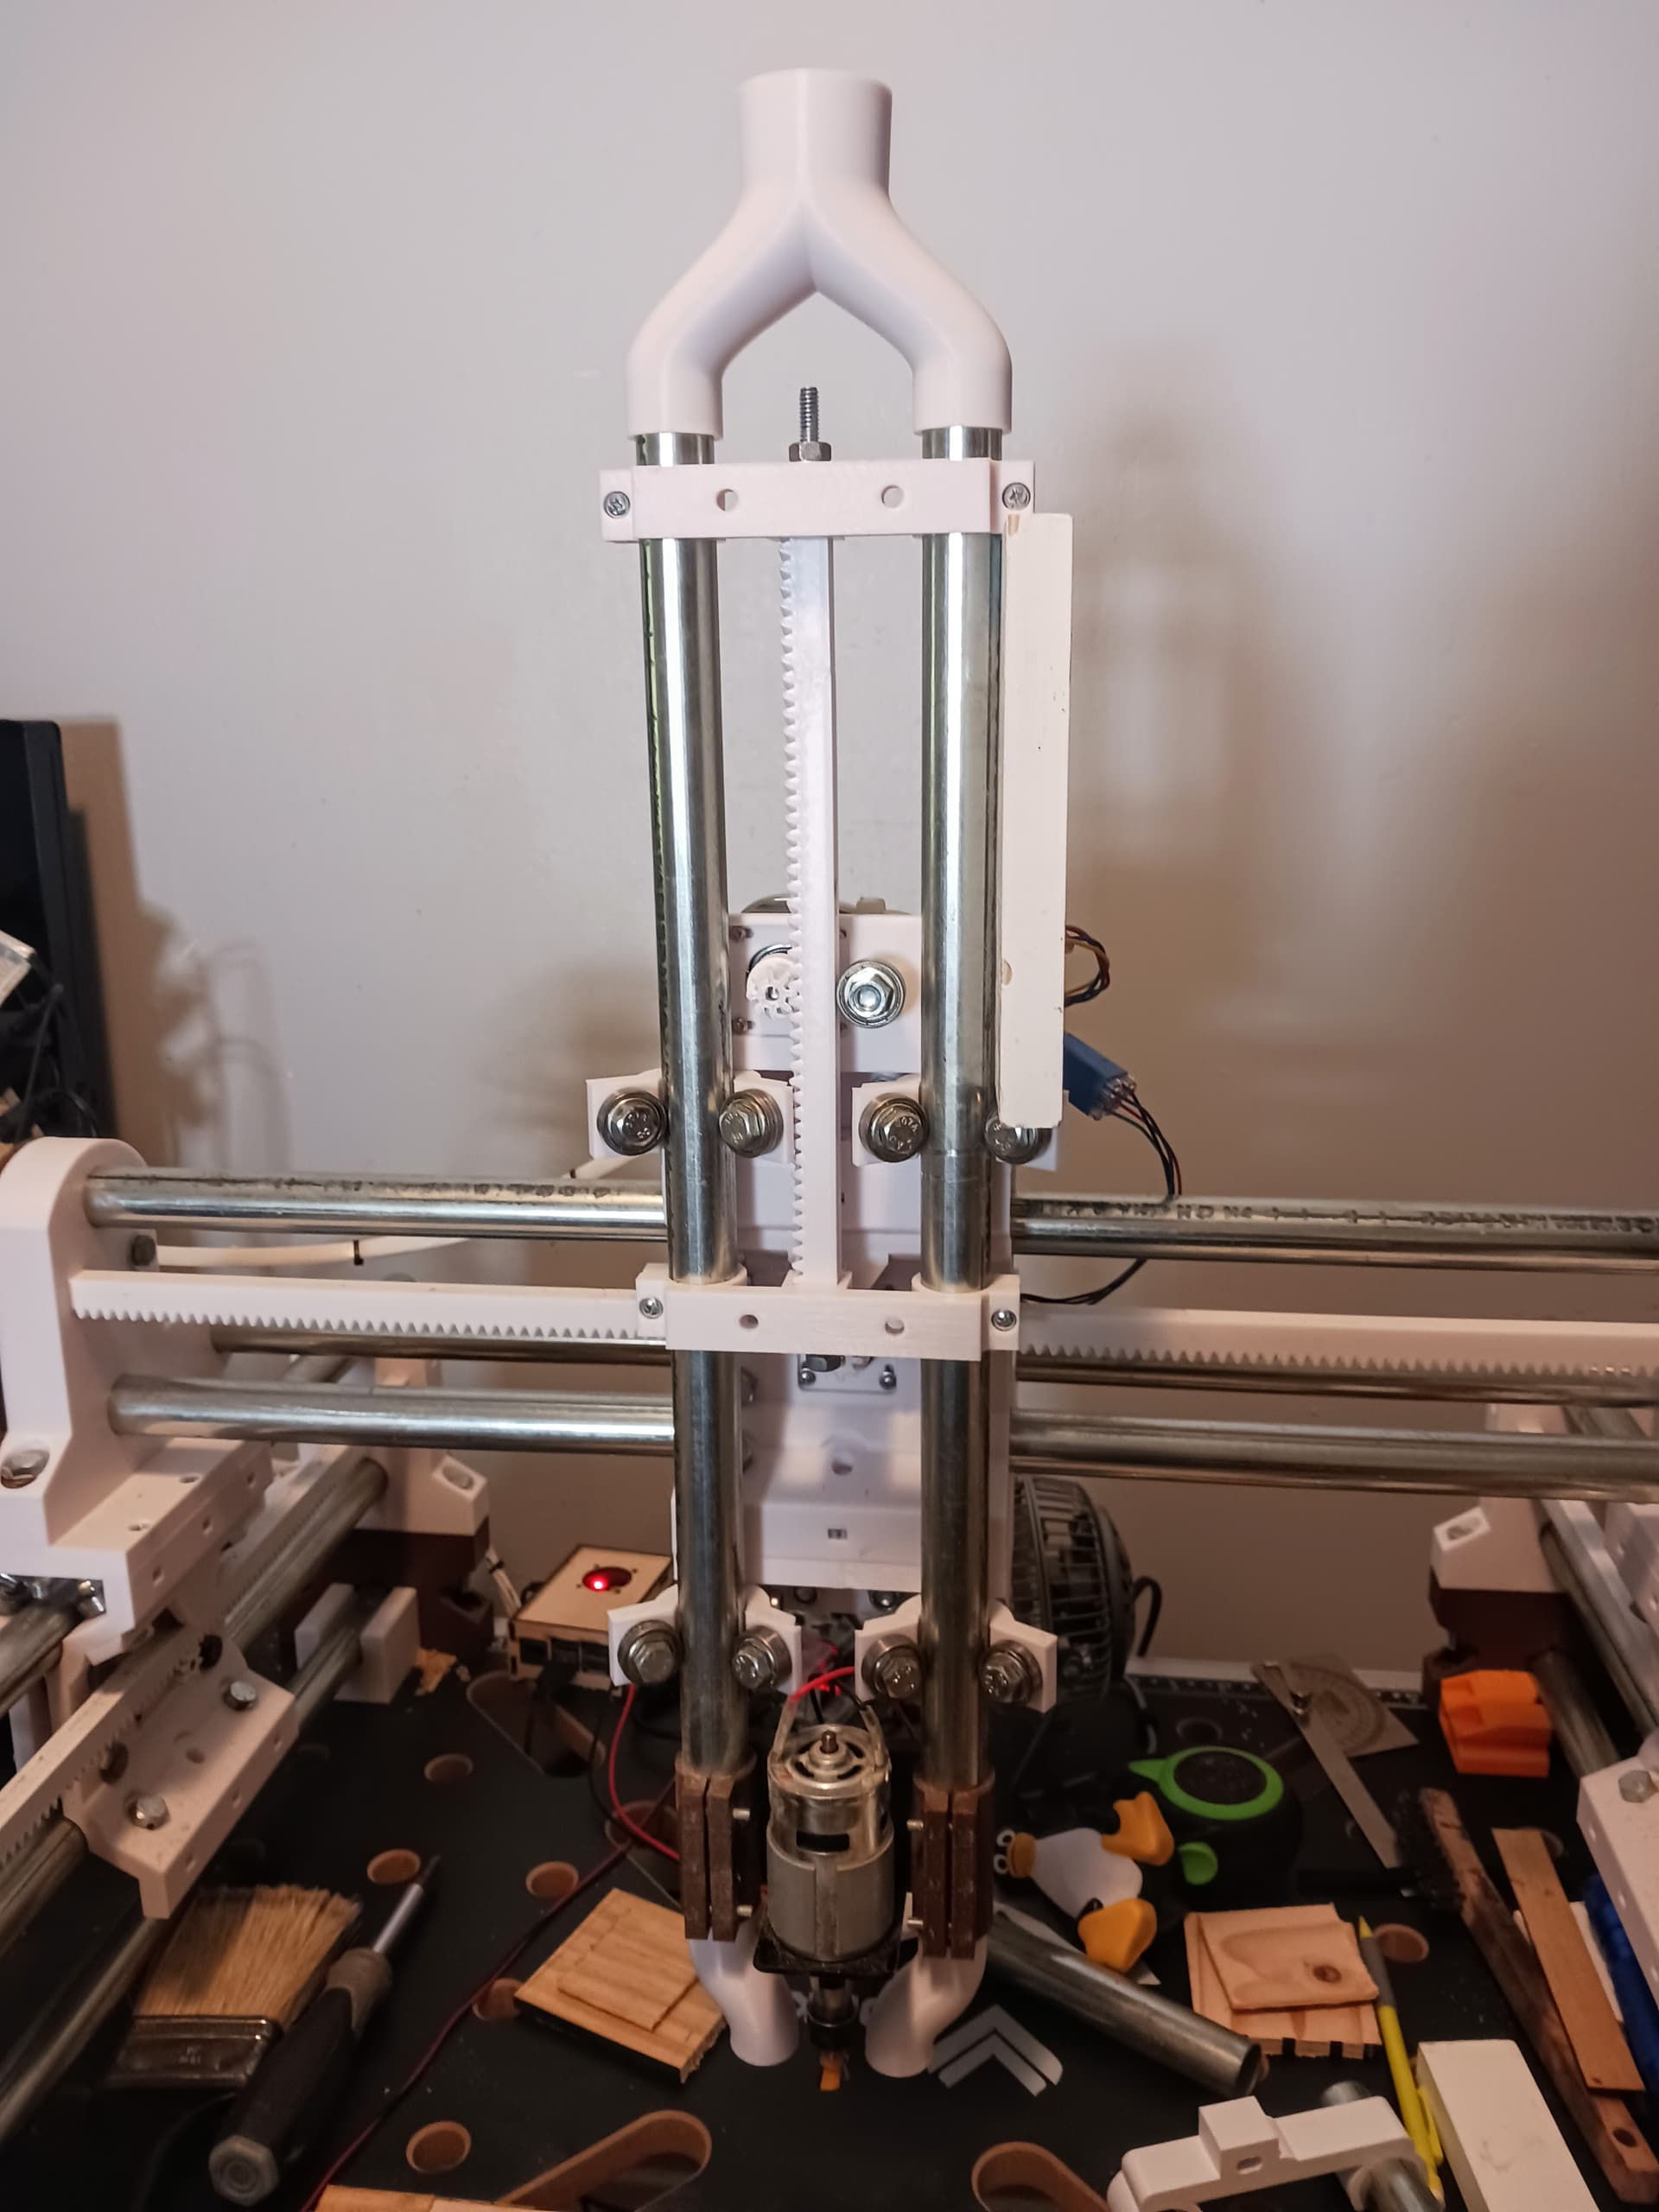
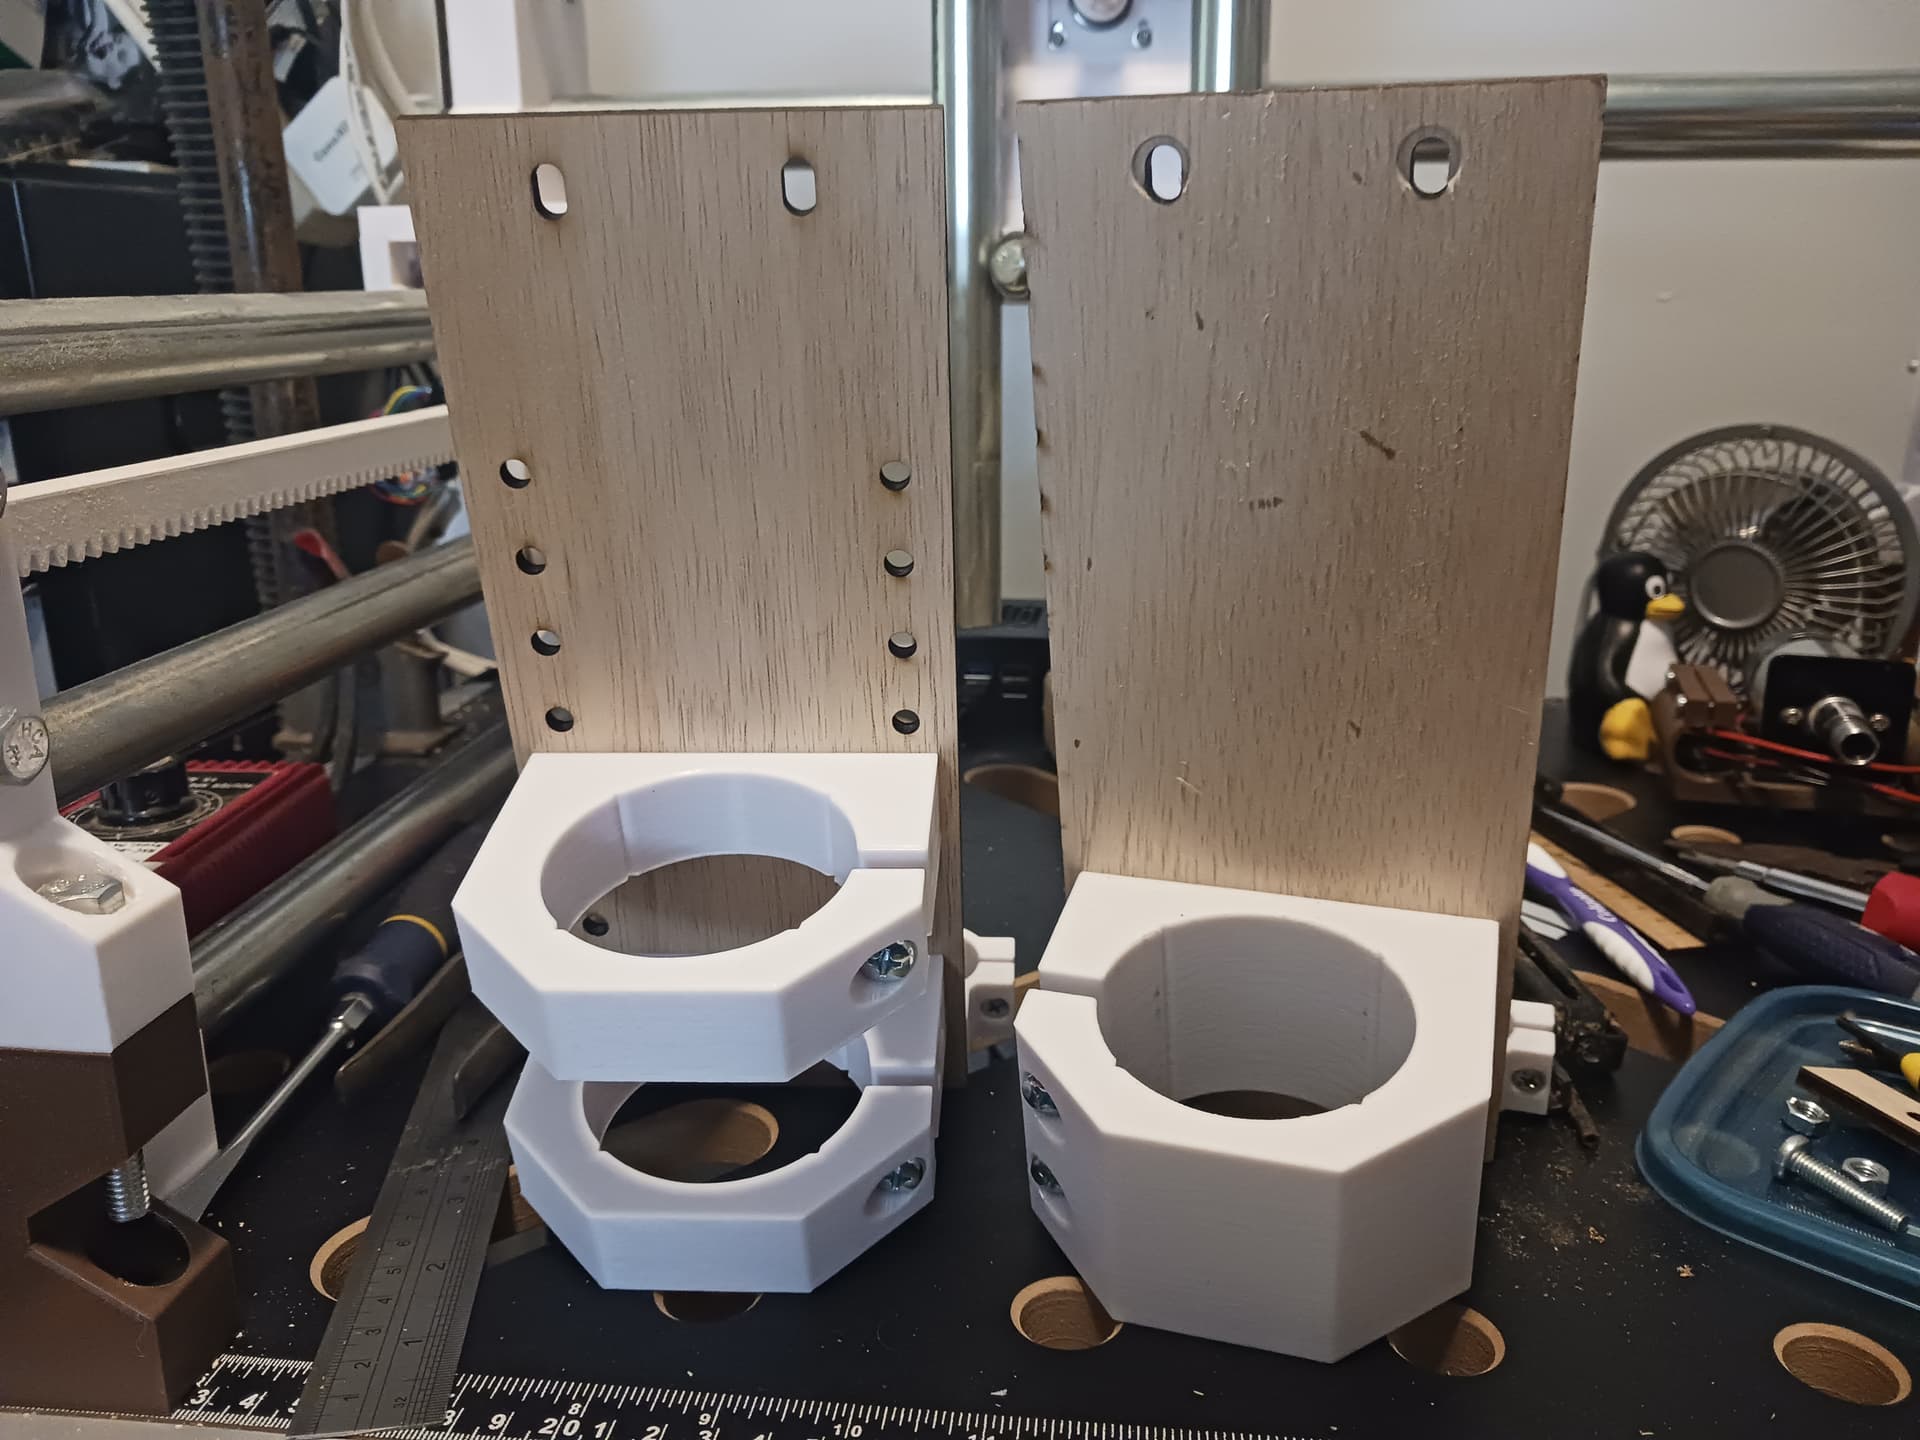
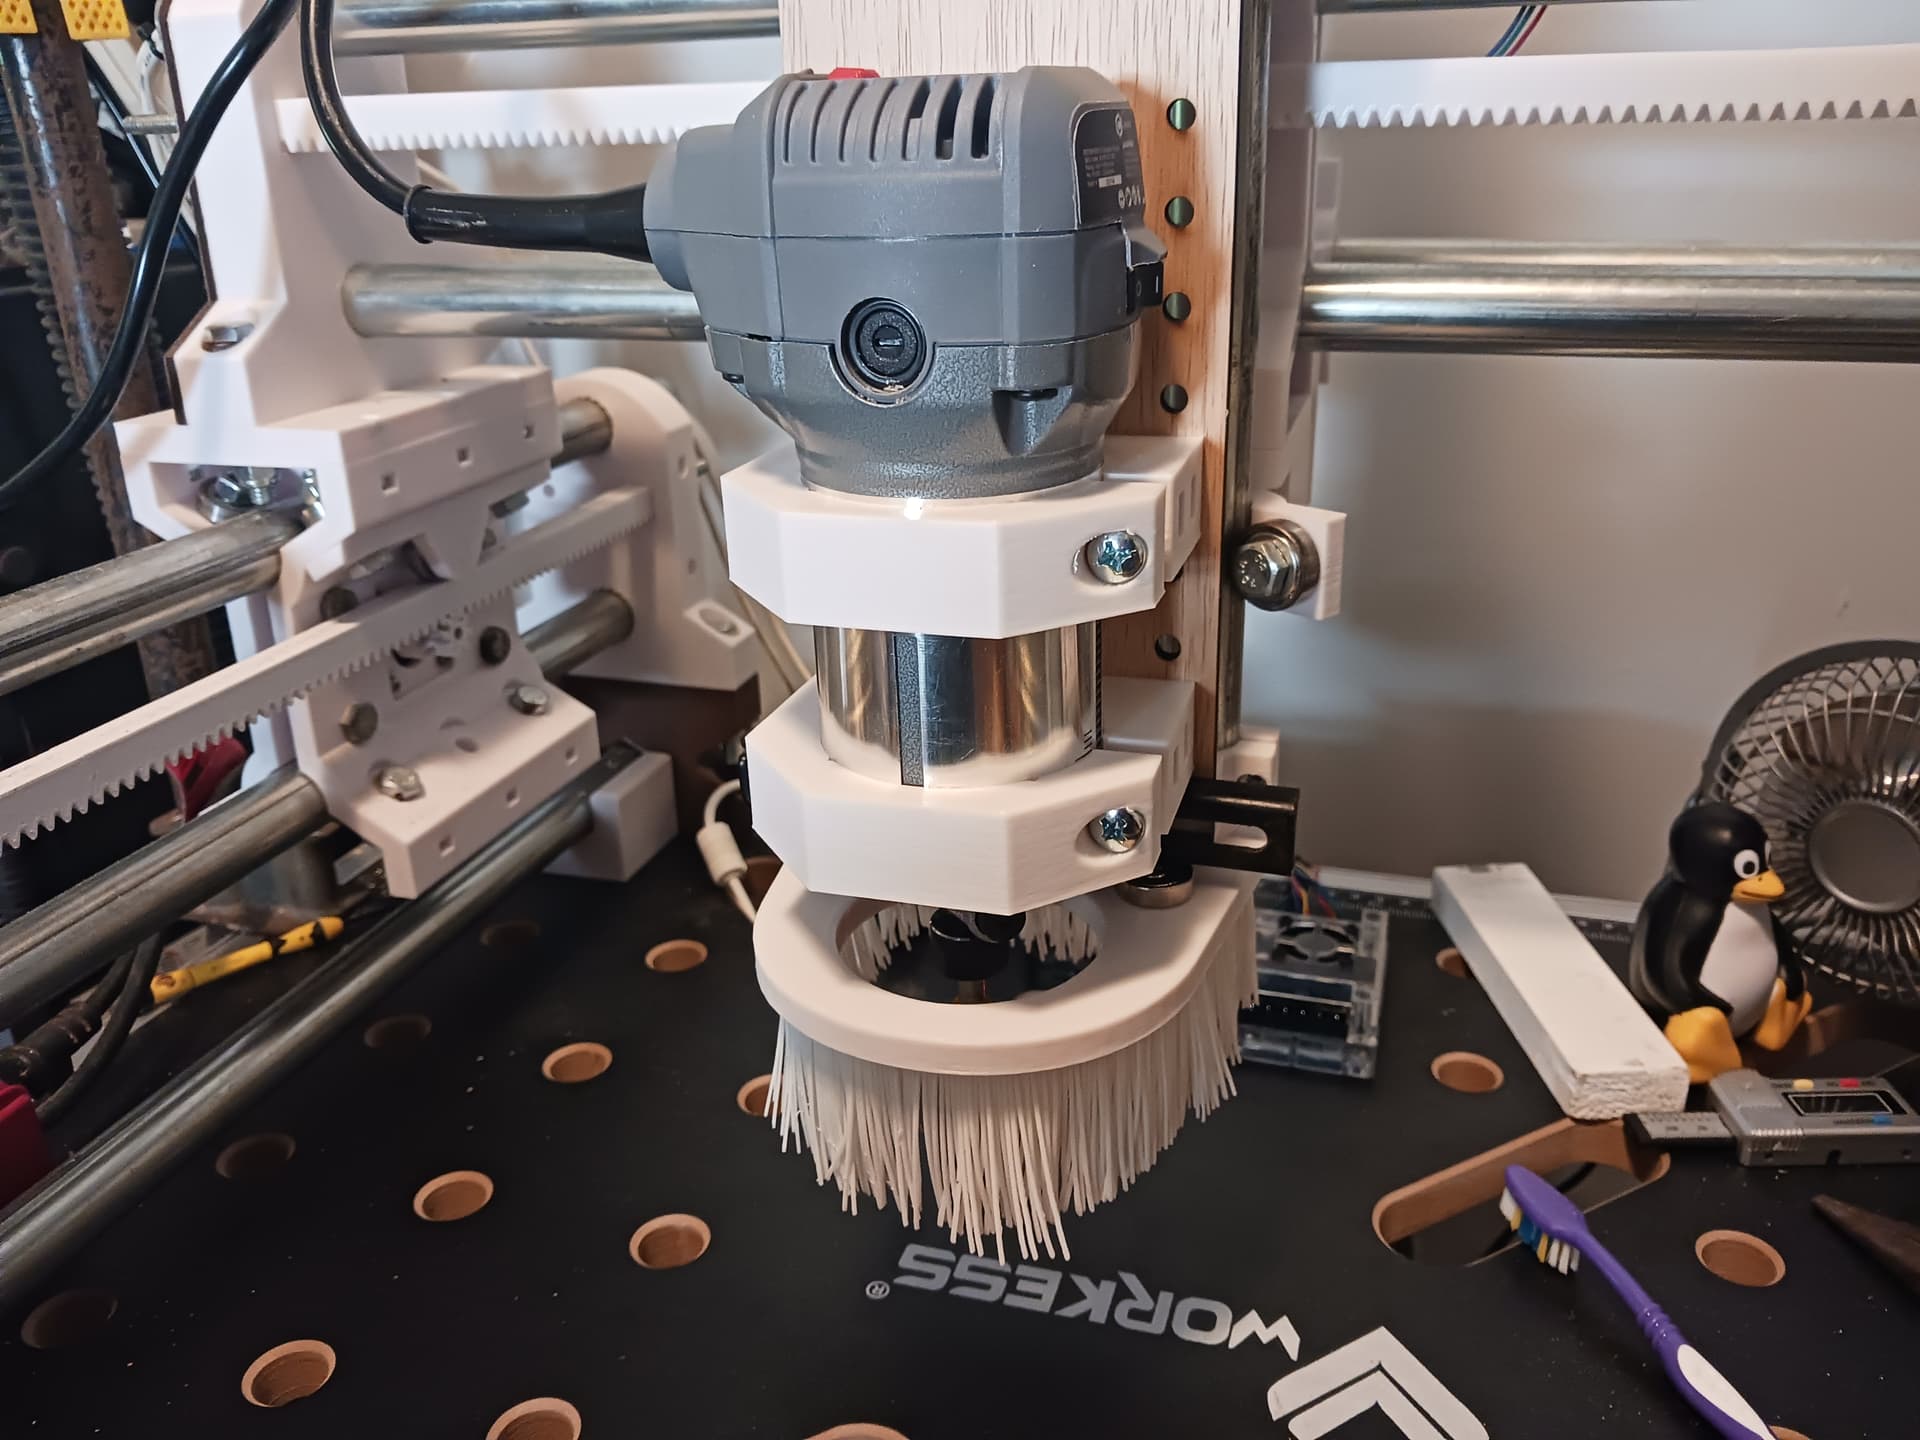
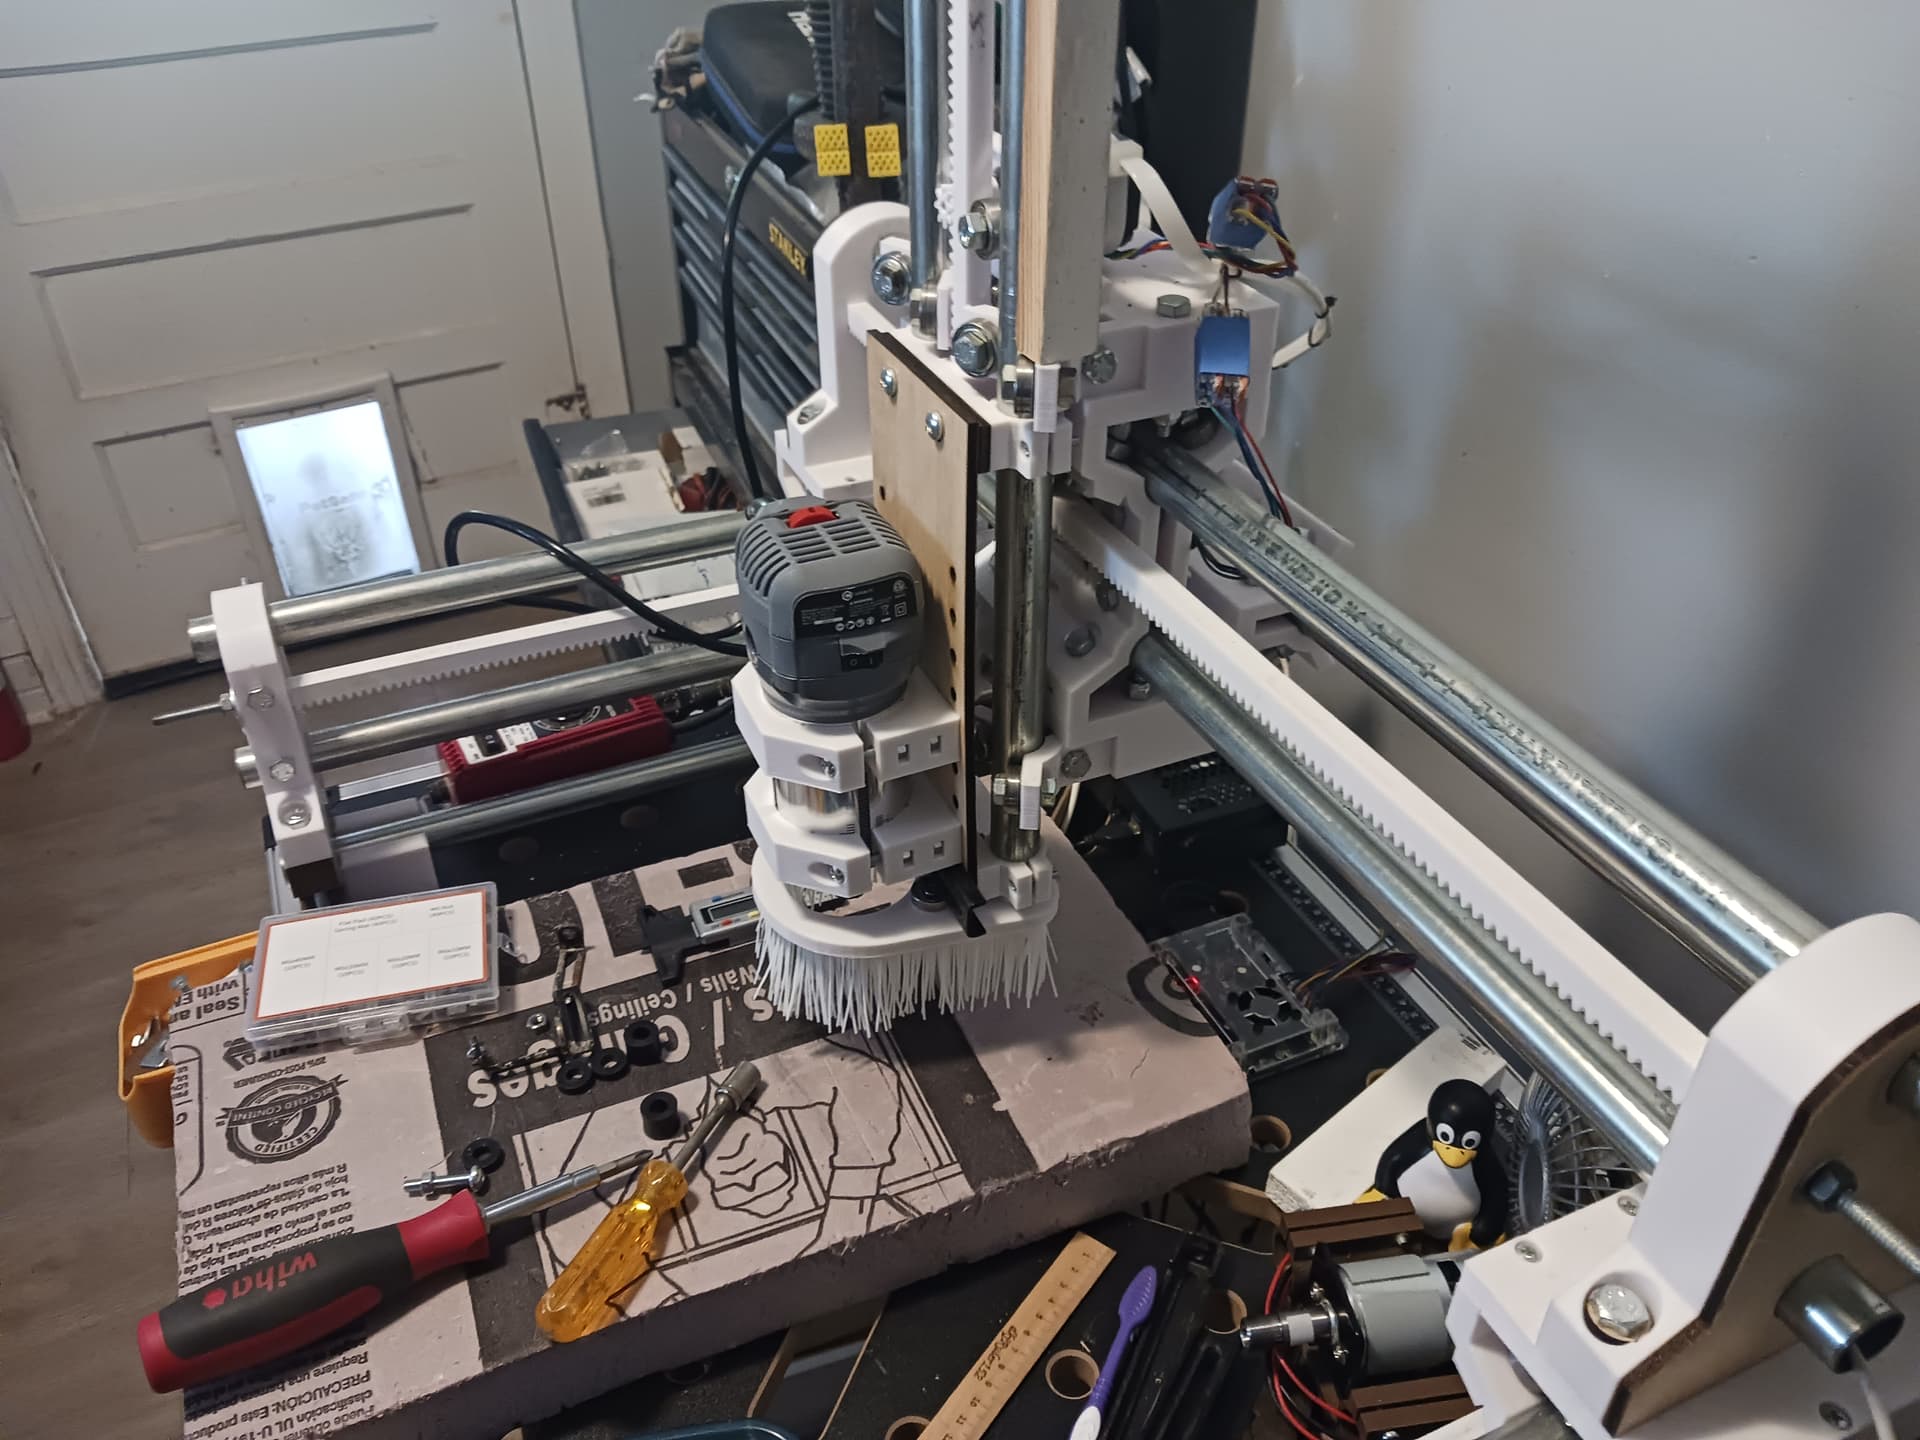
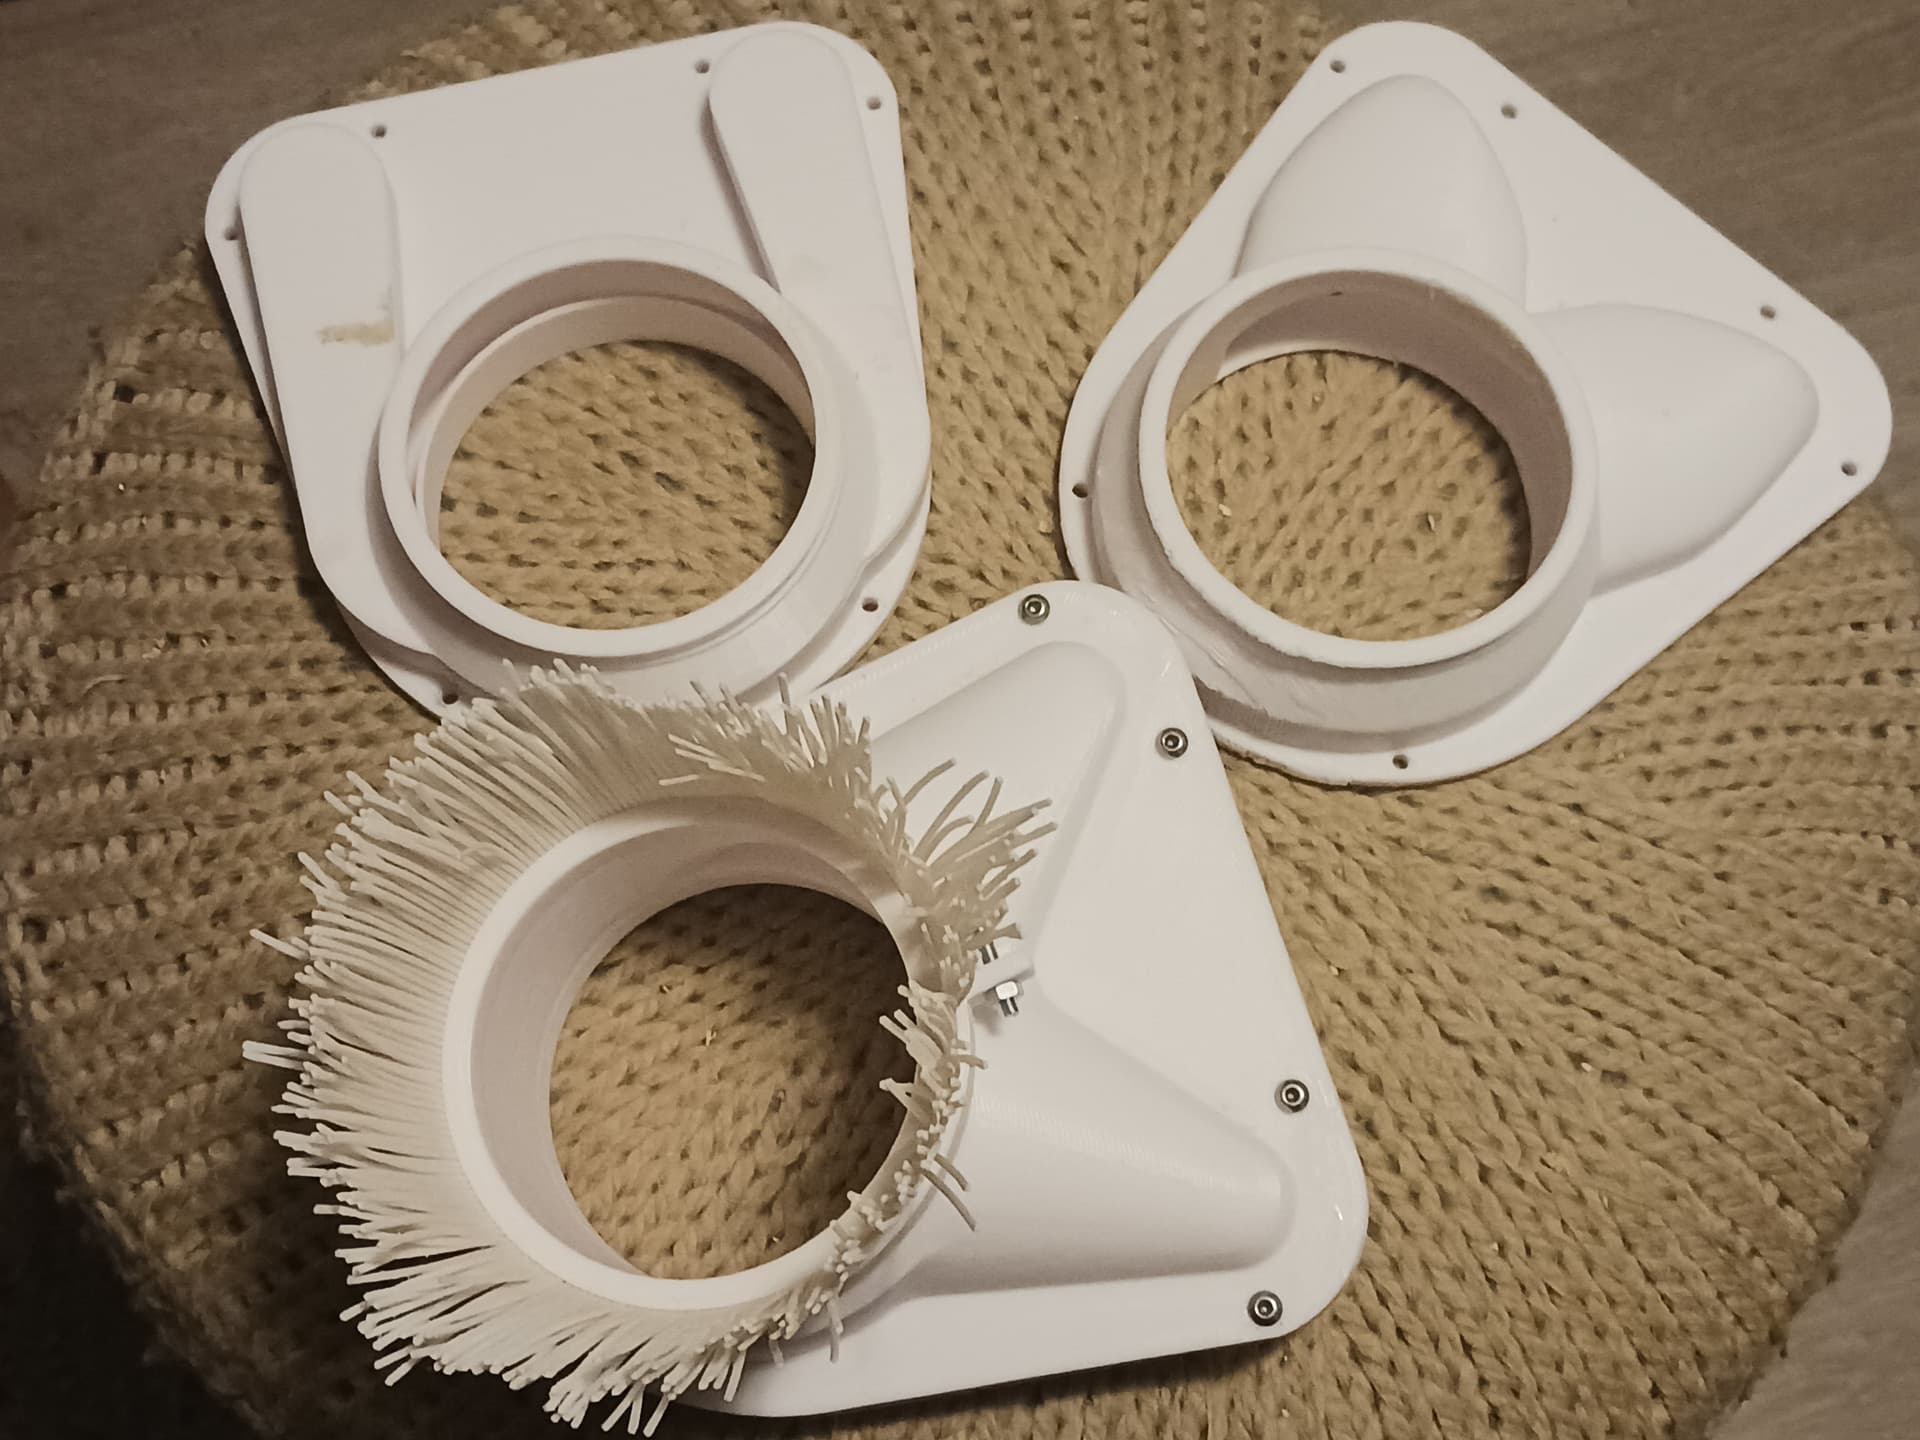
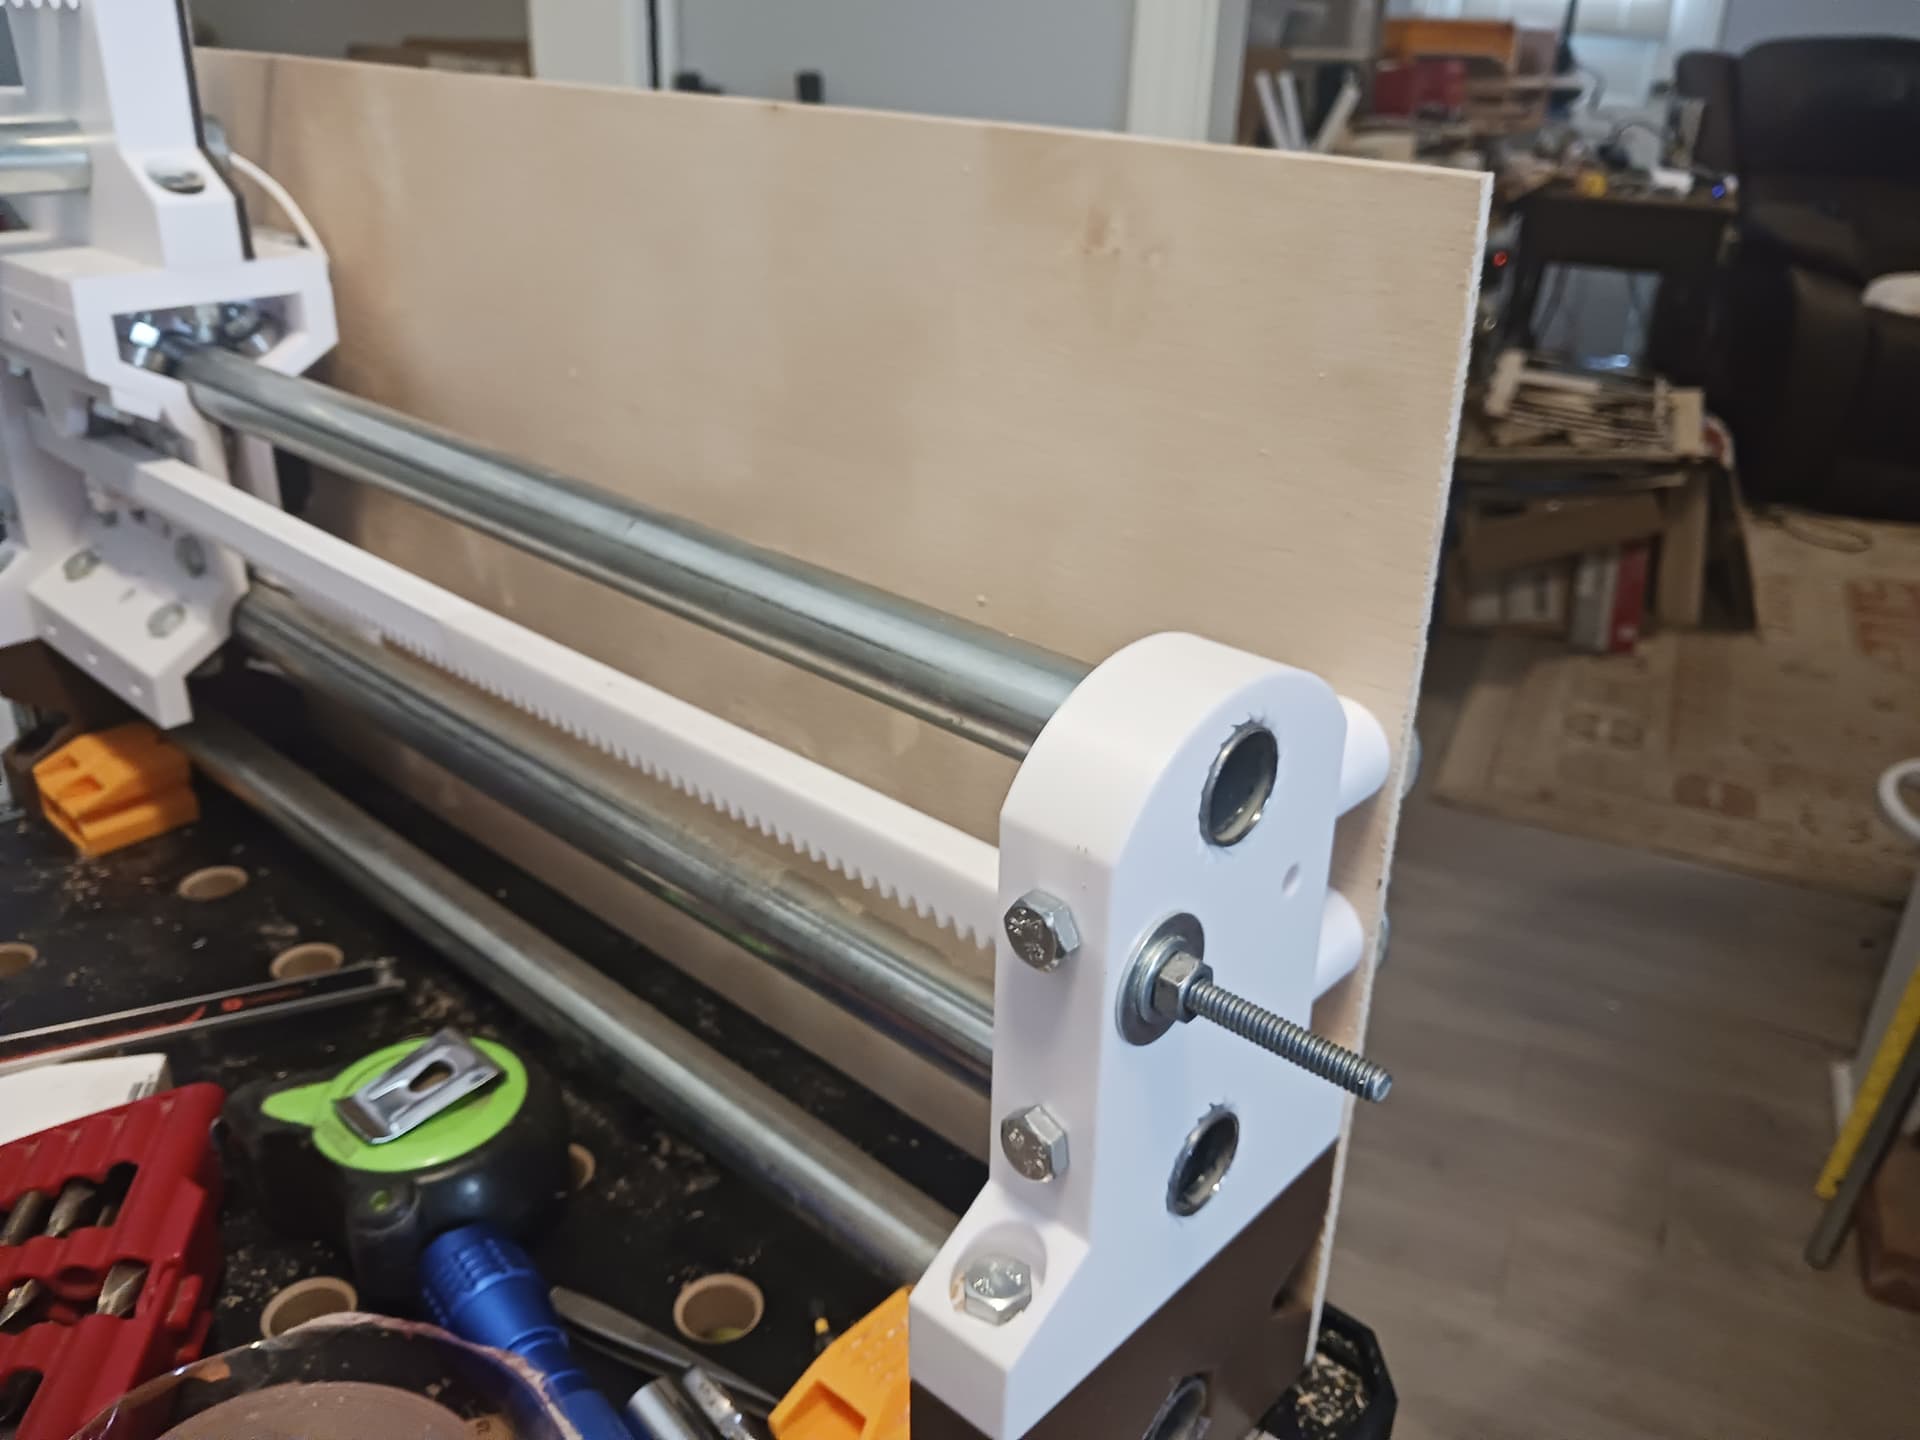
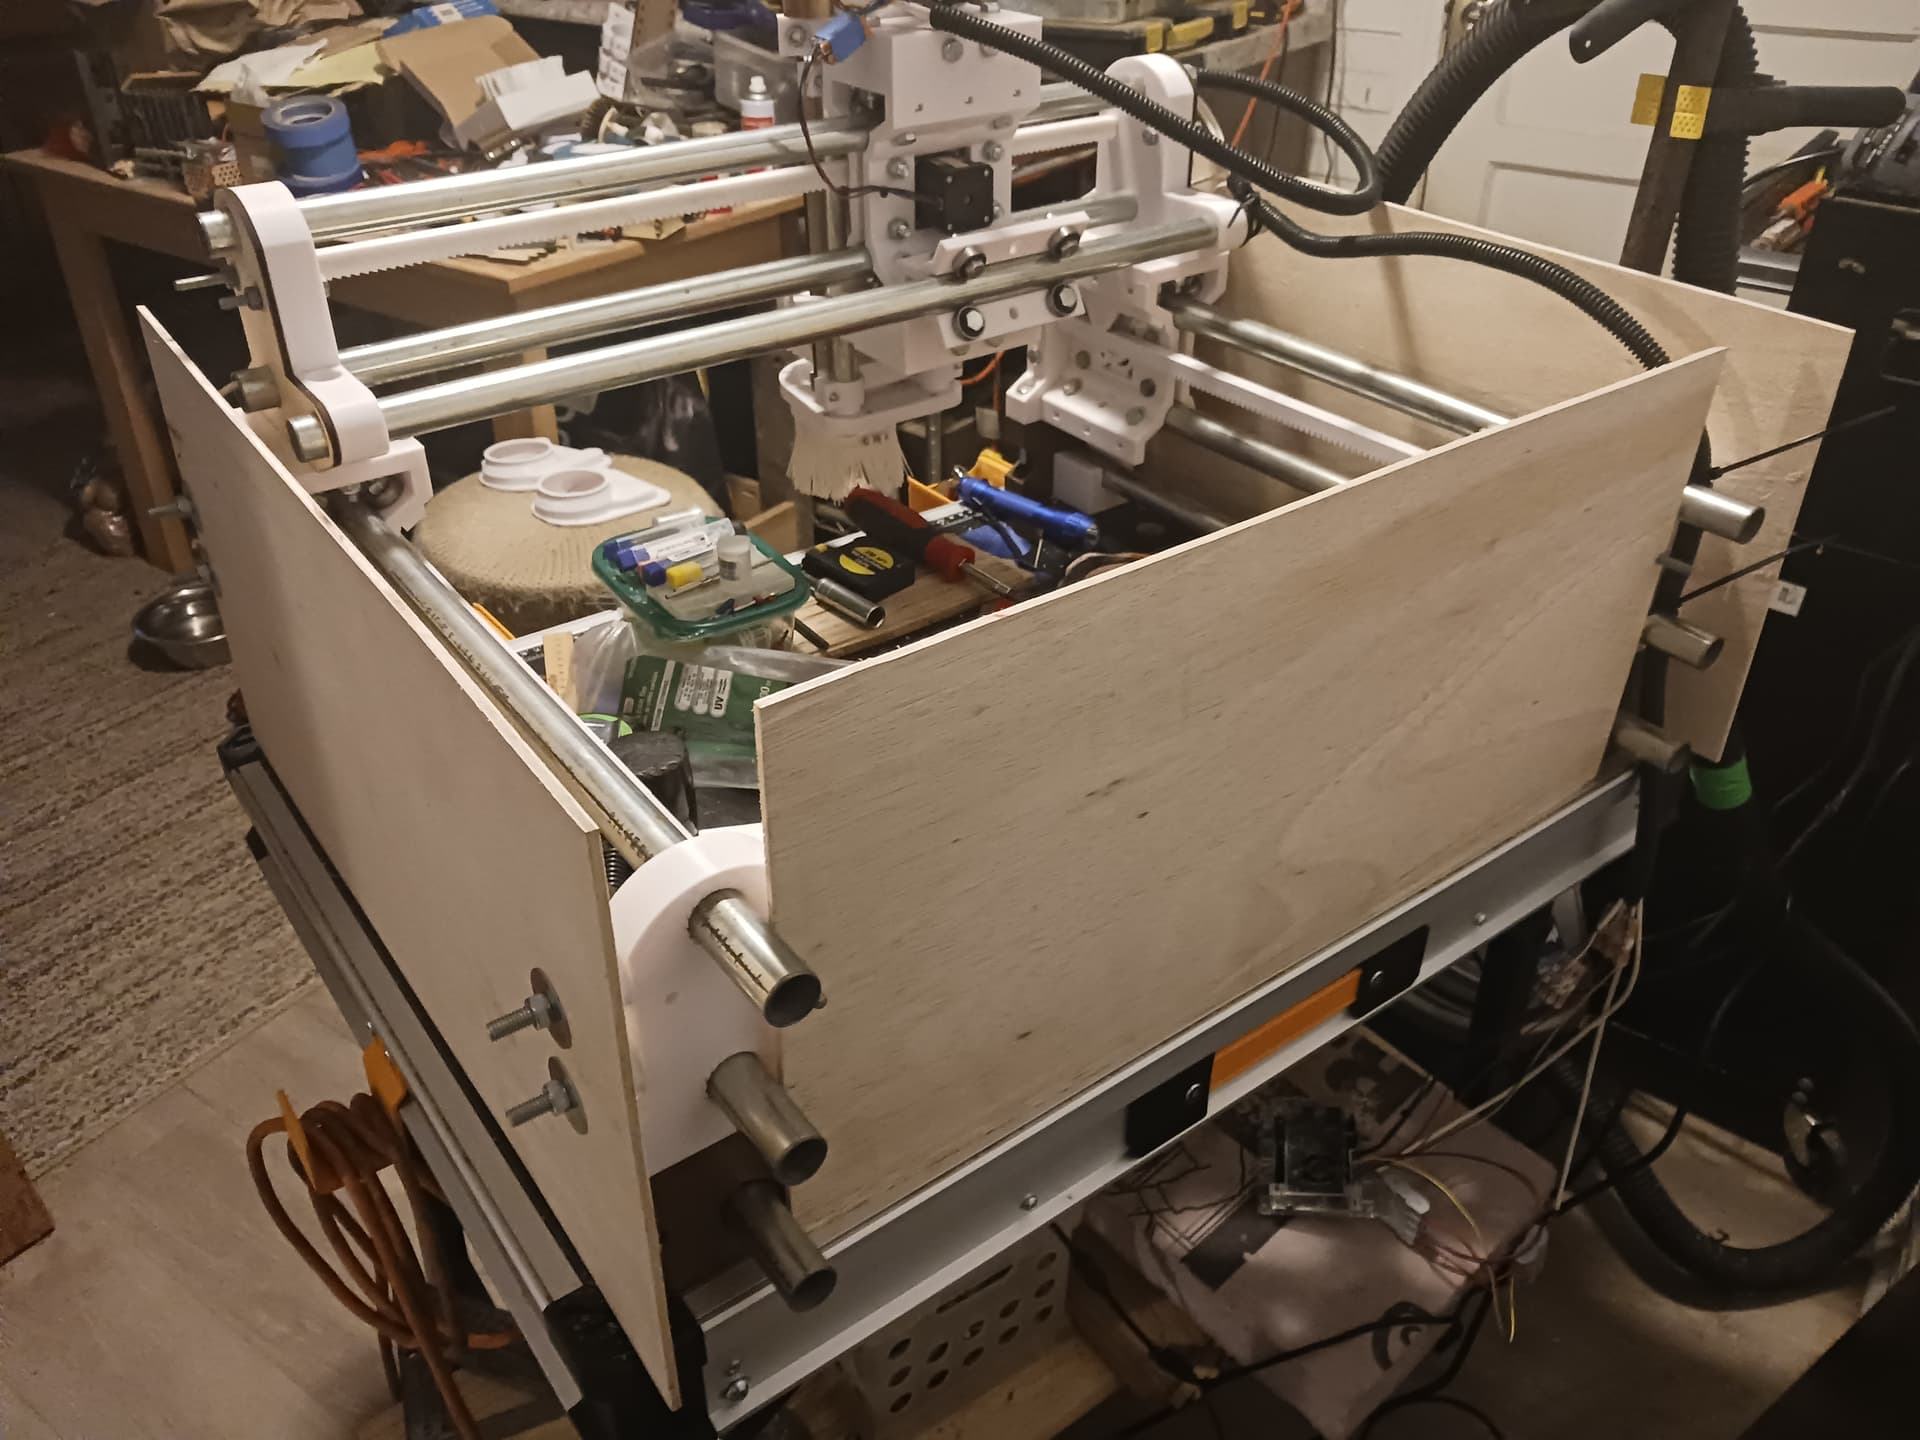
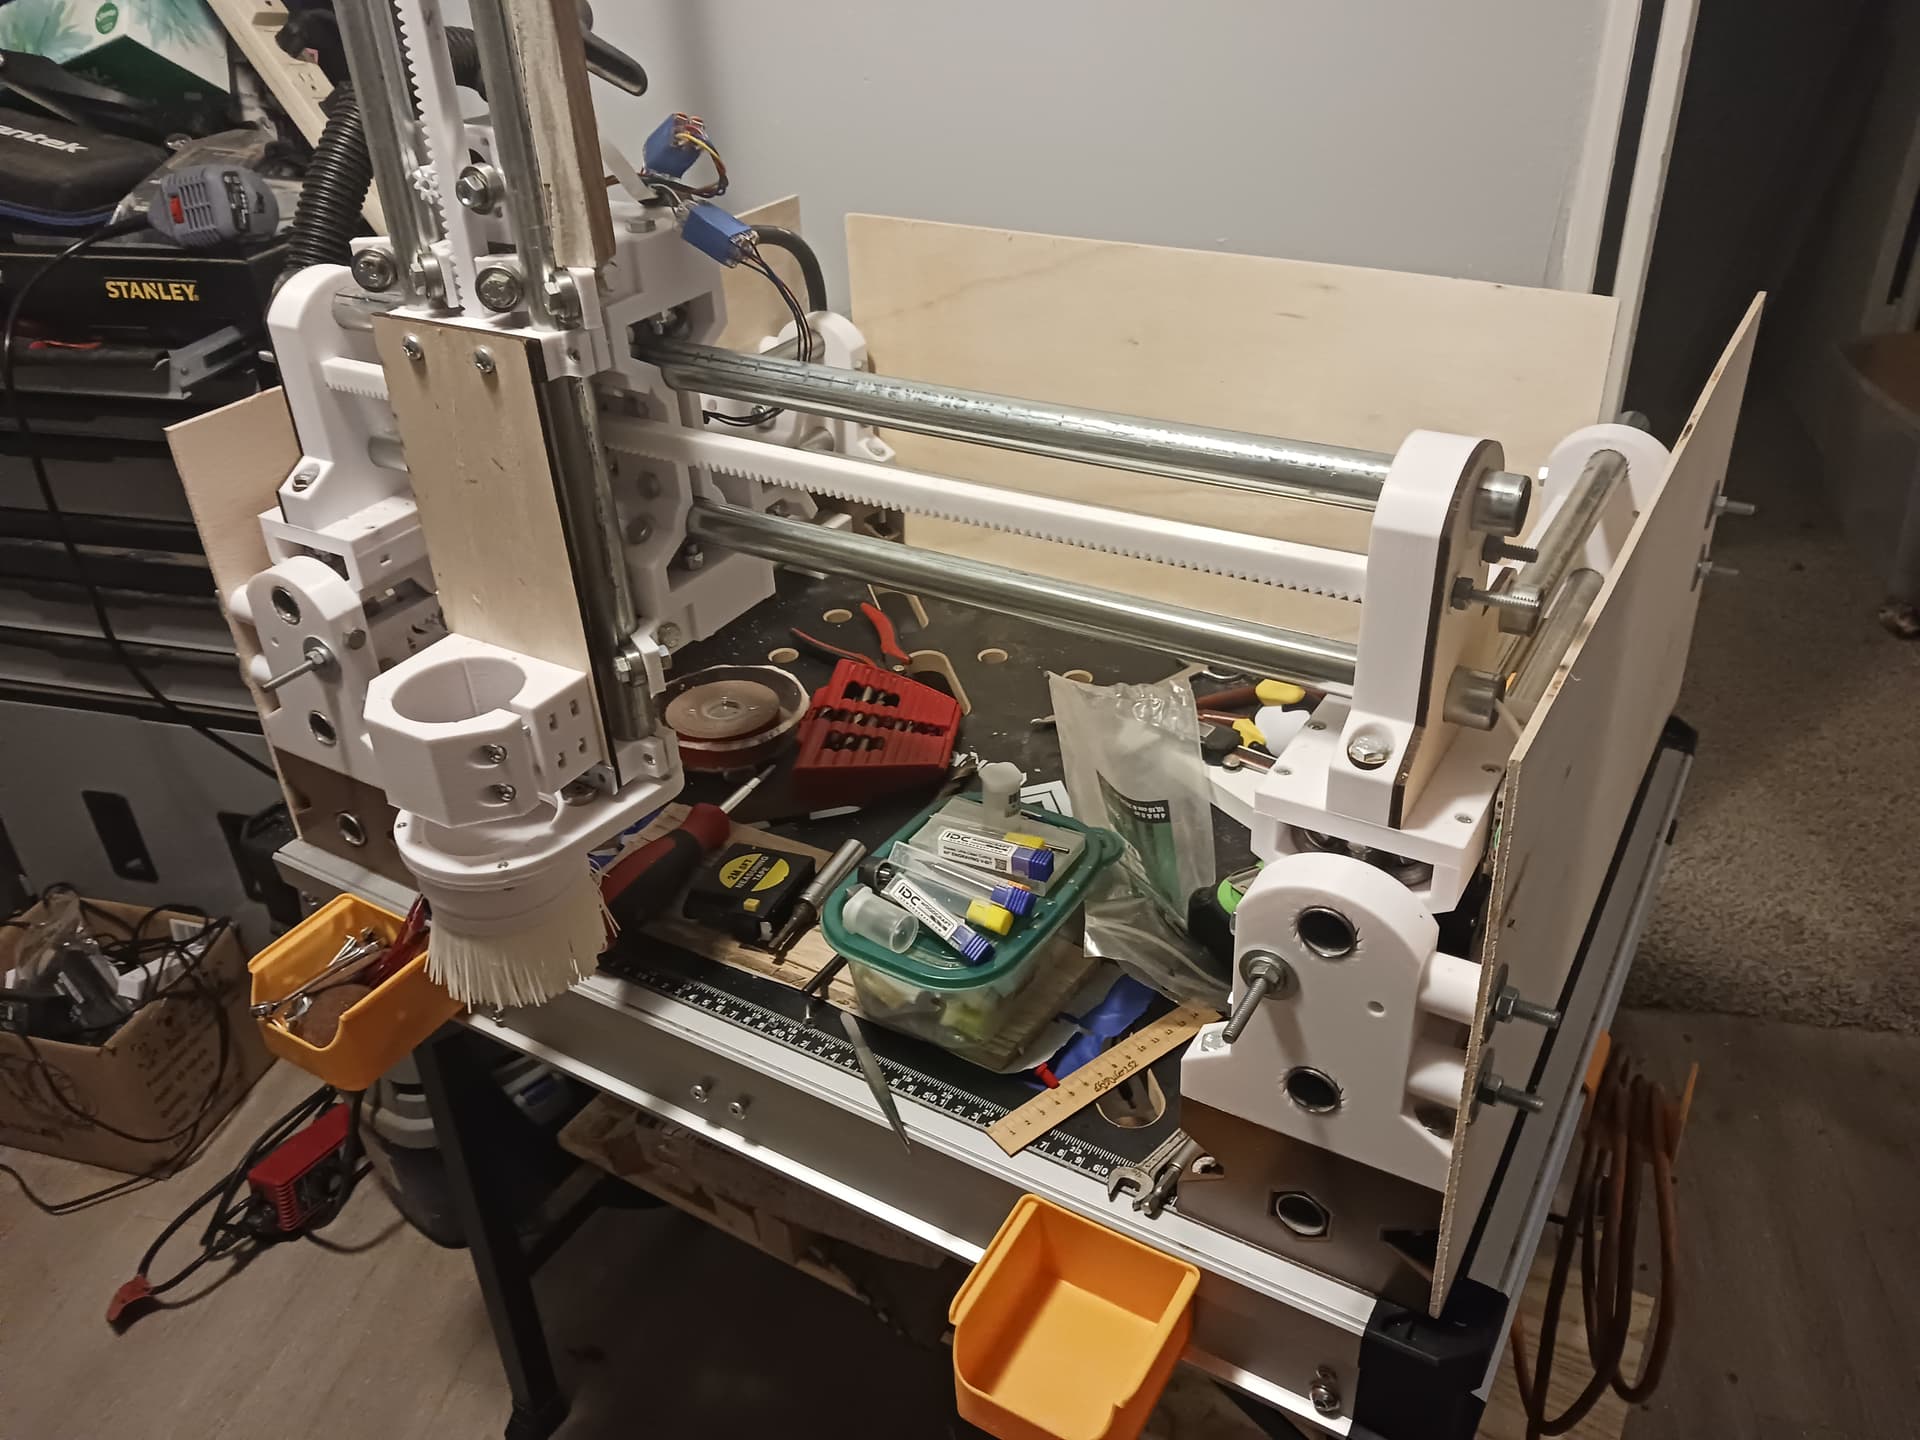
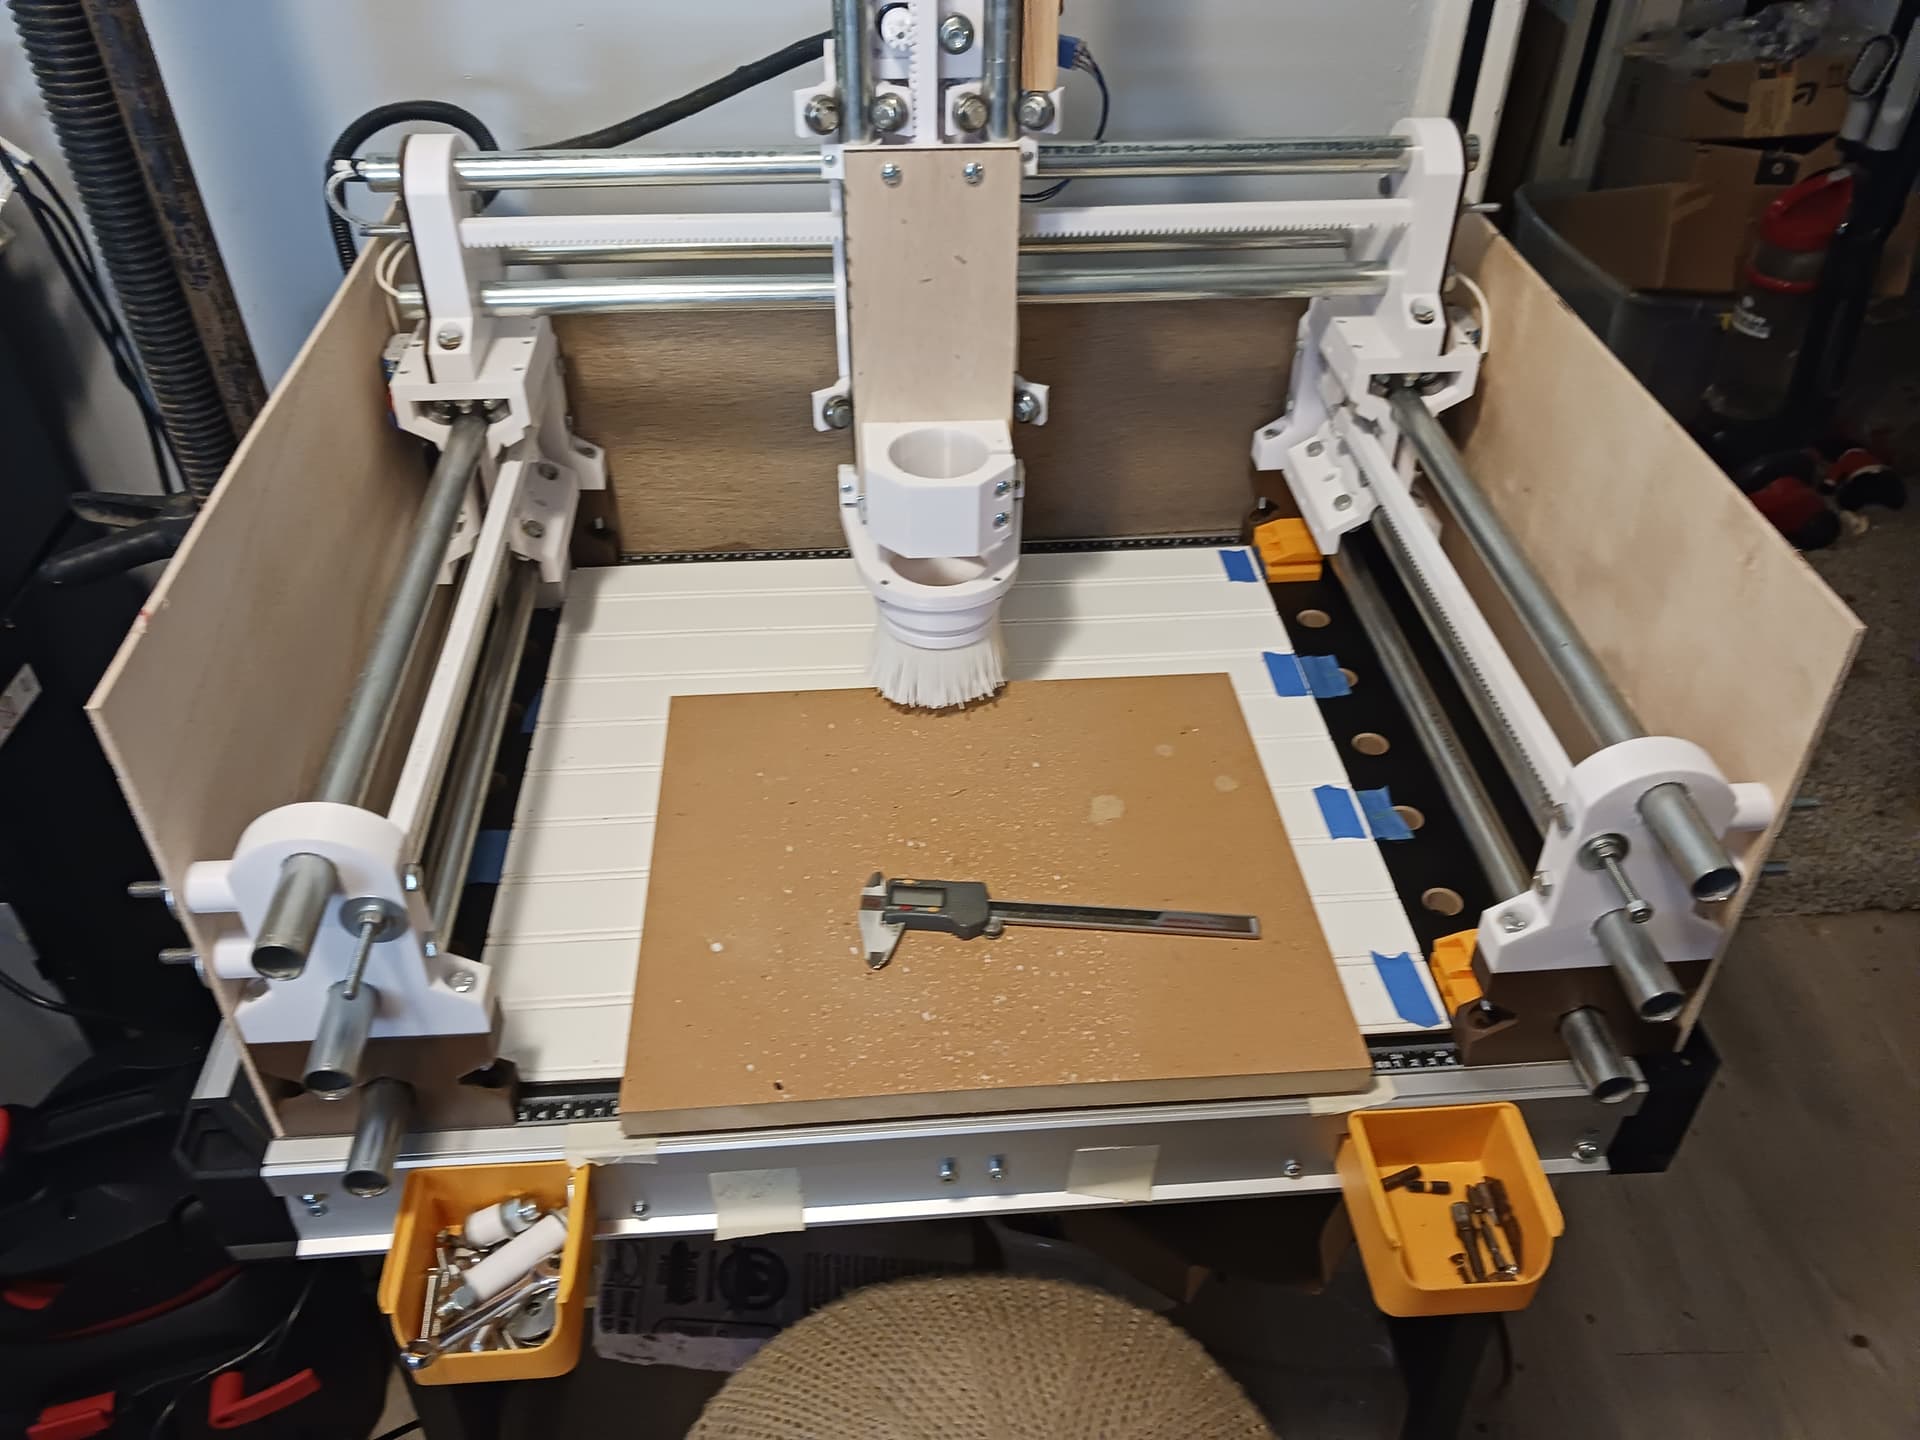
I’ve fashioned a MPR&P mount for the Carbide3D router I and several others here have purchased for $60… thanks, @robertbu! I’ve actually purchased a 2nd one since, once I saw that it actually doesn’t “overpower” my MPR&P and was/is still available. I did have to increase the motor currents – especially Z – on my Grbl controller board, however, since the router is considerably heavier than the small 775 motor I had been playing with.
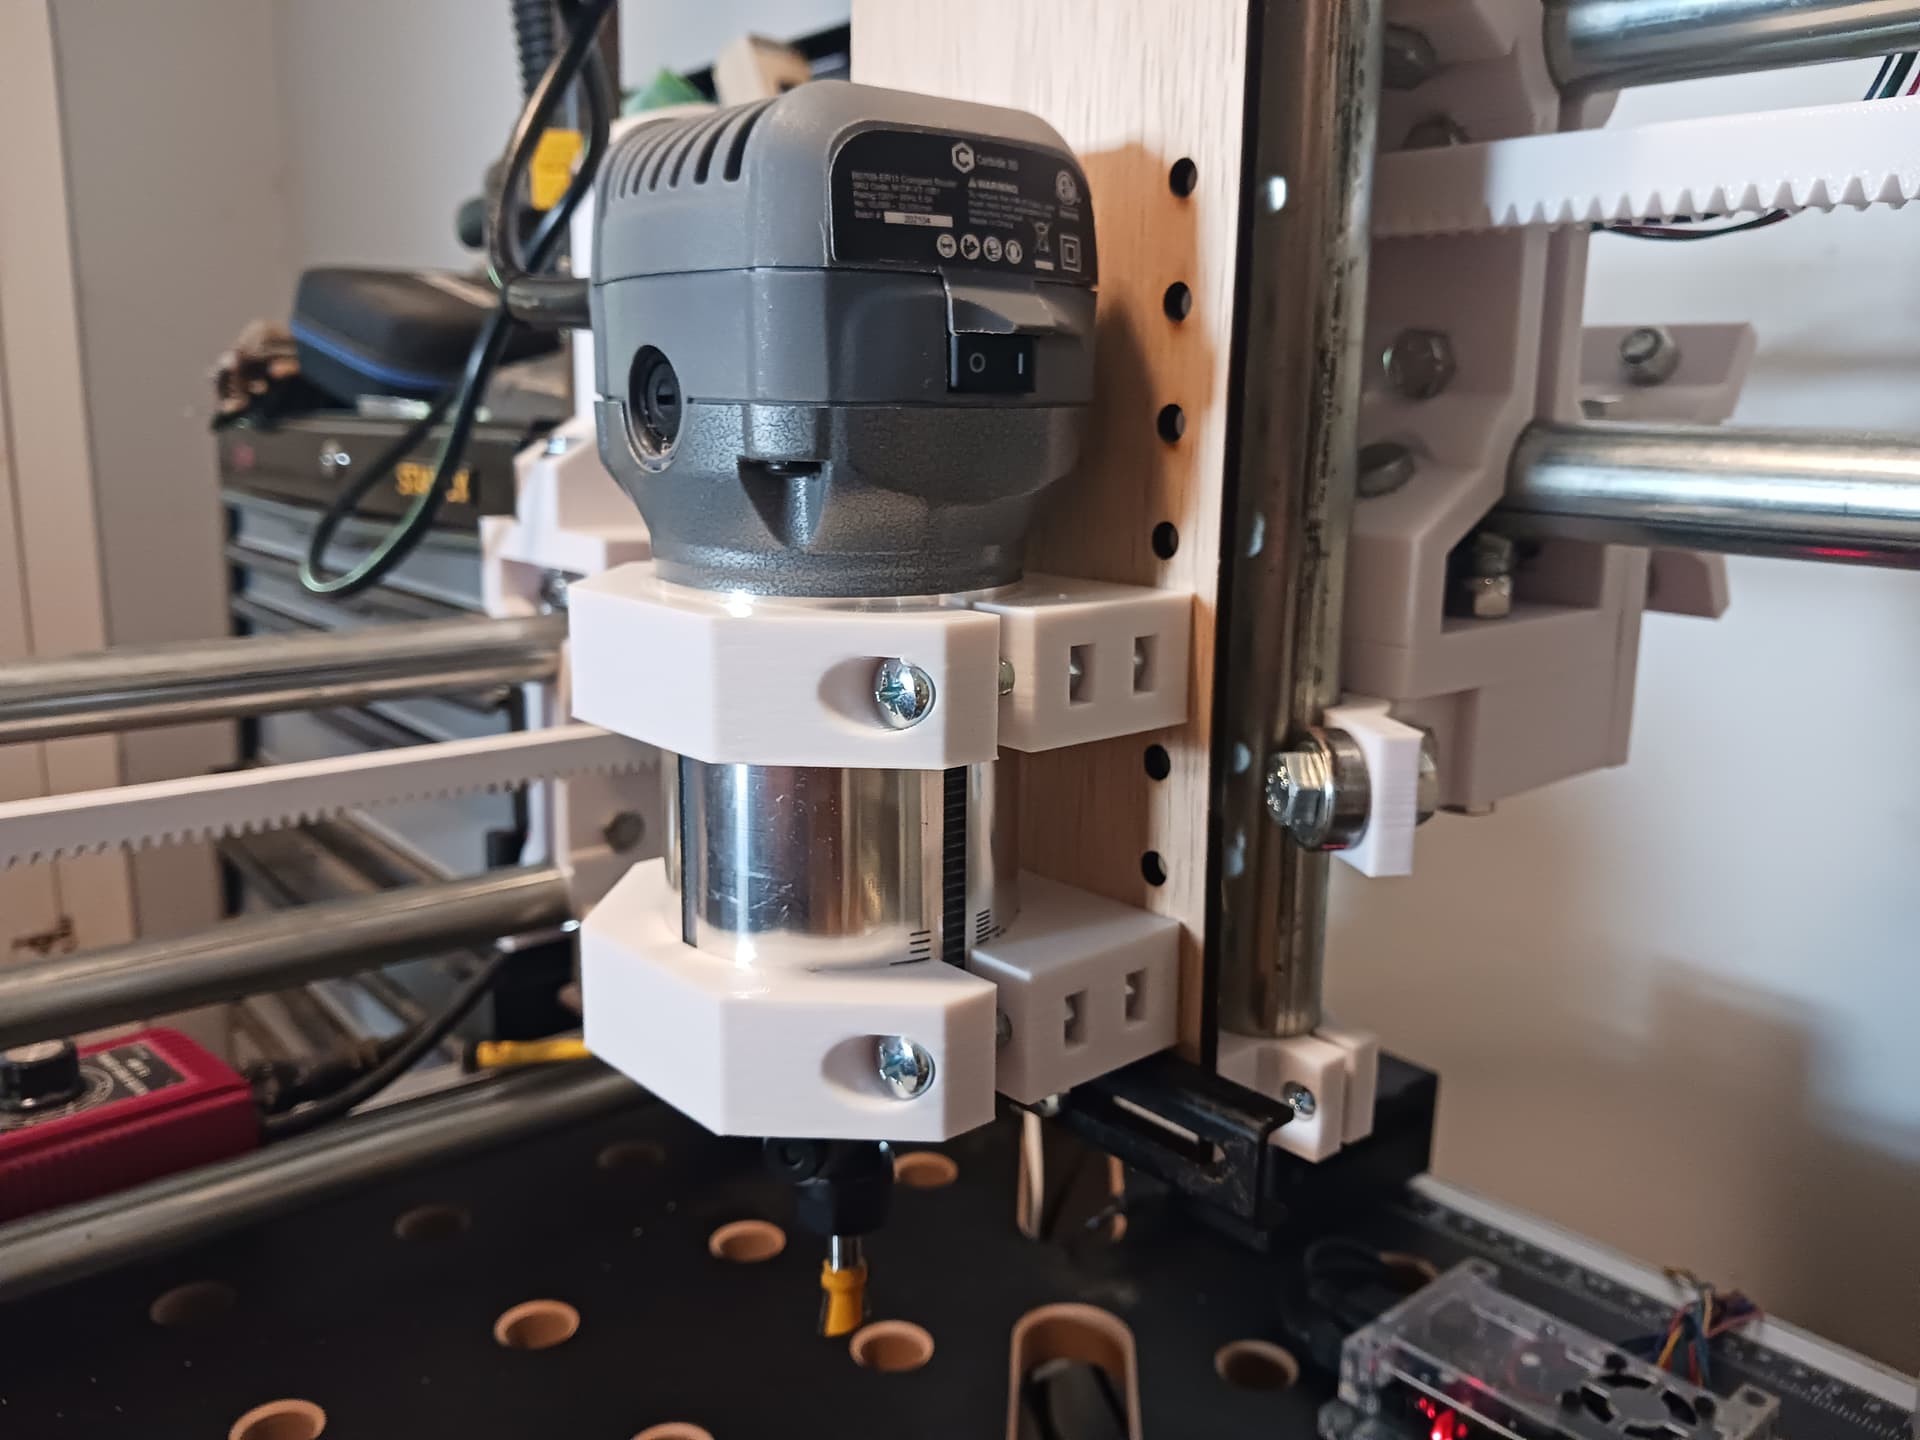
I went with the split mount after printing a wider single mounting collar and getting to touch/feel/wiggle them both… the split setup just seems a bit more rigid, supporting both the top and bottom of the router body and acting less like a fulcrum. I also gained a lot more Z-axis range by attaching the mounts to a faceplate rather than the conduits directly… albeit at the expense of more cantilevered weight out front.
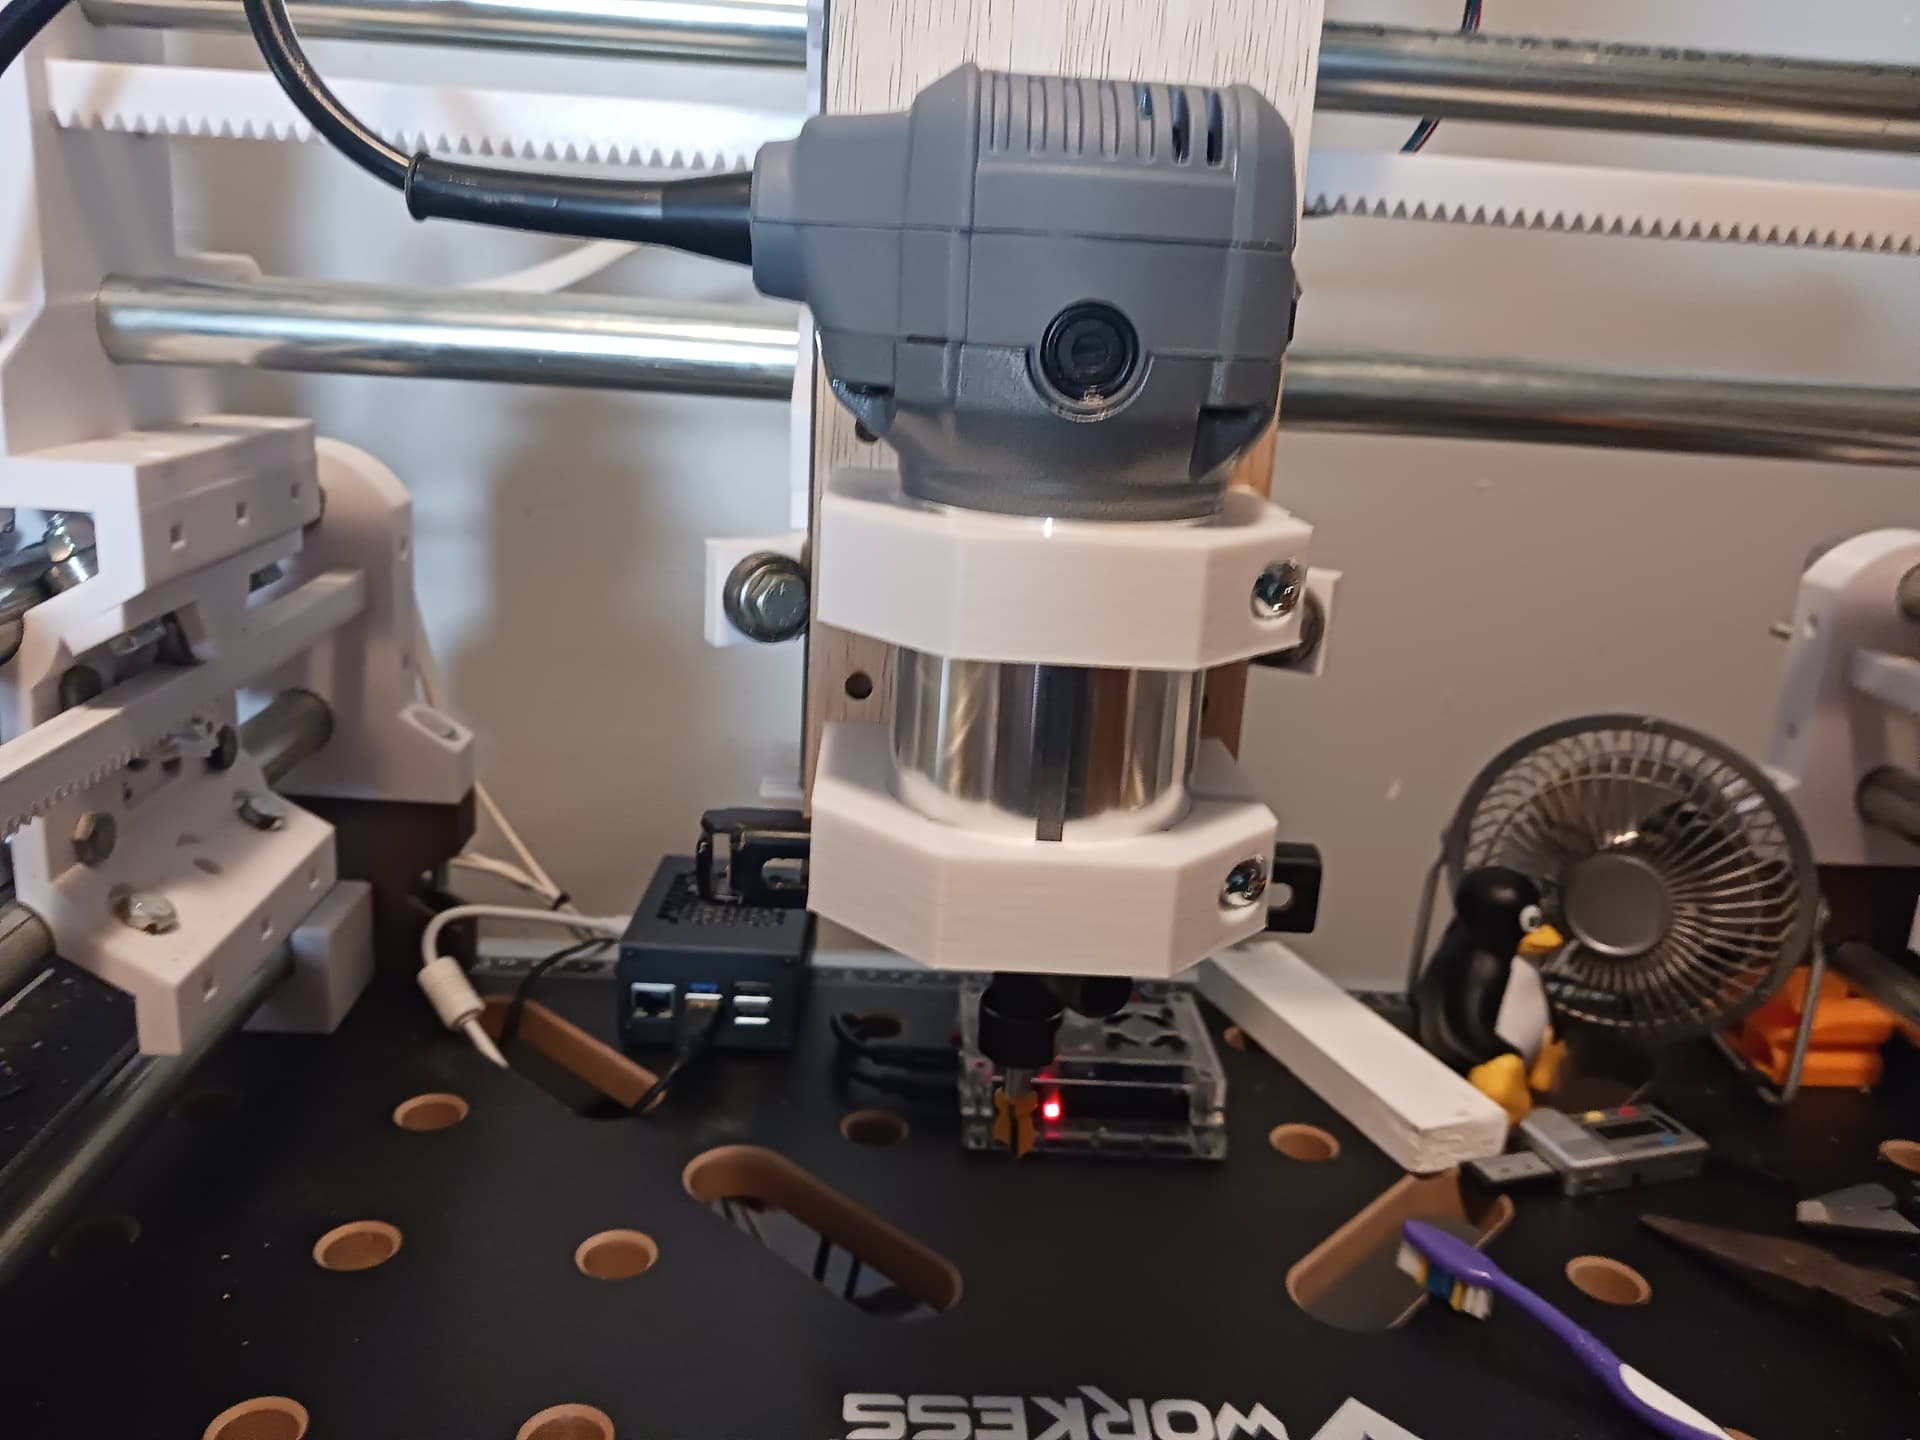
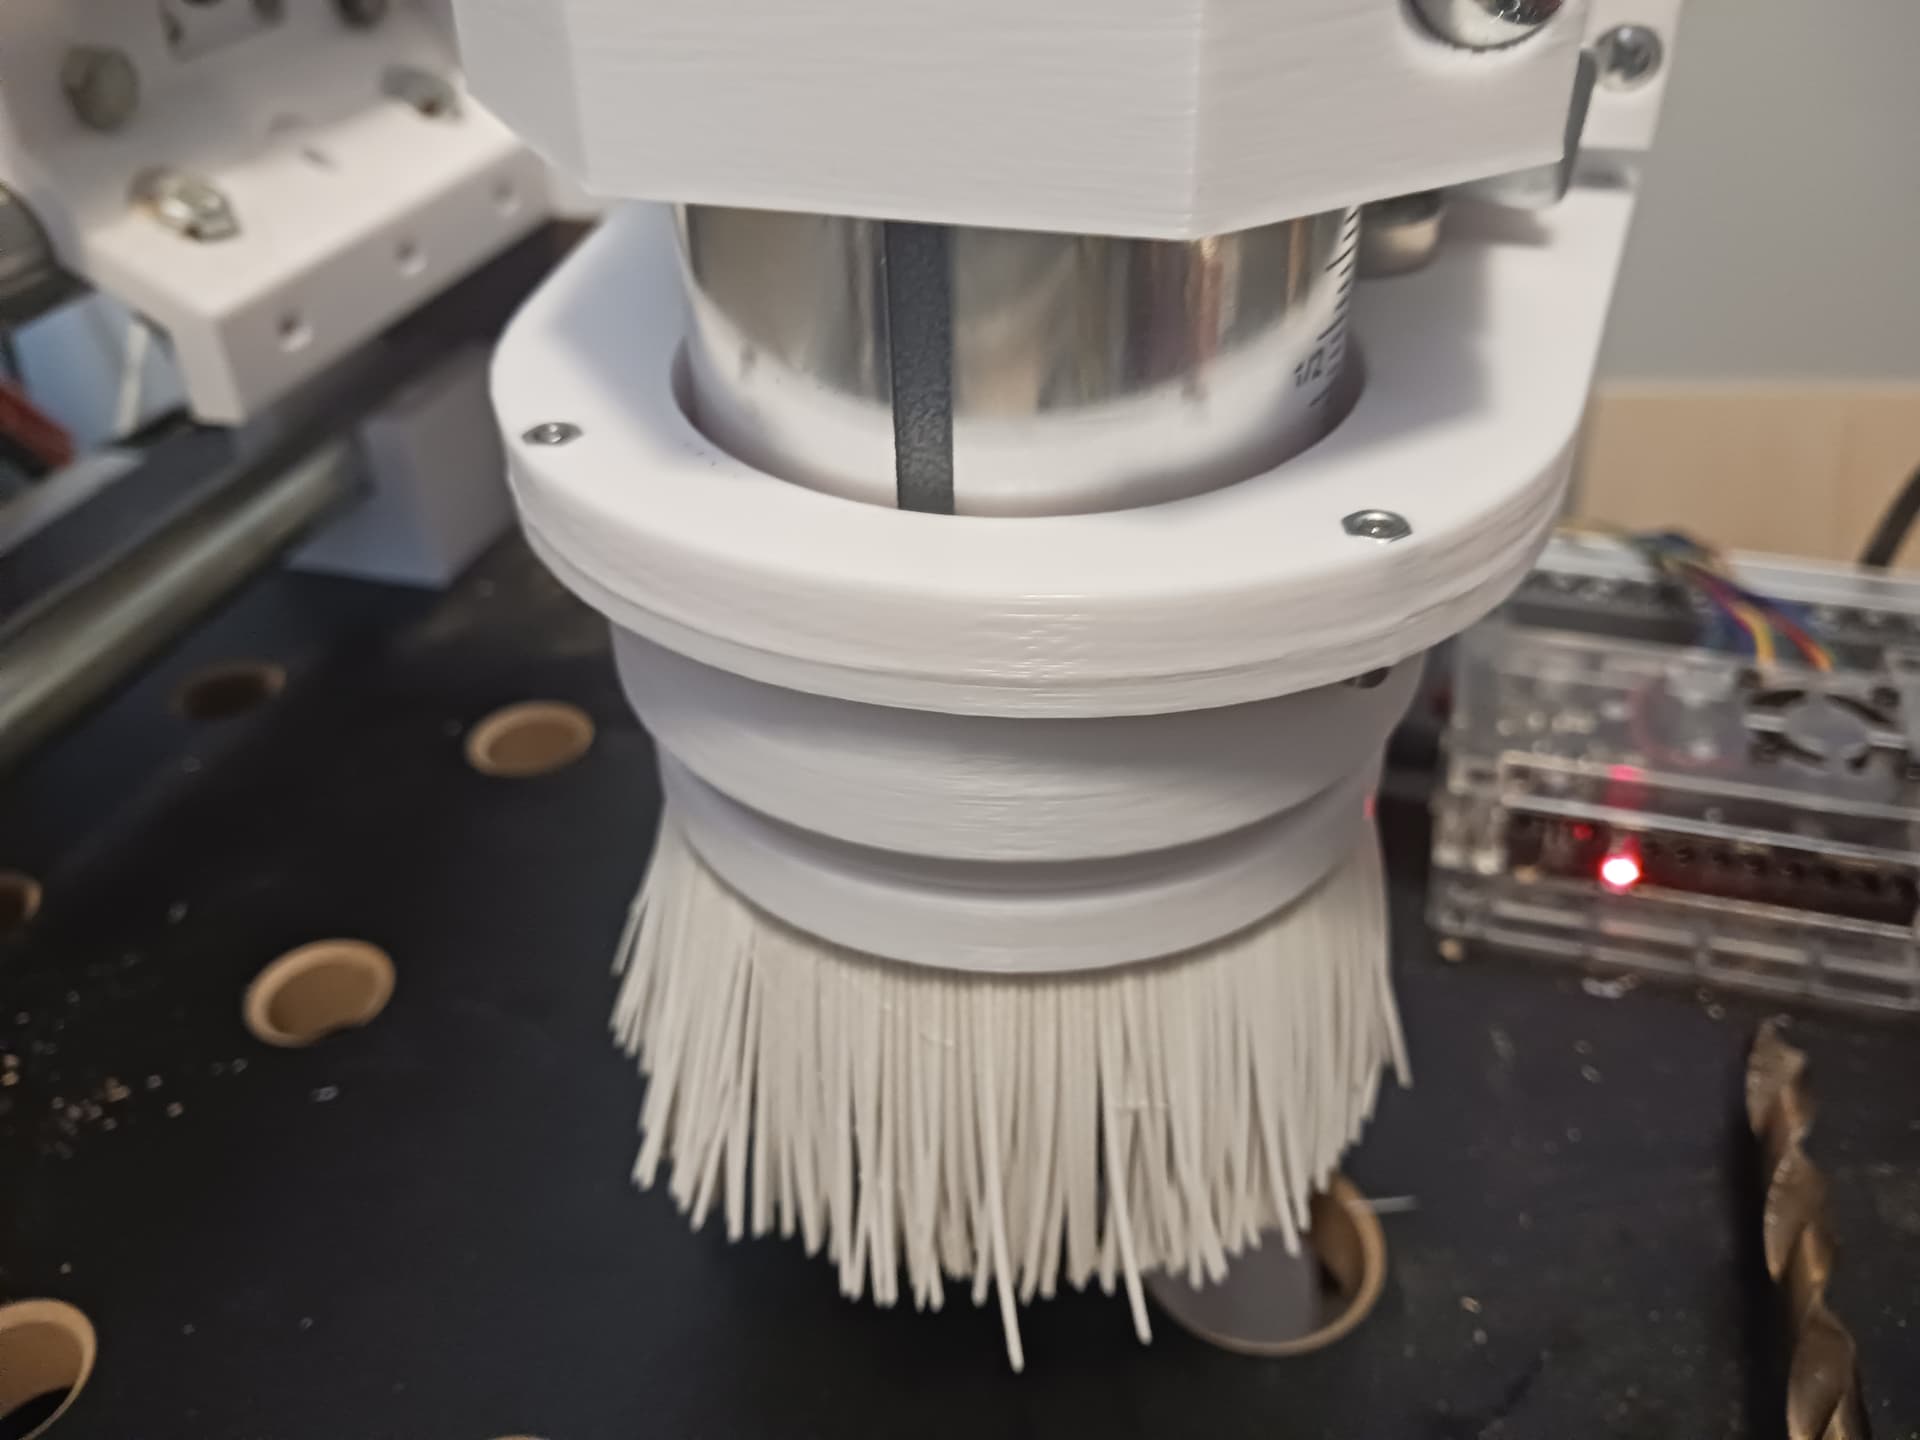
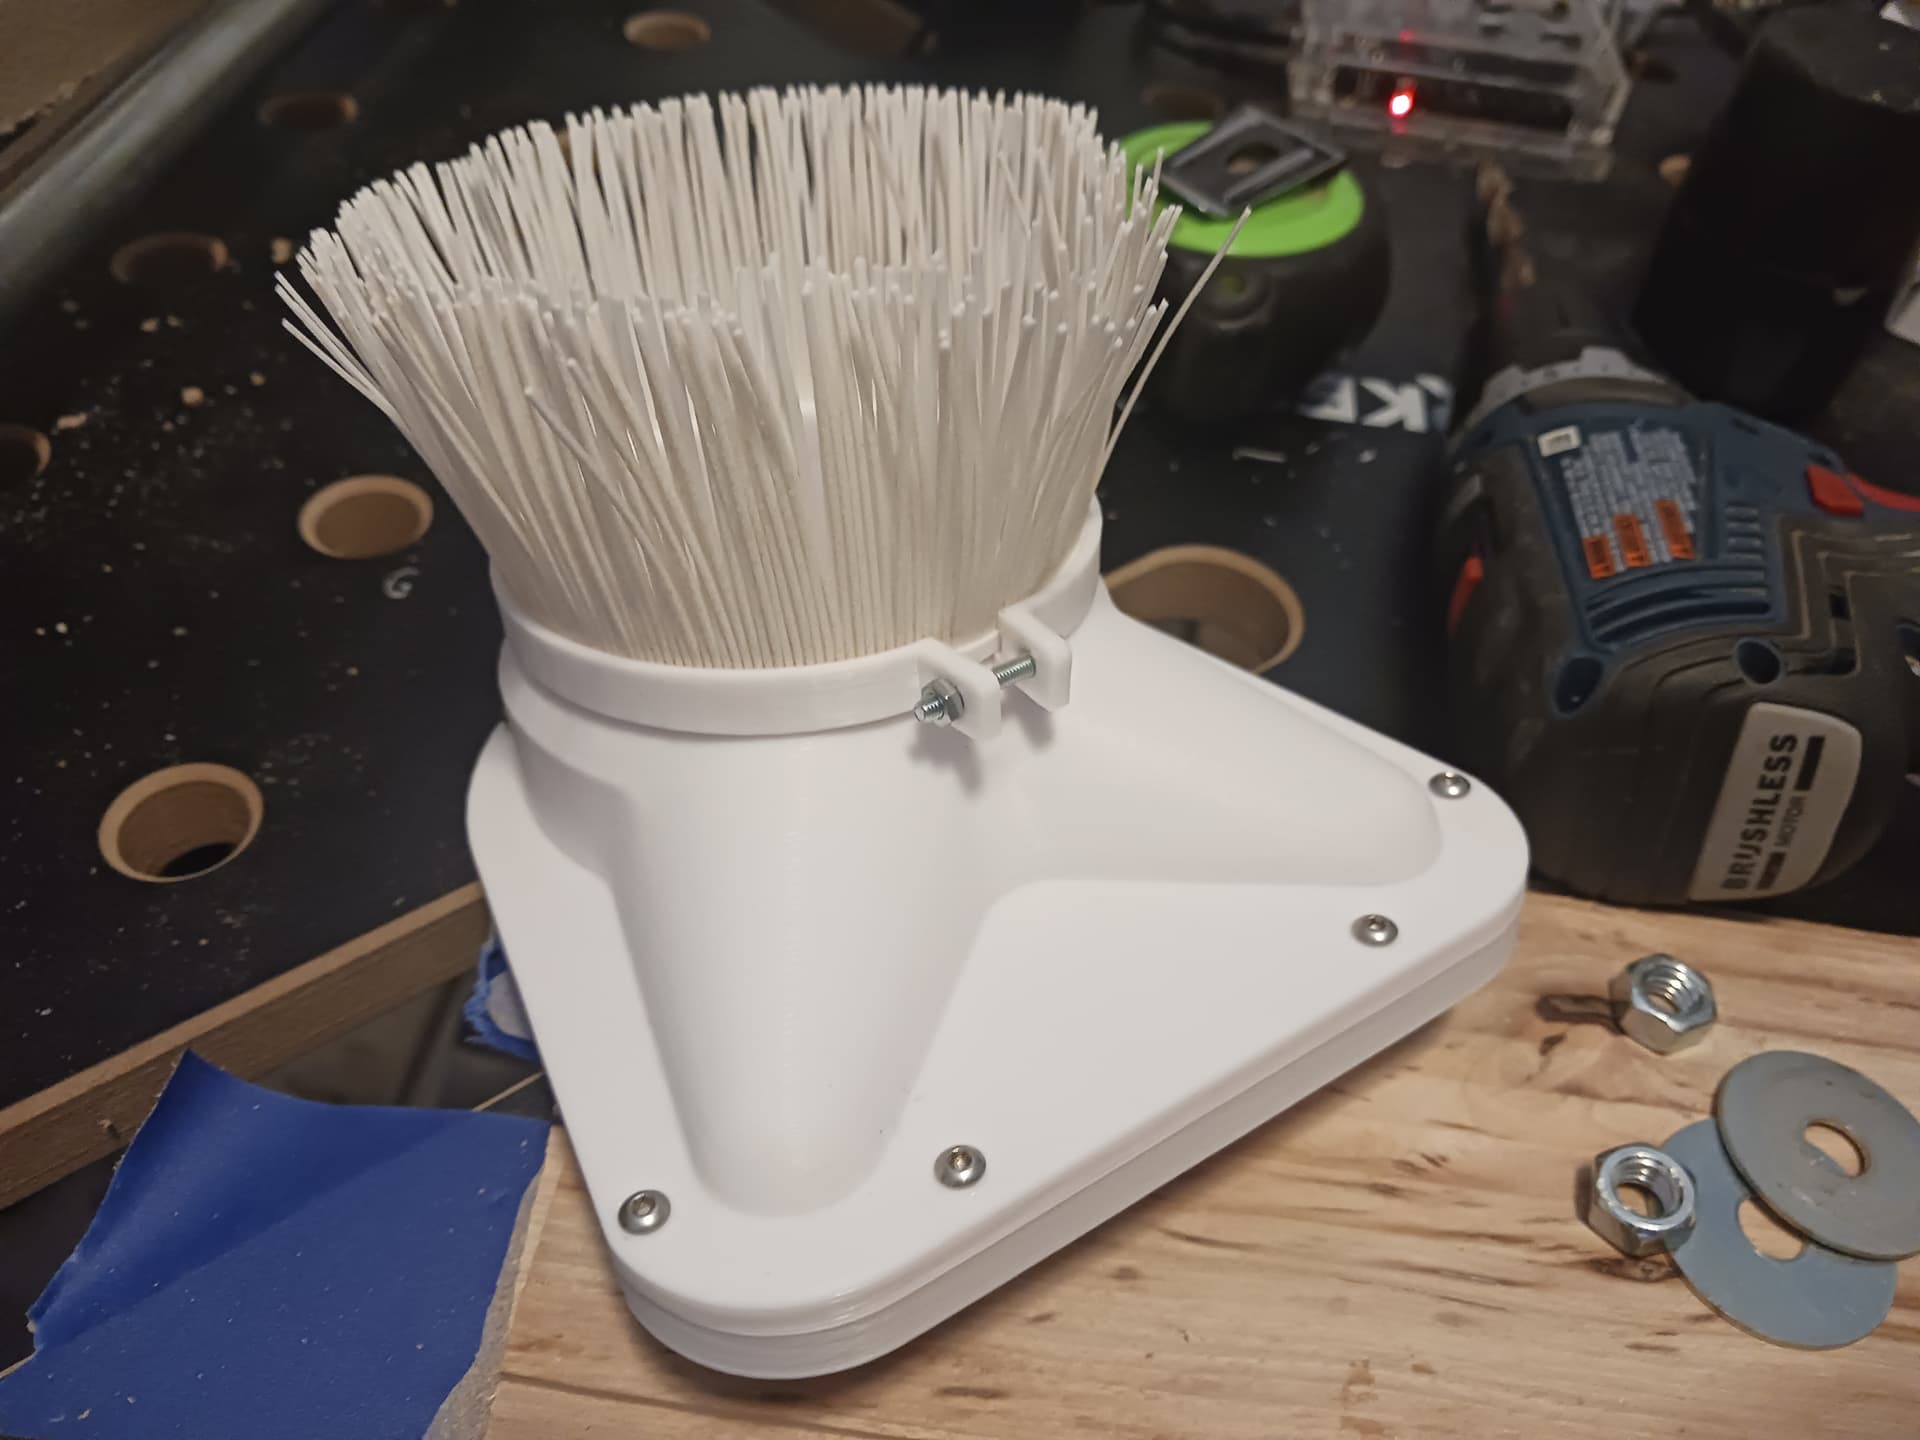
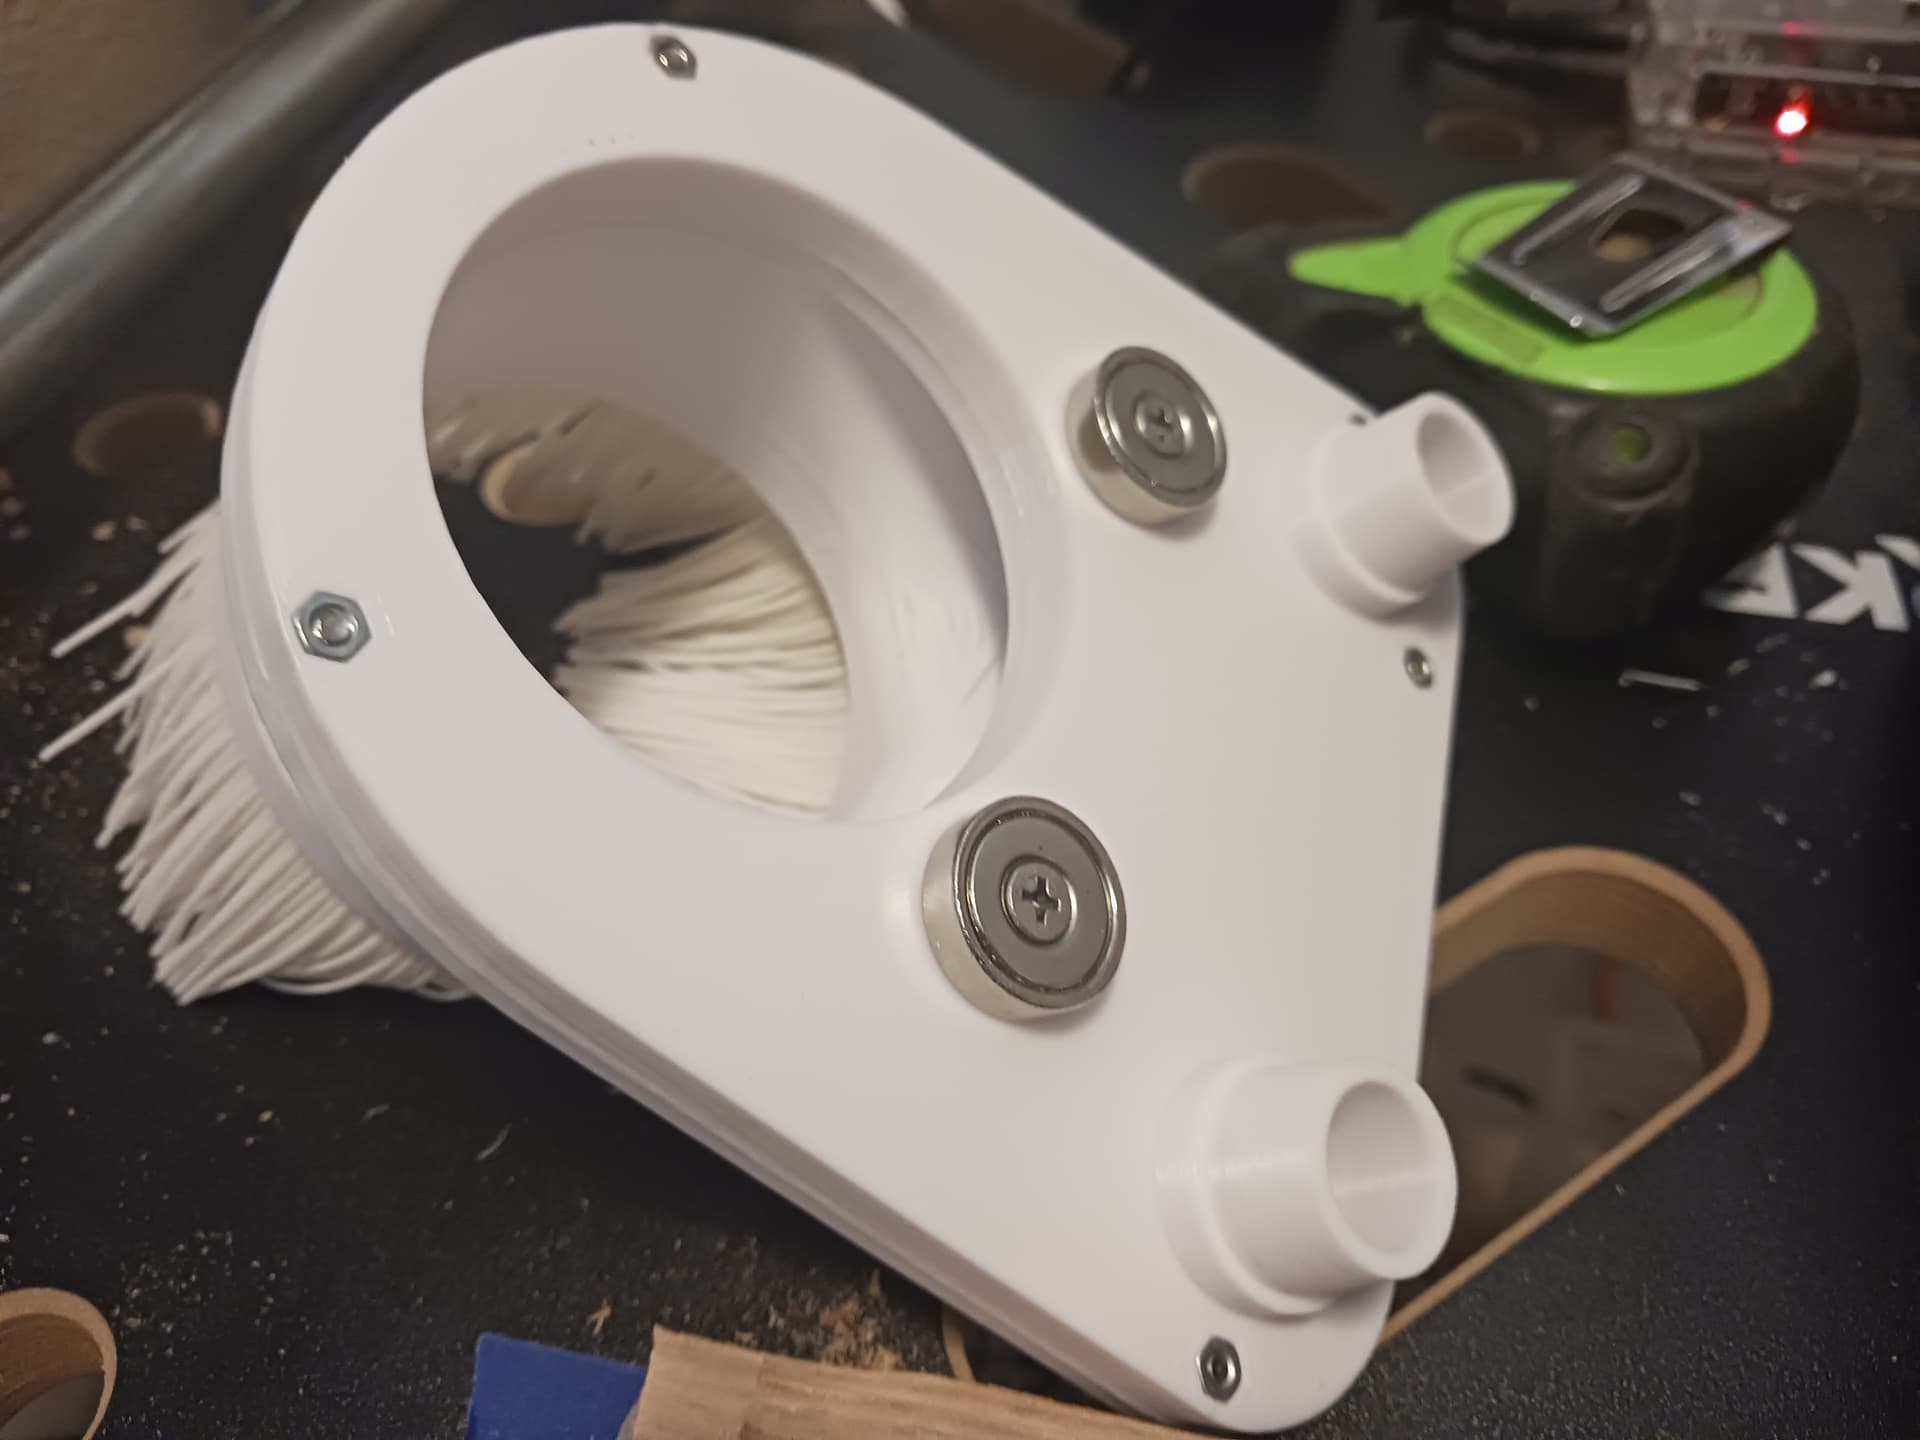
Confident the router is gonna sling a lot more sawdust and debris about than the 775 motor, I also set about coming up with a dust collection design, trying to again use the Z-rail conduits as pickup tubes for the sawdust and debris. I’ve not actually done any cutting with this setup yet… having just finished printing and populating the dust colletor with TPU bristles for the first test run. Not positive about the big hole in the top but trusting the air drawn through the router body and exhausted out the bottom will confine most of the debris within the bristles… that air has to go somewhere.
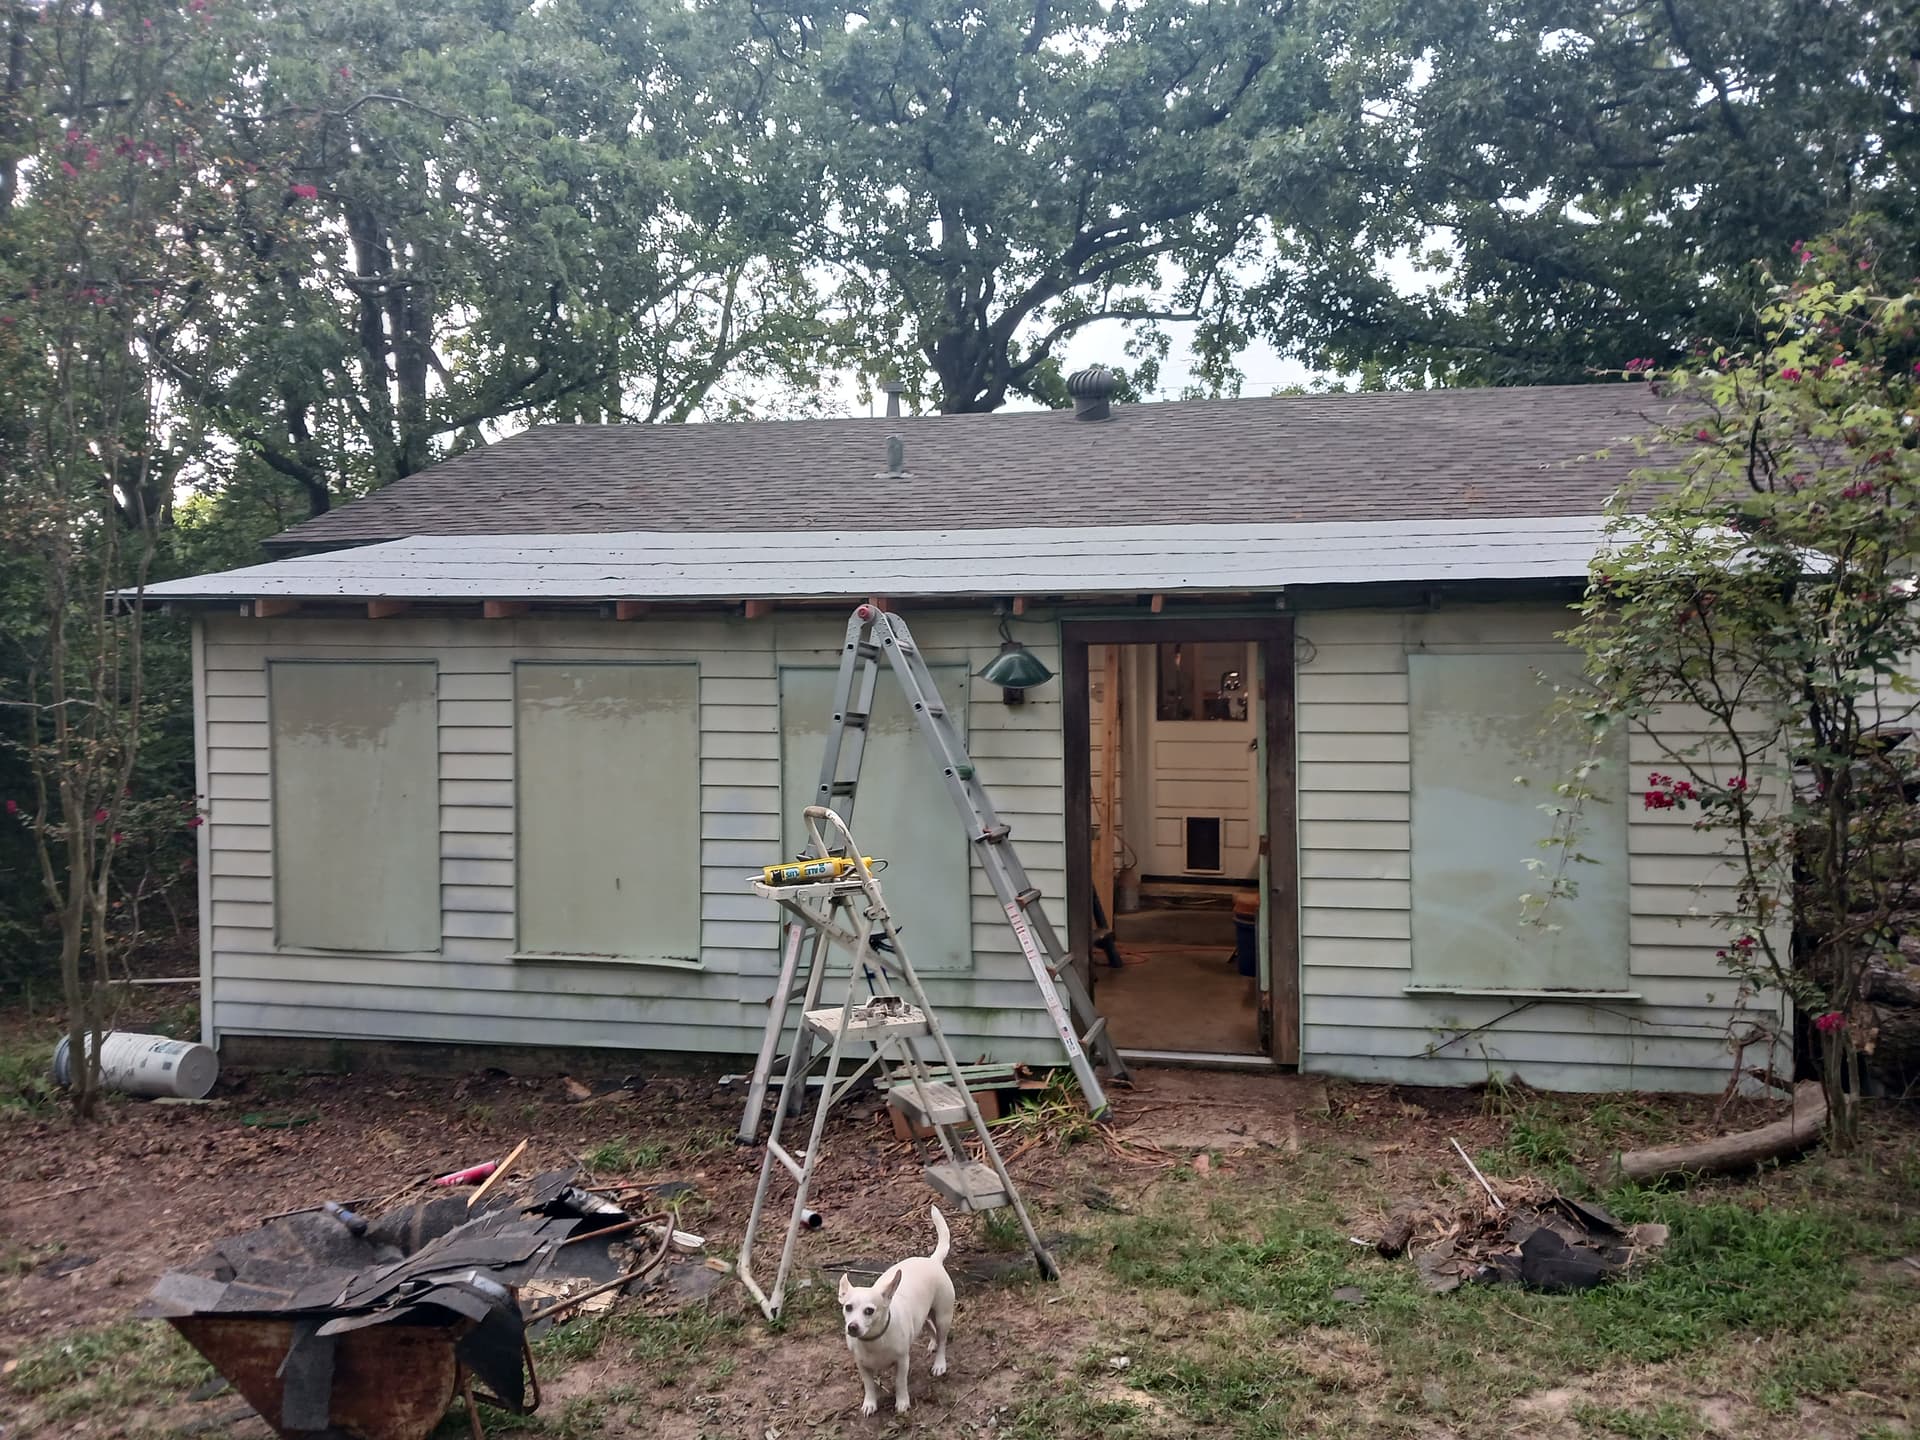
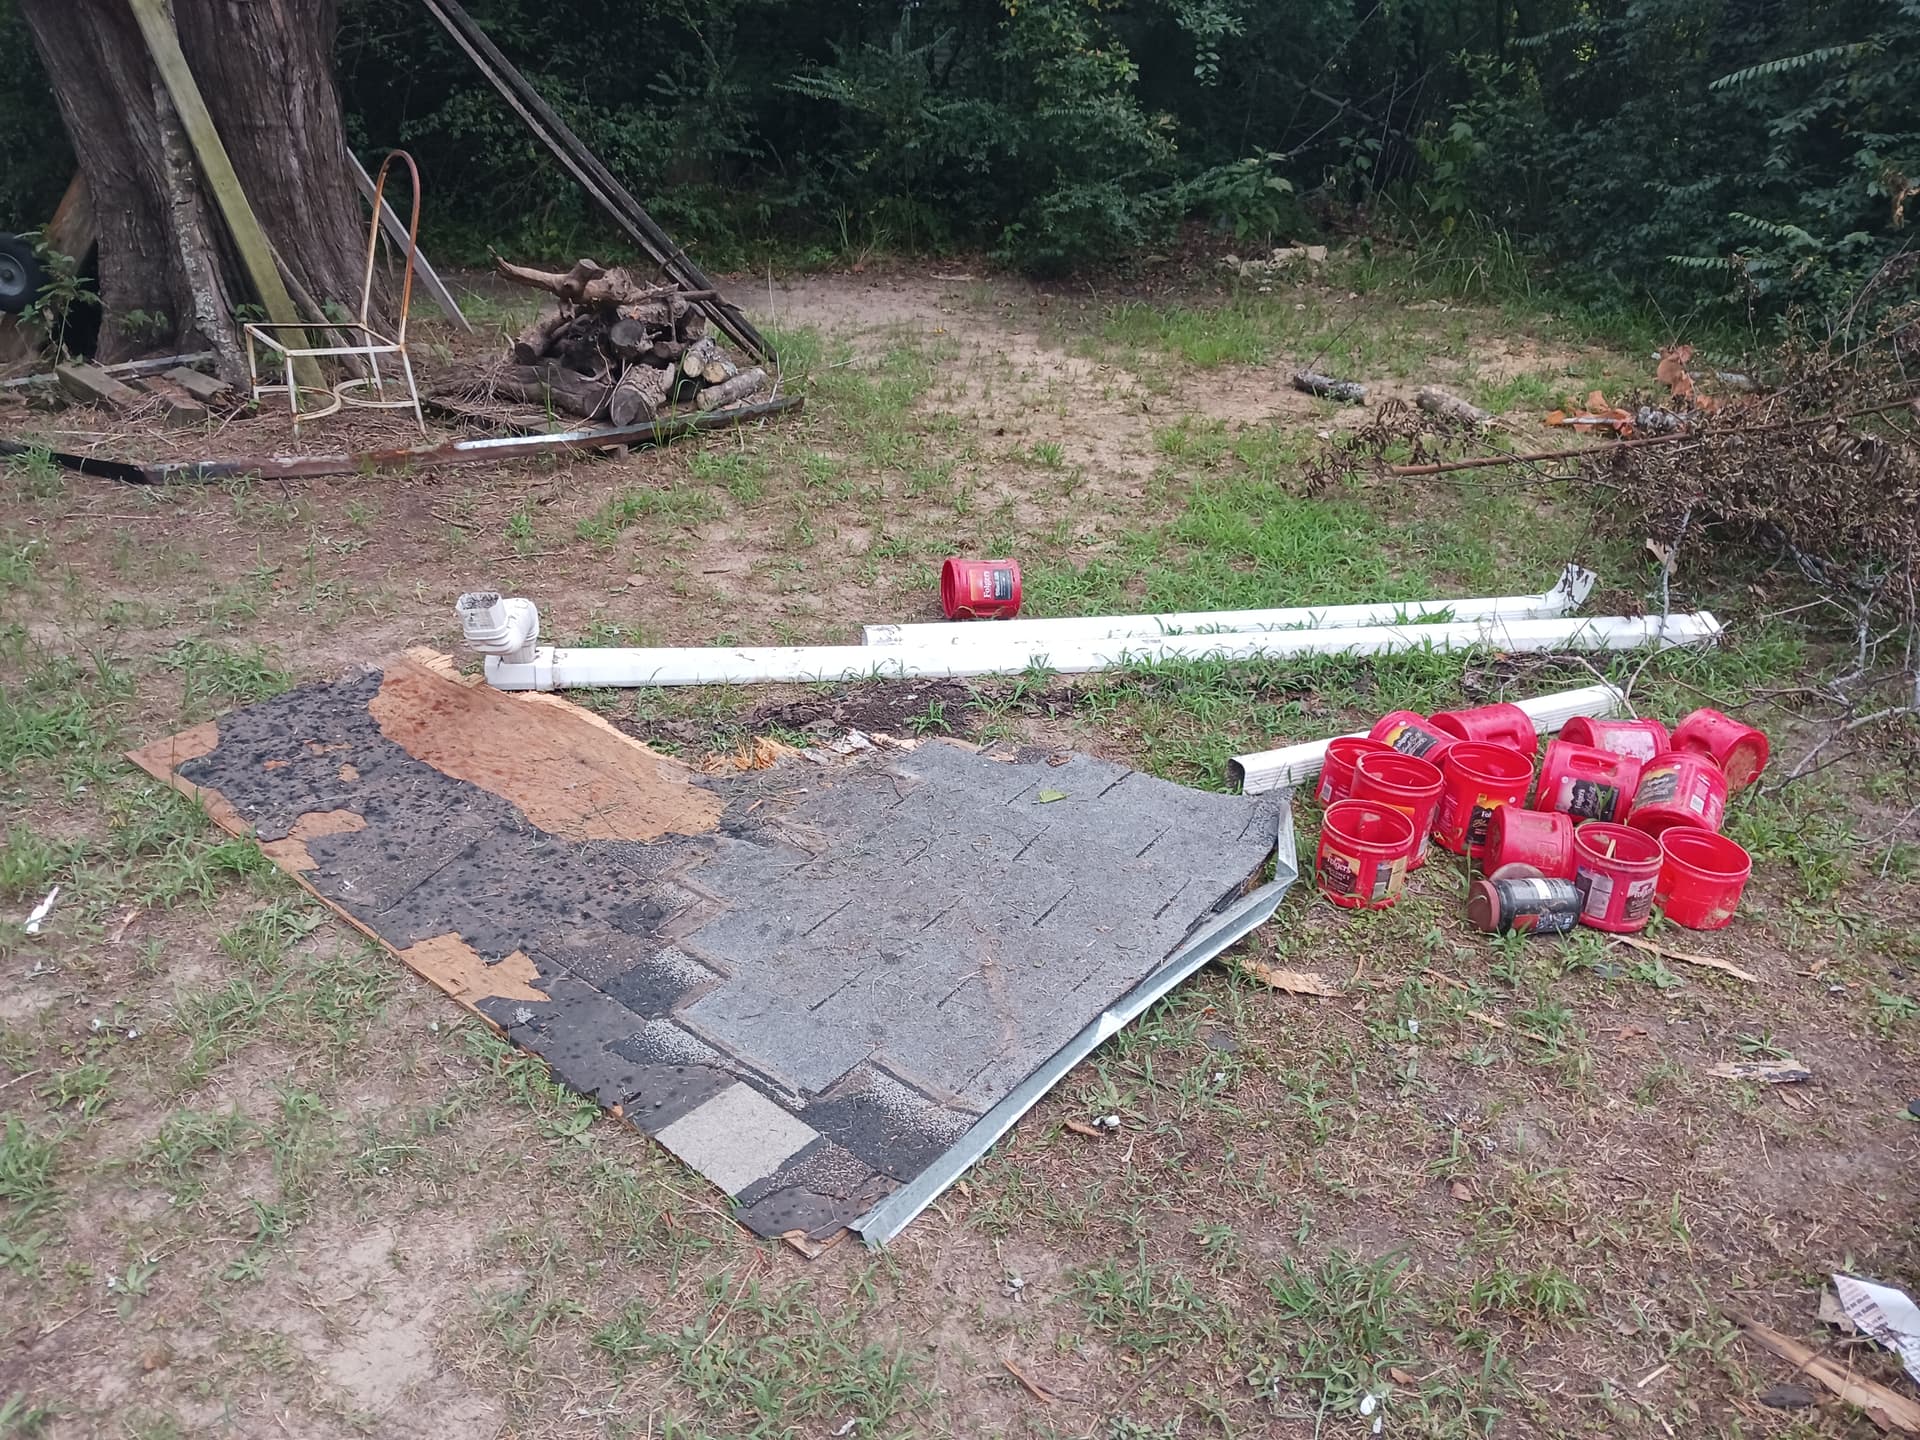
Also, probably the most consequential news, SIL put some new roll roofing on my shop roof… so I can quit catching (and kicking!) rain water in coffee canisters spread all over my shop floor under all the leaks.
BTW this rather worn and shoddy-looking “shop” is a 75+ year-old porch addition where I slept as a child when spending my summers with my grandparents “on the farm”. It doesn’t look like much now but holds a great many fond memories for me. The windows have all rotted out and the roof was leaking like a sieve… but now – with a new roof – it’s like a brand new living space again. I just may have to start sleeping out there again…
My dad has told me he remembers spending summers in Oklahoma and they had a bed on the porch where he slept as a kid. Seems wild to me. But it was a very different time.
This was a totally enclosed space as it is now… but setup as a spare bedroom with screened windows and door. With no A/C, my grandmother was a magician at opening all the right windows/doors to get a nice airflow through the house. My bed was in that south-west corner where the paint buckets are on the ground and the open bed-level windows allowed the coolest night breeze right across my bed… and I usually was under a light blanket by dawn. Another always open, no screen, main-house window straight across from my bed into my grandfather’s bedroom (now mine) allowed him the same great breezes I was getting. And I remember going to sleep each night listening to the whippoorwill’s calls from the woods around the house. How quiet and peaceful it was…
It was a very different time. I actually traveled ~500 miles (one way) by myself on a bus a day or two after school let out for the summer. My parents arranged with the bus driver for me to sit in the seat behind him and he delivered me to my grandparents, who waited at the local bus station for my arrival. Same thing going back a few days before school start in the fall. What a great time it was…
On the MPR&P dust collection front, I’ve gone through several iterations of dust boot designs (and learned a lot about Onshape’s loft functions and how to print parts with minimal support)…
I’ve also about decided that I’m gonna hafta just accept sub-optimal dust pickup, trying to use the Z-rail conduits… and just add some side-boards all around to try to contain the spread of sawdust and debris. They’d be much more cool, of course, if they were transparent panels but for now they’ll just have to be thin plywood.
With the two smaller EMT tubes, your problem is maintaining the flow rate to move the dust. What vacuum are you using ?
As an anecdote, I had a red, red vacuum for a little while.
Not Milwaukee, I think it was Hilti.
It was great, but I got rid of it because it could collapse shop vac hoses or cyclone buckets. I’ve regretted getting rid of it ever since. If I recall correctly, that thing could pull something like 3.5 psi of vacuum. Hoses would howl with that thing. But darn, could it move air.
I know the high-volume vs high-vacuum tradeoffs, but if you’re pulling anything through those smaller tubes you probably need high vac.
In the crazy idea camp, people now 3d print the flexible air hose things, could you employ something like that in reverse to put the intakes as close as possible to the endmill?
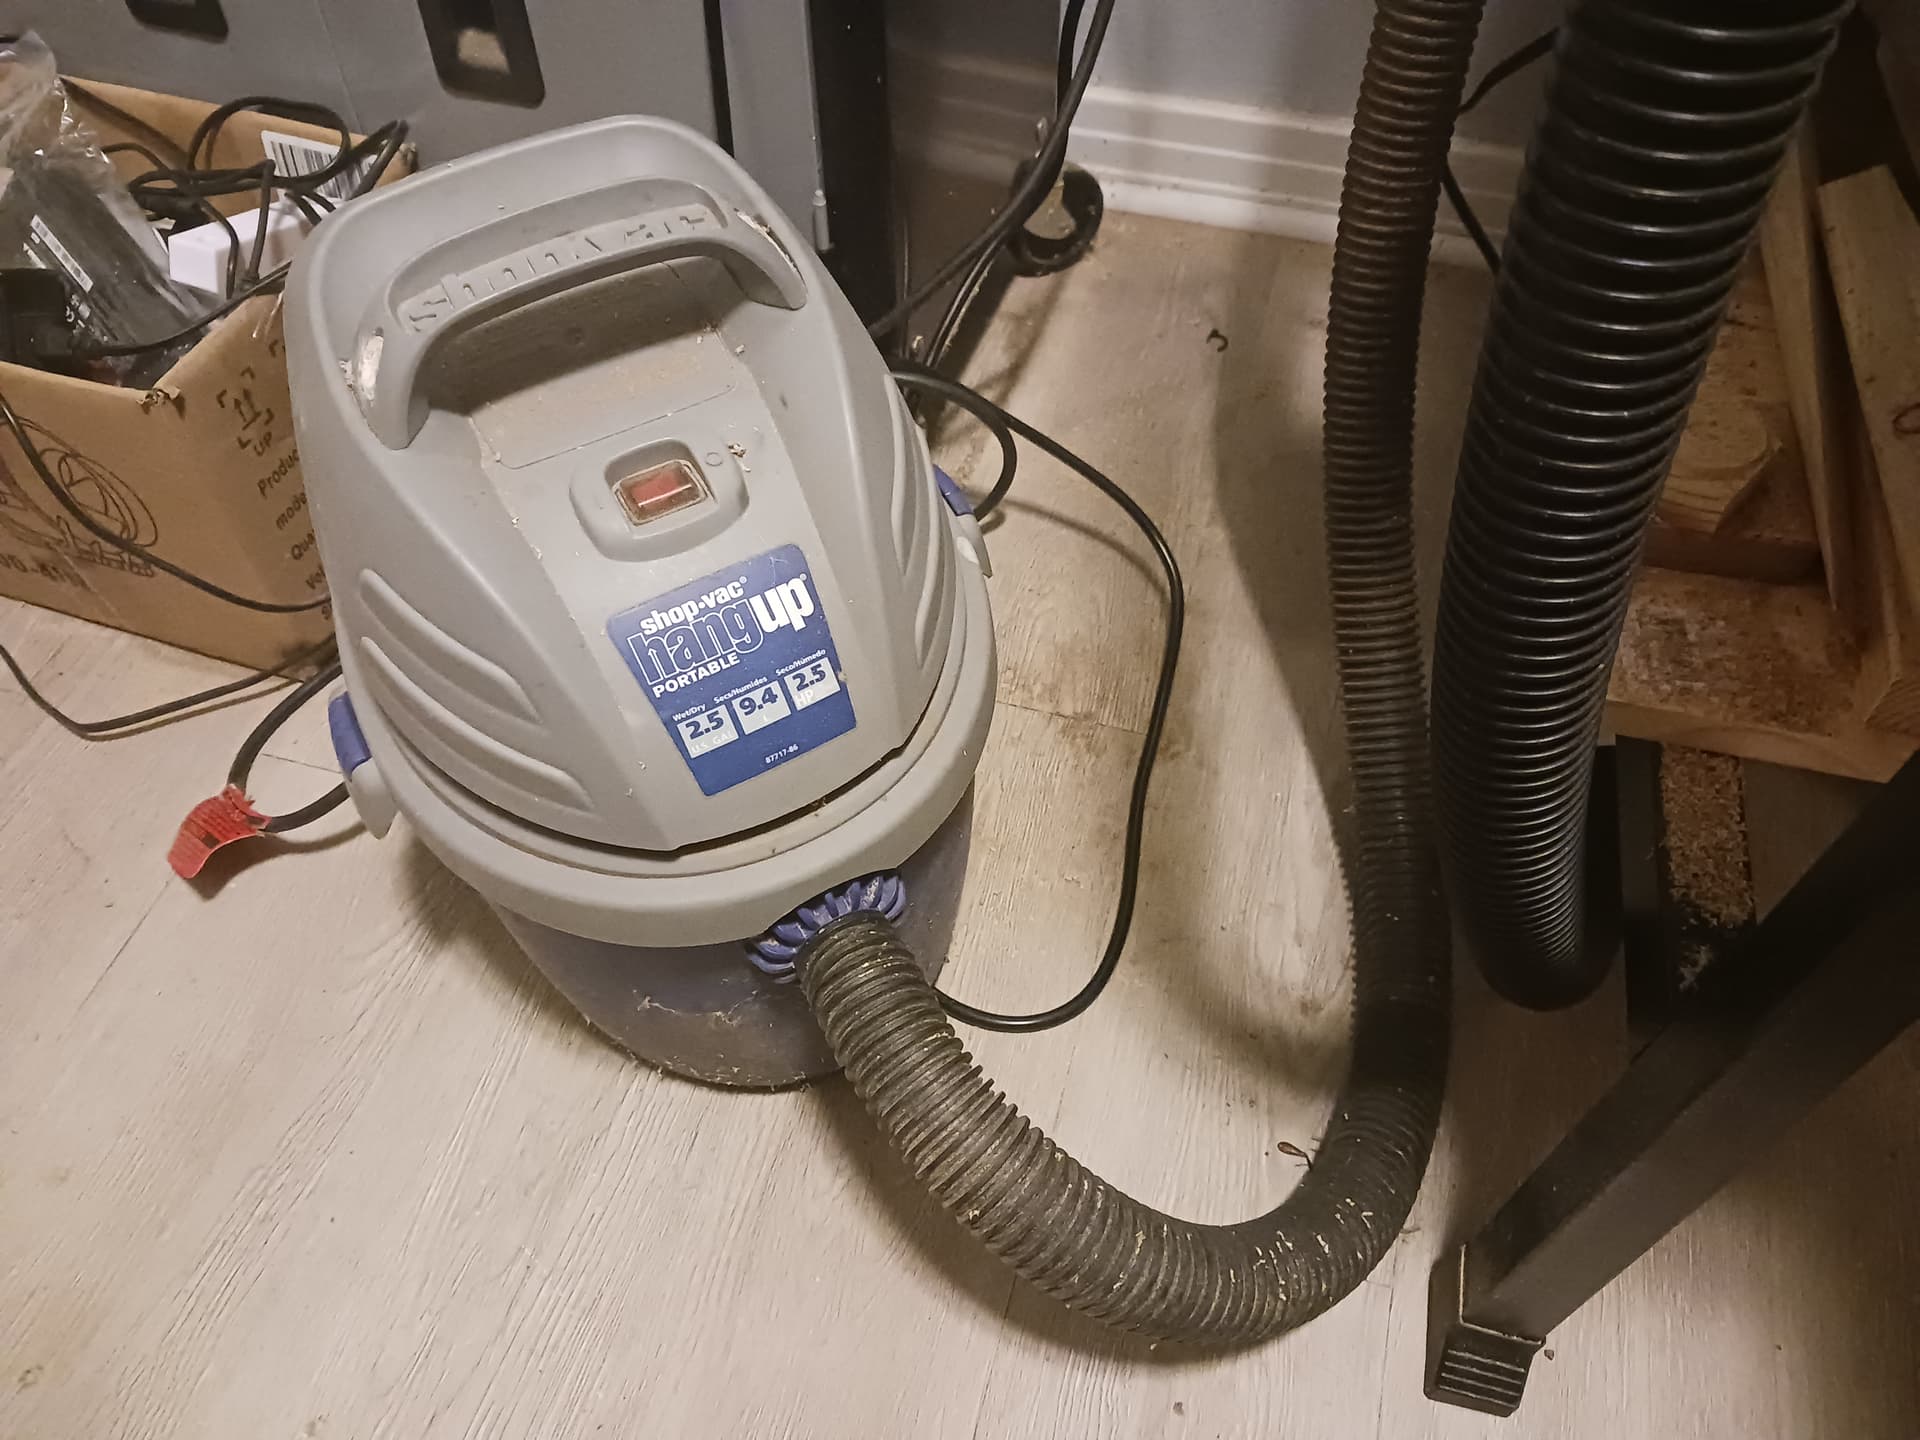
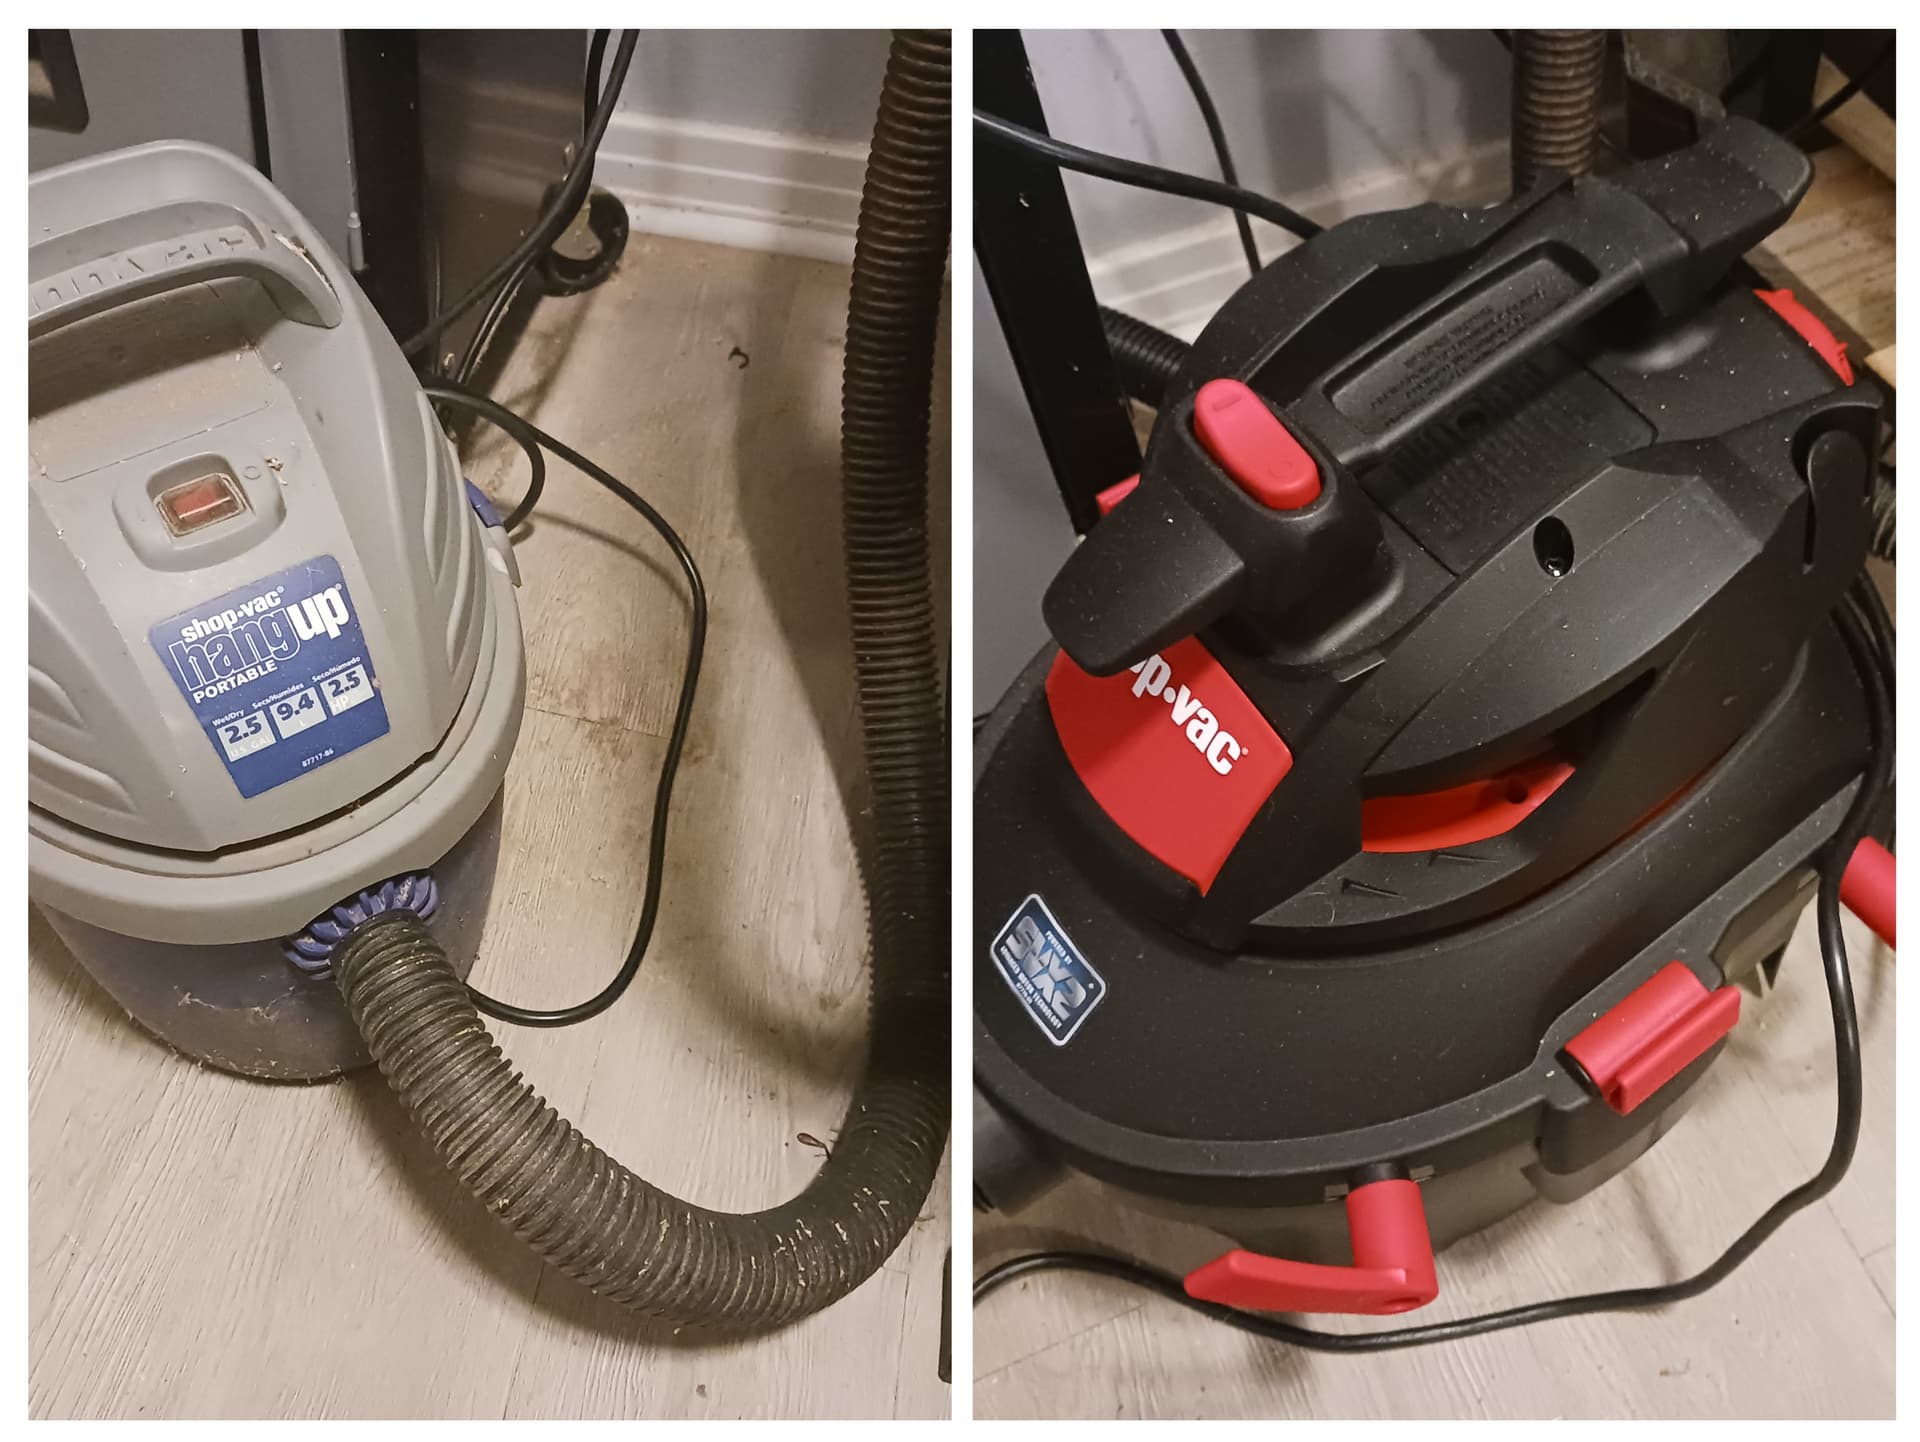
I know you are correct about the high volume/vacuum tradeoff, Jim. I suspect that if I could really pull a high-enough vacuum even those thin conduits might suffice. Right now, I’m using a simple 2.5 gallon Shop-Vac “Hang-up” model that I’ve had “forever” but is still apparently pretty popular at the big-box stores. I wish i had your Hilti to try though…
I must admit that I did, in the middle of my “design throes”, come across the “double-barrel” dust boot for Onefinity, that served somewhat as inspiration for the latest iteration of my dust boot, where I tried to employ the shortest and most direct route from the bit to the intakes…
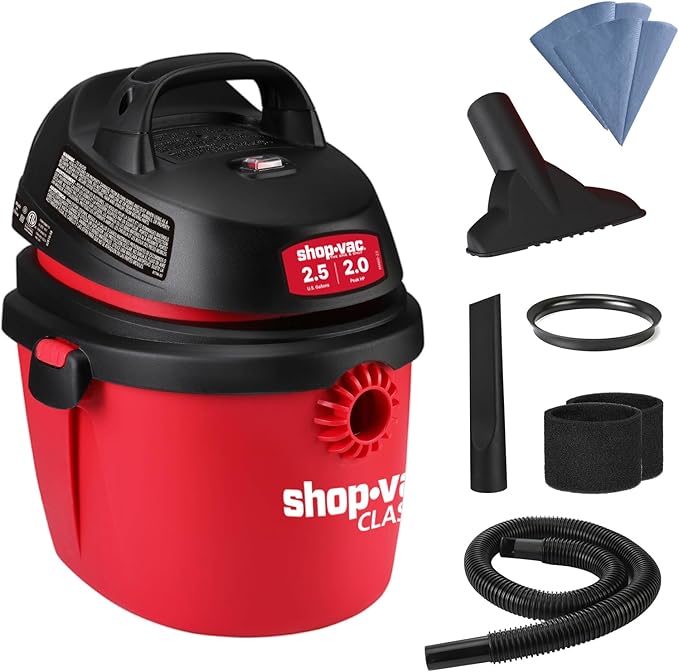
but I have managed to upgrade my Shop-Vac from the wimpy “2 HP, 2.5 gallon” unit to a “5.5 HP, 4 gallon" suck-cessor, $79 from Lowes. I haven’t actually used it in anger yet but it does definitely provide more “suck” at the dust boot in cursory hand testing.
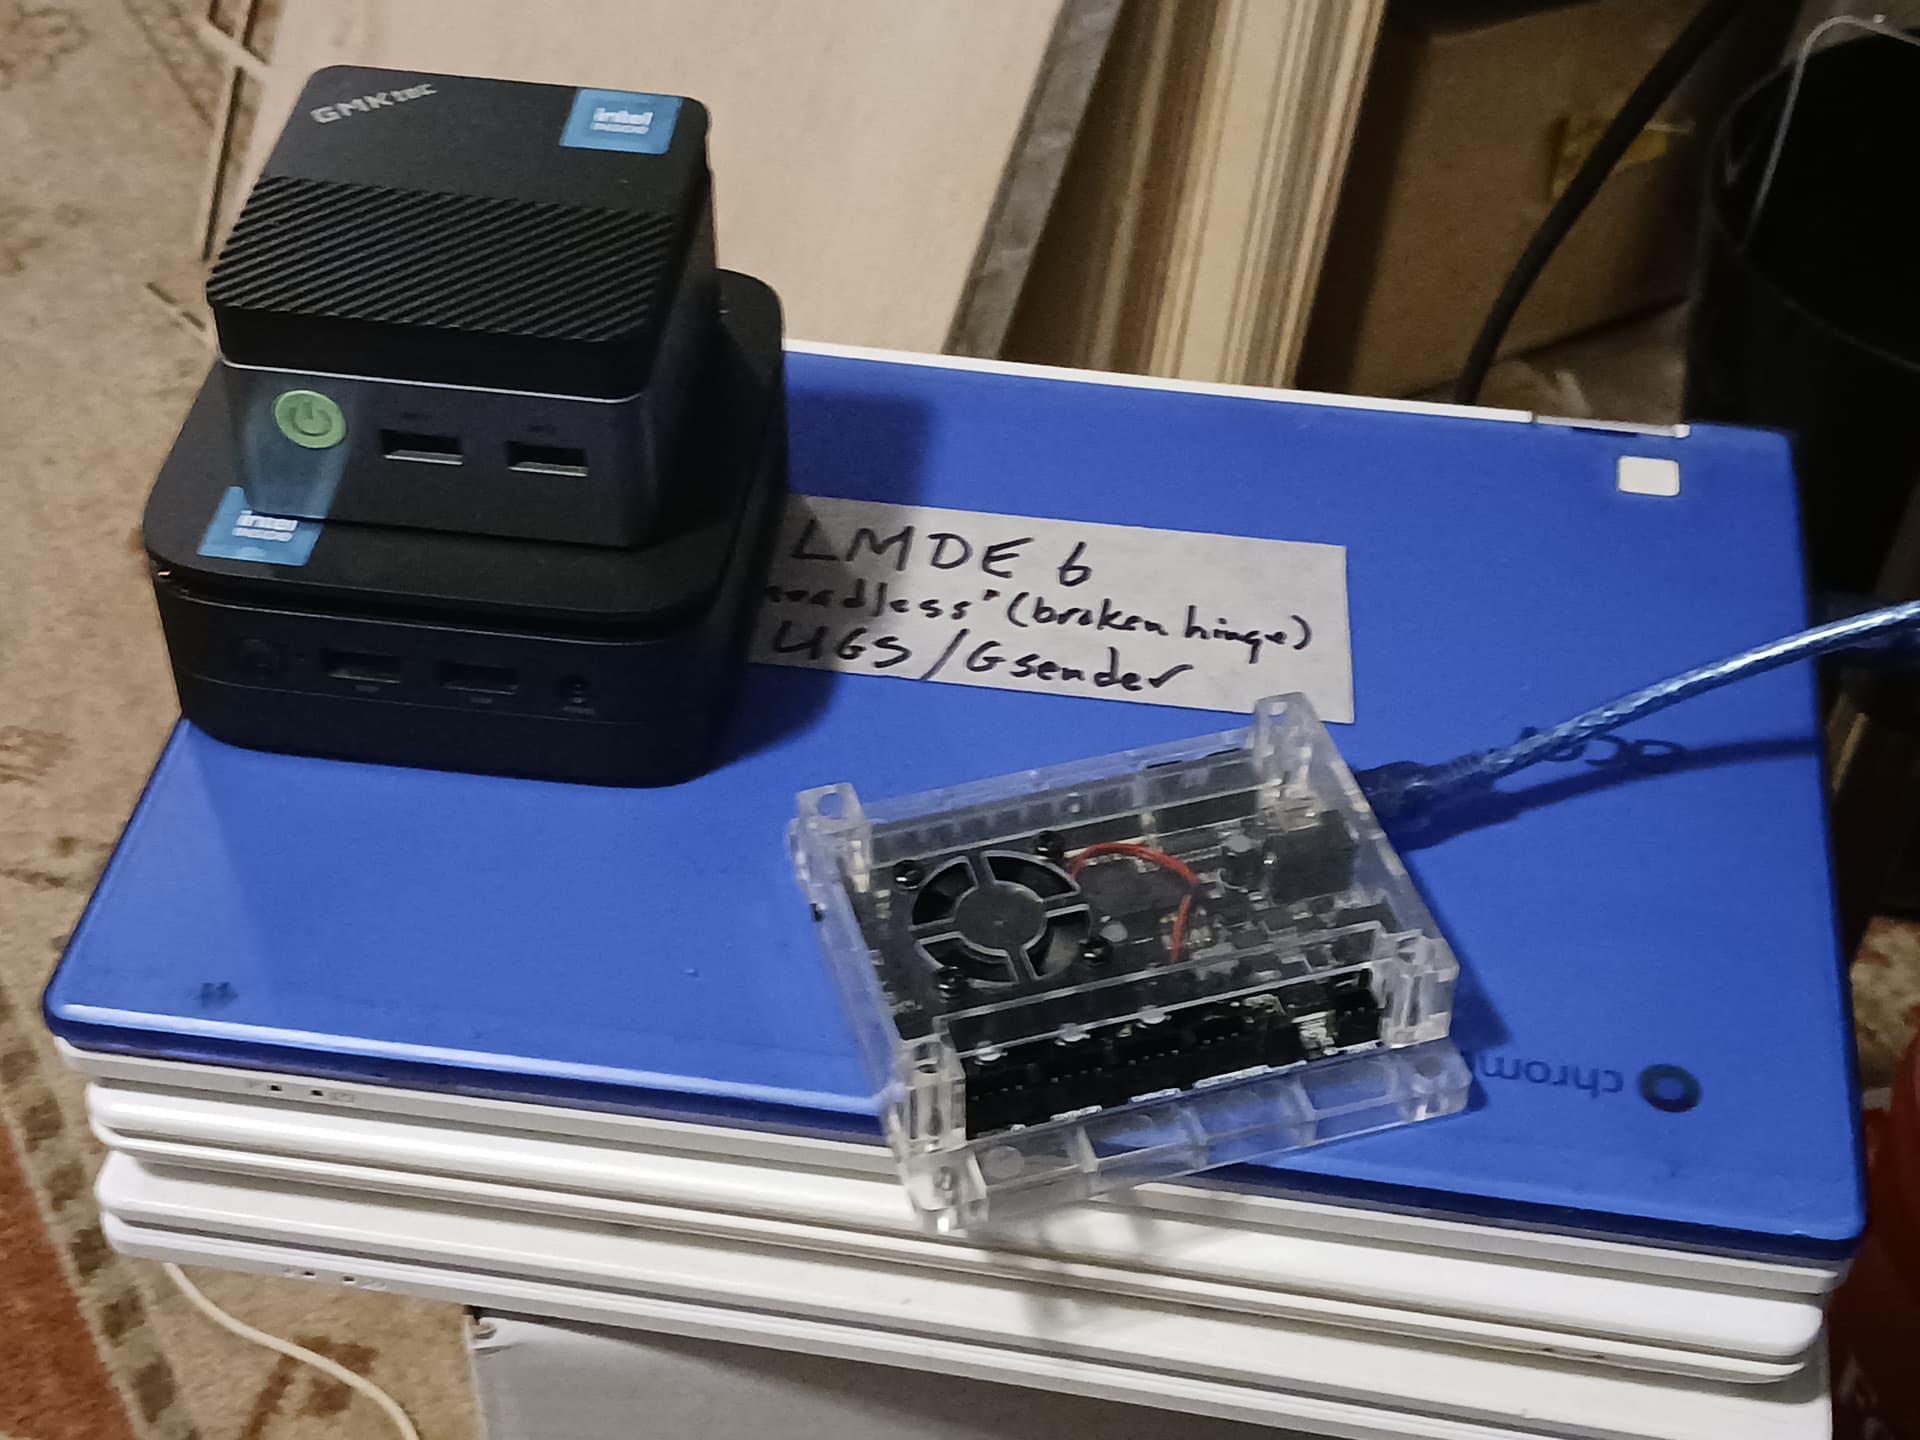
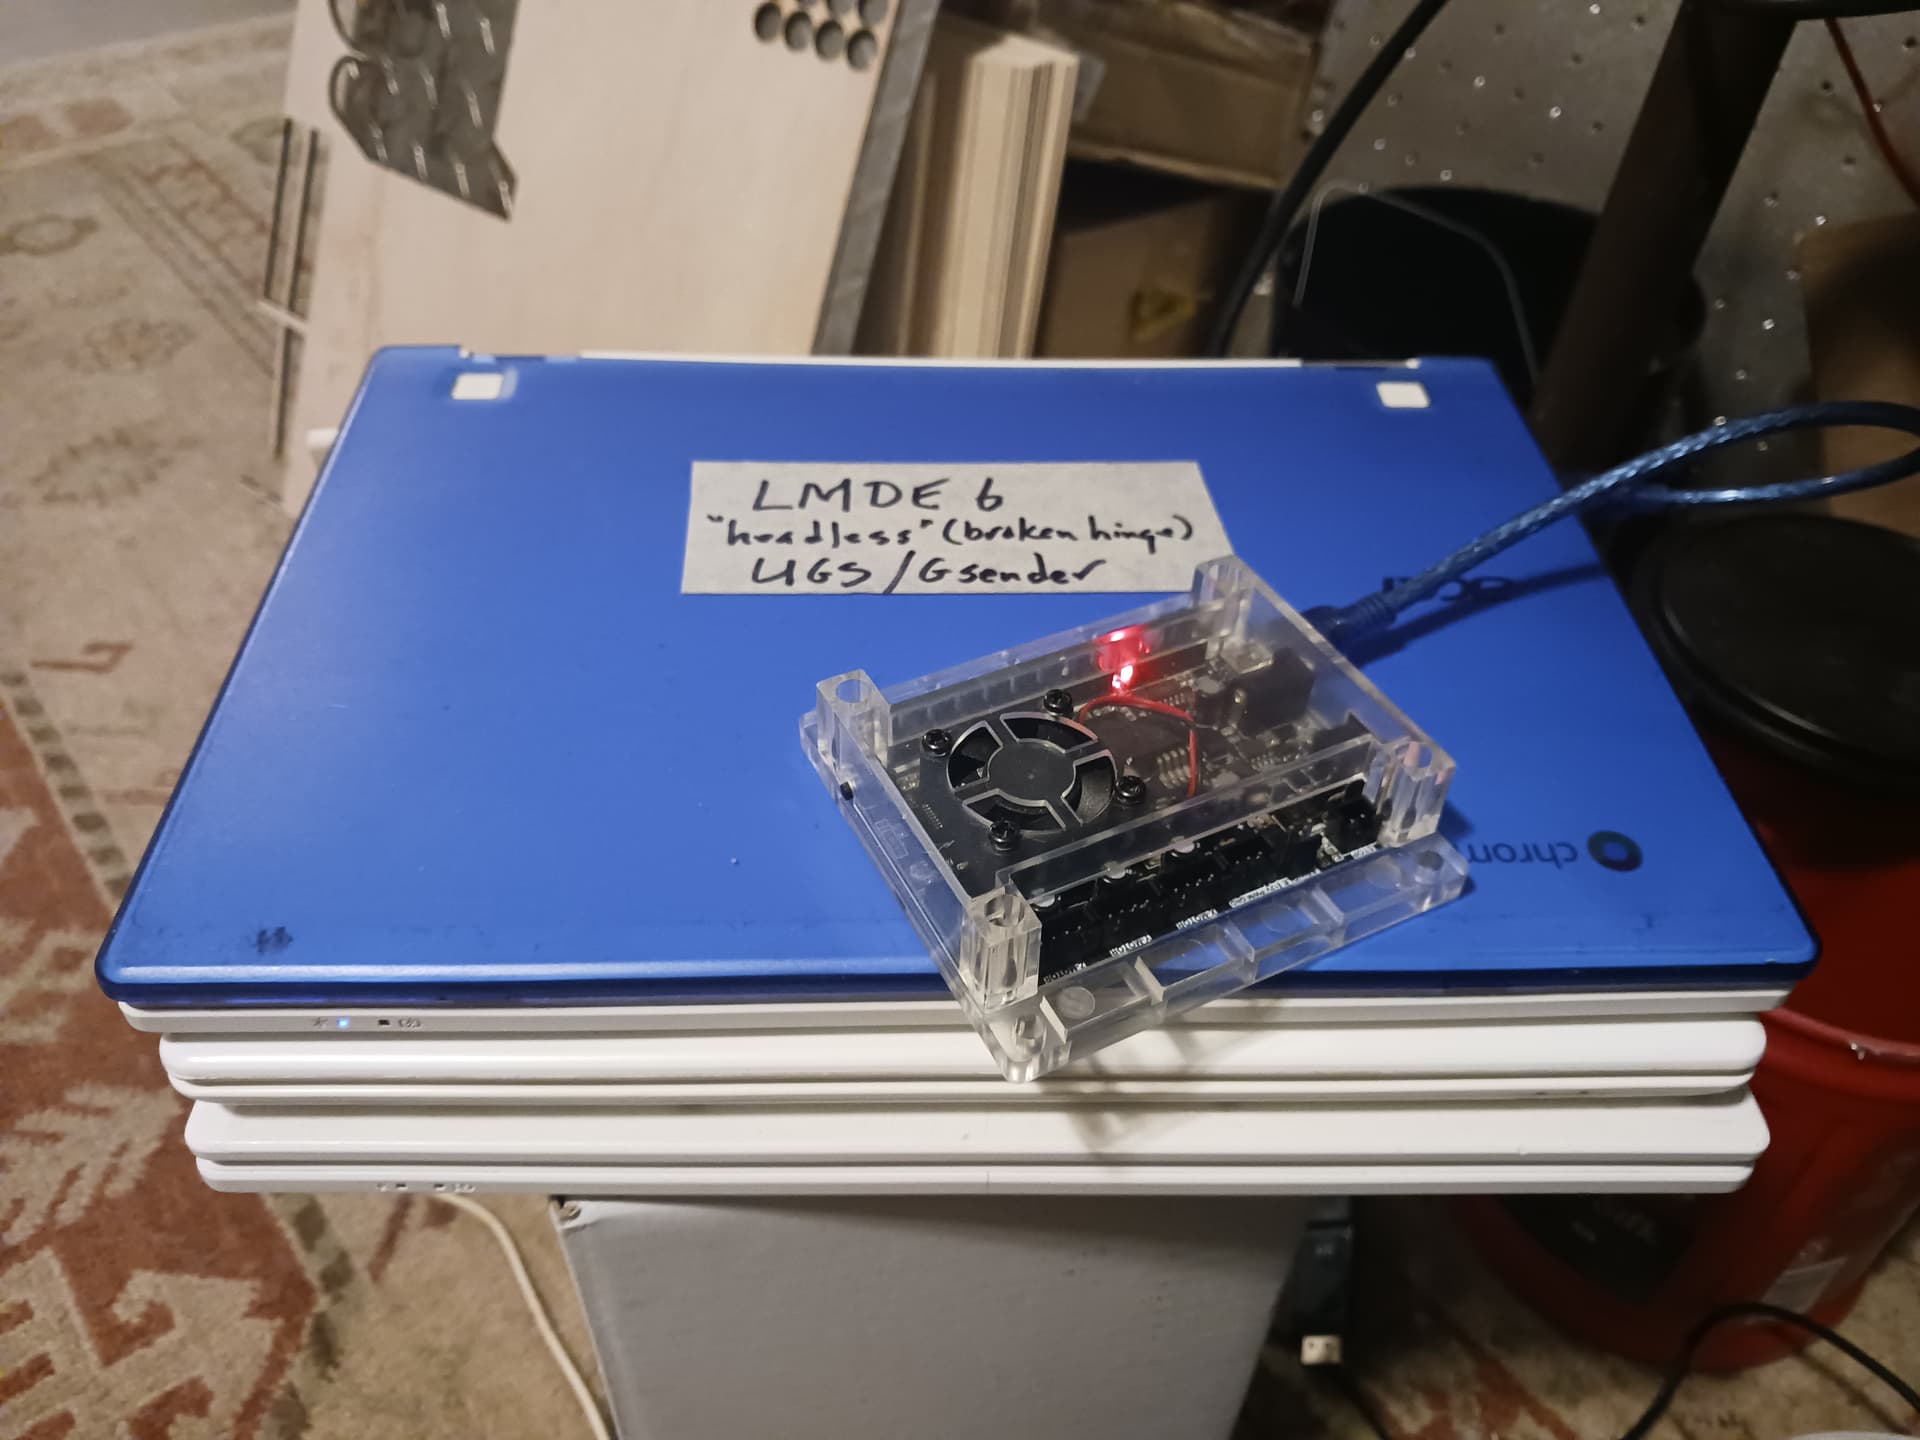
I’ve also received a couple of store-bought budget mini-PC’s from Amazon. While they aren’t high-end units they are considerably more capable than the RPi4/5’s that I’ve been using as my machine-local gcode sender. In fact they are so similar hardware-wise to some early Chromebooks I have… that I’ve reflashed the BIOS on several Chromebooks to allow me to boot from USB and install LMDE (Linux Mint-Debian Edition) on them. With Gemini’s help, I found all the power management and display/lid settings to allow me to set them up “headless” (laptop with the lid closed) and still fully-functional. I’ve also learned (again, from Gemini) that “Xrdp” is actually better for remote operation than VNC is… and accessible with Remmina Remote Desktop Client software on my main Debian 13 laptop (or, cough.. cough… anybody’s “rdp client”).
Anyway, these small mini-PC’s and laptops are IMO great replacements for the Raspberry Pi’s I’ve been using. I’ve installed Gsender, UGS, and CNC.js and they all seem to run happily on them… and all accessible remotely from my recliner. While the form-factor of the little Chromebooks isn’t quite as sexy as the boxy little mini-PC’s… with the lid closed, the flat form-factor can be placed almost anywhere around or under the CNC machine, and in any orientation, so dust shouldn’t be too great a problem.