Thanks for all the kind words, all!
I’m really enjoying doing some design work again… and my Onshape skills are slowly starting to improve. I’m still adjusting things and adding support structures so that I can print parts using “No Support” in PrusaSlicer.
My latest change was to widen the track of the modular roller assembly (foreground) borrowed from the R&P MPCNC. It’s looking sort of like this now…

I have no expectations for the strength and rigidity of this machine… so don’t start asking about a router mount for it ![]() . This particular machine will never really be tested for strength/rigidity and I doubt it will ever carry more than a laser or pen. I’m mostly adjusting things using my TLAR strategy and purposely not softening sharp edges until things are fitting properly.
. This particular machine will never really be tested for strength/rigidity and I doubt it will ever carry more than a laser or pen. I’m mostly adjusting things using my TLAR strategy and purposely not softening sharp edges until things are fitting properly.
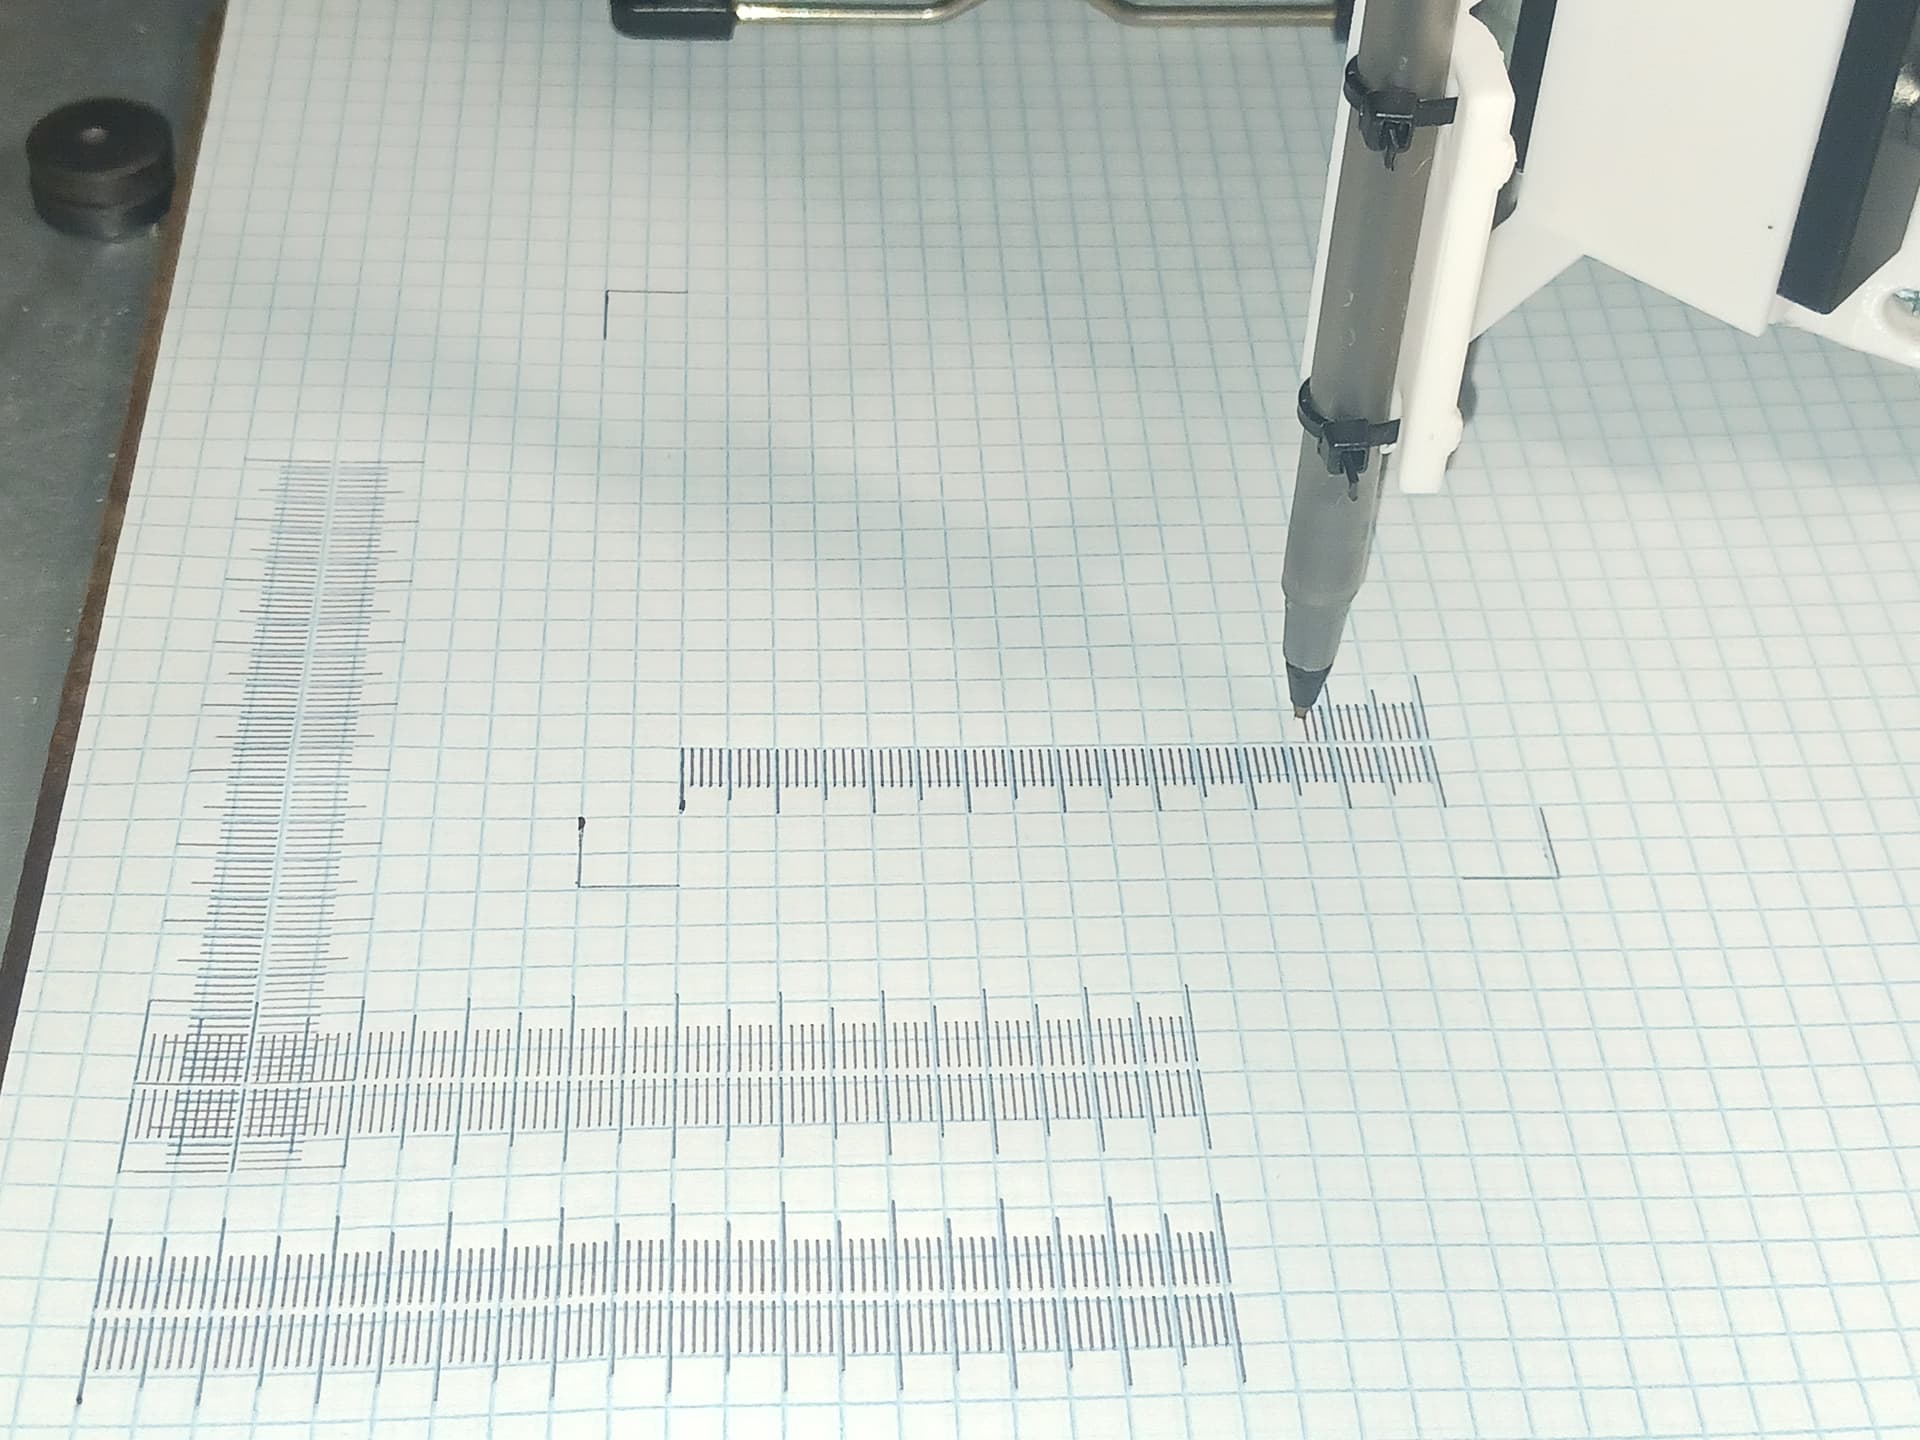
The printed rack and pinion have actually proven surprisingly accurate in my experience… though I’m sure that will suffer long-term if the machine is used heavily. In previous testing I’ve been able to calibrate the R&P axis and draw an assortment of Jamie’s (@jamiek) rulers from his test pattern generator…

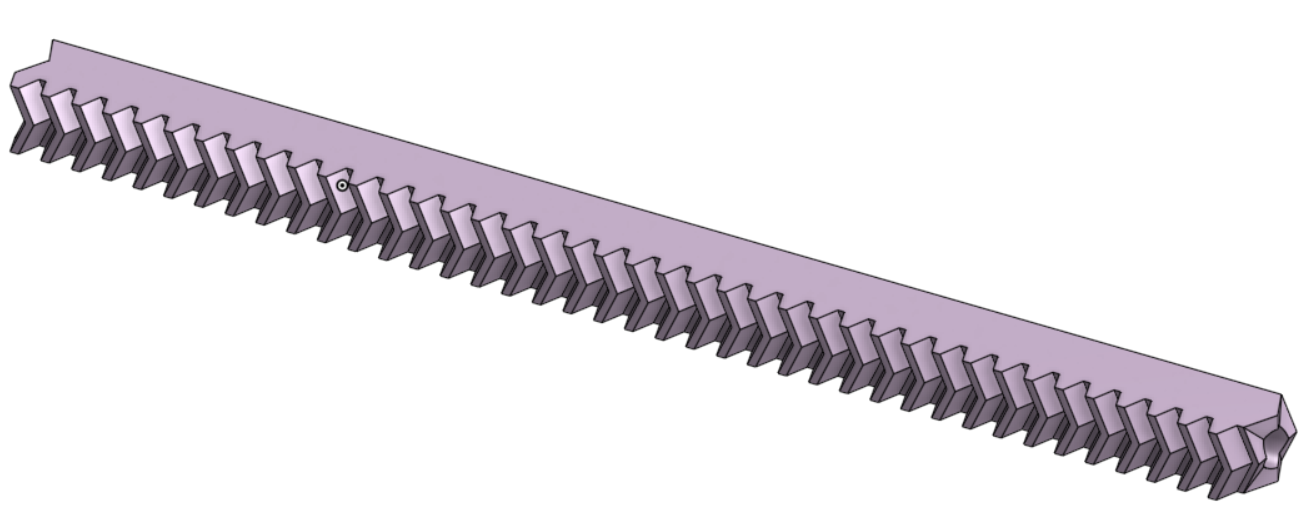
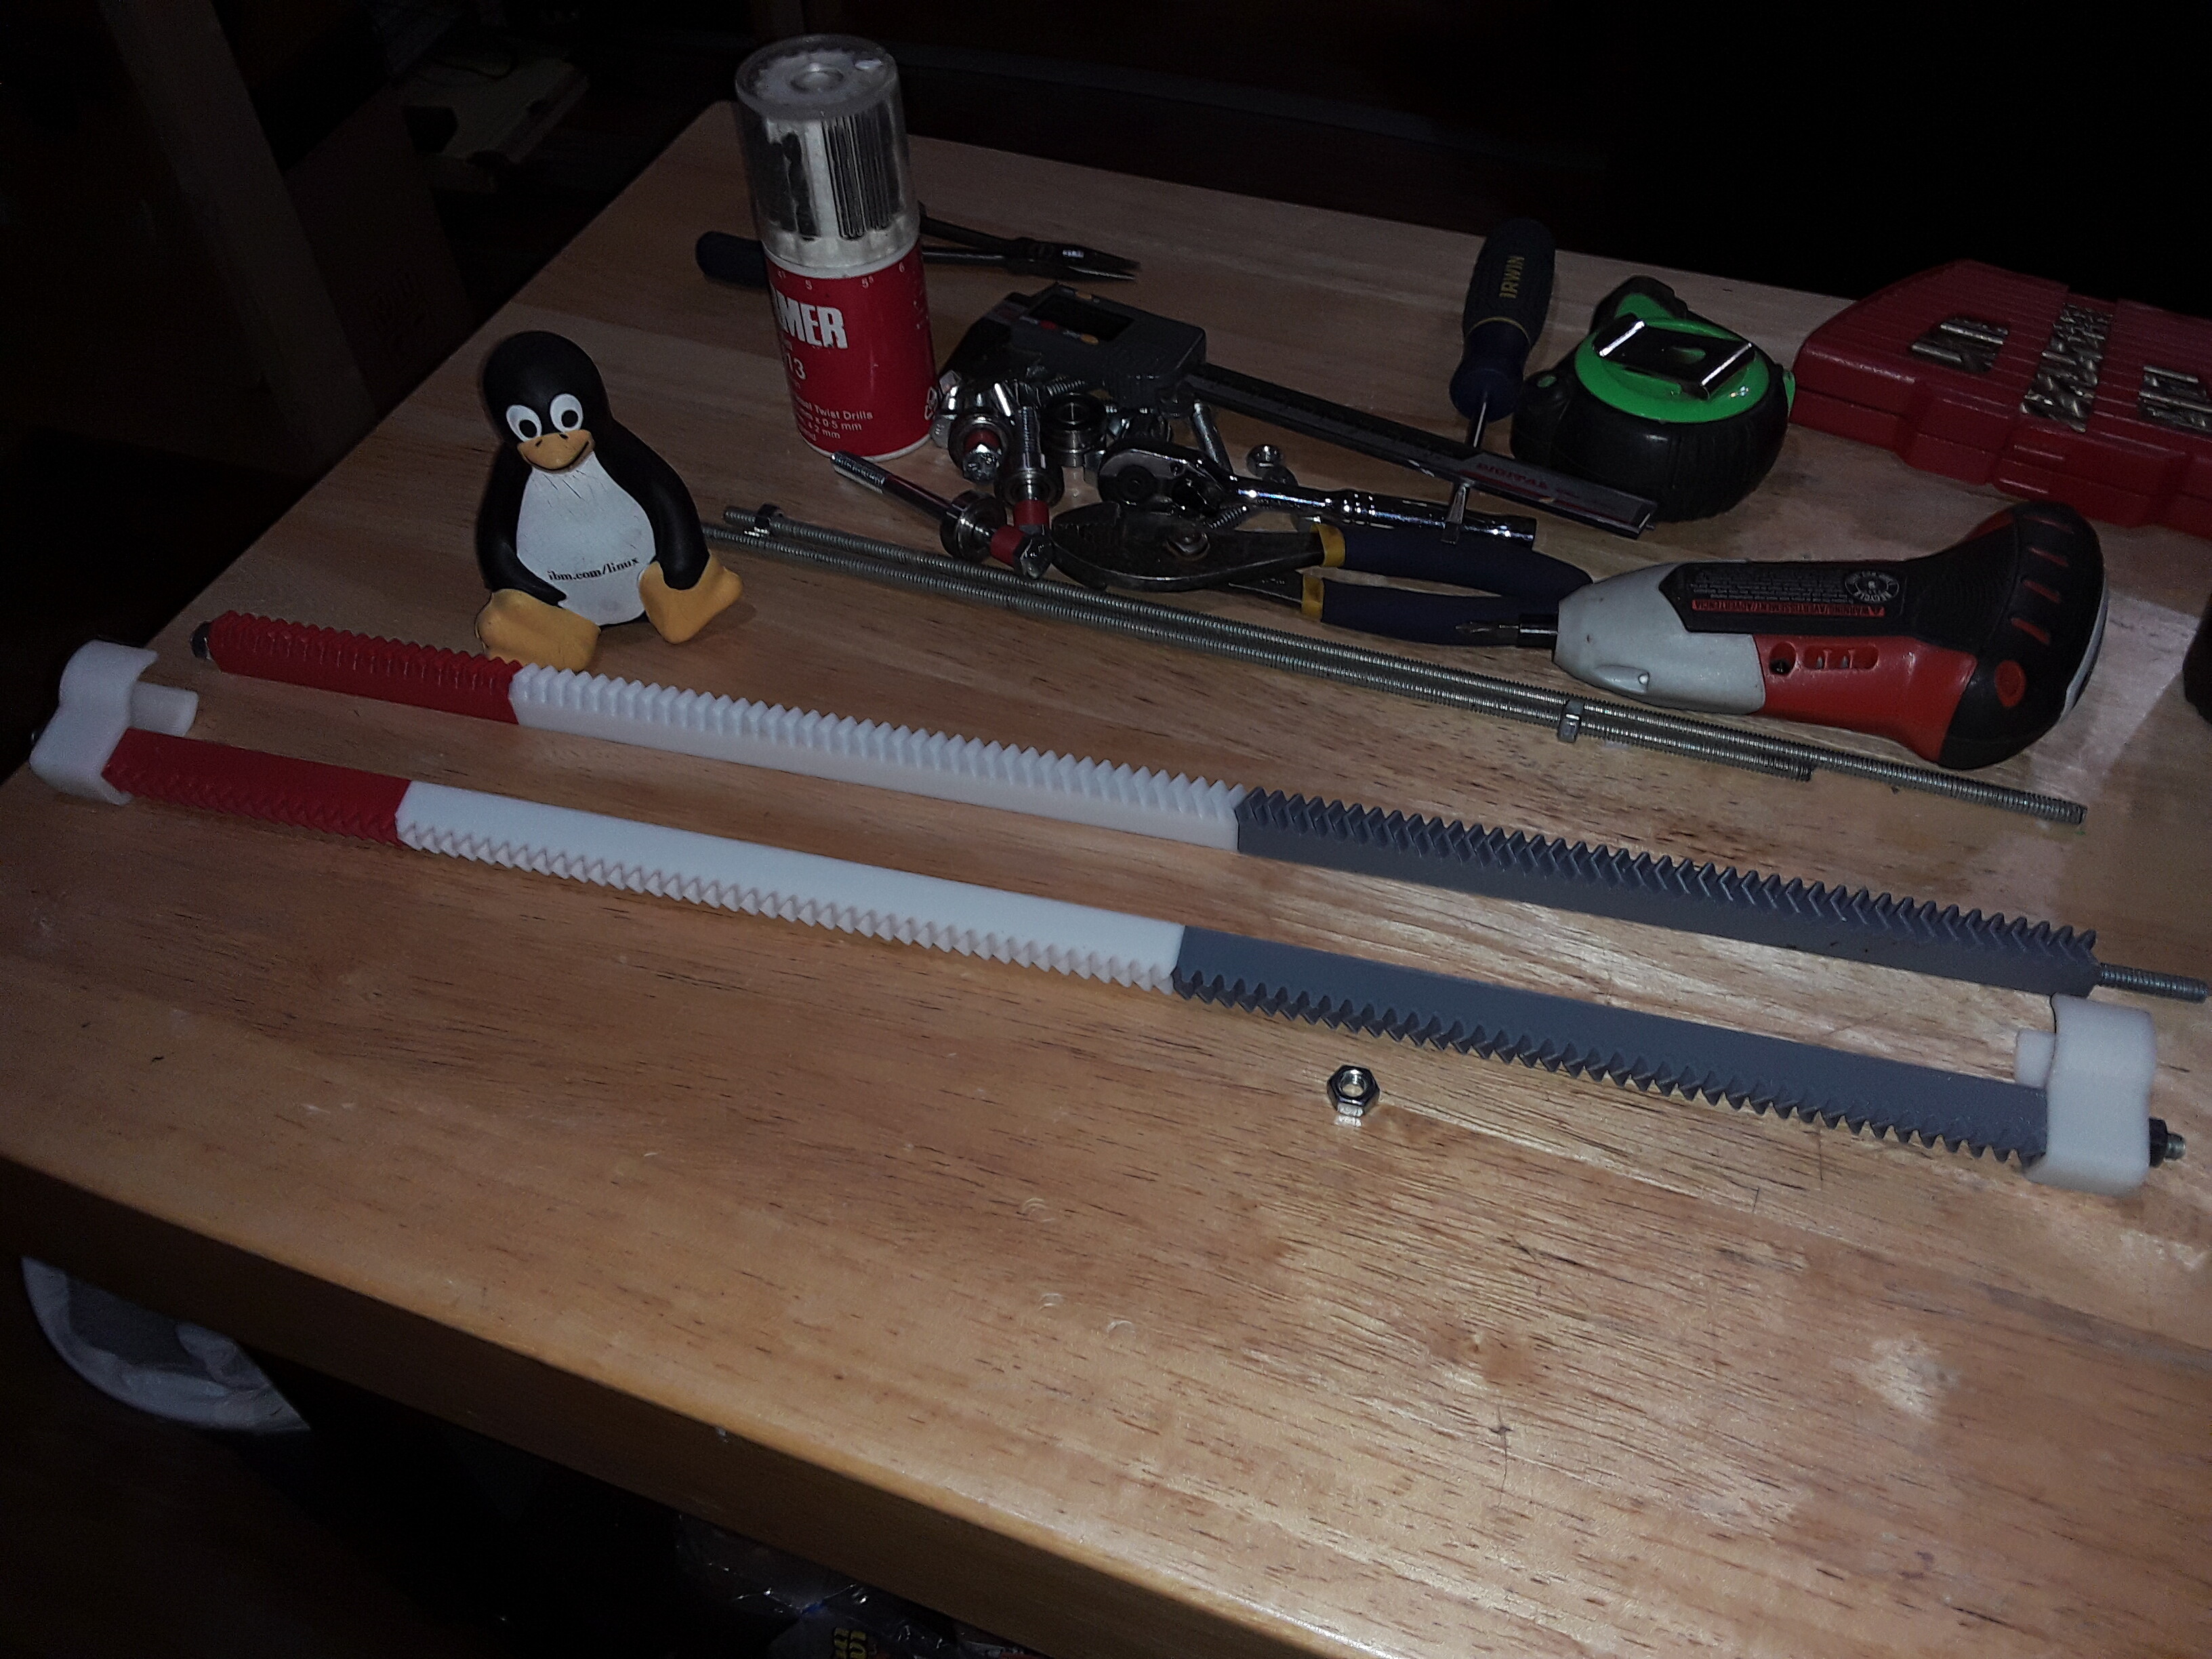
Despite being segmented and limited to about 40 teeth per segment so that I can print it on my Prusa MK-3S printer’s ~8" square bed, the rack segments are strung up on a 1/4" threaded rod, cut to the desired length for each axis…
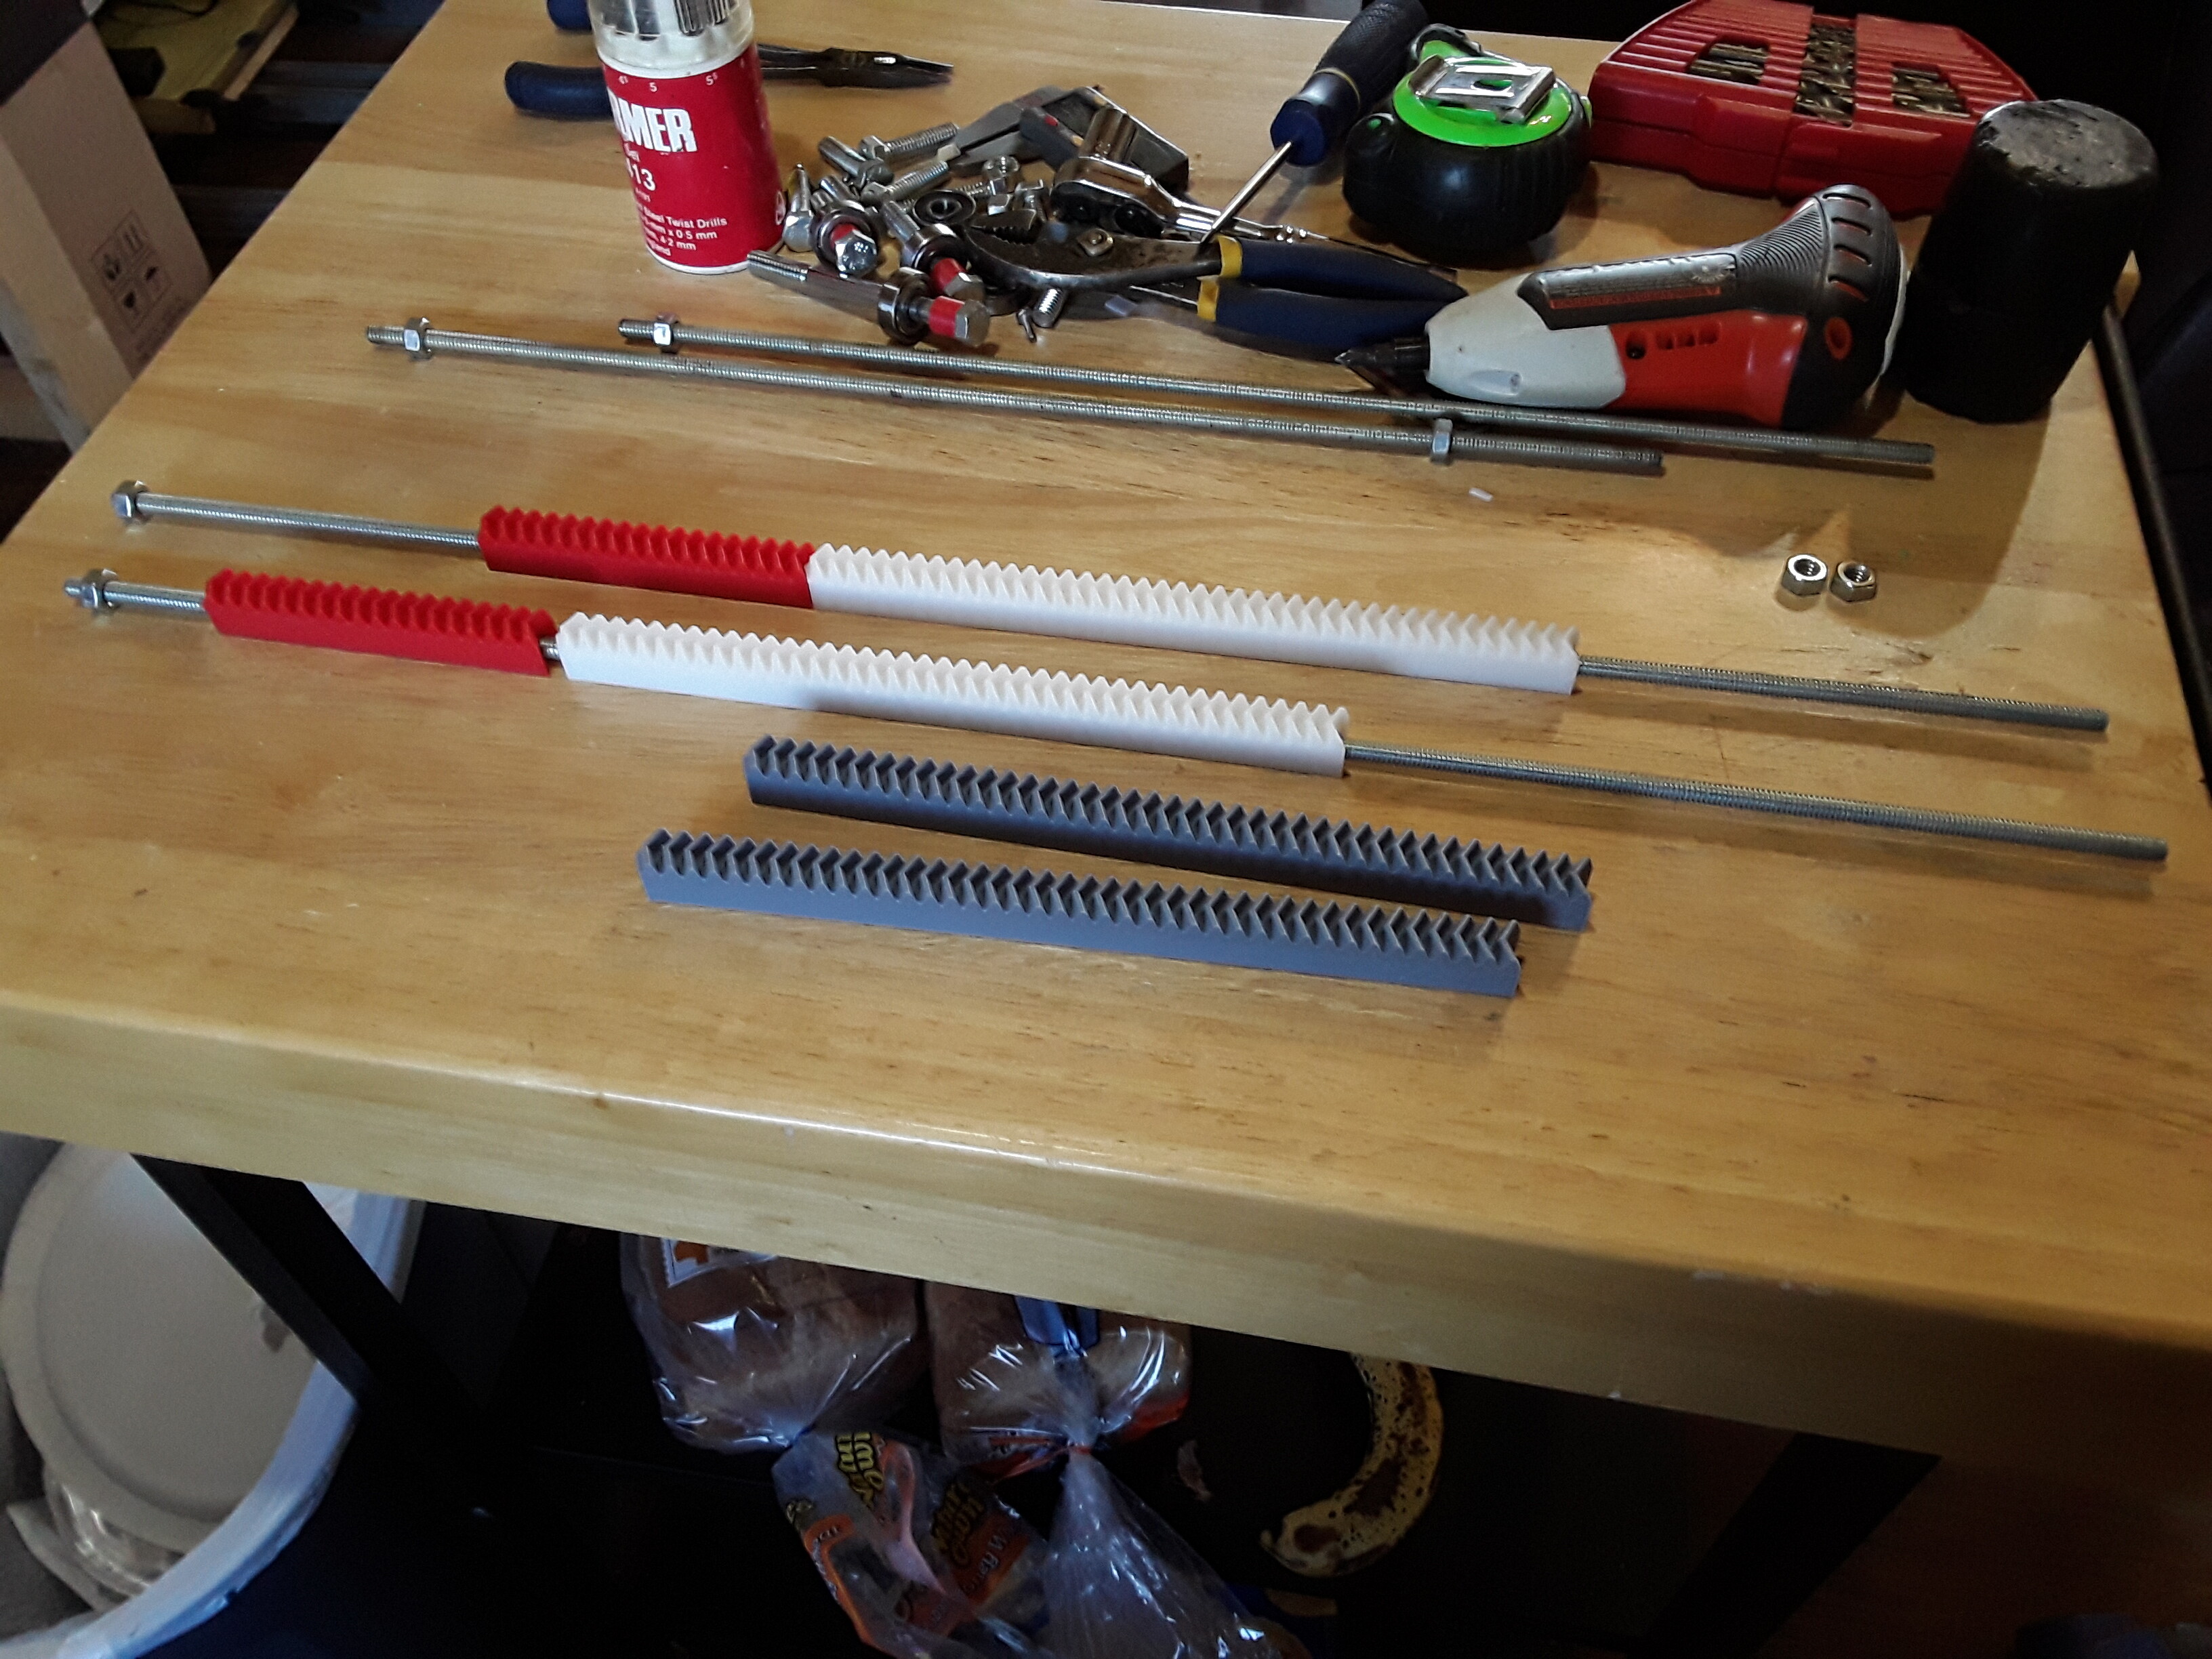
and then capped on each end with a printed part, which snaps onto the EMT rail, and a nut or two.
The herringbone teeth of the rack and pinion appear to minimize any backlash (there are always points of engagement between rack and pinion?) and they also tend to track quite straight as seen in this early Phlatprinter-inspired machine…

More to come…
– David