As easy as that. ![]()
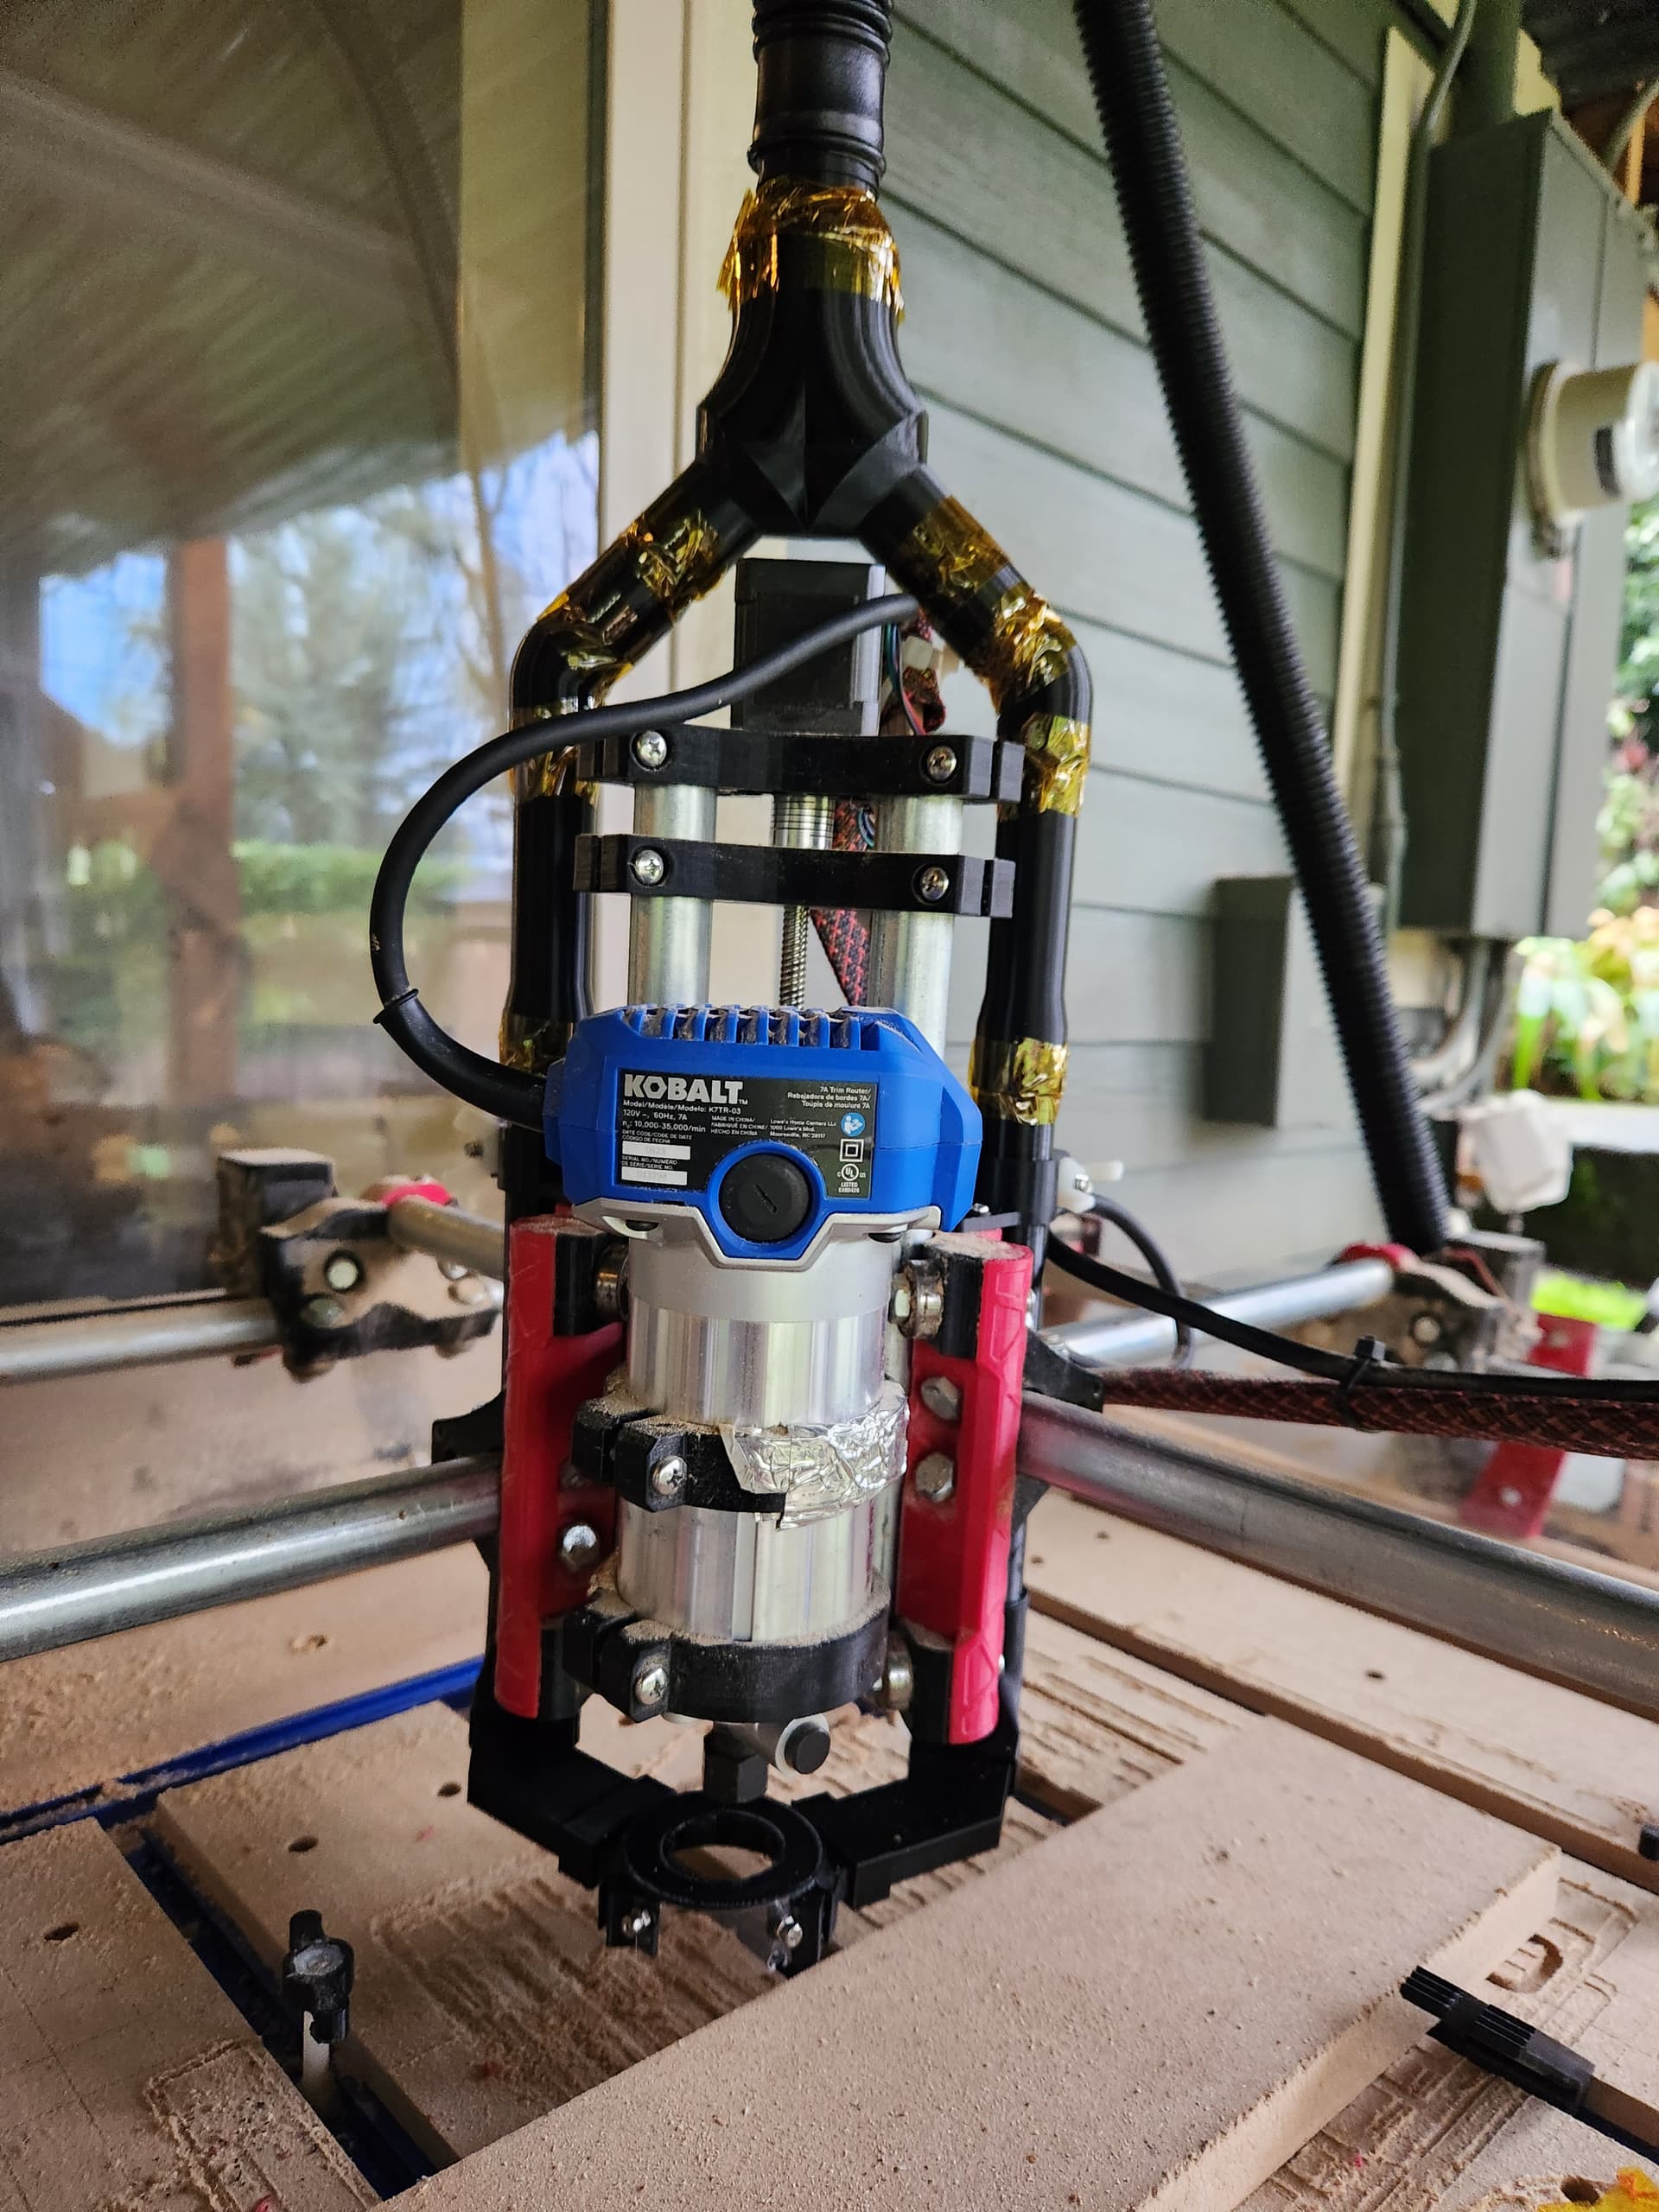
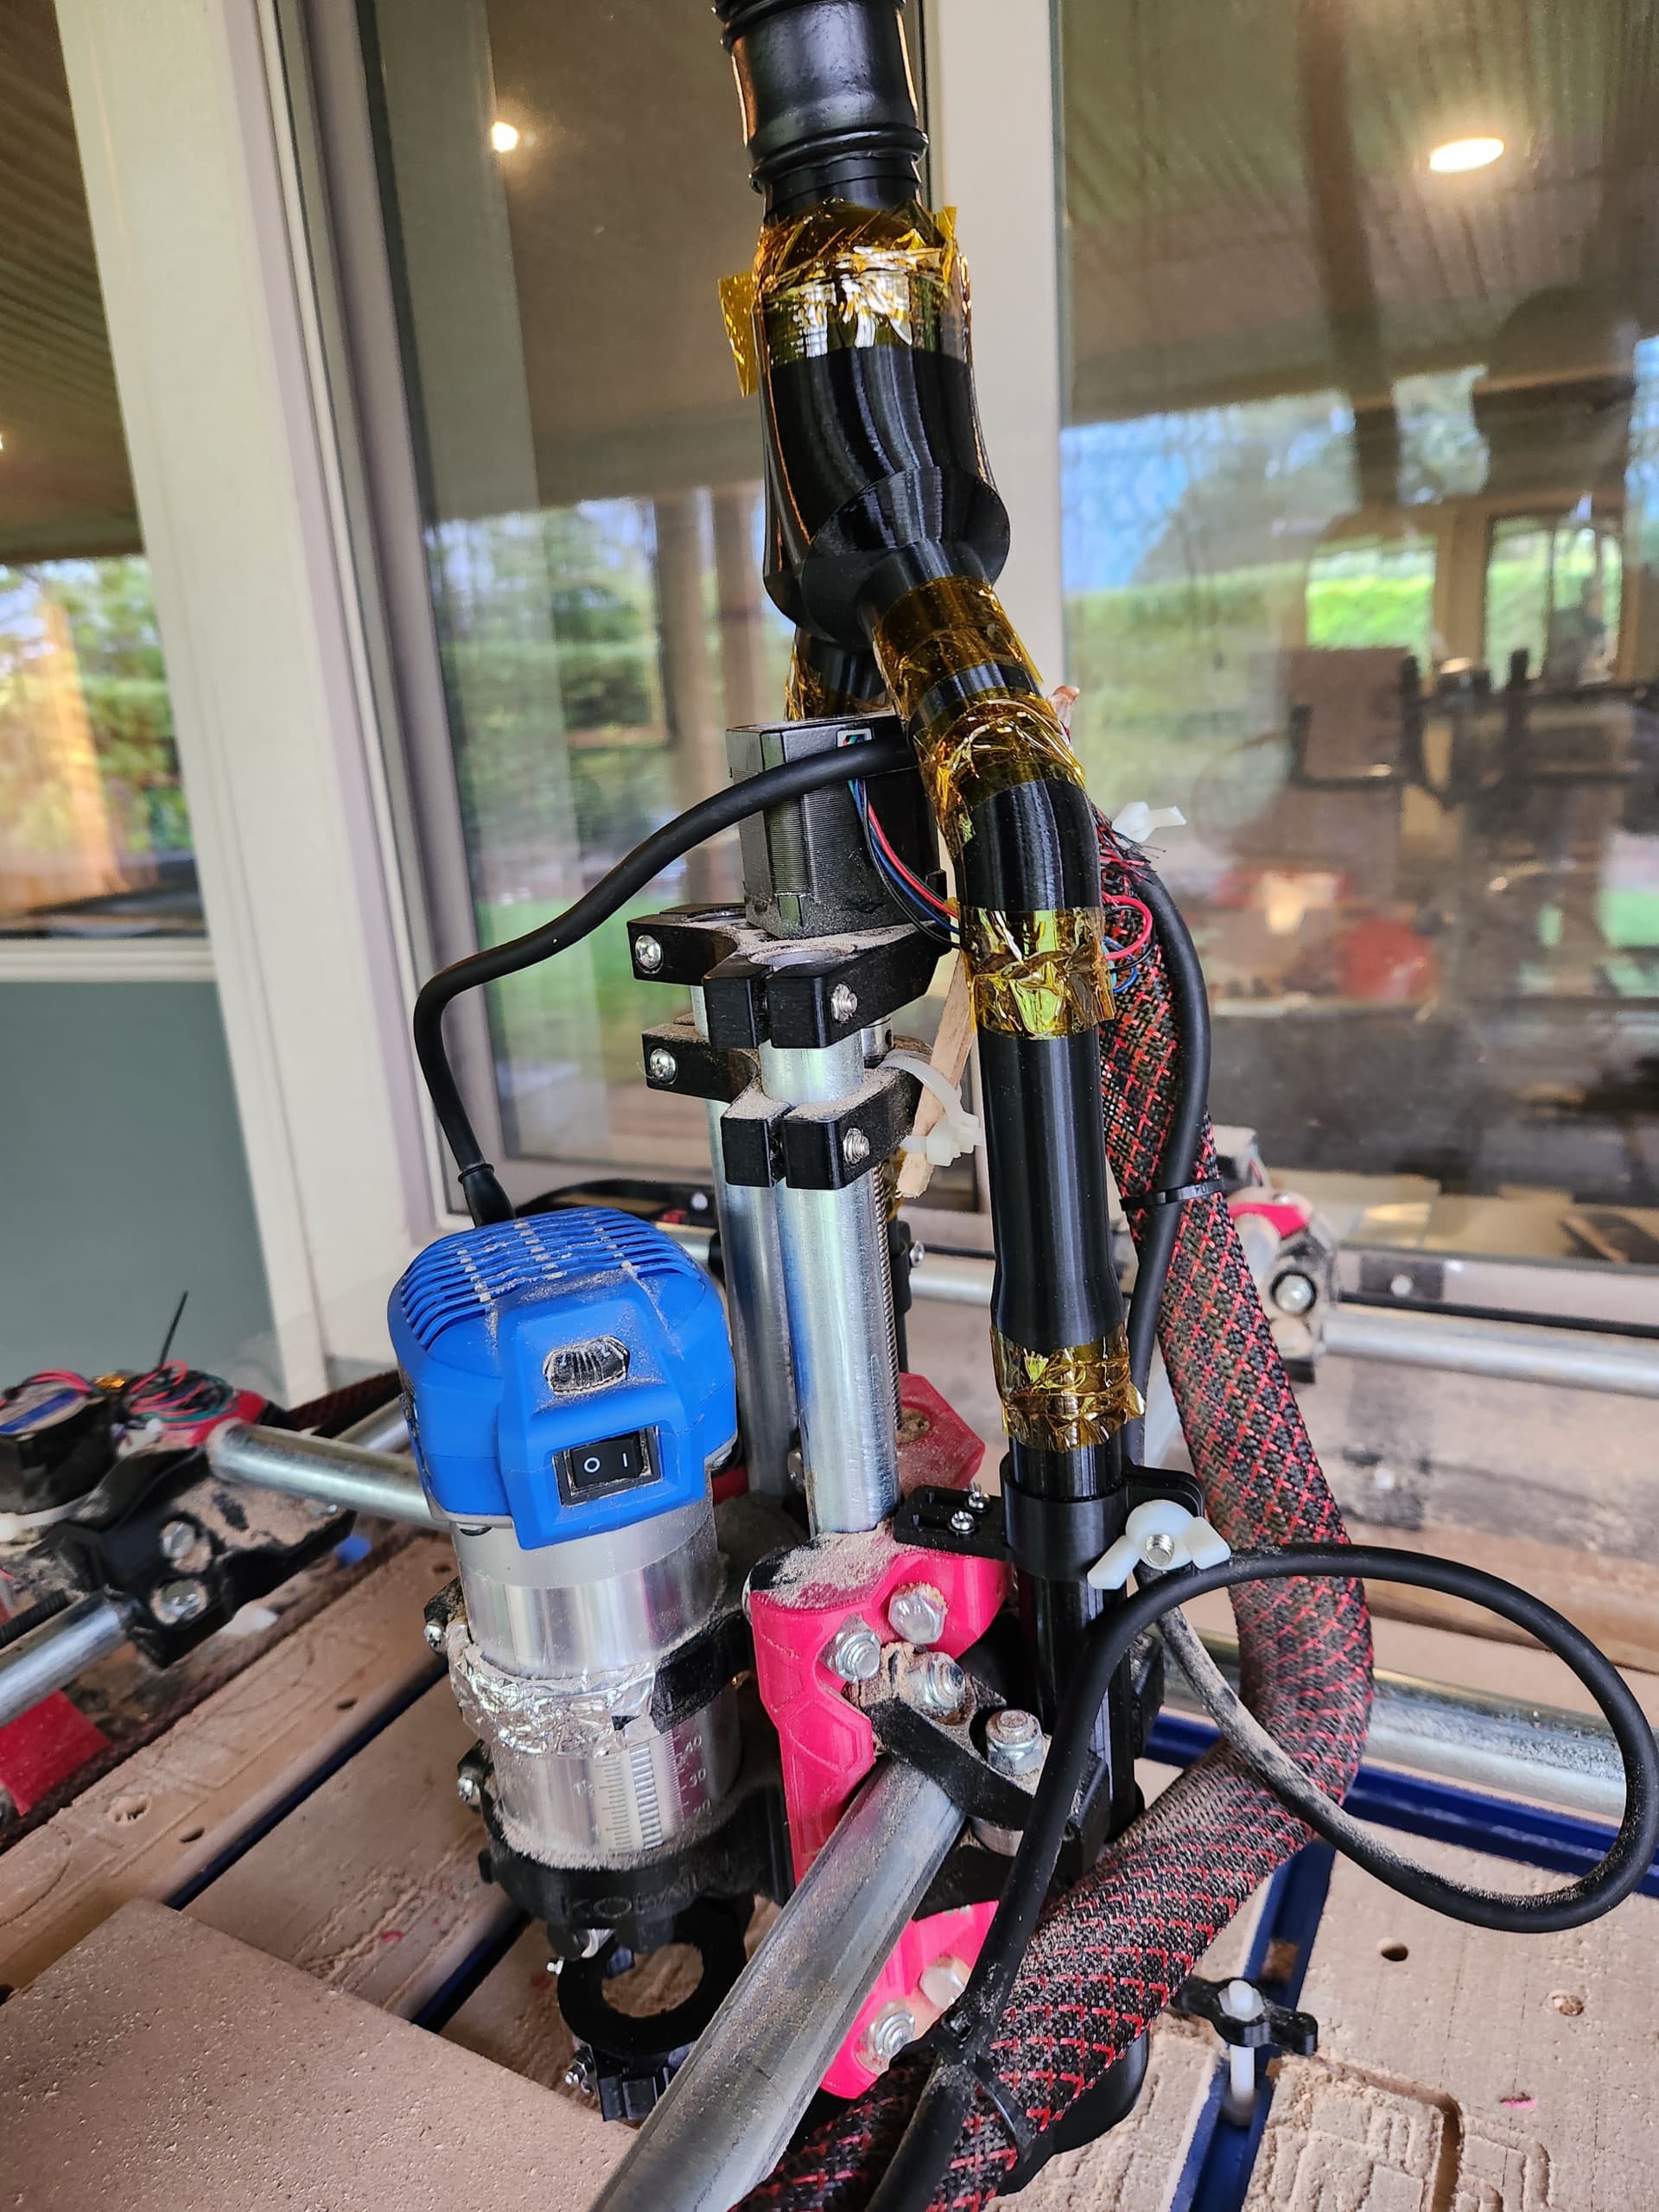
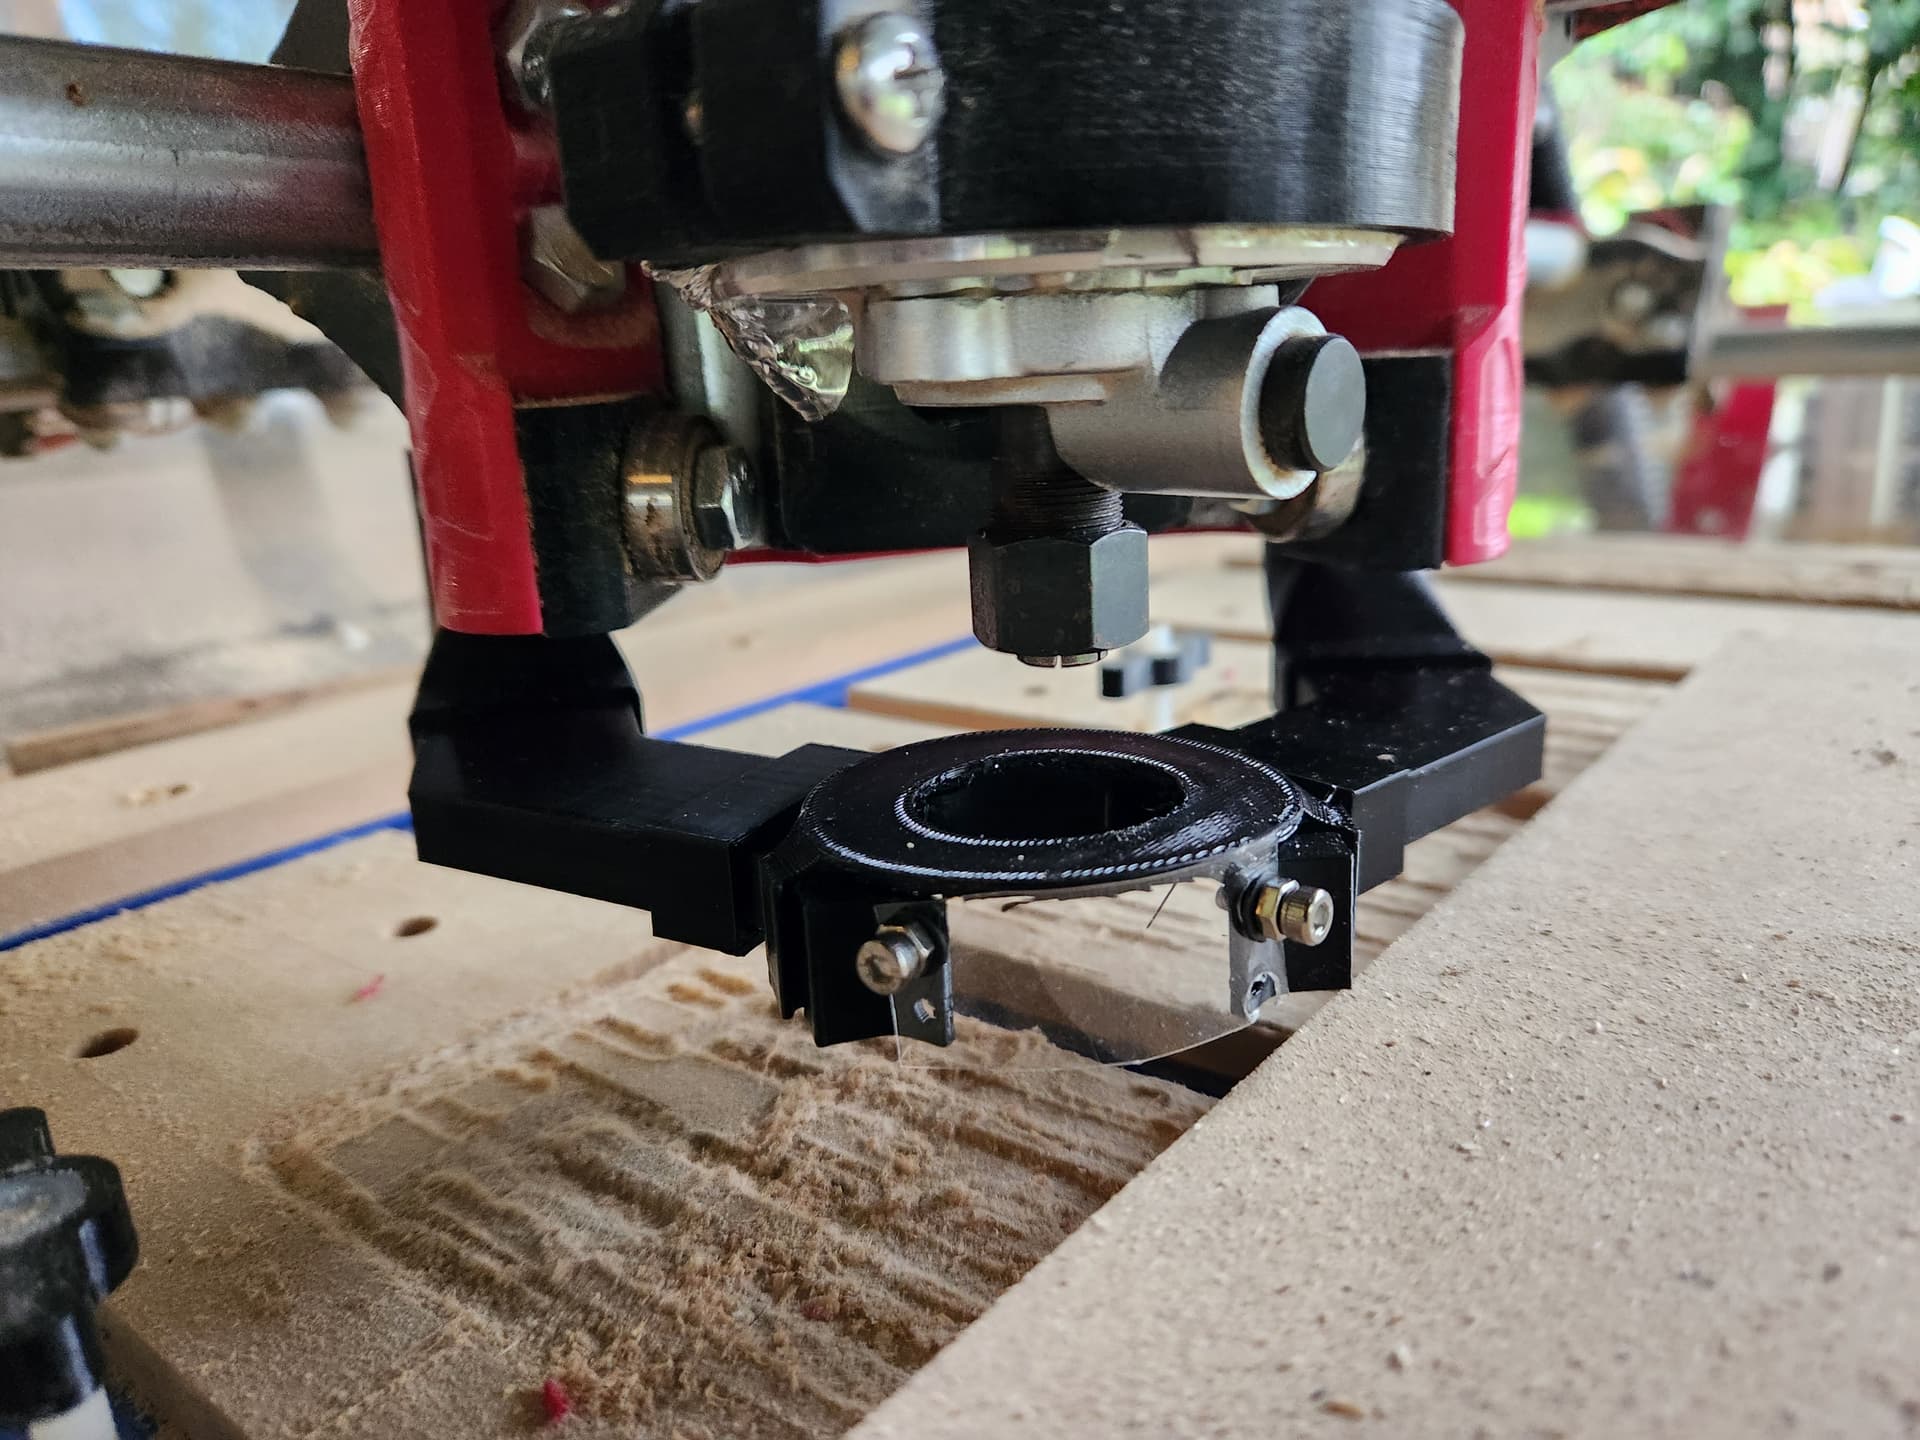
I made a prototype dust collection system that mounts to the core and is adjustable. It seems to work pretty well, but I was annoyed by the high price of vacuum hose and found some drain hose at my local hardware store. Don’t make the same mistake. It creates an ear-piercing whistle, so I have only run it briefly (all the kapton tape was my attempt to seal things up to isolate the whistle to no avail). Thanks to @stevempotter for his design that gave me a lot of the ideas. One thing I was trying to do was minimize the profiles so I would not use up z travel. It also has a clear magnetic cover so you can see the bit and it also makes bit changes easier. One other cool thing I found on this project was an openscad parametric hose fitting file. I have never used openscad, but I was able to get this up and running in <30mins. It takes a while to figure out all of the parameters, but the flexibility and range of different fittings you can make is cool. Everything from square nozzles, any angle elbow, reducers, Y-fittings and magnetic and flange connections. I only designed the dust shoe and the two bottom rectangular pipes. The rest were made with this openscad file: Printables

4 Likes
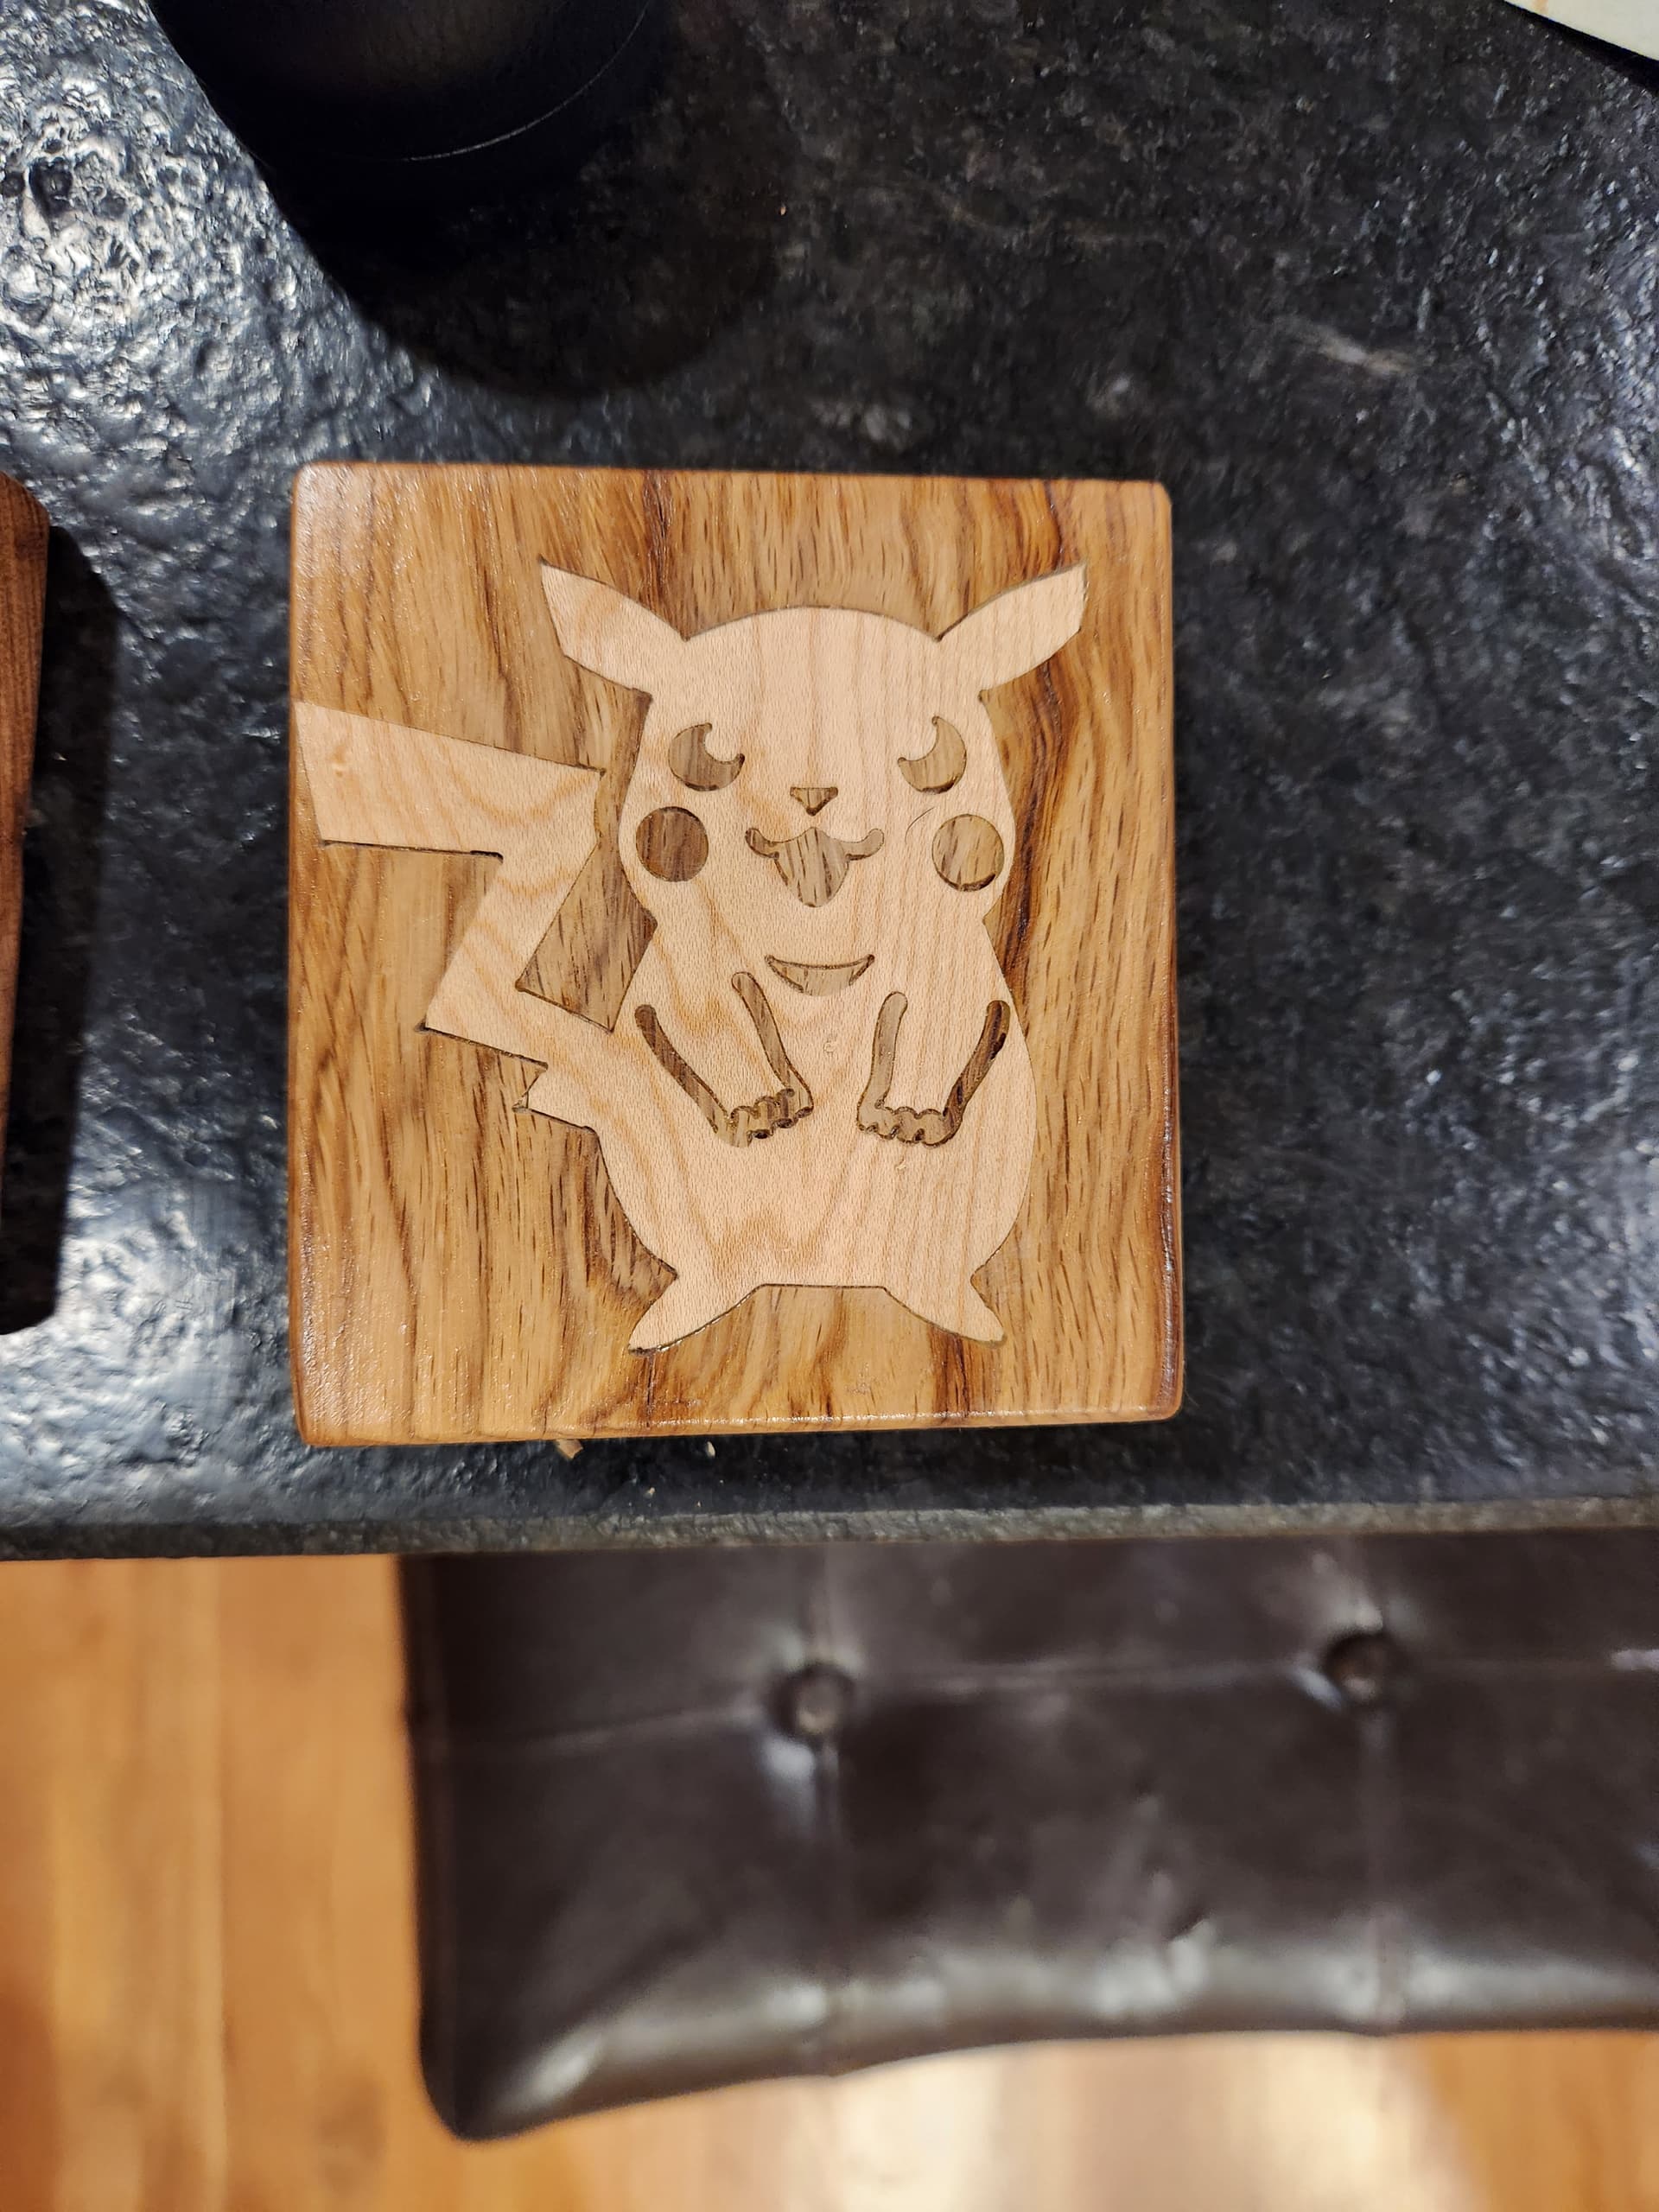
Working on some vcarve inlays. Still have some work to do to get rid of the gaps, but the process is not as hard as I thought it would be. These are 2.7 mm deep. The first two I did in one pass with a 60deg v-bit and the last one (pikachu) was two passes with a 30 deg v-bit.

2 Likes
I am doing some upgrades (More info/pictures to come as I progress). I am switching to DOM steel pipe and reprinting most of the parts with CF-PLA to try to add some stiffness and reduce the chattering. While I was disassembling, I noticed that all of the steppers were slightly loose. I am not sure if this is a problem or not, but should these screws use locktite? I think everything else on the system is either a locknut, or locktite is recommended, but I did not see this on the instructions for the stepper mounts.
You can use blue loctite for those screws and the grub screws holding the pulleys to the stepper shaft. Had your trucks cracked? Mine cracked along the print layers about the mid point of the truck near the motor on the under side. They were printed on a prusa with a very small nozzle though and while they were very high quality and beautiful prints, that setup tends to be less robust than a larger diameter nozzle with a thicker layer, but uglier print.
I have one truck that has a line all the way around it, but it is not separating, so not sure if it is a crack or not. I used a mix of 0.4mm and 0.6mm nozzles on two different printers on my original build. One thing I noticed is the 0.6mm nozzle did not do a good job on the holes and in many cases the bolts would not slip through without threading them in. I got a Bambu X1 carbon earlier this year and have reprinted everything using 0.4mm nozzle and all tolerances seem really good. I used CF-PLA for the trucks and core and some other pieces. CF-PLA comes out looking amazing, almost no layer lines. Hopefully it will add some strength and stiffness.
Quick question: while I am rebuilding, is there any reason to replace the belts while I have everything apart?
I would say no reason. The belts aren’t typically the issue. Do clean the smooth idlers though as they can gather stuff off the back of the belt. Clean the outsides of the bearings as they will pick up junk off the conduit or pipe. Wipe down the conduit/pipes and reassemble systematically with the new parts.
closing old topic to help fight spambots